Fender Design Challenge
AIM:- The main aim is to design the fender model with the necessary mounts using the class-A surface
MOUNTS:-
1. Bumper
2. A-pillar
3. Sill
4. Cowl
5. Drip
Theory:-
fender;- A fender is a part of an automobile that frame a wheel well(fender underside). its primary purpose is to prevent sand, mud, rocks, liquids, and other road sprays from being thrown into the air by the rotating tire. the fender opnings for the wheel whell t5ends to be much larger than the dimeter of the tire because they do not move with the tire suspension and consequently must be large engogh to allow the full range of the tire motion on the suspension without touching the interior of the whell whll.
Types of fender:-
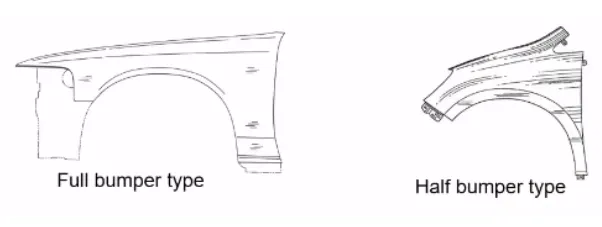
Full front fender:- it the fender covers the tire the wheel well surrounding the tire and it is not directly visible from above the car body. iot increase the weight and scrap of the component.
Half front fender:- It reduces the weight and scrap. it create only half of what the full front fender does and the other part is create with the bumper part.
Procedure:-
1. Creating the sections:
. After opening the file, check the model and create the mount area layouts.
. use parellel curve option to offset the line to 5mm and spilt option cut the class A to create a space for the mountings.
. Now, join the split surface excluding the top surface
2. Creating the mount part:
. To create the mount regions. use the sweep option near the space create for the mountings.
. After the sweep is doone as per the design model given join the surface created
3. Creating the embosses and relief:
. after the mounts are create we need to create embosses and holes are to be given.
. To create emboss, create a sketch with the required sharpe. project the sketch onto the mounting area but befpore that extract the surafce
. now, split the surface to create a hole near the projected area to create an emboss
. trim the surface together and create a relief hole which is given to such that the screw is fitted into that hole
. for drip mount part follow the details given and design the product
. To create beaks, create the surafce in a way that is angular and then trim the surface together.
4. Giving the fillets
. Once the surface is trimmed given the fillets near embosses and beads
. Use the extrude command followed by the edge fillet to create the sharp edge to the curved aprt near the mounting
5. Creating the solid.
. After the surface is created go to the part workbench and define the part body
. Use the thick surface option to create the solid with a thickness of 1mm
Results
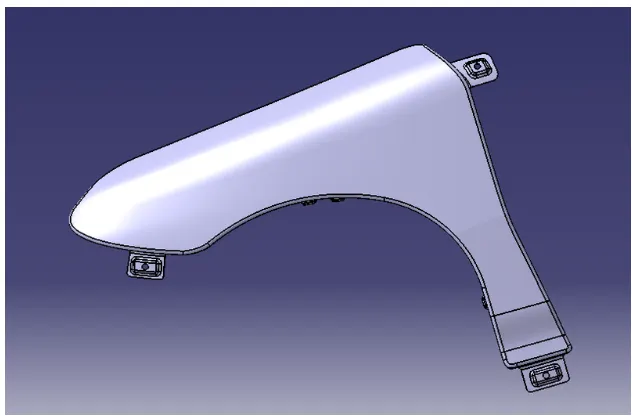
The fender model is create with a thickness of 1mm with the given mounts and embosses
Final model:-
Drip mount:
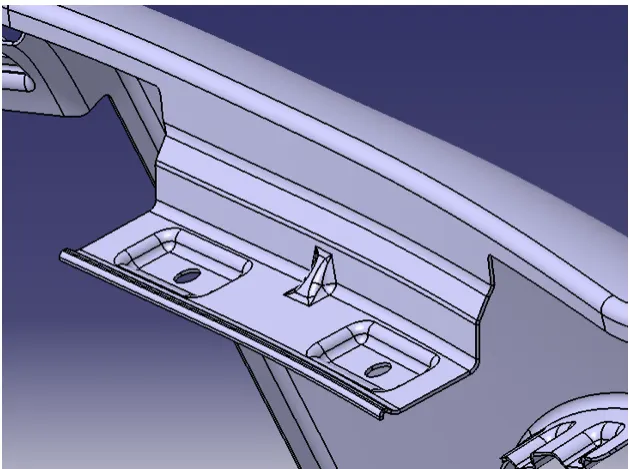
sill mount:
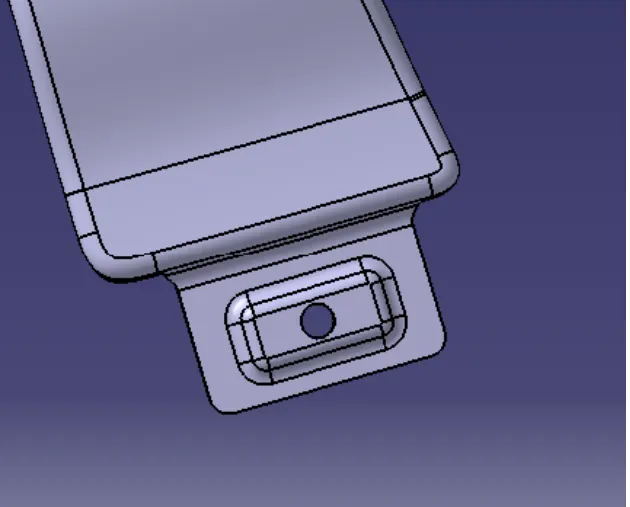
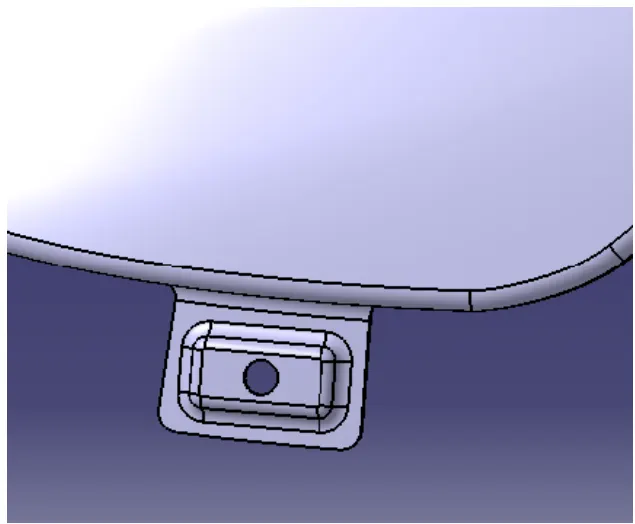
Bumper mount:
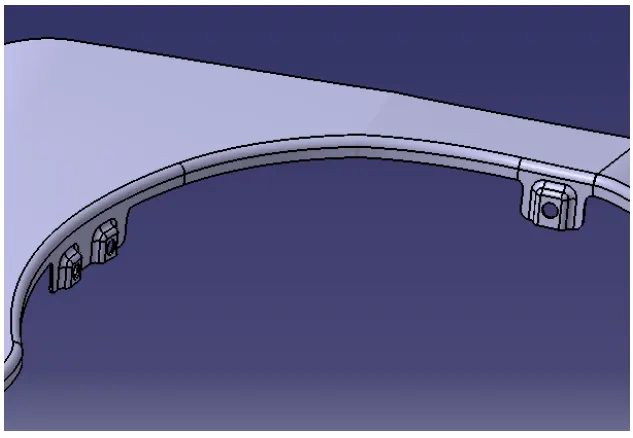
cowl mount:
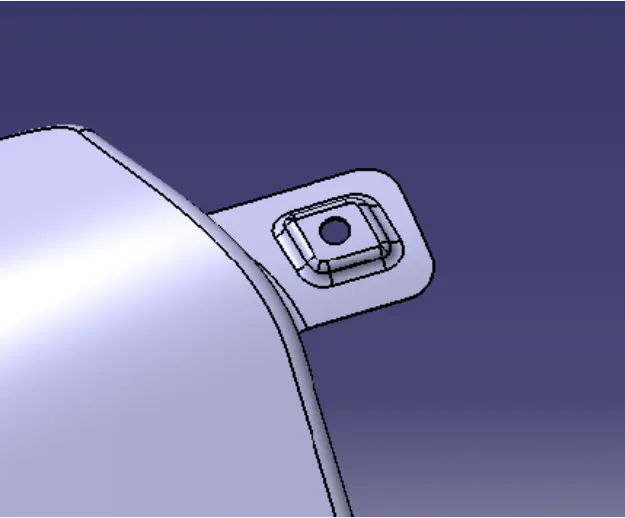
A-pillar mount:
Terms used:-
Embosses:
Sheelt metal embossing is a stamping process for producing raised or sunken design or relief in sheet metal. this process can be made by means of match msle and female roler dies, or by passing a sheet or a strip of metal between rolls of the desired pattern. it is often combinend with foil stamping to create a shiny, 3D effect.
The metal sheet embosses operating is commonly accomplished with a combination of heat and preasure of the sheet meatel. depending on what type of embossing is required. theoritically with any of these procedurese the metal thickness is changed in its composition.
the metal sheet is drown through the male and female roller dies, proceduring a pattern or design on the metal sheet depeneding on the roller dies used different pattern camn be proceduce on the metal sheet the preasure and combusion pf heat actually irons. while rasing the level of the image lower into the surface of the material in the distinaction to an image raised out of the surface of a material
in the most of the preasure embossing opertaion machine the upper roll bloack are stationary while the bottom roll block are movable the preasure with which the bottom roll ois raised is referred to as the tonnage capacity.
Beaks:
Beaks are similar to ribs which inctrease the stiffenes of a bend or a flage the beak neesds to be centered on the bend it is placed on more ribs on the same bead offer more stiffness, it two or more ribs are placed on the same band they need to be symmetrically placed aroyund the center of the bands.
Learning outcomes;-
. Learned to create mountings and beaks.