Fender Design Challenge
Design of Fender
Objective
The main objective of this project is to learn the basic tools, commands, and Surface modeling of the Fender Design using Siemens NX CAD. The objectives of this project are as follows:
- To understand and learn the basic Graphical User Interface (GUI) of Siemens NX CAD
- To understand and learn the basic tools and command features of the Surface modeling and its application.
- To design a Fender using Surface modeling in Siemens NX CAD.
- To understand and learn about the industrial approach of sheet metal using Siemens NX CAD.
- To design the Casing using sheet metal features of the Siemens NX CAD.
Introduction
A fender is a piece of a vehicle, cycle, or some other vehicle Its fundamental job is to prevent sand, mud, rocks, liquids, and other road sprinkles from being thrown into the air by the turning tire. For a vehicle pushing ahead, the most noteworthy place of the tire is rotating toward the sky and progress and can throw objects into the air at various vehicles or walkers before the vehicle. In extra to fender various parts like internal mount, side, and cowl mounts that are joined with well nuts' help. They give satisfactory protection to the engine room portions and suspension, etc. In like manner, the fender keeps all the debris from the road from throwing into the air. Despite the fender, Fender skirts are given to give better protection.
Fender
Fender is the American English articulation for the piece of a vehicle, cruiser, or other vehicle body that traces a wheel well. Its essential job is to hinder sand, mud, rocks, liquids, and various roads shower from being thrown into the air by the turning tire. Fenders are customarily unbendable and can be hurt by contact with the road surface.
Crude materials, similar to mud, may adhere to the smooth outside tire surface, while smooth free articles, similar to stones, can end up being unexpectedly embedded in the track grooves as the tire turns over the ground. These materials can be jump-started out from an external perspective of the tire at fast as the tire gives engine energy to the joined things. For a vehicle pushing ahead, the most noteworthy place of the tire is turning upward and progress and can throw Objects into the air at various vehicles or individuals by walking before the vehicle. A fender is a front outer side individual from a vehicle, which covers the wheel side. It has such innumerable little features with great and terrible occasions.
Types of Fender Design:
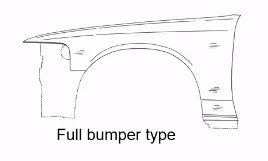
- The Full Fender type:
The full fender type is the standard sort of fender where more material use is observed. This sort is utilized in the old designs of vehicles where it manufactures the general weight and suitably lessens execution. The upkeep is besides modestly more because of more surface.
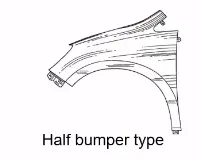
- The Half Fender type:
Half fender type is a forefront design where less material use is seen, so capability increments by decreasing the indisputable size and giving more presentation. The assistance in like way unassumingly low stood apart from the full guard type.
Manufacturing Process:
A vehicle Fender monitor is made by an interaction called reaction injection molding (RIM), which basically includes making a one-of-a-kind polyurethane compound and bringing it into an immense fender. RIM is a methodology that screens unrefined materials and lessens costs. It resembles injection molding beside thermosetting polymers are used, which requires a reestablishing reaction to occur inside the shape. Normal things made through RIM join vehicle monitors, air spoilers, and fenders.
Reaction Injection Molding (RIM):
Reaction Injection Molding is a low squeezing factor, the low-temperature measure used to frame various sorts of plastic parts. This procedure is conventionally used for clinical, mechanical, and auto ventures. Reaction Injection Molding (RIM) is habitually utilized for the molding of strong, lightweight parts that are easily painted. The unbendable materials used by Design Octaves go with a UL94V-0 rating for instability.
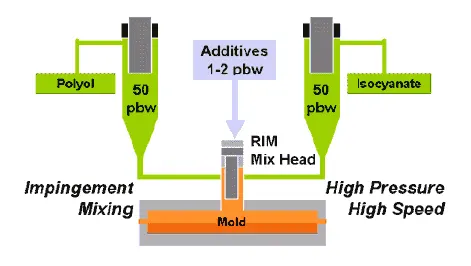
The RIM molding material utilized by Design Octaves is a two-section structure that includes polyol and isocyanate liquids that are mixed at a high squeezing factor and a while later metered into the shut gadget at a low squeezing factor. The material by then develops to fill the mechanical assembly and is shot out in around 5 minutes.
Procedure:
The RIM procedure begins with polymer liquids (polyol and isocyanate) set aside tanks that are over the long haul managed by high-pressure present-day siphons. The polymers are reused from the limit tanks to a multi-stream mix head and back to the limit tanks in a consistent circle. The reaction injection molding (RIM) measure utilizes low-consistency liquid polymers. These polymers expand and thicken through a variety of manufactured reactions. After the polymers have been imbued into the warmed structure they finally cement. Through the RIM design measure, unrefined materials and molding techniques can be picked and modified, pass on the ideal weight, strength, thickness, and hardness characteristics that you are searching for. The result is polyurethane abandons significantly lighter weight and more erratic designs than those made by regular injection molding.
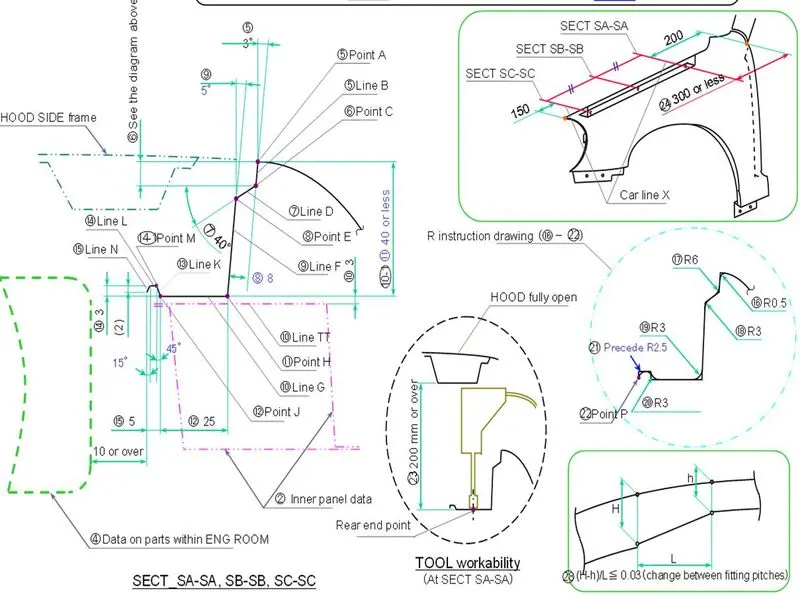
Master Sketch:
Design Methodology or approach:
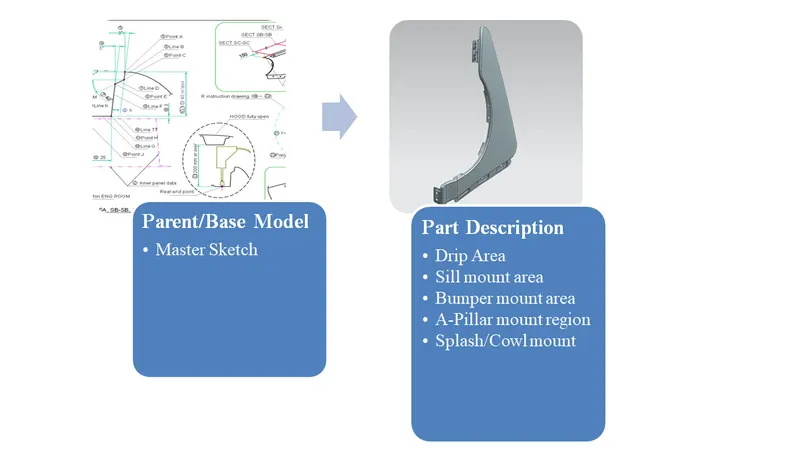
Parts Description
- Drip area:
Primarily, the fundamental design of a fender incorporates developing the spilling area as it is a huge mounting region and requires certain characteristics that should qualify a fender design. Accepting it isn't true to form design, the spilling area would be recognizable from the opening between the hood and the fender. The overabundance mountings are covered by various parts.
Procedure:
- By utilizing the data in the master section gave the dribble mounting was made.
- The dribble area should be at least 150mm separated from the front edge with the goal that the trickle mounting will not upset the headlight mountings.
- From in reverse, the dribbling area should be 200mm separated from the back edge to keep away from the fortuitous event with the motor links.
- For making the trickle area at the necessary distance two planes were made and then the intersection bend was utilized to make the bend on the surface as required.
- At that point, the excess undesirable parts were trimmed out.
- The design plays a fundamental job in keeping away from the natural eye seeing the vehicle's internal parts through the hole between the hood and fender.
- So the trickle area was made specifically point as needed in the master section.
- After making the law augmentation as needed by the master section the required embellish was made.
- For making emblazon a datum plane was created and the sketch attracted it was anticipated and the decorate include were applied.
- At that point for making the clasp openings, the trim sheet choices were utilized.
- At that point, the necessary mixes were made for improving the stylish of the fender.
- Since the dribbling area was longer with no help it builds the NVH while driving, so to diminish the NVH impact while driving the trickle area should be fortified.
- So to expand the solidness of the dribbling area a DART was delivered on its middle.
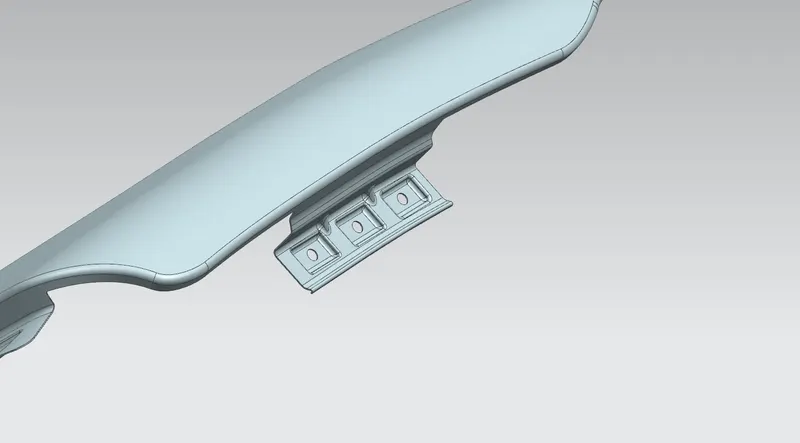
- Sill mount area:
An auto vehicle is essentially outfitted with wide openings for obliging doorways at the different sides of its body. Since the vehicle body encounters various kinds of distantly decided forces, for instance, vertical bends and longitudinal turns which act around the rotation of the vehicle body, a fundamental is that those sections of the vehicle body which include the entrance openings, especially the lower isolates, be outfitted with sufficient rigidity. This fundamental is generally met by using side edges which are only arranged at a lower right and a lower left piece of a vehicle body to connect the longitudinal method of the vehicle body. The side edges top in as working off people to ensure the vehicle body's inflexible idea around the doorway openings.
Procedure:
- For making the Sill Mounting the additional bits were trimmed out.
- At that point, the datum was made and the necessary sketch was drawn and then anticipated.
- At that point, emblazon was created and mixed the edges.
- The clasp openings were made by utilizing the trim surface element.
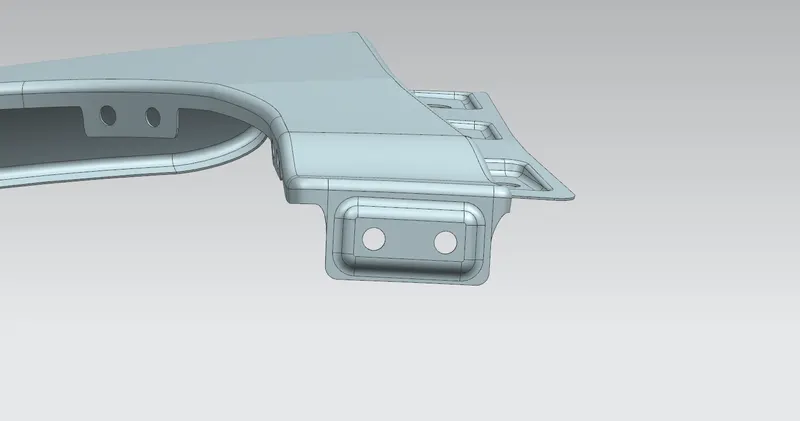
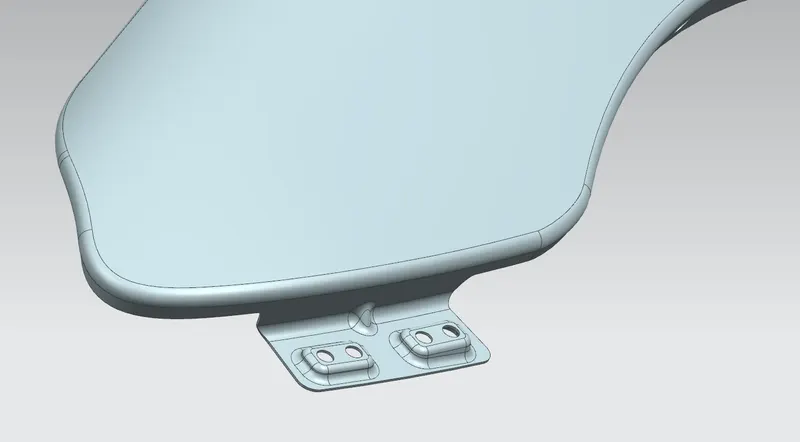
- Bumper mount area:
A guard is a construction appended to or incorporated with the front and backsides of a car, to ingest sway in a minor impact, in a perfect world limiting fix costs. Along these lines, the guard mounting area includes the excess piece of the fender that covers the sprinkle locale in that of a half fender type. Guards are progressively being designed to alleviate injury to people on foot struck via vehicles, for example, using guard covers made of adaptable materials. Front guards, particularly, have been brought down and made of gentler materials, like froths and crushable plastics, to diminish the seriousness of effect on legs.
Procedure:
- The undesirable bits were trimmed off utilizing Curve on surface and Trim surface command.
- At that point for making a level surfaced Emboss a datum plane was made.
- At that point, the necessary sketch drawn on the datum plane was projected to the surface and the required decorate was made.
- The openings were trimmed by utilizing a trim sheet after making emblazon.
- Embellish was made with a draft so it fulfills the assembling prerequisites.
- At last, the necessary mixes were applied.
- A-Pillar mount region:
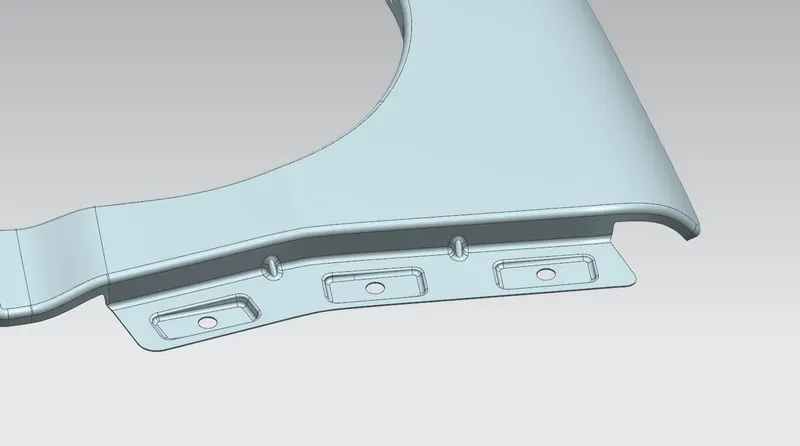
Pillars are vertical support on a vehicle. They have arranged around all the glass on a vehicle. They are critical for holding the glass set up and adding basic uprightness to a vehicle, primarily the housetop. The "A" pillar holds the windshield set up. "B" pillars head after the primary entrance. They by and large offer a critical fundamental framework for a vehicle's roof. As a general rule, they are bound to the body edge and wrap directly into the housetop. Dependent on the design, there may be different pieces joined to expand the reliability of the roof. They are moreover responsible for where an entrance's snare interfaces with the body. "C" pillars hold a vehicle's back window set up.
Procedure:
- To begin with, the skin information given by the styling group should be removed.
- At that point, the external edge of the fender was counterbalanced inwards to a specific length.
- At that point, by utilizing the bend on surface command the undesirable segments were trimmed out utilizing the trim sheet.
- By utilizing the law augmentation the A-Pillar was expanded and trimmed on the sides to get a level edge.
- For making a level emblazon which was utilized to mount the fender with the A-Pillar a datum plane was made.
- At that point, the necessary sketch was drawn on the datum plane and projected to the surface.
- At that point for making a clasp opening which should be around a 5mm hole around it, the trim surface command was utilized.
- At that point, the necessary mixes were added utilizing face mix and edge mix.
- Splash mount:
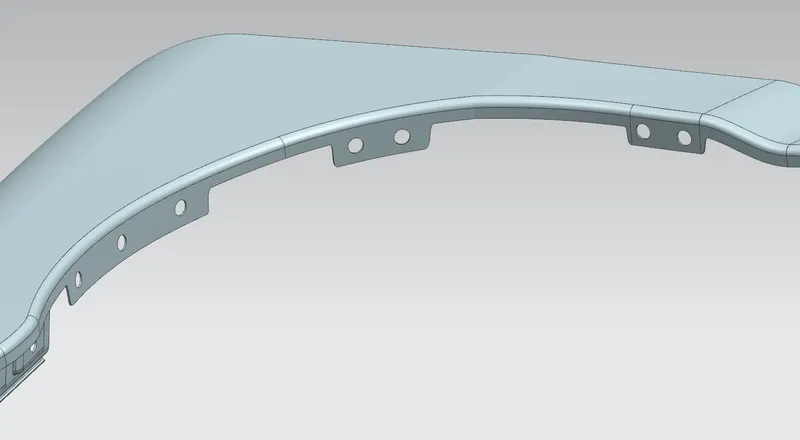
To stop all the debris going into the engine room and various sections like suspension joints and so on, a sprinkle defender mounting part is being set. The sprinkle mounting area requires just to hold the sprinkle defender mounting the openings/openings are being given in the design. For certain automobiles, notwithstanding the fender, fender skirts, and guards are submitted in solicitation to give better protection. The design isn't exceptionally connected with sprinkle mounting. Just to offer openings to the hooks set up.
Procedure:
- The cowl mounting was designed to fit a sprinkle mounting on it which helps the motor compartment to shield it from the flotsam and jetsam that going into it while driving.
- For making it three mounting areas were made with the necessary openings on it for the latches.
- For making the openings a datum plane was made on every one of the three mountings and projected onto the surface.
- By choosing the necessary vector and deselecting the 'project on both' side alternative the openings were made.
Fender Design Views
- Isometric View
- Front View
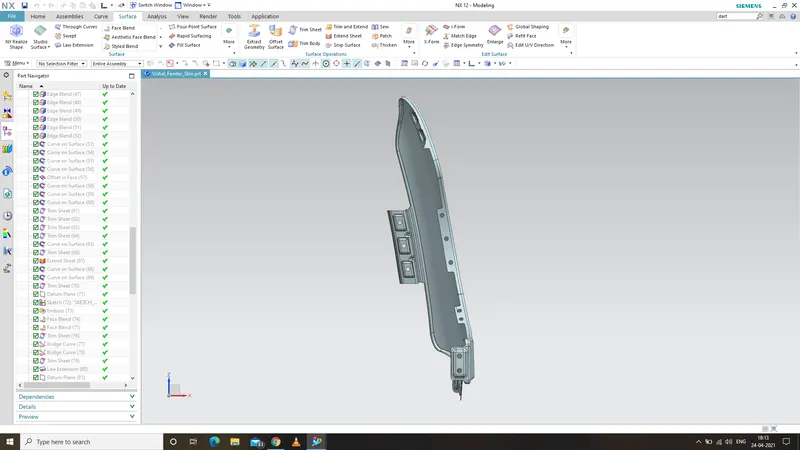
- Top View
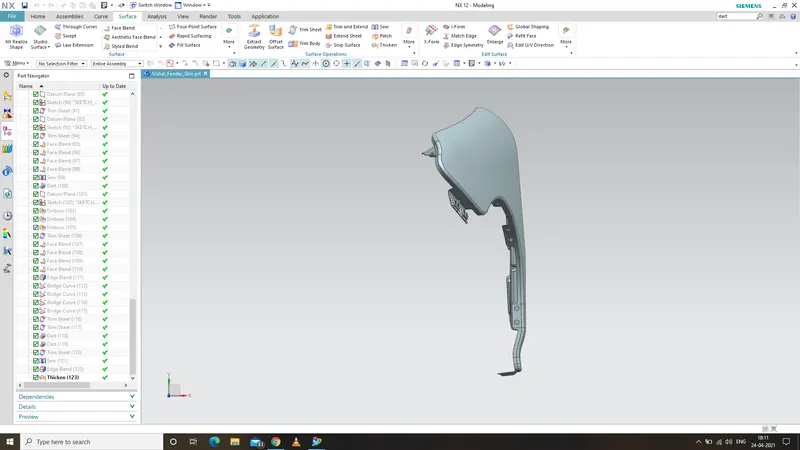
- Side View
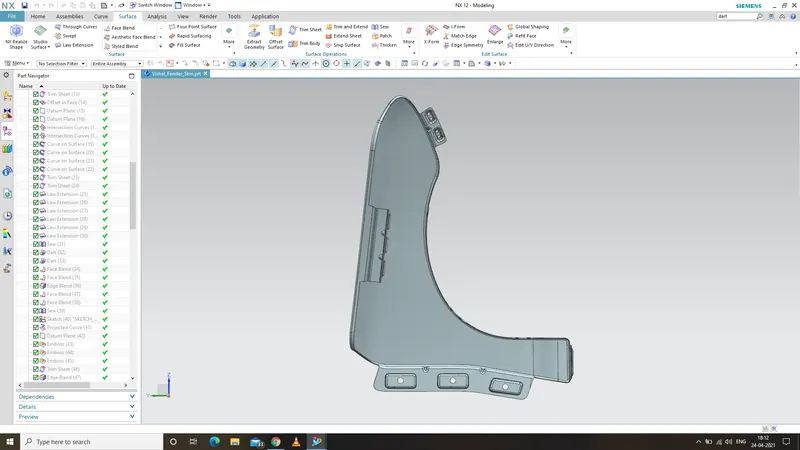
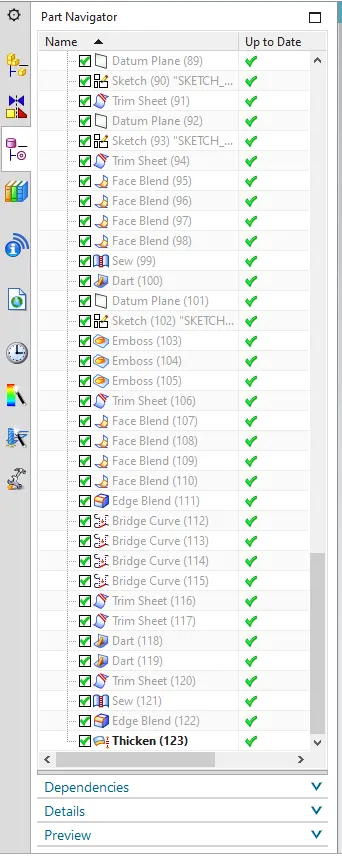
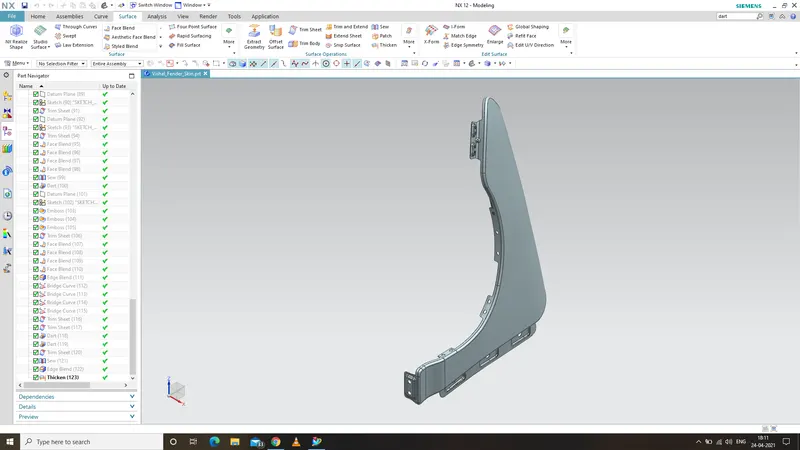
- Part Navigator 1
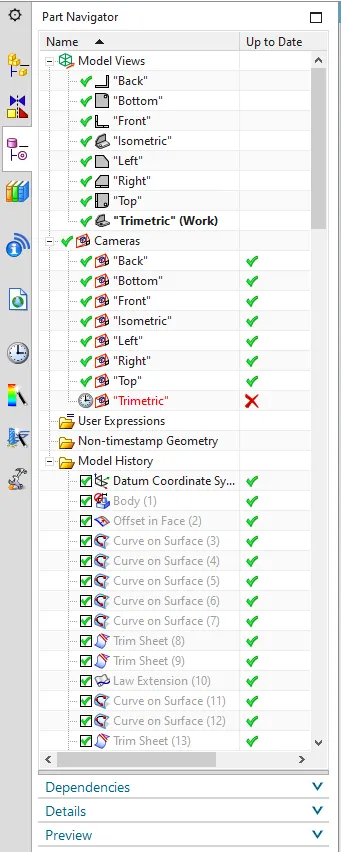
- Part Navigator 2
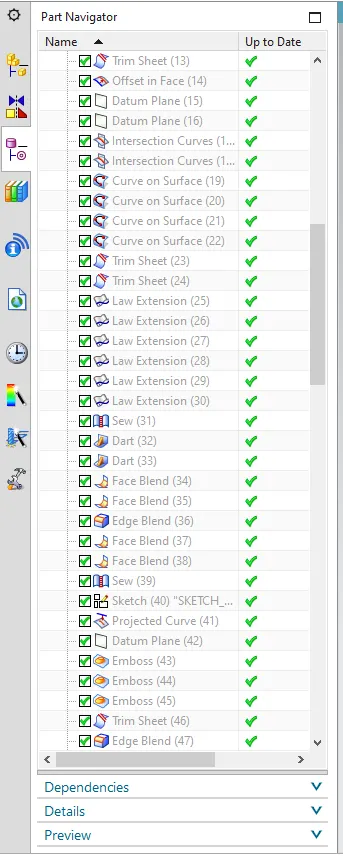
- Part Navigator 3
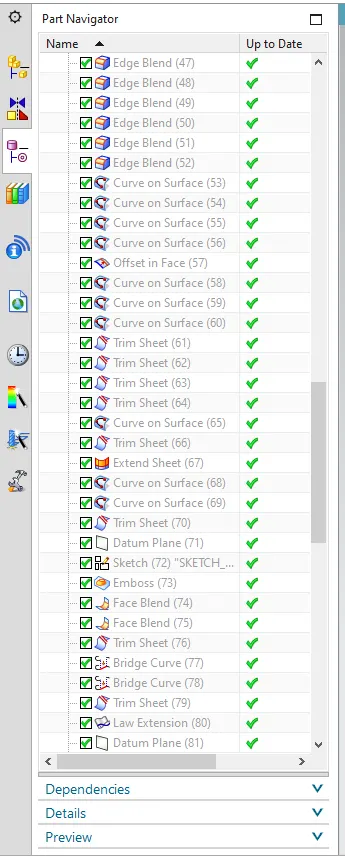
- Part Navigator 4
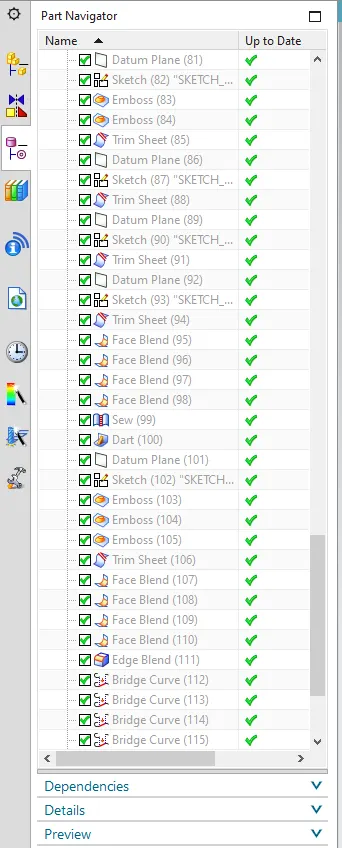
- Part Navigator 5