Fender Design
AIM:
To create an car's front fender in accordance with OEM design guidelines by referring to the master section that is provided.
INTRODUCTION:
The portion of an automobile, motorbike, or other vehicle body that surrounds a wheel well is referred to as a fender in American English. Its main goal is to stop the revolving tire from launching sand, gravel, dirt, liquids, and other types of road spray into the air. Usually rigid, fenders can sustain damage from contact with the road. As the tire rolls over the ground, slick substances like mud may stick to the smooth outside tire surface while loose, smooth things like stones may momentarily get stuck in the tread grooves. Since the tire gives the attached objects kinetic energy, these materials can be ejected from its surface at a rapid speed. When a car is driving forward, its top is rotating forward and upward, throwing things into the air in the direction of oncoming traffic or pedestrians. A car's fender is the exterior part that covers the wheel side. It offers a plethora of minor details with ups and downs.
Fender:
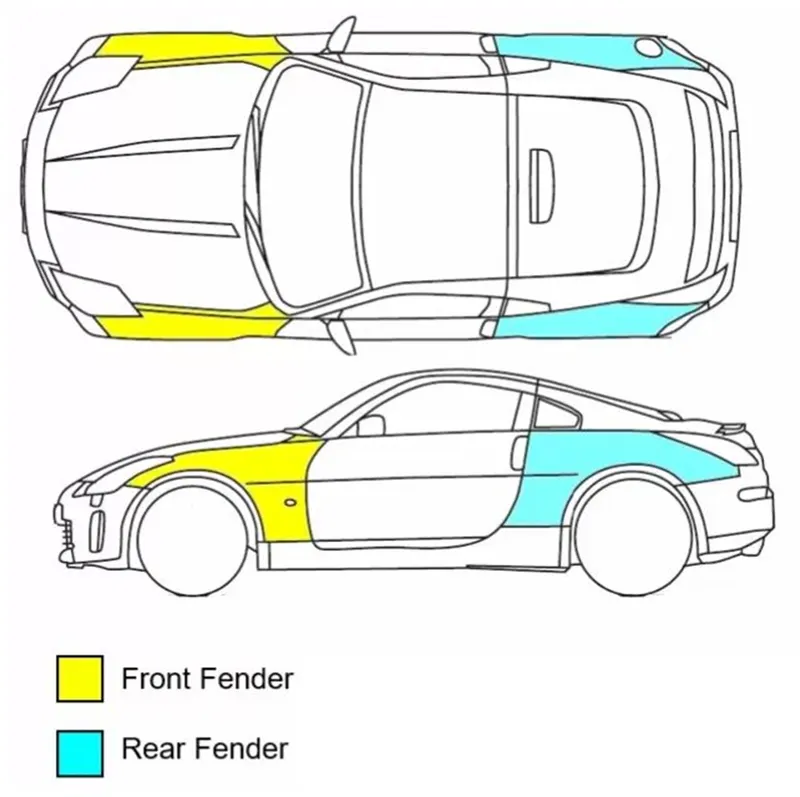
The area of an automobile that encloses the wheels is its aesthetic component. The primary function of the fenders is to keep sand, mud, and other road debris from being flung into the engine compartment and onto pedestrians by the rotating tires. The front fenders are separate components whereas the rear fenders are integrated with the body sides.
Types of Fenders:
- FULL BUMPER TYPE: Vehicle models from the past employed these kinds of fenders. By only covering the front lamps in relation to the bumper area, they significantly increase the steel weight. This type of fender has the drawback that there is a lot of waste in the blank and that the company must pay for every inch of material used.
- HALF BUMPER TYPE: These fenders are primarily used to reduce costs by taking out a sufficient amount of the steel wait, which helps to somewhat lower the vehicle's weight. They can be produced profitably; that is, two fenders can be made at once by slightly enlarging the blank size.
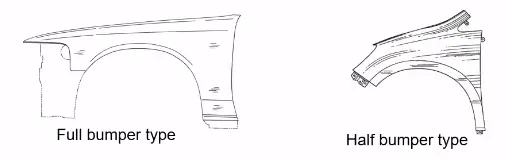
Production method These processes are primarily involved in the fender's manufacture:
1. Embossing
Embossing Using matching male and female roller dies and, presumably, no change in metal thickness, embossing is a metal forming technique that creates raised or sunken designs or relief in sheet material. Alternatively, sheet or a strip of metal can be passed between rollers of the appropriate pattern.
2. Bending
The technique of metal bending allows metal to be deformed when force is applied to it. This enables the metal to bend at an angle and take on the desired shape, which is frequently a "V" or a "U." This is accomplished by exerting force on a workpiece. The work piece may be subjected to mechanical, pneumatic, or hydraulic force.
3. Cutting and Blanking
Cutting procedures involve applying a shearing force strong enough to fail the material in order to separate a sheet of metal. In the steel production process known as "blanking," a coil of sheet metal is fed into a press and die, where it is punched out of the huge metal sheet to create a flat, geometric shape.
MOUNTING REGIONS ON FENDER:
There are 5 mounting regions on the fender. The figure is given below,
- A- pillar mounting
- Baffle mounting
- Sill mounting
- Bumper mounting
- Drip mounting
Drip area Mount :
It's the crucial mounting component for the fender. There are numerous design restrictions that must be adhered to while constructing the fender because it is related to the engine compartment.
It is necessary to initially leave 200–300 mm for the cowl top when designing the drip area. When creating the fender, we must leave a minimum of 150 mm at the front for the headlamp. Less than 40 mm should be the maximum height at which the drip area mounting is installed in order to minimize the spring back effect during manufacturing and NVH problems during vehicle movement.
Locator pin holes and mounting screw holes with a 5mm diameter are made for mounting guidance. The wiper motor and associated instruments are housed in the cowl top section. To give the part stiffness and strength, two darts are inserted on the longer side of the drip region. This lessens the fender's vibration and its impact on external forces when the car is moving. To strengthen the mounting during attaching, embossing is supplied.
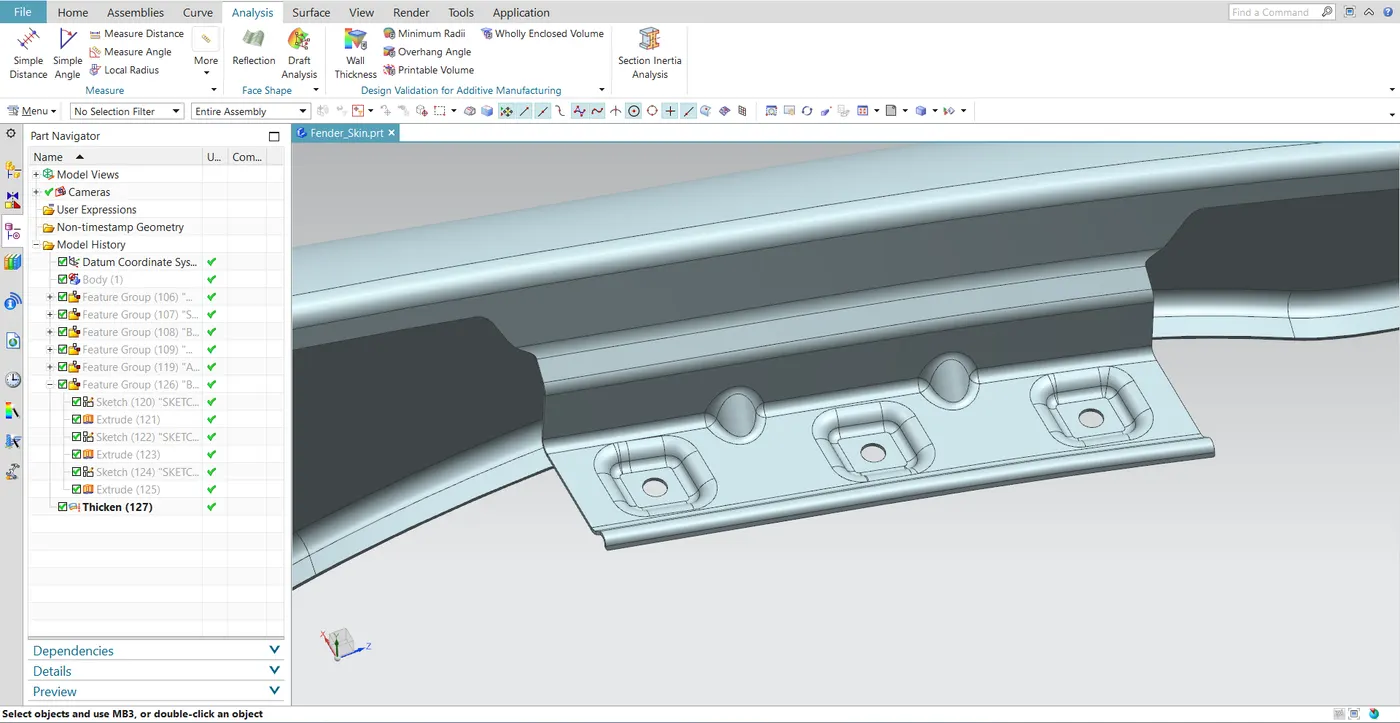
Sill area Mount :
The sill, which can be used to unite the floor and the body, is the panel that supports the floor just below the bottom of the door. The sill mounting position is constructed with holes and an embossment because the bottom end of the fender is fastened on the sill body to reinforce the fender panel. The fenders on the sill body are fastened with M5 bolts.
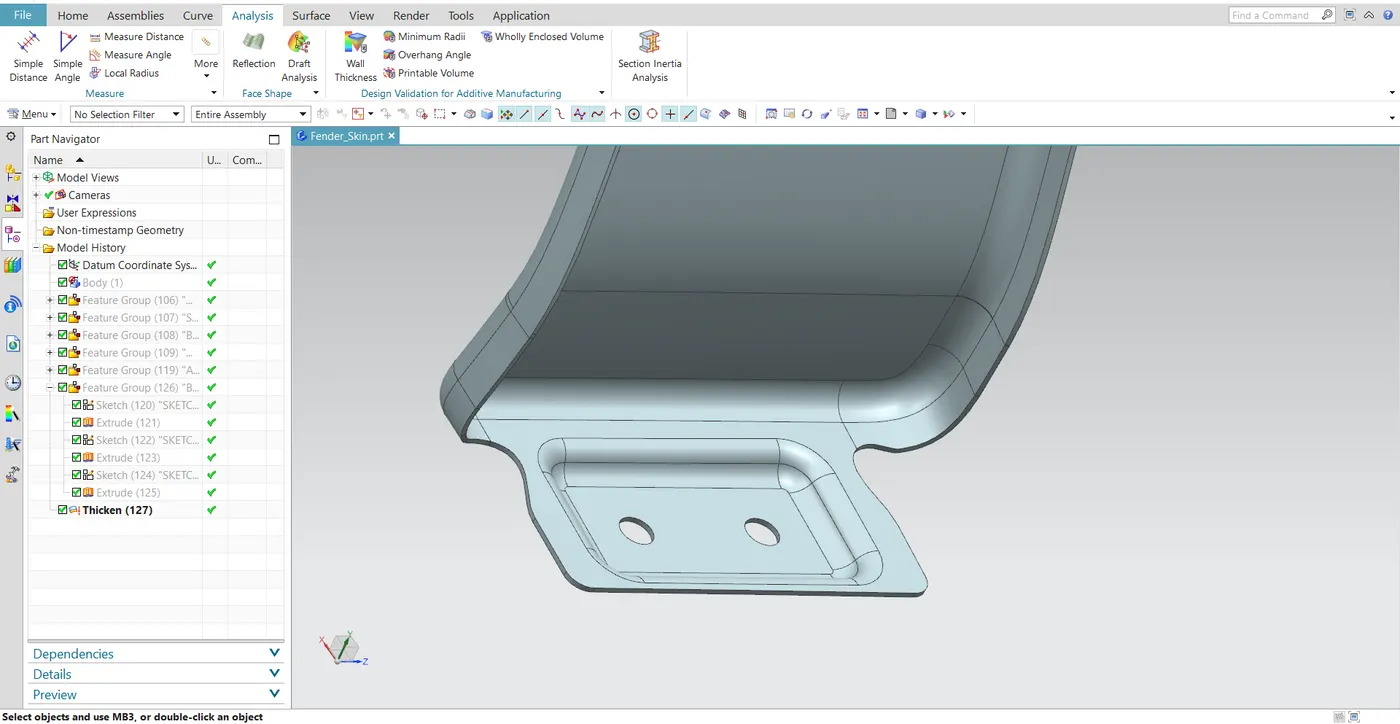
Bumper Mount
Using fasteners, the plastic bumper is attached to the fender using the bumper mounting area.
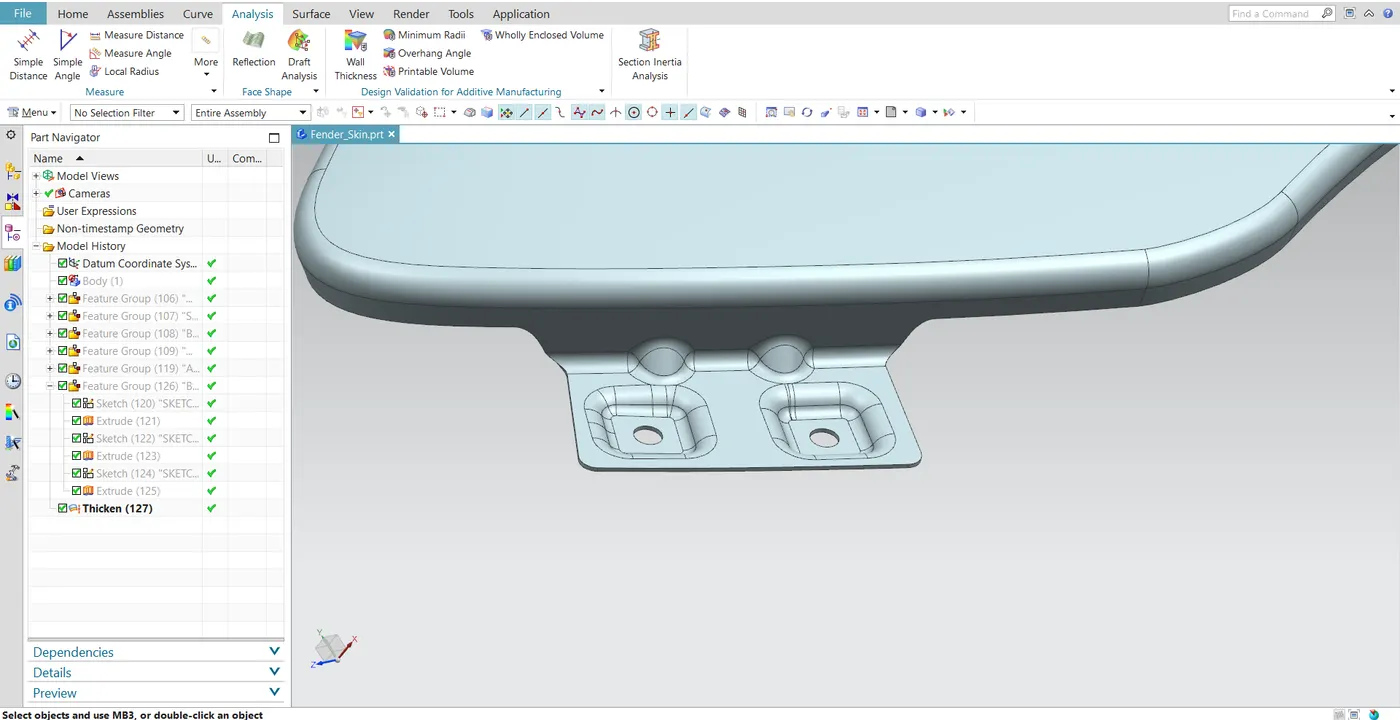
A-Pillar Mount:
The structural pillar that joins the body to the roof is known as the A-pillar. this causes the windshield's sides to rest. The front fenders are attached to the A-pillar to provide a sturdy framework.
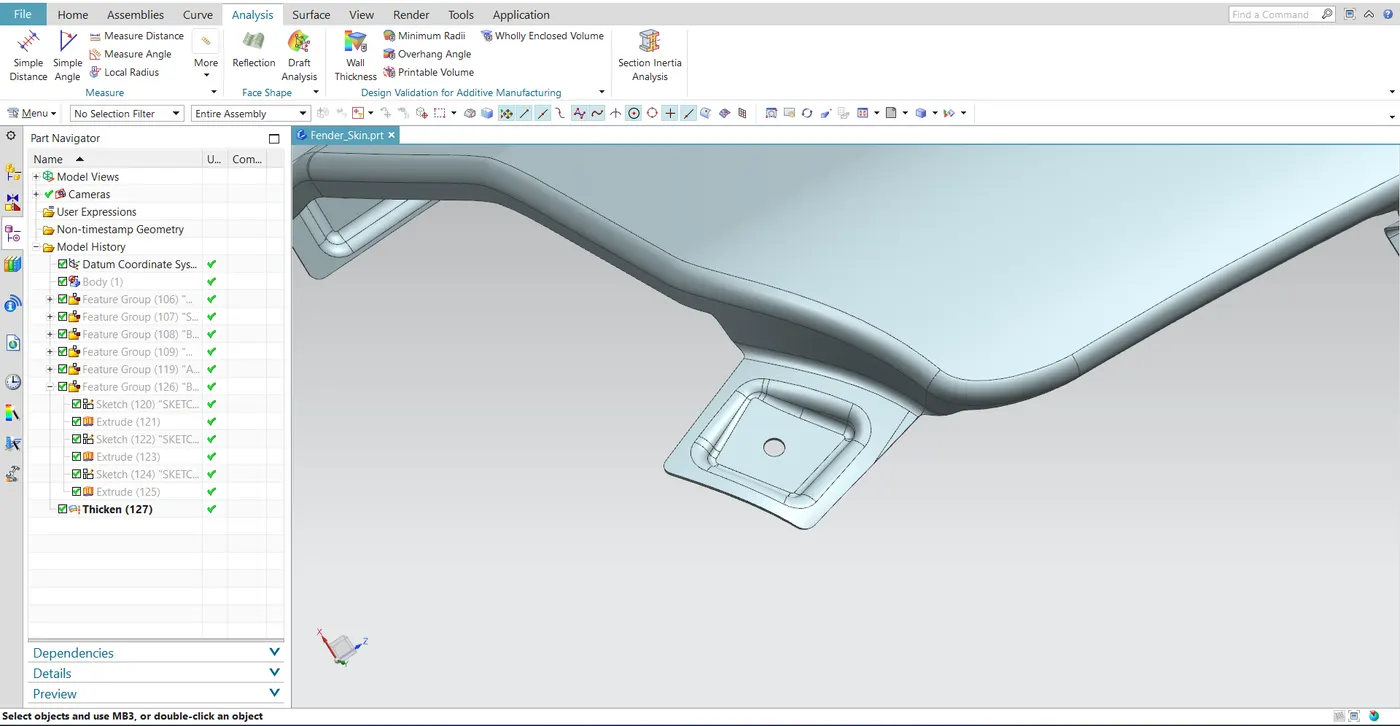
Baffle Mount:
Mudguards or baffle mountings are clip-fit mountings that cover the tire on the inside of the fender arch. When the automobile is moving, it shields the engine compartment and prevents pedestrians from getting hurt by broken glass on the road. They are attached to the fender with a unique kind of locking clip that is composed of plastic.
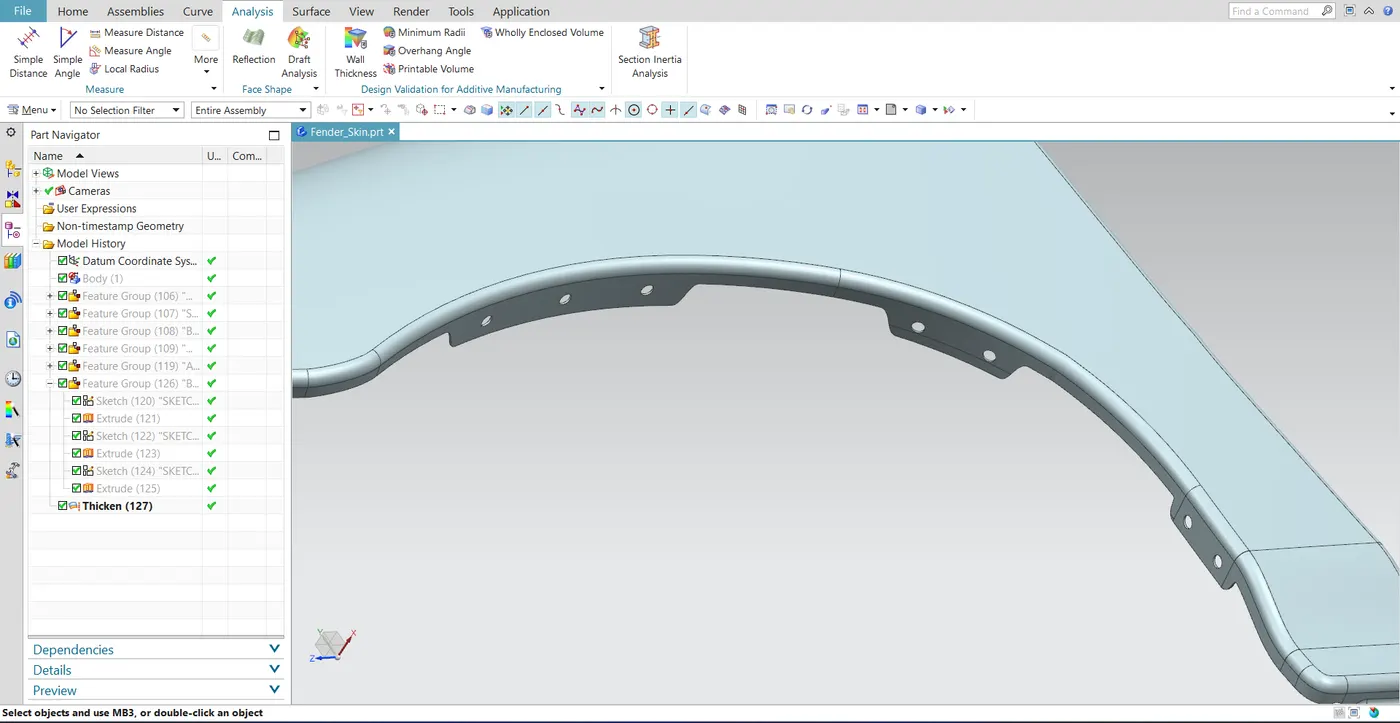
SURFACE APPLICATION OF THICKNESS:
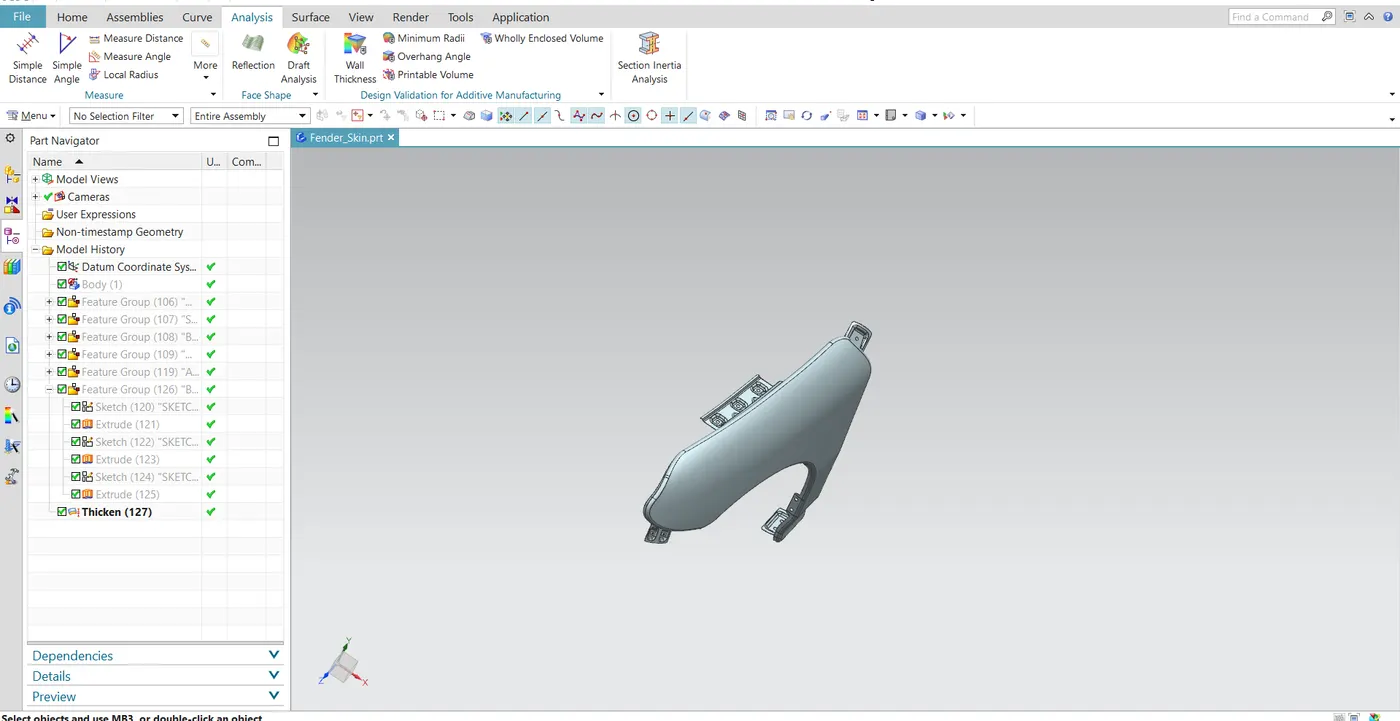
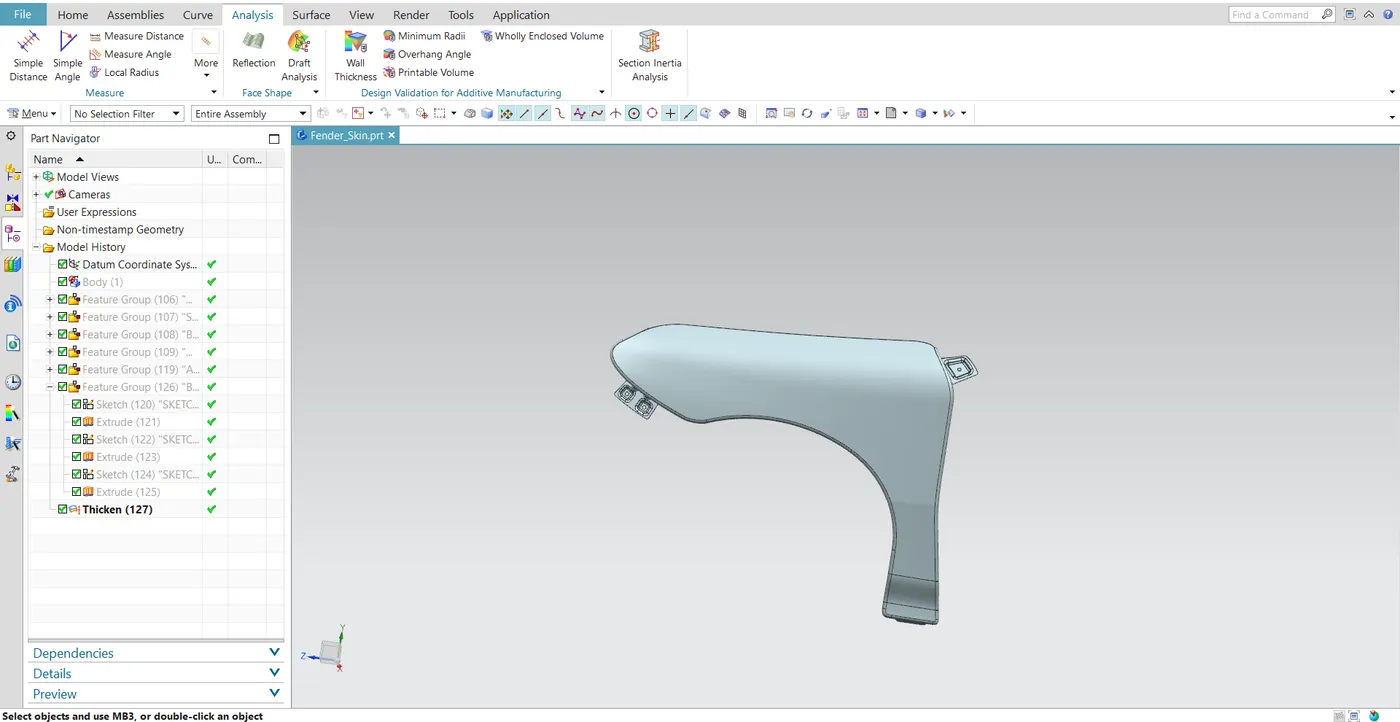
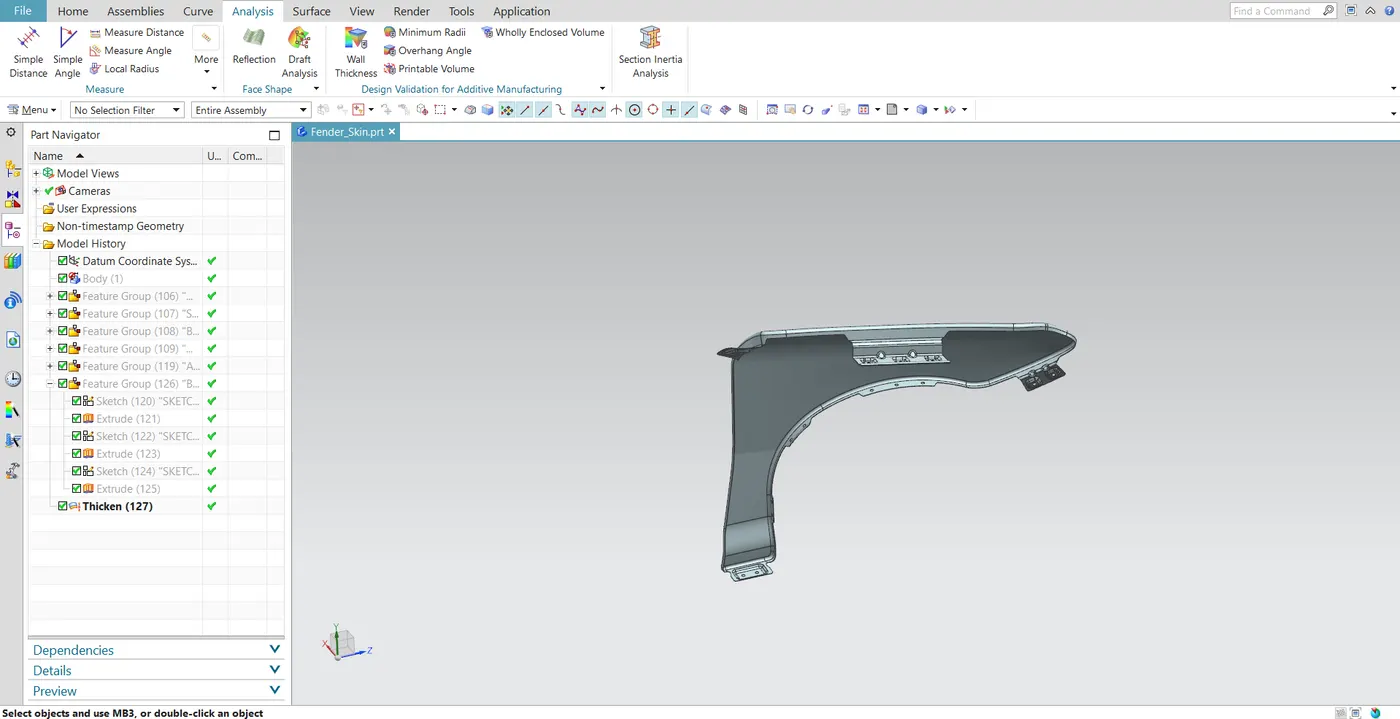
The final stitched surface of the fender has an internal thickness of 0.75 mm according to the sheet metal specifications. Different views of the Fender are given below.