Fender Design
'Fender Design'
'Automotive sheet metal/Biw design using Siemens NX Cad'
Introduction:
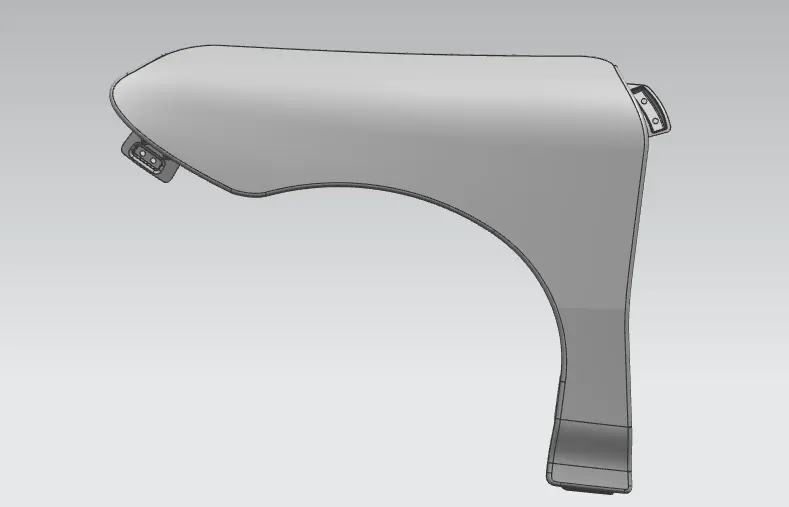
Fender is the term for the part of an automobile,motorcycle or other vehicle body that frames a wheel and is also an aesthetic component of vehicle .Its primary purpose is to prevent sand, mud, rocks, liquids, and other road spray from being thrown into the air by the rotating tire. The front fenders are separate components whereas rear fenders are integrated with body sides.
TYPES OF FENDERS
1. FULL BUMPER : These types of fenders were seen in earlier model of cars . They had a major contribution for increase in weight by just covering the front headlights with respect to the bumper . The problem associated with this kind of fender is there is a lot of wastage in the blankiing of sheet metal and thus it increase cost to manufacturers.
2. HALF BUMPER : In these types of the fender it covers lesser area as compared to the full bumper type. The fender will be limited to the back side of headlight. Most of modern day vehicles follow this design. It also contributes towards cost-cutting along with reduction of body weight .Therefore slightly increasing the blank size, we can also produce two fenders at a time.
There are different Mounting Regions of the fender such as :
- A- pillar mounting
- Baffle mounting
- Sill mounting
- Bumper mounting
- Drip Area mounting
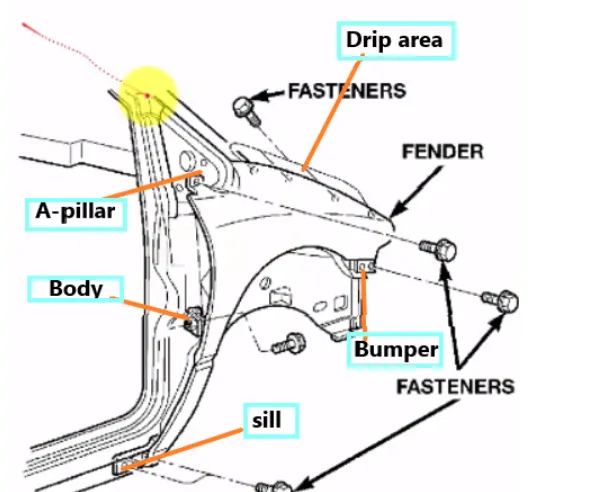
Even some fenders will have indicator lights attached on it but these are seen on cheaper cars high end cars will have it installed on ORVM(Outside rear view mirror)
Design Methodology:
1) A- pillar mounting: The structure of an automobile body is just the same as that of a house. It has similar components, including the roof, pillars, and floor. The car pillar in the vehicle stands in the near-vertical position, which supports the vehicle’s roof. However, the A-pillar and the D
pillar stand Inclined in some vehicles for aerodynamic reasons. A pillars are located on either side of a car’s front window (or windshield).They
also hold the hinges of the front doors. A-pillars are normally made of steel alloys. Besides being a supporting member, A-pillars are very crucial as far as safety is concerned. A-pillars usually carry a significant amount of load during a frontal collision or a rollover crash.
Front fenders are fastened to the A -pillar to form a robust structure.
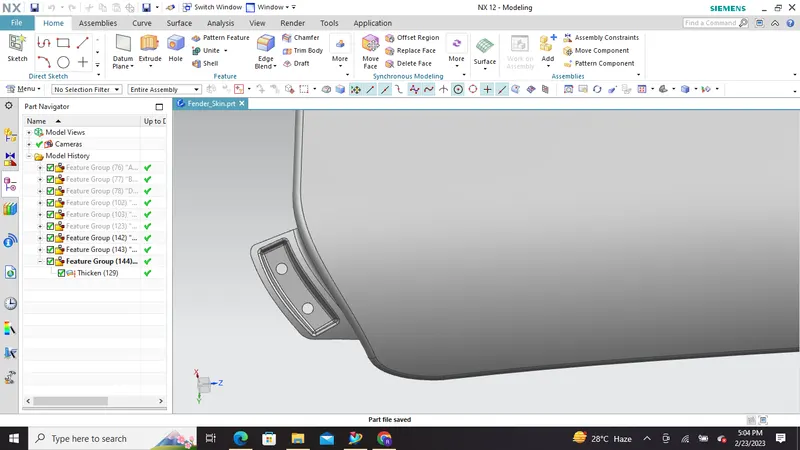
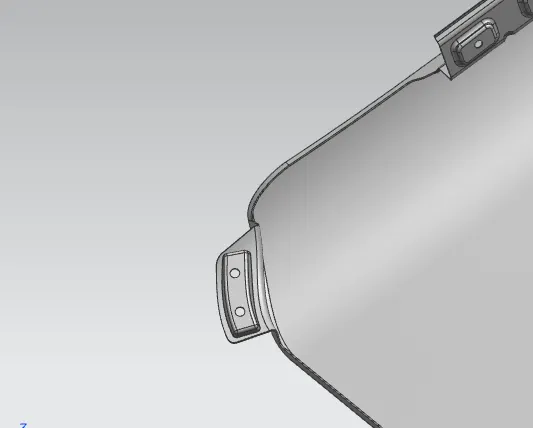
2) Baffle mounting : Baffle mounting are rubber pads attached with clip fit type of mounting on the inner side of the fender arch over the Tyre they are mounted by special locking clips made from plastics. Adding a baffle may increase the cost but it reduces 'NVH' thereby providing a quality ride .
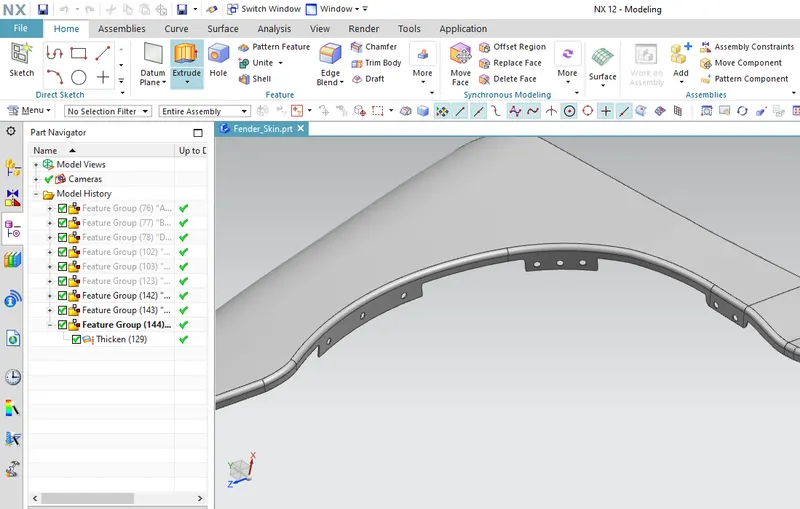
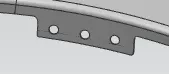
3) Sill mounting : Sill is the panel attached below the bottom of the door supporting the floor. The bottom end of the fender is mounted on the sill body for reinforcement of the fender panel , thus the sill mounting position is designed with holes and embossed area .
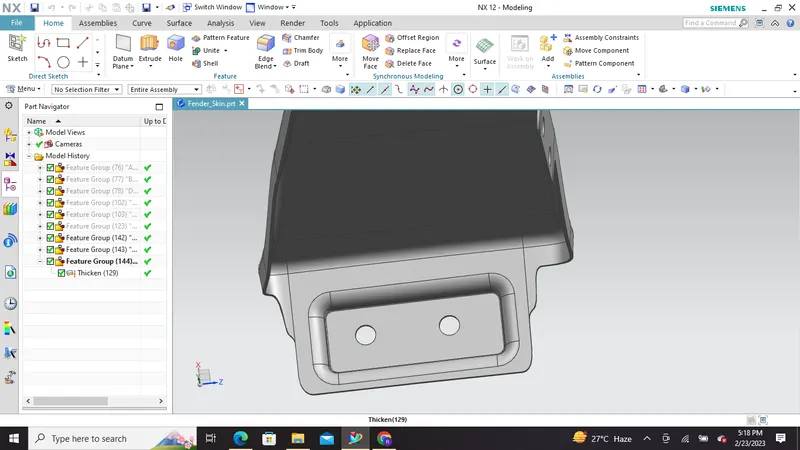
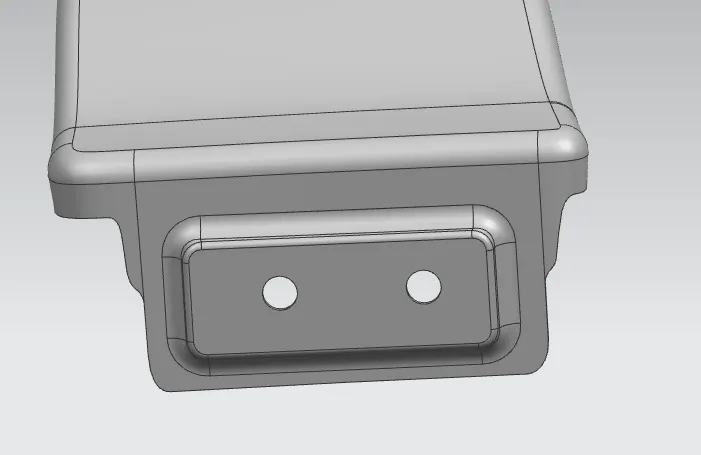
4) Bumper mounting: A bumper is a structure which is attached to front and rear ends of a four wheeler to absorb small impacts during collison but with time many sensors , body parts such as lights and aesthetic surfaces such as grills are also attached to it making it better in looks and loaded with features. Bumper mounting area is used to fix the plastic bumper to the fender with the help of the fasteners
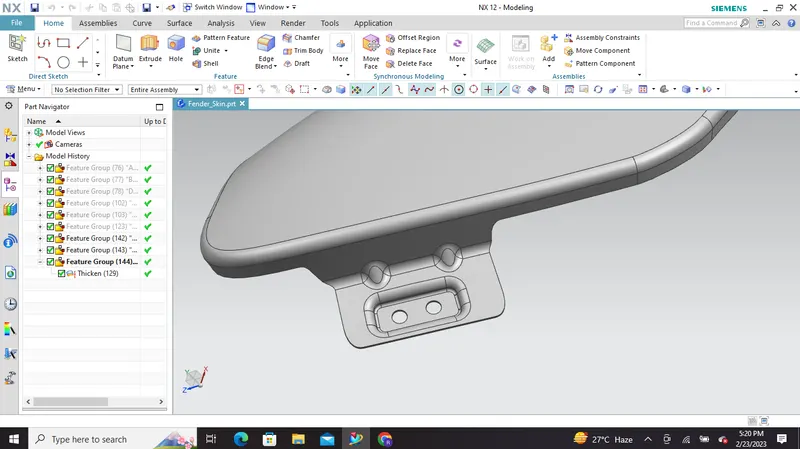
Darts or ribs are provided for increasing the strength of that area
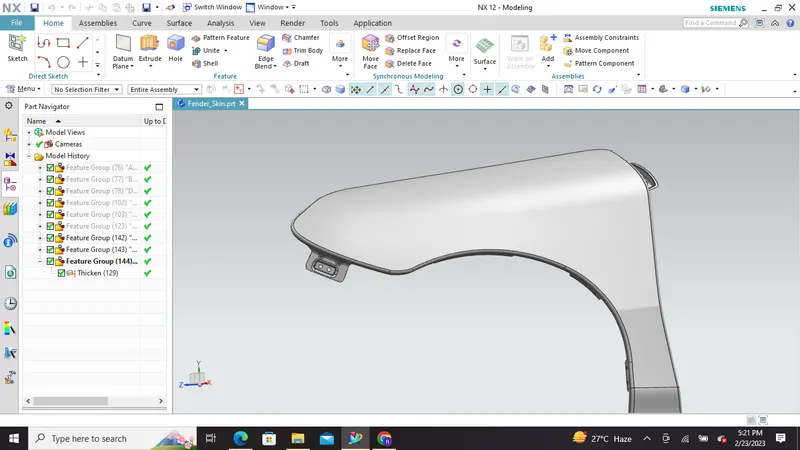
5) Drip Area mounting : It is the important mounting unit of the fender as it is connected with the engine compartment therefore a lot of design constraints are to be followed while designing the fender
- While designing the drip area we have to initially leave 200mm for cowl top
- Whereas for mounting the headlamp we have to leave at least 150 mm at the front while designing the fender
Master section for the Drip Area Design
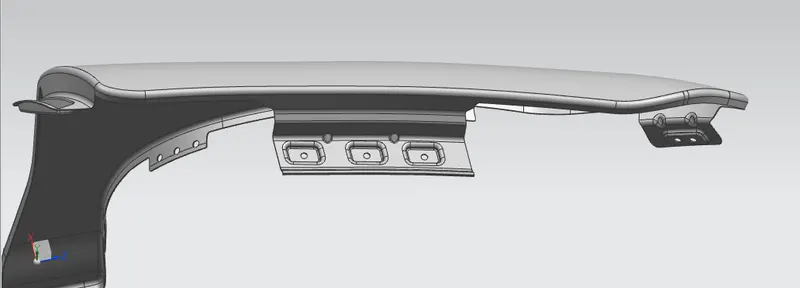
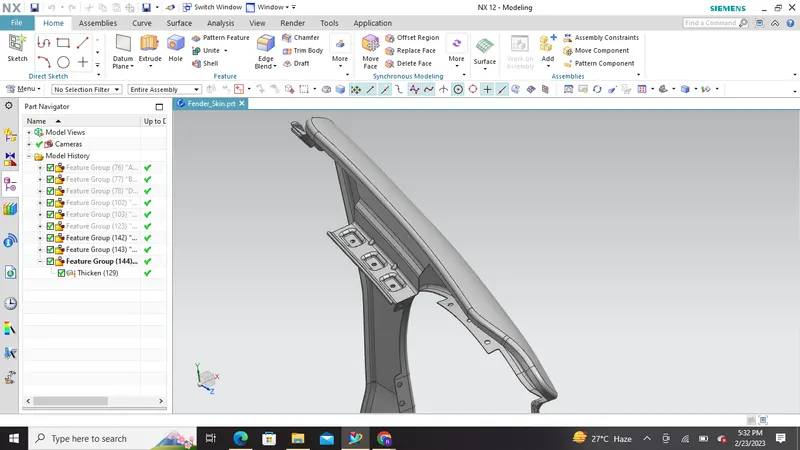
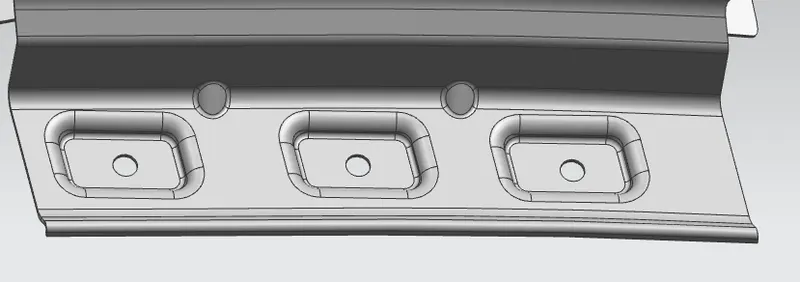
Two darts are added on the longer side of the drip area in order to provide the stiffness and adds strength to the part . This helps the fender to not to vibrate and impact the forces outside of the fender during motion of the vehicle.
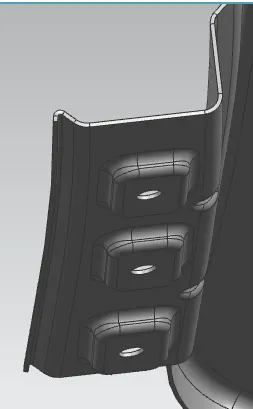
Embossing are provided on the mounting to strengthen them during fastening.
Some of the important design parameters while designing in CAD
In sketches the holes must have a flat surface clearance of 5mm and all the sketches in respect to emboss must be fully constrained
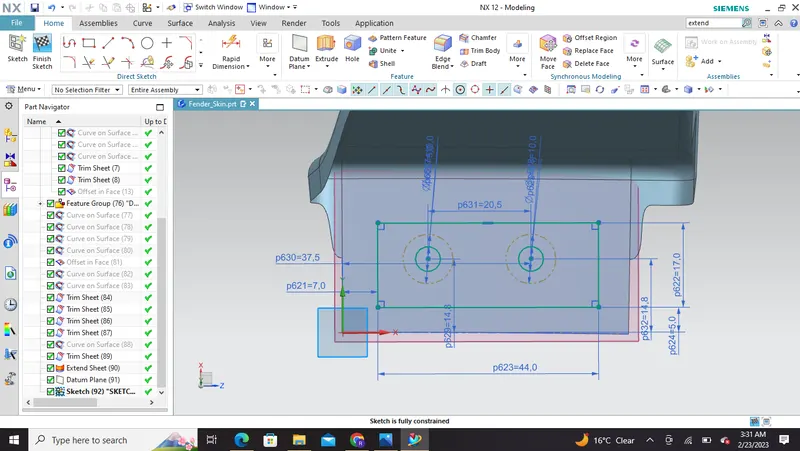
Fully constrained sketch with hole having flat surface and clearance of 5mm
Some of the important tools and commands used while design in NX cad are:
- Datum plane: Create a new plane that is used to construct other features.
- Offset curve in face: Offset curve along the face on which they lie.
- Curve length: Extends or shortens a curve by a length on each end or to a total curve length.
- Curve on surface: Creates surface spline feature directly on a face.
- Intersection curve: Creates intersection curves between two sets of objects.
- Trim sheet: Trims off a portion of sheet body.
- Law extension: Creates a law-controlled extension from a base sheet, dynamically or based on laws for distance and angle.
- Bridge curve: creates a tangent blend curve between two objects.
- Emboss: Modifies a body with faces made by projection a section along the vector, with options for end cap location and shape.
- Dart: Add a dart feature along the intersection curve of two sets of faces.
- Sew: Combines sheet bodies by sewing common edges together, or combines solid bodies by sewing common faces.
- Thicken: Creates a solid body by adding thickness to a set of faces.
- Edge Blends :It rounds sharp edges between faces .The radius can be constant or variable
- Face Blends: Adds tangent blend faces between selected sets of faces. The blend shape can be circular,conic, or law controlled
Thickness Requirement for this fender is : 0.75mm
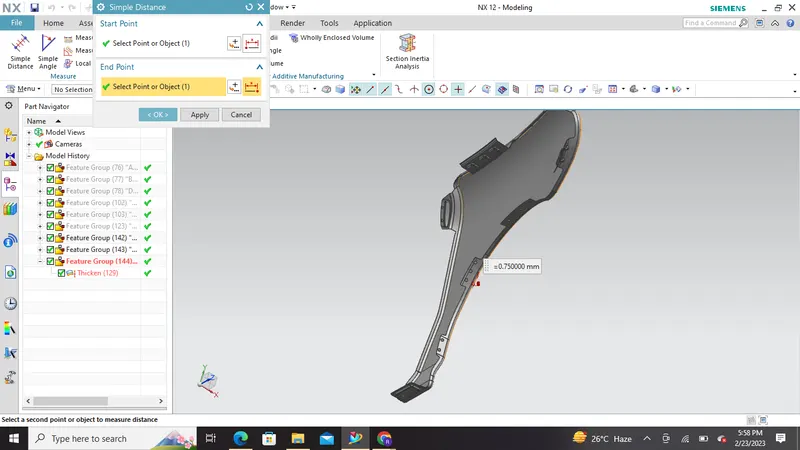
Thickened sheet metal component with 0.75mm of thickness
Tree structure:
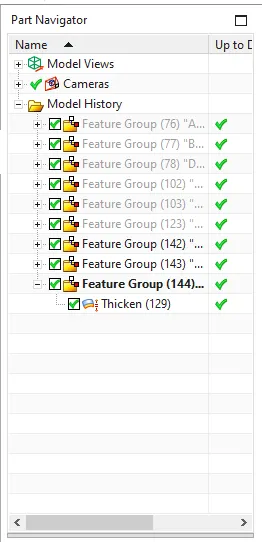
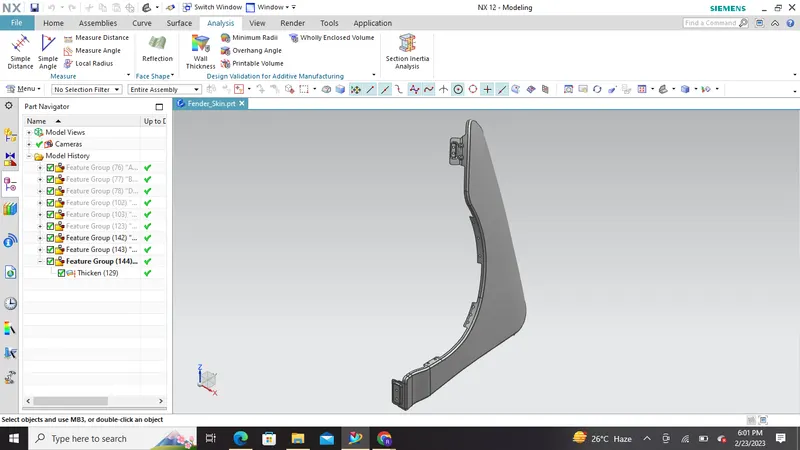
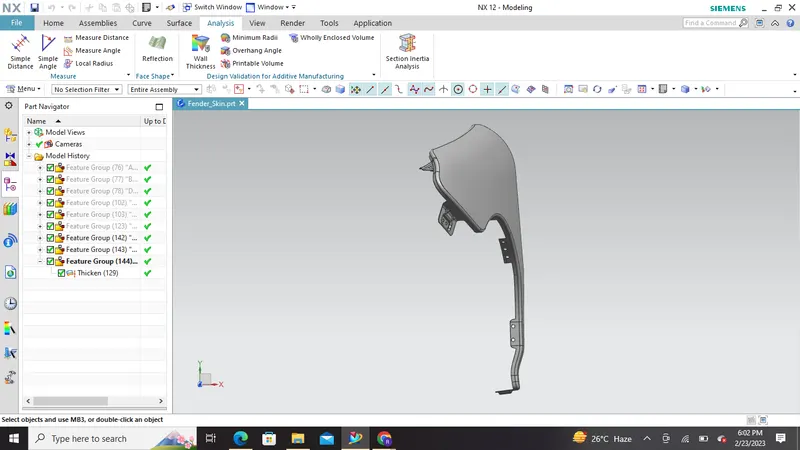
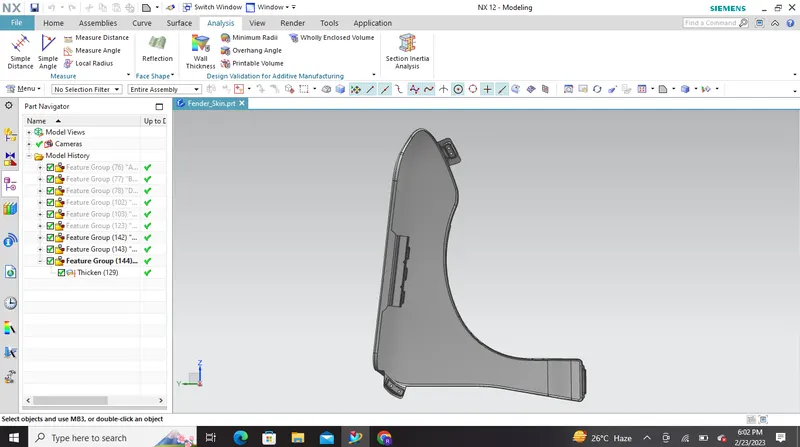
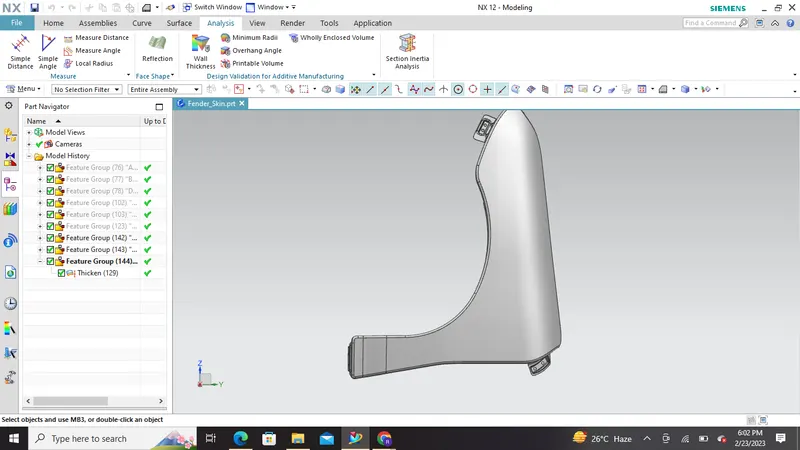
Different views of the component:
1) Isometric view:
2) Top View
3) SIde view
Left view
Right view
4) Back view
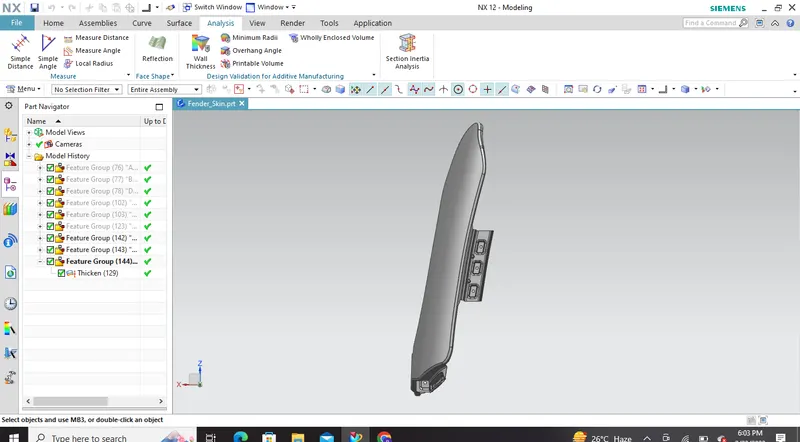
5) Bottom view
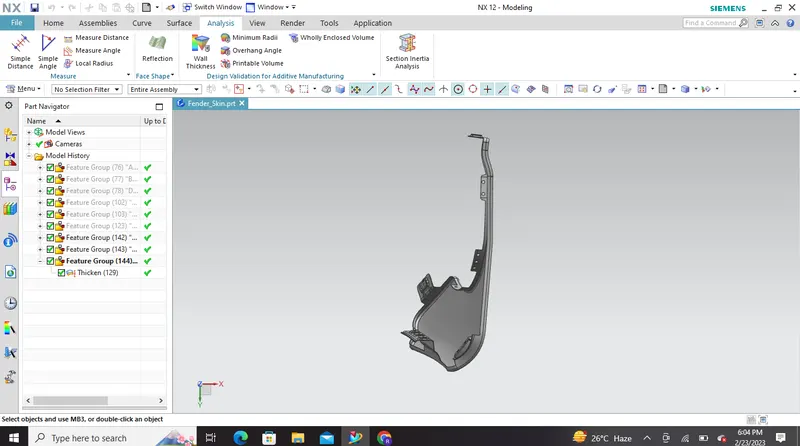
6) Front View
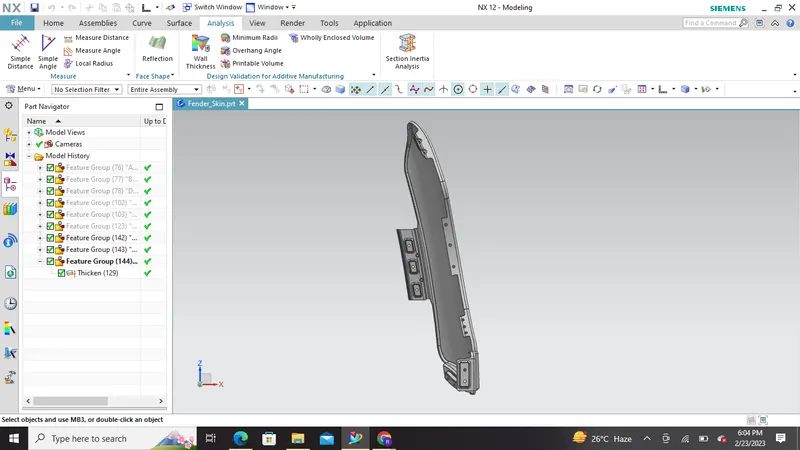
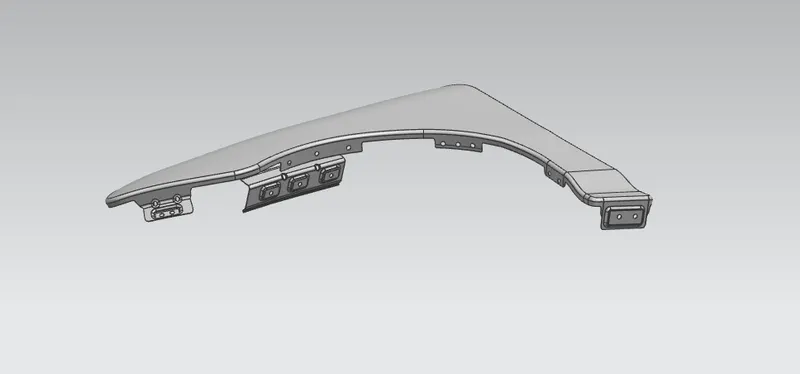
Final Component:
Thank You!