Fender Design
Fender Design
- AIM: To Design the Fender mountings of the automotive car using the master section and OEM's design standards.
What is Fender?
- Fender is basically one of the components of vehicles.
- Its function is to frame the wheel and prevent sand, stone mud, liquid, and other things from being thrown inside while rotating the tires.
- Sticky materials, such as mud, may adhere to the smooth outer tire surface, while smooth loose objects, such as stones, can become temporarily embedded in the tread grooves as the tire rolls over the ground.
- These materials can be ejected from the surface of the tire at high velocity as the tire imparts kinetic energy to the attached objects.
- For a vehicle moving forward, the top of the tire is rotating upward and forward and can throw objects into the air at other vehicles or pedestrians in front of the vehicle.
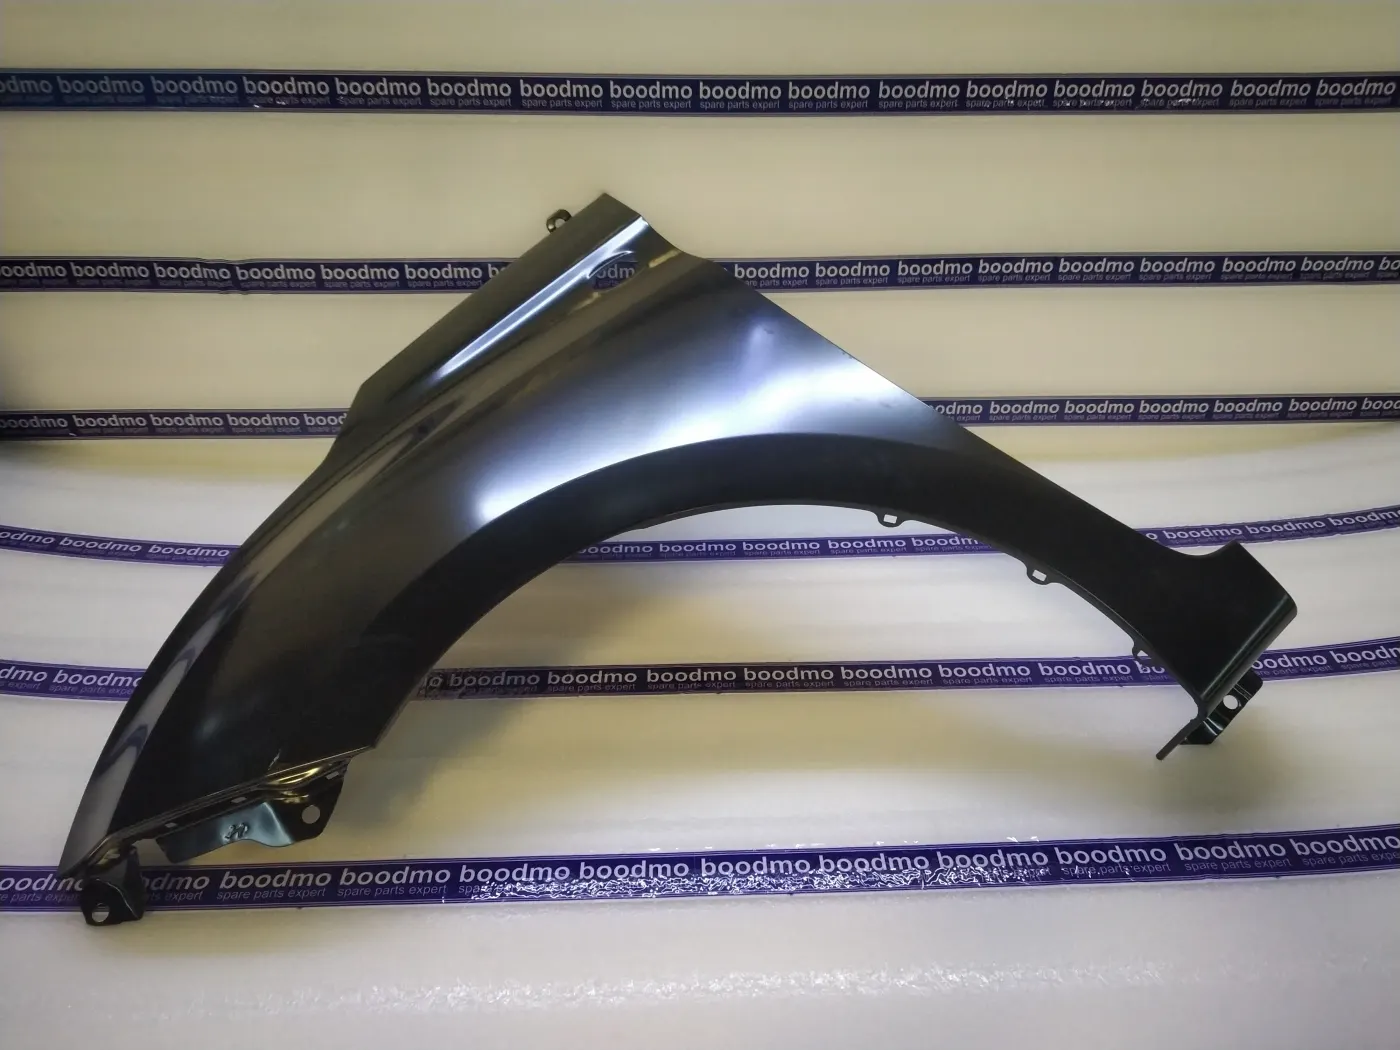
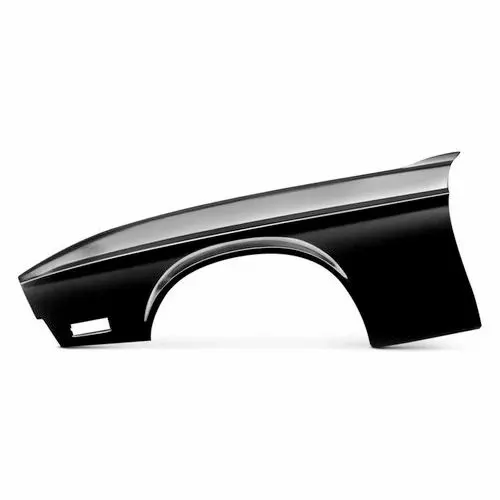
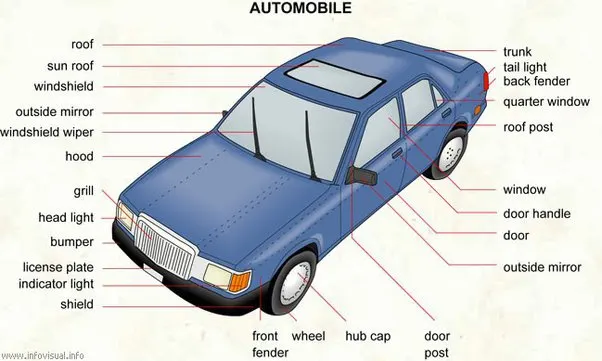
TYPES OF FENDERS:
- Full Bumper type
- Half Bumper types
MOUNTING AREAS:
- Bumper
- Drip
- A-Pillar
- Sill
- Cowl
- To create mounting for different areas, we have to follow the design consideration which can be shown in the above Master Section (Refer to the given above pic).
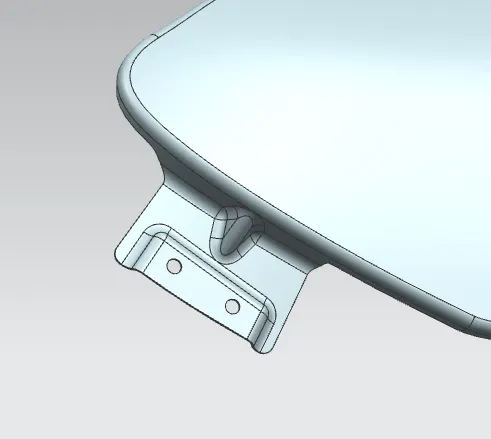
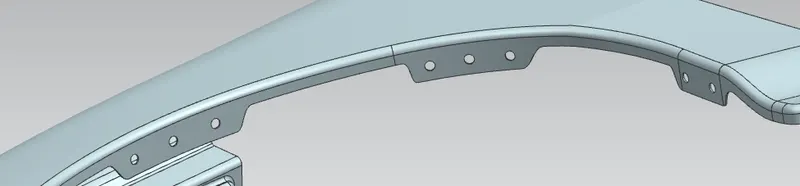
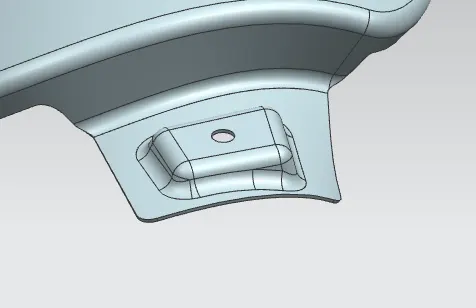
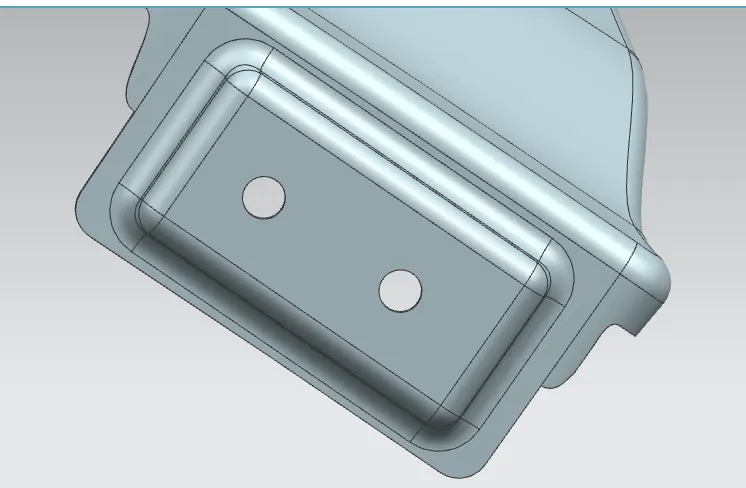
- STEPS FOLLOWED TO CREATE THE MOUNTING AREAS:
- Creating the mounting area, we have to decide the location in the fender.
- After deciding the location, we have to create curve boundaries.
- Then we have to trim with curve boundaries to get an area for creating a flange for mounting areas.
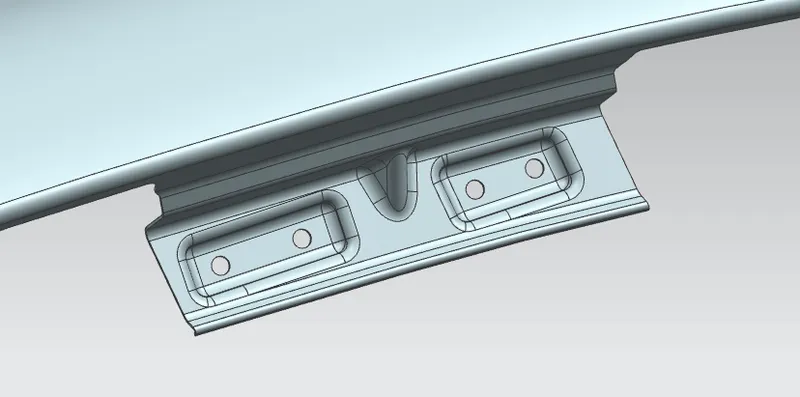
- To create a flange, we will use the law extension command in NX CAD software and with proper dimensioning, we will create the flange for mounting areas.
- After creating the flange, we have to provide Dart on the surface to provide strength to the flange.
- For giving the Dart on the surface, we have to first sew two surfaces.
- After sewing the surface, we have to search dart in the search command in NX CAD software.
- As input, we have to input the two faces and provide dimensions.
- In this way, the dart will be created and after creating the dart we have to provide a blend on the surfaces and dart also.
- Next, we have to design the embosses.
- After designing the embossed, we have to eliminate the sharp corner.
- Thicken the fender to 0.75mm.
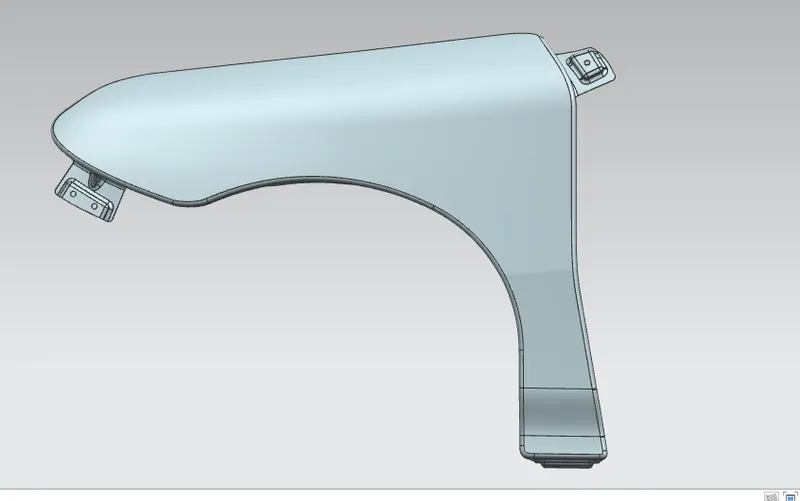
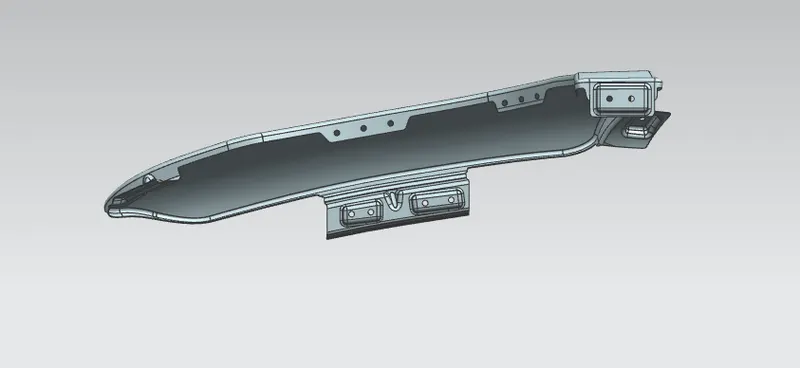
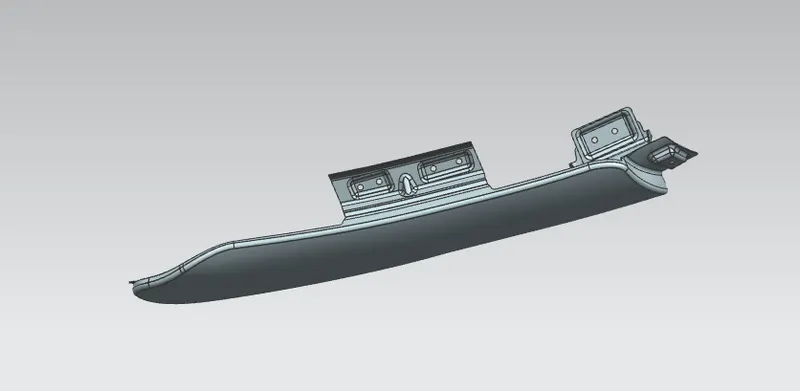
So, following the above steps I created the mounting areas.
-
Designing the Drip Area:
2. Create the Bumper Area:
3. Create the Baffle Area:
4. Create the A-pillar Area:
5. Create the Sill Area:
- FENDER DESIGNED:
- Reference is taken from:
- Skill-Lync