Fender Design
FENDER DESIGN
OBJECTIVE:
Create a model of a fender with the required mounting.
THEORY:
The component of a car or other type of vehicle's body that frames a wheel well is referred to as a fender in American English. Its main objective is to stop the revolving tyre from launching debris including sand, dirt, gravel, liquids, and other road spray into the air. Since fenders are usually inflexible, contact with the road might harm them. A car's fender is the portion that shields and frames the wheels while also preventing mud splashes.
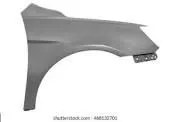
Image 1: Car Fender.
TYPES OF FENDER
- Full Bumper.
- Half Bumper.
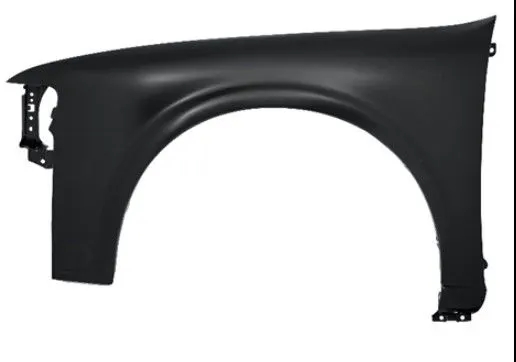
Image 2: Full Bumper.
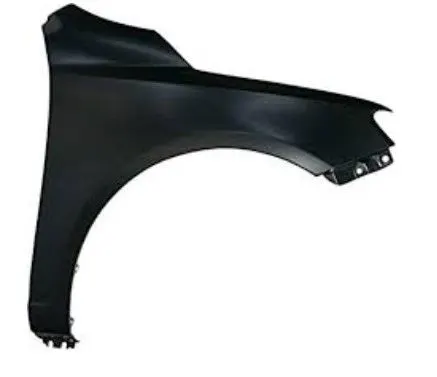
Image 3: Half Bumper.
MOUNTING POINTS OF FENDER
- A-Pillar.
- Bumper.
- Sill.
- Drip Area.
- Splash Cover.
MASTER SECTION:
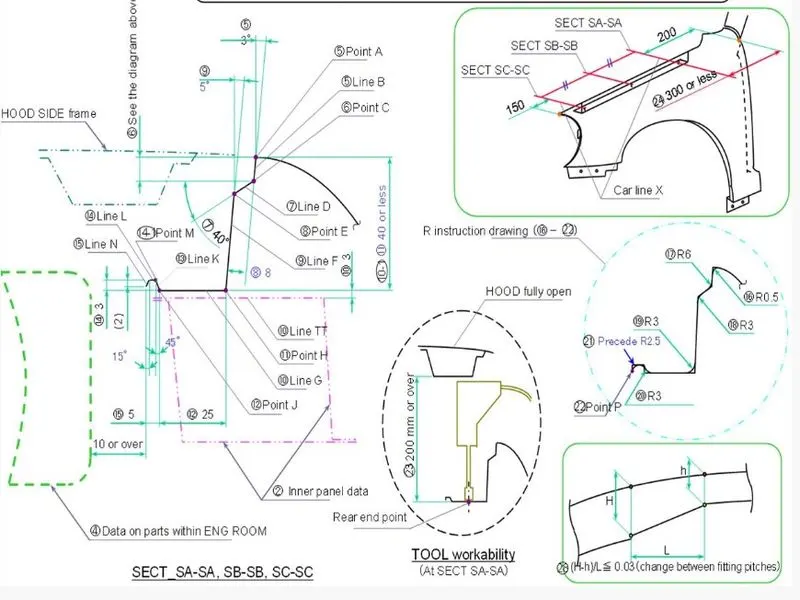
Image 4: Master Section.
For the specified fender skin or style surface, the major goal is to create the Drip area, Bumper mounting region, Sill mounting region, A-Pillar mounting region, and Splash cover or wheel well mounting region.
DESIGN CONSIDERATION:
- Strength is increased with the use of embossing.
- In order to make the item more producible, the corners of the flanges have been smoothed.
- To prevent cutting edges and sharp corners, a filter of 2-3mm is offered.
PROCEDURE
- We used the class A surface that was provided as input; after inspecting the surfaces, we continued.
- We eliminated the additional flanges and used curve on surface commands to create some potential cutouts.
- Making mounting parts has now begun. Drip area Mounting is the first mounting that we developed. We used Law extension to stretch the surface before adding an emboss. With the aid of drawing, we also built the Drip area.
- We first made the Drip mounting, and then we made the Sill mounting. Using law extension, we stretched the surface in this case before sketching and embossing it. In order to prevent stress from building up at specific points, we have established a space for it here.
- Now we extended the surface and embossed it to make the Bumper Mounting. Bridge curve is also used to soften the mounting's edges.
- The baffle mounting was made by us. We simply expanded the surface, produced the sketch, and then trimmed the sheet for attaching baffles. Here, the emboss was not added.
Our final design was the A-Pillar mounting. - In this, the surafce was stretched, a sketch was prepared, an emboss was made, and then the trim sheet for the hole was completed.
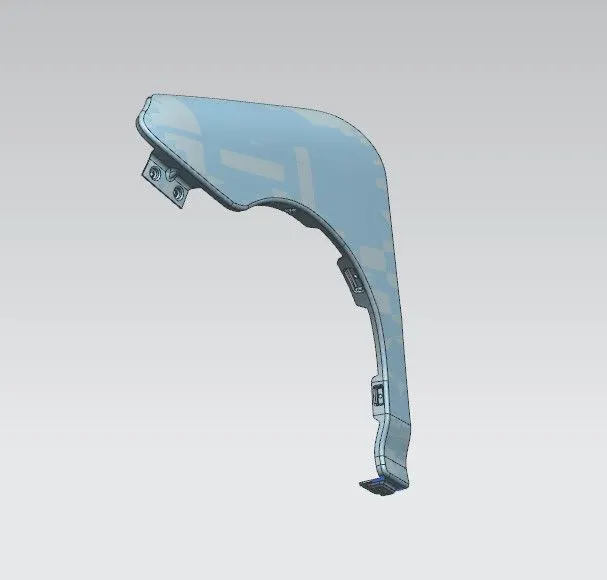
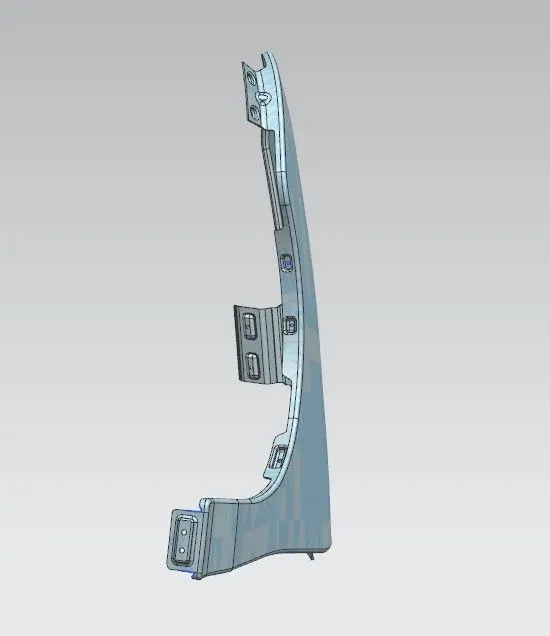
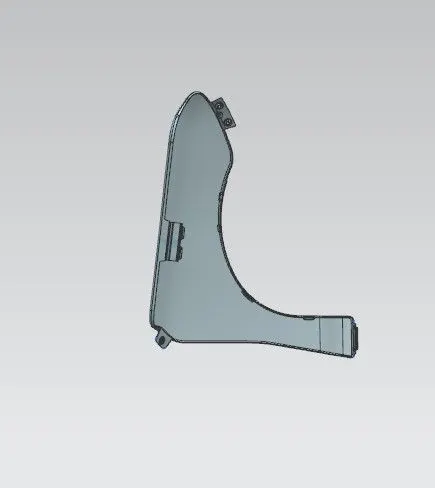
Image 5: Some Images of Working Model.
CONCLUSION
Thus, the fender was made from the provided skin in the desired dimensions.