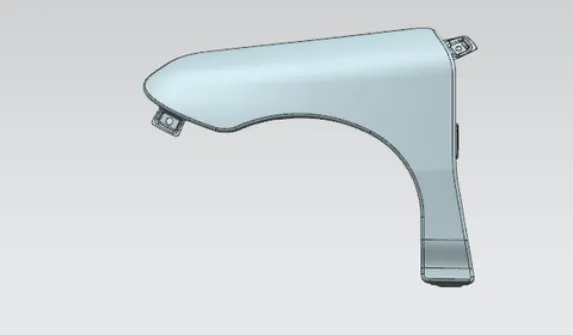
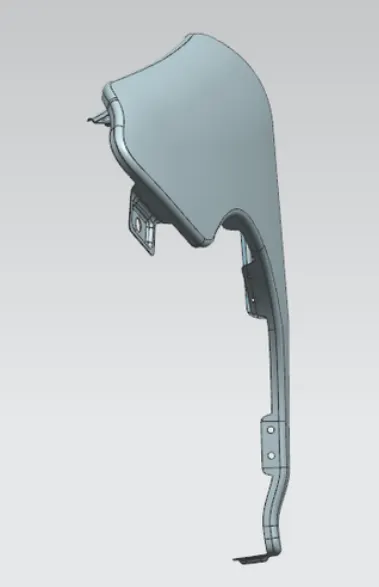
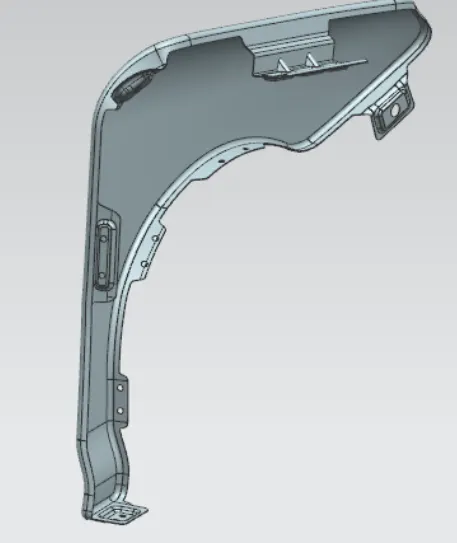
Fender Design
FENDER DESIGN
OBJECTIVE :
The main objective of this project is to design a fender using a new age design software - NX - CAD
INTRODUCTION :
Design of any product starts from an requirement . The design engineer sketches the product based on the the requirement . Then the 2D sketch with the proper dimensions is converted into the 3D model using the advanced CAD software's . The another important thing in the design is that , every product that is designed should be able to manufacture . so the role of the design engineer is to design the product that can be easily manufactured and with less cost effective . This is the place where the Design for manufacturing [DFM] and Design of assembly [DFA] takes a role while developing any product . The process of development of design carries on until the design satisfies the customer needs .Here in this project the product that we are going to develop is a car fender
FENDER :
The main purpose of the fender is to prevent sand,mud, rocks,liquids and another road spray from being thrown into the air by the rotating tire .
TYPE OF FENER
There are two type of fender , They are
1 full bumper type
2 half bumper type
FULL BUMPER TYPE
HALF BUMPER TYPE
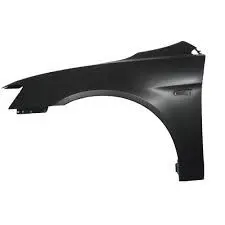
A fender is different than a bumper because it's a metal structure that frames the wheel well of your car, instead of the front or back. The fender extends between the front door to the front bumper covering the front wheels of the vehicle.
ASSEMBLY:
There are two type of assembly ,
1 bottom- up assembly
2 top-down assembly
BOTTOM-UP ASSEMBLY
Bottom-up assembly modelling is a part-centric modelling method where the assembly design is started with a principal structural or functional element, and individual parts are designed in relative isolation from the overall assembly.
TOP-DOWN ASSEMBLY
In top-down assembly design, one or more features of a part are defined by something in an assembly, such as a layout sketch or the geometry of another part. The design intent comes from the top, which is the assembly, and moves down to the parts.
MOUNTING REGIONS ON FENDER :
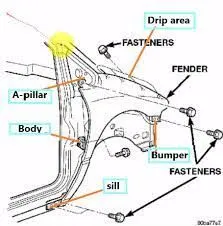
There are 5 mounting regions on the fender , they are
A- pillar mounting
Body mounting
Sill mounting
Bumper mounting
Drip mounting
DESIGN METHODOLOGY :
GIVEN DATA
DESIGN 0F DRIP AREA MOUNTING :
1.It is the important mounting uni of the fender . it is connected with the engine compartment , therefore the lot of design constraints are to be followed
2.while designing the fender While designing the drip area we have to initially leave 200-300 mm for cowl top For placing the headlamp we have to leave at least 150 mm at the front while designing the fender
3.Cowl top part consists pf wiper motor and its instruments
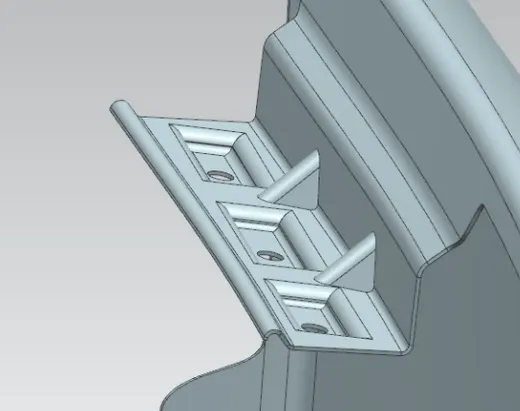
Two darts are added on the longer side of the drip area in order to provide the stiffness and adds strength to the part . This helps the fender to not to vibrate and impact the forces outside of the fender during motion of the vehicle.
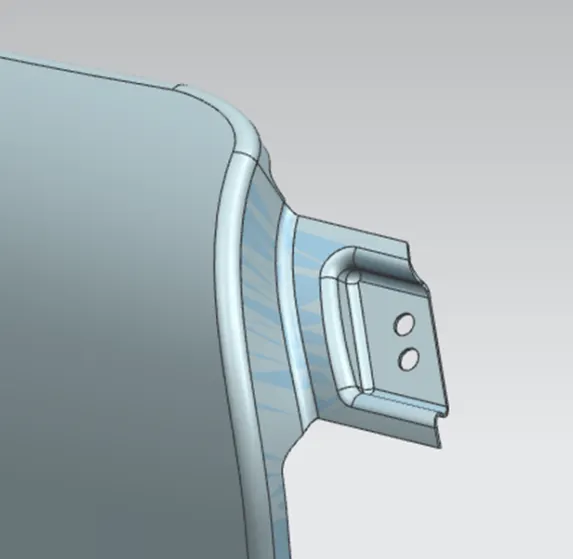
Embossing are provided on the mounting to strengthen them during fastening
DESIGN OF SILL MOUNTING AREA :
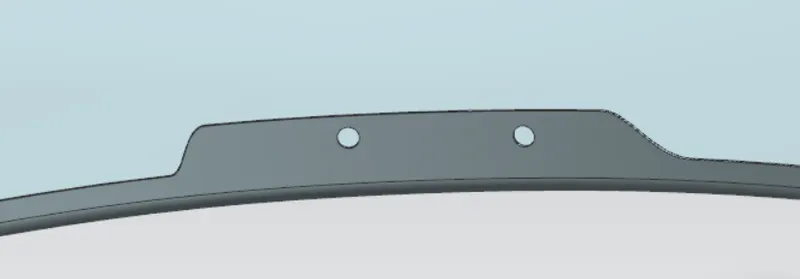
Sill is the panel directly below the bottom of the door supporting the floor and may be used to combine the floor and the body . The bottom end of the fender is mounted on the sill body for reinforcement of the fender panel , thus the sill mounting position is designed wit holes and emboss . M5 fasteners are used to fix the fenders on the sill body.
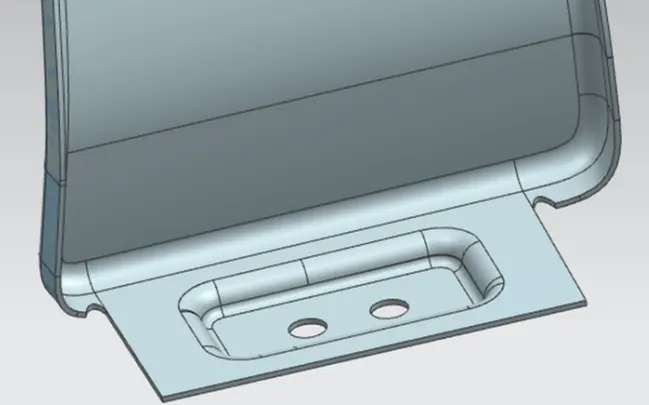
DESIGN OF BUMPER MOUNTING AREA:
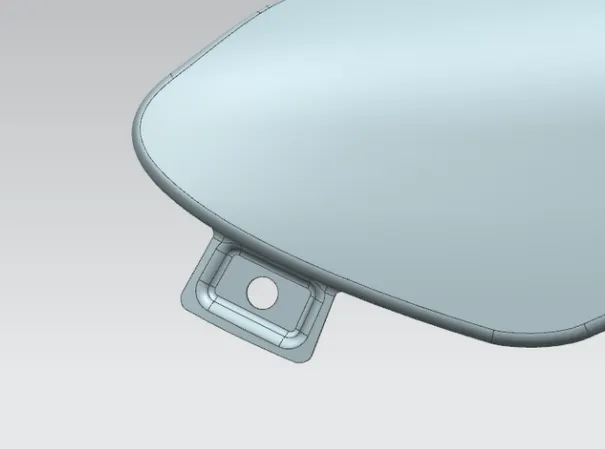
DESIGN OF A-PILLAR MOUNTING AREA :
The A -pillar is the structural pillar that combines the body to the roof . this make the sides of the windshield rest . front fenders are fastened to the A -pillar to form a robust structure
DESIGNOF BAFFLE MOUNTING AREA :
DIFFERENT VIEWS OF FENDER :