Door Arm Rest Week 8 Challenge
DOOR ARM REST CHALLENGE:
OBJECTIVE:
To create a tooling direction and draft analysis for door arm rest as well thicken it to a part body by creating class B and class C surfaces.
DOOR ARM REST:
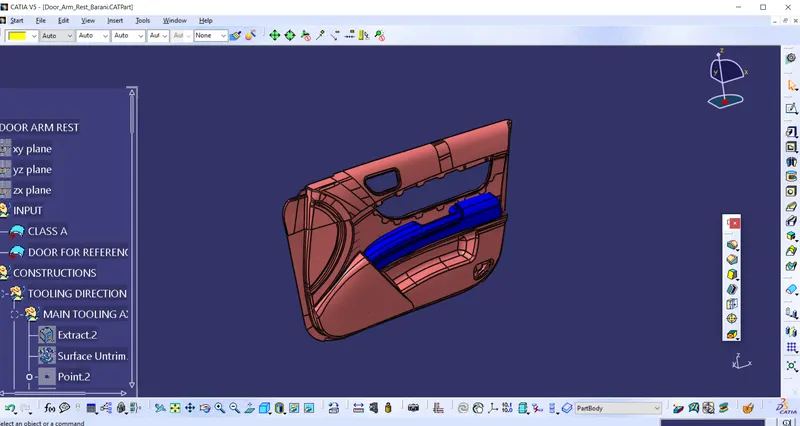
Door arm rest is a plastic component and one of the part in car doors. Given surface is shown in the below figure.
TOOLING DIRECTION:
Tooling axis is created as per the industry standard with reference to the bottom surface of door arm rest as shown in the figure.
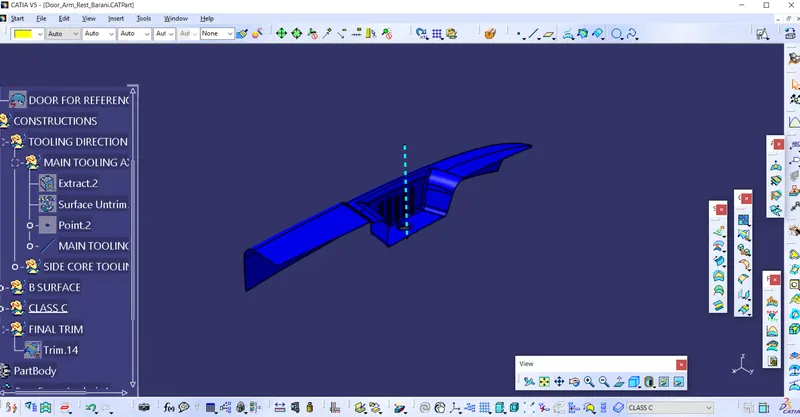
The line highlighted in blue is known as tooling axis.
DRAFT ANALYSIS:
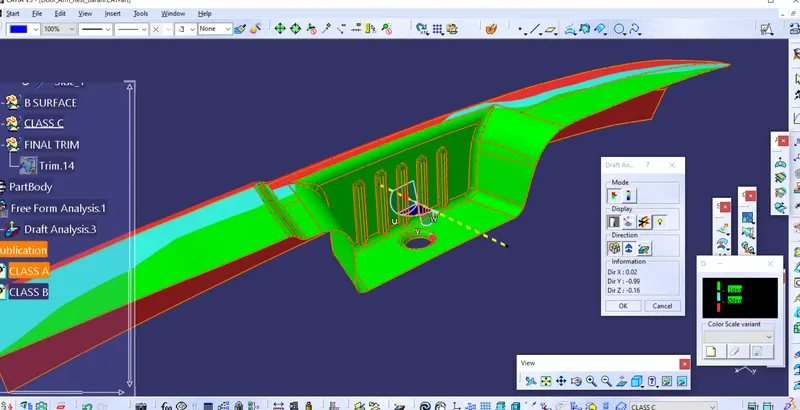
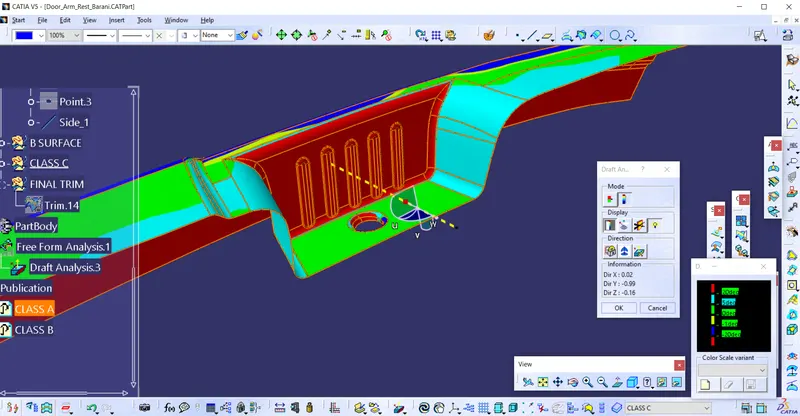
Draft analysis was done to ensure the proper tooling direction. First I have done the analysis for above created tooling axis. It is noted that some part of the rib and side surfaces are not cleared as indicated in blue colour.
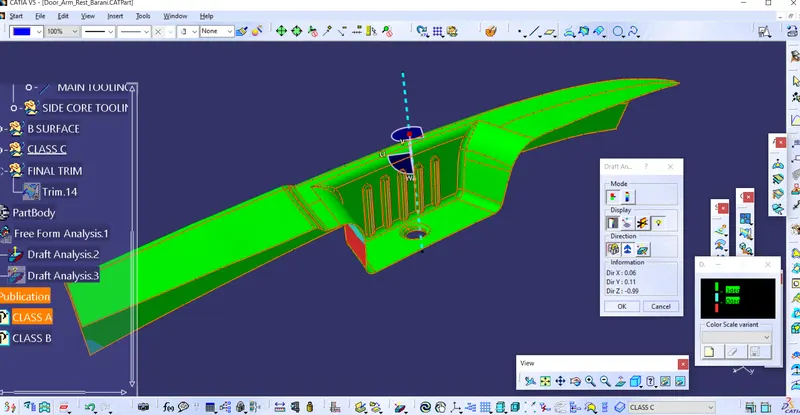
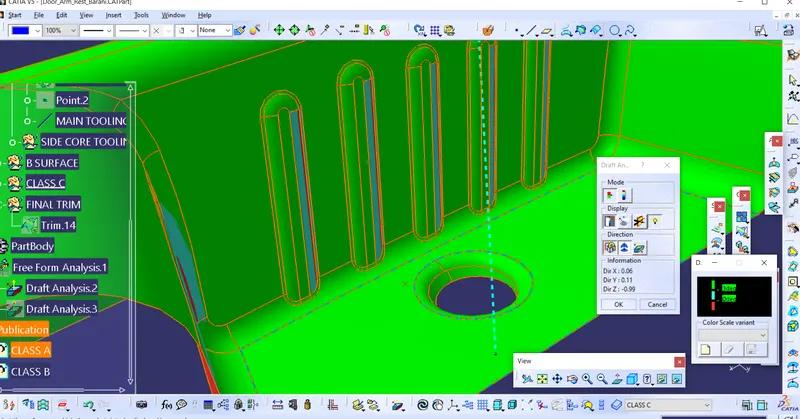
In order to ensure proper direction those surfaces are need to cleared. So I have created the side core tooling axis.
SIDE CORE TOOLING AXIS:
In many cases we can't create single tooling direction, some parts can't be ejected the same way. In that cases side core axis is developed and parts are removed from that direction.
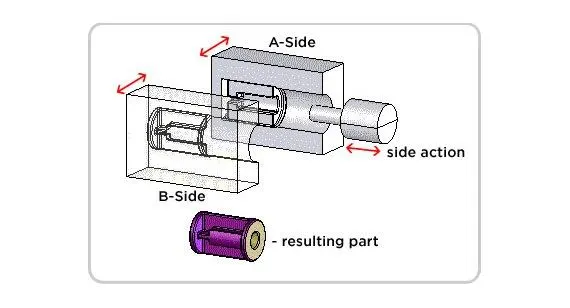
In the above figure the all parts are removed in one direction except hole on the side and it is cleared in seperate direction. Here also I have created side core for that rib as shown in the figure.
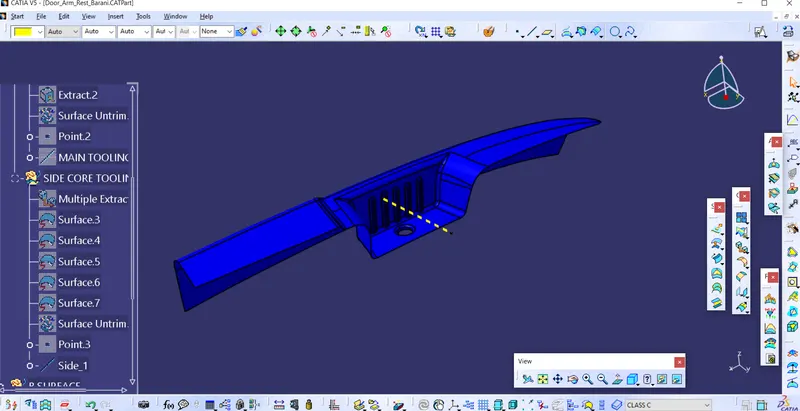
It is created with reference to the rib surface. Draft analysis for the same also done.
CREATION OF PART BODY:
Given class A surface is to be closed with the help of class B and class C surfaces.
CLASS B:
Arm rests are first extracted,untrimmed and extrapolated. Fillet value is measured and applied in the edge as shown in the figure.
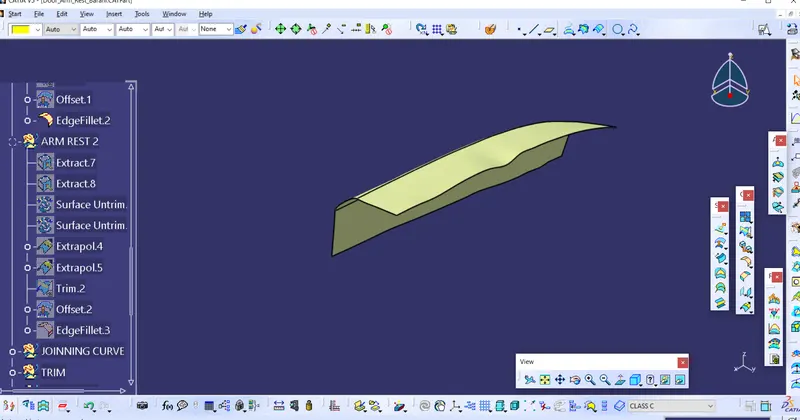
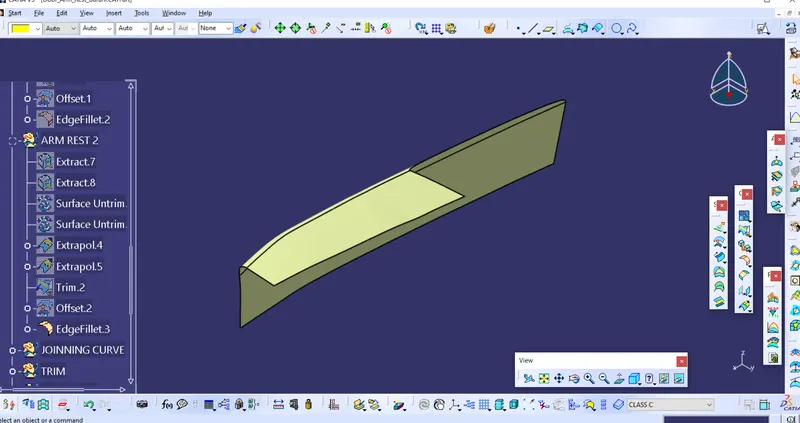
Arm rest of another side also created as shown in below figure.
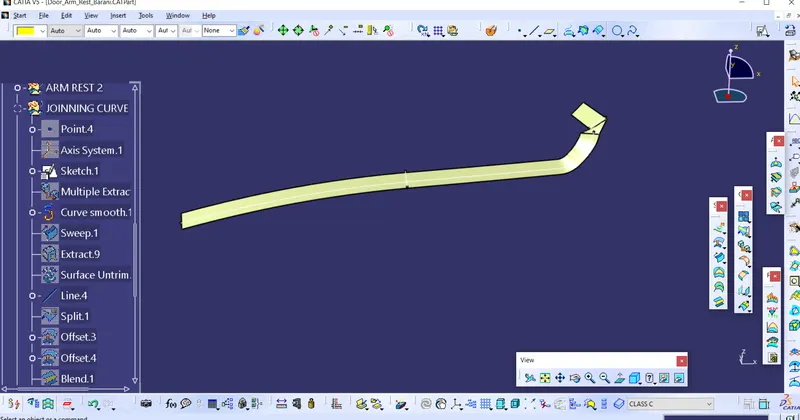
In between the arm there is a small surface that can't be extracted. So curve is extracted with multi extract command then smoothened. With the help of small line it is sweeped as a surface. Another surface is in the arm is extracted and joinned with sweep surface with blend command.
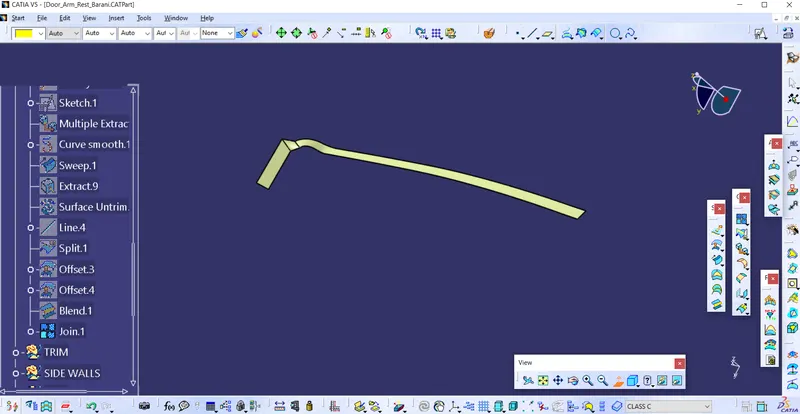
All the surfaces are trimmed together as shown in the figure.
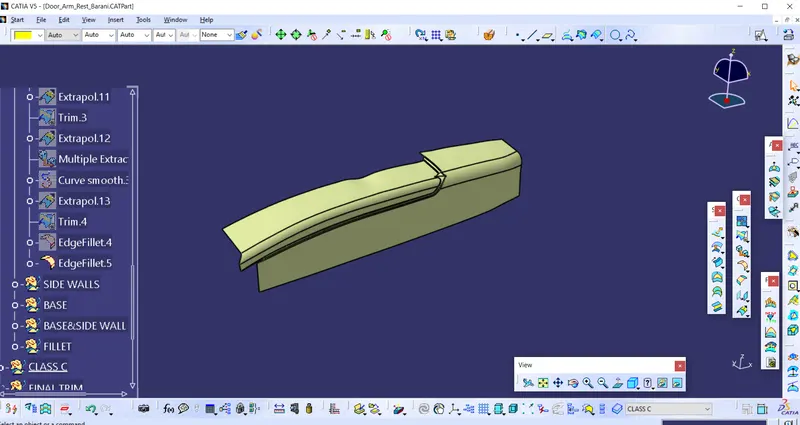
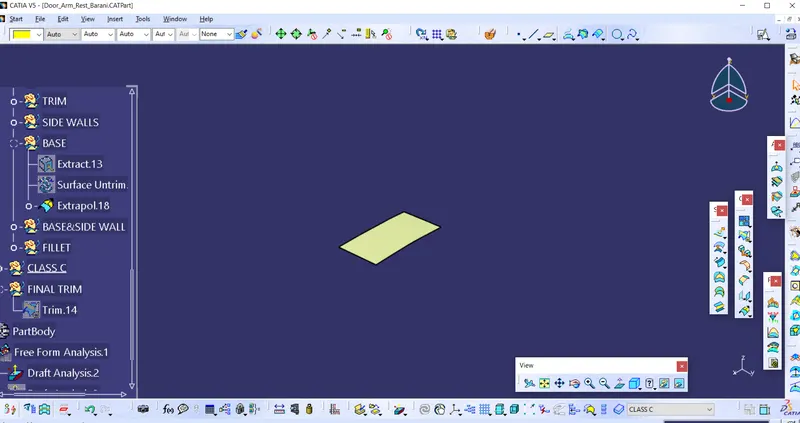
Then base surface is extracted,untrimmed and extrapolated.
Side walls of the class A surface is extracted seperately with extract command. Then these are untrimmed and extrapolated and trimmed together. Given thickness is 2.5 mm so offsetted with the same.
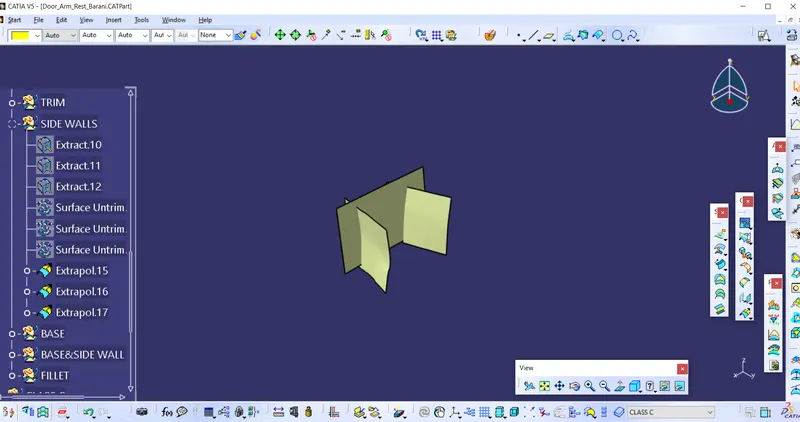
These are all trimmed together.
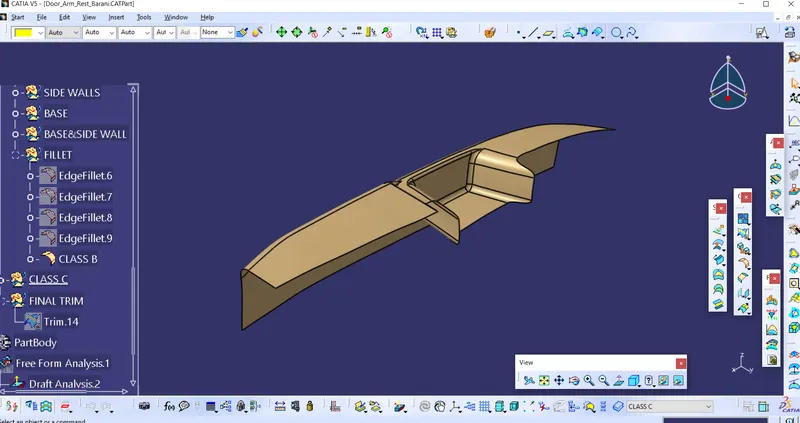
CLASS C SURFACE:
Class C surface is created with multiple extract,sweep and multisection command as shown in the figure:
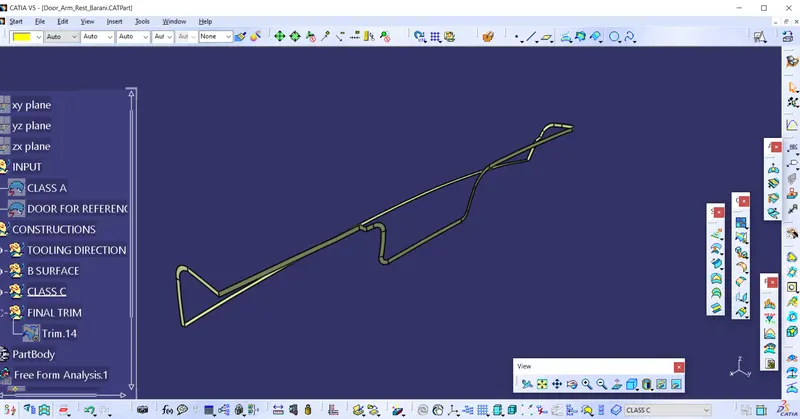
Hole in the base is extracted separately.
PART BODY:
Firstly class C and class A surfaces are joinned together and trimmed with class B surface.
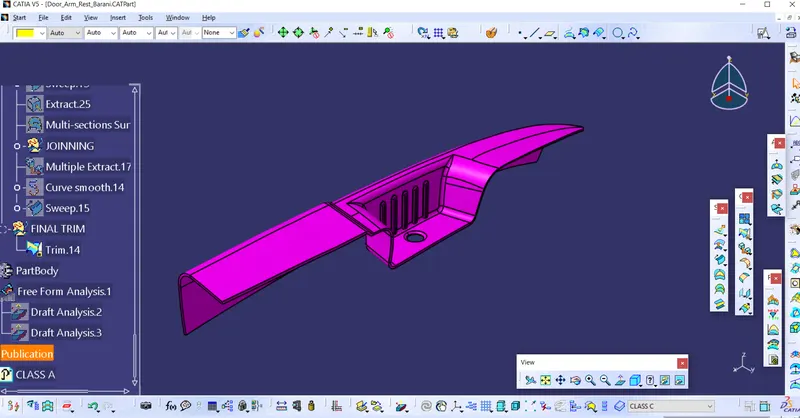
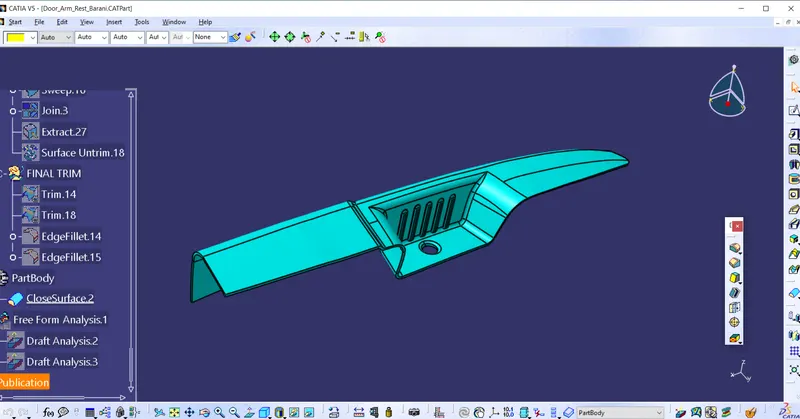
Then finally this closed surface is converted into part body by using closesurface command in the part workbench.
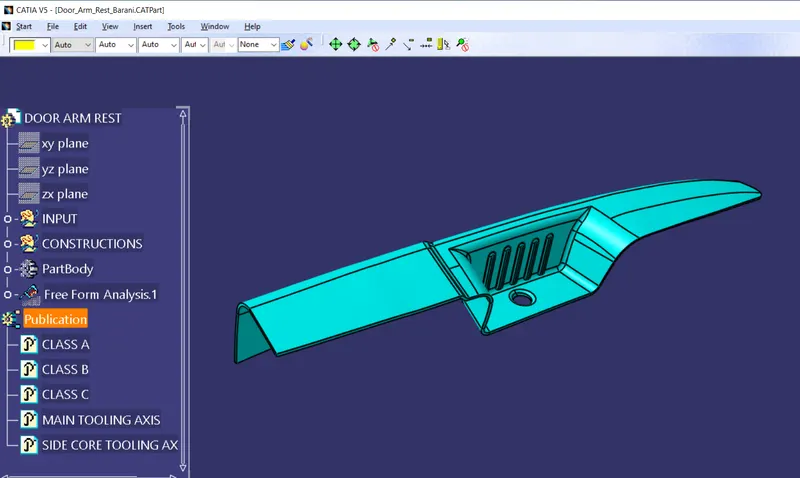
Class A,B,C and Tooling axis are published.
RESULT:
Tooling directions for the given door arm rest surface was created and draft analysis also done. Class A surface was thickenned into part body by creating class B and C surfaces and results are published.