Development of lower door trim panel using catia v5 software
Objective: The objective for this project is to make half of the door trim panel in catia-V5 from the provided Class-A surface.
Software: Catia v5
Introduction:
To create the Door Trim Lower's Plastic Component using the Class A Surface that is provided. Desired Thickness of the Plastic Component is 2.5mm with 3 degrees as the Draft Angle.
Firstly, we have to create the required Tooling-Axis for the given Class A Surface while meeting the requirements of the necessary Draft Angle & then perform the Draft-Analysis Operation on the Class A Surface itself.
After that, we have to create the required Class B & Class C Surfaces using which we have to create the Final Plastic Component and perform Draft Analysis on it as well.
Theory:
Door panels serve as an interface between the interior of the car and the inner workings of the door, and between vehicle occupants and the door door panels also kown as door cards.Modern cars often have door cards that are constructed of plastic and incorporate other decorative elements.injecton molding is the most commonly used method.the Other features like vehicle's aesthetic, functionality, and ergonomics are usually included in the door panel.In addition, they are expected to continue the material theme of dash and pillars while concealing intricate electrical and mechanical components for operating locks, windows, etc. The door panel has evolved from a simple two-part system to contain an inner full-width panel with electronic windows, central locking system and speakers
The door panel is a heavily padded or, in some cases, carbon fiber enclosure that seals against the door, with either rubber or foam used as an impact-absorbing layer. If the sheet metal floor of the vehicle is not attached directly to the rest of the car by means of bolted attachment points, then it will be riveted to a main underbody support member.
The door panel is an important part of your vehicle’s interior, allowing you to latch your door and lock it from the inside.
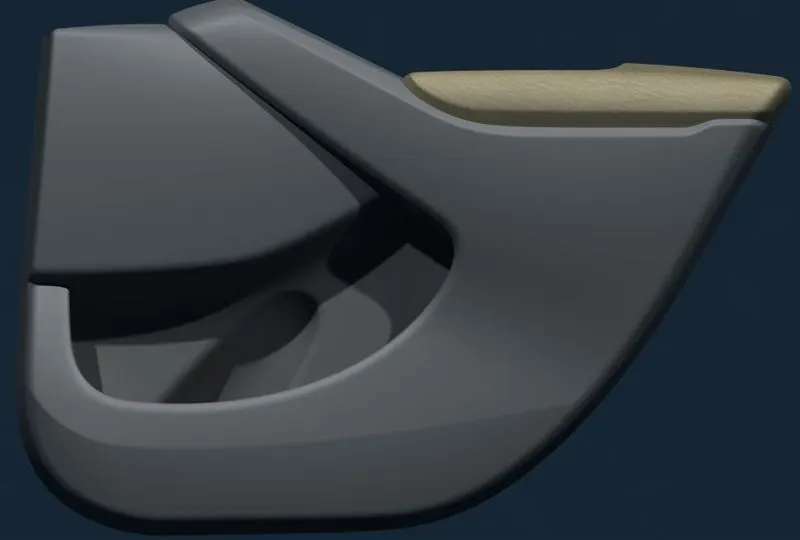
Door trim paneL
Design components:
1.door arm
2.lower subtract
3.upper subtract
4.bottum handle
5.push pin
Tooling Axis: The direction which the core and cavity opens.
Styling Class: It distributing the part according to the stage or positions. Styling class are divided in to 3 categories
- Class A
- Class B
- Class C
Class A:
In product, all outer parts are coming under the class A.
Class B:
In product, inner parts are coming under the class B.
Class C:
Intermediate parts which help for joining the outer and inner parts.
Process for door trim:
Initially creating a geometrical set under geometrical set with a name of “Tool Axis”, “Class B”, “Class C” and “join”.
Tool Axis:
Define work object on tool axis and creating tool axis for exiting surface model with help of point and axis commands to the centre of the surface.
Point: point-circle/ellipse/sphere centre-surface ellipse-ok.
Axis: axis line-point and direction-Z direction-length of axis (90, -90)-ok.
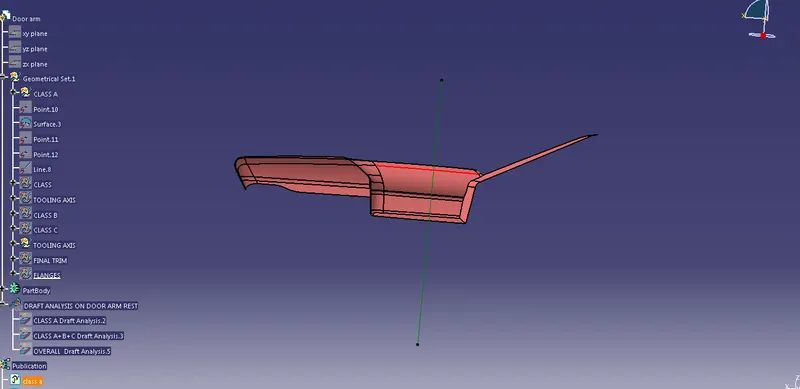
Door arm
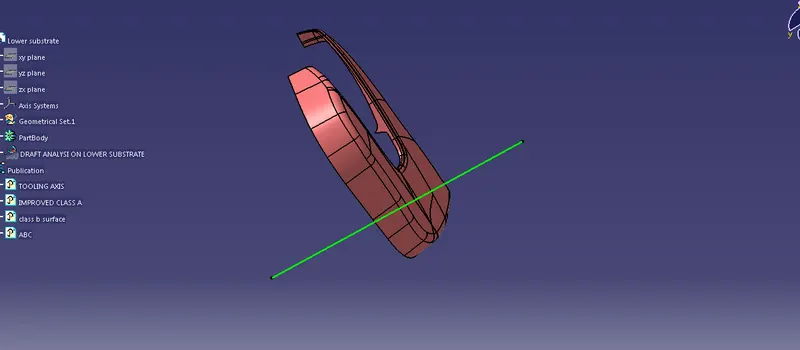
Lower substract
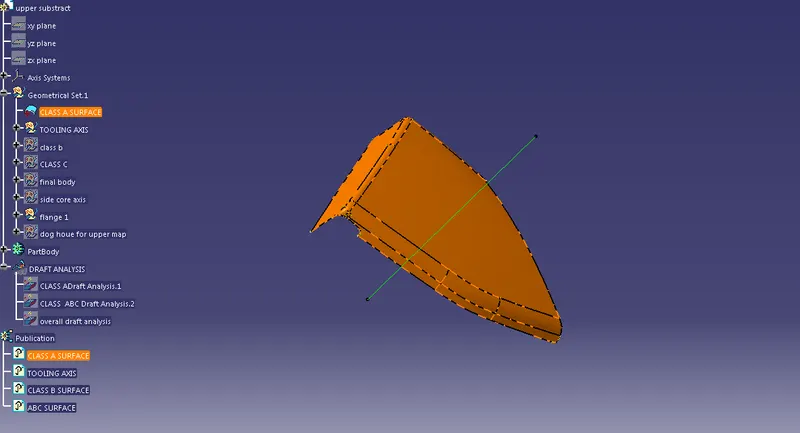
Upper substrate
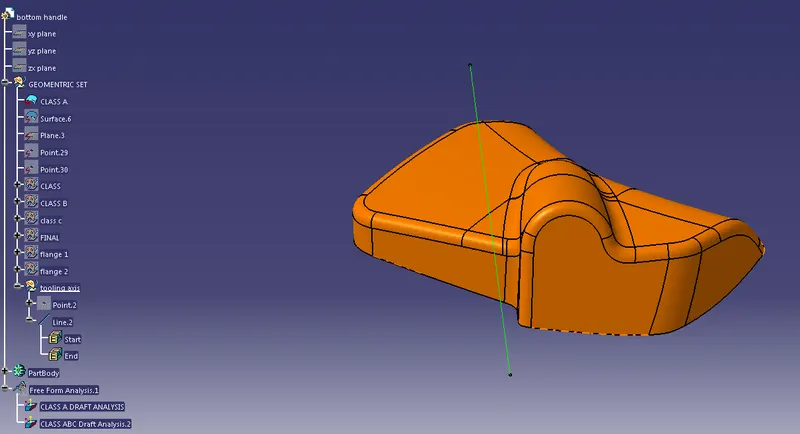
bottom handle
Class A:
Importing Class-A surface into work space.
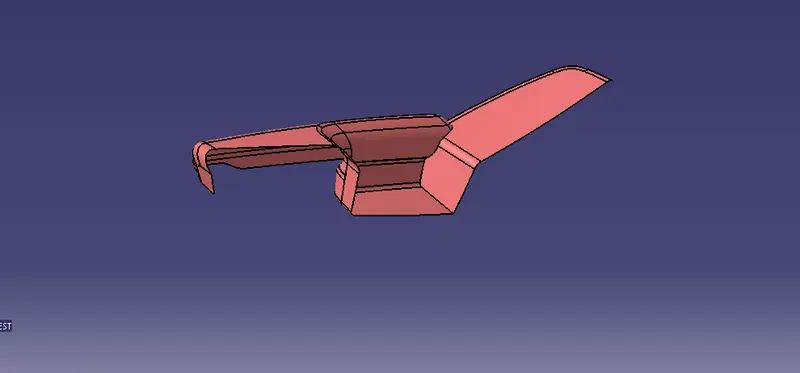
Door arm
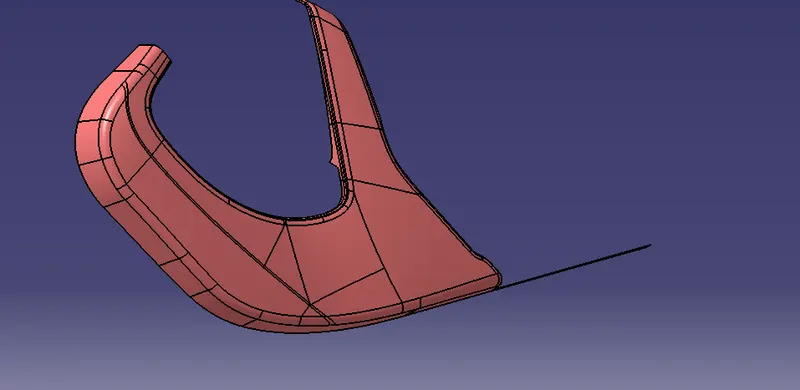
Lower substract
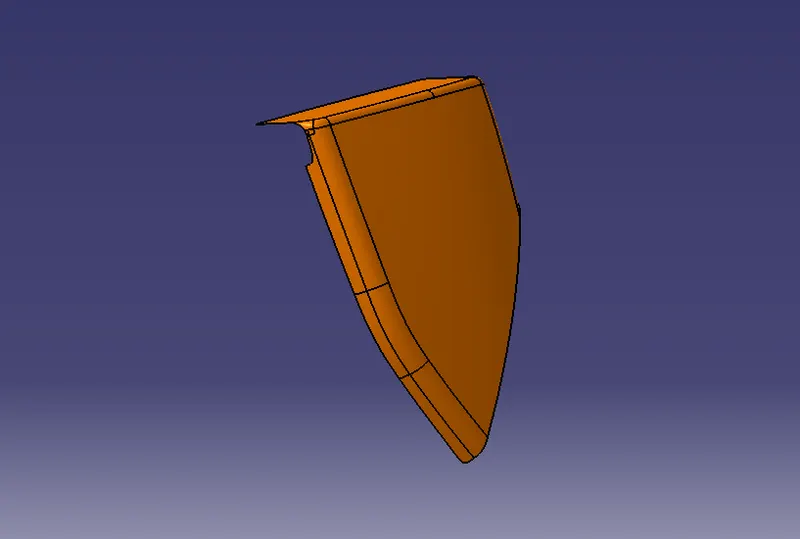
Upper substrate
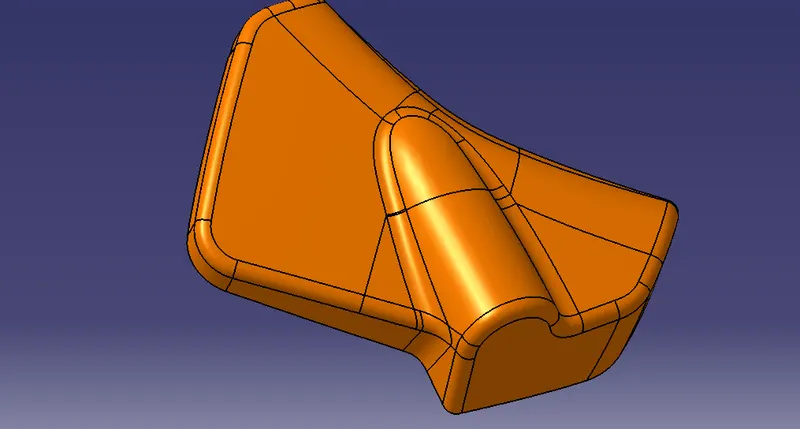
bottom handle
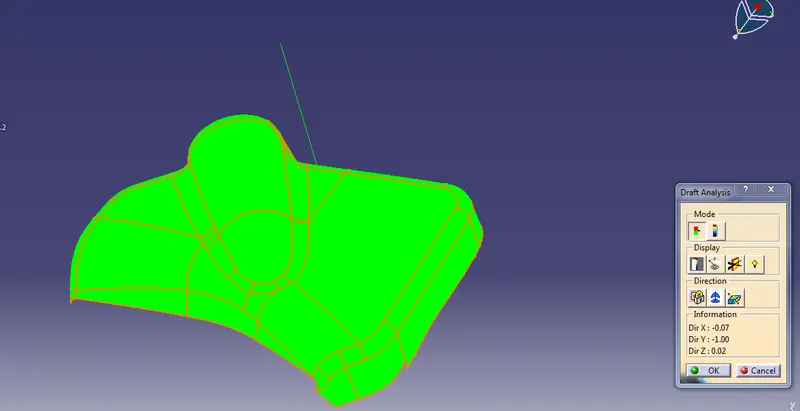
Draft Analysis Class A:
Performing the draft analysis check whether our part model created in cad can manufacturable or not.
Material restrict Mode: view mode-Customise-Shaping, material-ok
Draft Analysis: Insert- analysis- draft analysis-set up colour (3,0) and colour(green, blue, red)- place the compass in axis-define compasses- unlock draft- ok.
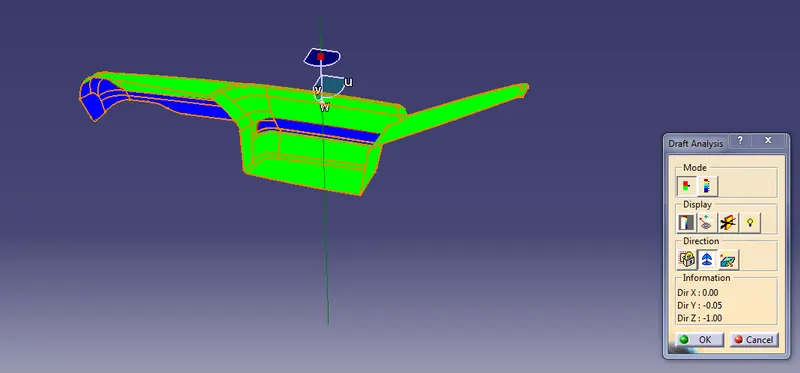
Door arm
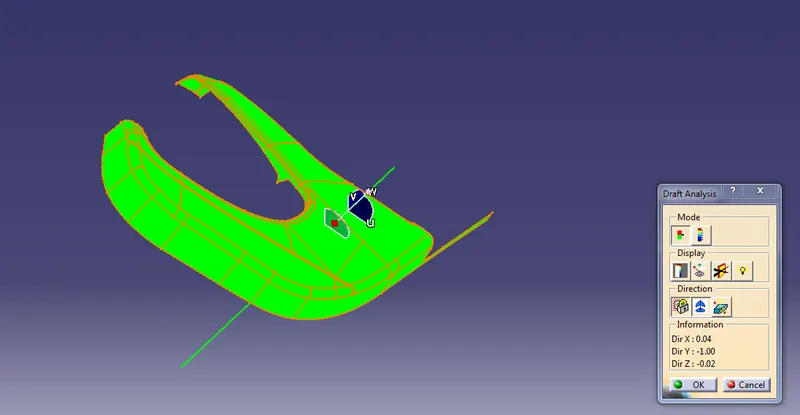
Lower substract
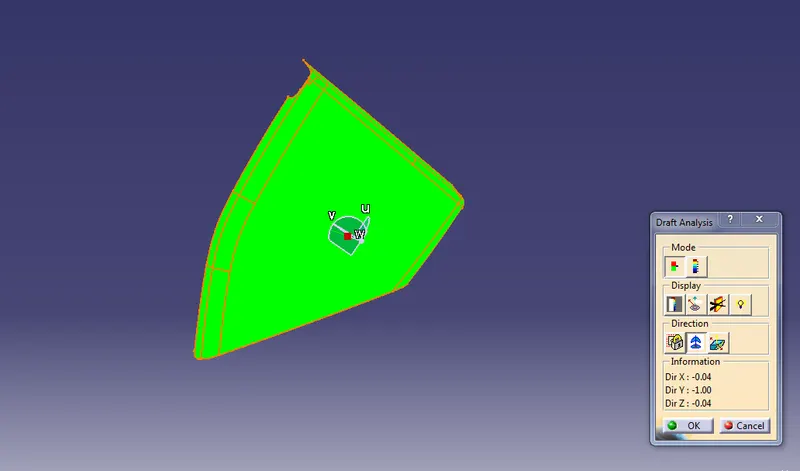
Upper substrate
bottom handle
Class B:
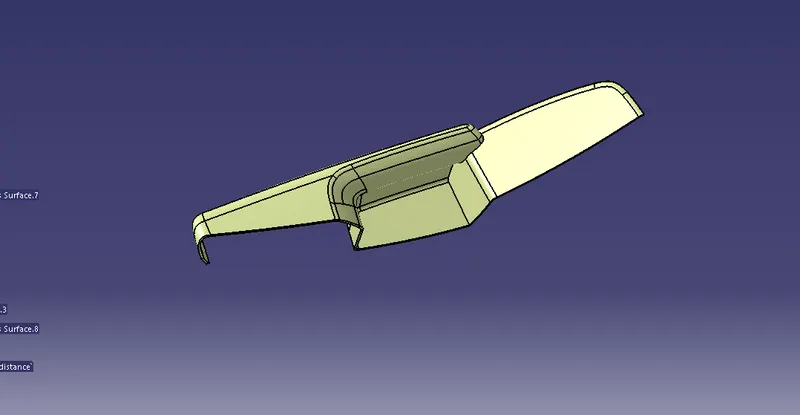
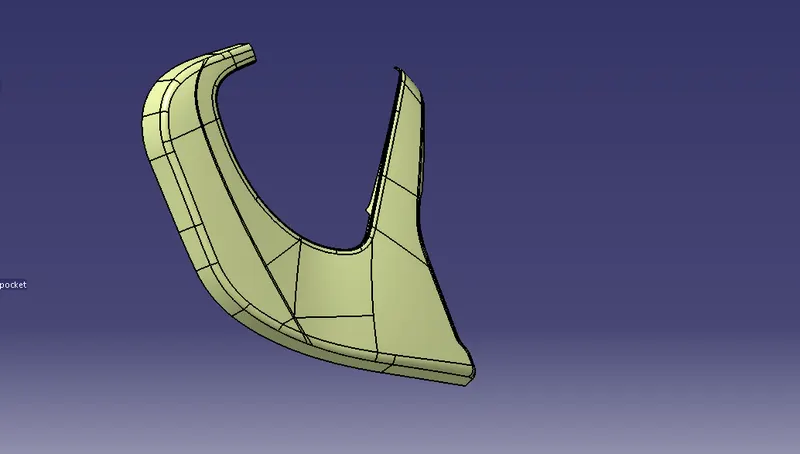
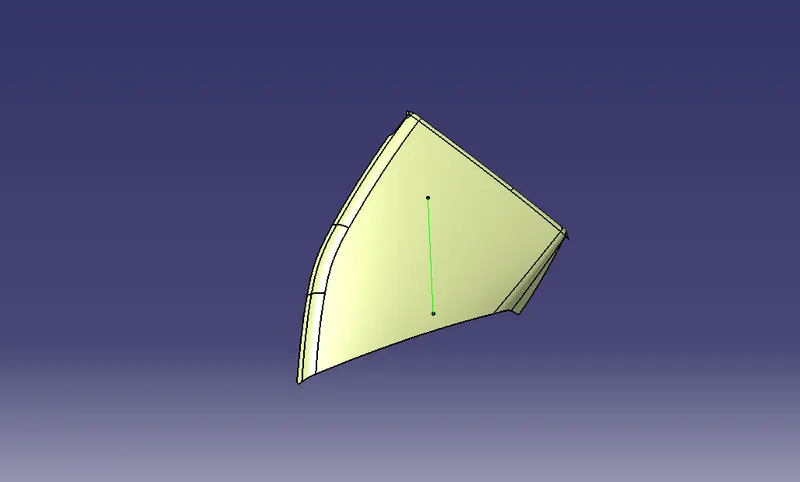
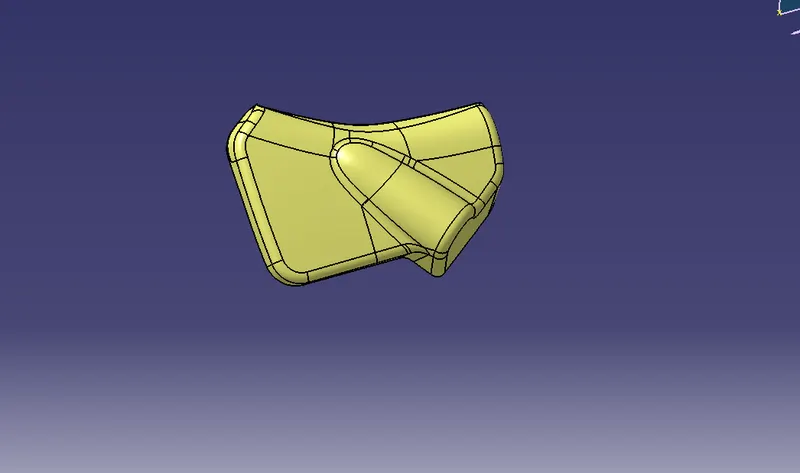
Creating the Class B surface with an offset of 2.5mm with help of below commands and finally gets this surface as shown in fig.
Commands Applied: offset, multi-sections surface and join.
Door arm
Lower substract
Upper substrate
bottom handle
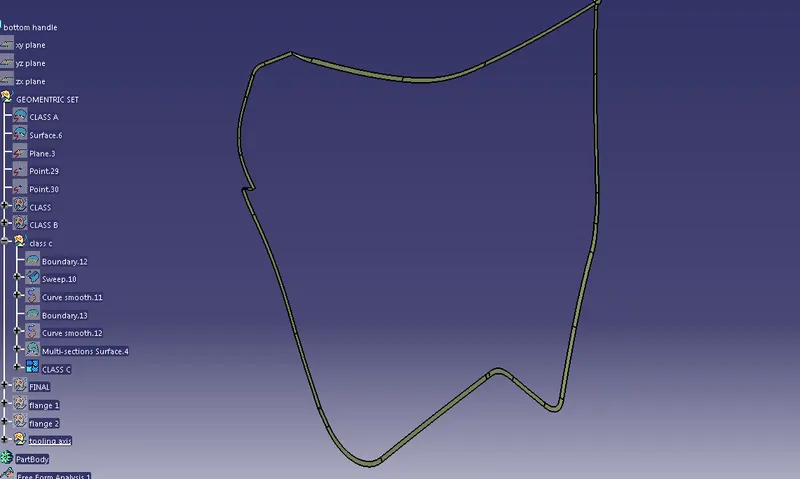
Class C:
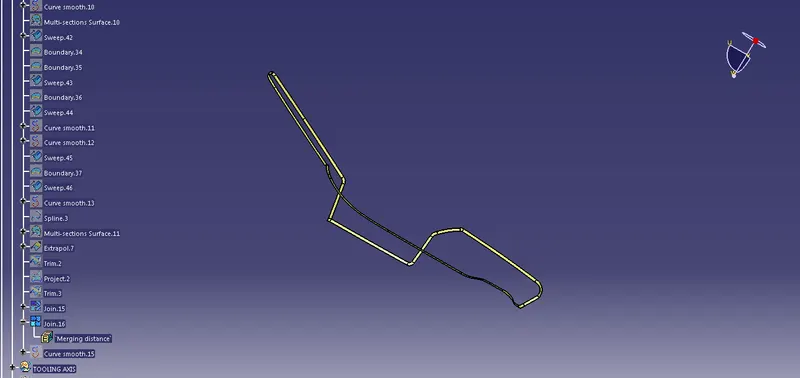
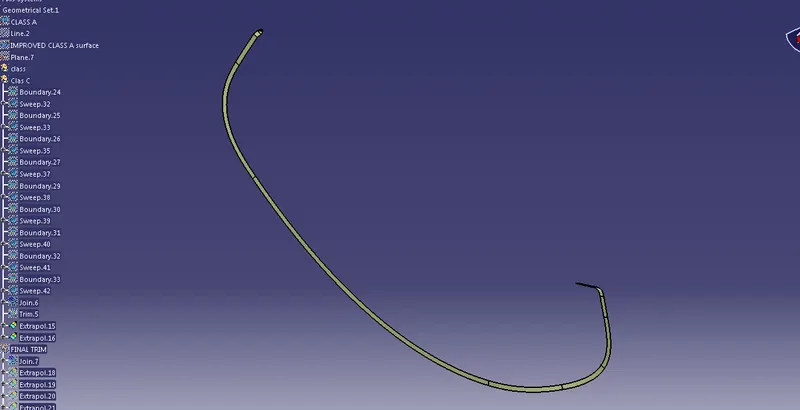
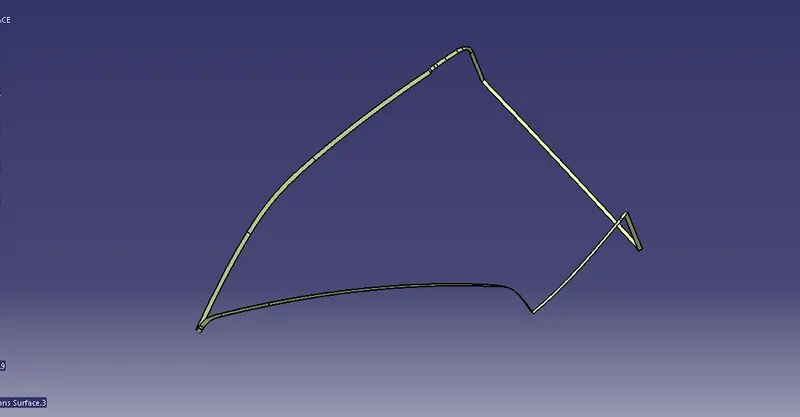
Creating the joint surface between Class A and Class B with help of below commands and finally gets this surface as shown in fig.
Commands Applied:boundary, Curve smooth, sweep, Extrapolate, join and trim.
Door arm
Lower substract
Upper substrate
bottom handle
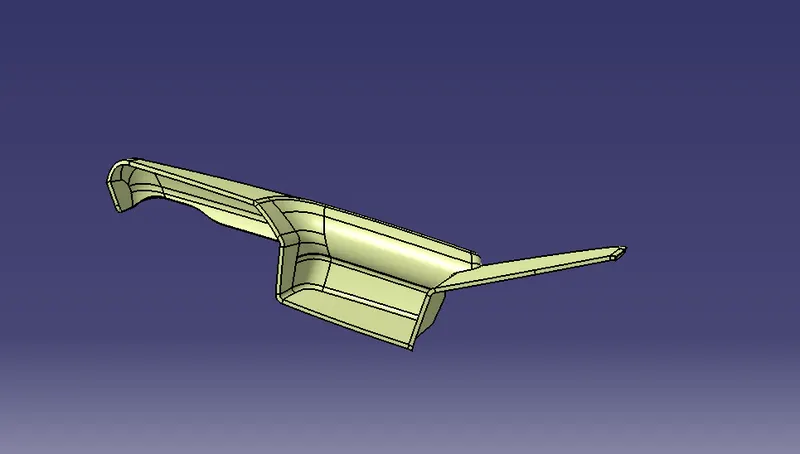
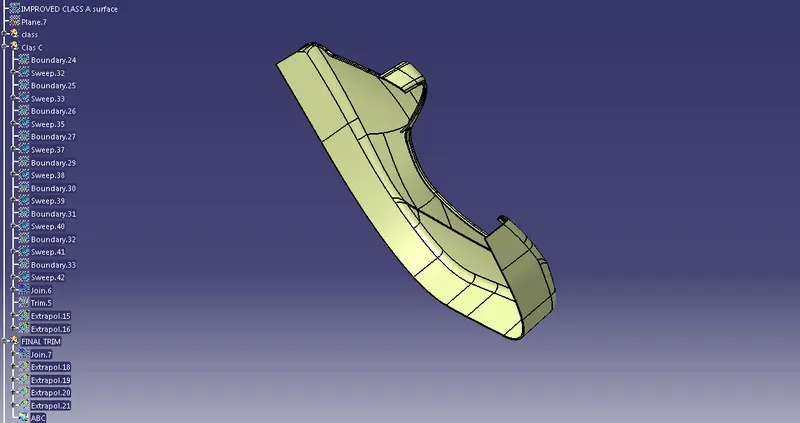
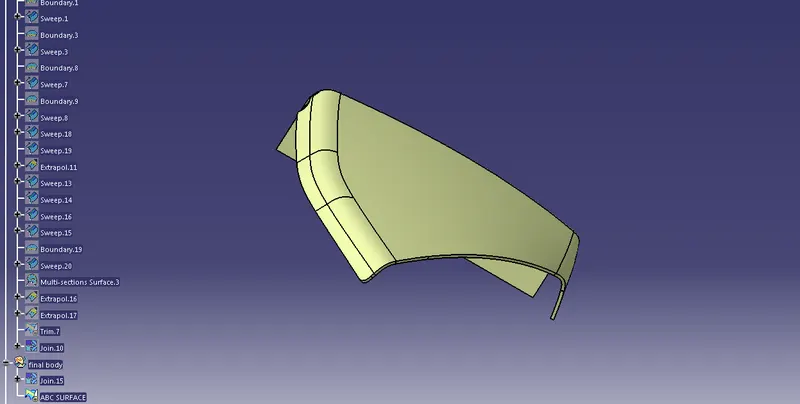
Join:
Now, we created class surfaces individually now combining the surface under join through extract and trim Command. And finally get Door trim surface with completed Closed as shown in fig.
Door arm
Lower substract
Upper substrate
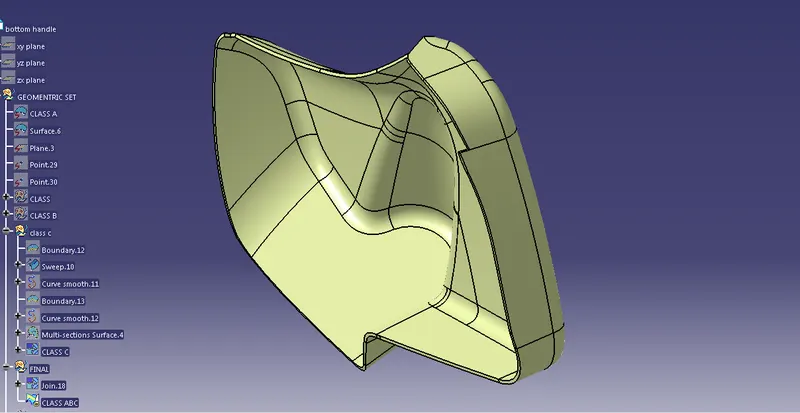
bottom handle
Part Body for Door trim:
Simply says that add the material into the surface to get door trim handle with ribs and screw boss. Finally, get as shown in fig.
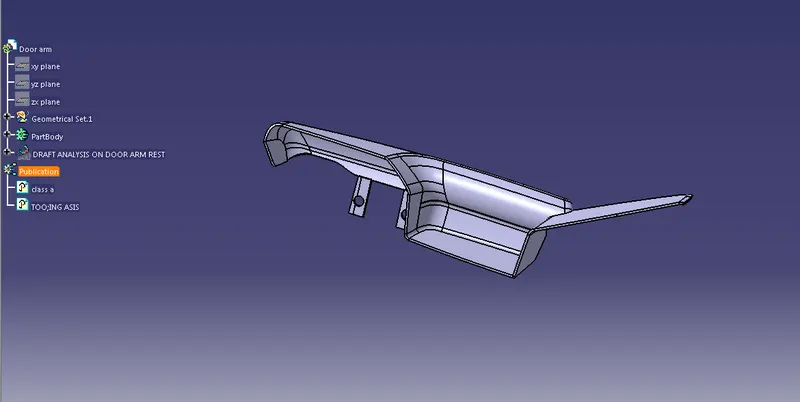
Door arm
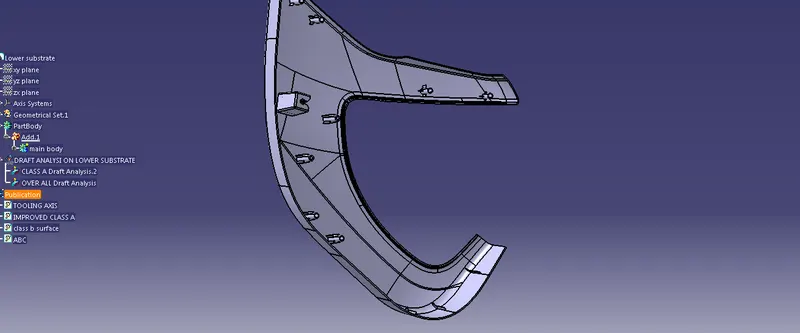
Lower substract
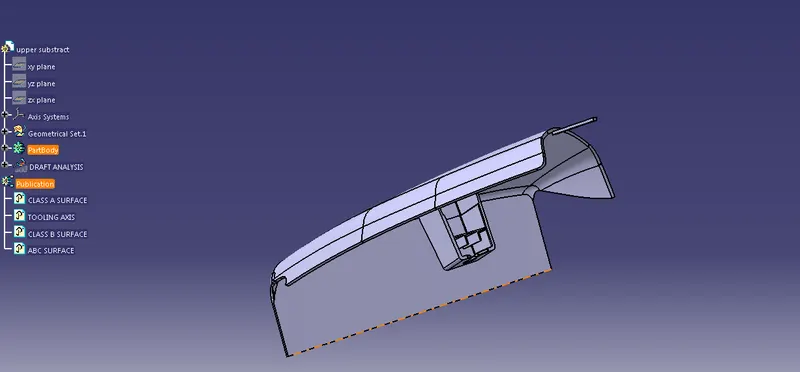
Upper substrate
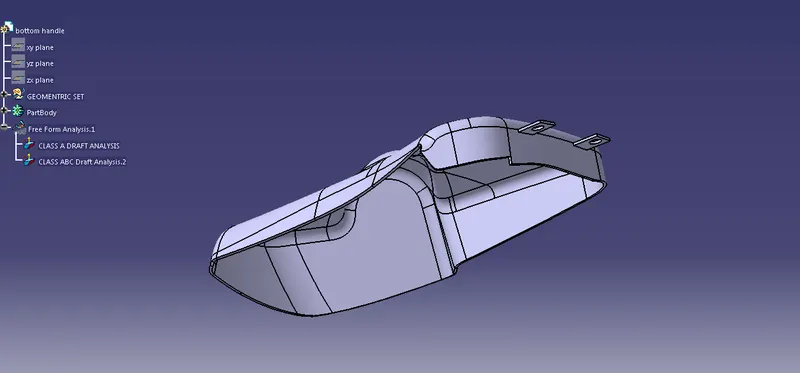
bottom handle
Draft Analysis:
Performing the draft analysis for Class A, Class B, Class C, Class ABC, Solid body, Rib and screw boss
Material restrict Mode: view mode- Customise- Shaping, material -ok
Draft Analysis: Insert- analysis- draft analysis- set up colour (3,0) and colour(green, blue, red)- place the compass in axis-define compasses- unlock draft-ok.
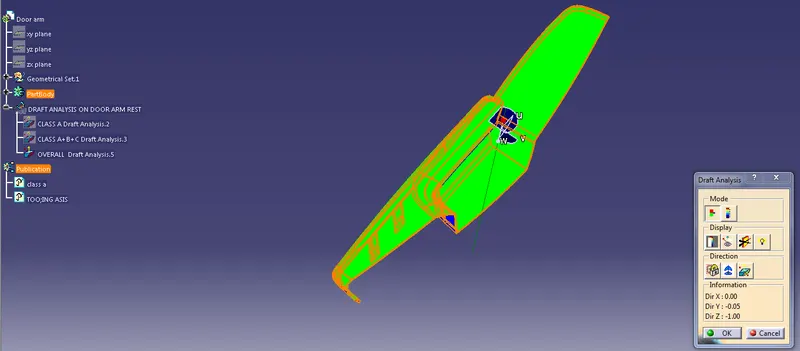
Door arm
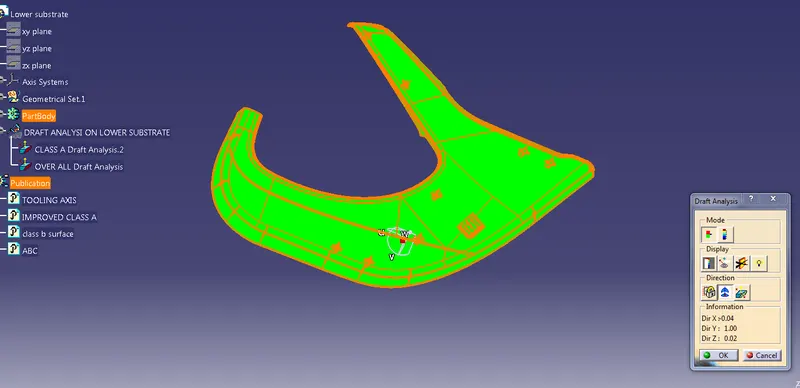
Lower substract
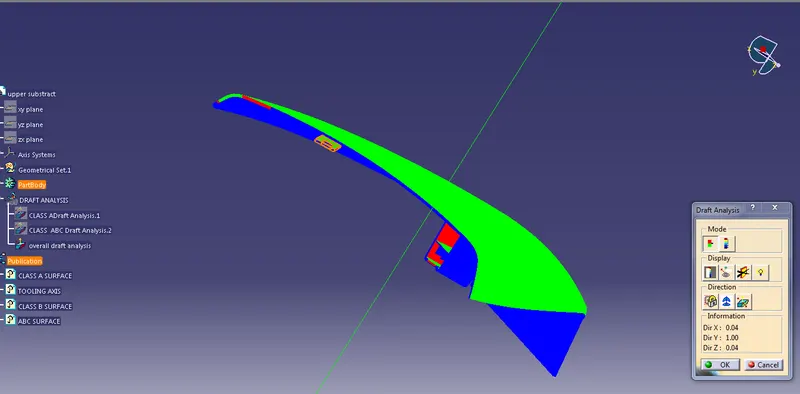
Upper substrate
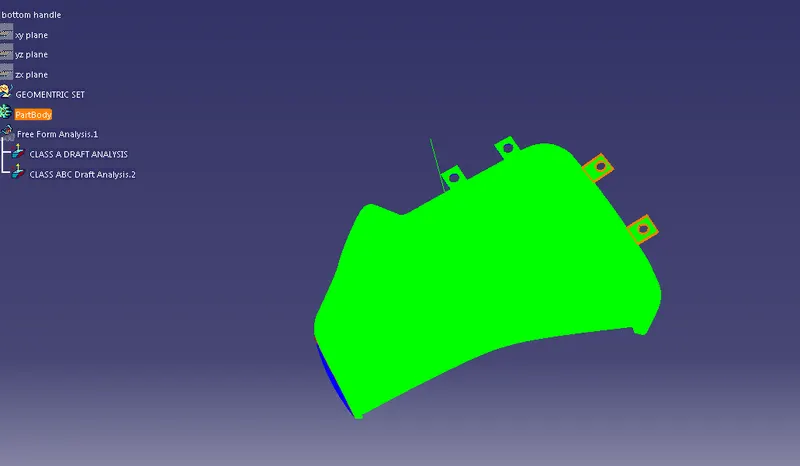
bottom handle
Geometrical Views:
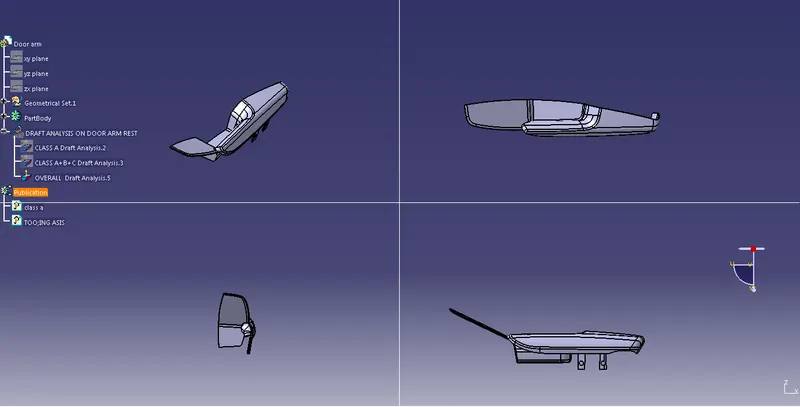
Door arm
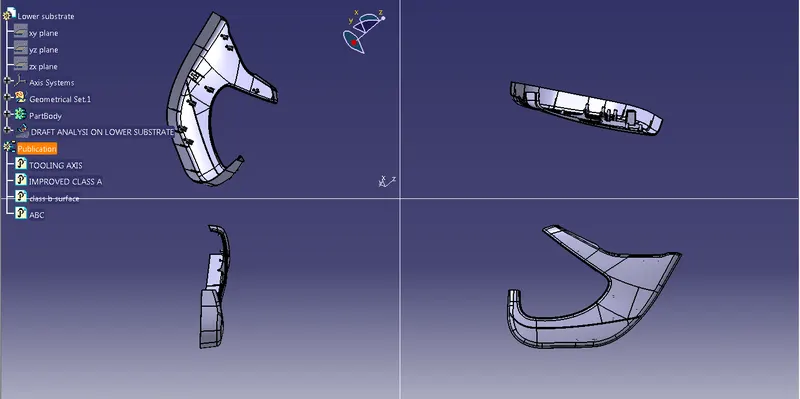
Lower substract
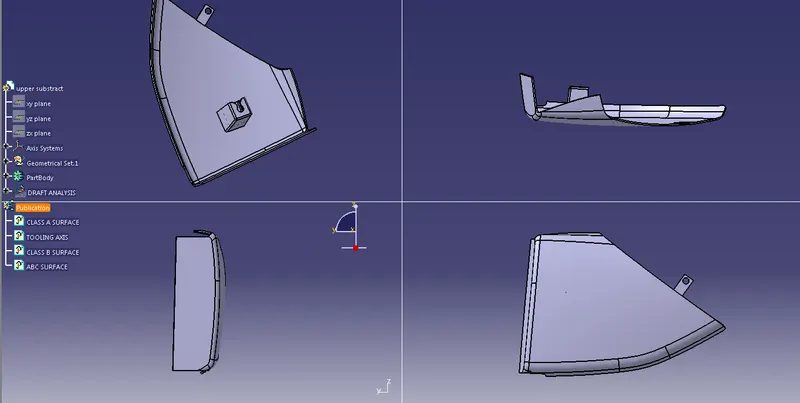
Upper substrate
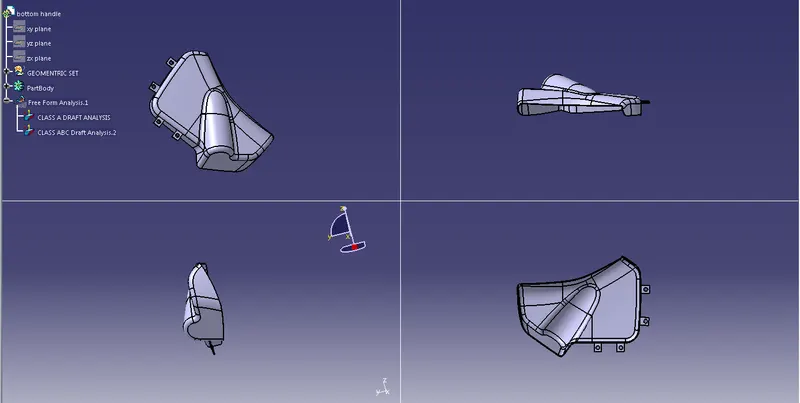
bottom handle
Assembly:
Comping the all the parts and finally repesenting door trim panel.
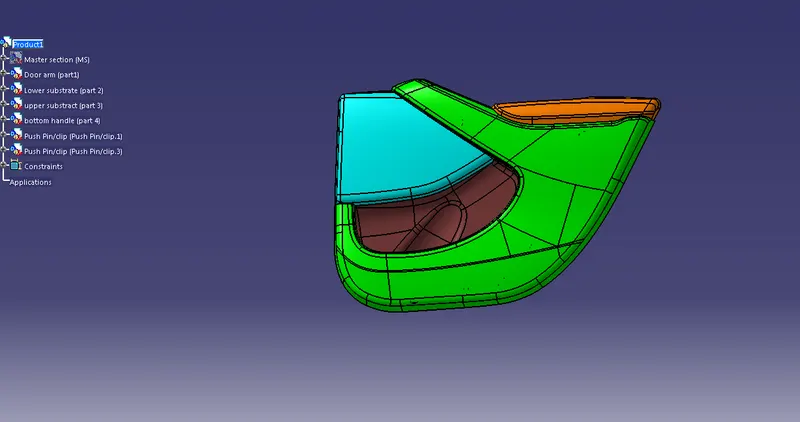
Geometrical Views for assembly:
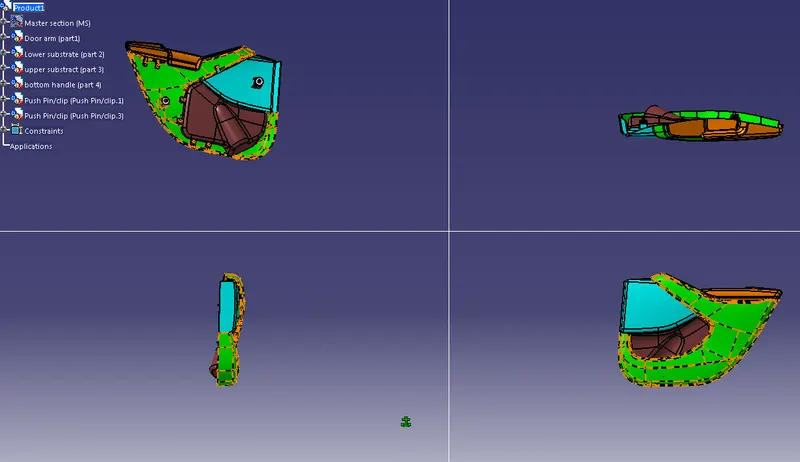
Result:
Creation of door trim panel individual component through the given Class-A surface and tooling axis for the given Class-A Surface and performed the Draft analysis is done successfully. And assembly them according to their position sucessfully.
Conclusion:
By observing the Draft Analysis of, finally concluded that the door trim panel component is manufacturable.