Design of backdoor
AIM: To design the back door of the car using the given styling surface and provide necessary reinforcements with the help of SIEMENS NX CAD software.
WHAT IS A BACK DOOR OF THE CAR?
The backdoor is one of the types of doors of the vehicle which are located next to the passenger seat which provides access to the luggage compartment. In most cars, these back doors are operated with the help of gas stay which in turn reduces the effort required to lift the door.
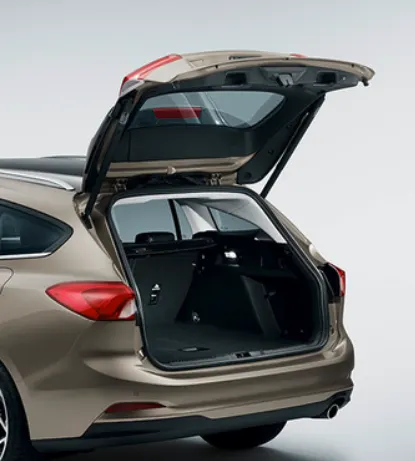
DESIGN CONSIDERATIONS OF A BACK DOOR
- Rear Visibility for safety and functionality
- Support Structures like Hinge and Gas stay / Power lifter
- Rear Crash regulations
- Boot Space
- Mounts for wiper motor and lights
- Strength criteria
- Draft Analysis
COMPONENTS OF A CAR
1.Upper Outer Panel
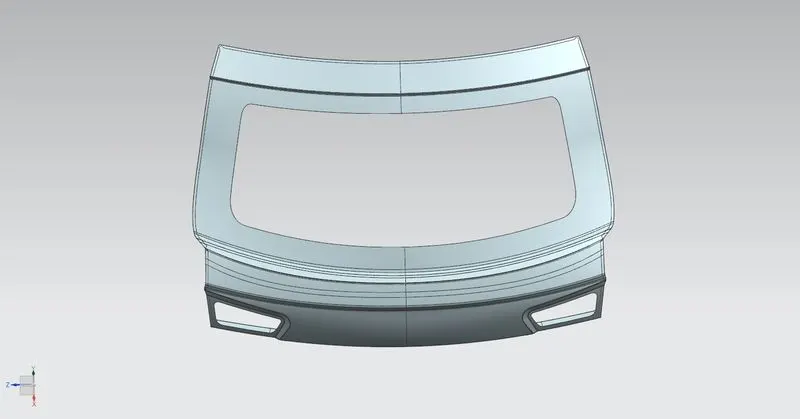
2.Lower Outer Panel
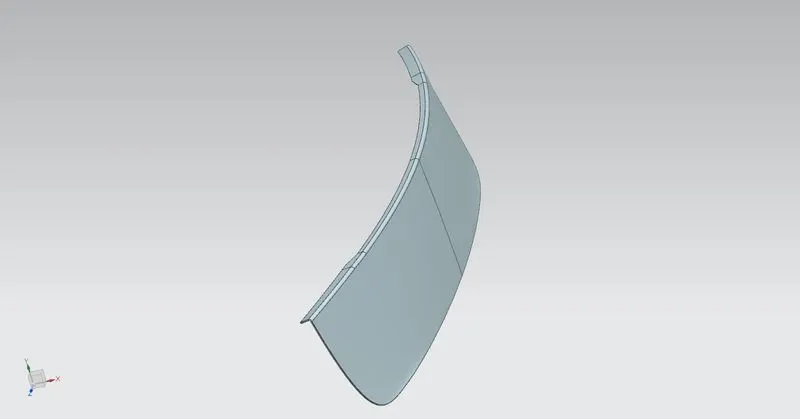
the outer part of the rear door and is mostly responsible for aesthetics of the vehicle. Outer and inner panels are connected by mastic sealants in center and by hemming process at edges. The outer door handle and in some cases, the number plate may also be installed on the outer panel of the back door. We have considered a 2-part outer panel for our design, upper outer panel and lower outer panel prospectively. Outer panel is manufacture by stamping sheet metal. Thickness for outer panel is 0.75 mm
3.Inner Panel
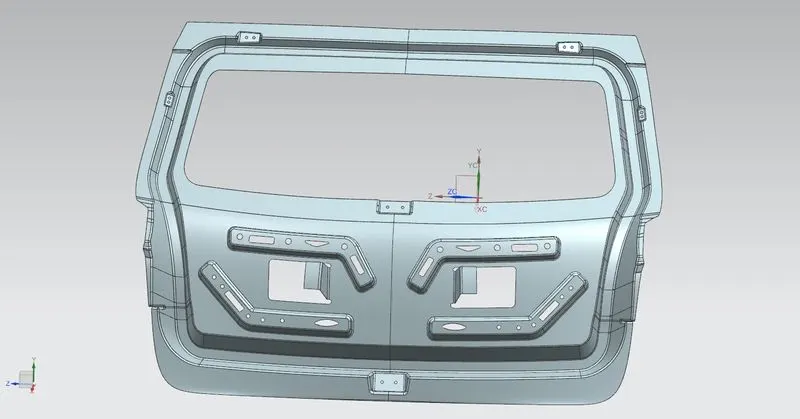
The inner panel is the inner part of the door. It is where most of the reinforcements and components are mounted. It is manufactured either by casting (aluminum) or sheet metal stamping (steel). Thickness of inner panel is 0.75 mm.
REINFORCEMENTS
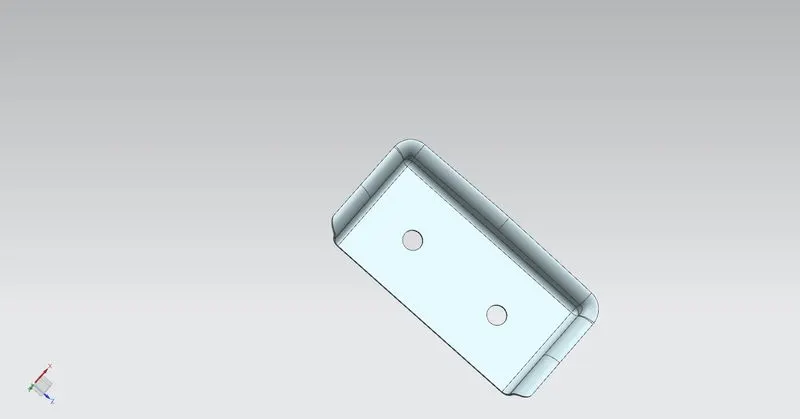
Reinforcements are provided to provide support and add extra material to the sheet metal part to increase its strength near component installation regions and minimize the impact of collisions. I have considered the following reinforcements during my design.
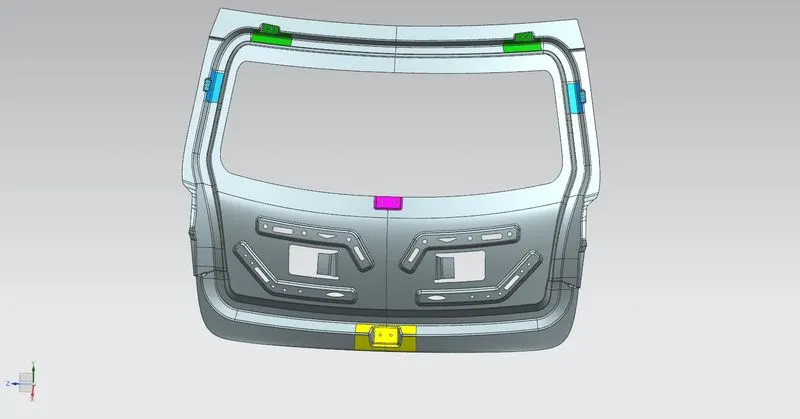
1.Gas Stay Reinforcement (Blue Color)
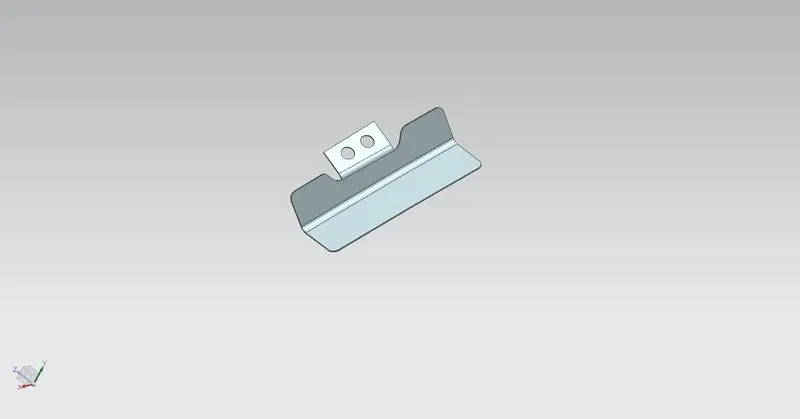
2.Hinge Reinforcement (Green Color)
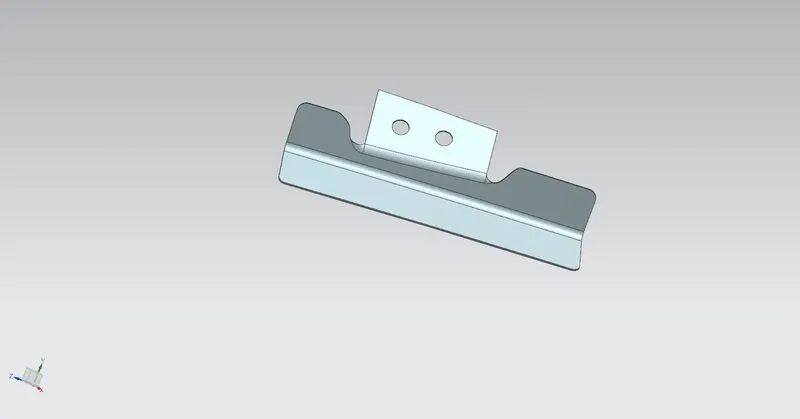
3.Latch and Striker Reinforcement (Yellow Color)
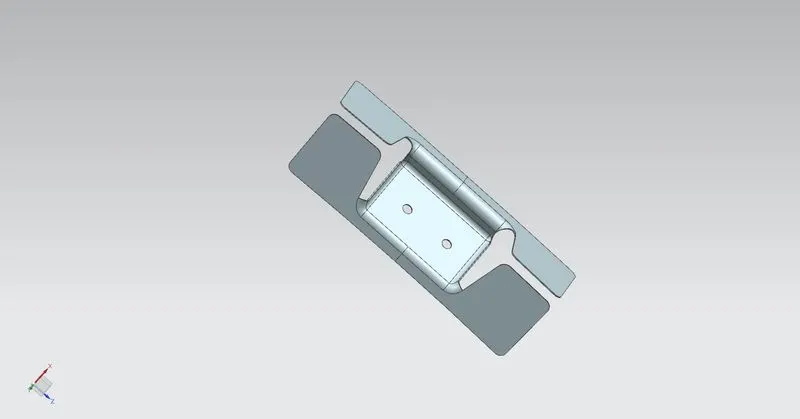
4.Wiper Motor Reinforcement (Pink Color)
DESIGN METHODOLOGY
The styling surface is provided and I considered top-down approach for this assembly modeling. First, I created the assembly and then create the components in the assembly file itself.
There are two parts of the Outer Panel, Upper Outer Panel and Lower Outer Panel which are separated by a flange and will be joined with help of spot welding.
It is necessary to check whether all the surfaces are properly joined with each other in the styling surface provided.
Upper Outer Panel
Lower Outer Panel
Tooling Direction
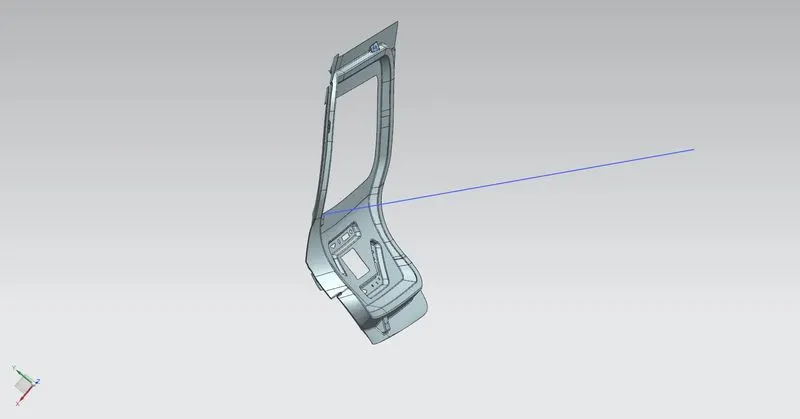
As there many cut outs and mountings to be made on inner panel, so we should provide a tooling direction for the reference to the manufacturing team.
Inner Panel
Latch and Striker Path
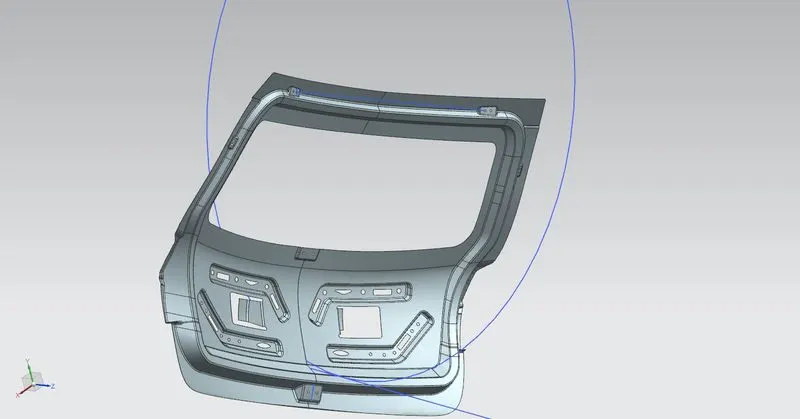
Embosses on the Inner Panel
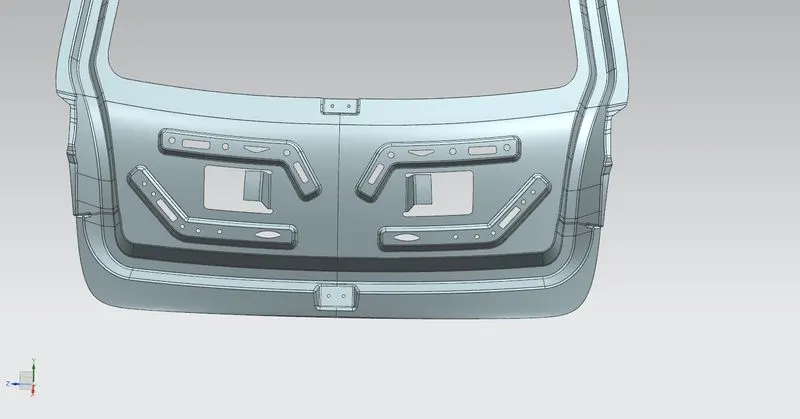
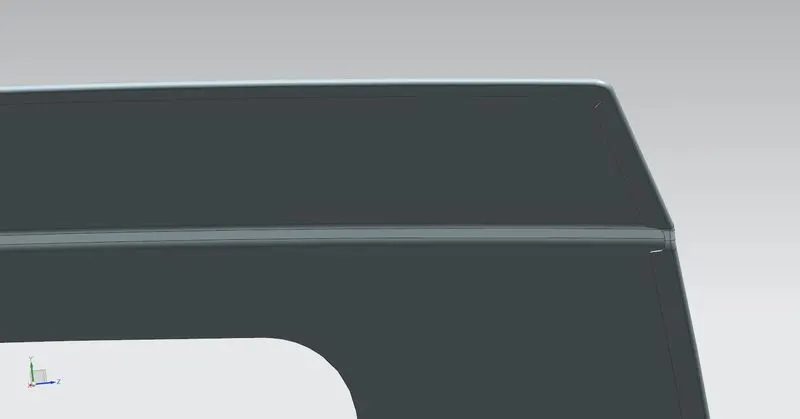
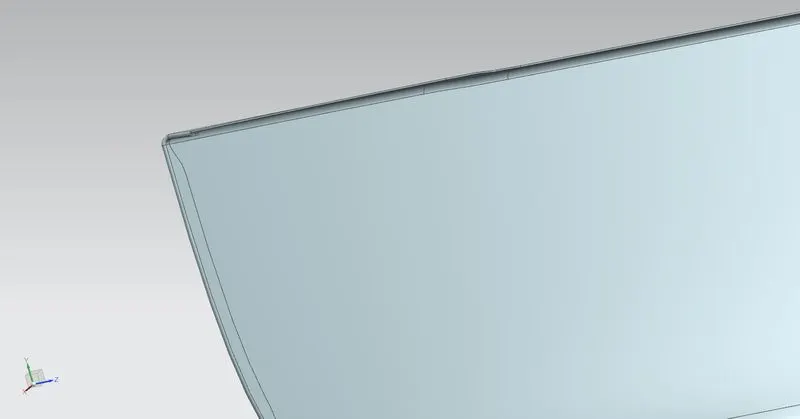
Hemming Reliefs in Outer Panel
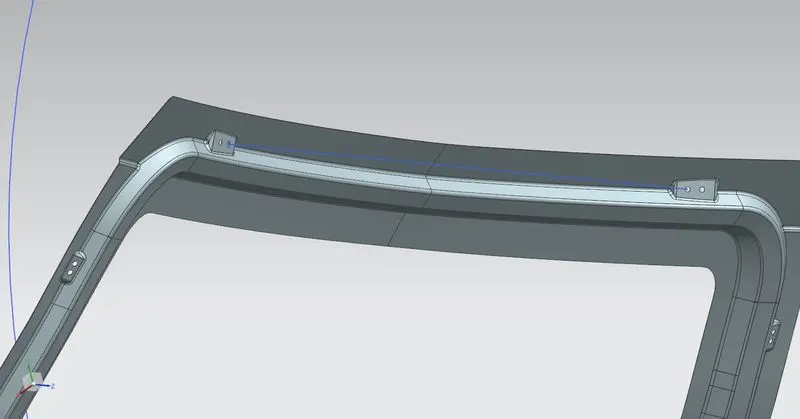
Hinge Axis
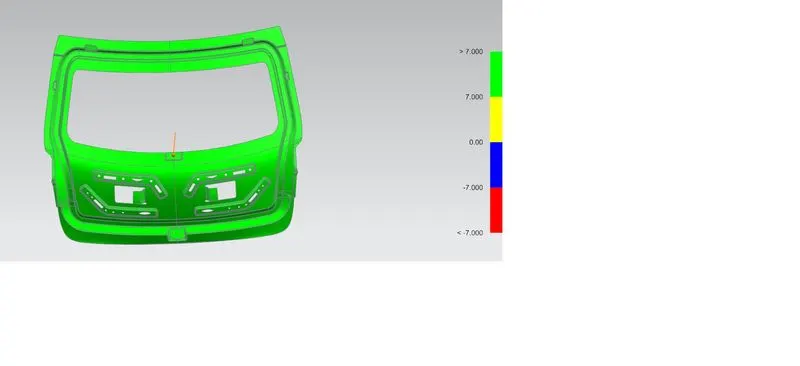
Draft Analysis
IMPORTANT COMMANDS USED
Wave Geometry Linker – With this you can create associative or linked copies of any entity of a part into other parts. It may be a surface, edge, curve, body, sketch etc. The changes made to the original entity will be reflected in the copy of that entity.
Extract Body – It is used to create an associative body by extracting faces, entire body or region of faces.
Bridge Curve – It helps to create a tangent blend curve between two objects. The objects may be edges or sketch curves.
Sew – It combines sheet bodies together by sewing their common edges. There shouldn’t be any gaps larger than specified tolerance.
Projecte Curve – It is used to project an existing curve /curve on a selected plane or surface by selecting a direction for projection.
Trim Sheet – It is used to trim sheets using curves, faces or plane.
Offset Surface – It allows you to offset one or more existing surfaces.
Offset Curve in Face – This command will allow you to offset particular edges or curves on selected faces.
Through Curves – It will allow you to create a body Through multiple sections, where it’s shape changes to pass through each section.
Law Extension – This command extends a curve or edge to create a sheet body at desired angle length by changing the rules under angle law and length law.
Trim and Extend – It helps you to trim and extend intersecting surfaces and make corners at their intersection.
Face Blend – It creates fillets between faces.
Edge Blend – It creates fillets on edges.
Extend Sheet – It will allow you to extend an existing surface to the required distance.
Emboss – Emboss command creates an embossing by modifying a body with faces created by projecting a curve/section along a direction. You can modify the emboss using options like endcap location and draft angle.
Mirror Geometry – As the name suggests, it allows you to mirror geometry about selected plane or surface.
Thicken – It is used to convert a surface to solid body by providing thickness.
Conclusion
The back of a car is designed using the given styling surface and provided necessary reinforcements.