Design of backdoor
Designing the tail gate (back door):
Objective:
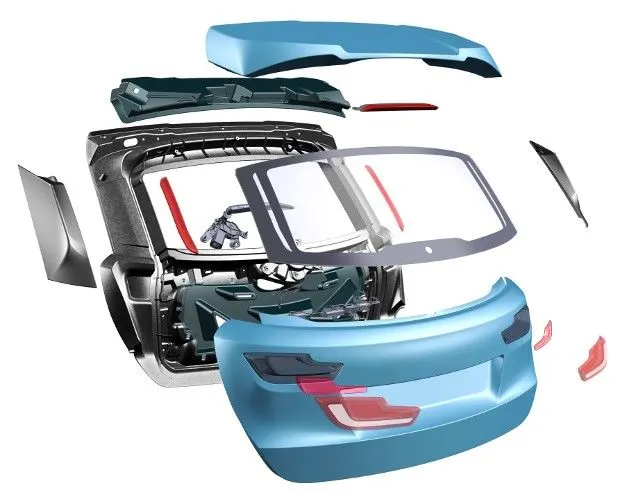
Develop the back door of the vehicle by following the design constrains and the parameters Use the provided styling surface to come up with a back door design, use appropriate design methodologies, and provide the necessary reinforcements and embosses, now let’s have a look at what the tail gate is and the requirements of itself.
Tool:
Simen's nx 12
What is tail gate?
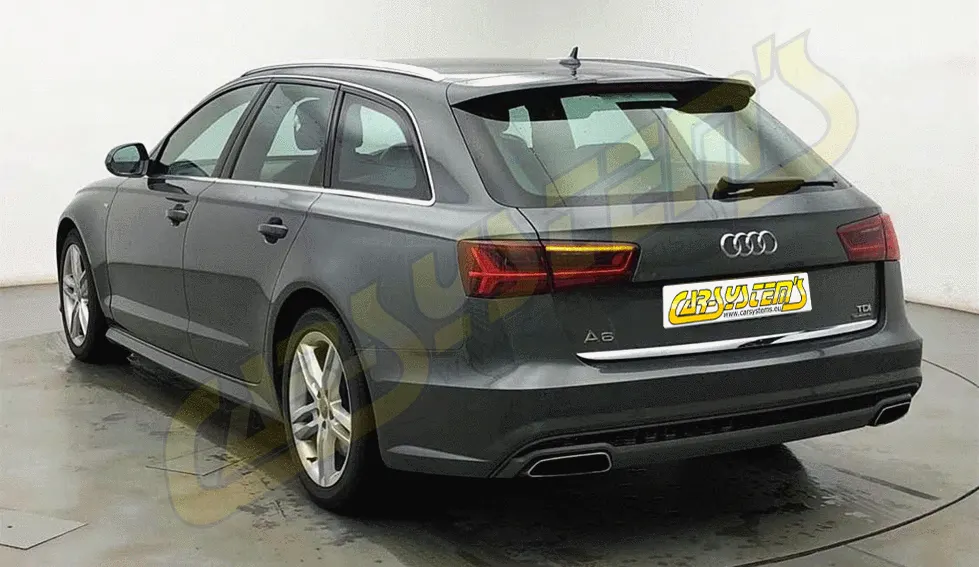
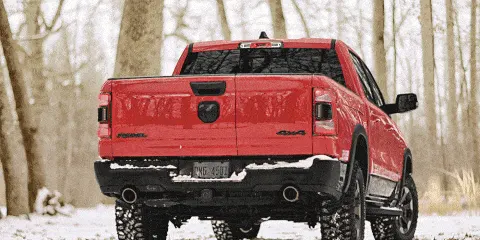
A tailgate is a door that provides access to the rear of a vehicle. It is a common feature on trucks, vans, SUVs, and other vehicles with large storage compartments. The tailgate keeps items loaded onto the back of the vehicle secure while it is stationary.
What is the purpose of tail gate?
The board or gate at the back of a wagon, truck, station wagon, etc., which can be removed or let down for convenience in loading or unloading.
What’re the different types in tail gates as per the design of the vehicle:
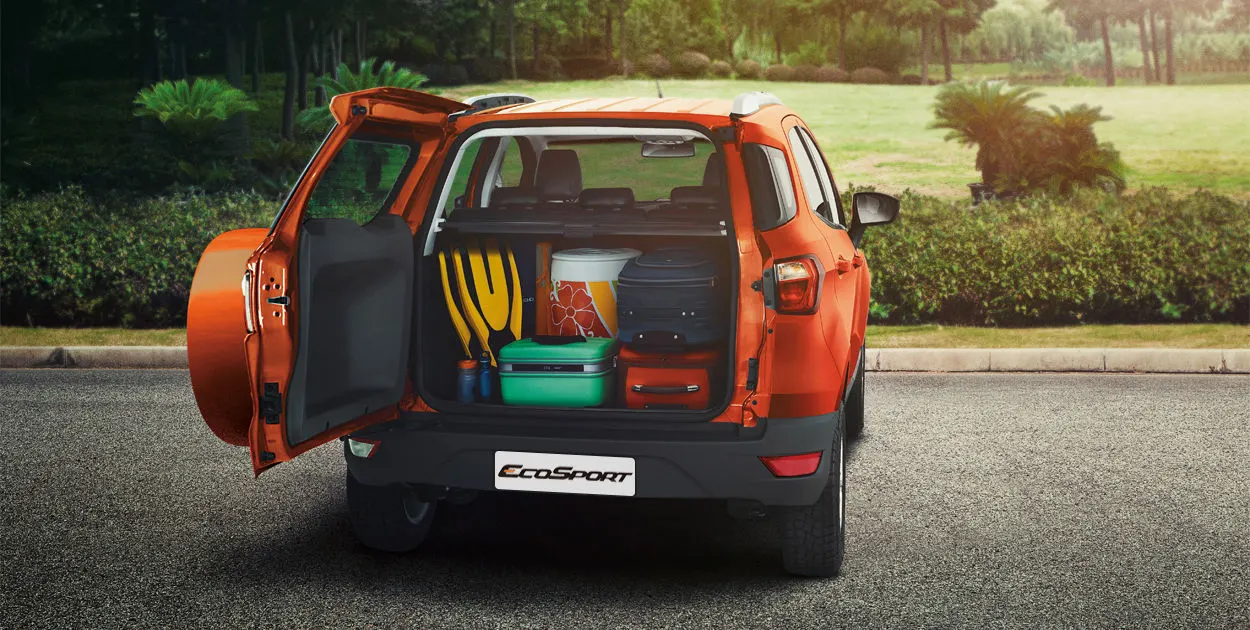
Side mounted opening:
And top mounted opening:
Conventional gas stays opening:
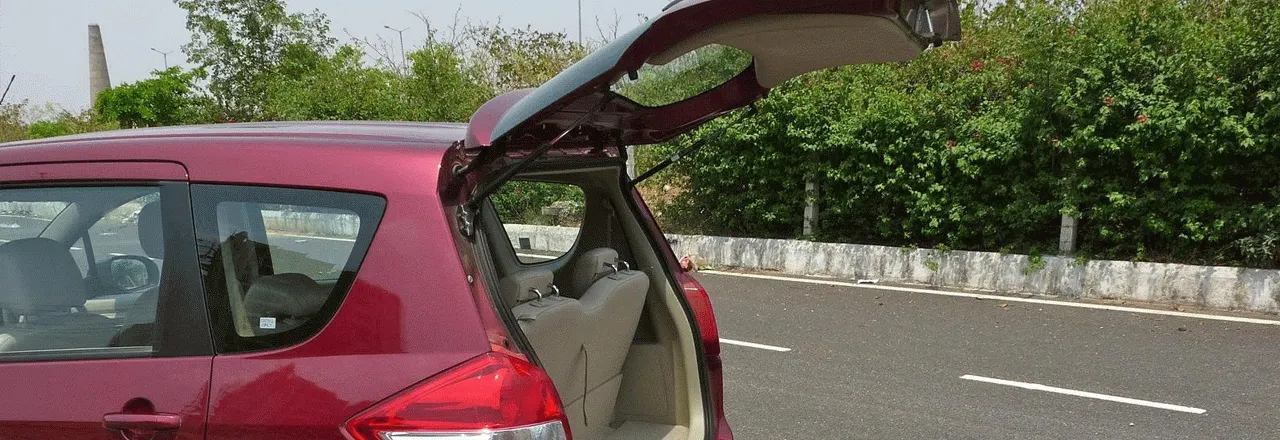
Power assisted lift gates:
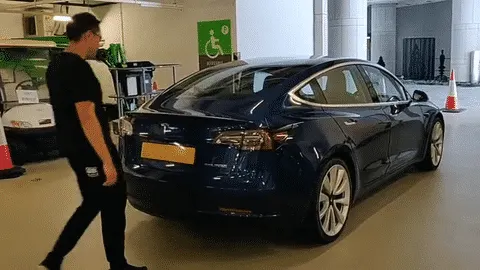
Components of tail gate:
- Back door outer panel upper
- Back door outer panel lower
- Inner panel
- Embosses for hinge, gas stay and wiper motor then latch and striker
- And the reinforcements
Manufacturing process which are comprises at manufacturing process of tail gate:
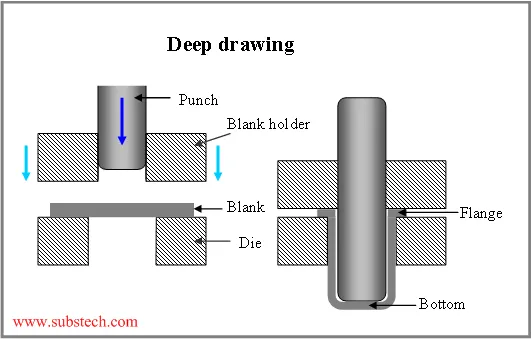
Deep drawing:
Deep drawing is a sheet metal forming process in which a sheet metal blank is radially drawn into a forming die by the mechanical action of a punch. It is thus a shape transformation process with material retention. The process is considered "deep" drawing when the depth of the drawn part exceeds its diameter.
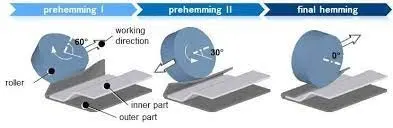
Roller hemming:
In roller hemming process, a robot guides a small roller across the flange to fold a sheet onto itself or onto another sheet. The process is oriented to low volume automotive applications, providing a distinct advantage in manufacturing closures and subassemblies with developed flanges.
Embossing:
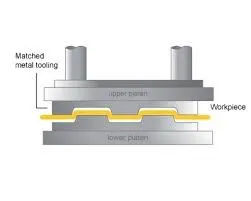
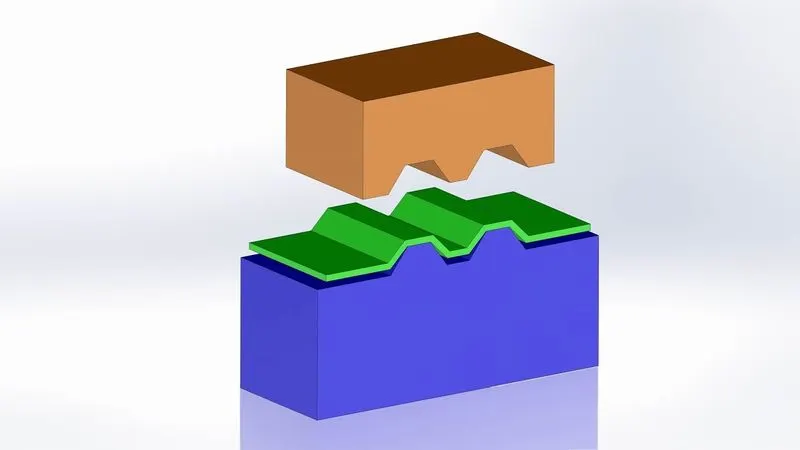
Sheet metal embossing is a stamping process for producing raised or sunken designs or relief in sheet metal. This process can be made by means of matched male and female roller dies, or by-passing sheet or a strip of metal between rolls of the desired pattern. It is often combined with foil stamping to create a shiny, 3D effect.
Blanking:
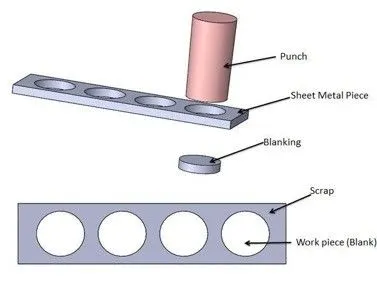
Blanking is a metal production process, during which a metal workpiece is removed from the primary metal strip or sheet when it is punched. The material that is removed is the new metal workpiece or blank.
Punching:
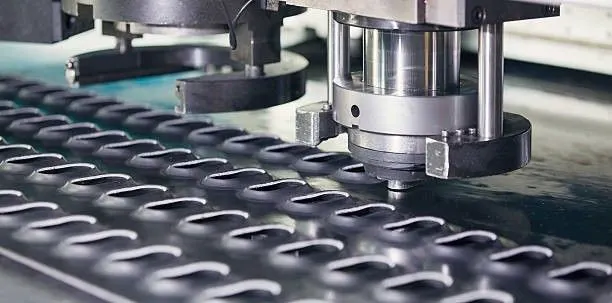
Punching is a forming process that uses a punch press to force a tool, called a punch, through the workpiece to create a hole via shearing. ... A scrap slug from the hole is deposited into the die in the process. Depending on the material being punched this slug may be recycled and reused or discarded.
brazing:
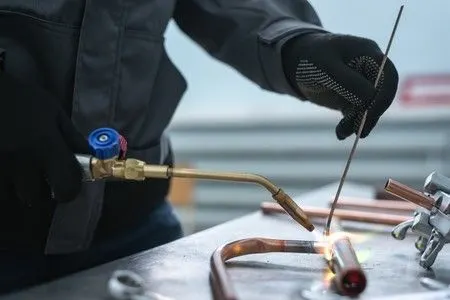
Brazing is a metal-joining process in which two or more metal items are joined together by melting and flowing a filler metal into the joint, with the filler metal having a lower melting point than the adjoining metal. Brazing differs from welding in that it does not involve melting the work pieces.
Materials that utilizing by oems for make tail gate:
Steel:
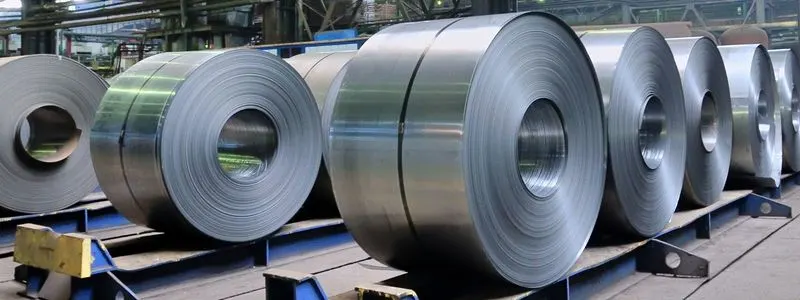
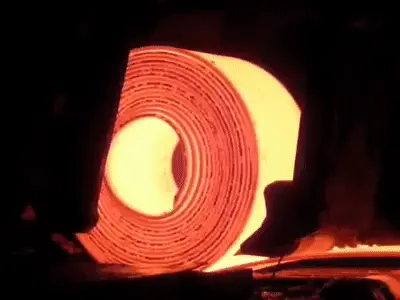
As for the steel it does need to be stamped and it does need a reinforcement then it does weigher than aluminum, also it does need uniform thickness for final it does have ample of additional components but when it comes to a point of manufacturing cost steel is buget friendly it might sound like draw bags but literally these are just teething troubles, so we decide according to the project that we are associated with.
Aluminum:
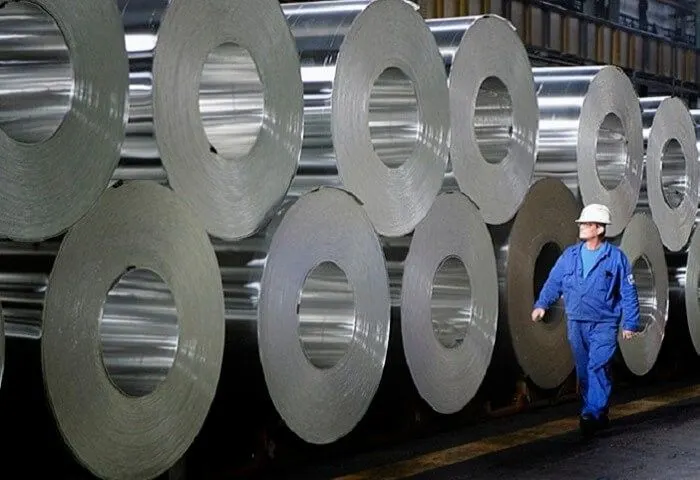
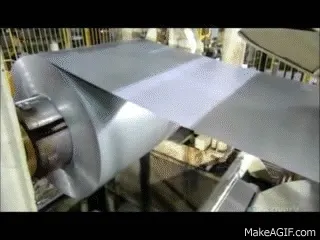
As for the aluminum it does can be casted then reinforcements can be neglected and it doesn't need even uniform thickness for last, we can shed some kgs in our product and less no of additional components however when it comes to a cost of manufacturing aluminum is bit of pricey than steel so budget of the oem can decide the what material we’re going to use for our product.
Things that considered by oems before design the tail gate:
- Design the required components
- Rear visibility
- Rear crash analysis and regulations then requirements and sealing and its function
- Joining process
- Manufacturing technique
- And hinge then gas stay functional requirements
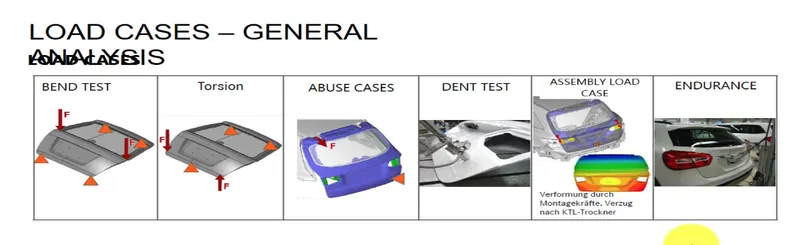
Here i’ve give you tube clip link of how durability test has run in oems
Desinging process:
Thickness of the parts which we’re gonna design is for inner panel = 0.75 mm
And outer panel upper and lower = 0.75 mm then reinforcements = 1 mm
Given data:
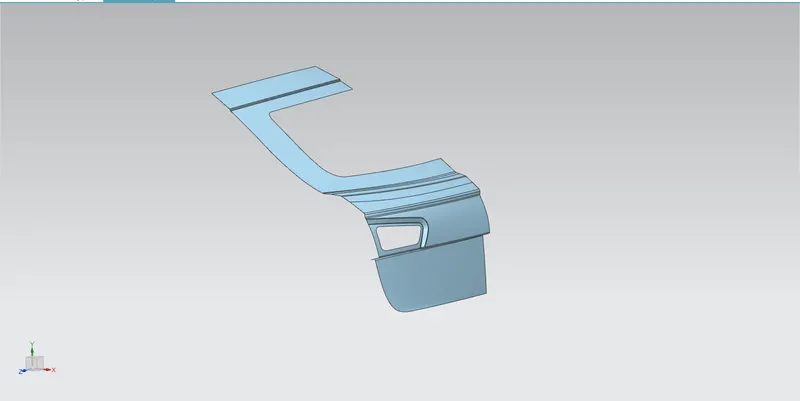
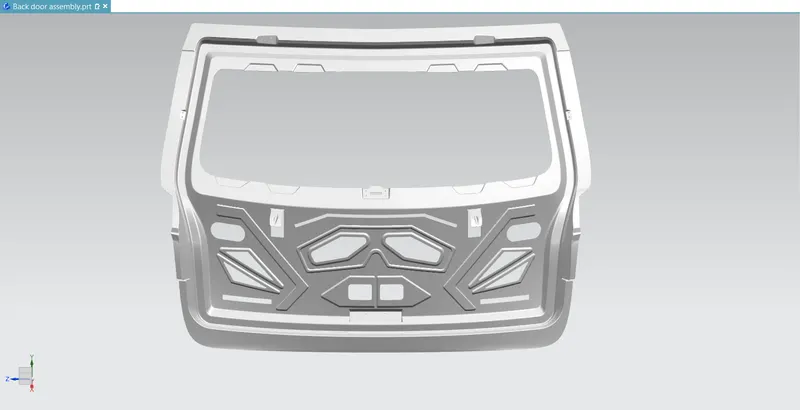
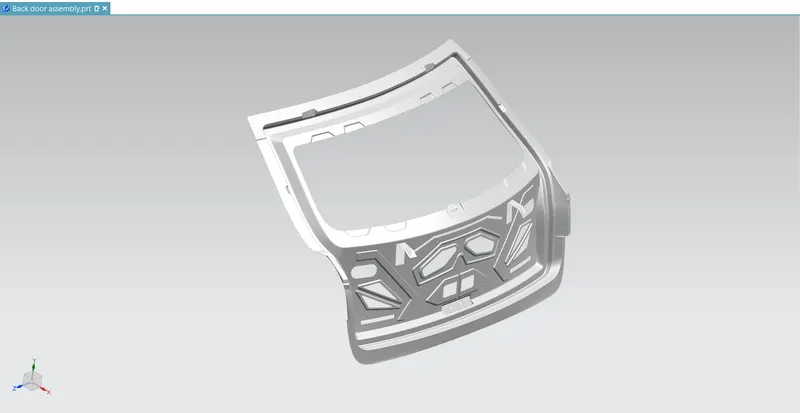
We got provided the class–A surface of the back door from the styling team so I was taking itself as my input for next there are lot of irregular surfaces were on the class-A surface so I rectified them all and divide the both surfaces as outer panel upper and lower parts.
Then I've created tooling direction for my inner panel to deep drawing process so whatever operations I’m done over the surfaces it has the tooling direction as the vector.
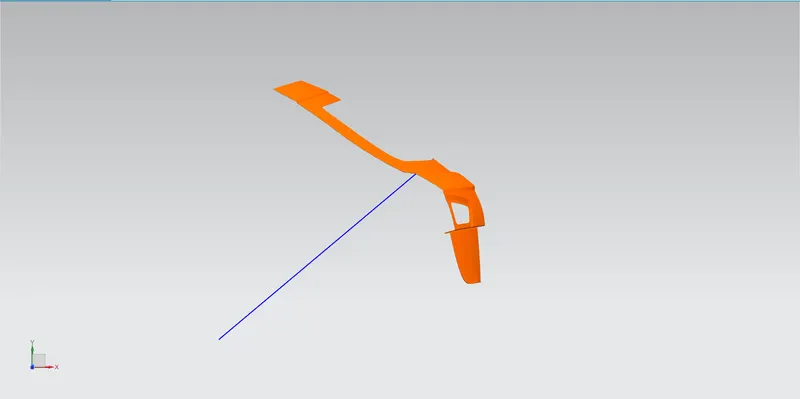
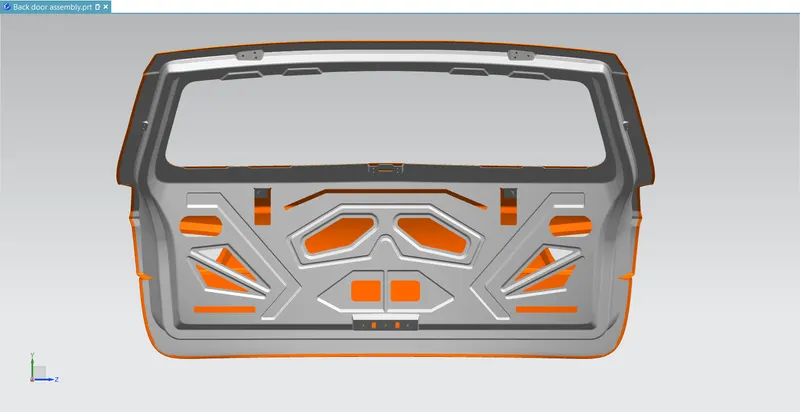
And for create the inner panel I'd offset the surface of outer panel upper and lower for sufficient distance then I began to create my sealing flange then I created the law extension to join the inner side and sealing flange and by trim and extend command I joined them both as together same thing I'm done on lower surface with law extension and trim and extend then studio surface as well then gave the embosses in required shape as well as cutouts as well.
Hinge emboss:
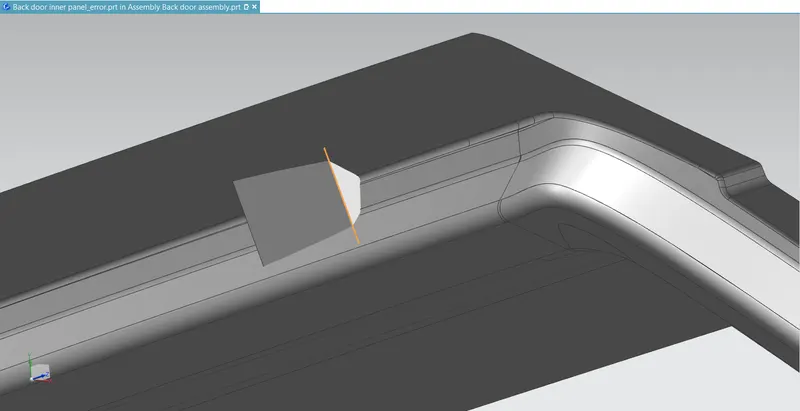
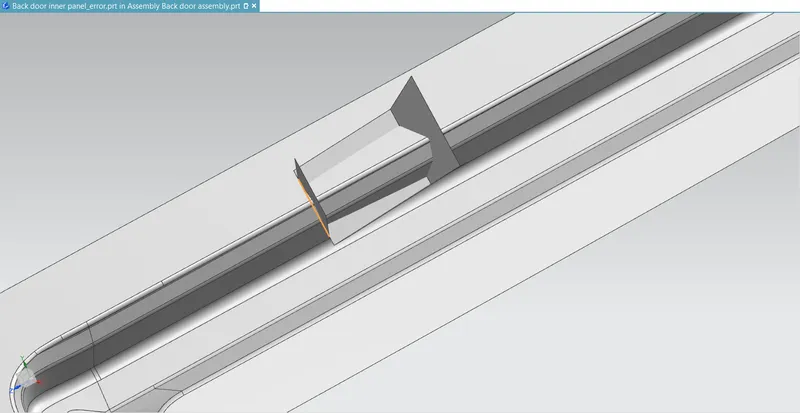
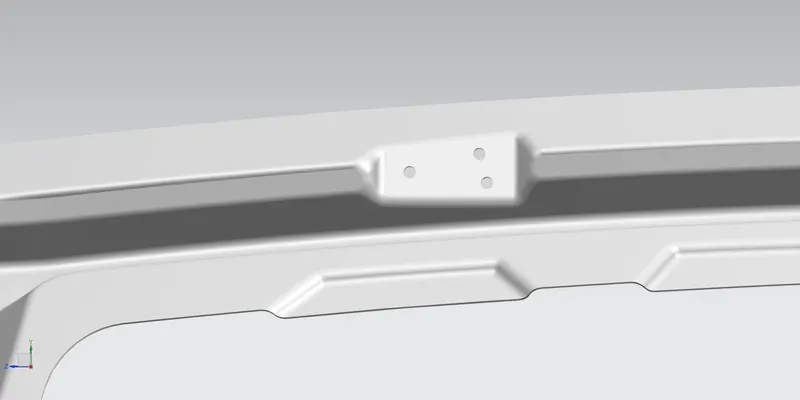
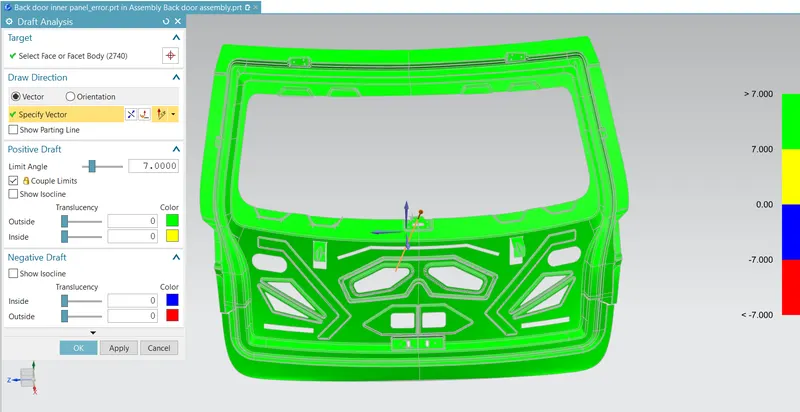
Hinge emboss is the region which is going to get attached with the surface of the door hinges i'd created this one like this by createing the line as i shown in the picture then created the surface by the line i created the by law extention command and the trim and extend operation i could bring the emboss with class apart flat surface and there's a reason benind why it has to get a flat surface is to proper mounting with a hinges and as we create the emboss we've to maintain some draft angle around more than 7 degrees of opening for evade the negative draft during thr draft analysis.
Gas stay emboss:
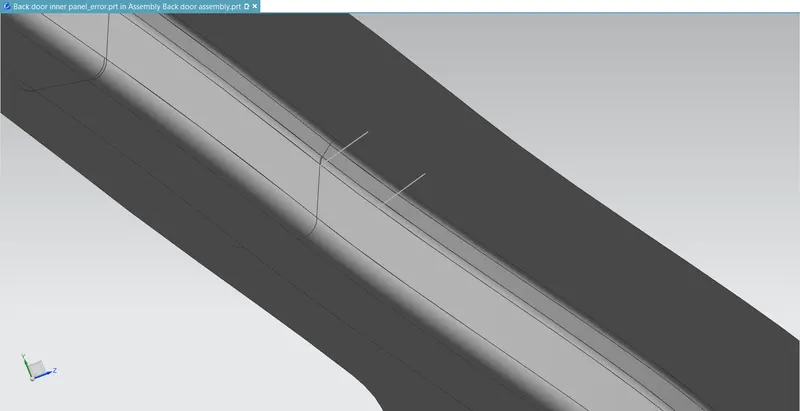
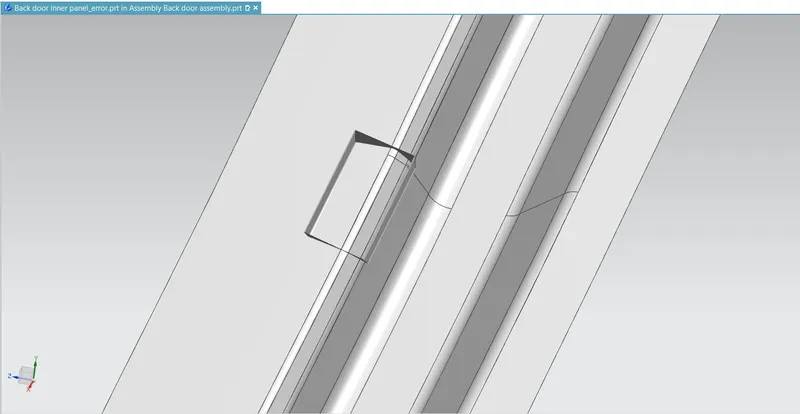
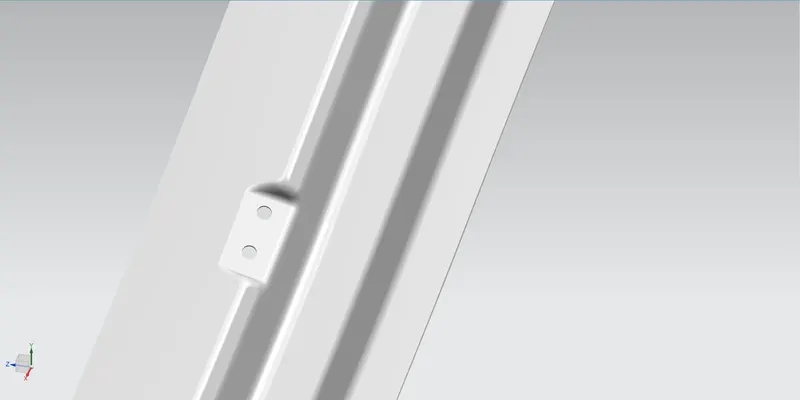
The exact procedure for what i'd done for create the hinge emboss can be followed for create the gas stay emboss, besides i utilized the other commands such as bridge curve,studio surface, gas stay emboss is the region where the one of end of gas stay going to get mounted the samethings i'd mentioned for the hinge emboss has to be followed while design the gas stay embosses as well and while design the gas stay emboss we need to make sure that it isn't too far from hinge emboss because provided we create the gas stay emboss too far from hinge emboss it does become as not able to give sufficient opening angle for our back door.
Wiper motor emboss:
Also in this case as well i'd followed the same procedure that what i followed for the hinge and gas stay embosses to create this one this is the area where the wiper motor assembly going to get assembled so we need to make sure that there has the flat surface as well because whereever we have the mountings we suppose to have the flat surface for proper and safe mountings.
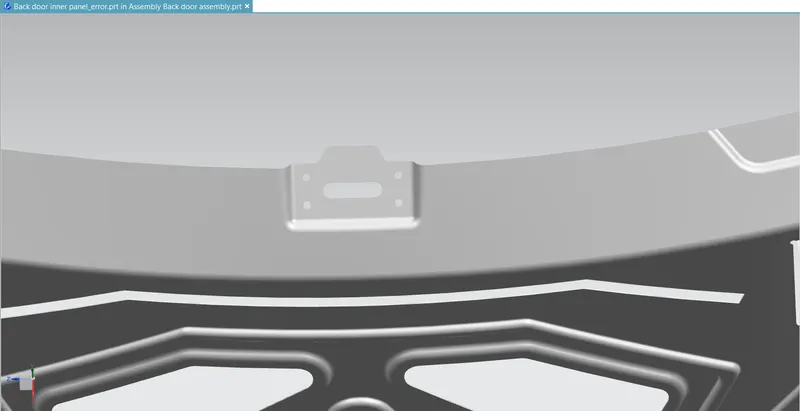
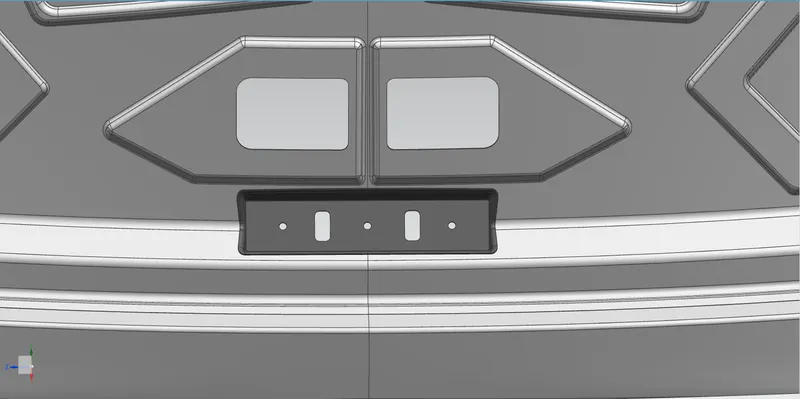
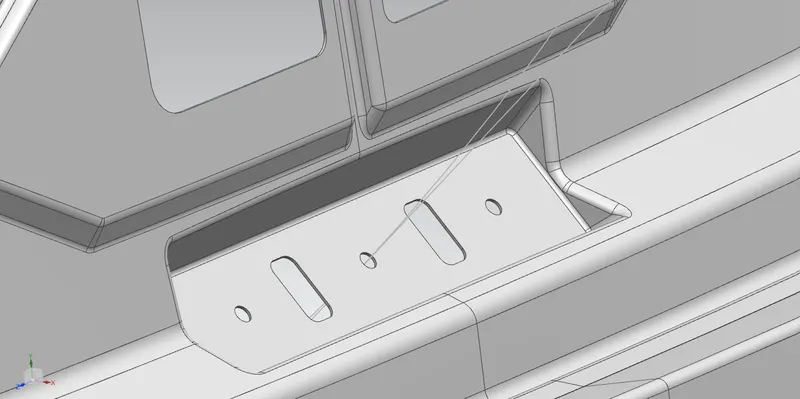
Latch and striker emboss:
As it comes to design the latch and striker emboss we can follow the exact procedure that we took for create the other embosses all of procedures will appropriate with design the latch and striker emboss however we've to make sure that it has a proper draft angle as well and it's a region of where the latch and striker assembly going to get mounted so, we got to make sure that we're making this emboss has created in secure location which is can be safer from environmental conditions such as rain,dust,rusting as well.
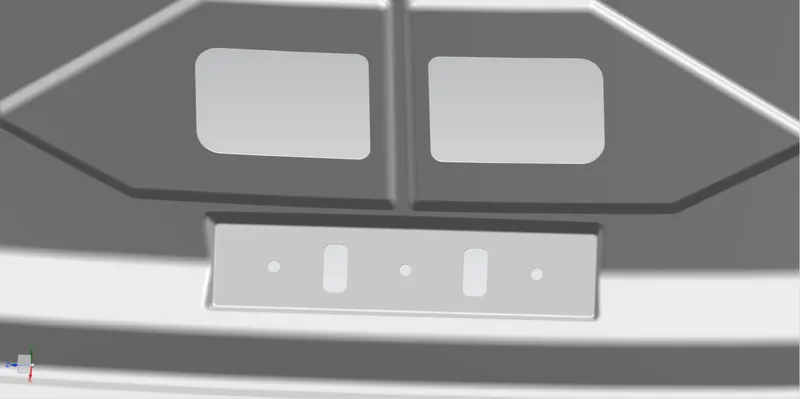
Mastic stays:
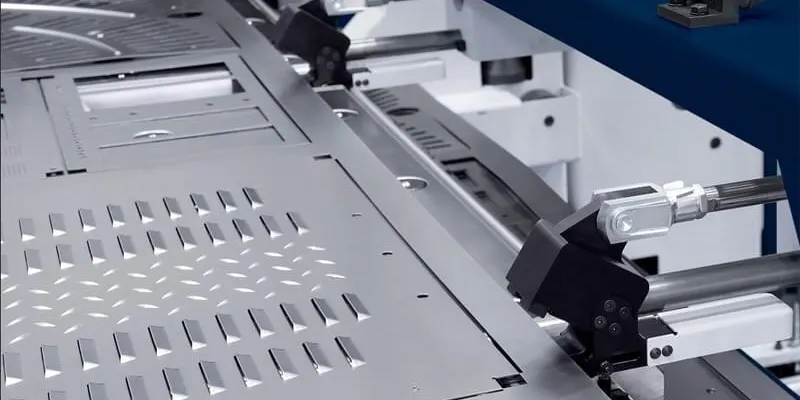
This one is making by the process called sheet metal stamping so, what sheet metal stamping is the one of sheet metal operation it also called pressing — involves placing flat sheet metal, in either coil or blank form, into a stamping press. In the press, a tool and die surface form the metal into the desired shape. Punching, blanking, bending, coining, embossing, and flanging are all stamping techniques used to shape the metal.
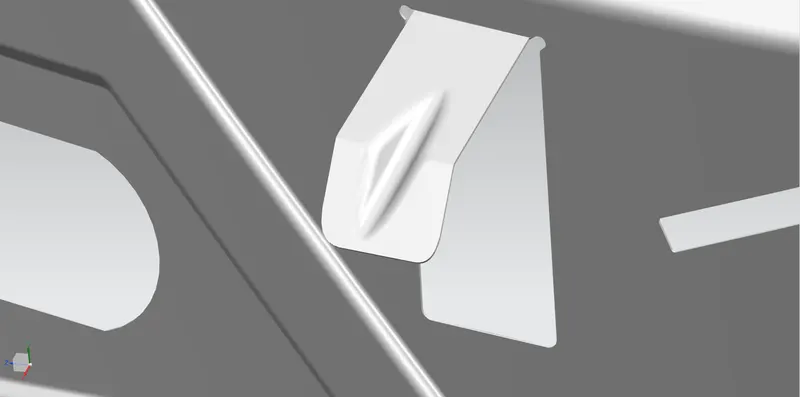
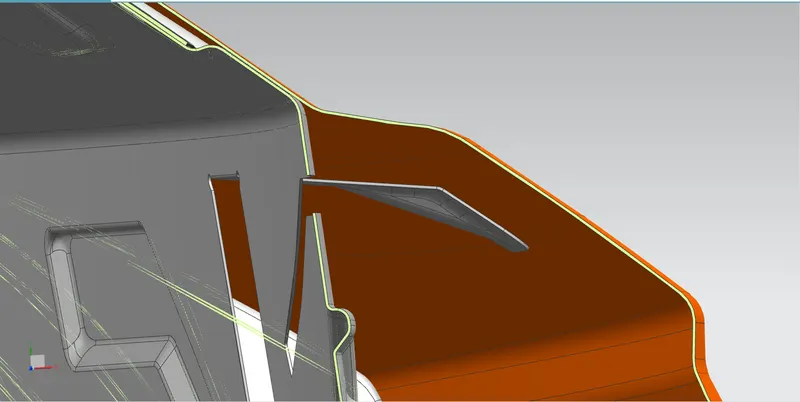
There's distance between mastic stay and outer panel upper is 5mm we give mastics in this region for the support of outer panel and avoid the metal-to-metal surface contacting as well as for nvh criteria as well.
Reinforcements:
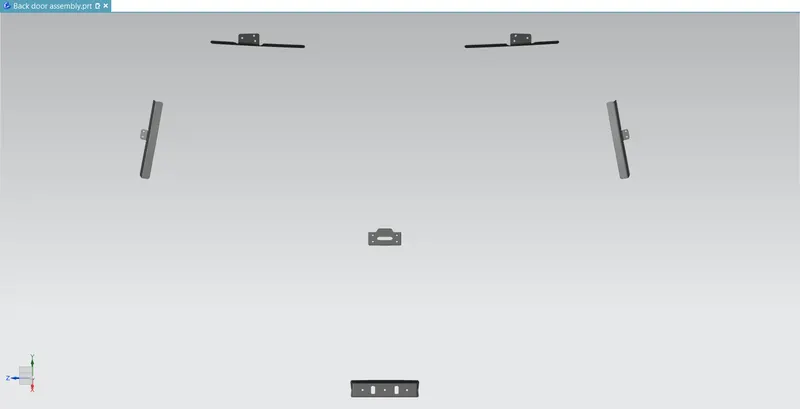
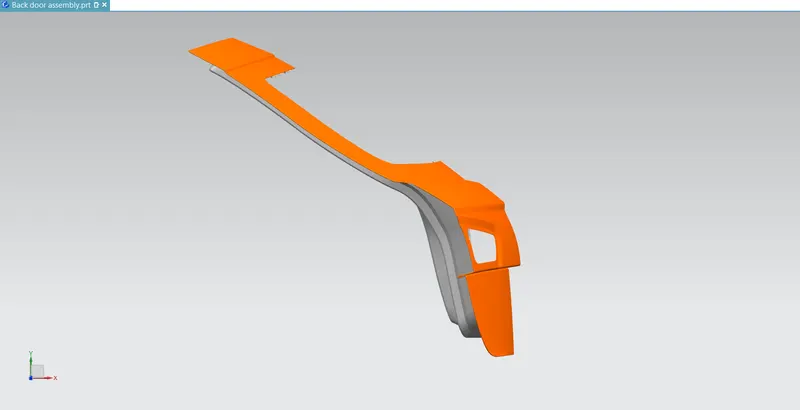
In the very beginning as we in the hood reinforcement can be used for additional support for inner and outer panel as well as it does play the role at nvh criteria as well, and I've created all required reinforcements by created the part in assembly then extracted the surfaces which I want to create reinforcement then I sewed every single surface then trimmed the unwanted surfaces then I gave a relief and thickened about 1mm.
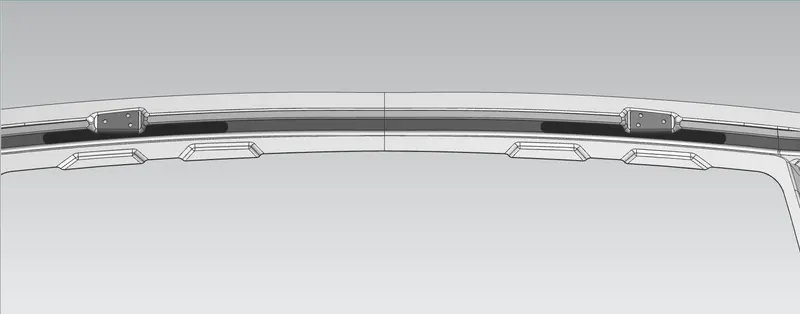
Hinge reinforcements:
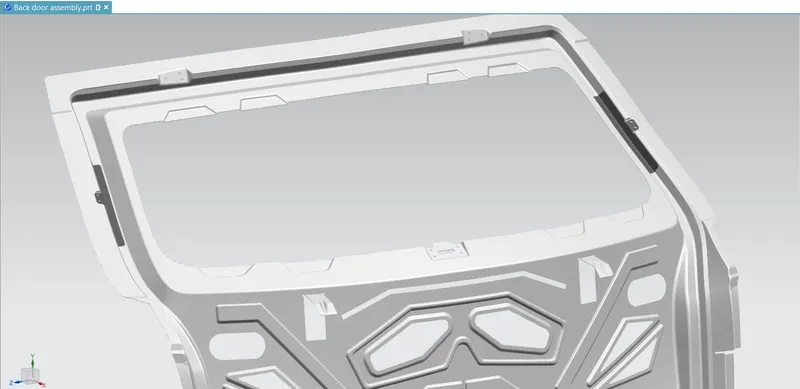
Gas stays reinforcements:
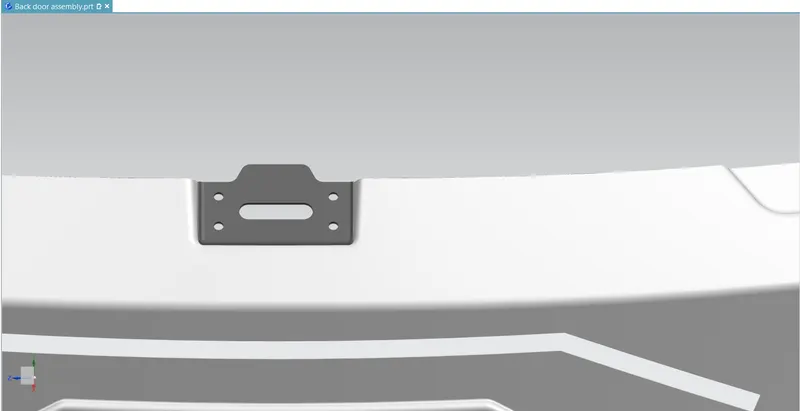
Wiper motor reinforcement:
Latch and striker reinforcement:
Over all view of all required reinforcements:
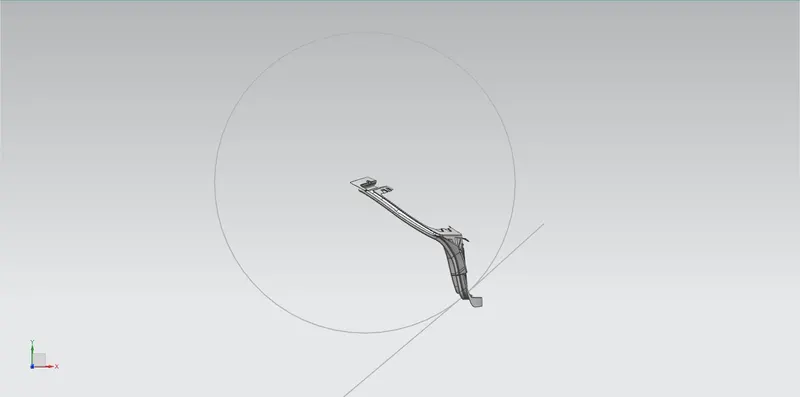
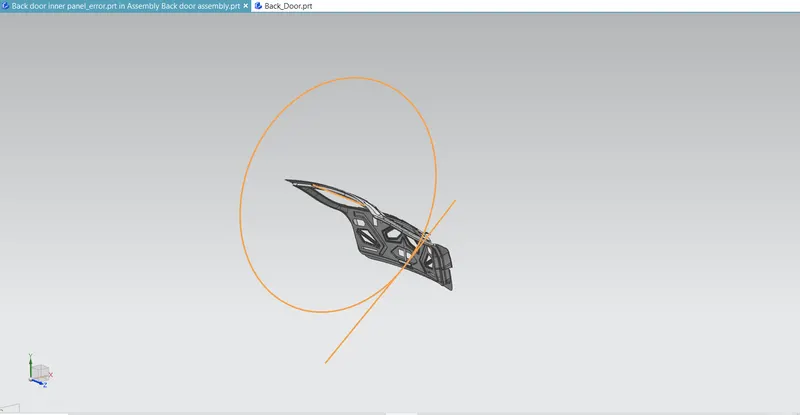
Trajectory of my tail gate:
It's also just as what we had look at hood trajectry is playing the roll in here also for indendify the trajectry motion of my back door i'd made line between the mid surface of hinge embosses and from the mid point of that line i'd draw a circle which is tangent to the line which is created on the middle portion of latch and striker emboss, since it's perfectly tangent with the line i'm pretty sure that i've got a proper trajectory motion for my latch and striker emboss, provided we don't it doesn't have the proper open and closing angle then it will become as quary from the buyers.
Draft analysis:
Before I send my design to my simulation Colleague, I suppose to make sure that my part can be produced as well as we need to make sure that there’s no negative draft on my inner panel eventually my part can be produced with single tooling direction so it does reduce manufacturing cost drastically, and my simulation colleague will feel better of myself as well.
Hemming and hemming reliefs:
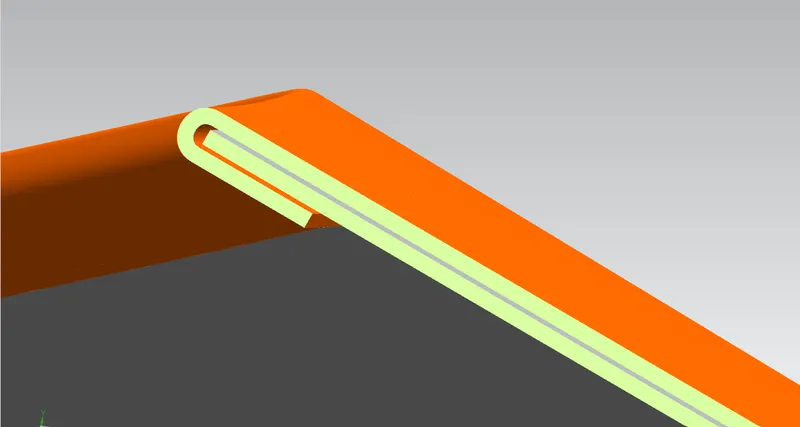
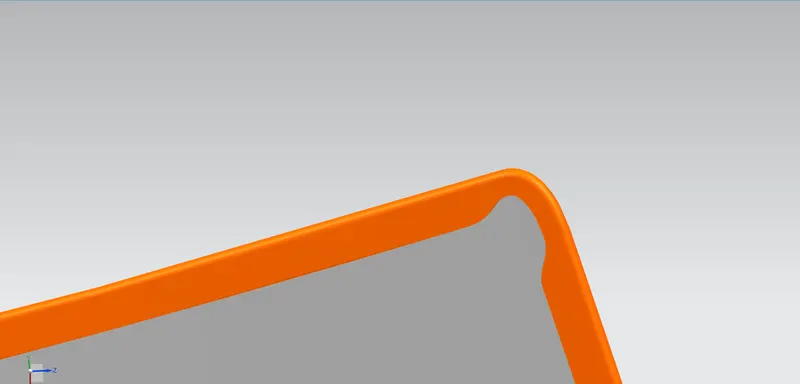
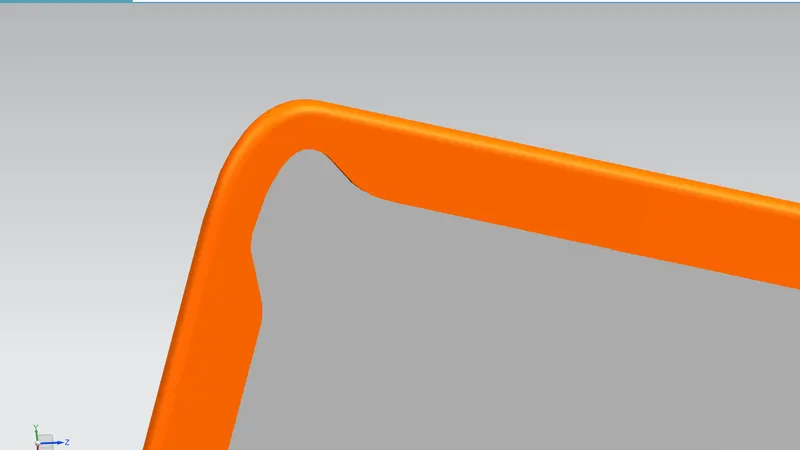
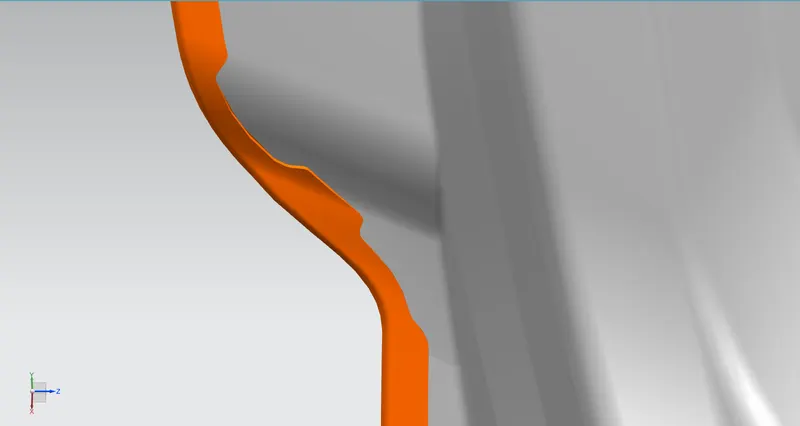
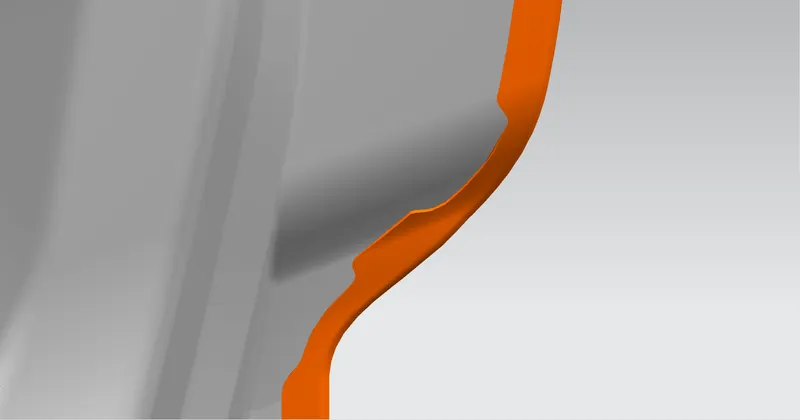
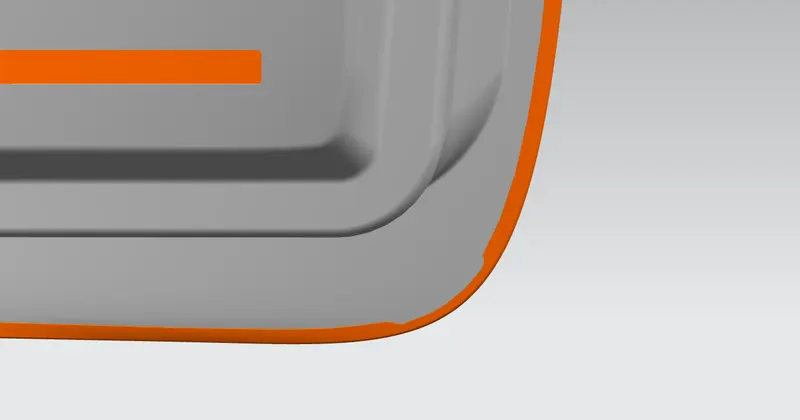
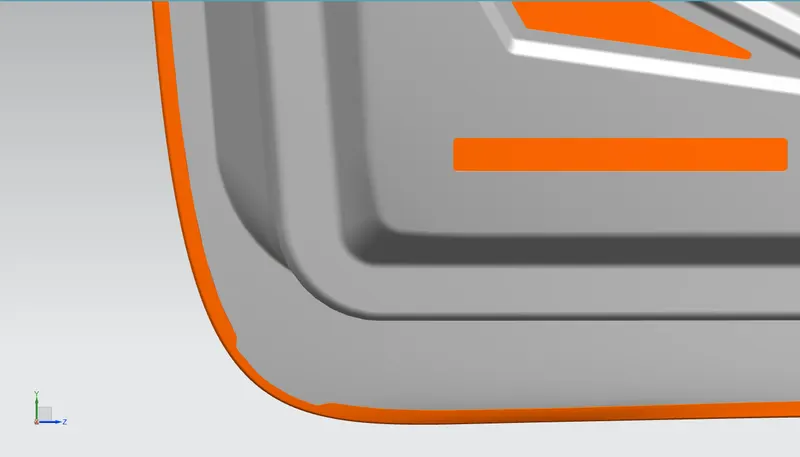
Hemming is one of the joining process which can be the alternate for spot welding in this case as a sheet metal engineer we've to make the parts as stronger though we got to take care of the aesthitic of the vehicle as well so, as we seen in the hood we will do the hemming process in this region and i've alrady mention what hemming is in beginning of my report how ever, let me give the definition so,Hemming is a forming operation in which the edges of the sheet are folded or folded over another part in order to achieve a tight fit. Normally hemming operations are used to connect parts together, to improve the appearance of a part and to reinforce part edges. and in this case it does have the proper gap 0.2mm between the surfaces and i've provide the reliefs as well because,hemming rollers doesn't get into the sharp and crusial areas so we have to give some tolerance for that regions to get a proper joining between the part and reinforcement moreover we can get off the stress then as we remove the sharp corners we'll get a smooth and sleek surface.
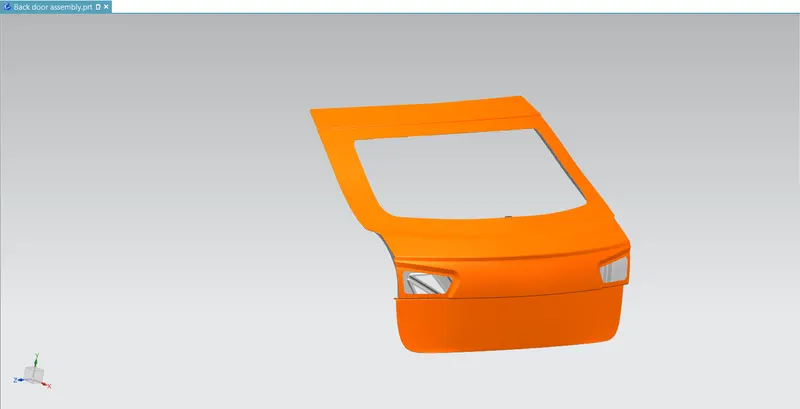
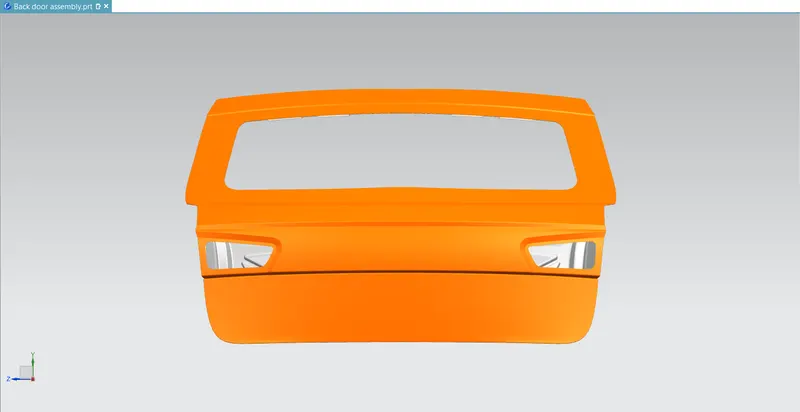
Assembled view of my tail gate:
Conclusion:
So, I've wrapped up my designing the tail gate with requirement parts and by following the industrial constrains, in this assignment I've learnt plenty of things in nx12 as well as it’s brought me the robust confidence of, I can design any component in the world as well as I got intellectual knowledge at utilizing appropriate tool.