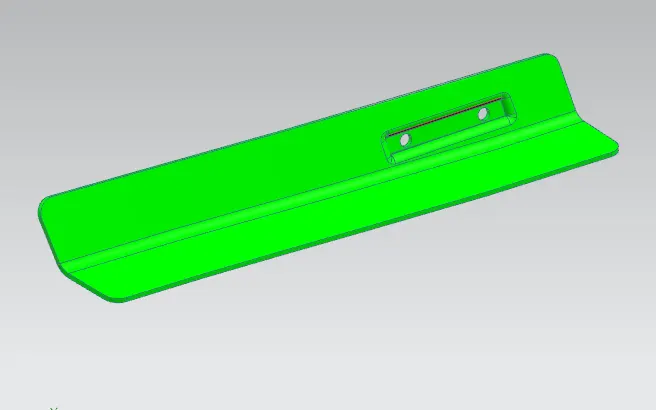
Design of backdoor
|
CAR BACK DOOR DESIGN |
Aim: To design the car's back door using the given outer class 'A' surface.
What is the back door of a car?
A door located at the rear side of a car gives access to the boot space to store luggage, spare wheel, etc. These doors can be operated manually or electrically powered. In most of the luxury cars door is electrically operated.
Types of doors based on working position,
- Top Mounted Door
- Side mounted Door
- Bottom Door
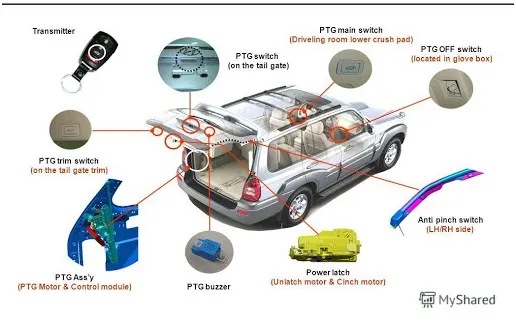
Gas Stay Powered:
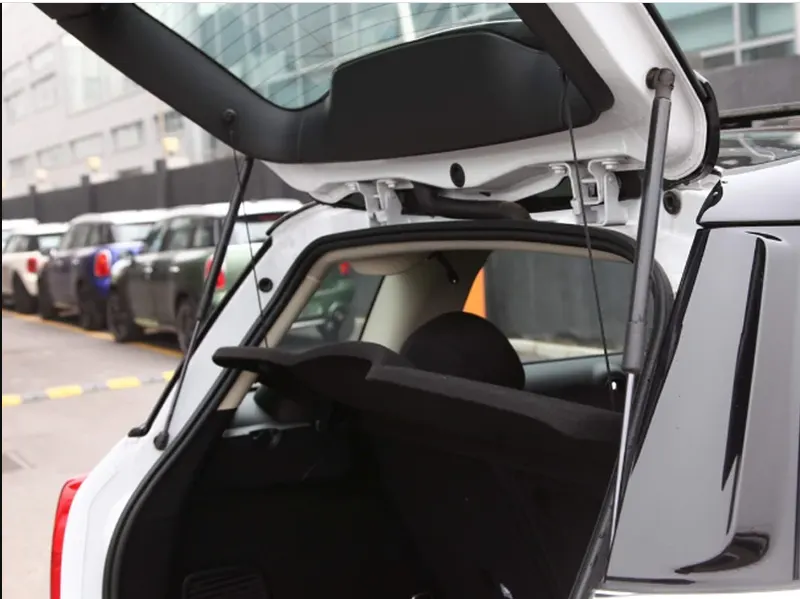
Electric Operated:

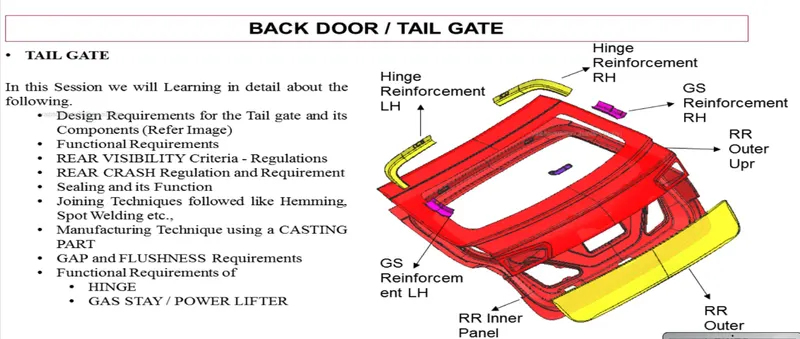
Back Door Assembly:
- Inner panel
- outer panel
- hinge and its reinforcement
- wiper motor reinforcement
- latch & Stricker and its reinforcement
Different Sheetmetal processes used for manufacturing the Back Door
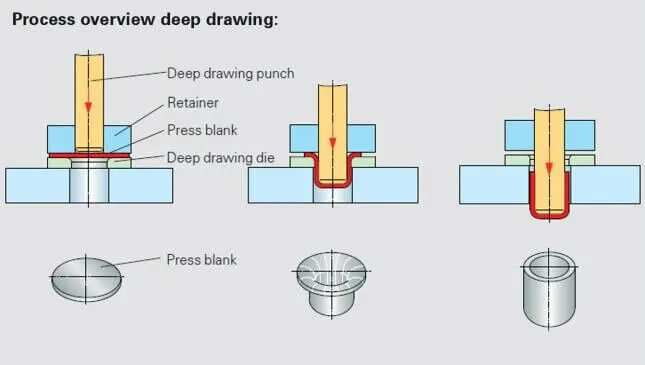
Deep drawing
1] Deep drawing is the process of converting blank sheet metal into cylindrical containers with a flat or hemispherical base.
2] It is the combination of the metal forming process & sheet metal process.
3] If the ratio of height to diameter of the product is greater than 0.5 then this drawing operation is known as deep drawing.
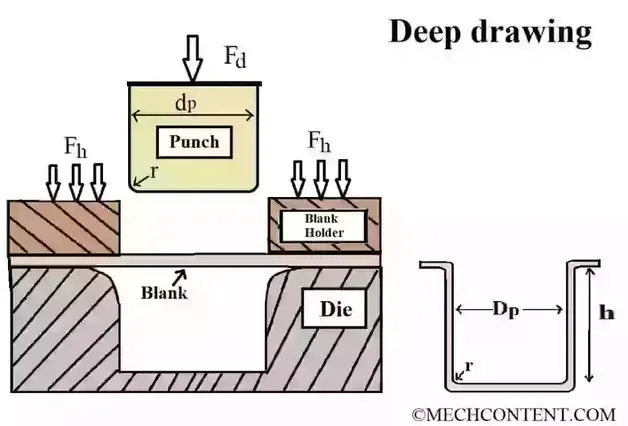
4] It consists of a die, punch, and blank holders.
5] After the application of drawing force, the blank material forms & takes the shape of the punch or shape made onto the punch. To avoid frictional resistance between the blank & die, the lubricant is used.
6] The applications of the deep drawing process are kitchen utensils, cylindrical containers, fire extinguishers, etc.
Process Diagram
Construction
The components of the deep drawing process are as follows:-
1) Blank:-
It is a workpiece on which drawing operation is done. It is a blank / Piece of sheet metal that is placed onto the die hole.
The diameter of the blank is denoted by
2) Punch:-
Punch is used to apply drawing force on blank material. The shape of the product depends upon the shape of the punch.
The punch pushes the blank material into the die cavity. The diameter of the punch is denoted by Dp.
3) Die:-
It is generally made of cast iron or tool steel. The blank bend over the circular shape of the die.
The clearance between the die and punch should be enough to allow drawing and avoid shearing failure in the material. The corners of the die should have fillets to avoid shearing.
4) Blank holders:-
Blank holders are used to hold the blank surface onto the die surface. The blanking force should be optimum.
If it is greater than the optimum limit then it will result in shearing at die corners. If it is lower than the optimum limit then it will result in a wrinkling defect at the flange surface of the product.
The optimum holding force is one-third of the drawing force.
Working
1) The blank sheet metal is placed onto the surface of the die.
2) The blank holders hold the blank onto the die.
3) The punch moves downward into the die operation to complete the drawing operation because of which blank material will form & take the shape of punch or shape on punch.
4) In some cases, a single-stroke drawing will not give the required height to the product. Hence, in this case, the drawing operation is done in several stages.
Deep drawing defects
The defects that occur in the material of blank are as follows
A] Shearing:- It is the shearing failure of blank material at corners of the die and corners of the punch. It occurs when the stresses in blank material overcome ultimate stresses.
B] Wrinkling / Earing:- When the blank holding force is less than the optimum holding force then it will result in wrinkling of the collar of the product.
Advantages
The advantages of the deep drawing process are as follows
- It is a quick operation.
- Skilled operators are not required.
- It is a simple process.
- It requires less setup cost.
Application
The applications of the deep drawing process are as follows
- Kitchen utensils
- Cylindrical & hemispherical-shaped containers.
- Fire extinguishers cylinders.
The deep drawings have two main categories.
- First-stage drawing: The blank shape of metal is placed on the die and in contact with the punch. When the metal specimen is a flat piece of sheet metal used in forming and finishing the product. Initially, the punch moves in a downward direction. The outer rim of the blank is subjected to pure radial drawing (drawing toward vertical axes) between the die and blank metal. The metal becomes a bend and slides over the die and also stretched between the die and punch. The metal in the vicinity of the punch head and contact with it bend and slide over radii and stretch over the punch head.
- Redrawing: The components drawn from the first stage again it is redrawn and converted into more depth to form a cup shape in the die and punch. The second stage of drawing is called redrawing.
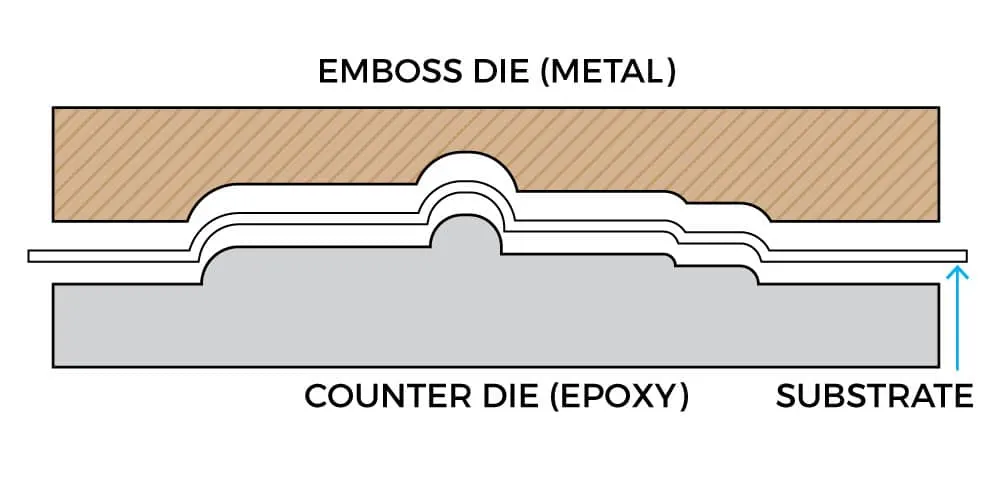
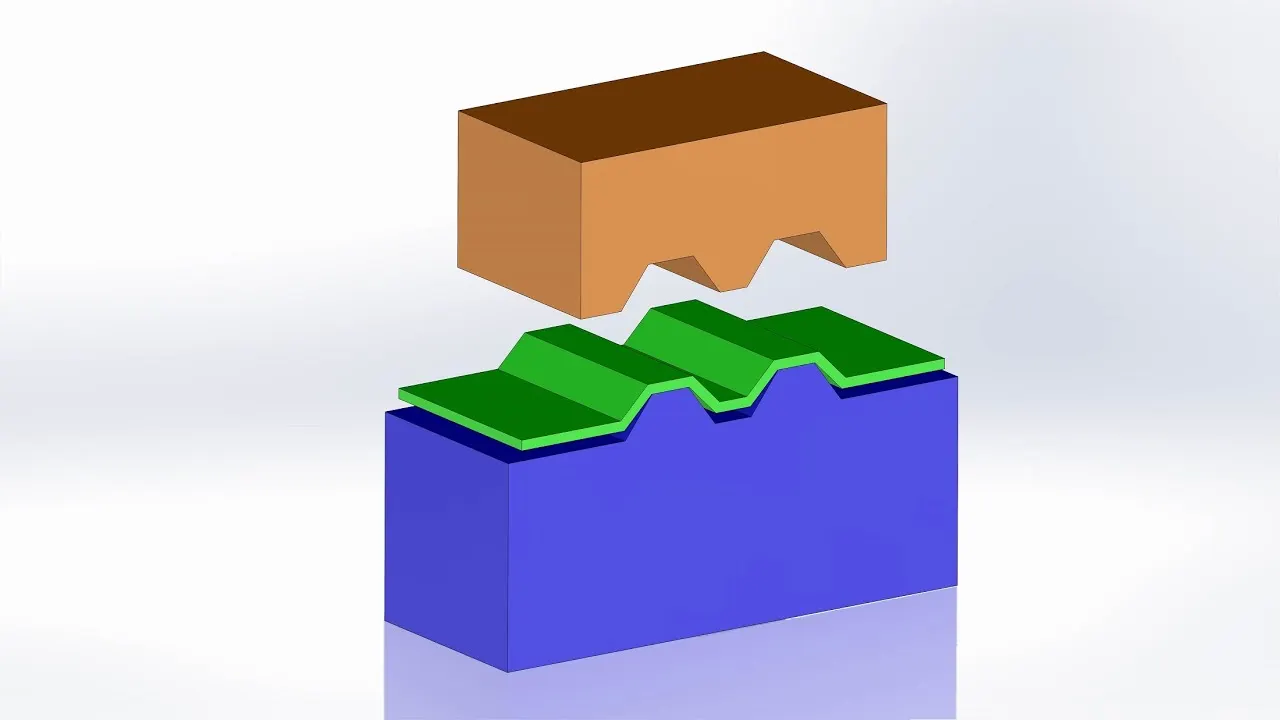
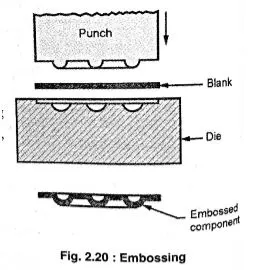
Embossing:
Embossing is a metal forming process for producing raised or sunken designs or relief in sheet materials using matched male and female roller dies, theoretically with no change in metal thickness or by-passing sheet or a strip of metal between rolls of the desired pattern. The metal sheet is drawn through the male and female roller dies producing a pattern or design on the metal sheet. Depending on the roller dies used, different patterns can be produced on the metal sheet.
Materials commonly used in the metal embossing process include:
- Aluminum alloys
- Steel alloys
- Zinc
- Copper
- Galvanized steel
- Brass
- Cold rolled steel
Hemming:
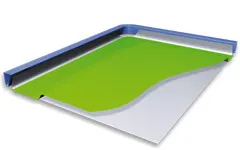
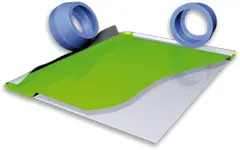
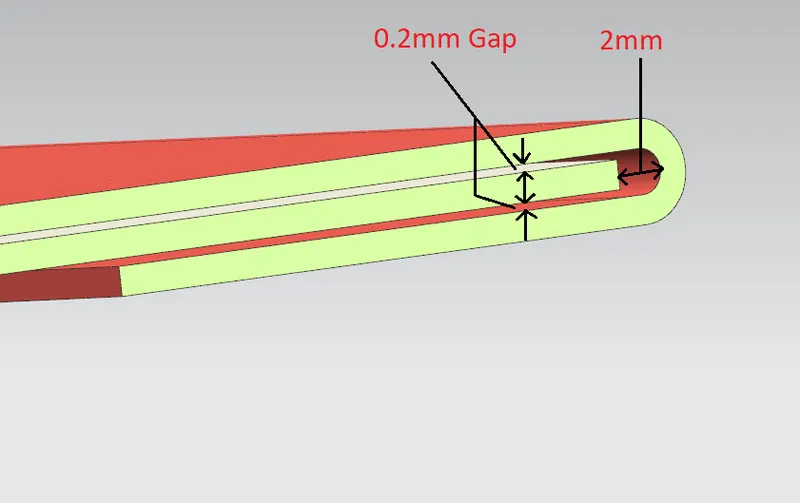
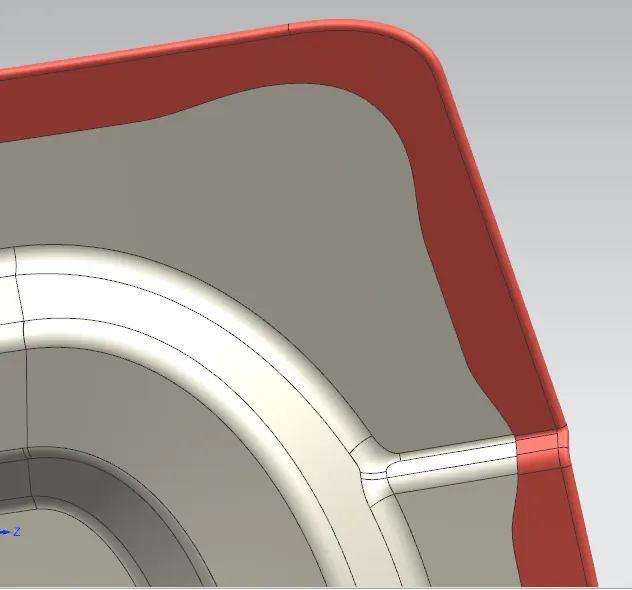
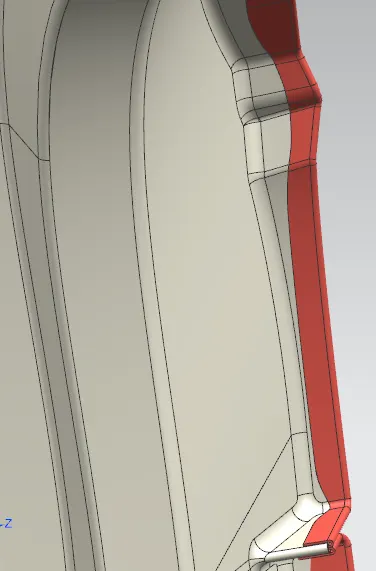
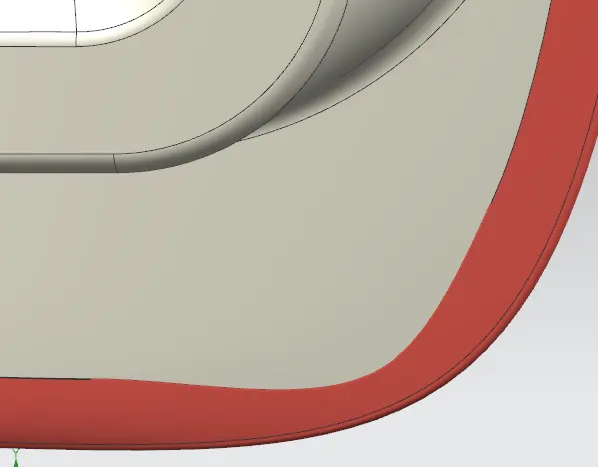
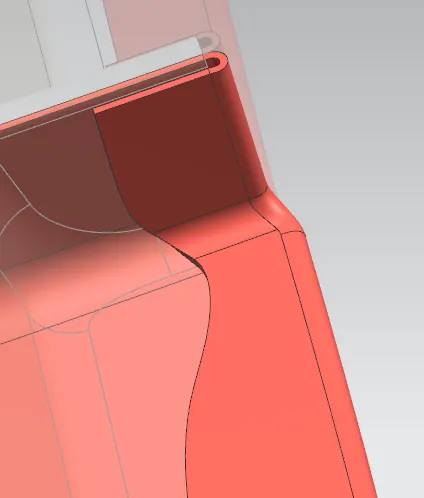
Hemming is a forming operation in which the edges of the sheet are folded or folded over another part to achieve a tight fit. Normally hemming operations are used to connect parts, improve the appearance of a part, and reinforce part edges.
In car part production, hemming is used in assembly as a secondary operation after deep drawing, trimming, and flanging operations to join two sheet metal parts (outer and inner) together. Typical parts for this type of assembly are hoods, doors, trunk lids, and fenders.
There are various types of hemming operations:
- Conventional die hemming: In conventional die hemming, the flange is folded over the entire length with a hemming tool.
- Roll hemming: In roll hemming, the hemming roller is guided by an industrial robot to form the flange.
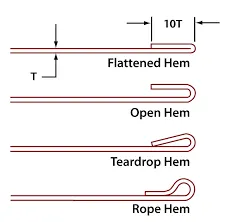
Open Hem: A Hem has a full round feature and a return flange. In open hem, the bend angle is equal to 180 degrees.
Teardrop Hem: In teardrop hem, the bend angle is greater than 180 degrees.
Closed Hem: Hems without any inside radius are called closed hem. Closed hems are not recommended if the hem geometry is to be painted or if the material used is SST or Aluminium.
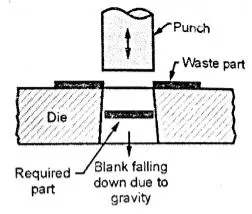
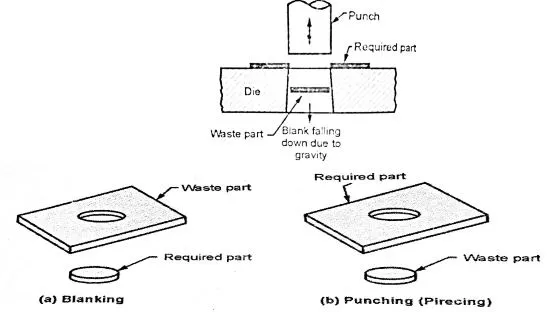
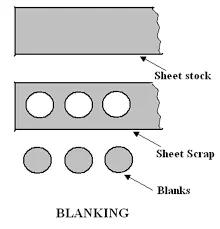
Blanking:
Blanking is a cutting operation of a flat metal sheet and the article punched out is known as blank. Blank is the required product of the operation and the metal left behind is considered as a waste.
Punching:
It is similar to blanking only the main difference is that the hole is the required product and the material punched out from the hole is considered as a waste.
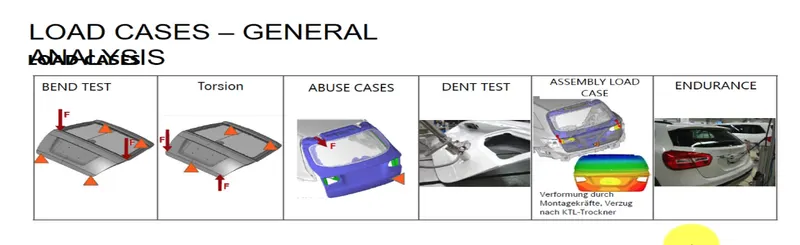
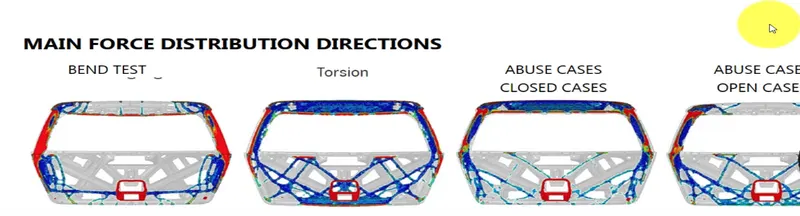
Door Test video link: https://www.youtube.com/watch?v=BcbBpNbziaU
Designing Back Door using the Nx CAD
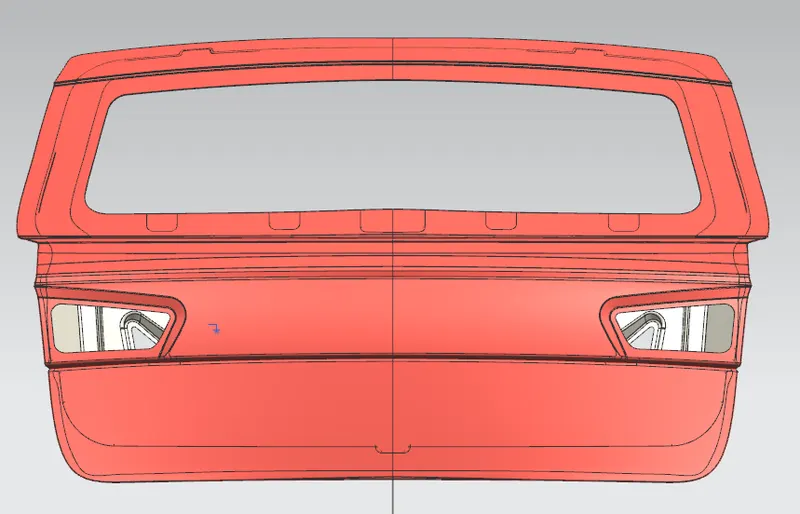
Given Class A surface
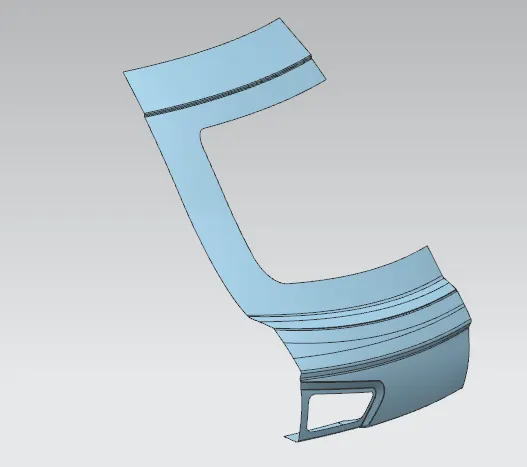
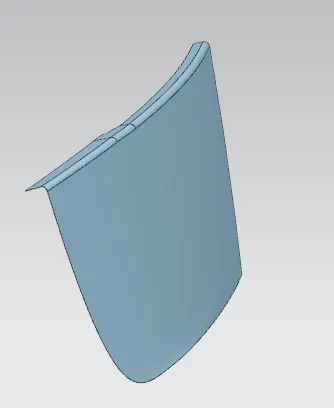
The given class A surface is divided into two parts one is
1. Door Outer Upper Panel.
2. Door Outer Lower panel.
Now observing the given class A surface if any type of defect is available in the class A surface then try to remove that or repair the Given class A surface As we observe the given class A surface some irregularities are available in the given class A surface now we are going to repair the Given class A surface
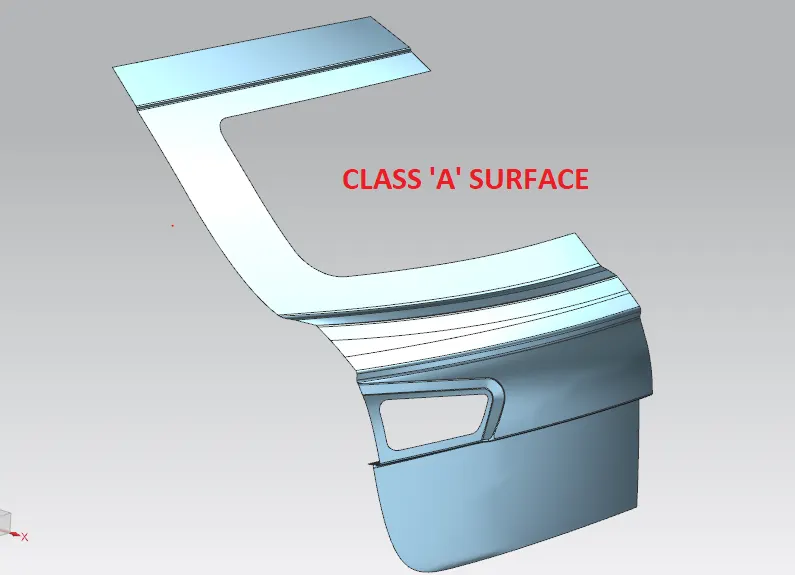
Given surfaces have to be repaired according to the smoothness.
1. Door Outer Upper Panel.
2. Door Outer Lower panel.
First, we need to create the Tooling direction for the Deep drawing operation. It shows that all the operations like embossing are done by considering this vector direction and it will help in manufacturing the part,
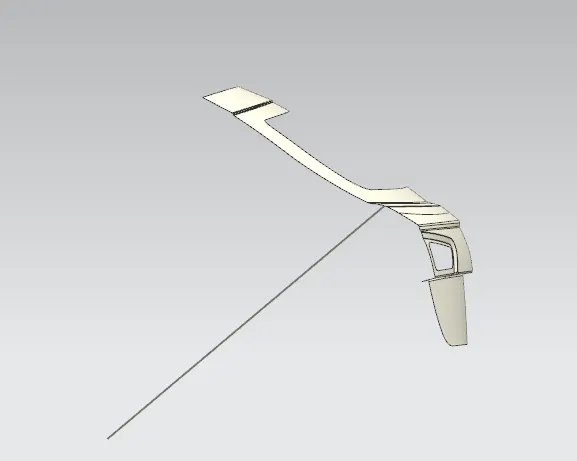
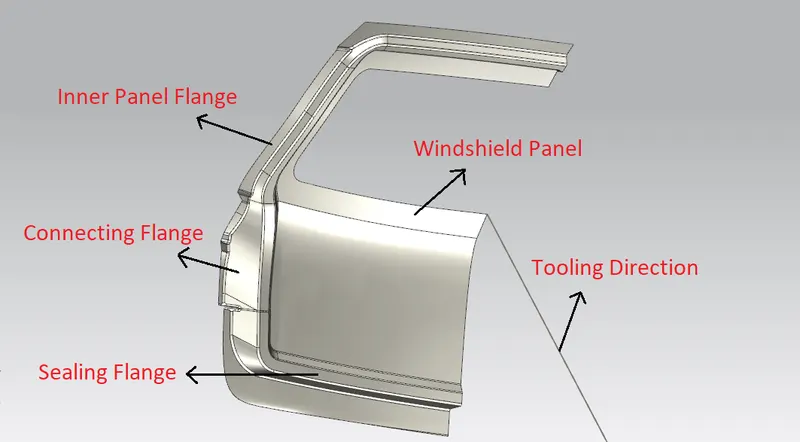
After that, we have to create Sealing Flange by offsetting the outer panel to a specific distance.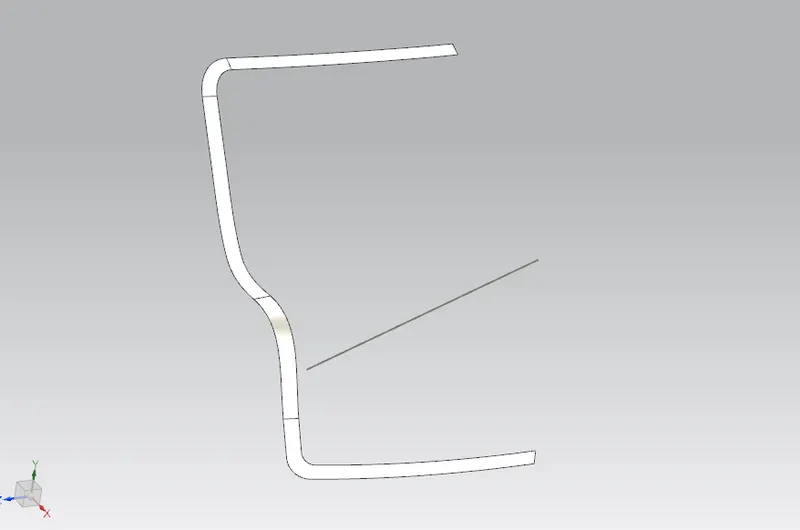
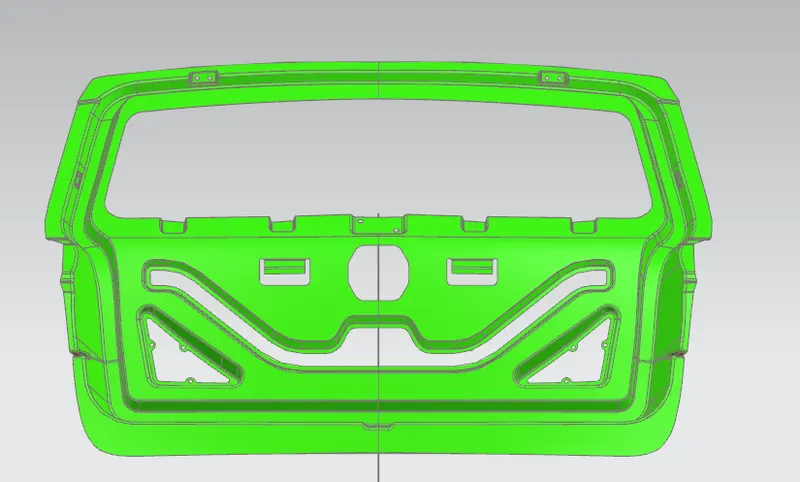
Then we will be creating the Back door inner panel flange by offsetting the outer surface at a distance considering the sheet thickness and thickening direction.
Then created the connecting flange to join the inner panel and sealing flange.
Then for the windshield panel mounting, the windshield panel is created and joined with a sealing flange.
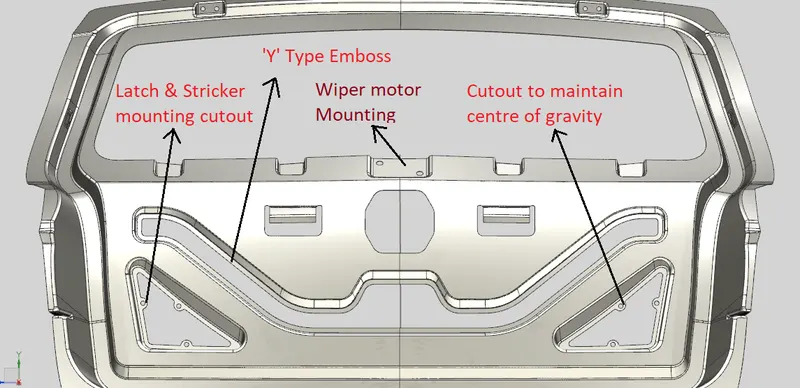
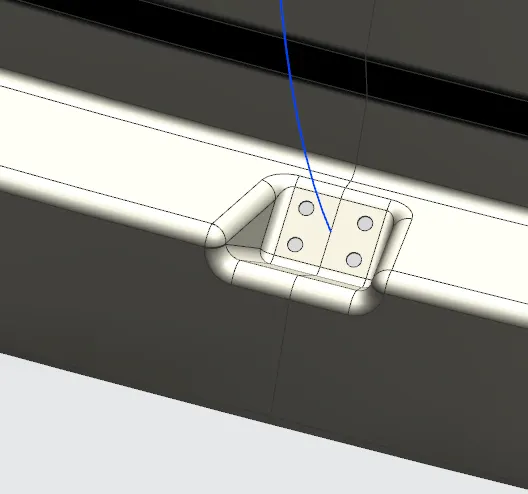
Then to improve the strength of the inner panel and to reduce the weight 'Y' type emboss and other cut-outs are created. Also, for Latch and Stricker mounting cut-out is created. This cut-out is also done on another side of the inner panel to maintain the center of gravity of the Back door.
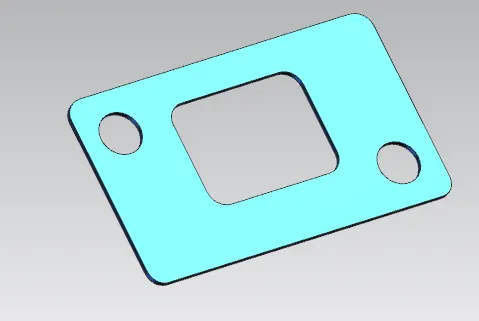
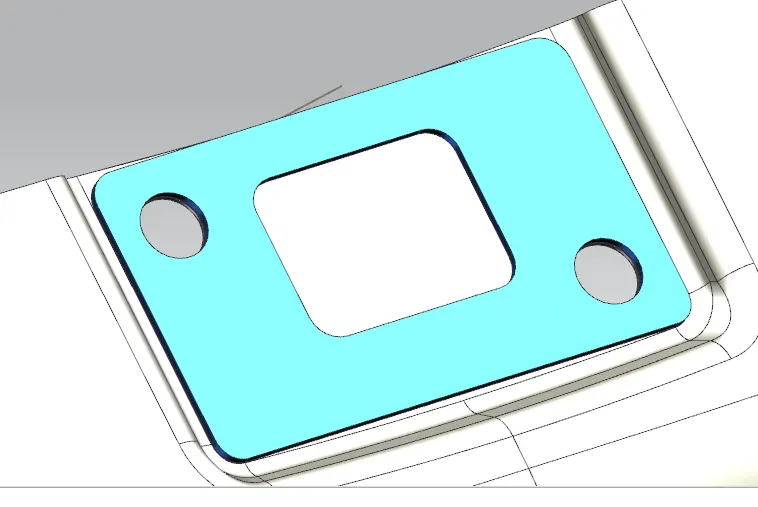
Another Emboss is created for Wiper motor mounting.
.
Another flange is created to reduce the vibration of the door by joining the inner and outer panels with the help of Mastic sealant.
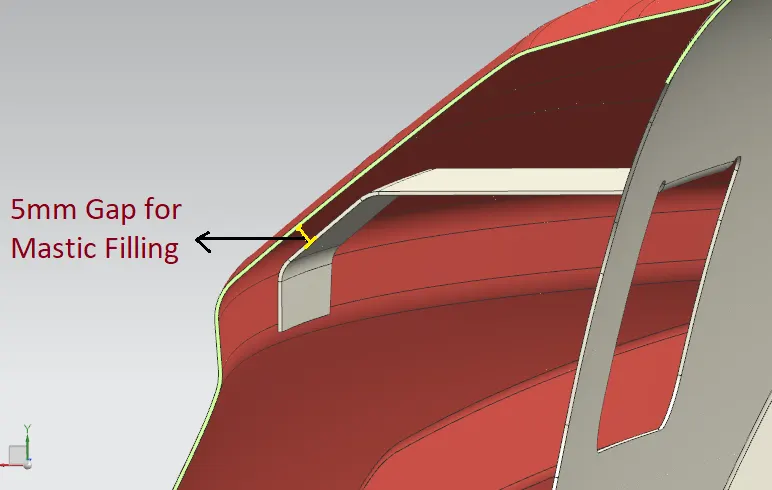
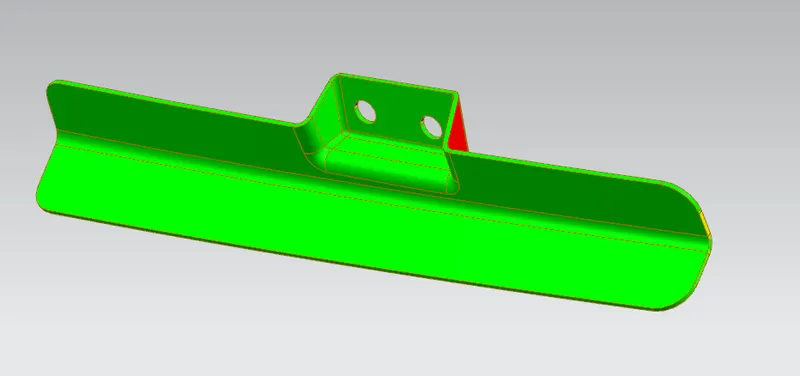
Now to assemble the back door with the vehicle Hinges are used to open and close the door. For that to increase the local area strength we have to design the emboss and provide the appropriate reinforcements to withstand the load acting upon it.
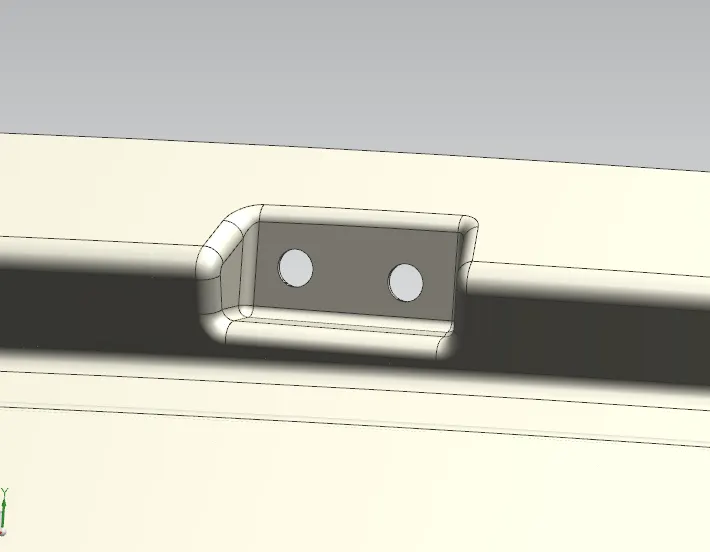
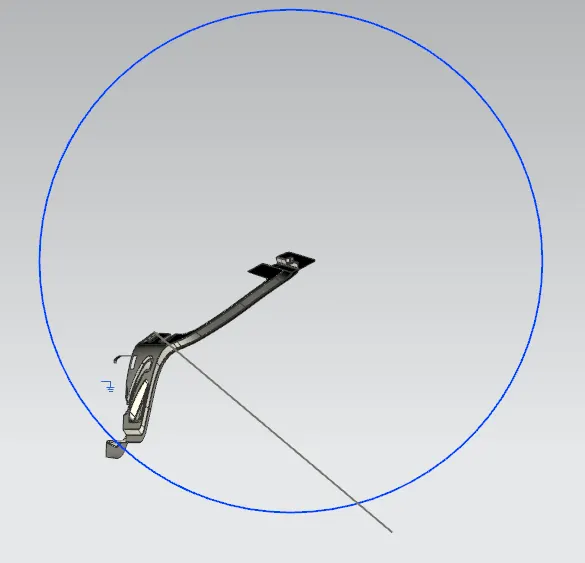
Hinge Reinforcement,
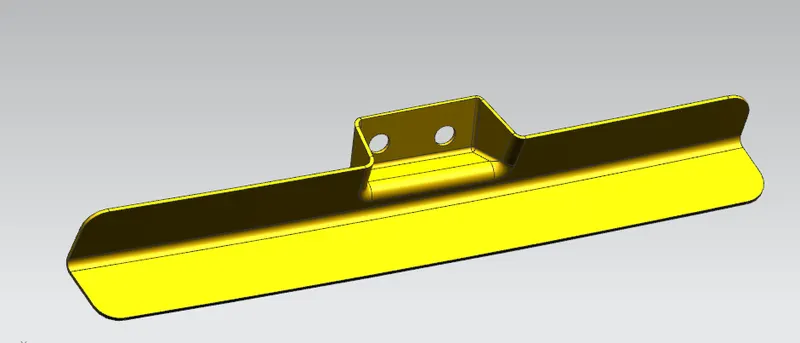
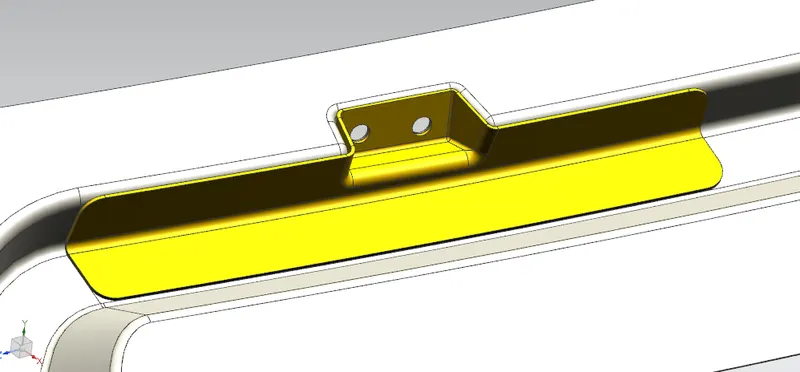
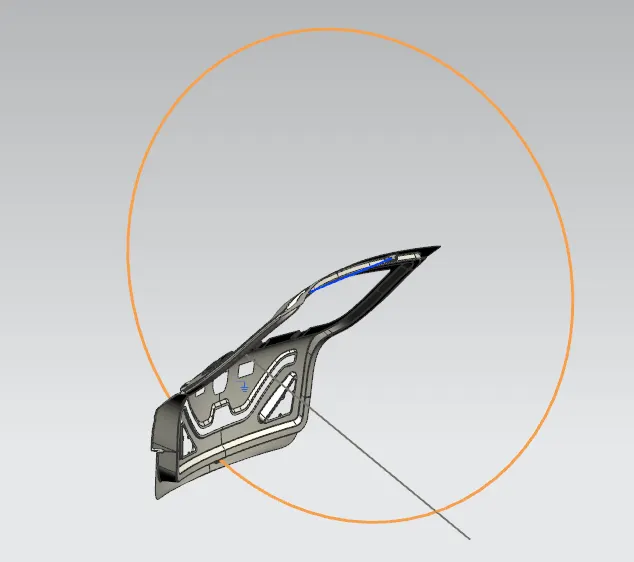
For positioning the Latch & Stricker, we have to create a trajectory passing through a midpoint of the line/ axis of two hinge mounting holes,
Hemming and Hem Relief,
Latch & Stricker Emboss,
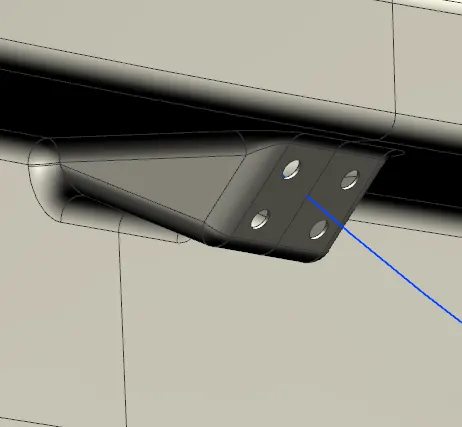
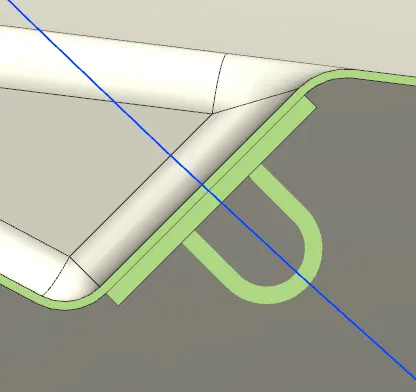
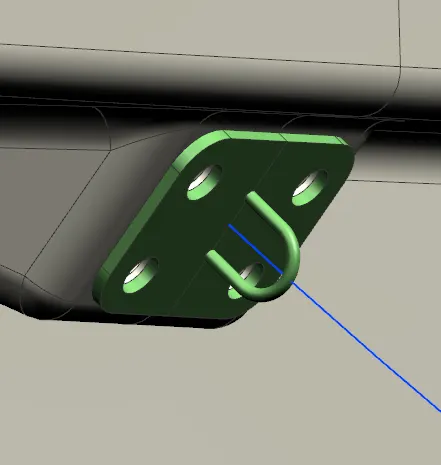
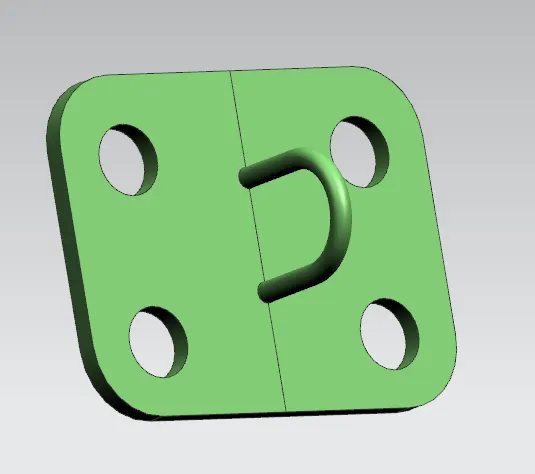
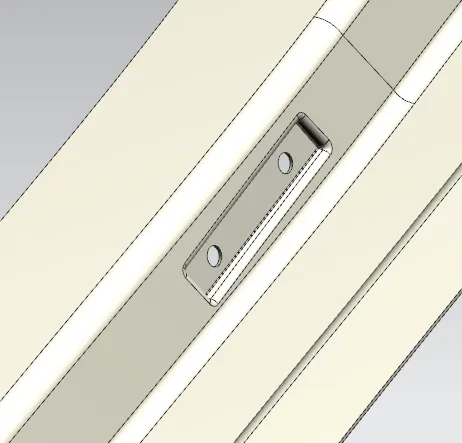
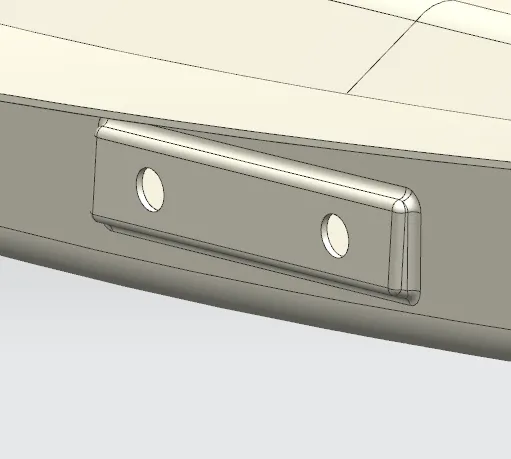
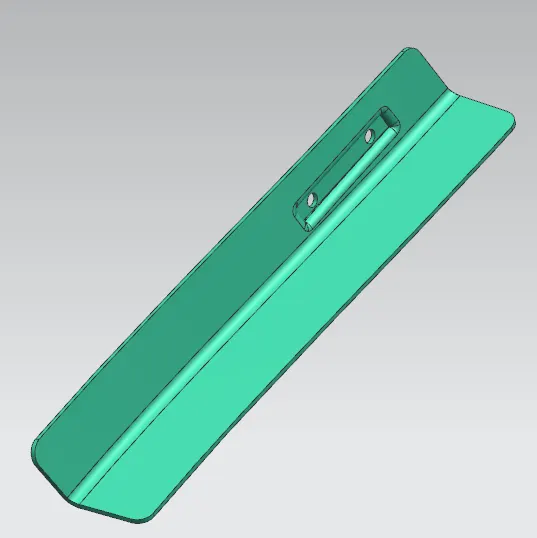
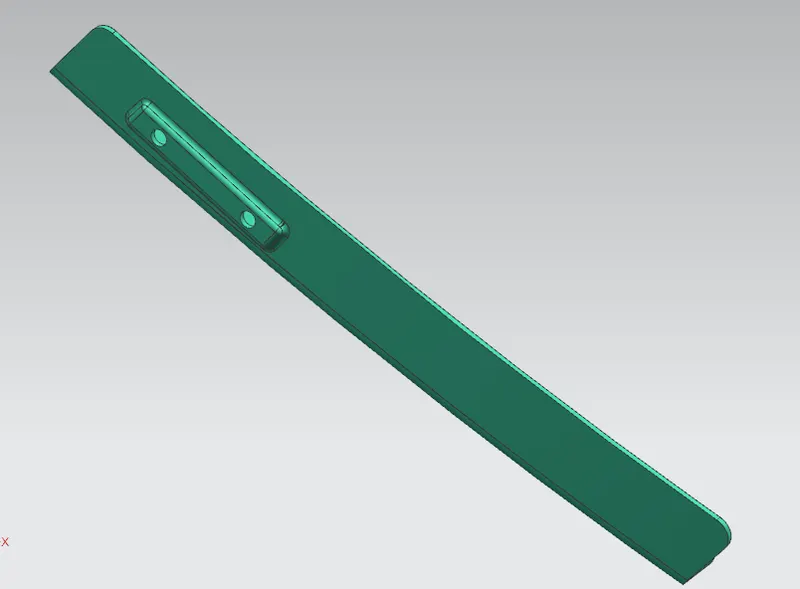
Gas Stay Emboss and Reinforcement,
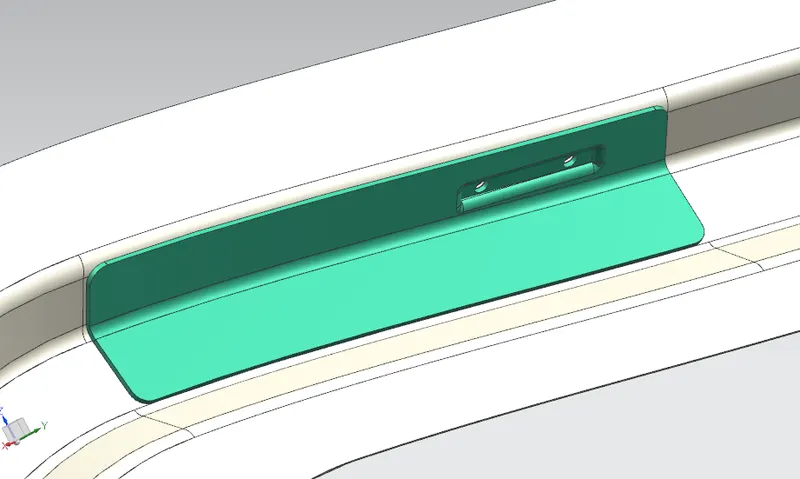
Wiper Motor Reinforcement,
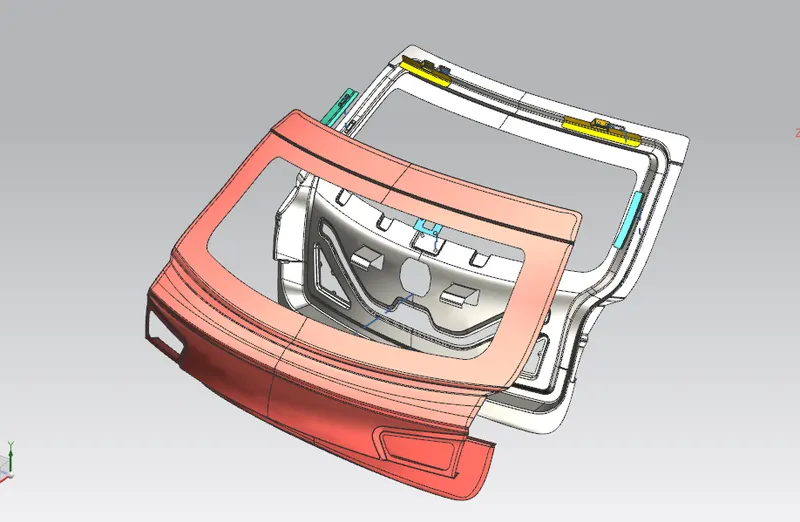
Assembly:
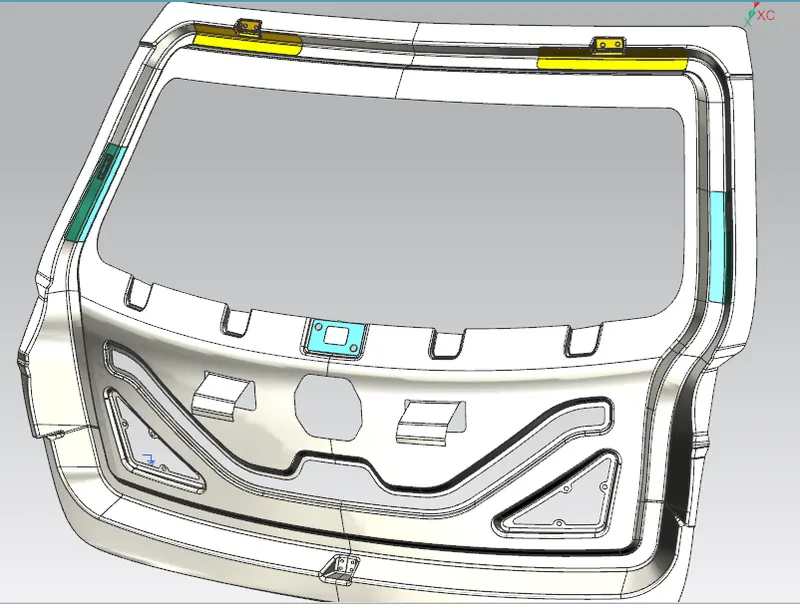
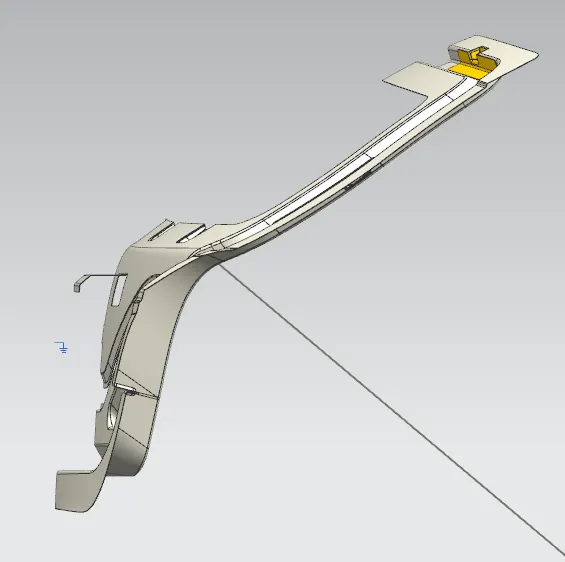
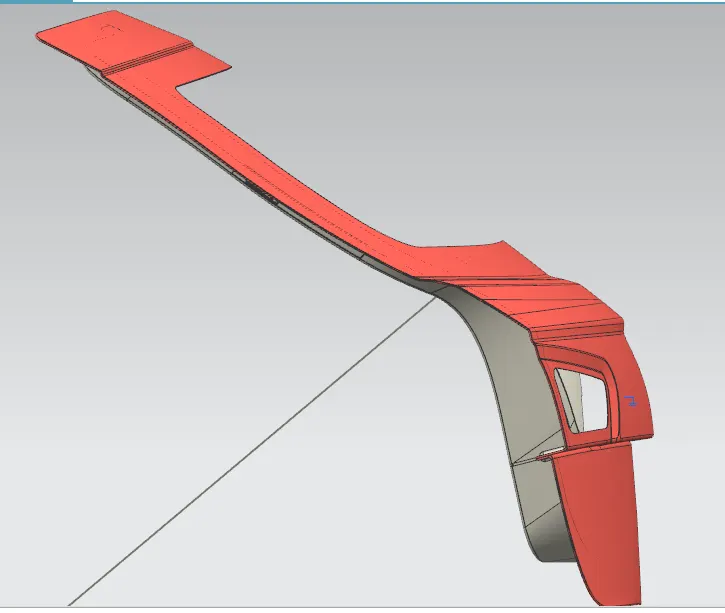
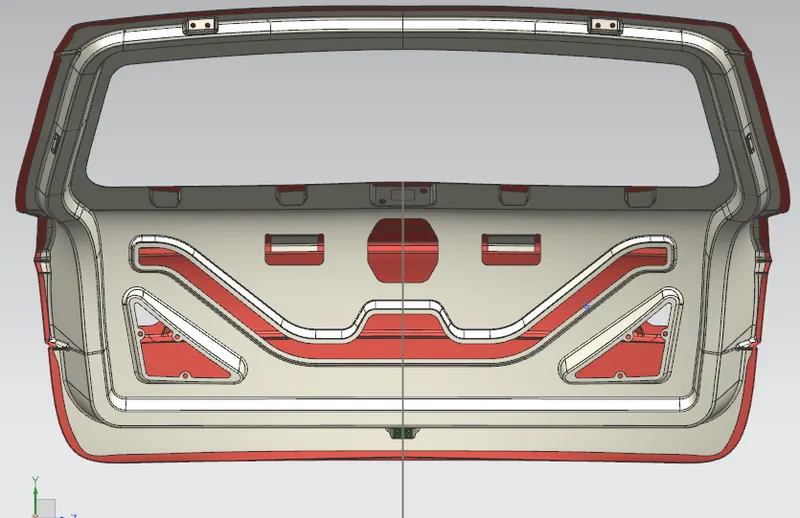
Draft Analysis:
Inner Panel:
Hinge reinforcement:
Gas Stay reinforcement: