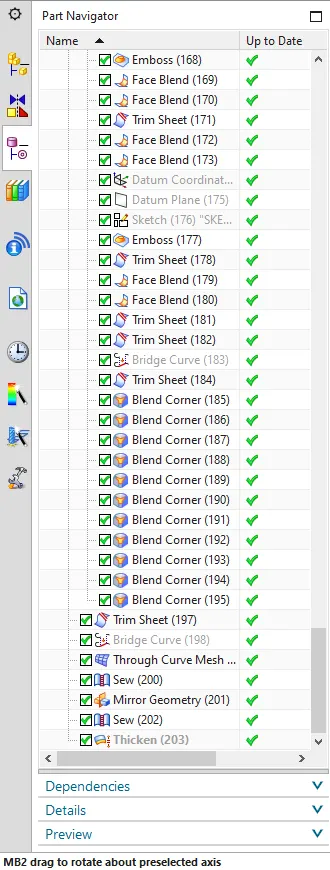
Design of backdoor
Design of Backdoor
Objective
The main objective of this project is to learn the basic tools, commands, and 3D modeling of the Backdoor Design using Siemens NX CAD. The objectives of this project are as follows:
- To understand and learn the basic Graphical User Interface (GUI) of Siemens NX CAD.
- To understand and develop the Backdoor design and reinforcements and essential flanges for the given styling body of the Backdoor.
- To design the essential flanges and reinforcements for the Hinge, Gas stay mounting, wiper motor mounting.
- To provide appropriate dimensioning to the Backdoor styling body and have to obtain the draft analysis of the Backdoor design.
- To determine and justify the position of the Hinge, Gas stay mounting, wiper motor mounting for the Backdoor designs.
Introduction
We will focus on how to make a Backdoor inner panel, outer panel, positioning the hinge to emboss, striker, emboss, Gas Stay mounting holes, Wiper motor emboss, making flanges to join the inner panel and outer panel and its reinforcements in the siemens Nx Application. Using this application, how we will use tools step by step to complete the arrangement. Then a total explanation about tools used to make a backdoor and tests were coordinated on the backdoor.
A vehicle backdoor is otherwise called Tailgate or Rear door or Hatchback or Trunk. The Backdoor is one of the doors of the vehicle which is arranged near the front seat which offers induction to the luggage compartment. In numerous vehicles, these backdoors are worked with the help of gas stay which in this way decreases the effort expected to lift the door. Some lavish vehicles have a powered backdoor which consequently is driven by a powered spindle automatically got to by remote control. This kind of system is moreover called a powered trunk top structure hatchback or station trucks are sold as 3 doors or 5 doors models. For the present circumstance, the rear brood has designated a door, this is because it enters the explorer compartment. The naming is prevalently used in European countries. By virtue of safety, the backdoor design should meet the prosperity essential of the rear accident.
Design Methodology:
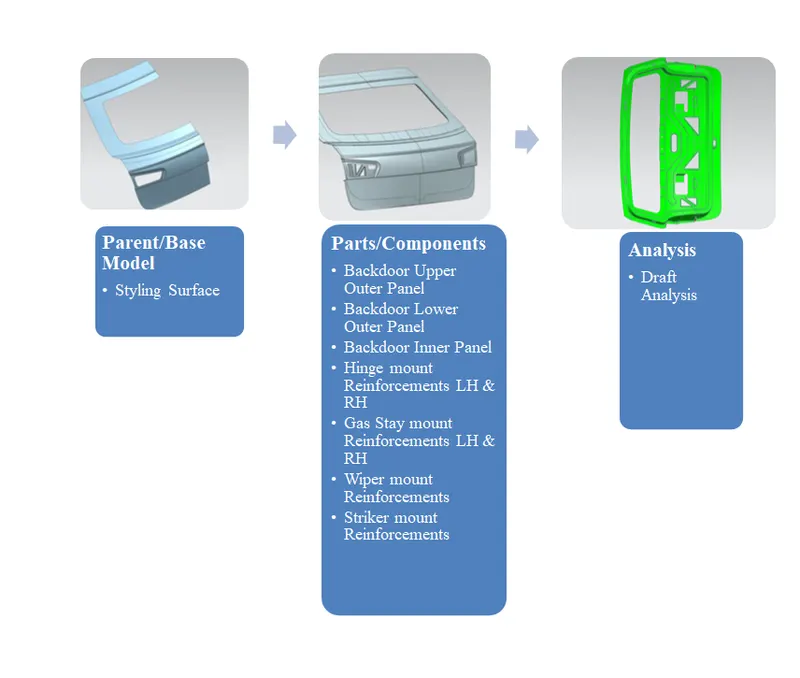
Designing several areas for Backdoor:
- Outer Panel and Inner Panel:
The Outer Panel is the styling surface of the circuitous access. It is the wellspring of the design of various bits of the optional entry, generally the Inner Panel. It goes probably as the outer cover and deals with the vibe of the vehicle. Its thickness is in the extent of 0.65-0.75 millimeters
The Inner Panel provides fortitude to the optional entry. They are 0.65-0.75 millimeters (mm) thick. It is the Inner Panel where reinforcements and embosses are provided to legitimize its ability.
There are various circumstances where the Inner panel is presented to stress as a result of successive opening and pulverizing. These stress and distress factors are reimbursed by features like embosses and reinforcements.
The internal panel obliges the Latch and Striker actuator, Wiper motor actuator, Trims mounting, Hinge and Gas Stay embosses, V-Emboss, Latch, etc and likewise, the key examples are provided. Various reinforcements are in like manner spot welded to the inner panel.
- Hemming:
Hemming is a metalworking cycle in which a sheet metal edge is turned over onto itself. The outer and inner panels are solidified using Hemming activity as we achieve for other end and swing portions. There is a 0.2 mm opening between the two panels and 1-2 mm room at the edge of the inward panel. This space is provided for the sealant to overflow out and spread fittingly between the panels after the Hemming association to achieve water coziness.
Hemming is preferred over Spot Welding given its dominating classy wrapping up. Hemming relaxations/reliefs are provided at the corners and end locales to avoid bias issues rising up out of the moving collaboration.
The portion of the inside and outer panel along the Wind Shield glass is joined using Brazing. Brazing is likewise used to join the upper and lower outer panels on the off chance that they are delivered autonomously.
- Mastic Sealant:
To improve NVH (Noise, Vibration, and Harshness) i.e to diminish these levels, Mastic Sealants are used. They similarly improve strength. They are made of hard Rubber and are introduced as paste along these lines joining the inside and outer panel with a thickness of 5mm. Mastic Sealants are preferred over Spot Welding to join the internal and outer panel due to the way that the last diminishes the vibe of the vehicle, especially on the outer panel which is the styling surface.
- Reinforcements and Emboss:
Reinforcements and embosses are added or designed to compensate for the insufficiency of fortitude in a region or district as a result of the load acting there. The optional entry's caseload goes about as Hinge, Gas Stay, and Latch and Striker. These stack cases are resolved with the help of various tests and multiplications.
- Gas Stay Reinforcements:
Gas Stay is a device used for supporting aberrant access in its vacant position. Gas stay requires no work and is secured into a help position normally as the aberrant access opens. On completion of the Gas, Stay is fixed on the backdoor and the furthest edge on the Body Side or on the Back entrance fixed district. Embossing is provided at the Gas Stay mounting district to compensate for the utilitarian openings punched.
Various diversion tests like the Bend test, Torsion test, Abuse test performed on the subsequent section, as shown above, reveals that there a very delicate zone developed at the Gas stay region. To compensate for that, support is remembered for that area.
- Hinge Reinforcements:
Hinges engage the opening and closing of the optional section. On completion of the hinge is fixed on the backdoor and the far edge on the Roof, on the different sides. Hinges can be put outside or inside the backdoor. Like Gas Stay, Hinge reinforcements are remembered for this space to compensate for the feeble zone developed in light of the stack acting while simultaneously opening and closing the backdoor.
- Latch and Striker Reinforcements:
The Latch and Striker outline the locking arrangement of the backdoor with the vehicle. Due to the typical opening, closing, and over-pounding of the backdoor, there is stress developed in the Latch and Striker locale. Further, during a back sway, this district will be an essential asset. To compensate for the equivalent, reinforcements are remembered for this district.
- Wiper Motor Reinforcements:
Wiper motor reinforcement is created to mount the wiper motor assembly.
- Y & V Emboss:
As evident from the test diversions, the design and heading of the embossing should be to coordinate the spreading powers from the travelers to the outside of the vehicle and likewise diminishing the impact power certainly if there ought to emerge an event of an accident. Embosses moreover make strength locally around there. The embossing is done as such as to play out the Deep Drawing without any problem.
- Draft Analysis:
Draft Analysis is done to analyze the draft point. This grants us to verify whether the thing will be easily removed from the instrument. When designing a thing they ought to be determined to some degree so the device can be pulled away from the article effectively, without curving or damage. This slight point is known as a draft.
- Isometric View upper Outer Panel
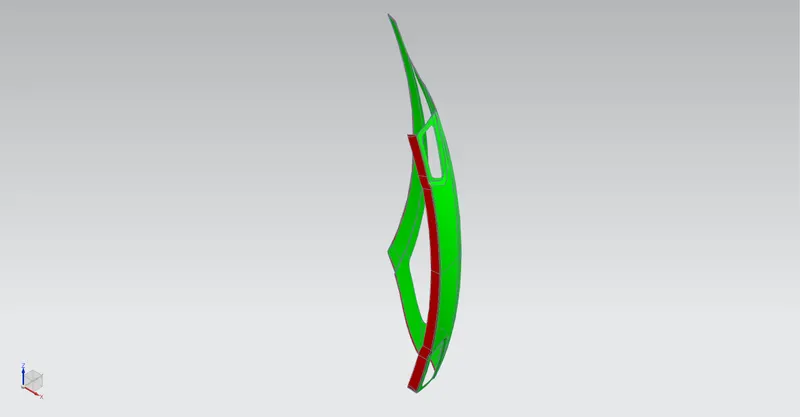
- Front View upper Outer Panel
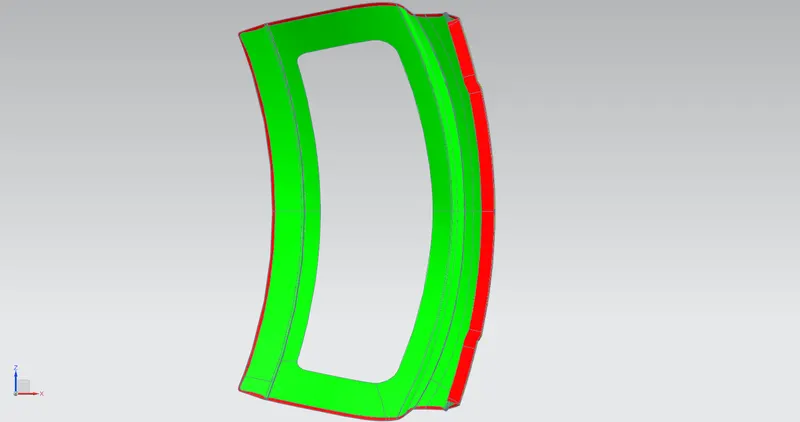
- Top View upper Outer Panel
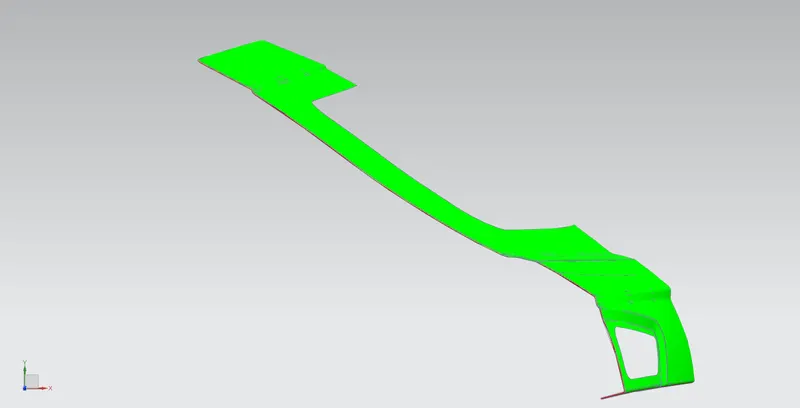
- Side View upper Outer Panel
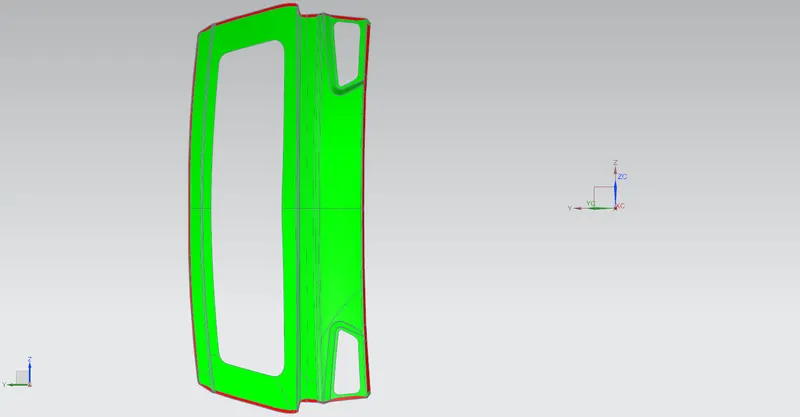
Roof Design Views
- Isometric View Backdoor Design Assembly
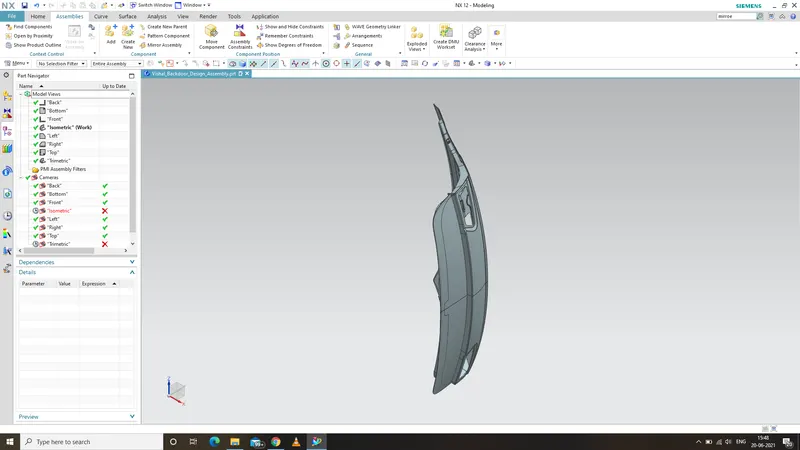
- Front View Backdoor Design Assembly
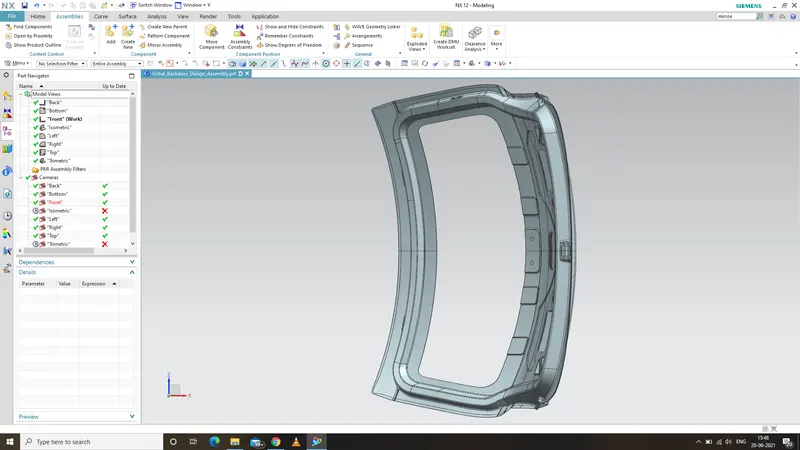
- Top View Backdoor Design Assembly
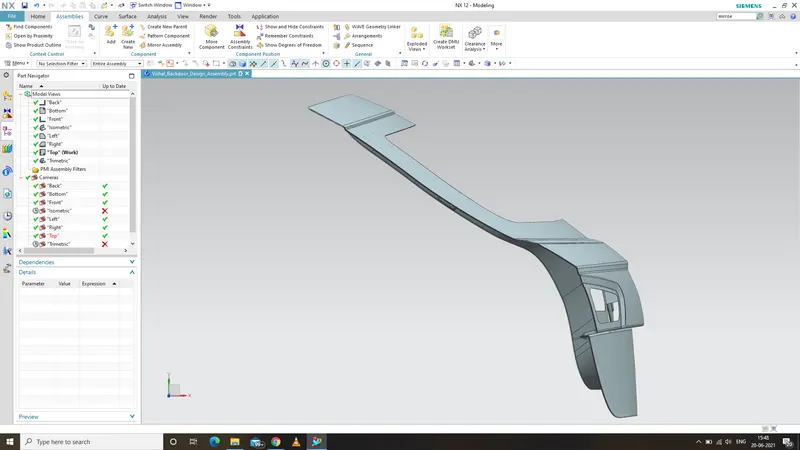
- Side View Backdoor Design Assembly
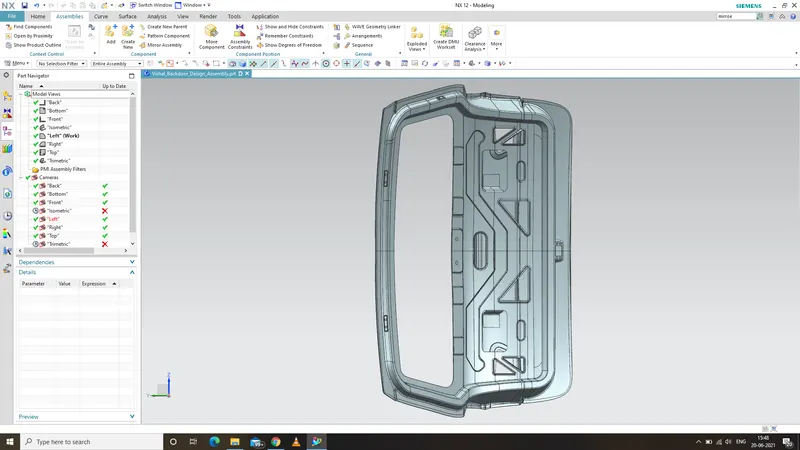
- Assembly Navigator Backdoor Design Assembly
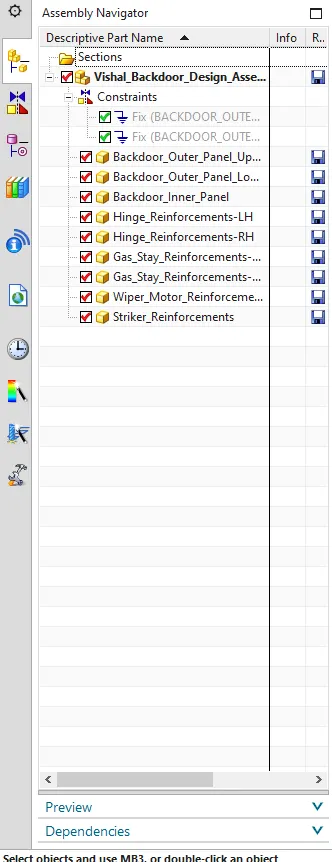
- Assembly Part Navigator 1 Backdoor Design Assembly
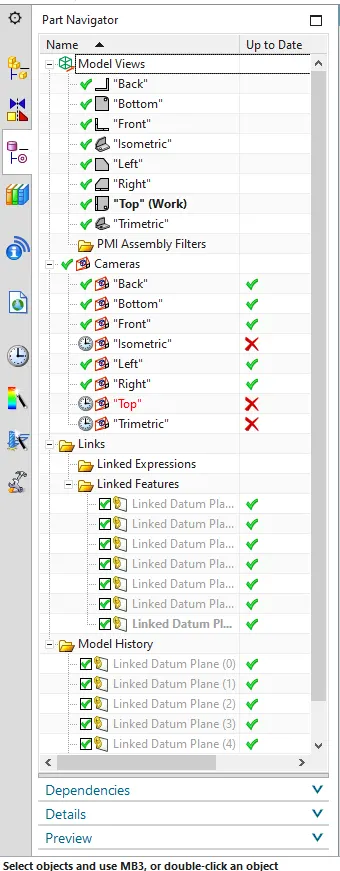
- Assembly Part Navigator 2 Backdoor Design Assembly
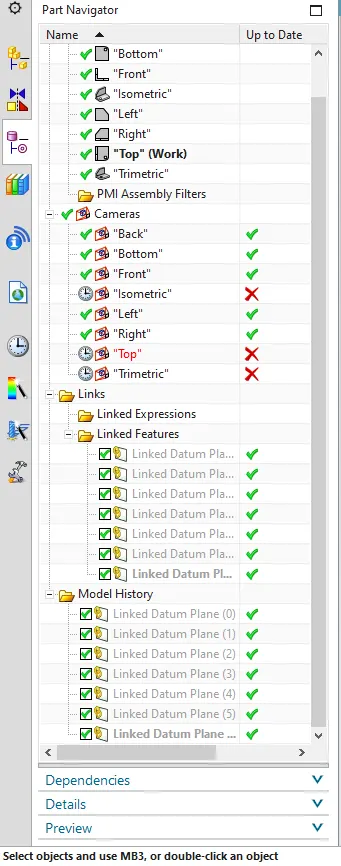
- Isometric View Upper Outer Panel
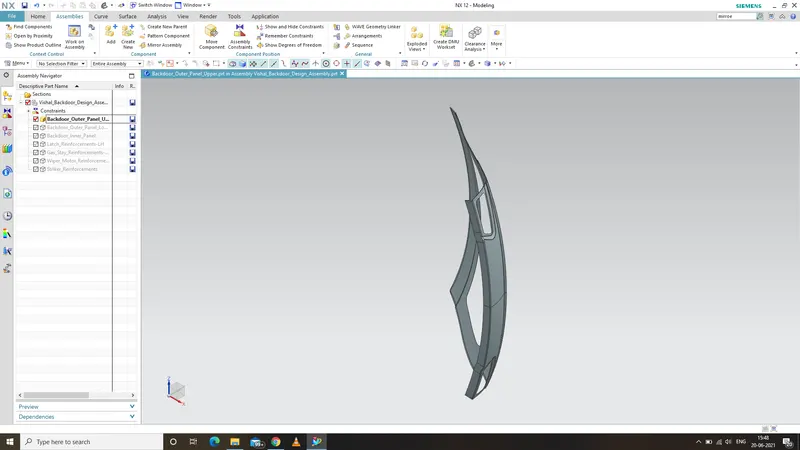
- Front View Upper Outer Panel
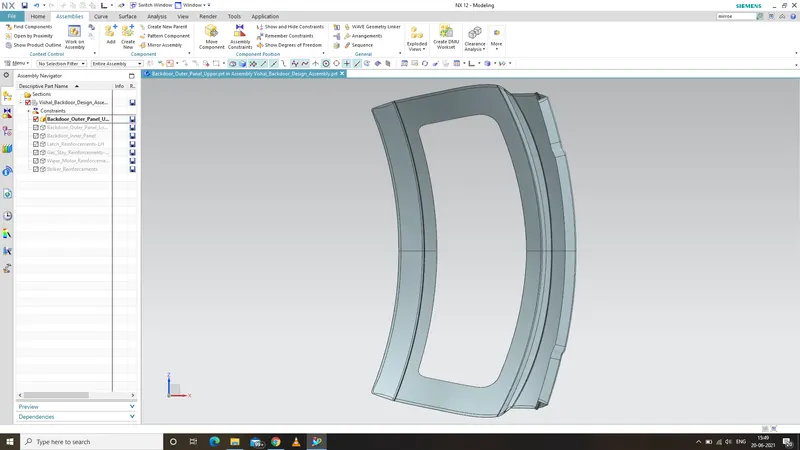
- Top View Upper Outer Panel
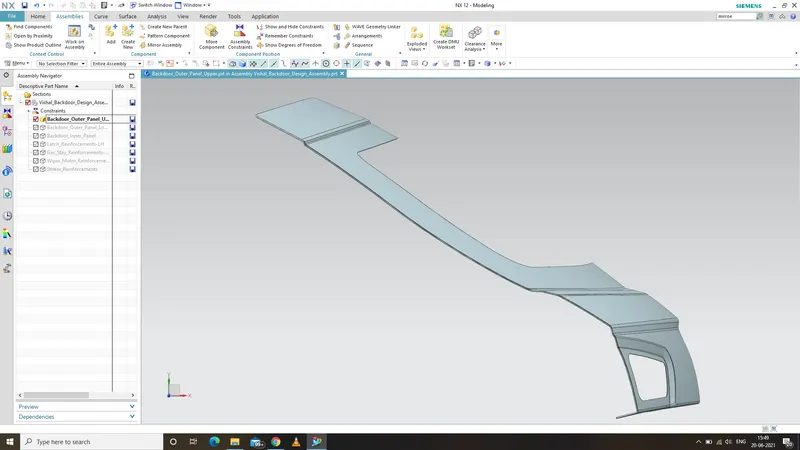
- Side View Upper Outer Panel
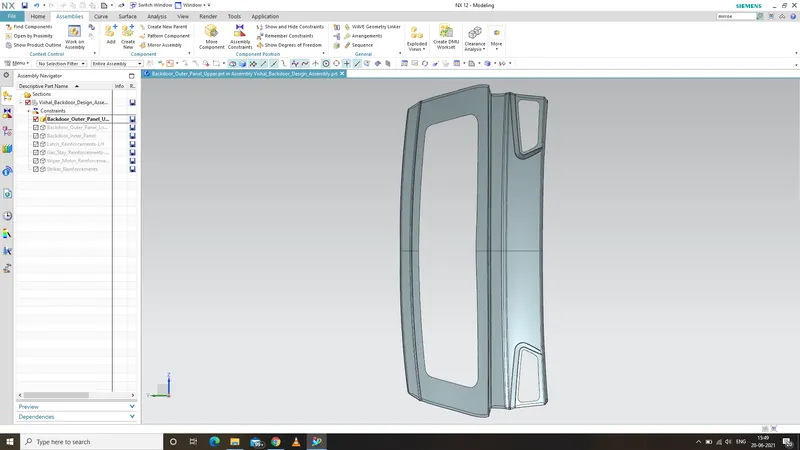
- Part Navigator 1 Upper Outer Panel
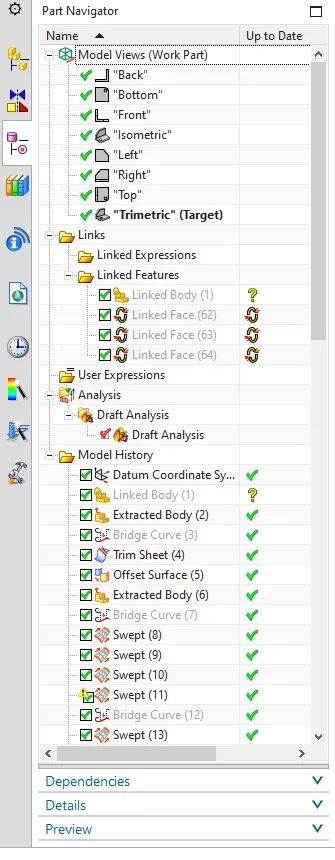
- Part Navigator 2 Upper Outer Panel
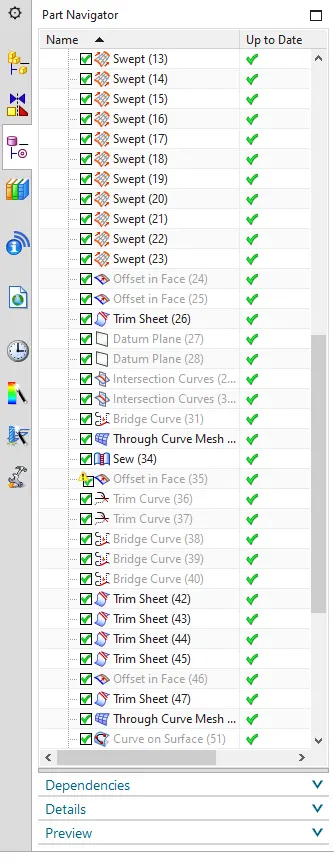
- Part Navigator 3 Upper Outer Panel
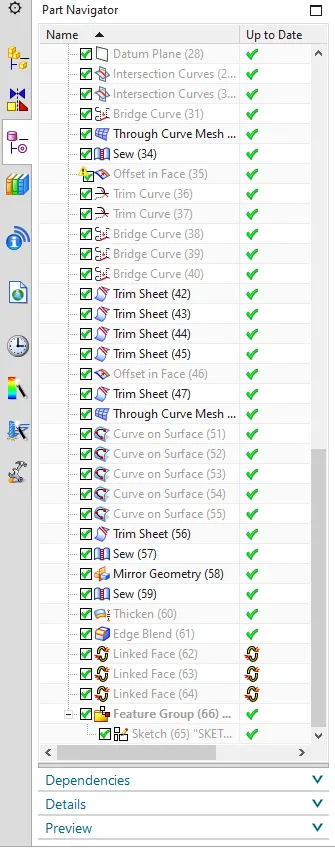
- Isometric View Lower Outer Panel
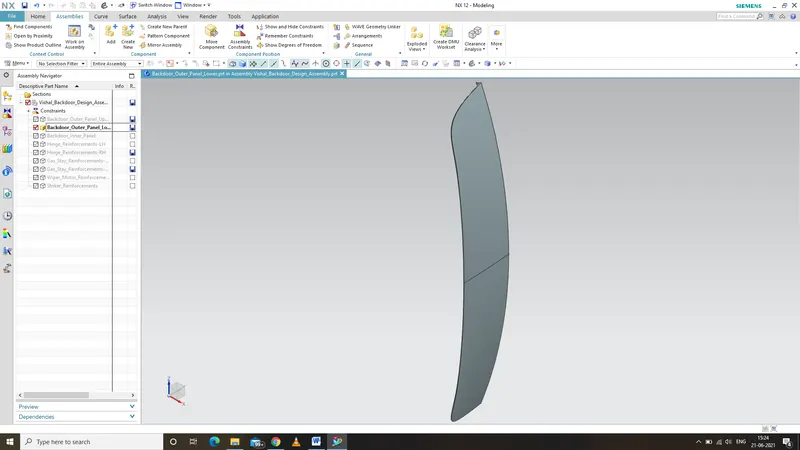
- Front View Lower Outer Panel
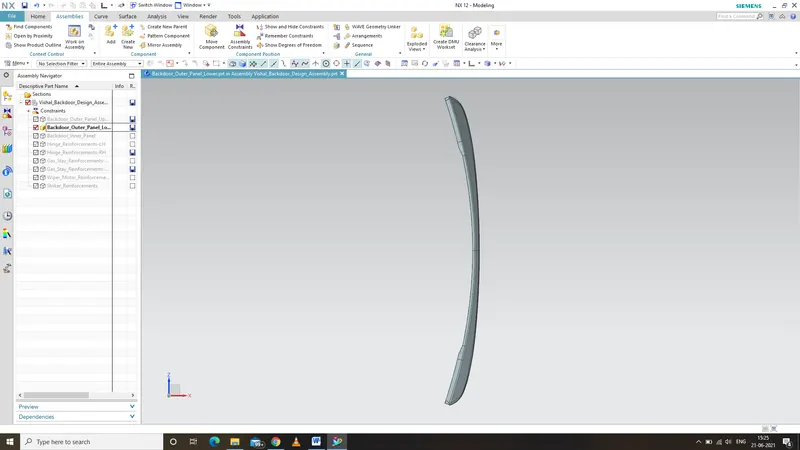
- Top View Lower Outer Panel
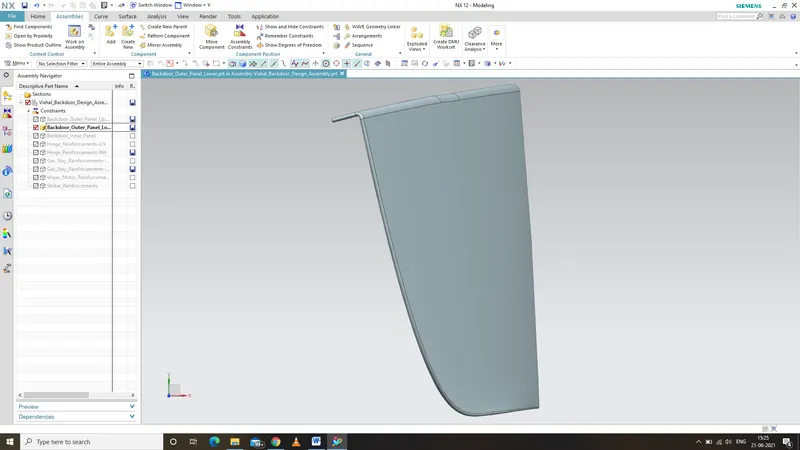
- Side View Lower Outer Panel
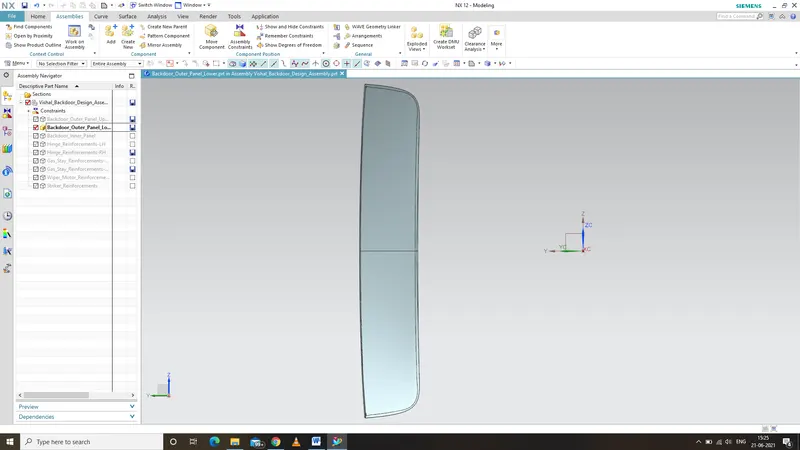
- Part Navigator 1 Lower Outer Panel
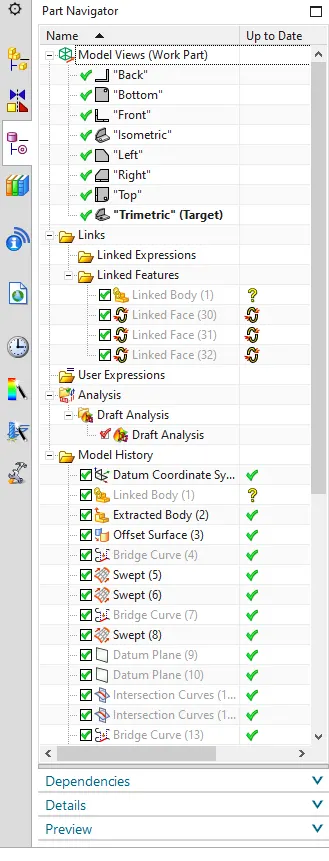
- Part Navigator 2 Lower Outer Panel
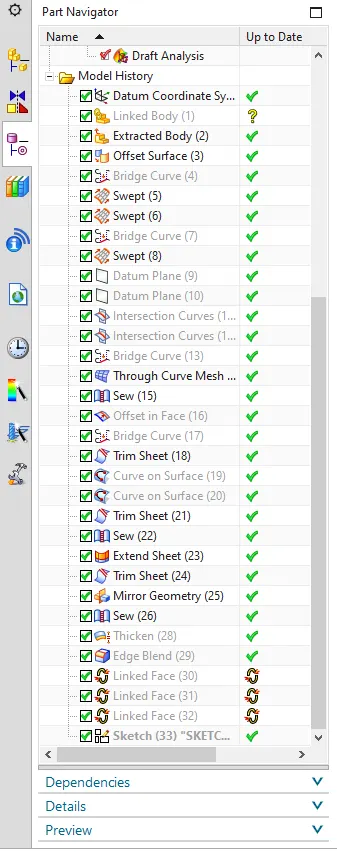
- Isometric View Inner Panel
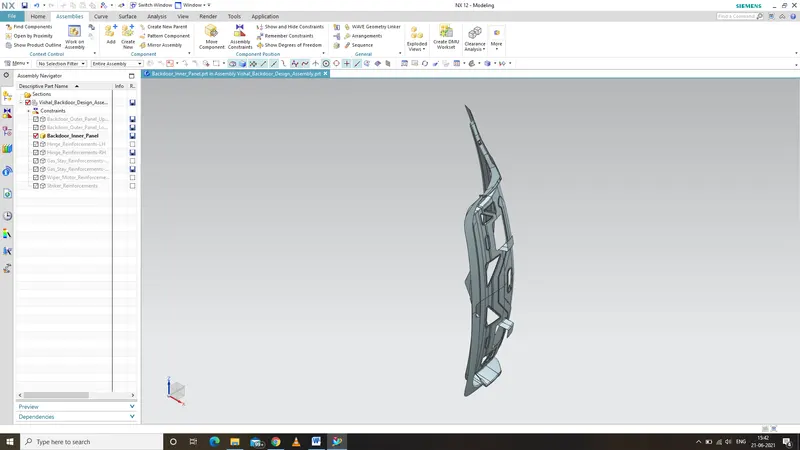
- Front View Inner Panel
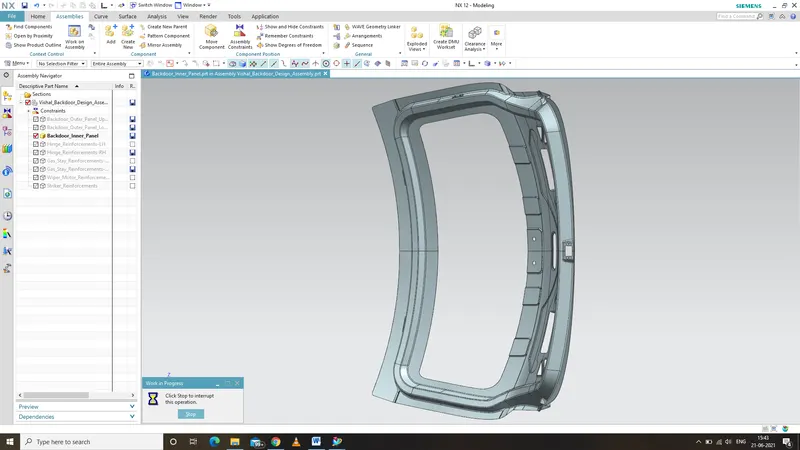
- Top View Inner Panel
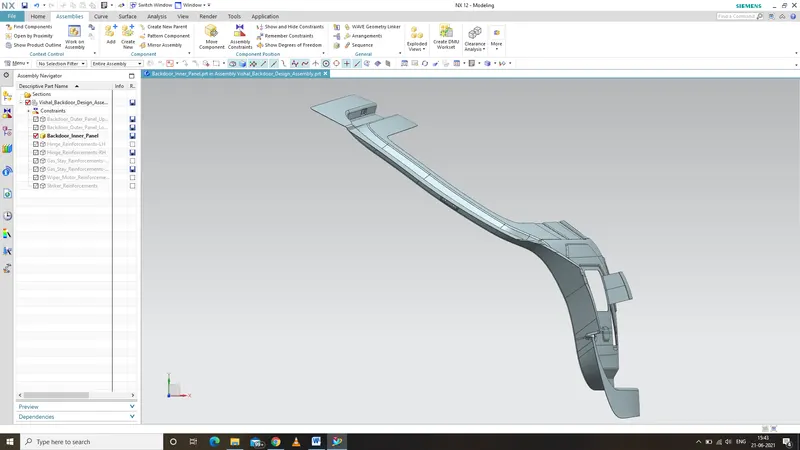
- Side View Inner Panel
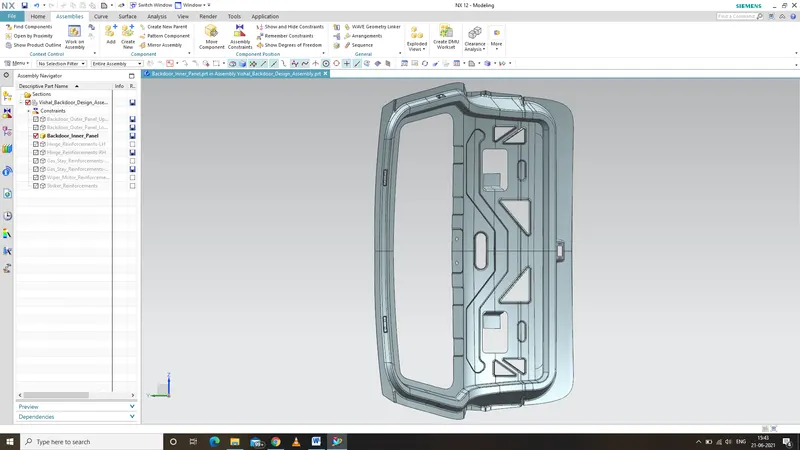
- Part Navigator 1 Inner Panel
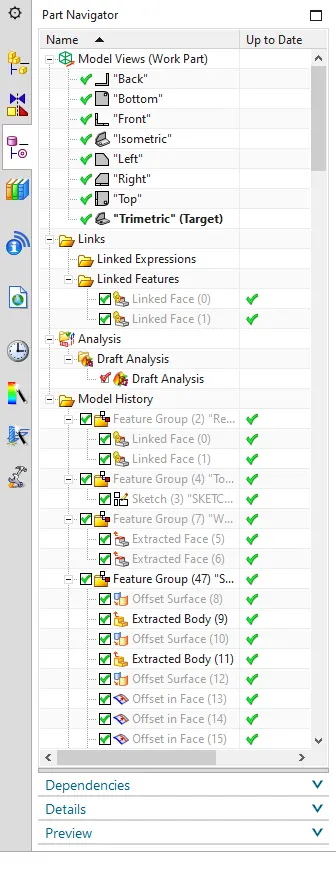
- Part Navigator 2 Inner Panel
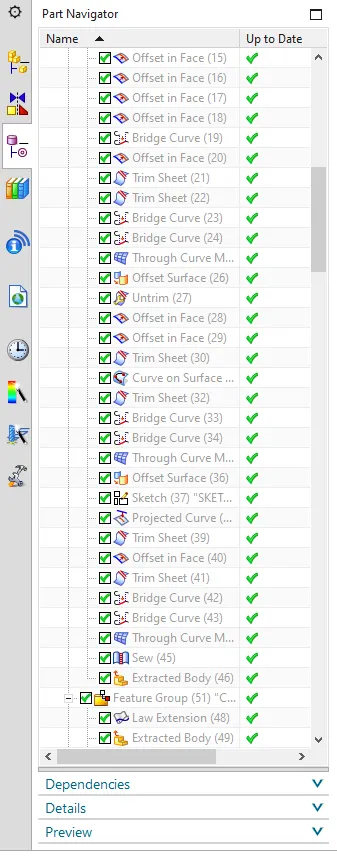
- Part Navigator 3 Inner Panel
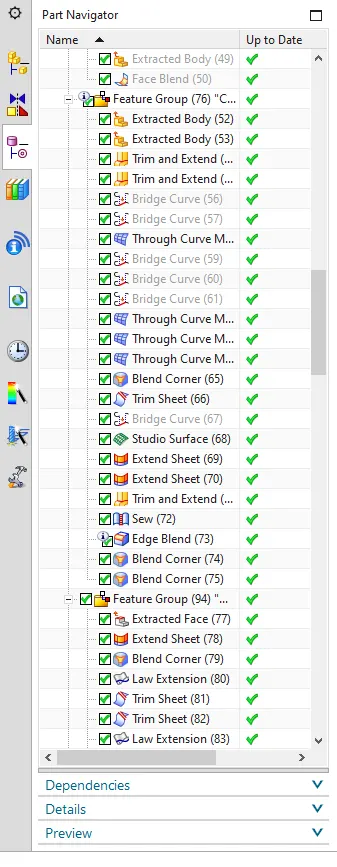
- Part Navigator 4 Inner Panel
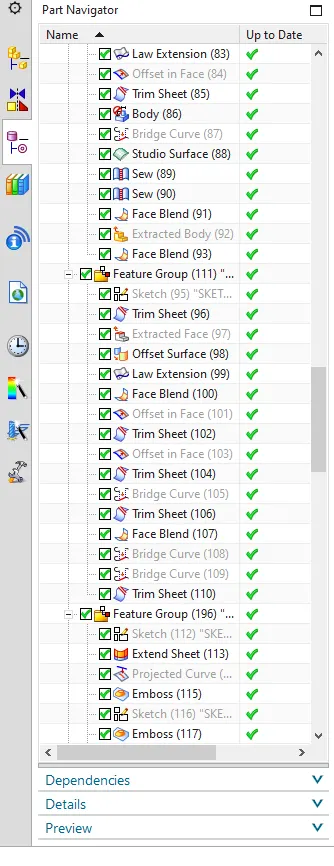
- Part Navigator 5 Inner Panel
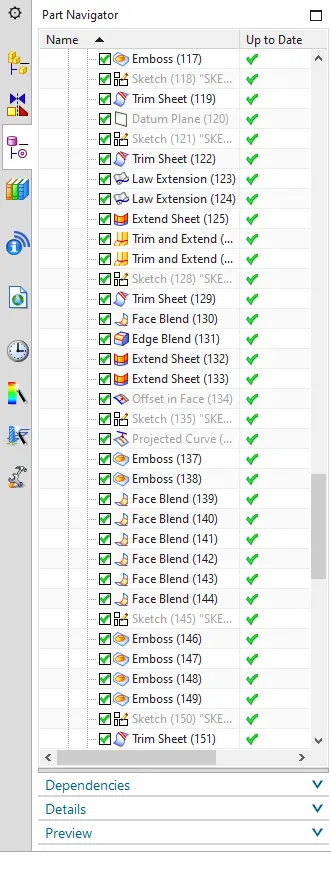
- Part Navigator 6 Inner Panel
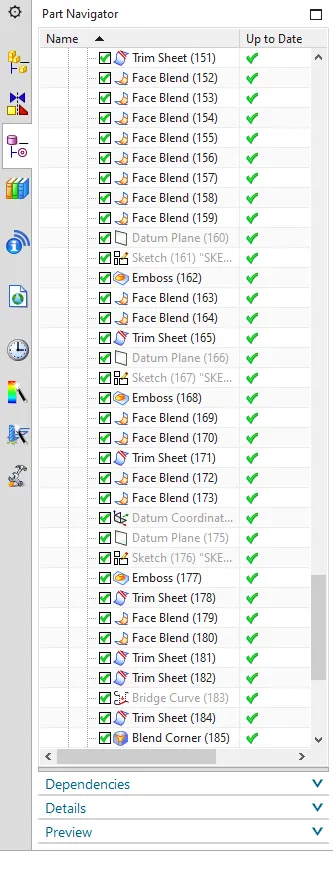
- Part Navigator 7 Inner Panel