Creation of Multiple viewports, Scaling the drawing and setting in Template in AutoCad
Aim:
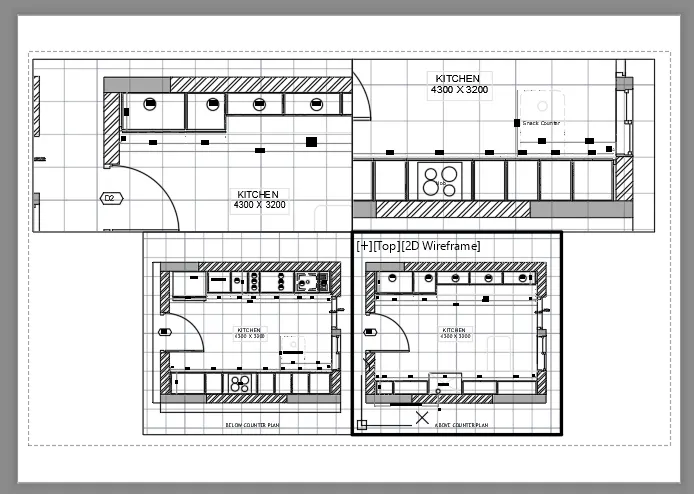
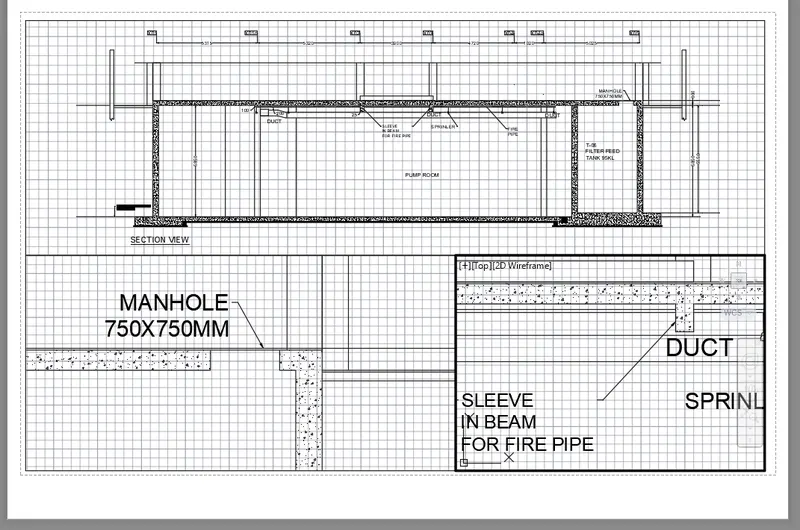
To create a layout of Plan and Section A of the project in Challenges 7 using AutoCAD, following the provided template and specifications.
Procedure:
-
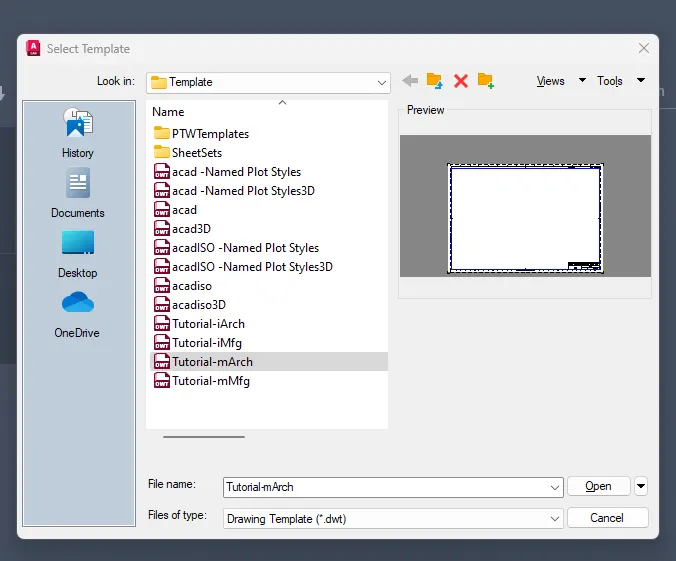
Open AutoCAD and create a new drawing based on the Tutorial-mArch.dwt template. This template provides the necessary layers, styles, and settings for architectural drawings.
-
Set the drawing units to match the scale required for the layout. Assuming the scale is given in the Figure, you can adjust the units by typing "UNITS" in the command line, selecting the appropriate units, and specifying the appropriate precision.
-
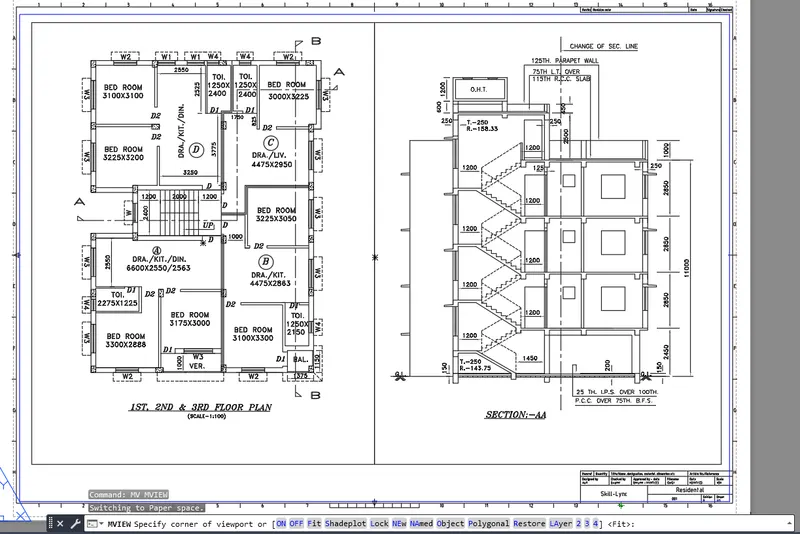
Draw the Plan and Section A of the project in the model space. Use the appropriate layers and linetypes as per the project requirements.
-
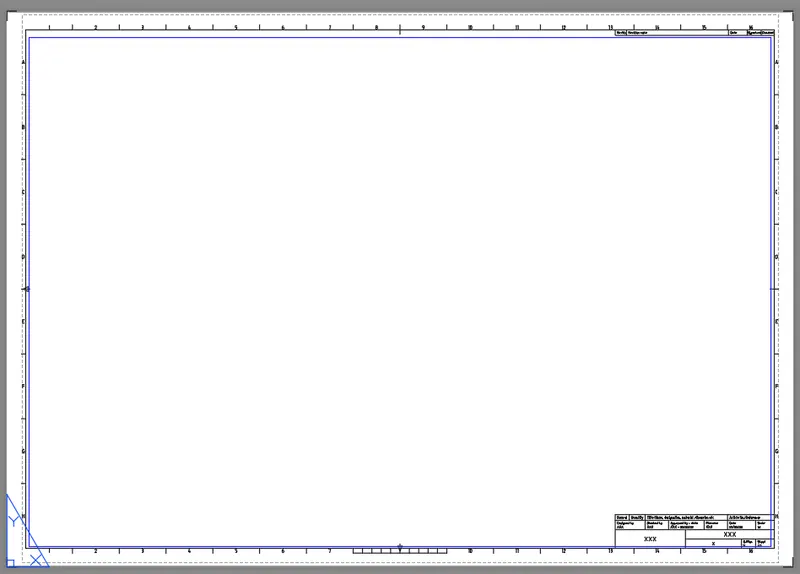
Once the Plan and Section A are drawn, switch to the layout tab. You can do this by clicking on the "Layout" button at the bottom of the AutoCAD window or by typing "LAYOUT" in the command line or you can insert the MArch template.
-
In the layout, create a viewport using the MV command. Type "MV" in the command line and specify the desired location and size for the viewport according to the Figure provided.
-
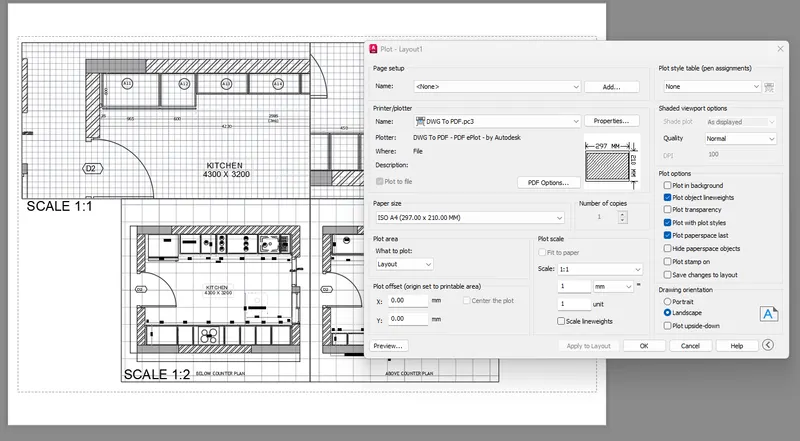
Adjust the viewport scale to match the scale specified in the Figure. You can do this by selecting the viewport and changing its scale through the Properties palette or by using the SCALE command within the viewport.
-
Insert a title block into the layout. Assuming the title block is already prepared as a block in the drawing, use the "INSERT" command to place it in the appropriate location within the layout.
-
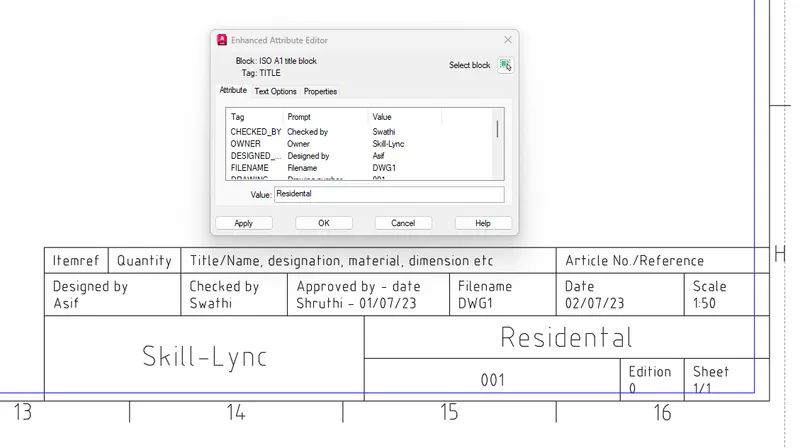
Use the ATTEDIT command to edit the information in the title block. Type "ATTEDIT" in the command line and select the title block to modify the attributes. Follow the prompts to edit the desired attributes such as project name, sheet number, date, etc.
-
Arrange the Plan and Section A views within the layout, placing them appropriately relative to the title block and viewport. You can use the "MOVE" command to adjust their positions.
-
Once the layout is complete, save the drawing.
-
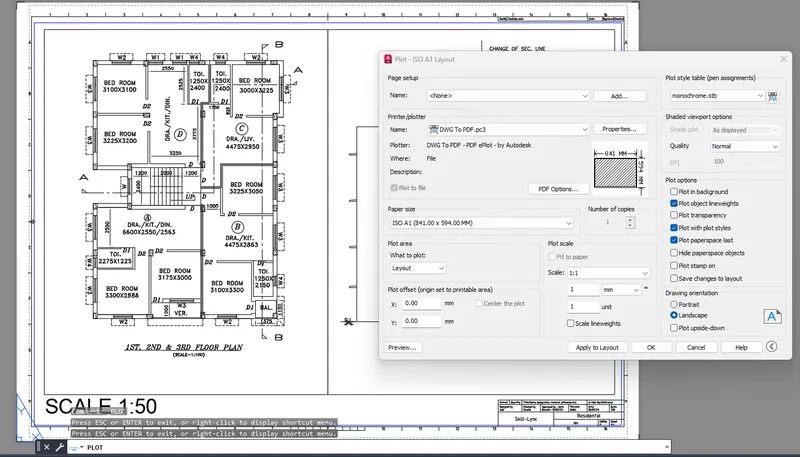
To plot the layout, select the "Plot" option from the "File" menu or type "PLOT" in the command line. In the Plot dialog box, select the desired printer or plotter, set the paper size to A1, and configure the plot settings (e.g., plot scale, plot style, etc.) as needed. Finally, click on the "Plot" button to generate the plotted output.
With the same procedure do it for your next layouts with repective plot, scales, layout and view ports.