Creation of Multiple viewports, Scaling the drawing and setting in Template in AutoCad
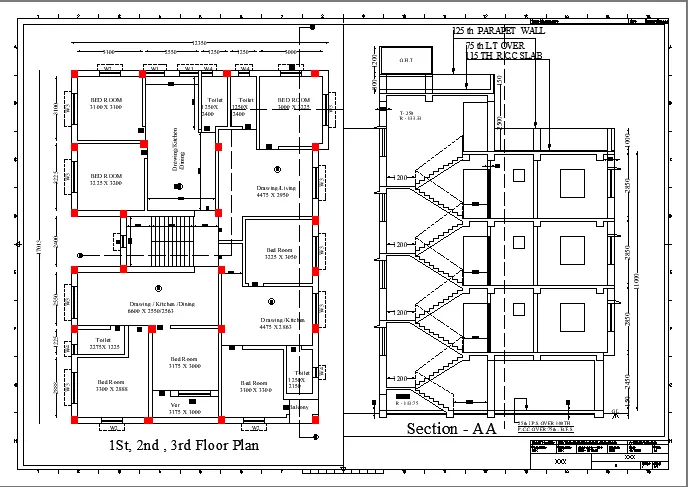
1. Create a layout of the Plan and Section A of the project in Challenges 7, using the template Tutorial-mArch.dwt in a scale as given in the Figure. Use the MV command to create the viewport of the size as shown in Figure. Also, use ATTEDIT command to edit the information in the title block. Use A1 size for the layout. Take a plot.
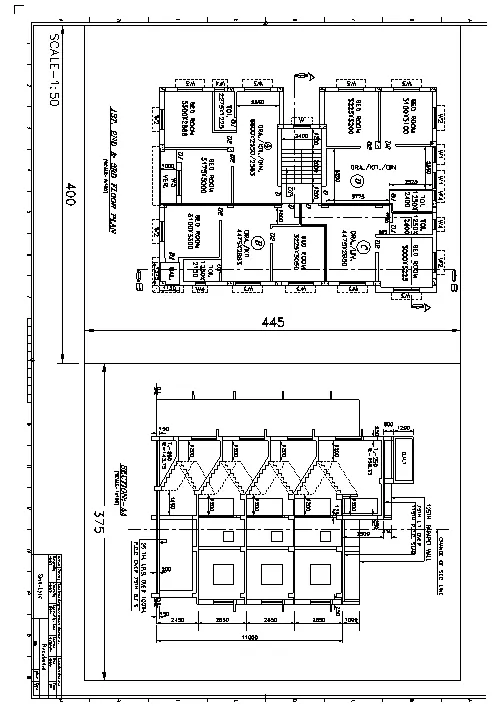
Aim: Create a layout of the Plan and Section A of the project in Challenges 7
Procedure :
- Creat the file and set the Units and limts for the file .
- Creat the layout page using the command of layout
- And Give the templet for the layout form the template - tutorialarch.m
- Give the MV Command For the add the views
- To edit view use the command of Ms command
- And Give the ps command to setout of the view
- And Set Plot settings to using the Ctrl+p command and set the polt settings .
2. Create a layout of the Kitchen drawn in Challenge 9 as shown in Figure. Use the scale as shown in the Figure. Use A4 Size page for the layout. Take a plot.
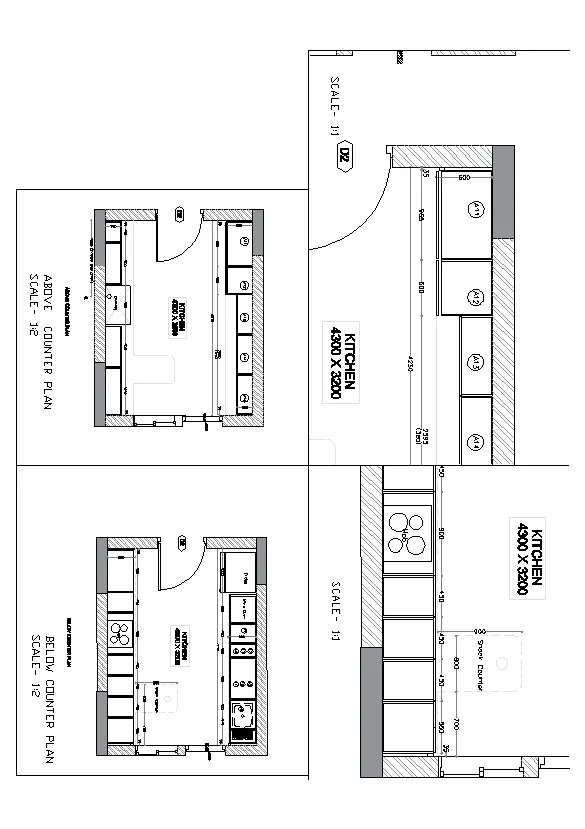
Aim: Create a layout of the Kitchen drawn in Challenge 9
Procedure :
- Creat the file and set the Units and limts for the file .
- Creat the layout page using the command of layout
- Give the MV Command For the add the views
- To edit view use the command of Ms command
- And Give the ps command to setout of the view
- And Set Plot settings to using the Ctrl+p command and set the polt settings .
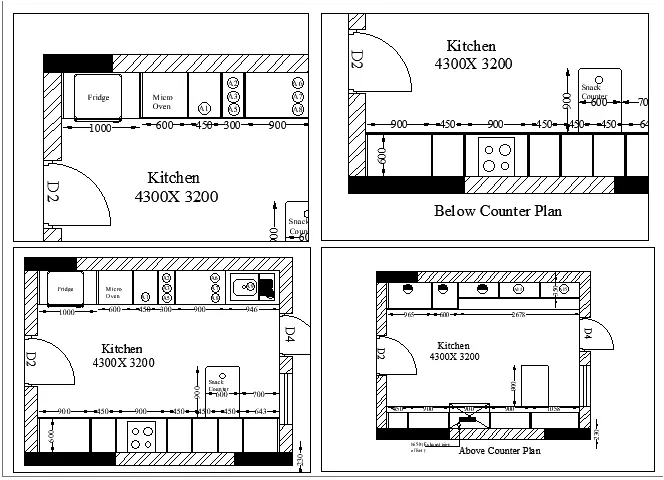
3. Create a layout of the section created in Challenges 9.
Use scale as mentioned in the Figure. Use MV command create multiple viewports. Take a plot.
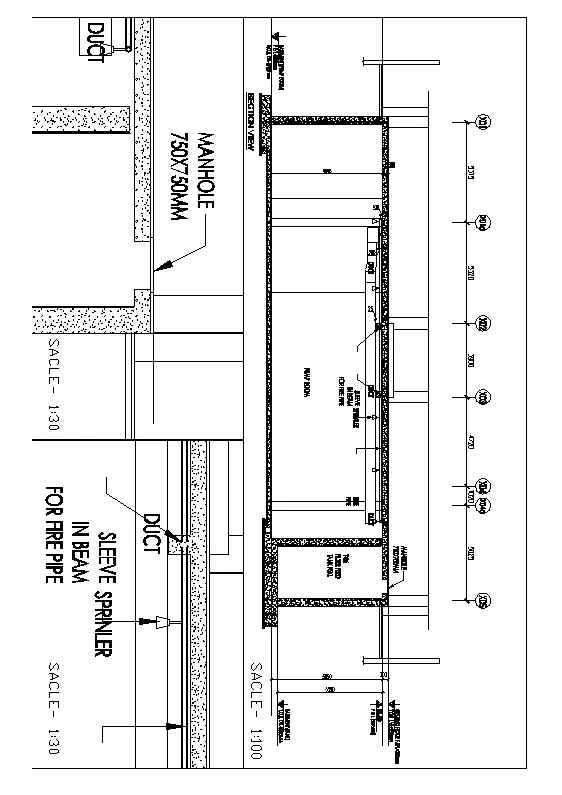
Aim: Create a layout of the section created in Challenges 9.
Procedure :
- Creat the file and set the Units and limts for the file .
- Creat the layout page using the command of layout
- Give the MV Command For the add the views
- To edit view use the command of Ms command
- And Give the ps command to setout of the view
- And Set Plot settings to using the Ctrl+p command and set the polt settings .
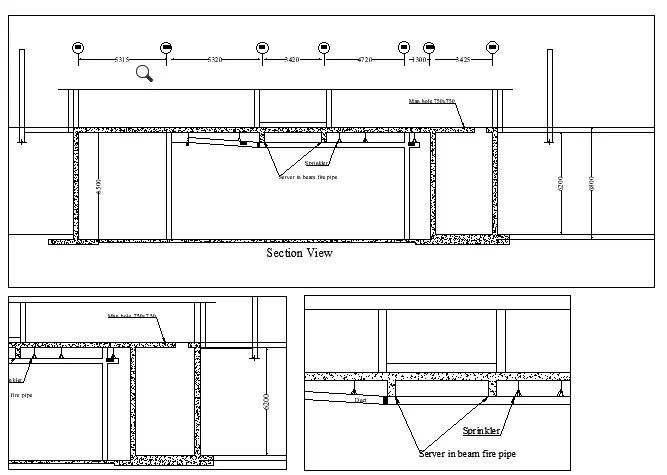
Result :