Creation of Column Schedule and Drawing Template using AutoCad
Creation of column schedule and Drawing Templates using AutoCAD.
1. Aim and Introduction:-
To create the column schedule using line tool and Dtext command.
Procedure:-
Steps:
- Taake the line command and offset command draw the table
- Trim all unwanted lines
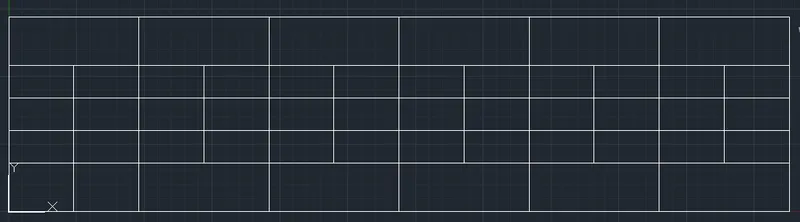
- use Dtext command
- justify at left
- Specify the rotation angle 0
- Change the text style and text height as 8.0''
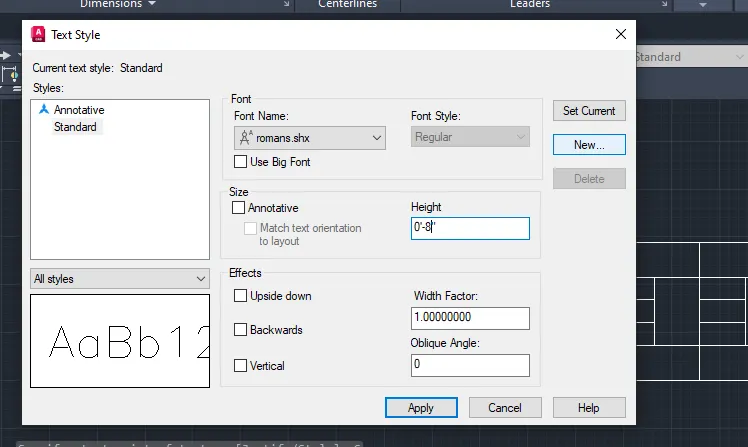
- And set as new style to use
- close it
- And write all the text in the table

- To draw the column and stirrups
- By using the Line, Fillet, Circle command
- create all the column and stirrups
Result:-

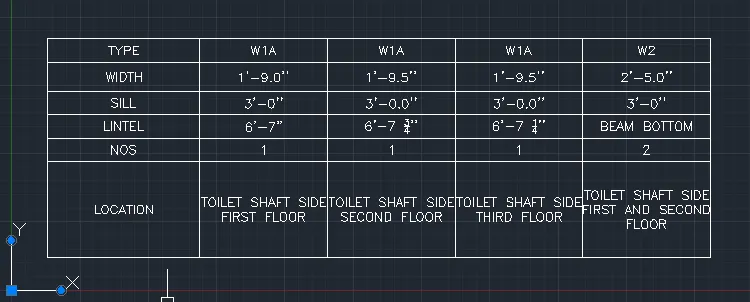
2.Aim:- To create oe sketch the window schedule using tabe in AutoCAD.
Procedure :
Steps:-
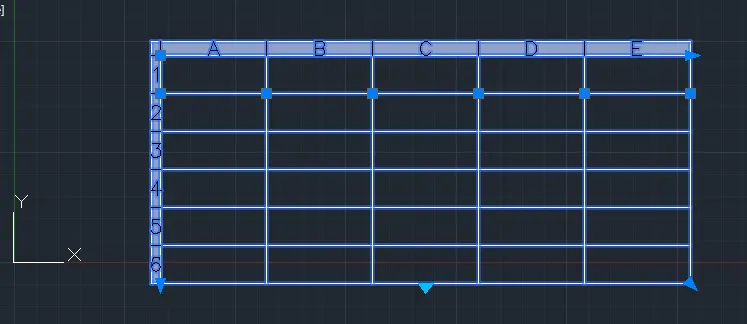
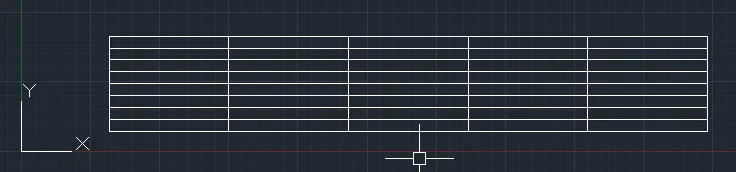
- Give the table command in command line
- Enter the no.of rows as 6 and no. of columns as 5 press enter.
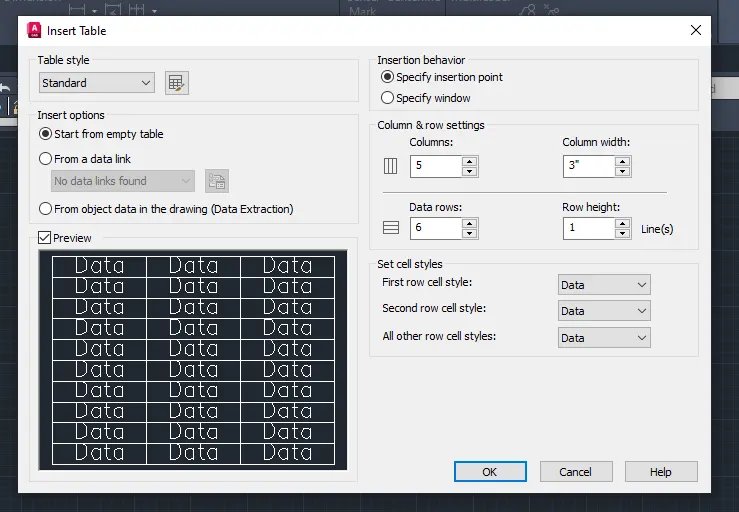
- give the single line text
- justify the middle center
- click start point
- rotation angle 0
- By clicking each of the box , write the text and complete it.
Result:-
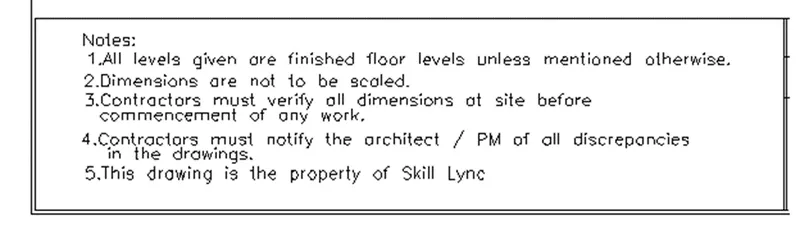
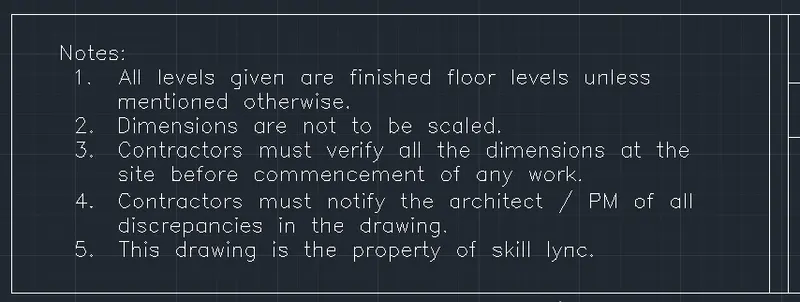
3.Aim:- To sketch or to create the drawing template in AutoCAD.
Procedure:
steps:-
- Take the line command
- Draw the table using line command and offset command
- Trim all the unwanted lines
- Enter all the text using the Dtext command
- click first point ,rotation angle 0 and height of the text as 9.0'' and text font style as romans.shx
- Enter all the given text in the table
Result:-

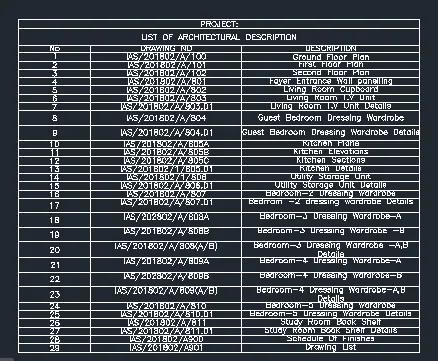
4.Aim:- To create the list of the drawing schedule in the AutoCAD.
Procedure:
Steps:-
- Type table command in command bar
- enter the no.of row 29, no. of columns 3
- Enter the cell style as Title,Title, Data
- and apply and press enter
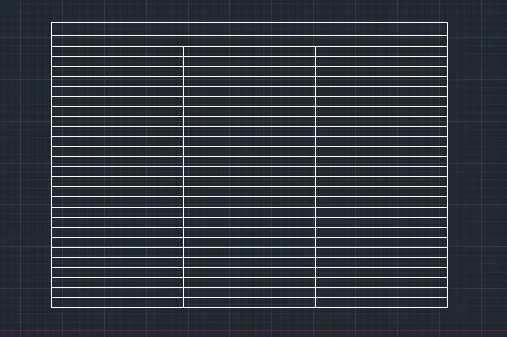
- Give the Dtext command click in any one of the box in the table
- Rotation angle 0
- Text height as 9.0''
- Then , write all the text in the drawing list given
Result:-
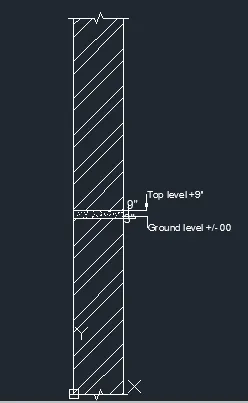
5.Aim:- To sketch the given section of the Brickwall in the AutoCAD.
Procedure:
Steps:-
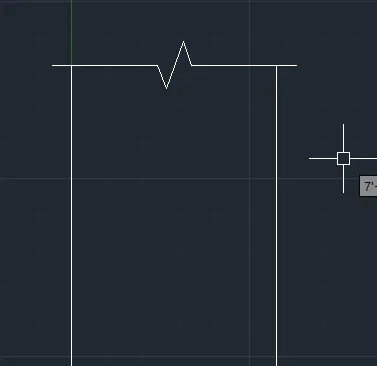
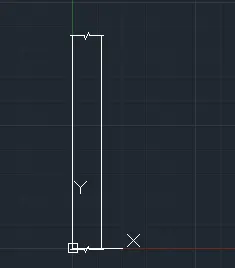
- Give the Xline command
- Deaft the two line at the distance of 6'
- Select the Breakline command and make the horizontal line where you have by specifying the symbol height as 1'
- Draw it top and bottom side
- Trim the lines that are not in use
- Take the line command
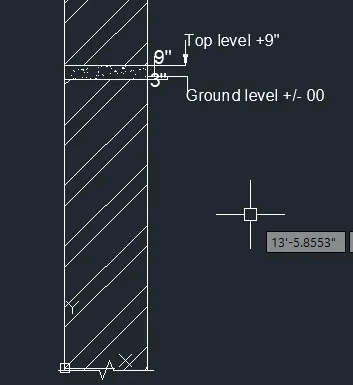
- And draw the horizontal line at any height
- Give the offset at top at 3''
- Again offset at 9''
- Extend both the line Righwards by use of Ex command
- Add all the dimensions using the linear DIM command and Leader command
- Give H command
- Fill the brick wall and sill with the the appropriate symbols given in the hatch setting
Result:-