Creation of Column Schedule and Drawing Template using AutoCad
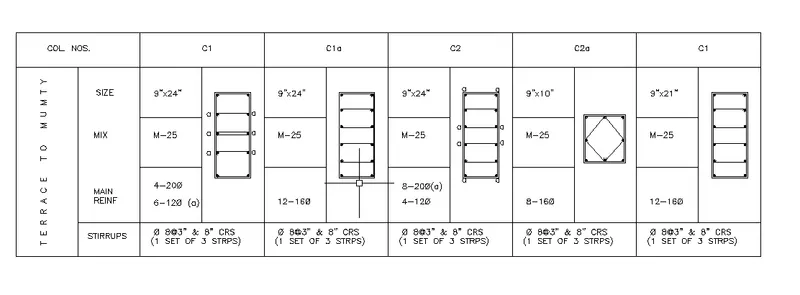
1. Create a column schedule as shown in the figure.
units - Engineering
Style - romans.shx
Height - 8"
Line
Start
Selct point
Draw length of 90 inch width and 5 feet height 2 boxes at left
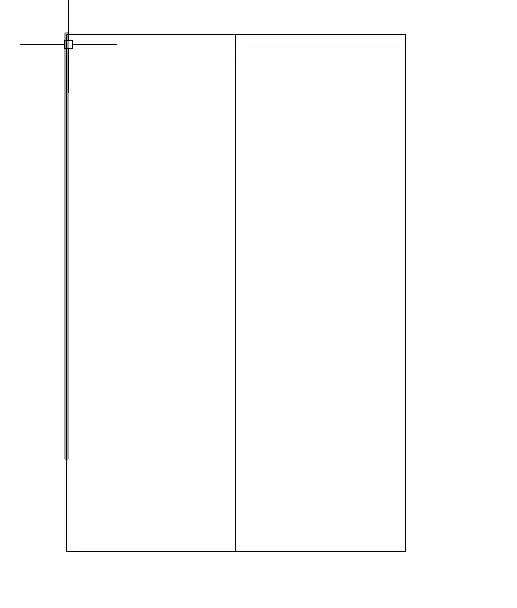
Draw a box for headings over it
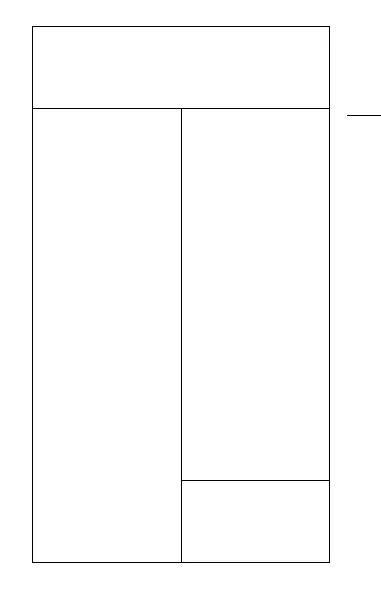
The text has to be written and arranged properly with alignment as Left
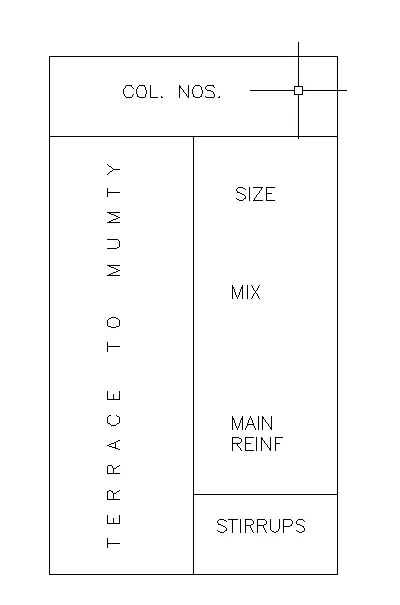
Create similar 5 boxes to the right
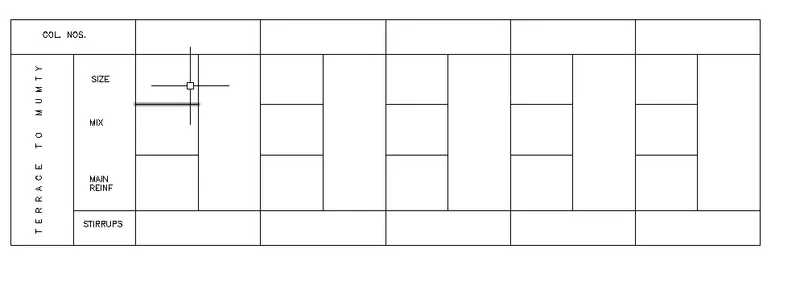
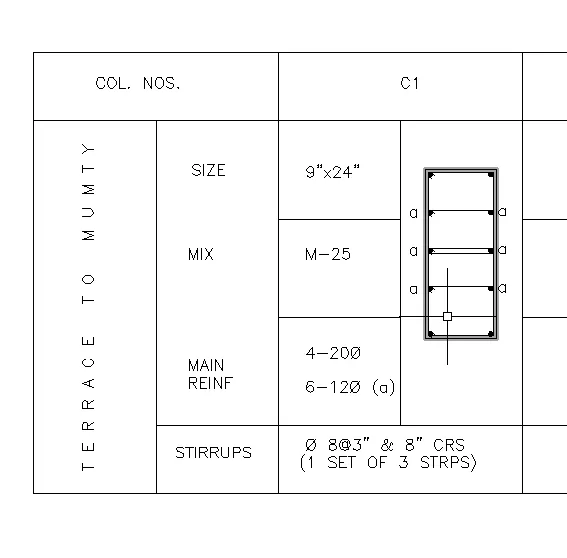
In the immediate right box Column, C1 Reinforcement details are to be created with text and line commands.
Similarly, copy the text to all the boxes and edit the details to get the required column schedule.
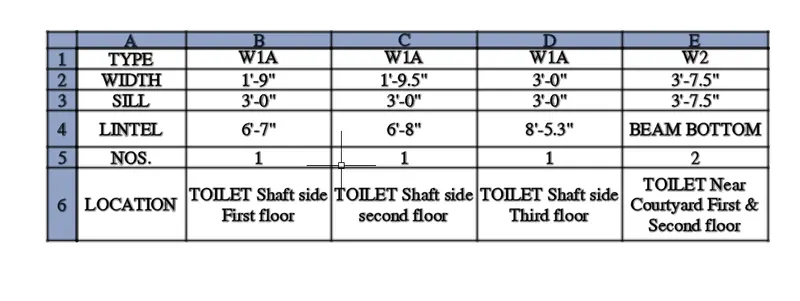
2. Create a window schedule as shown in the figures:
Window Schedule:
Use the Table command and set the parameters accordingly to create the no of columns and rows.
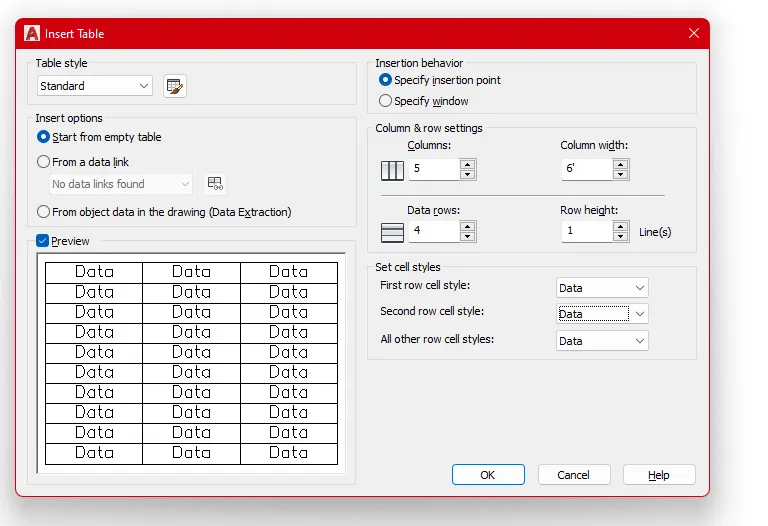
The table will be created and placed at the specified location.
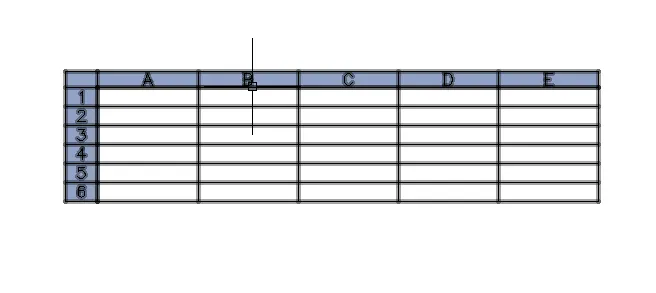
The text has to be given properly with alignment settings and Column widths are to be adjusted as per the requirement to get the correct arrangement.
3. Create the drawing template as shown in the figure
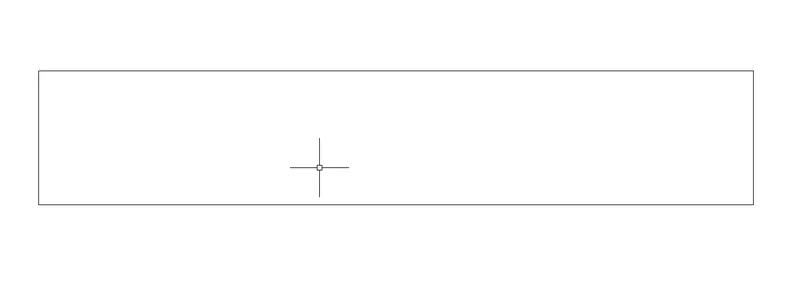
Draw a table by using the Polyline command
Use Mtext to get the Notes as shown in fig and Align them to the Left.
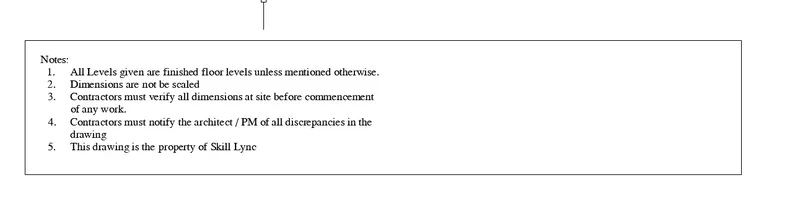
Create separation in the box with lines and offset commands to get this shape.
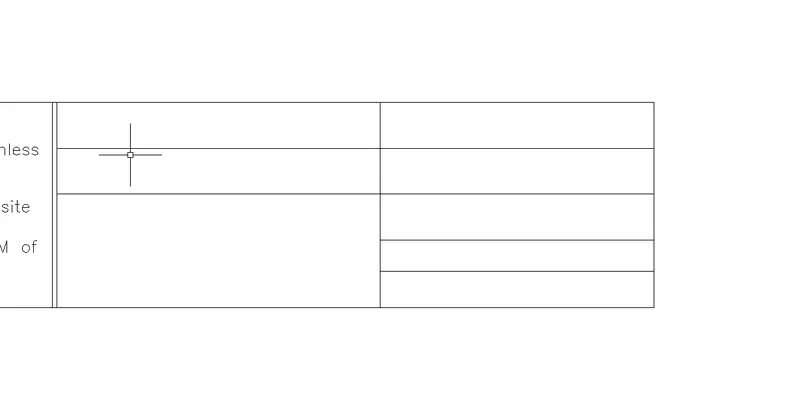
Fill the Text accordingly
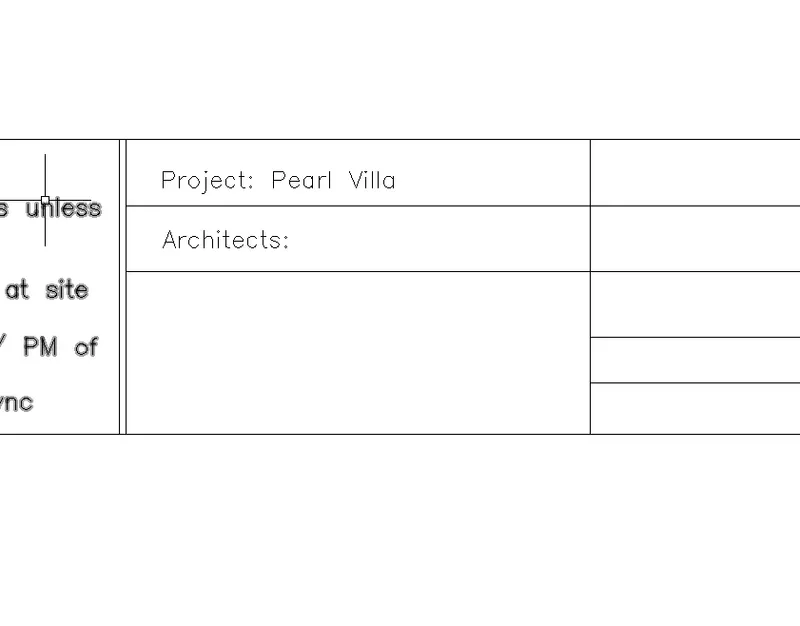
The texts are copied orthogonally to get correct and neat placement.
Result:
4. Create the list of drawing schedules as shown in the figure:
Create a Table using the command Table and set the parameters accordingly to create the no of columns and rows as required.
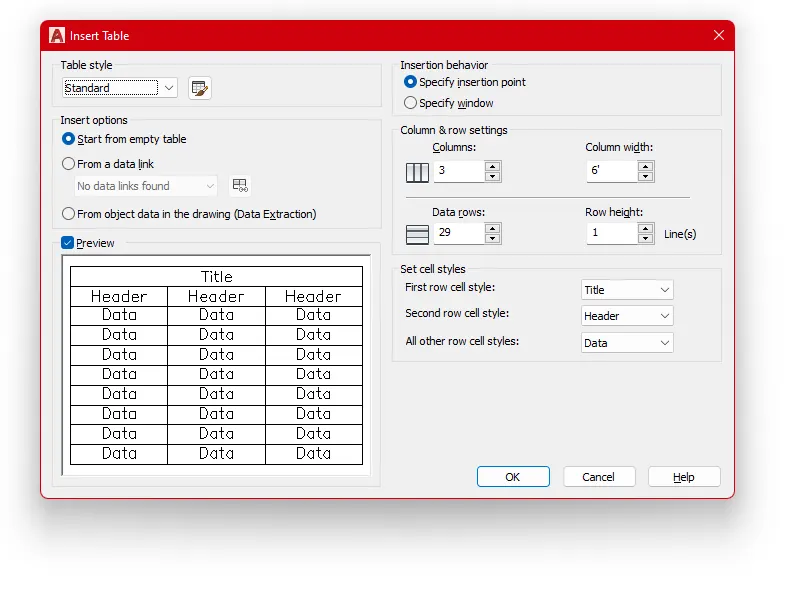
The table will be created and placed at the specified location.
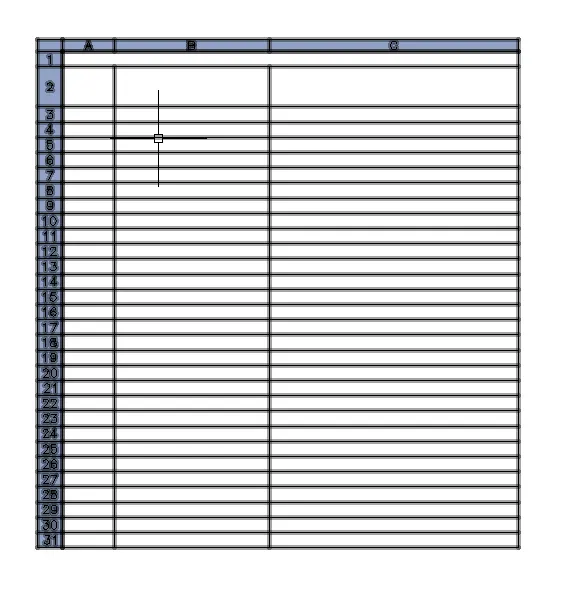
Fill the text in the table and adjust the Alignment accordingly as required
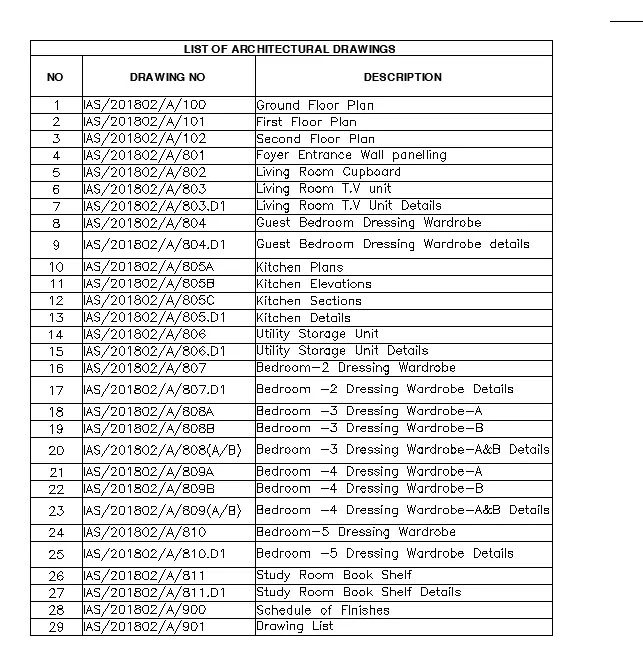
Add a row above by selecting the table and table properties to fill
the Heading- Project:
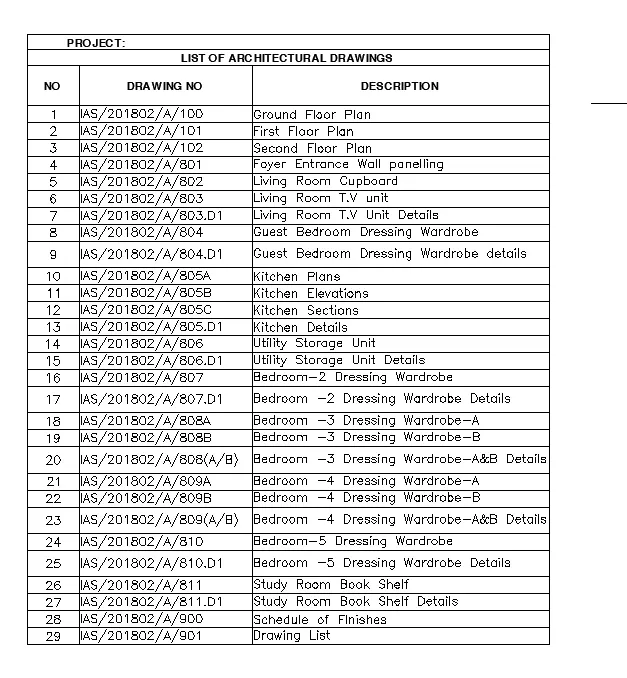
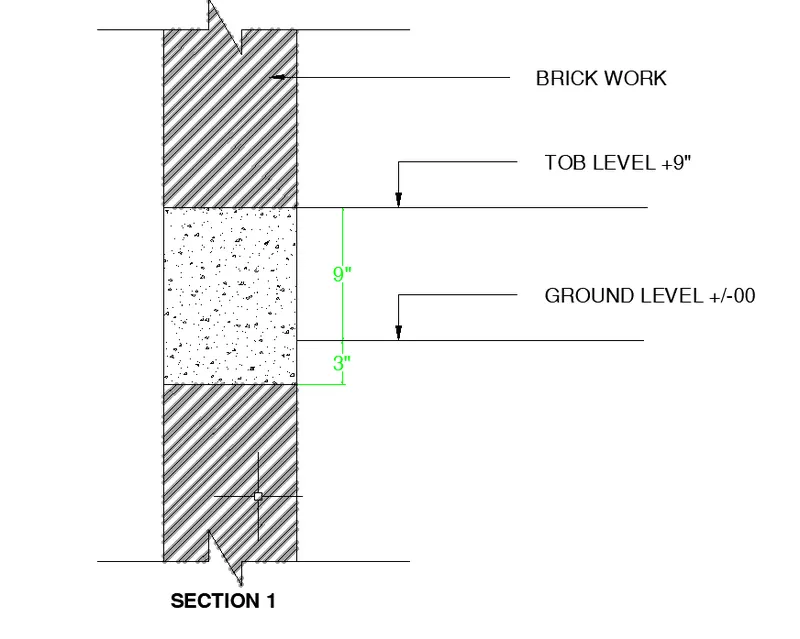
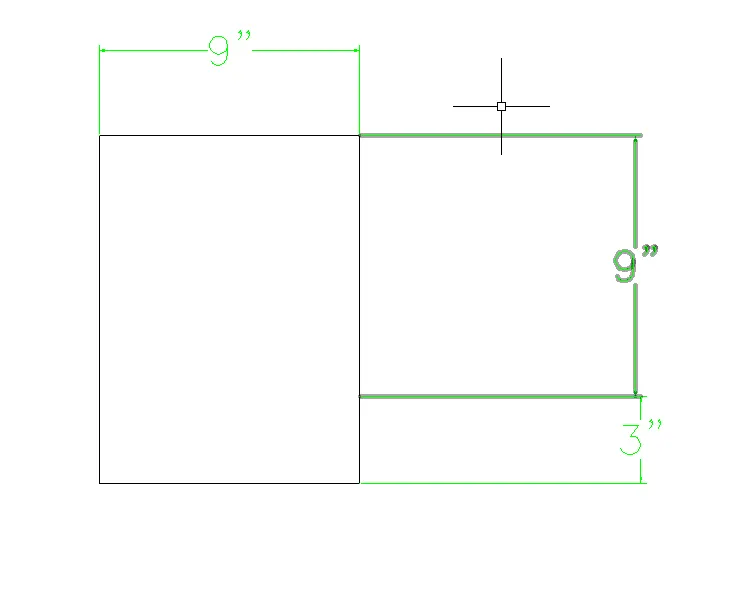
5. Create the Beam detail as shown in the figure and provide text wherever given.
Draw using polyline
9 inch width and 9 inch + 3inch depth Beam
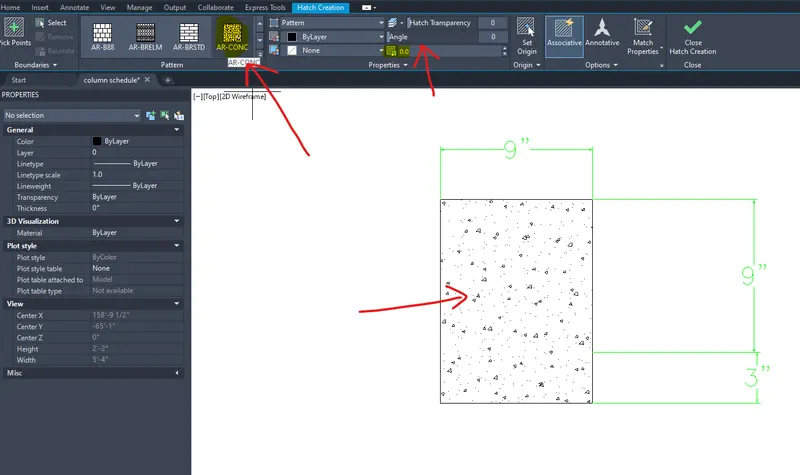
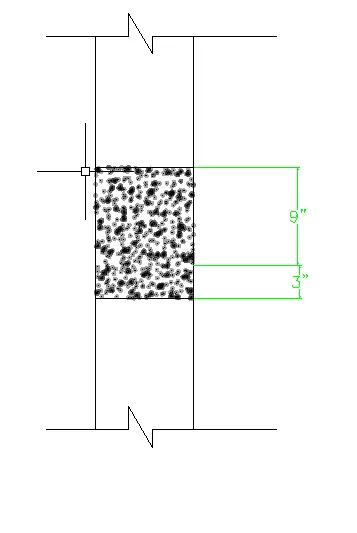
Use the Hatch command and select the type of Hatch AR conc and scale it appropriately and select the internal point to get the hatched portion.
Draw polylines above and below the BEam to represent the Wall of Brick Work
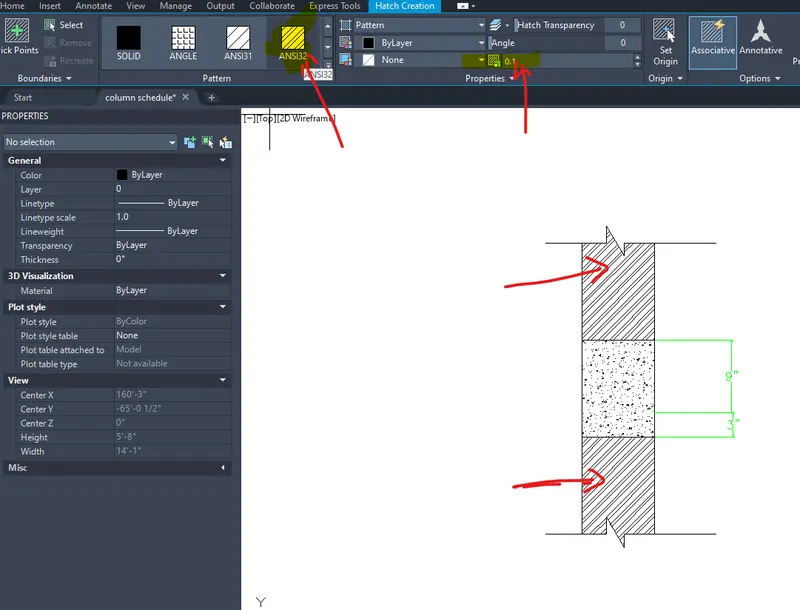
Now Give Hatch Ansi 32 and select a suitable scale and select the internal point to get the hatched portion.
Use Leader command to give all the details of Level and labelling