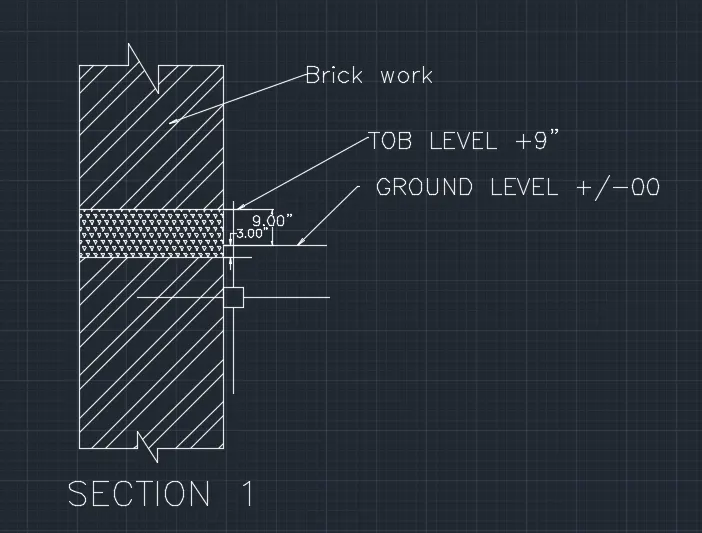
Creation of Column Schedule and Drawing Template using AutoCad
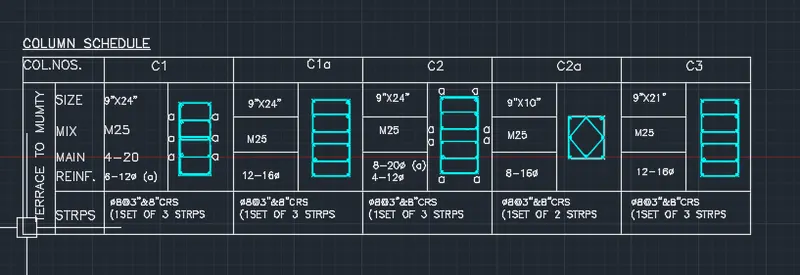
1. Creating Column Schedule:-
Ans:- First of all with Style (ST) set Font-(romans.shx) and Height 8".
:- Then justfy it "Left".
:- Now with "Line" command Draw a line of any length and take offset of 2' and other 5 lines at any distance.
:- Now Draw a vertical line meeting top and bottom lines left ends.
: Now take offset from this vertical lines at any distance required and make 6 columns.
:- Now again take offset and divide these columns into two parts.
:- Now with the Dtext/ single line text command write the details as shown in the figure.
:- Now draw a rectangle in column C1, and take offset inside of column.
:- Now divide the column into four equal parts and take offset and draw lines.
:- Now take circle command and draw a small circle and Hatch it with solid hatching.
:- Now copy it and paste at left and right intersection points of lines at 5-5 places.
:- againg take offset equal to radius of circle in outer side of this line.
:- Now delete the inner most line and with line command draw hooks.
:- againg with "fillet" ccommand with radius 0.5"fillet the lines and to make stirrups.
:- now with "PEDIT" command increase the width of inner lines.
:- Similarly for Columns C1a, C2, C2a and C3, folow the same steps.
:- and finally the Table is ready.
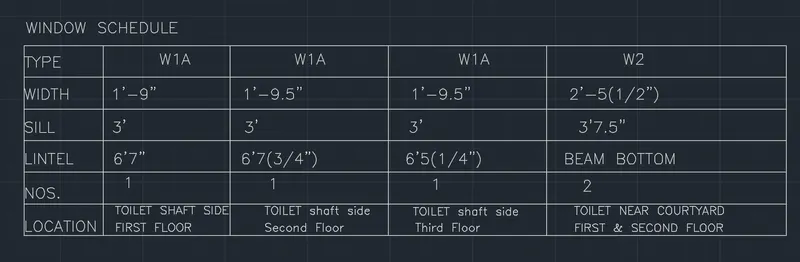
2. Creating Window Schediule
:- first of all with "ST" command set the Font and text height.
:- Now take X line and draw horizontal line.
:- Take "offset" from this line at 2' and draw 6 parralel lines.
:- now draw a vertical line meeting left ends of all lines from top to bottom.
:- Now take "offset" at 5' from this line and again at 8' from this new line.
:- again take offset at 10', 10' and 15' from preceeding lines and trim the extra lines
:-Now with the help of "dtext" command write the texts given in the figure in all the columns, W1A, W1A, W1A and W2.
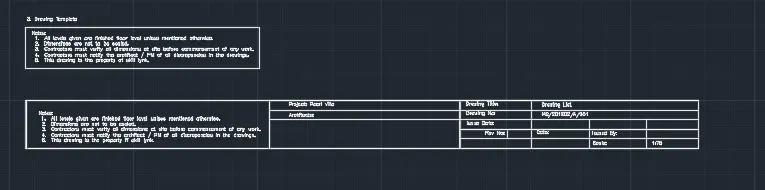
3. Creating Drawing temnplate as shown in the figure
:- first of all set the font, text height.
:- Now take "multiline text" command and provide start and end corner.
:- Now start writing from word "Notes" and press Enter then take "Bullet numbering" and continue to write and "Enter".
:- Now Draw a rectangle arround the Notes.
:- Agains to draw bottom Template, Take X-Line Horizontal and vertical and trim left end where it intersect each other.
:- now from left most side, with "Mtext" start writing the notes.
:- after completion take "offset" from left vertical line and make two boxes.
:- Now in the second box take offset from top line and divide it into three parts.
:- Now start writing in this box with "Dtext" command.
;- Again take offset from second box and make third box divide into four parts of required width and trim Extra lines.
:- Now with Dtext command write all the details given in the figure.
:- Hence now the Drawing Template is ready.
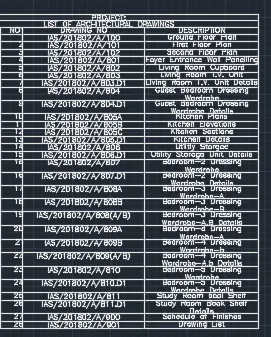
4. Creating List of Drawing schedule
:- First of all set the font and Text height.
:- Now draw a table of three columns, 33 rows and two title Rows.
:- Here, with "Dtext" Comamnd write the details of drawings given in the figure.
:- Hence, the List of drawing is ready.
5. Creating the Beam Details.
:- First of all draw a vertical line of any length.
:- Now take offset from this line of any width like 3'.
:- again take Polyline and close the bottom and top of this section by zig-zag line.
:- Now draw a line at 3' from top and take offset at 9" and 12" from this line.
:- Now take hatch command and fill the section with ANSI32 and TRIANGLE hatching.
:- now with dimension tool show the dimensions 3" and 9".
:- again, take leade tool and write the section details.
:- with Dtext command write "SECTION 1" at bottom of section.
:- now the section is ready.