Creating Walls, Partition walls and Floors for a residential layout using REVIT
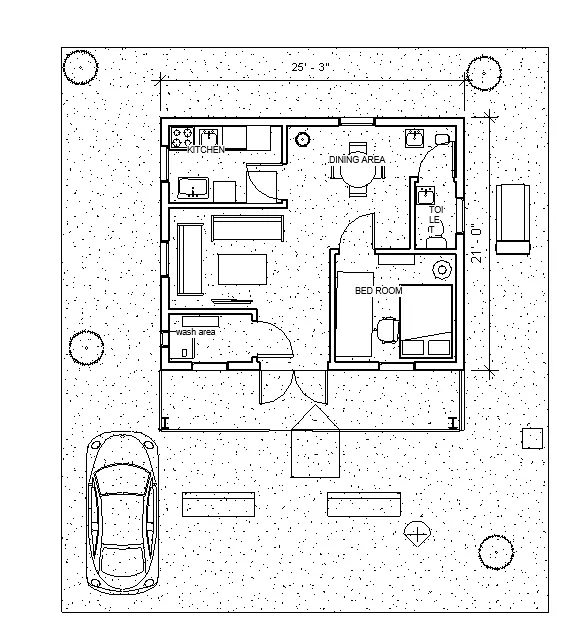
GROUND FLOOR OF THE RESIDENTIAL BUILDING
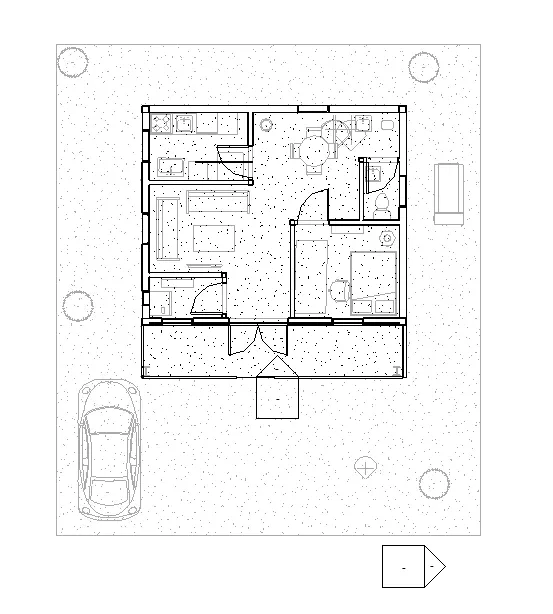
FIRST FLOOR OF THE RESIDENTIAL BUILDING
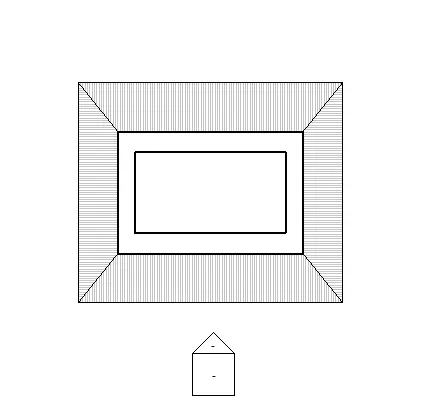
ROOF OF A RESIDENTIAL BUILDING
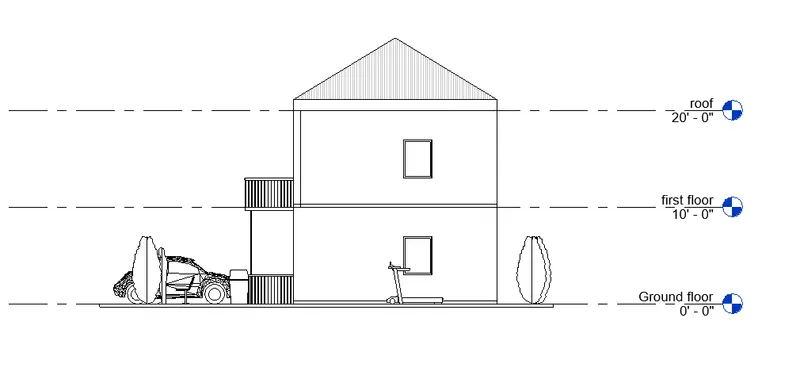
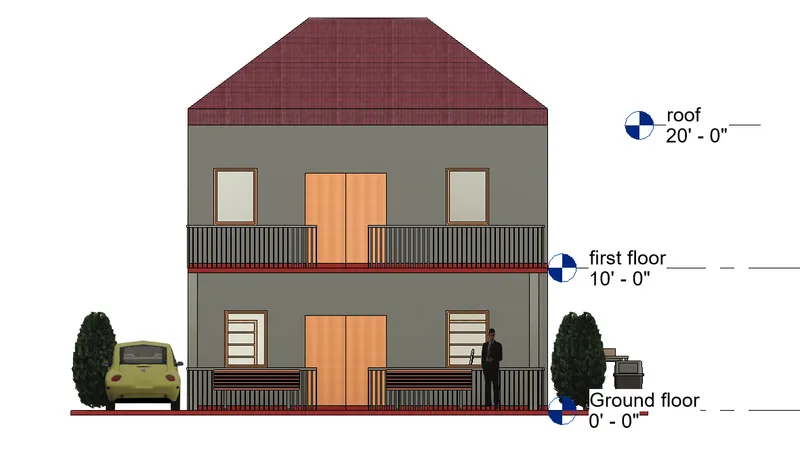
ELEVATION OF THE RESIDENTIAL BUILDING
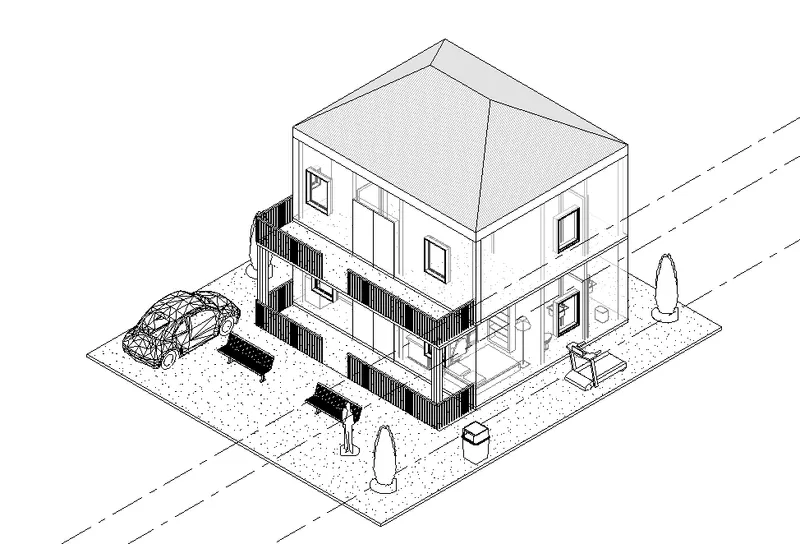
3D MODEL IN HIDDEN VIEW
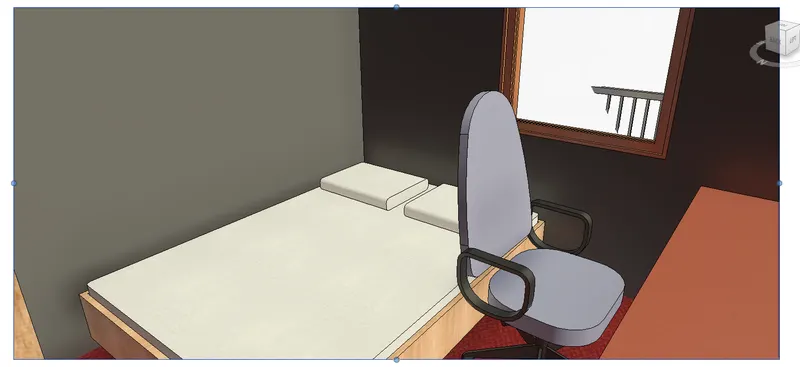
BEDROOM VIEW WITH BED ,CHAIR,DESC TABLE AND SHELVE
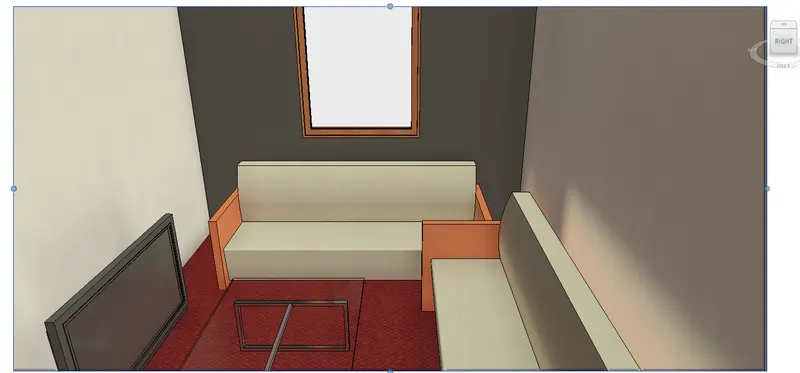
LIVING HALL VIEW WITH SOFA AND TV
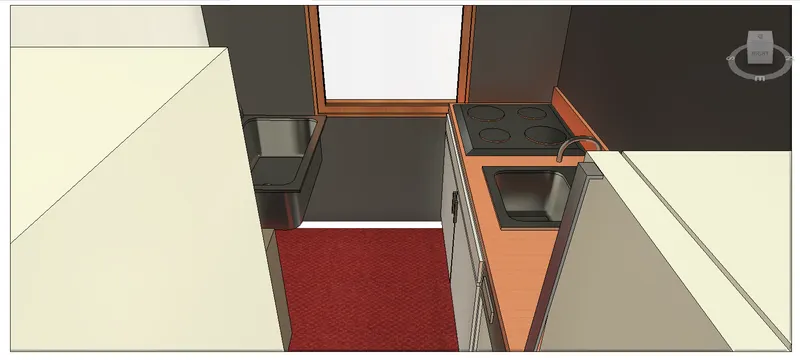
KITCEHN VIEW WITH KITHEN EQUIPMENTS
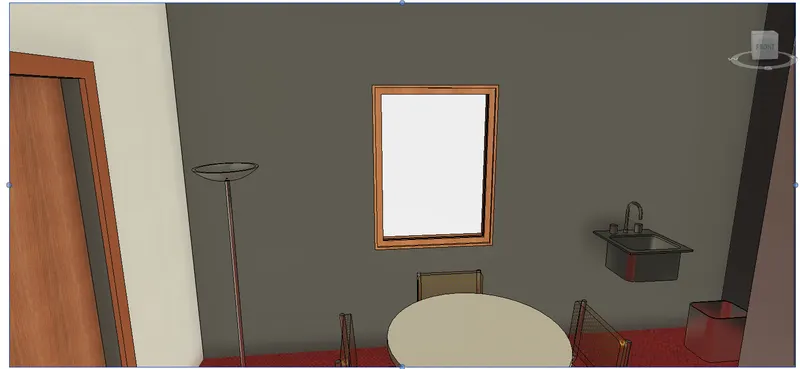
DINGING HALL VIEW WITH DINING TABLE AND CHAIRS
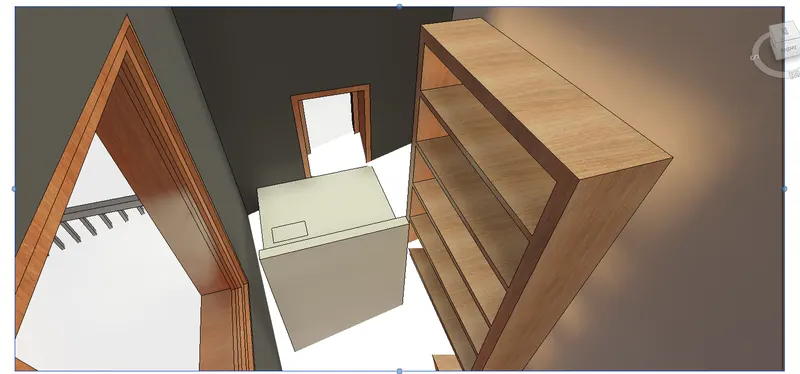
WASH ROOM VIEW WITH WASHING MACHINE AND DRESS SHELVES
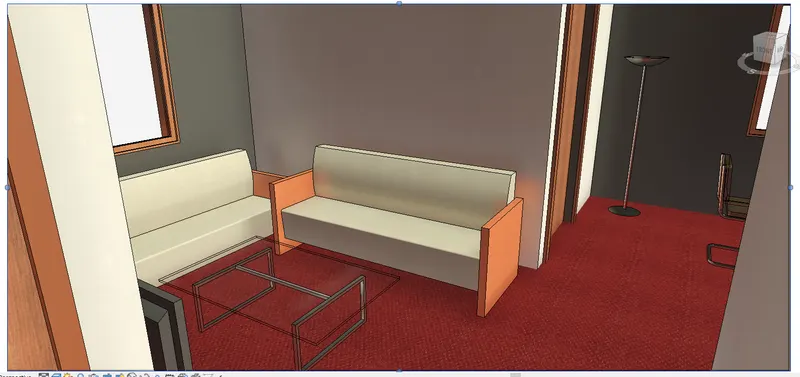
LIVING HALL VIEW
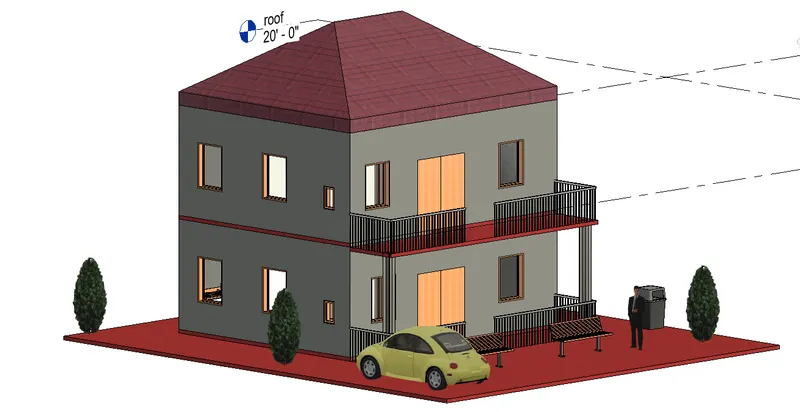
3D VIEW OF A RESIDENTIAL BUILDING
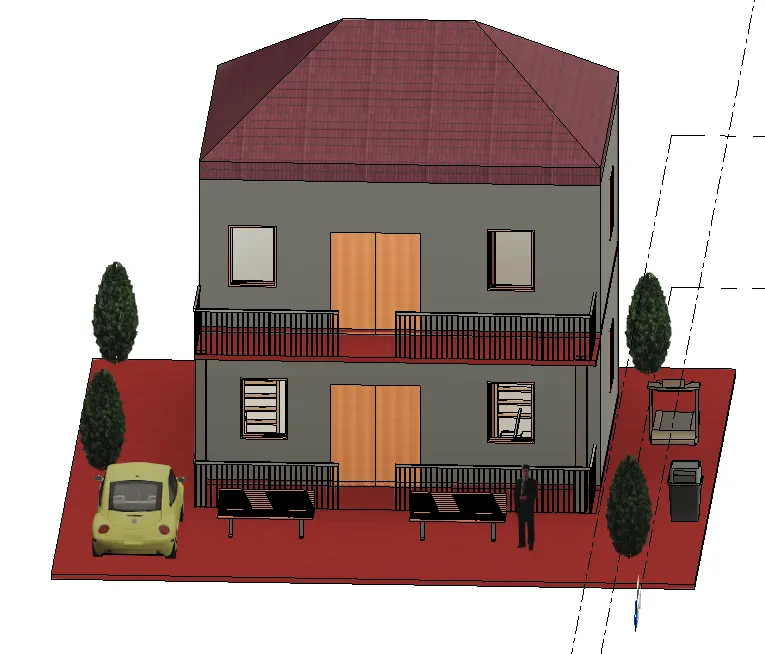
3D FRONT VIEW OF A BUILDING
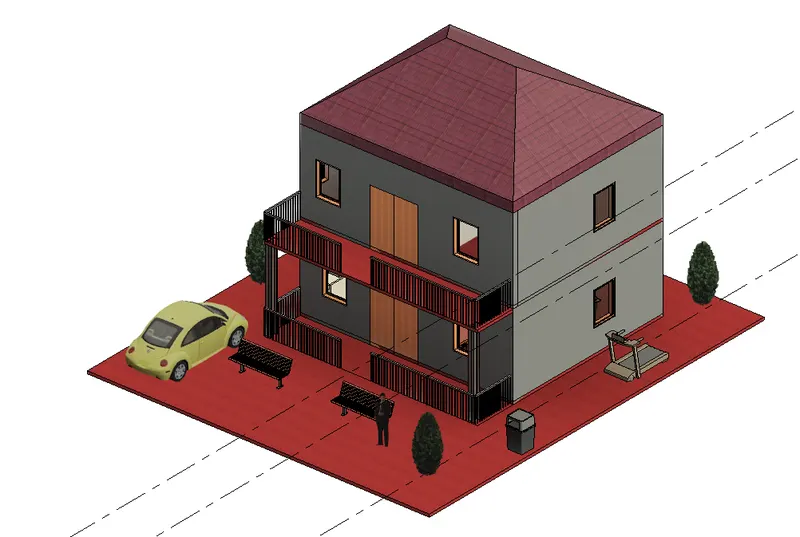
3D SIDE VIEW OF A BUILDING
AIM:To creat the walls,pratiotion walls and floors of a residential building by using the REVIT software .
procedure:
- First open the revit and select new project in that select architectural template and save it by giving some name to the project.
- Then go to manage toolbar in that select project information and in that give the information about project like name,issu date ,location,number,author and status of the project.
- After that go to architect tool bar in that select floor architecture and creat a floor layout which is required.
- Next after creating the floor go to architect toolbar select wall and draw the walls and select windows draw all the windows.
- Draw all the doors and windows by using architect tool bar.
- After draw the layout with walls ,windows and doors then go to 3D view in that select walls,doors,and windows and edit them give different material that you reqired .
- Then to creat the first floor select the total ground and use clipboard tool and copy and paste the selected object usiing clipboard.
- After creating two floors of a residential building then draw the roof of a building by using the architect toolbar in that select roof footprint and draw the roof by selecting the walls.
- Select roof and edit the roof by giving different materials and coiours to it.
- Then after creating the total buiding with roof then go to the ground floor and insert diffrent type of componanents,families and elements.by using the insert tool bar in that select load components in that select different components and families and inserted them to the building .
- In the above drawings the wall height is 10' and width is 8".
- For walls i use genric 8" walls and windows i use 36"x48" and 16"x24" size windows.
- After creating the total 3D residential building with reqired components then go to view tool bar in that selcet camera and set at different positions in the building like hall,kitchen,bedroom,toilet and wash area and select the view and saved them by giving some different names to the different view.
- And the last step is go to manage tool bar and in that select purge unsed and enter which helps to clear all the unused components in that properties of a project.
- At last save the project by giving some name to it.
THE TOOLS USED FOR THE DRAWING ABOVE DRAWINGS ARE:
- Architect tool bar
- manage tool bar
- insert tool bar
- annotate tool bar
- view tool bar
- modify tool bar
- floor tool
- wall tool
- window and door tools
- roof tool
- clipboard tool
- camera tool
- room tool
- elevation tool
- component tool