Creating Walls, Partition walls and Floors for a residential layout using REVIT
1) AIM:
Using the floor tool under the architecture tab and select the floor with approprite material and thickness using the property browser
PROCEDURE:
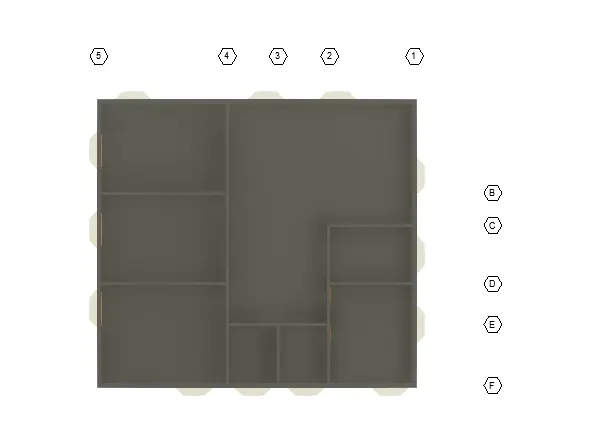
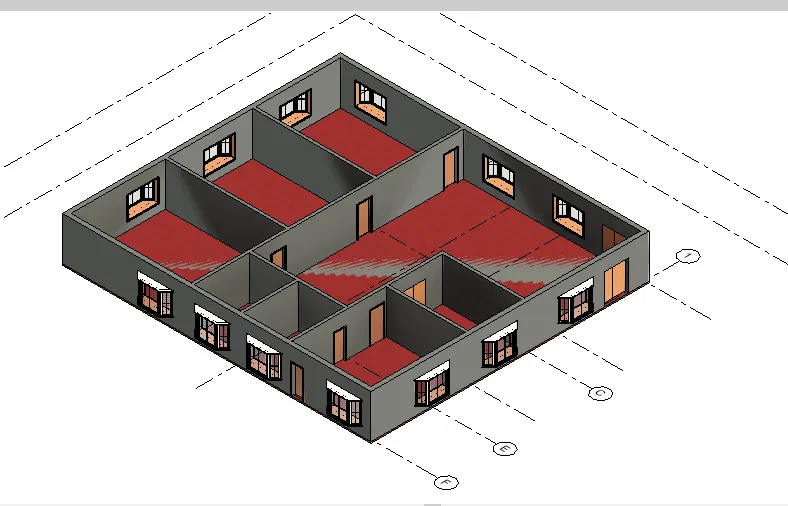
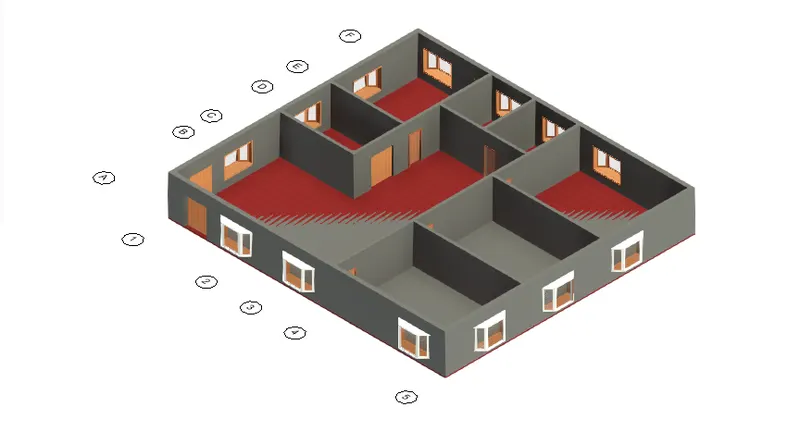
- From the model we created in week 2, a flooring isto be created. for which the required flooring is selected from the library as shown below and the thickness is edited accordingly.
- Once the required flooring is selected and assigned to the model with the help of build flooring tool under architectural tab, the below image is obtained.
- the material of the interior walls are also replaced by choosing from the library as shown below.
RESULT: To given revit 3d modling drawing
2)AIM:
Use the property brower to select approprite material and thikness foe walls
PROCEDURE:
- The interior walls are picked from library walls of 100 mm dimensions as shown in the image below.
- The upper level of the walls are connected to first floor level as shown below which mahes editing of the building height easier.
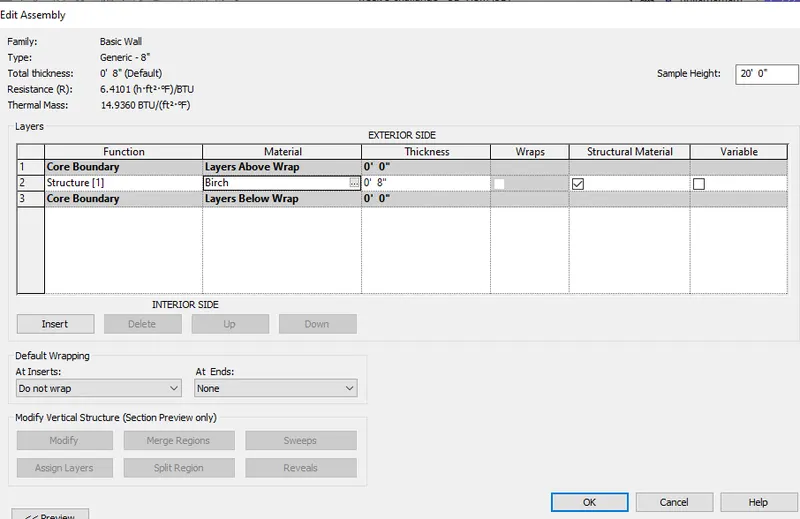
- When walls are connect to the upper level then it is easier to edit the walls height by changing the level height of the building rather than the selecting all walls individually and changing the height.
- While modeling walls, it is better to go with height parameter as it is easier to set the height of the walls as per the height of the levels.
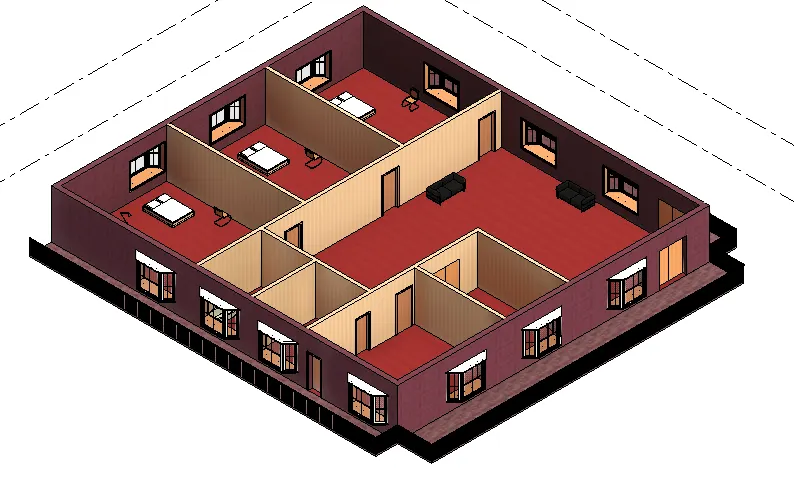
RESULT:
Below to the revit modeling and aligned elements.
3)AIM:
To copy the model elements ( walls,floor) modelled to ground floor level and paste it aligned to first floor level
PROCEDURE:
- Select ground floor plan and copy to clipboard using modify tab.
- And paste to clipboard selected plan and align it with the first floor level AS shown below.
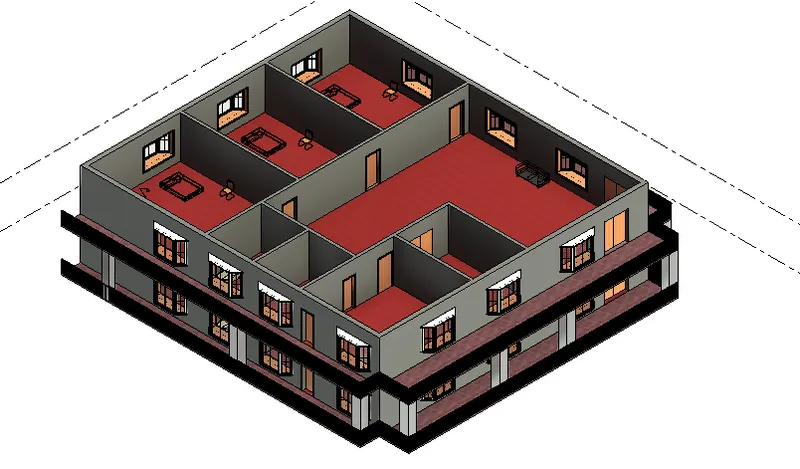
RESULT: ABOVE TO THE REVIT MODELING OF A ALIGNED TO REVIT FIRST FLOOR 3D MODEL.
4) AIM:
To create the room tags to show the different rooms in the building.
PROCEDURE:
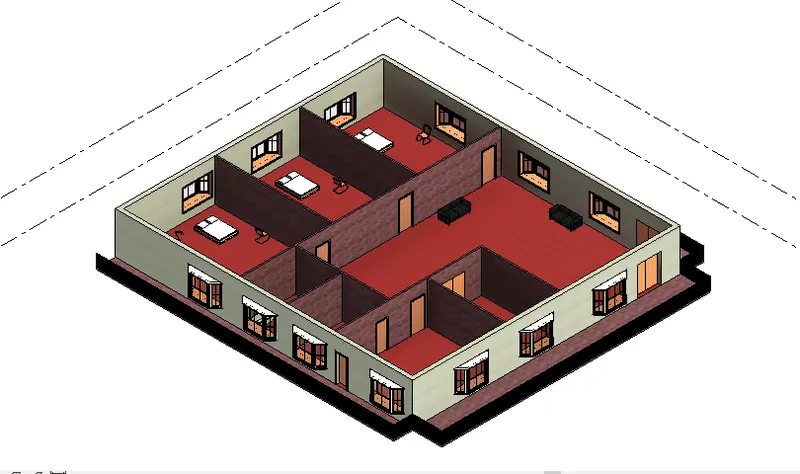
As mentioned earlier, the partition walls are added and the following rooms are to be named as shown below.
RESULT:
The above 3d revit modeling building mentioned to the room sizes.
5) AIM:
To place the apprpprite furnitures in locations of the building.
PROCEDURE:
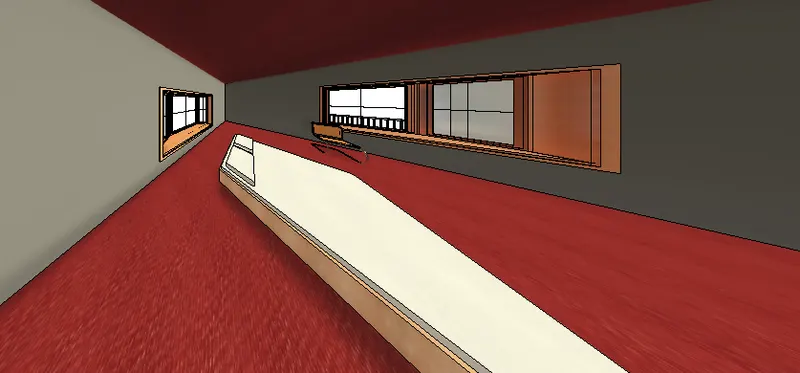
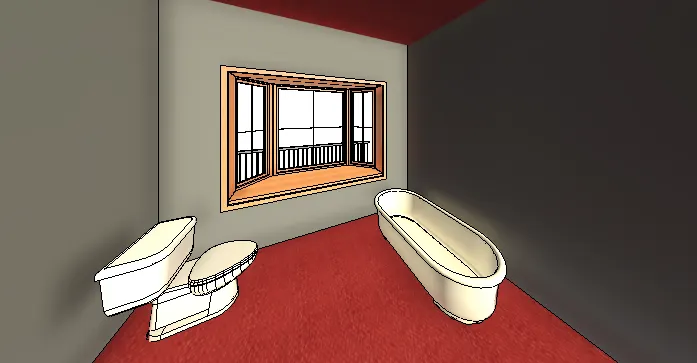
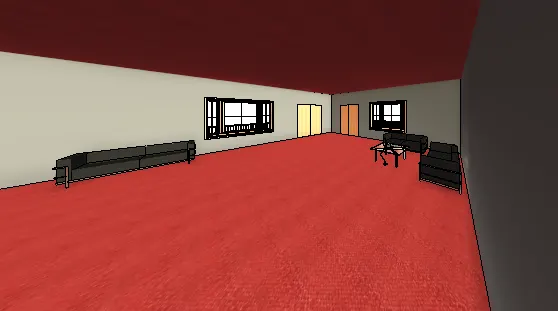
All the components required to place in the building are extracted from library and placed as shown below.
RESULT:
All the rooms are inselted to the locations of a furnitures.