Creating Walls, Partition walls and Floors for a residential layout using REVIT
Q1-
Aim-
1. to create floor plan any to apply the material and thickness using the property browser .
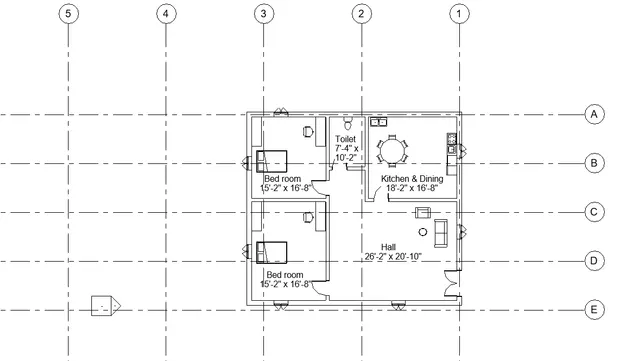
to align the floor plan with grid created from week 2.
introduction-
1.building material is a material used for construction .many naturally occurring substances such as a clay, Rocks, sand and wood even leaves has been used to construct a building .
2.apart from naturally material some more and some less synthetic floor plan shows the extent to which space will work for its intended purpose .
procedure -
1.first we select the floor after selecting the floor create the edit type from the properties of browser .
2. after clicking the edit type properties tab will be visible on the screen next to it change the material type by clicking the editor option .
3. we select to the material type in a second row after clicking that the material so then selected the material type as a concrete material is applied to the floor next fl
4.finally material is applied to the floor
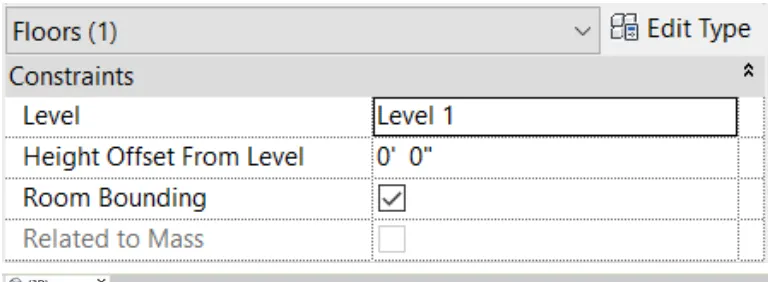
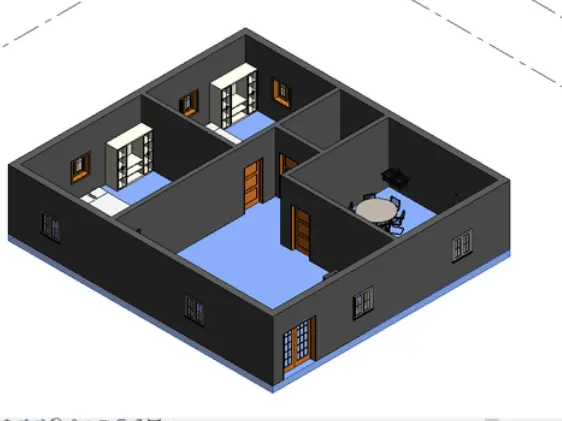
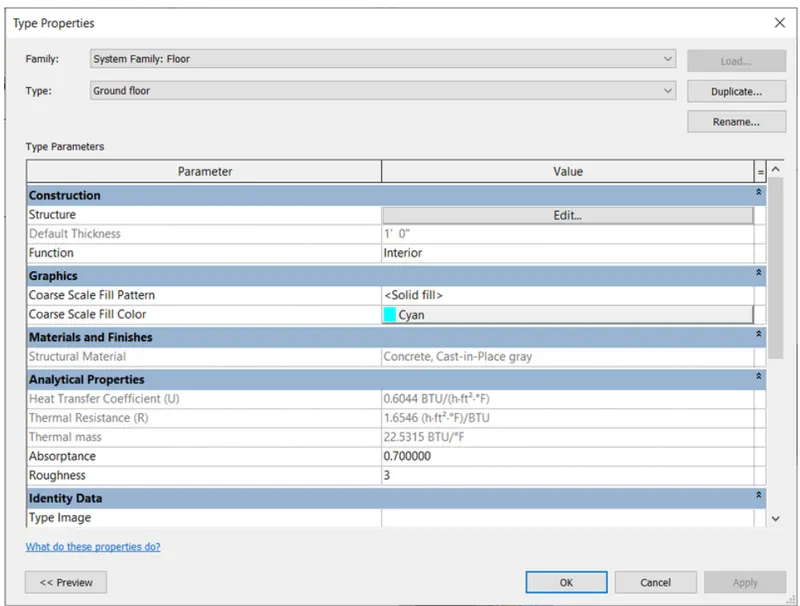
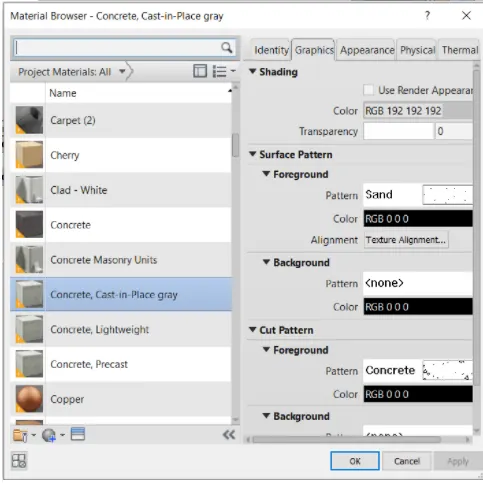
5.next floor plan is aligned to the grids as shown below
RESULT-
Q2-
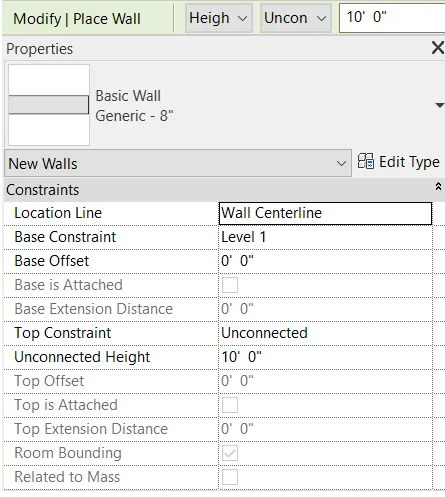
Aim- to create a floor plan and need to apply the material and thickness using the property Browser for walls .
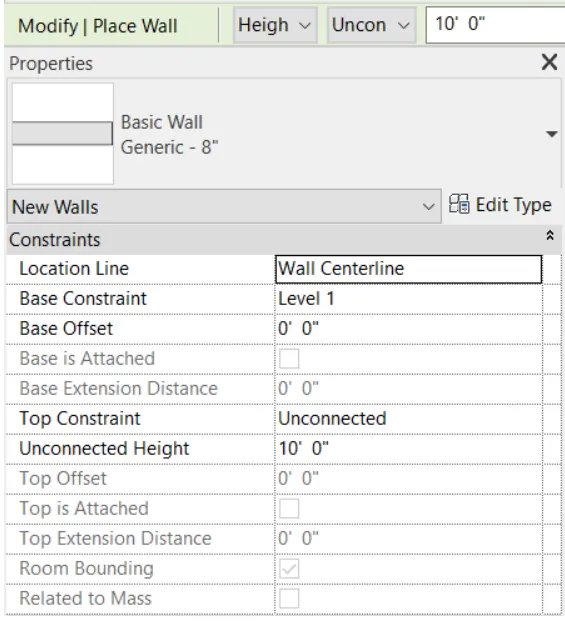
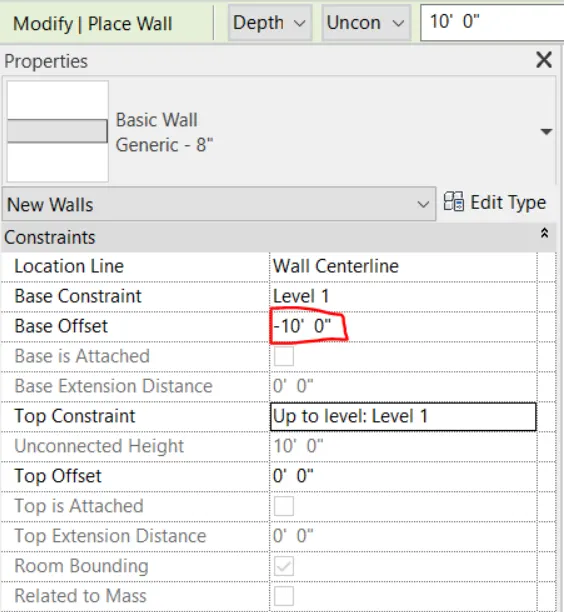
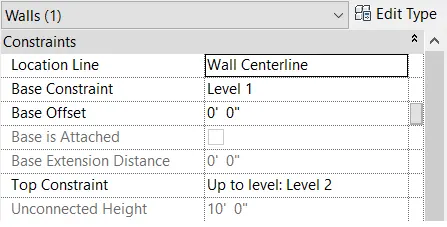
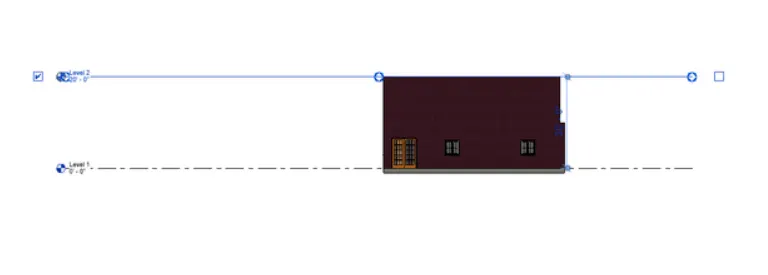
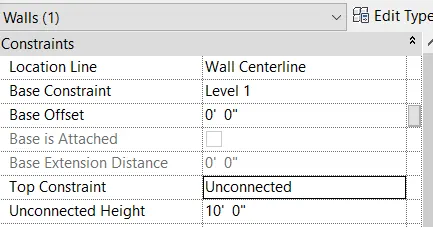
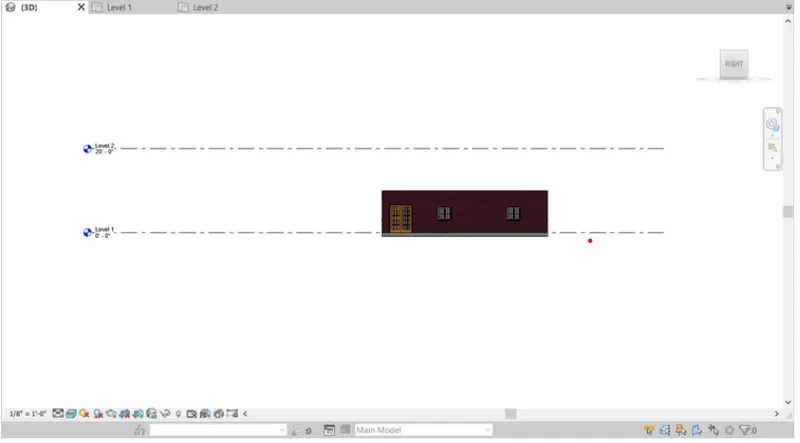
verify using the property browser to see if the top and bottom of the walls are constructed
need to understand the benefits of connecting walls with associated level rather than become unconnected .
need to know which option is convenient for modelling walls by height or by depth.
introduction -
1.walls are arguably one of the most important element of any building
2.apart from naturally occurring material many made me do you need say some more and some less synthetic.
3.the wall tool is a promient function of autodesk revit architecture
procedure-
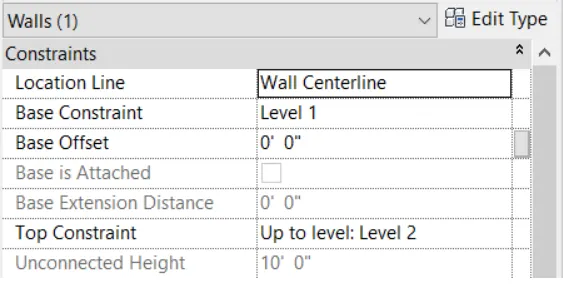
1. First we select the wall
2.after selecting all click the edit type from the properties Browser
3.after clicking the edit option to edit assembly tab appears we select the material type in the second row as shown below
4.after clicking the material browser a then select the material type as
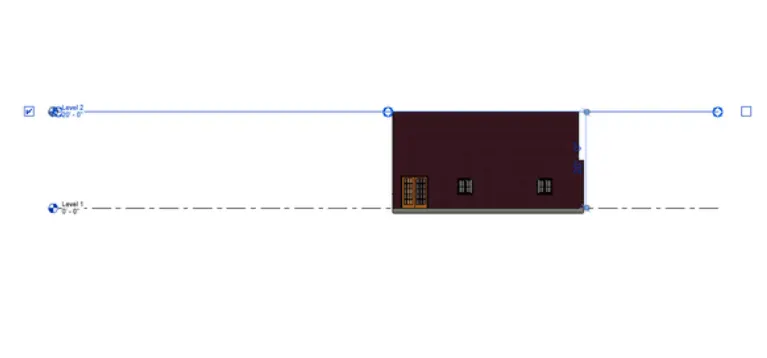
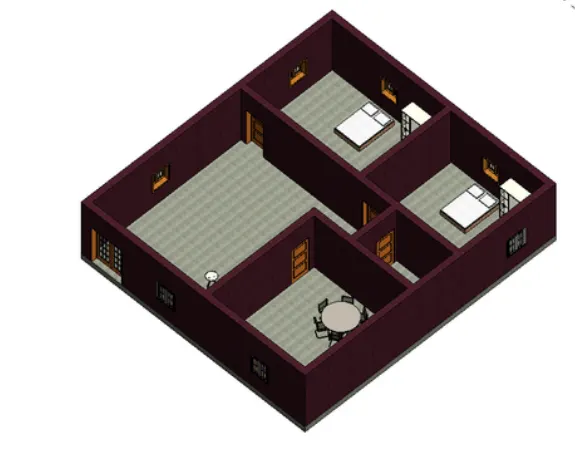
5 after applying the material to the walls we need to join the world to see the material type very closely
6.finally material has been applied to the wall
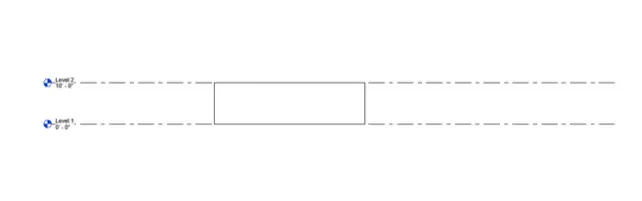
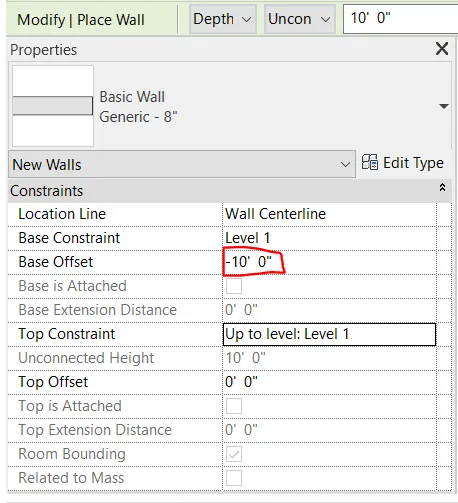
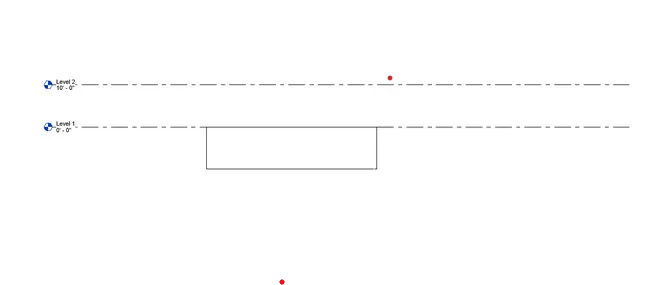
RESULT-
Q3-
aim-Use modify tab to utilise copy and paste option to align elements to different level
introduction-
- floor plan are the most critical element of your house plan drawn to scale and shown from above floor plans illustrate how rooms spaces and physical feature work in a relation to each other within the home
- floor plan show the extent to which a space will work for its intended purpose
procedure -
- first we select the total ground floor then with ground floor is copied to clipboard
- then use paste option to align element to a different level
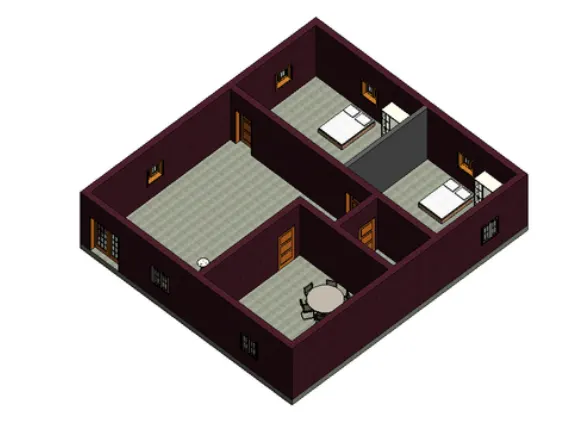
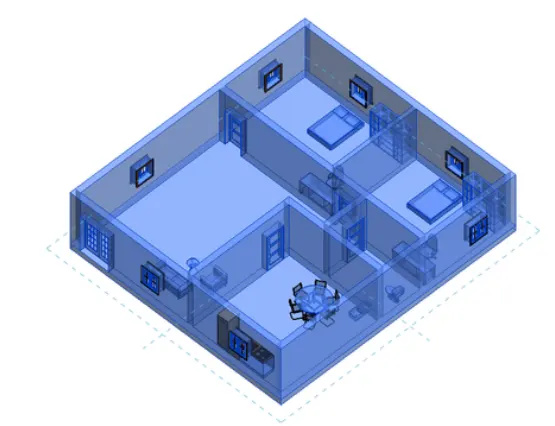
- next use paste option to align a element to different level as shown below
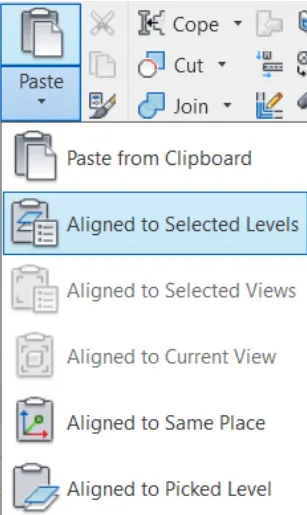
- final the elements are aligned to different level
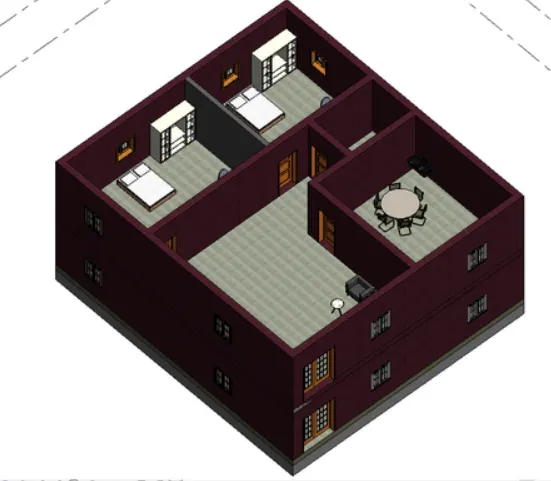
RESULT-
Q4-
aim-To create separate room within your residential unit using the interior position wall
introduction-
- the wall that make for division or privacy in the interior portion of a building and not carried the selling load and the floor load and that would make with brakes glass or other material called a partition wall
- it has many types like folding collapsible and fix the time
- if they carried or load of the walls and ceilings then it's called interior wall
- the partition wall connect to the floor and ceiling
procedure -
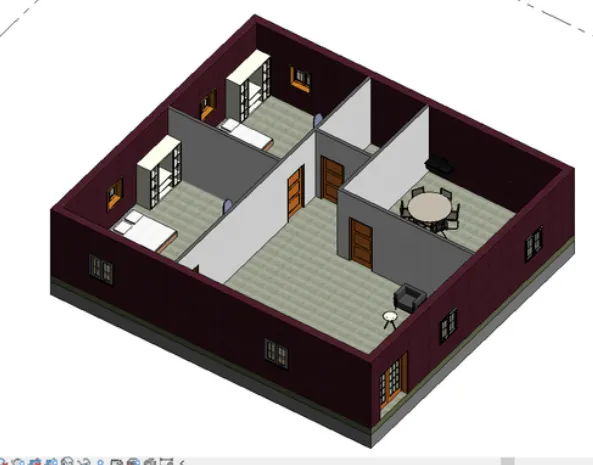
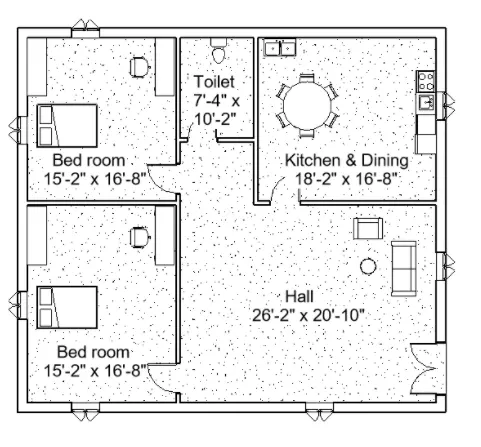
1.first a selected the interior wall and change the wall type as a partition wall
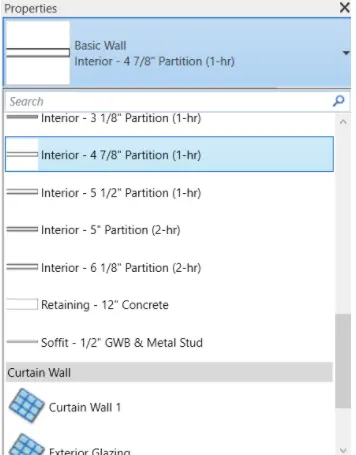
- the interior partition wall are created as shown below
RESULT-
the interior partition wall are sucessfully created
Q5-
aim-To insert the component in appropriate location to add details to the residential model based on the week to assignment
introduction-
- the residential model components are furniture set, caught table ,TV disc Shelf, cabinets, bed set, for lighting, individual study Desk,, chair bathtub, plumbing fixtures discussed in class
- These components are very important in the building model for construction
- coming to the third modelling in the rivet these components are present in the library and we need to insert them into the model
procedure-
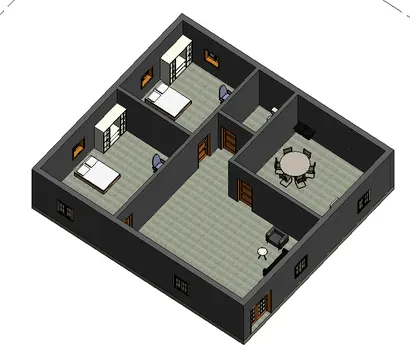
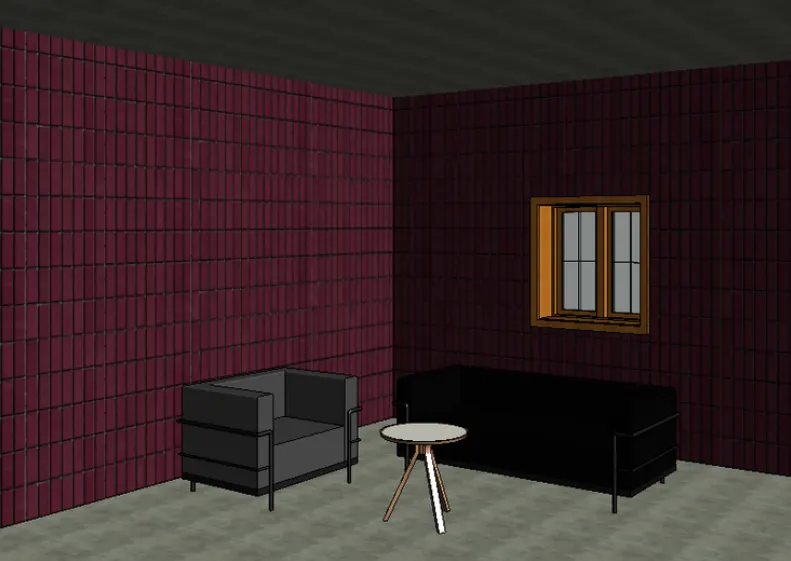
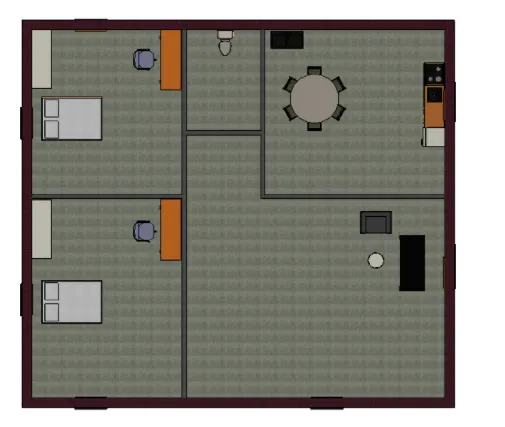
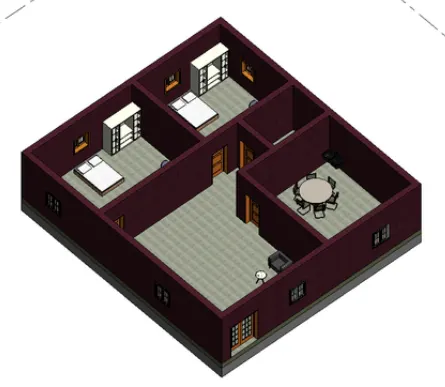
- first we insert the furniture component in the wall as shown below
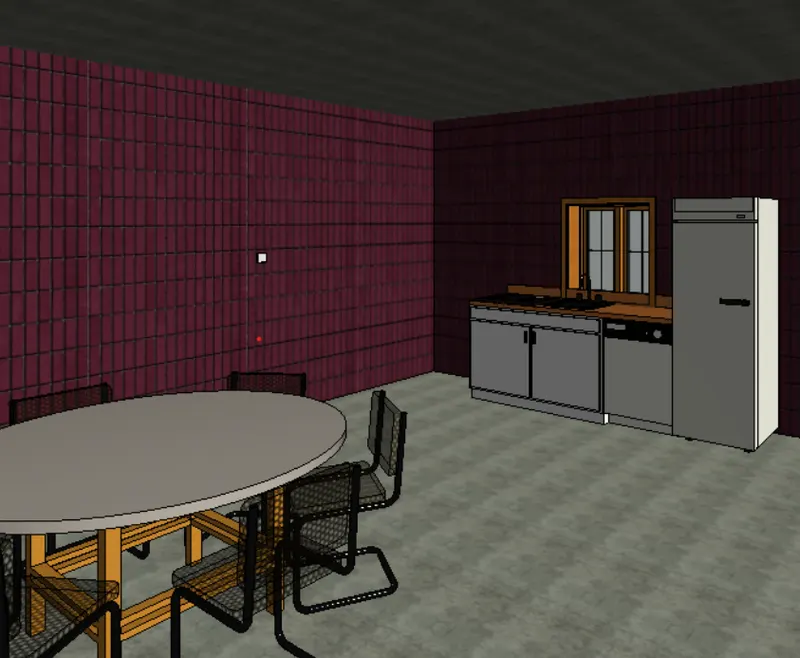
next we insert the kitchen component from the library shown below the figure
- next to insert the bedroom component from the library as shown in the figure
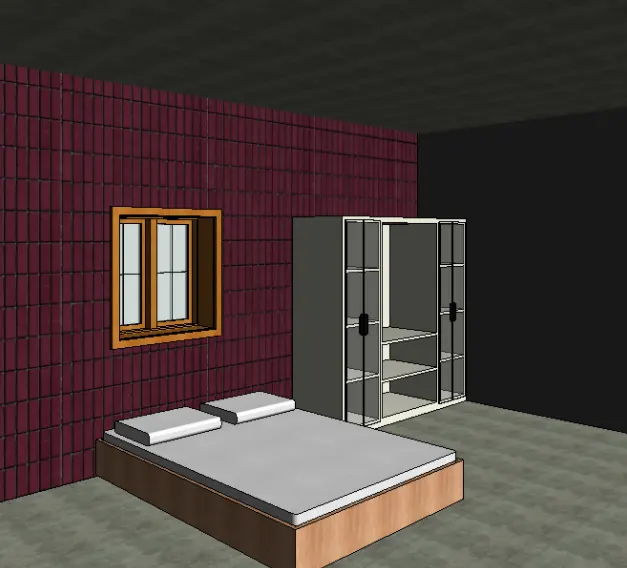
here is the way to bedroom toilet and kitchen room as shown below
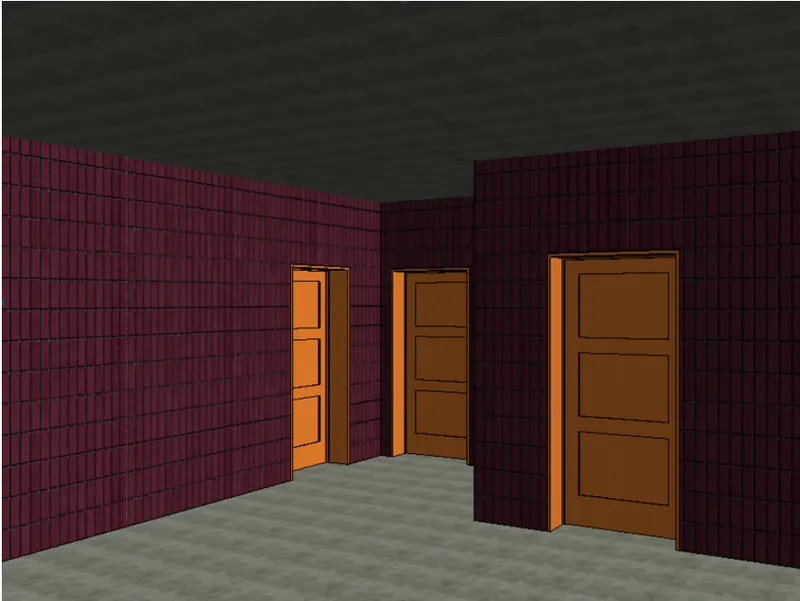
- all the components are inserted from the library as shown below
RESULT-