Creating Walls, Partition walls and Floors for a residential layout using REVIT
1)
AIM: To create the floor layout in the groung floor level by using the project file created from week 2.
TOOLS USED:
- Architecture tab
- Floor
- Boundary line
- Properties Browser
- Edit types
PROCEDURE:
1.Open the Revite and go to file, select open , then click on project whixh is saved in week 2. Select the Architecture tab , then slect the Architecture.
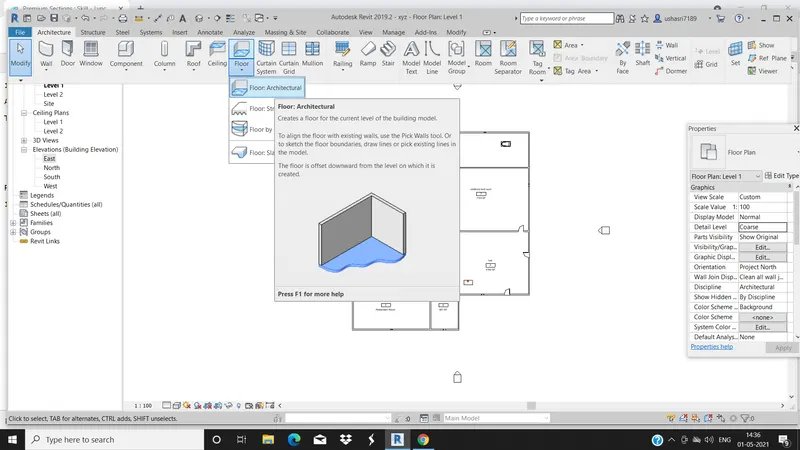
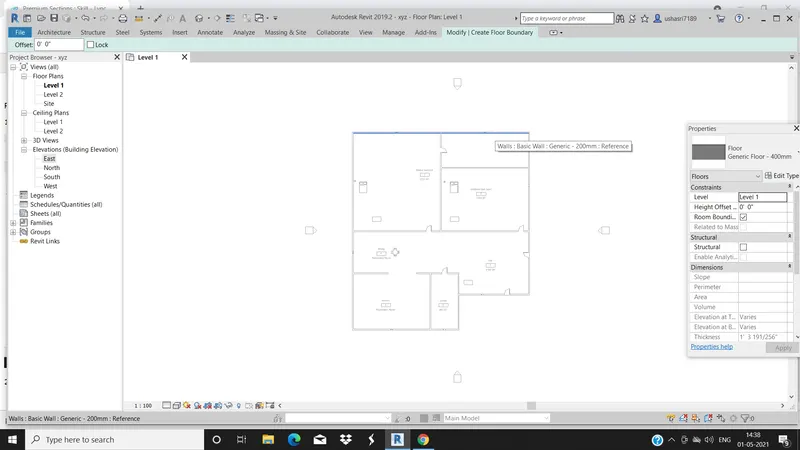
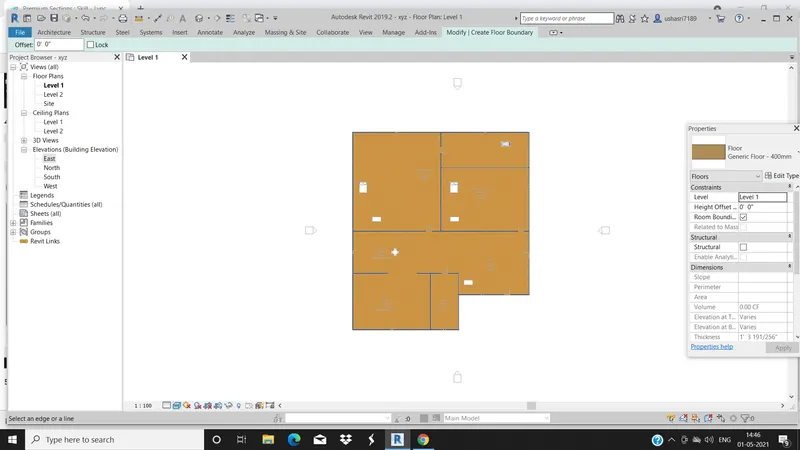
2. Click on Boundary line and slect the pick line. And now selct the walls of the layout and click ok.
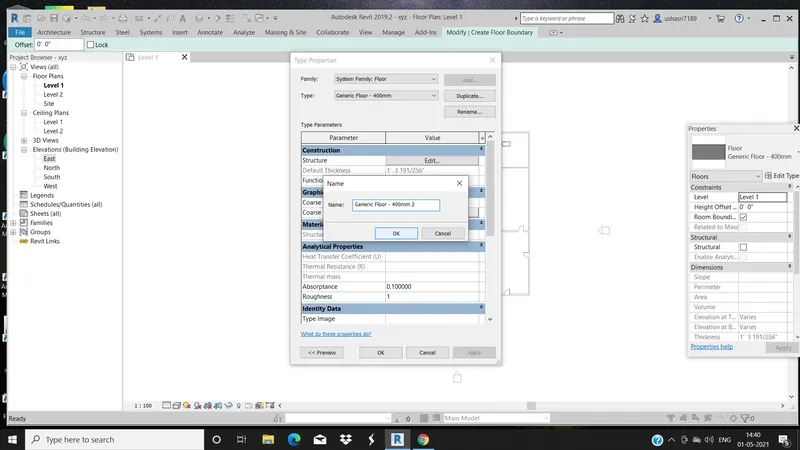
3. Go to properties , then rdit type and slect Duplicate.and click ok.
4. Now click on EDIT in the structure paaramete , you will get the dIALOUGE BOX AS SHOWN BELOW.
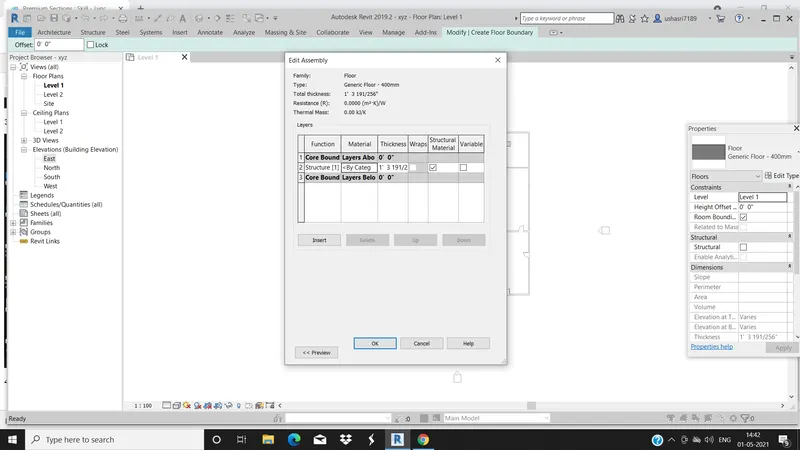
5. click on by Categary, you will find the materials browser where you can see the differnt types of mateials. And select the material which you want to apply for floor and also change the thivkness.
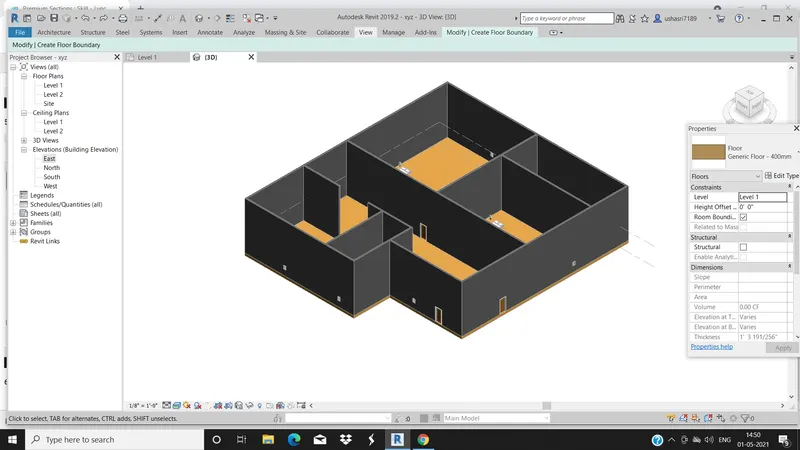
6. Go to VIEW and select the 3D VIEW and view the floor.
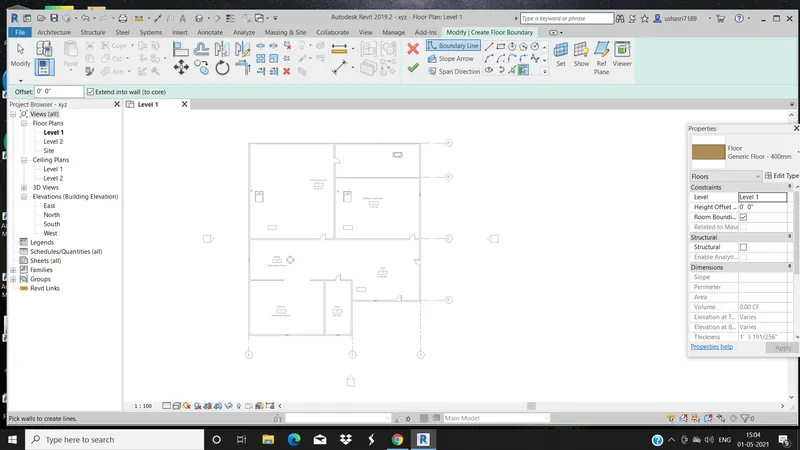
7. Align the grid s to the plan by select on Architectural and click on grid.
RESULT:
The floor is created with the required thickness and with sitable material by using properties Browser successfully. Grids are aligned.
2)
AIM: To create add walls based on floor layout and Modifying the Boundary walls and select appropriate materials and thikness for walls and verifing wheather the top and bottom walls constrained.
TOOLS USED:
- Draw tool
- Property browser
- walls
- Architecture tab
PROCEDURE:
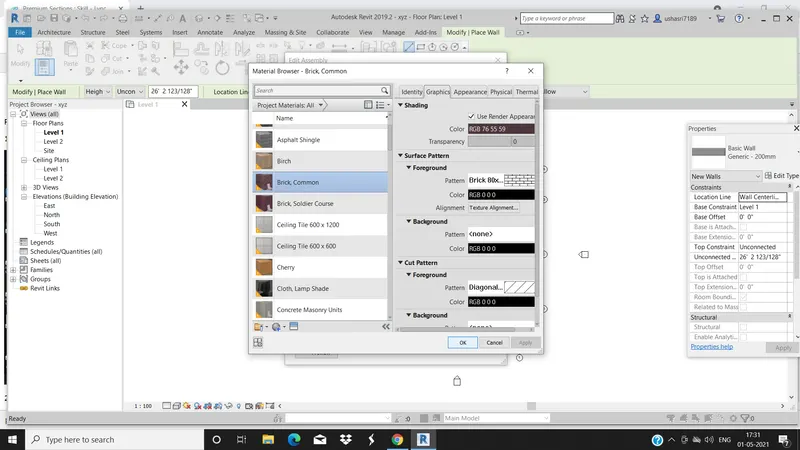
1. Open the model that you have drawn already, then go to Architecture, click on walls, then go to properties,click on EDIT type , then click on edit.
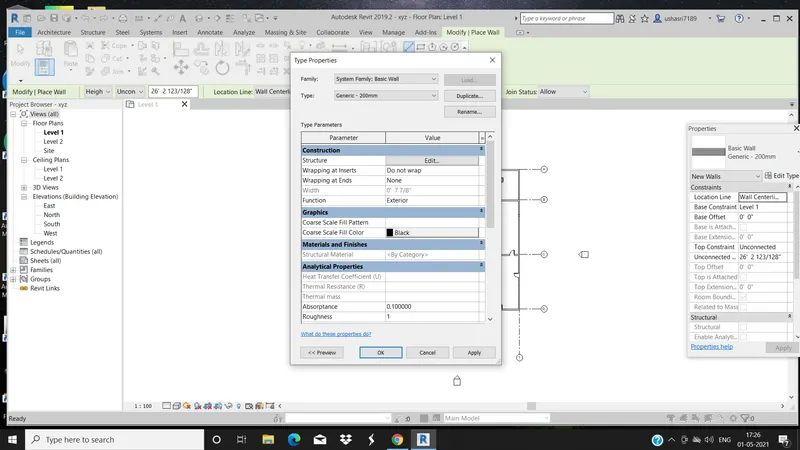
2. go to categeries and change the material for the walls and thickness, then select the materials and click on ok.
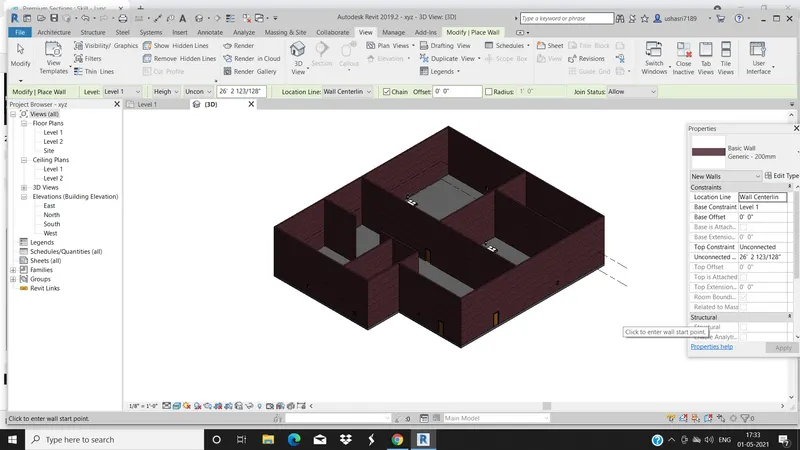
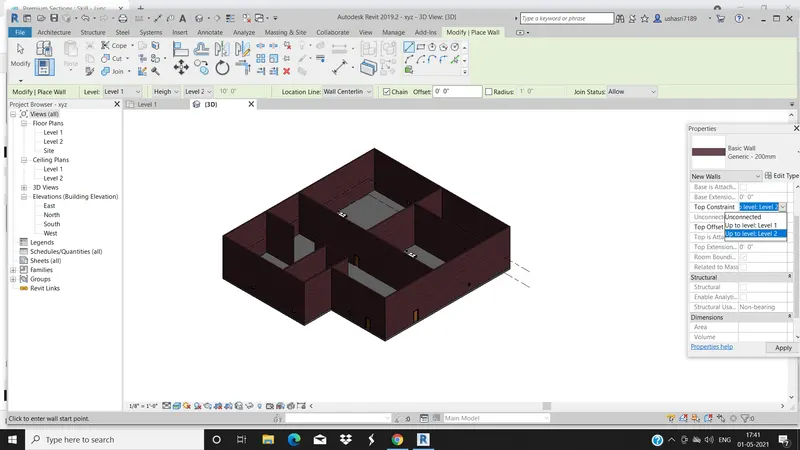
3.in properties you can able to se the top and bottom constrains check wheather they are Unconnected or up to level 1 and select up tp which level you need the wall and click apply.
4.Select the walls up to level 2 and click apply. Now all the walls be in same height.
RESULT:
The walls are created with the suitable material and thickness by using properties browser and verified the constraints of the wall successfully.
A) Based on my observation when we connect the walls upto the assosiated levels we don't have much work beacuse all the walls re directly errected upto the level we need not to further change the each height of wall. When the walls are unconnected its takes much time to edit each walls upto the same level
B) Height option is convenient then Depth.
3)
AIM: To copy the model elements modelled to the Ground floor level and past it aligned to first floor level by using modify tab.
TOOL USED:
- Modify tab
- paste
- copy
PROCEDURE:
1. First select the model that you have created for the Ground floorlevel.
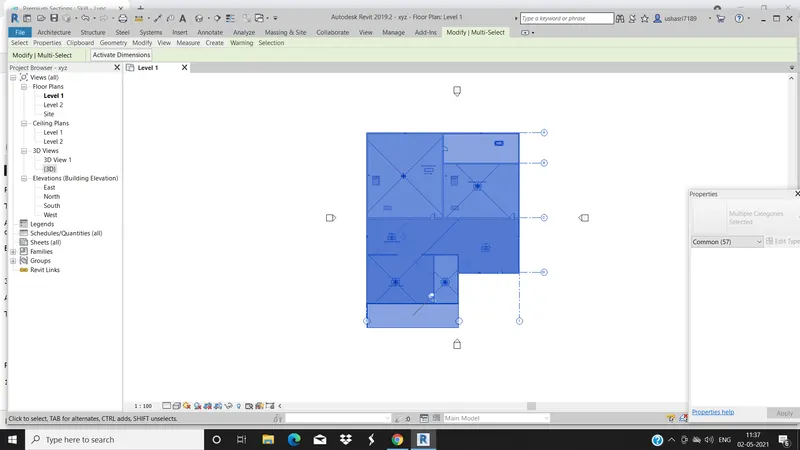
2. Select modify toolbar, then copy , then pase in that select Aligned to selected views and floor plan 2 and then click ok.
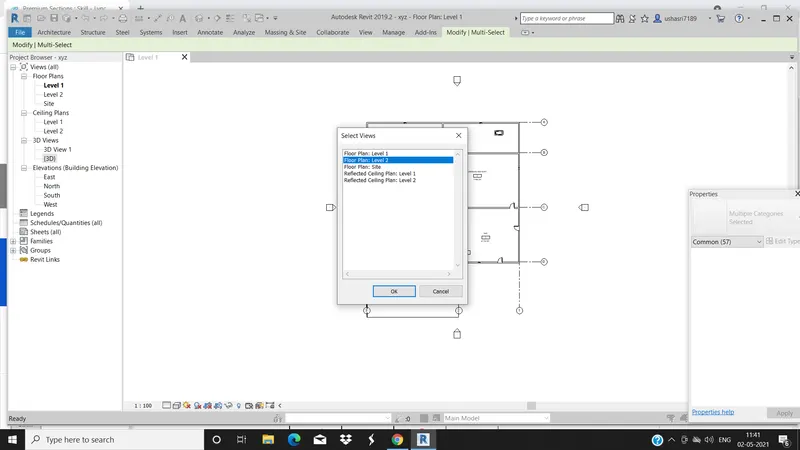
3.Now you will be able to view the ground floor plan in the Level 2 and change the level 2 to first floor level by clicking on it and click on 3D view in the properties.
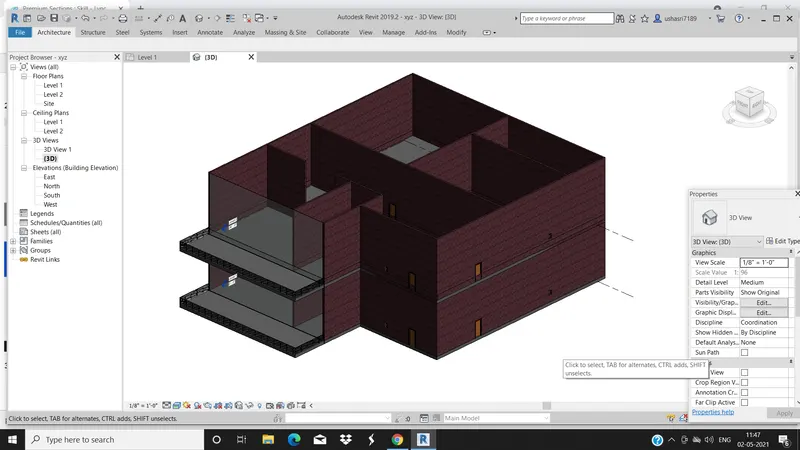
RESULT: The model elements in the Ground floor level are copied and aligned to the first floor level successfully by using the Modify toolbar.
4)
AIM: To create the Residential unit by including the interior partion walls.
TOOL USED:
- Walls
- Architecture
- properties browser
- manage
- annotate
PROCEDURE:
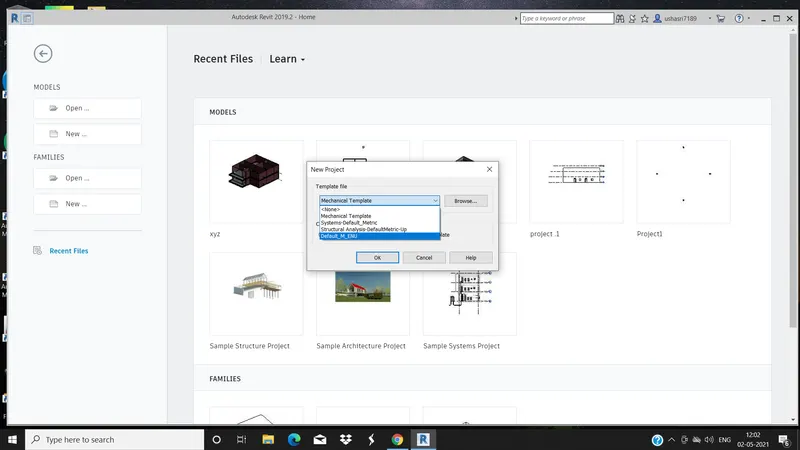
1. Open the Revite software and go to projects, then open new and then Architural template , click ok.
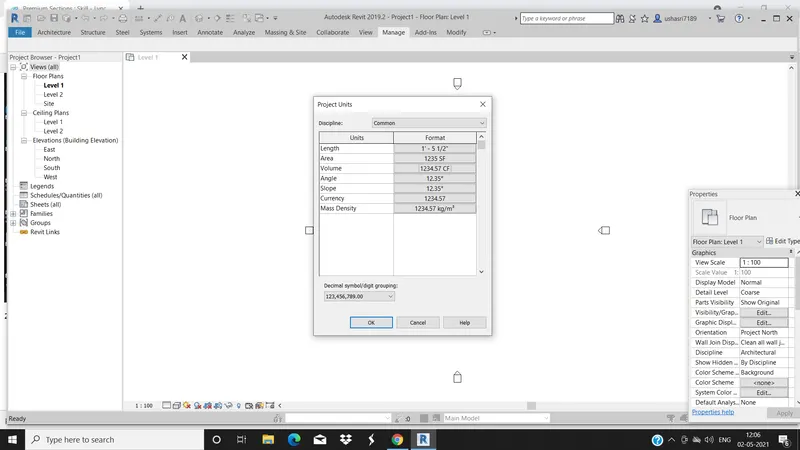
2. Go to Manage tool and chnage the project units to Imperical units.
3. Select the Architectural tab , select walls in that slect architecture wall and start drawing the walls.And arrange doors and windows.
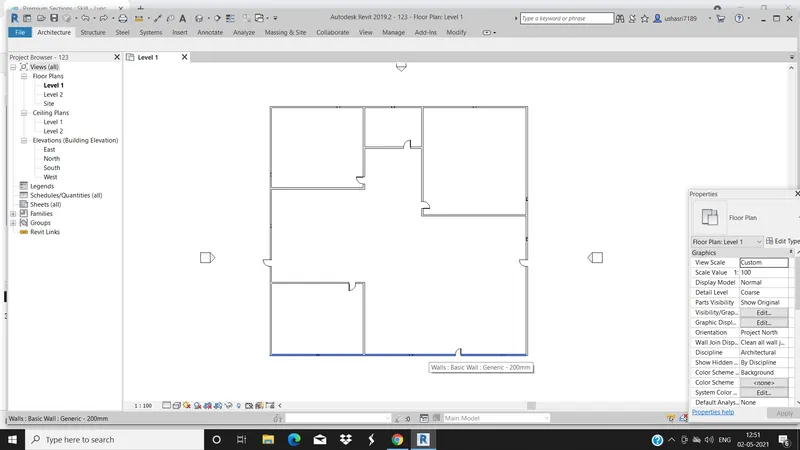
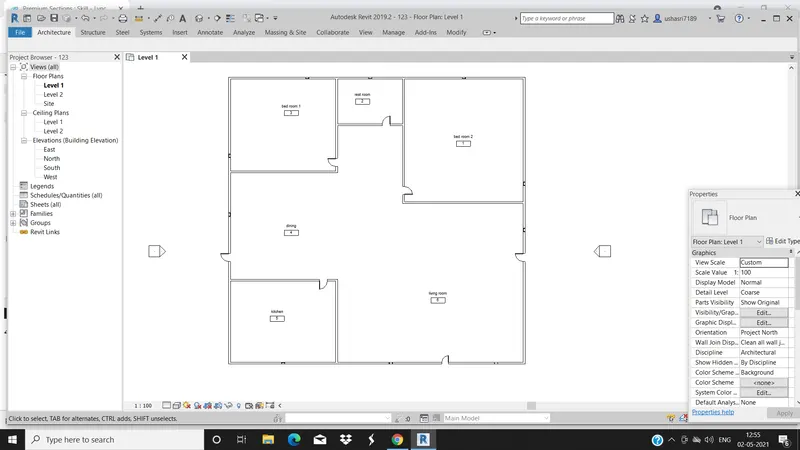
4. Now add room by selecting Architecture tab , then rooms and Rename them based on our usage.
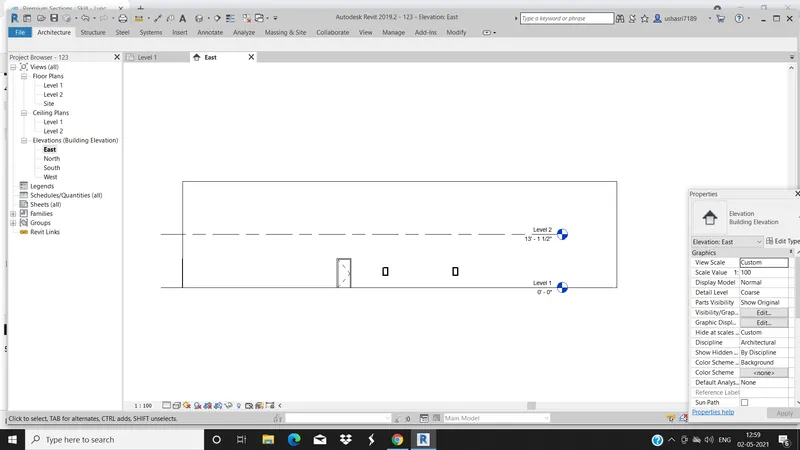
5. Go to properties browser an elevation and east and select the level up to the required height by clicking on it. then adjust the walls up to the level2 so that all walls re at same height.
6. gp to view and select 3D Default view, to view the model in 3D .
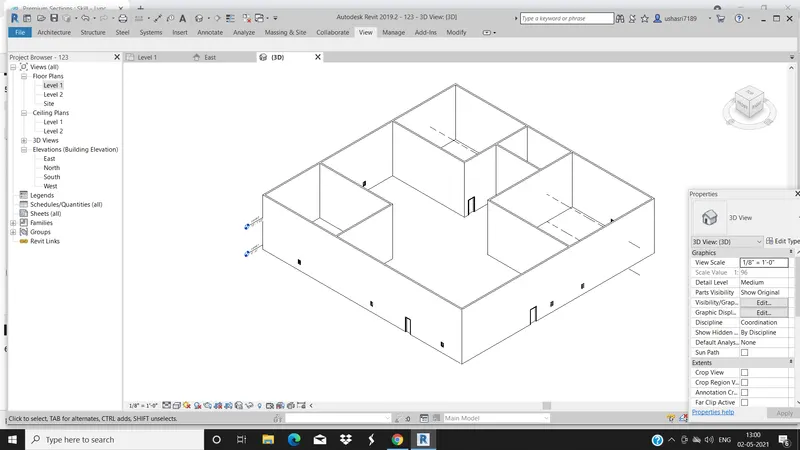
RESULT: The Residential layout with the interior partion walls are created and rooms are named successfully by using room tab and the dimensions also aligned and it is virwd in 3D.
5)
AIM: To add the components to the Residential units from the revit library and place them at appropriate locations.
TOOLS USED :
- Load family
- Insert
- properties browser
- view
PROCEDURE:
1. Open the Revit software . GO to open and open our revit file that saved on week 2.
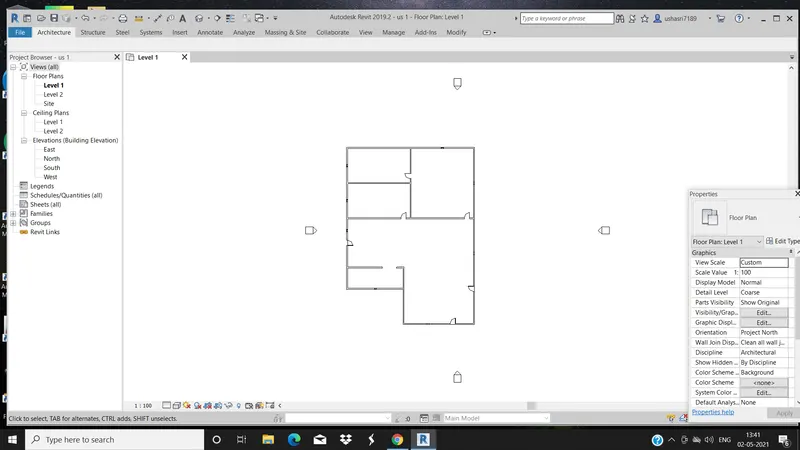
2. Go to Architecture and select ROOM and add rooms , rename the rooms as our requiers.
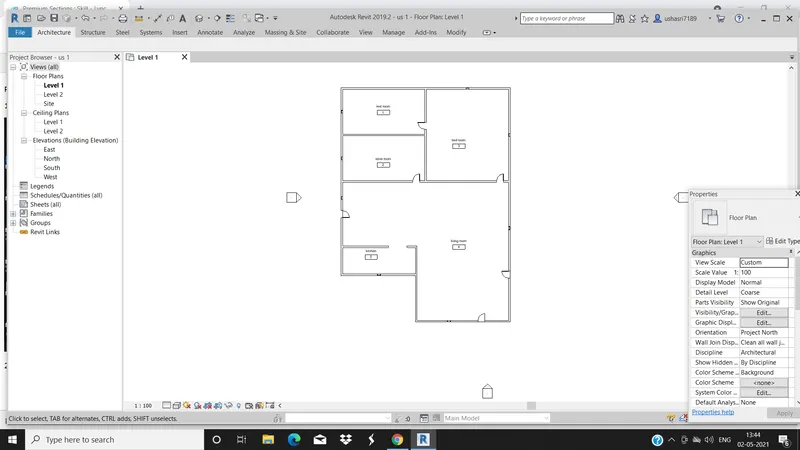
3. Now go to components and select load family , then select required categories.
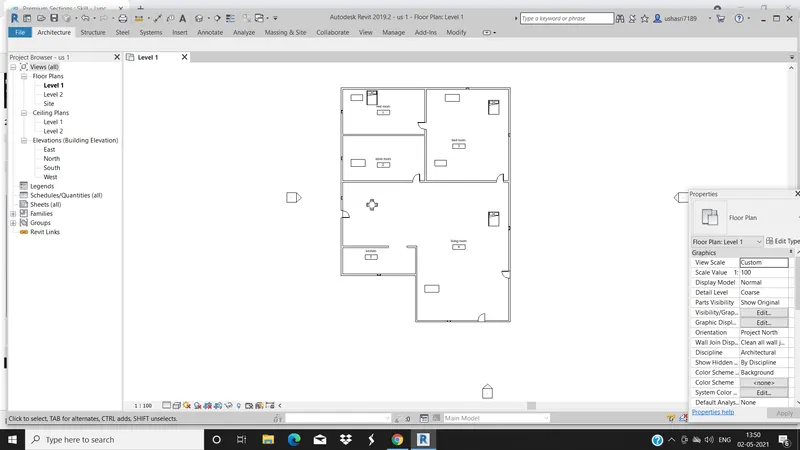
4. You can view the componets in the individual room by selecting on view then select camera.And place the camera in the direction in which direction you need to view.
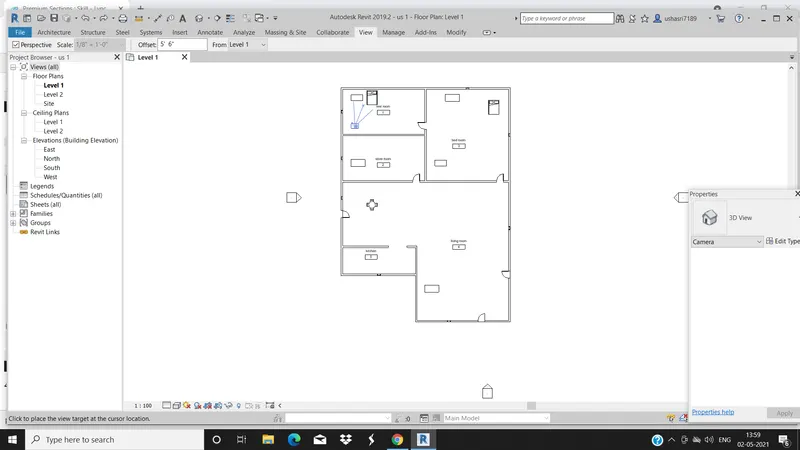
5.Now you can able to view the components in 3D . You can rename the view name by right click and go to rename it as required. i.e, bedroom , kitchen , ..,
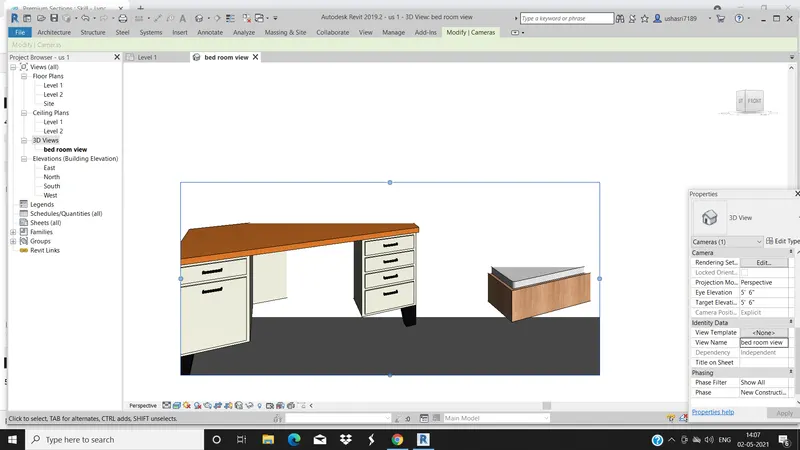
view in living hall
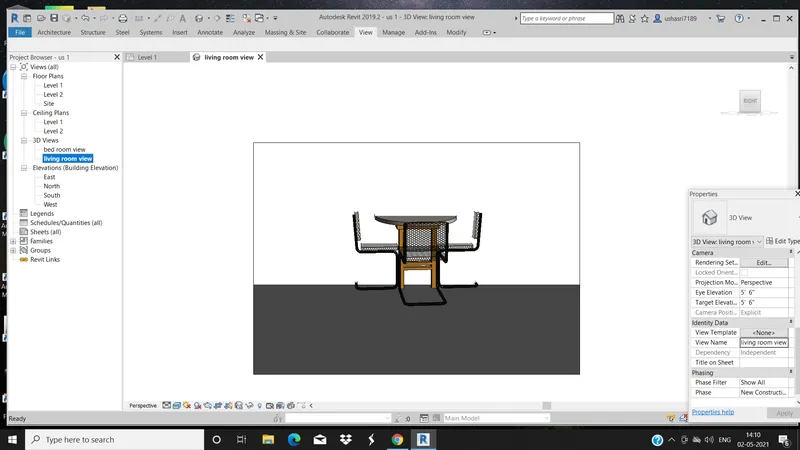
RESULT: The components which are ectracted from the Revite library are added at sitable place successfully to model and components are virewed by camera.