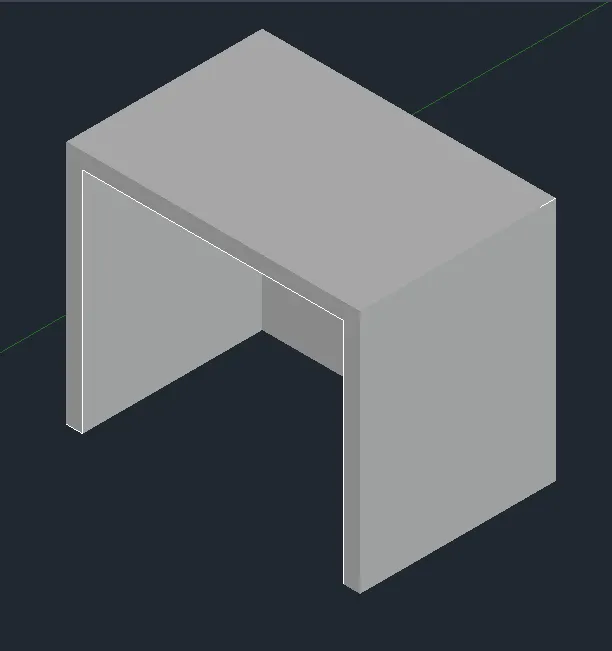
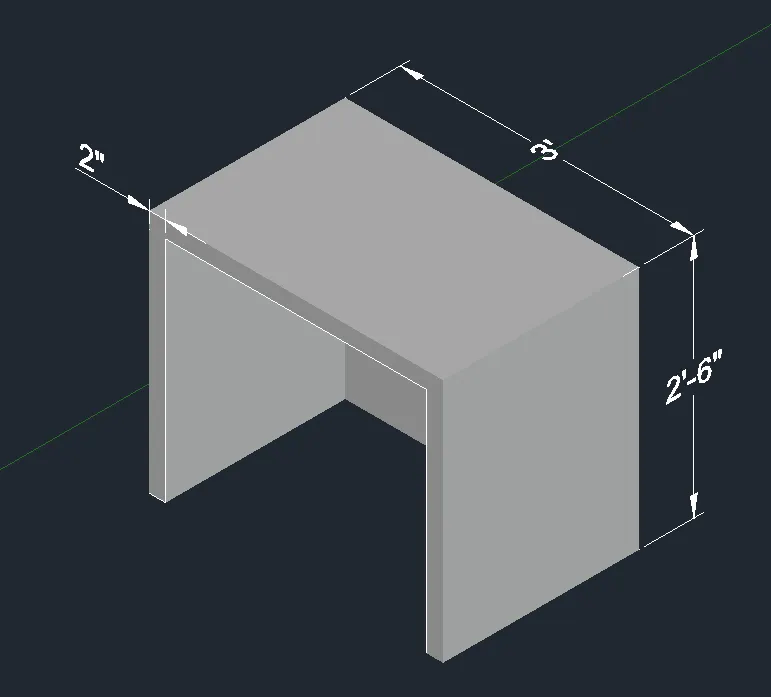
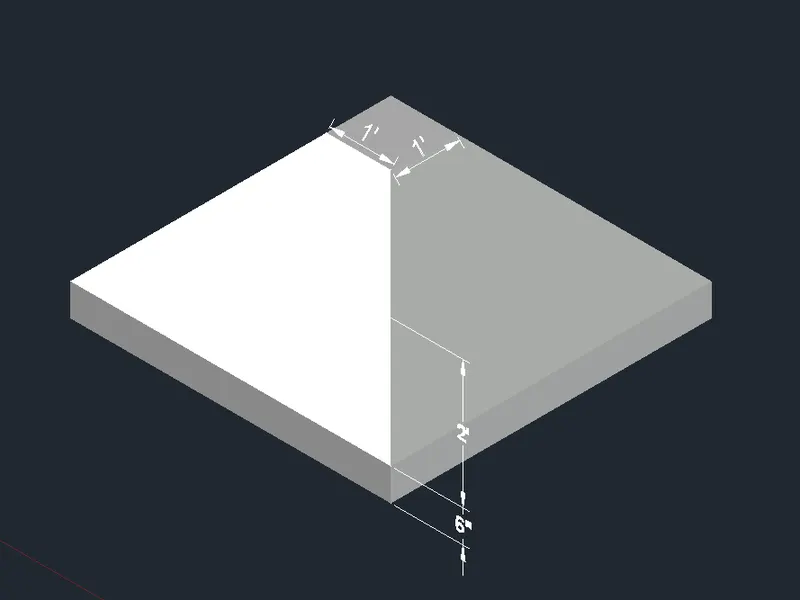
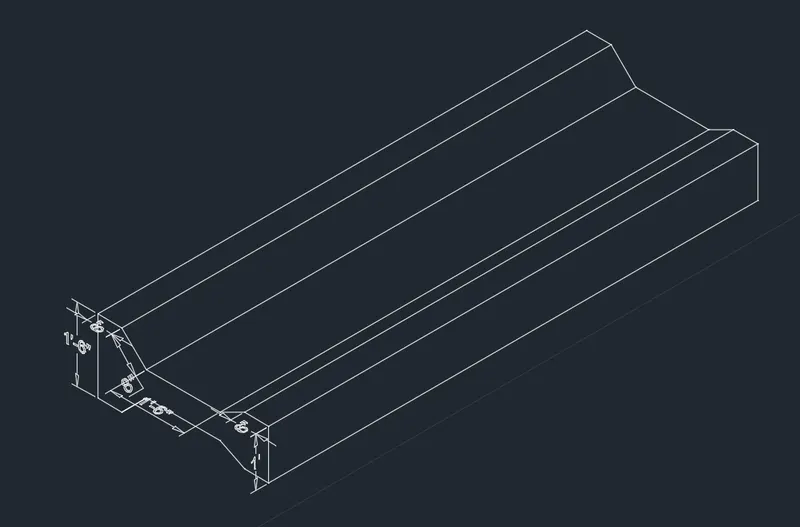
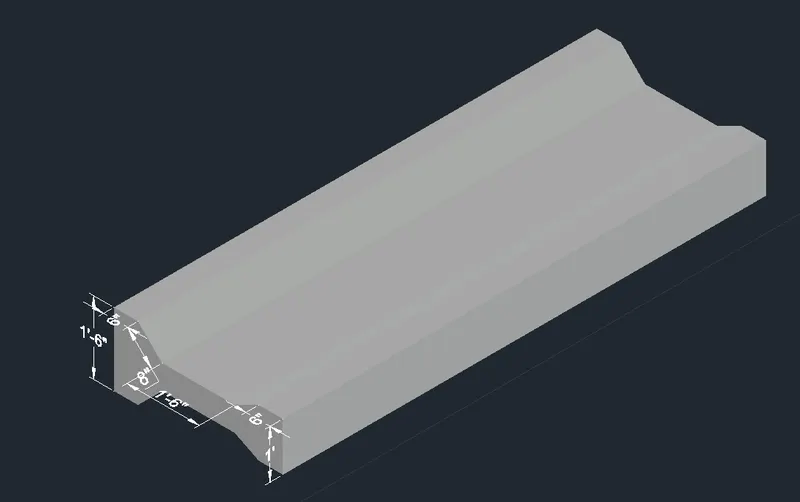
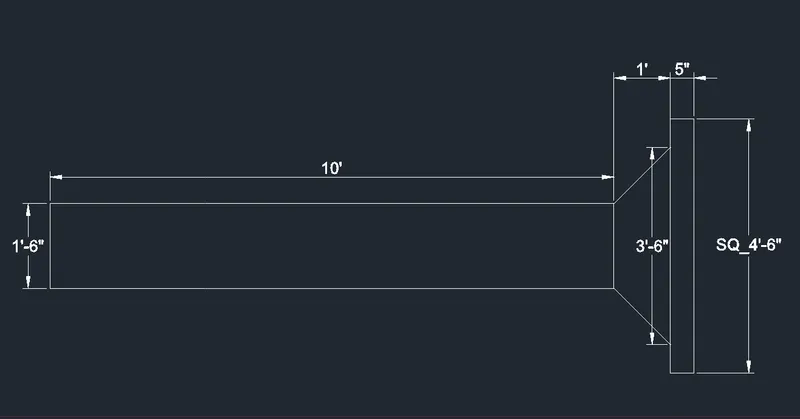
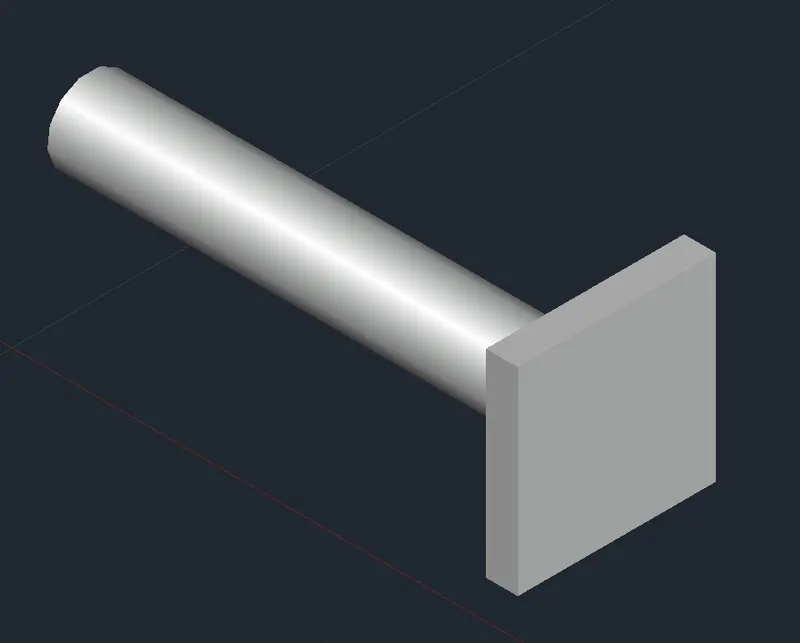
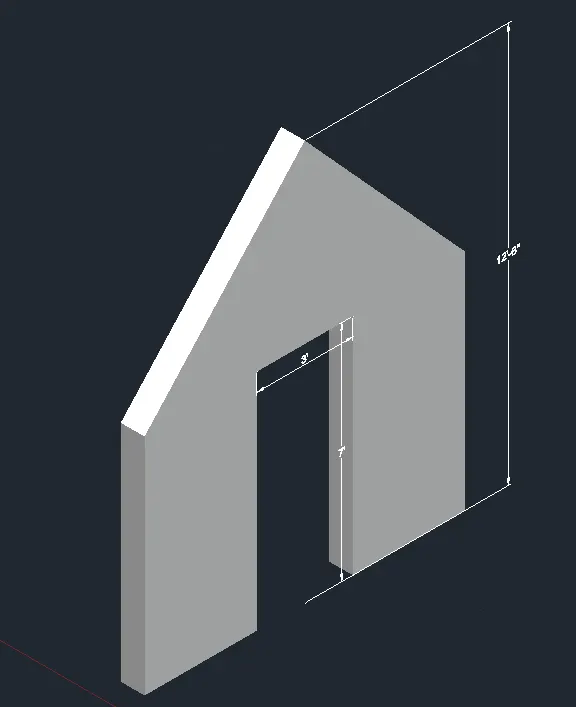
Creating various 3D Models like Furniture, Footing, Girder, Column drop with panel and Gable Wall in AutoCad
Aim:
To create 3D models in AutoCAD based on the given figures.
Procedure:
-
Open AutoCAD and start a new drawing.
-
Set the appropriate units for the project. You can do this by typing "UNITS" in the command line, selecting the desired unit type (e.g., inches, millimeters, etc.), and specifying the desired precision.
-
Switch to the 3D modeling workspace. You can do this by clicking on the "3D Modeling" workspace icon at the top of the AutoCAD window or by typing "3D" in the command line.
-
Begin by creating a 2D base geometry for the 3D model. Use the drawing tools such as lines, circles, rectangles, arcs, etc., to construct the basic shapes required for the model. Refer to the given figures and use them as a reference to recreate the shapes.
-
Once the base geometry is created, extrude or revolve the 2D shapes to convert them into 3D objects. Use the "EXTRUDE" or "REVOLVE" commands to give depth and volume to the shapes. Specify the desired height or angle of revolution based on the given figures.
-
Use additional modeling commands to further refine and modify the 3D objects. AutoCAD provides a variety of tools for operations like filleting, chamfering, shell, lofting, etc. Use these tools to add details and make adjustments to the 3D model as required by the given figures.
- Save the 3D model in the desired file format. AutoCAD supports various file formats for 3D models, such as DWG, STL, FBX, etc. Choose the appropriate format based on your requirements.