Creating various 3D Models like Furniture, Footing, Girder, Column drop with panel and Gable Wall in AutoCad
1.0
AIM: Drawing of 3D modeling of given furniture with the help of autocad.
INTRODUCTION: In this challenge, drawing of 3D modeling is done with the help of 3D drawing tools, UCS and modifying tools.
PROCEDURE: Following steps are carried out to draw isolated footing as 3D.
- Set units and limits.
- Go to below right corner on choose 3D modeling option from setting.
- Turn on 3D snaps according to convienience.
- Select model type as 2D wireframe.
- Command plan or choose top view from view cube.
- Draw section of furniture on 2D screen.
- Go to home view using view cube.
- command region and select sections drawn.
- Using command extrude select oject and extrude the section to require height.
- For drawing upper solid object go to UCS and choose option face and select face.
- Draw it and extrude it.
- Give dimension using UCS changing.
- command hide and show the view as given figure.
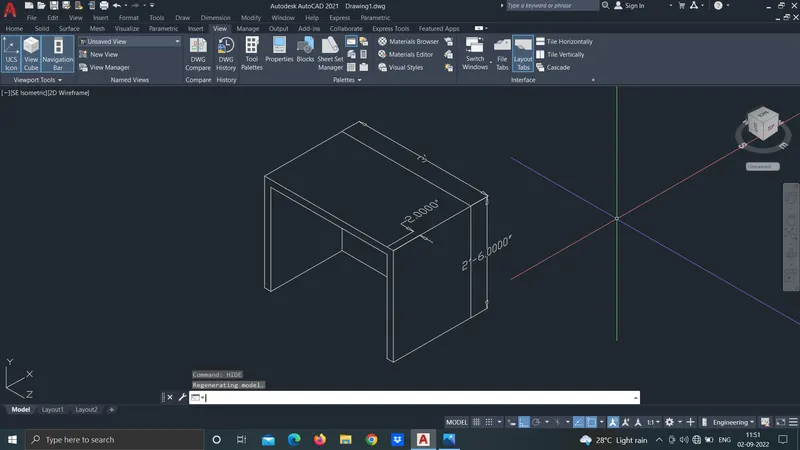
RESULT: I understood use of UCS and drawing of 3D modeling concept.
2.0
AIM: Drawing of 3D modeling of given isolated footing with the help of autocad.
INTRODUCTION: In this challenge, drawing of 3D modeling is done with the help of 3D drawing tools, UCS and modifying tools.
PROCEDURE: Following steps are carried out to draw furniture as 3D.
- Set units and limits.
- Go to below right corner on choose 3D modeling option from setting.
- Turn on 3D snaps according to convienience.
- Select model type as 2D wireframe.
- Command plan or choose top view from view cube.
- Draw bottom rectangle with given dimension or if not provided take it as suitable.
- Select it and make it as region.
- Extrude it up to desired height.
- Make another rectangle on upper surface of extruded object.
- Make it as region and command extrude and select object.
- And choose object as taper angle provide angle and height.
- Make these union object using union tool.
- Give dimension using UCS changing.
- command hide and show the view as given figure.
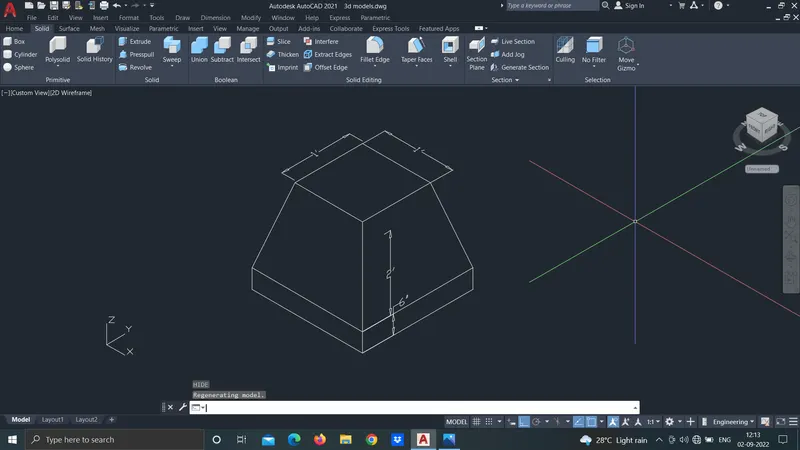
RESULT: I understood use of drawing and modifying tools for creation of 3D model.
3.0
AIM: Drawing of 3D modeling of given section with the help of autocad.
INTRODUCTION: In this challenge, drawing of 3D modeling is done with the help of 3D drawing tools, UCS and modifying tools.
PROCEDURE: Following steps are carried out to draw given section as 3D.
- Set units and limits.
- Go to below right corner on choose 3D modeling option from setting.
- Turn on 3D snaps according to convienience.
- Select model type as 2D wireframe.
- Command plan or choose top view from view cube.
- Draw section on 2D screen.
- Go to home view using view cube.
- command region and select sections drawn.
- Using command extrude select oject and extrude the section to require height.
- For drawing upper solid object go to UCS and choose option face and select face.
- Draw it and extrude it.
- Give dimension using UCS changing.
- command hide and show the view as given figure.
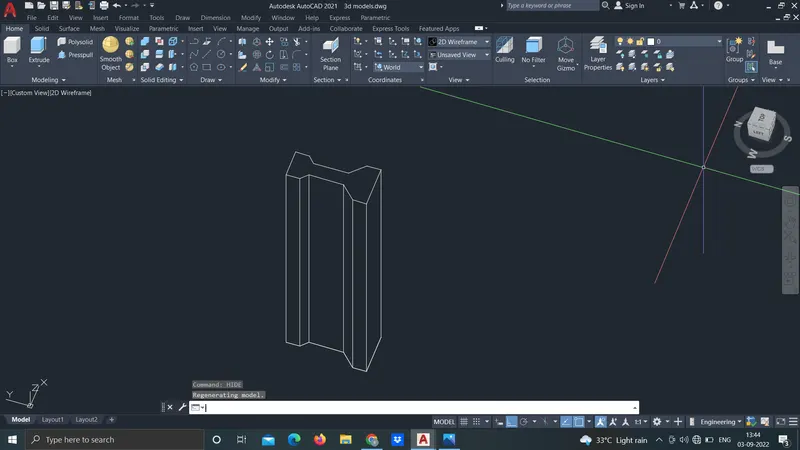
RESULT: I understood how to make 3D model object in autocad software.
4.0
AIM: Drawing of 3D modeling of given isolated footing with the help of autocad.
INTRODUCTION: In this challenge, drawing of 3D modeling is done with the help of 3D drawing tools, UCS and modifying tools.
PROCEDURE: Following steps are carried out to draw furniture as 3D.
- Set units and limits.
- Go to below right corner on choose 3D modeling option from setting.
- Turn on 3D snaps according to convienience.
- Select model type as 2D wireframe.
- Command plan or choose top view from view cube.
- Draw bottom rectangle with given dimension or if not provided take it as suitable.
- Select it and make it as region.
- Extrude it up to desired height.
- Make another rectangle on upper surface of extruded object.
- Make it as region and command extrude and select object.
- And choose object as taper angle provide angle and height.
- Make these union object using union tool.
- Give dimension using UCS changing.
- command hide and show the view as given figure.
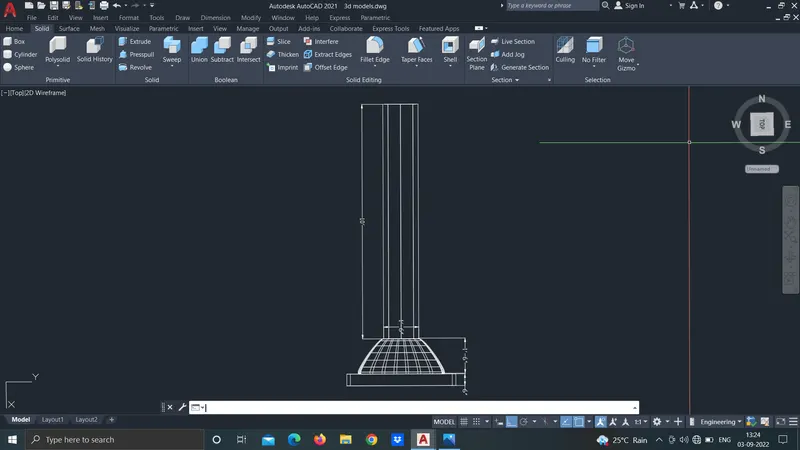
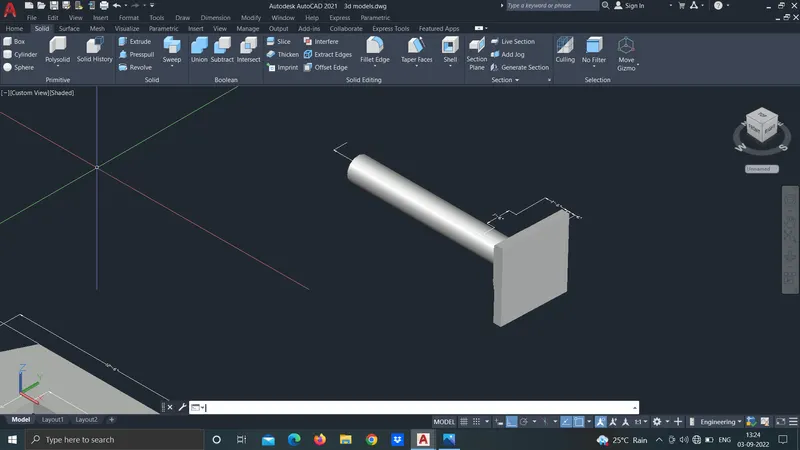
RESULT: I understood use of drawing and modifying tools for creation of 3D model.
5.0
AIM: Drawing of 3D modeling of given wall with the help of autocad.
INTRODUCTION: In this challenge, drawing of 3D modeling is done with the help of 3D drawing tools, UCS and modifying tools.
PROCEDURE: Following steps are carried out to draw wall as 3D.
- Set units and limits.
- Go to below right corner on choose 3D modeling option from setting.
- Turn on 3D snaps according to convienience.
- Select model type as 2D wireframe.
- Command plan or choose top view from view cube.
- Draw the front view of wall using UCS setting.
- Draw rectangle, chambered it on top side. Draw door.
- Go to home view using view cub.
- Make it as region using command region or boundry and pick the boundry.
- command extrude select all object and enter provide value of wall thickness.
- One thing remember that, for easy drawing select working face using UCS.
- Command UCS and select face and fix the axis as per convienience.
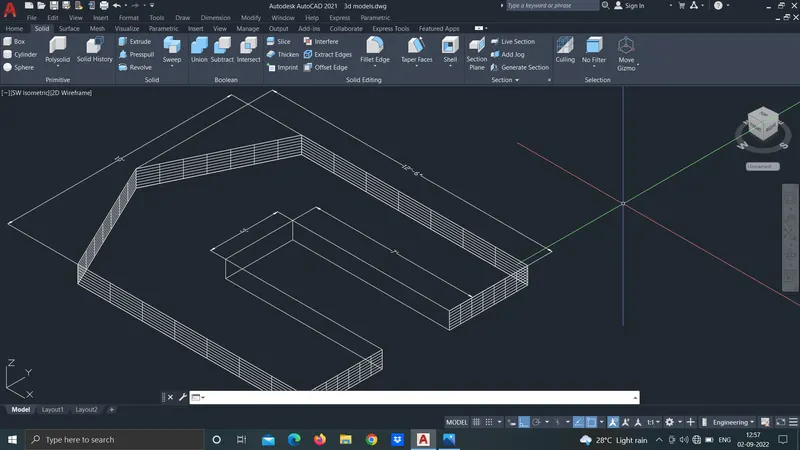
RESULT: I understood 3D modeling tools and drawing of 3D modeling.