Creating various 3D Models like Furniture, Footing, Girder, Column drop with panel and Gable Wall in AutoCad
CHALLENGE 11
AIM: To create a 3D modal and known about the 3D modeling.
INTRODUCTION: To create a 3D modal with their dimensions and showing the 3D elevation of the drawing and create a component of the drawings. Creating modals 3D furniture, Isolated footing, AASTHO, type girder, Drop column with panel, 3D wall.
PROCEDURE:
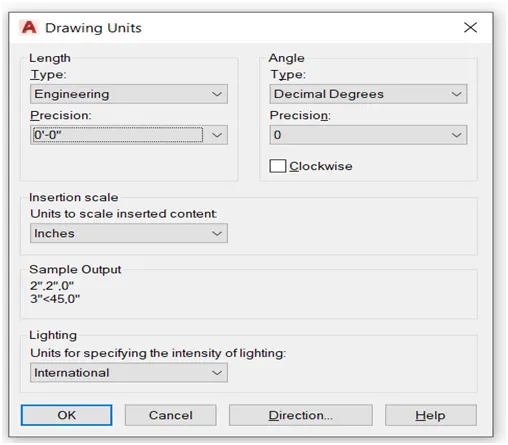
1.Open auto cad and set unit work in feet and inches so choose engineering or architecture unit.
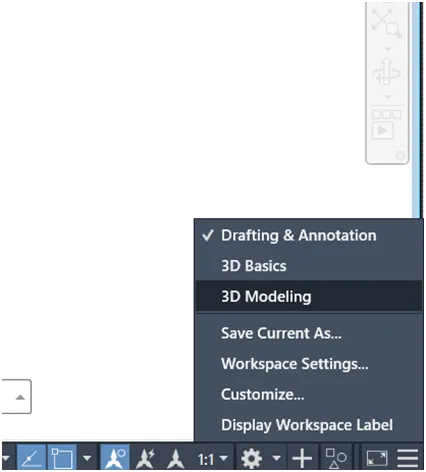
2.Go to settings or choose 3D modeling
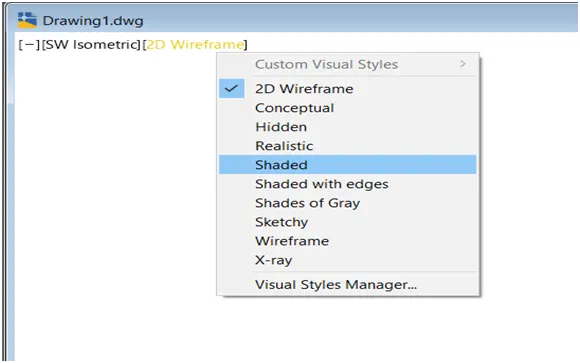
3.Choose the shaded view
3D Furniture
4.To create a top surface of the table create a box size is 3’, 2’, 2”
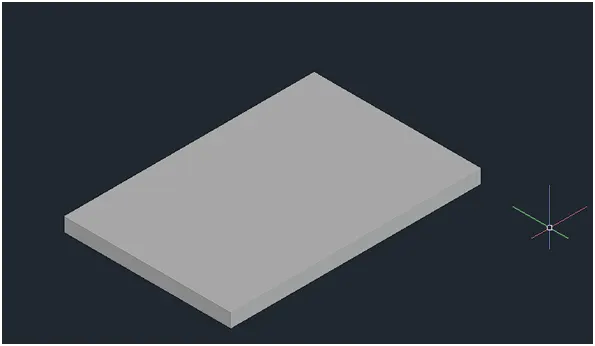
5.Then another side create a box size is 2”,2’,2’6”
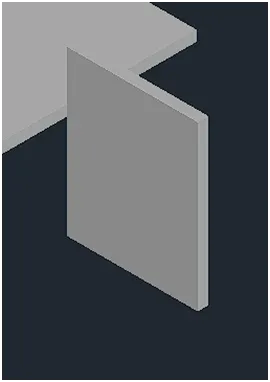
6.Copy the object
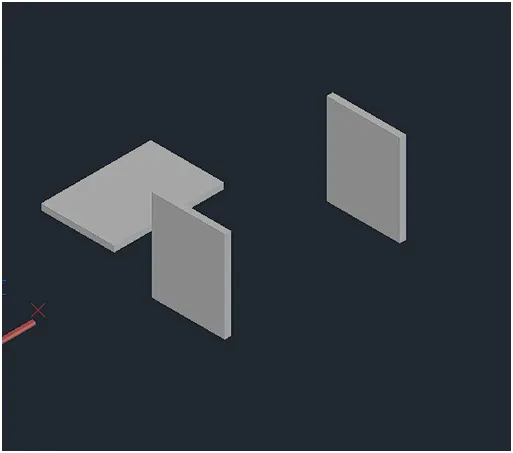
7.Then place the both corner of the table surface
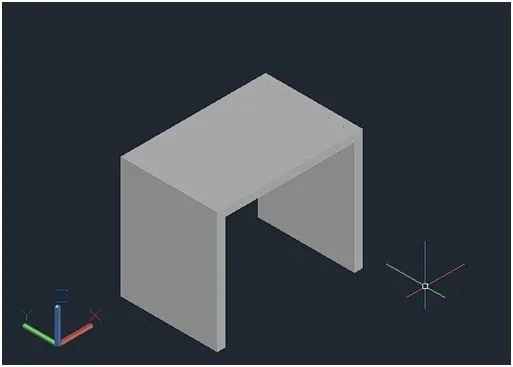
8.Then create a back surface so create a box size is 3’, 2”, 2’6”
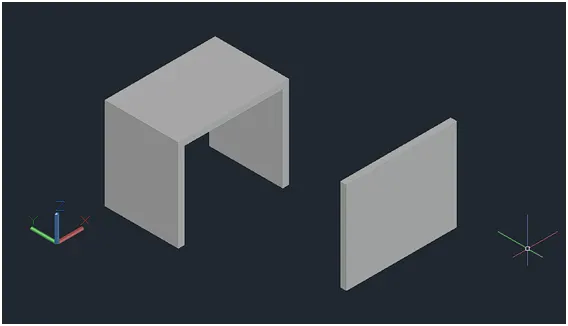
9.Then place the end corner surface of the table
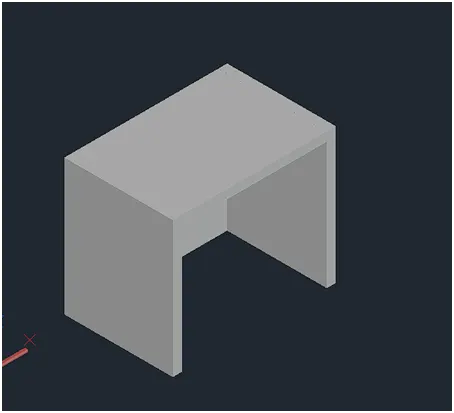
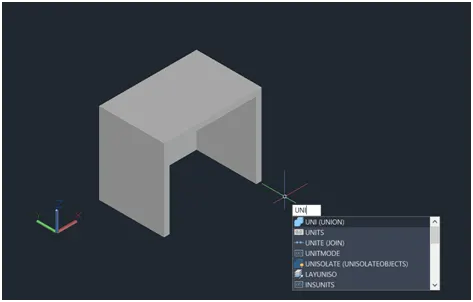
10.Go for union command and join the one component of the table ,The 3D furniture is ready.
11.Then go for 2D wireframe
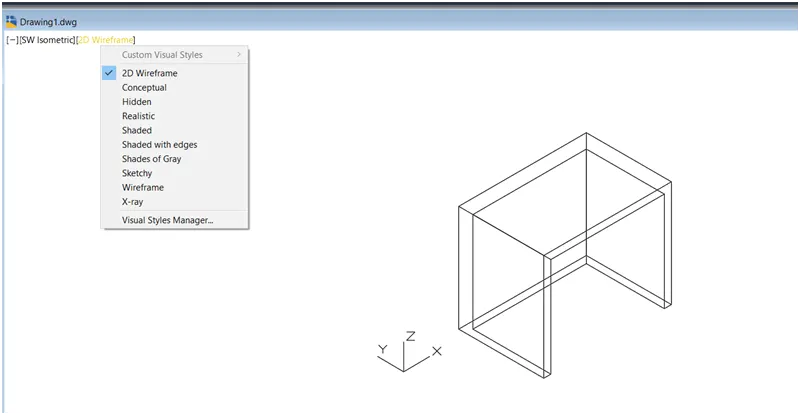
12.Then change the view of the table
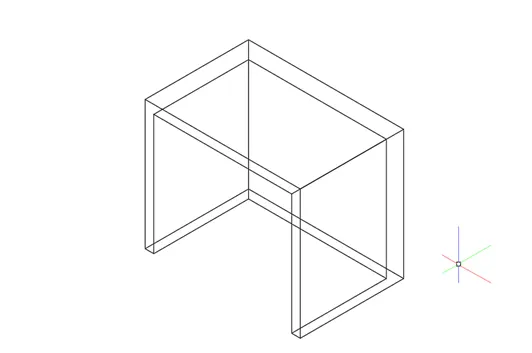
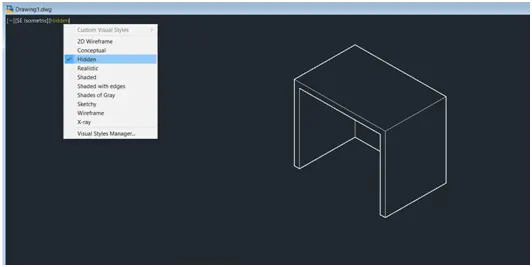
13.Go for hidden view and see the table
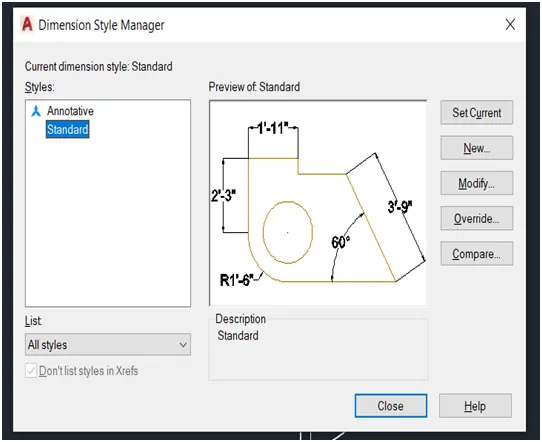
14.Then set the dimension style
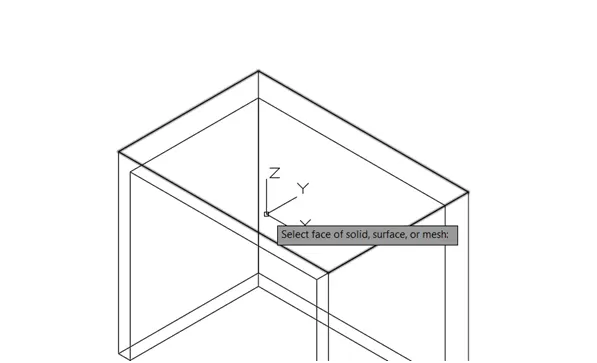
15.Then go for 2D wireframe and change the surface of work set the UCS from top surface
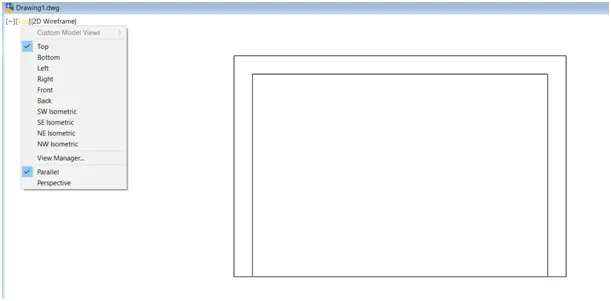
16.Then go for a top view or plan of the surface
17.and get dimension of the drawing
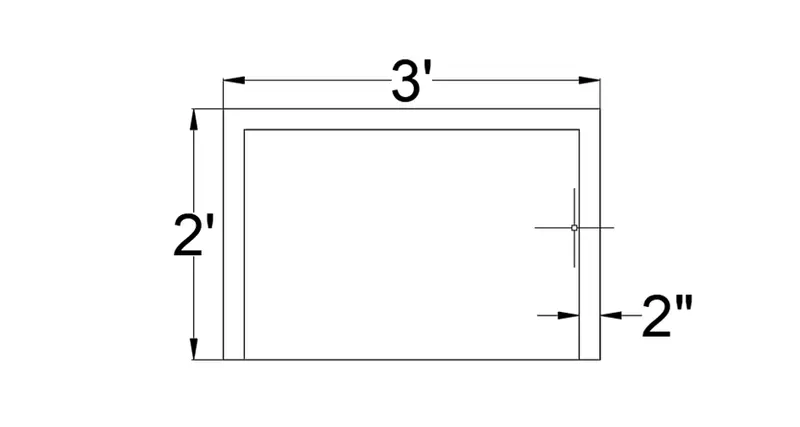
18.Then sect the UCS again and give the dimension of the drawing.
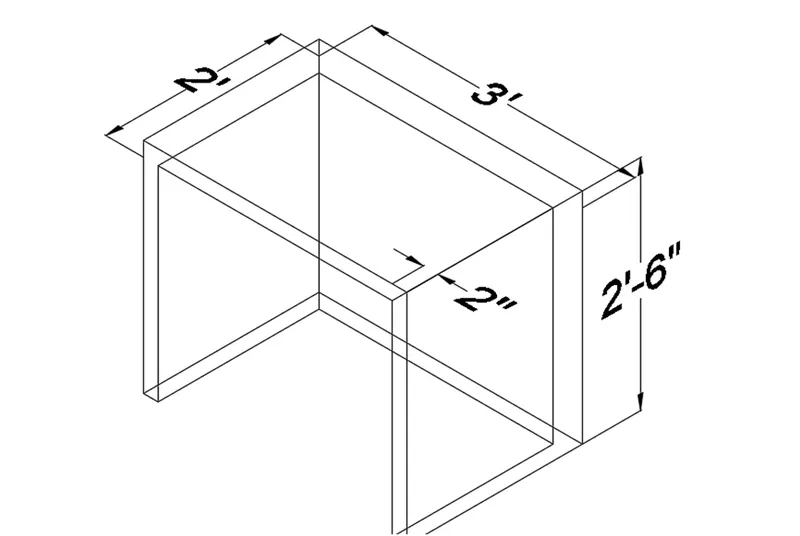
19.Change the Custom view for hidden surface and print the table.
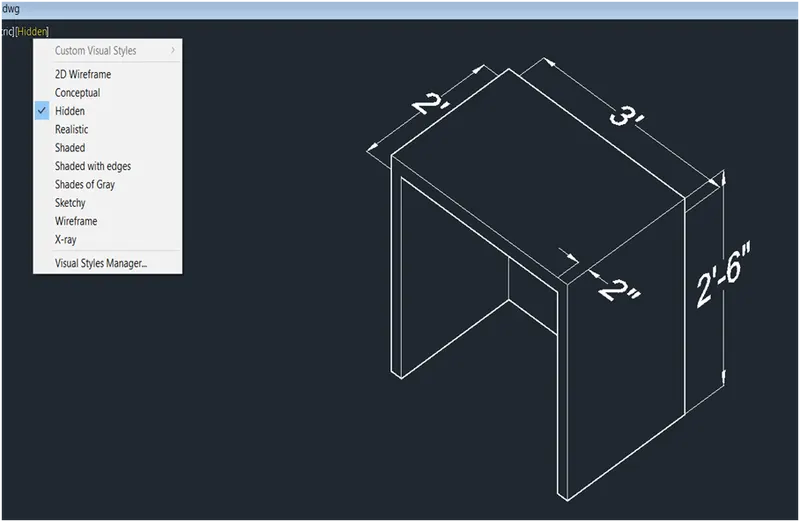
Isolated footing
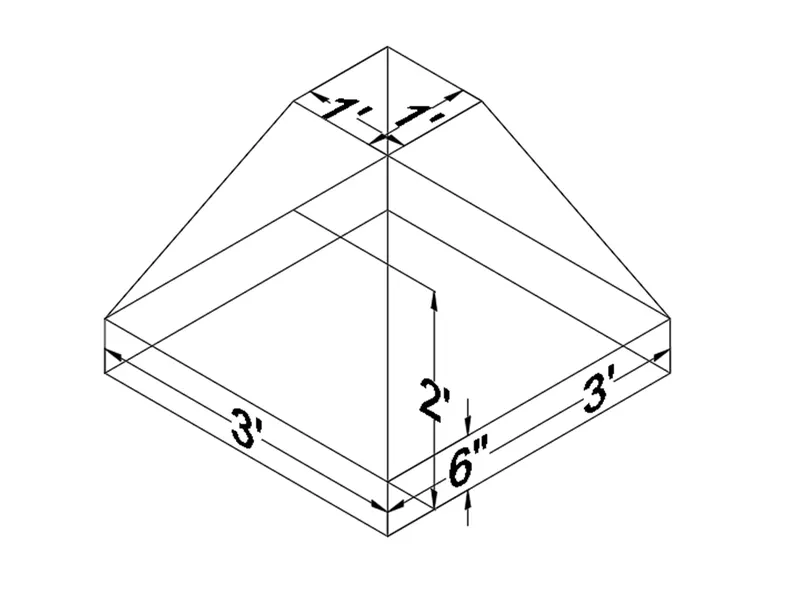
20.Go for the rectangle command and crate a rectangle which is 3’x3’
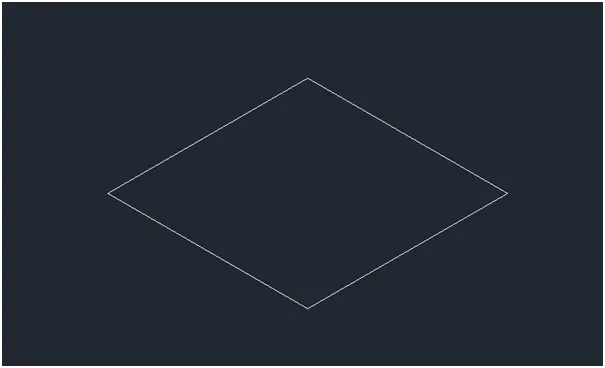
21.Create another rectangle 1’x1’
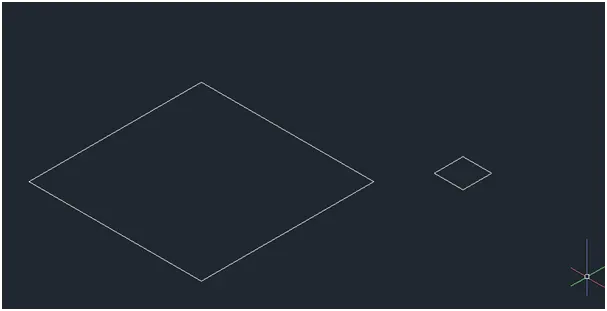
22.The place the midpoint of the rectangle as shown in figure
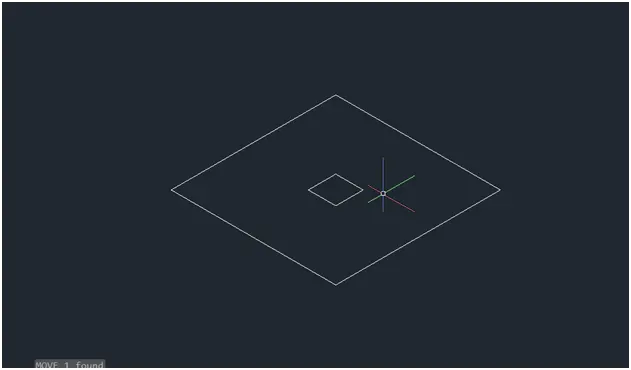
23.Then move the inner rectangle up side or Z direction 2’
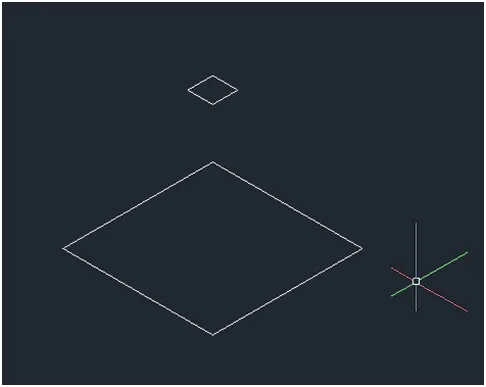
24.Then use the loft command to create a solid surface.
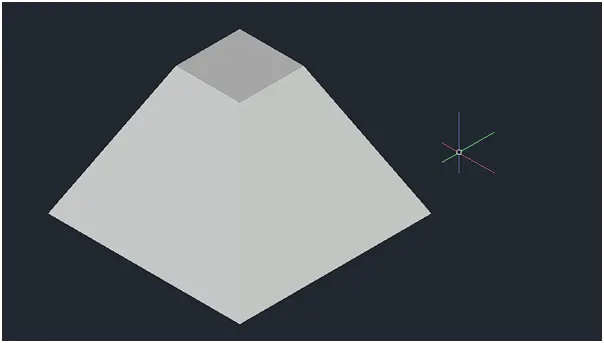
25.Create a box which is 3’,3’,6”
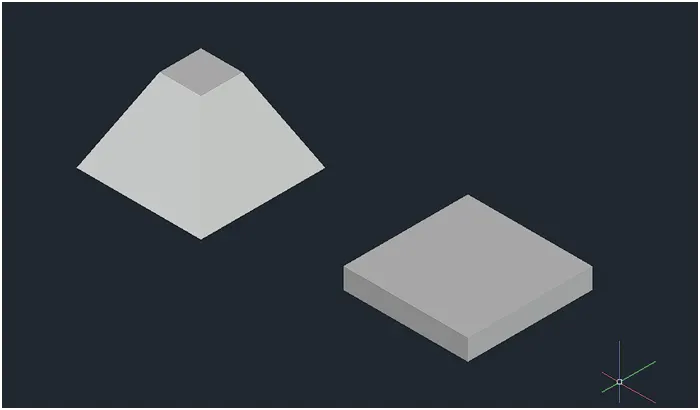
26.Then move the mid of the object as shown in figure.
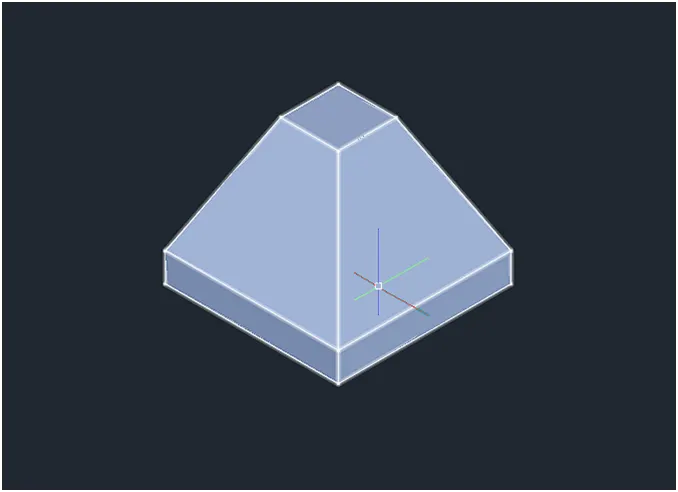
27.The give the dimension of the drawing and print the object.
AASTHO Type girder
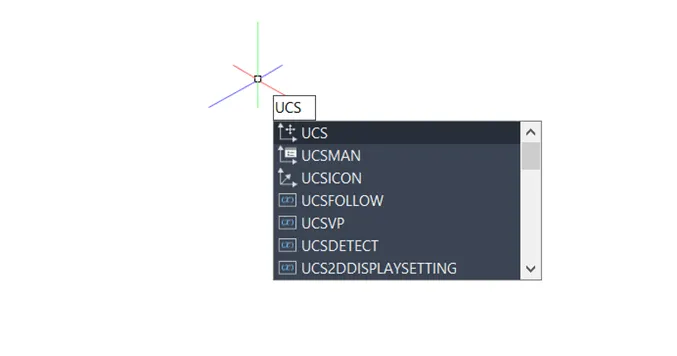
28.Set the surface from UCS setting
29.Go for the plan of the surface
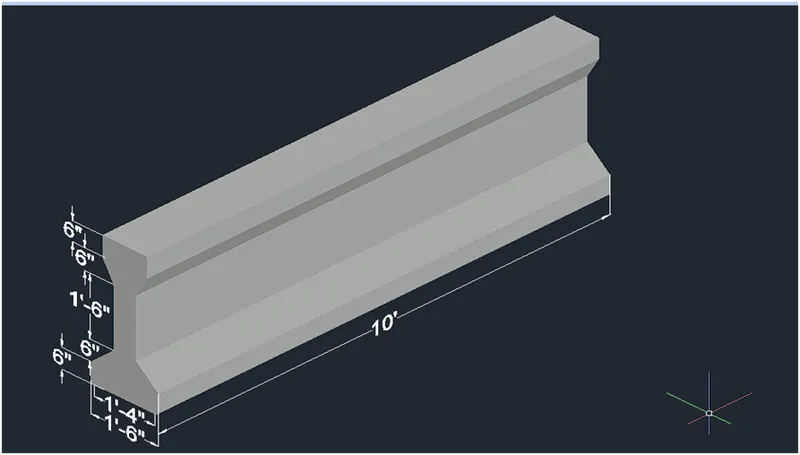
30.create a rectangle which is 1’6”x6”
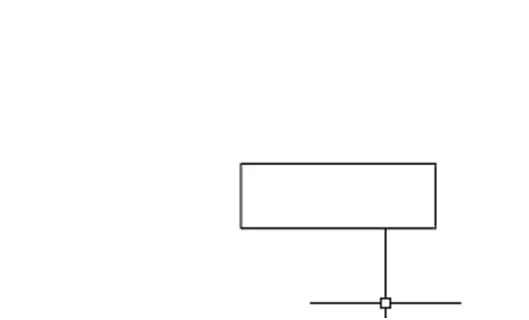
31.Create another rectangle which is 6”x1’6”
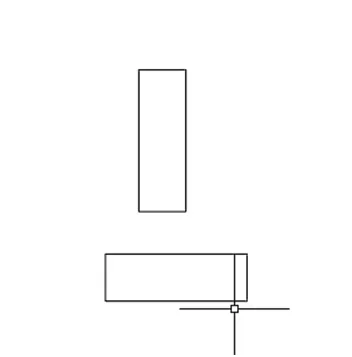
32.Create another rectangle which is 1’x6”
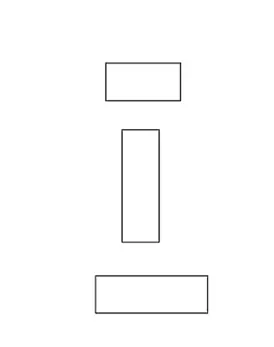
33.Then move the midpoint of the rectangle as shown in figure
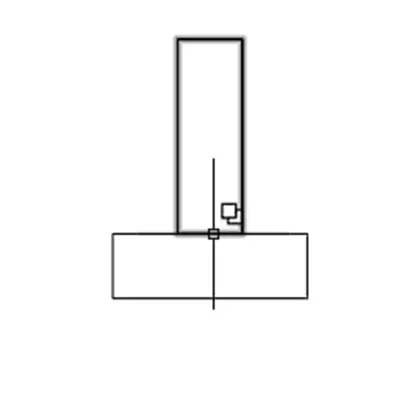
34.Again move the upper rectangle as same
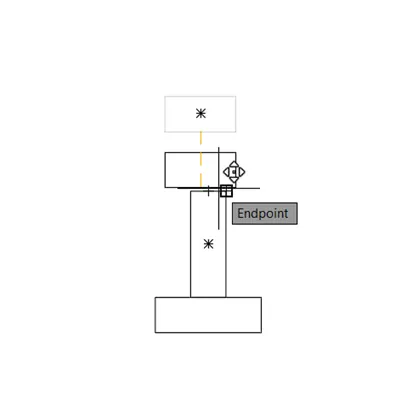
35.Then select the upper both rectangle and move the up side 6”
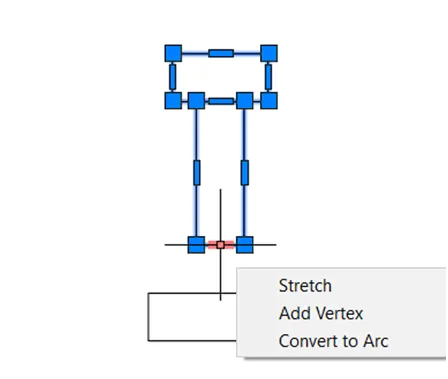
36.Again move the upper rectangle
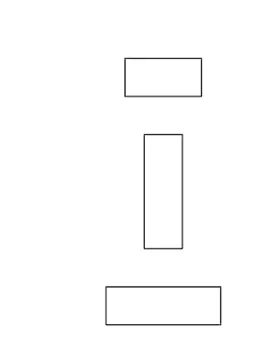
37.join the all rectangle through the line command
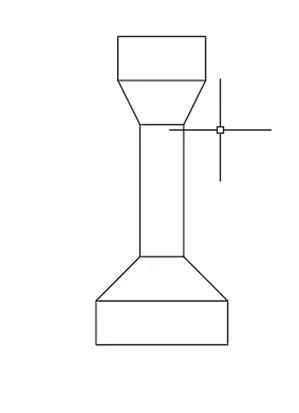
38.Then trim the mid portion line of the object
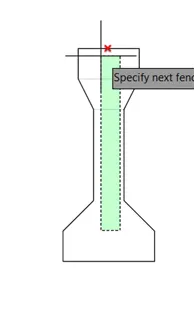
39.Then fillet the bottom corner which is radius is 1”
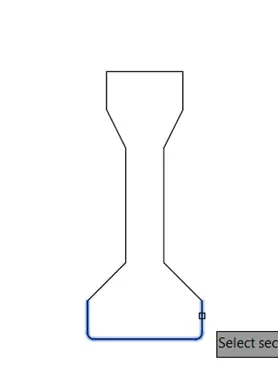
40.Then create a region of the object
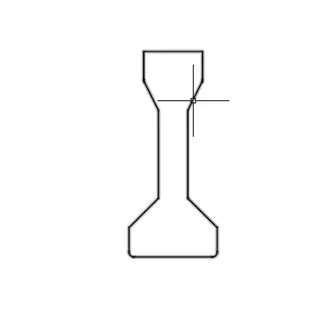
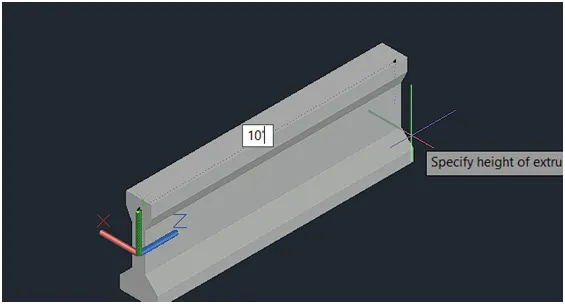
41.Then go for the shaded view and extrude the I-section 10’
42.Then show the dimension of the object and print the object.
Drop column
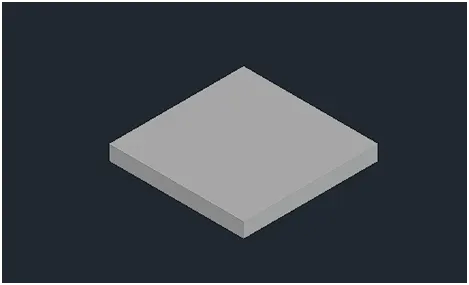
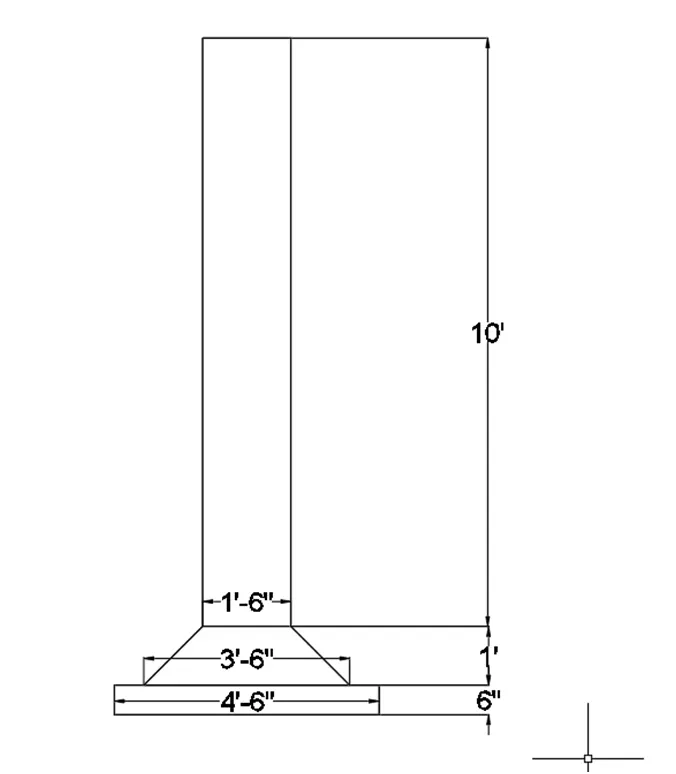
43.Create a box which is 3’6”x3’6”x6”
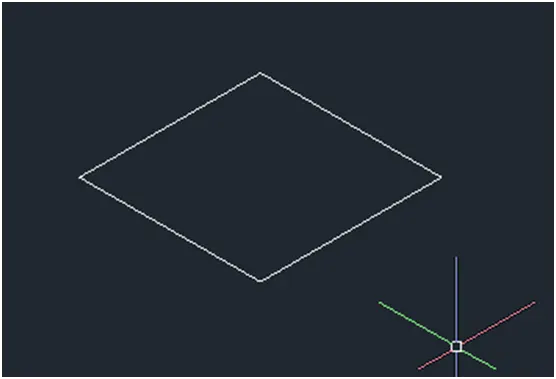
44.Then create a rectangle 3’6”x 3’6”
45.create another rectangle 1’6”x1’6” and place the mid of the rectangle
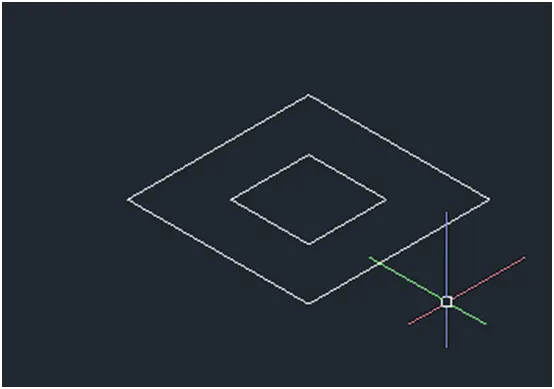
46.Then move the 1’ Z direction of the inner rectangle
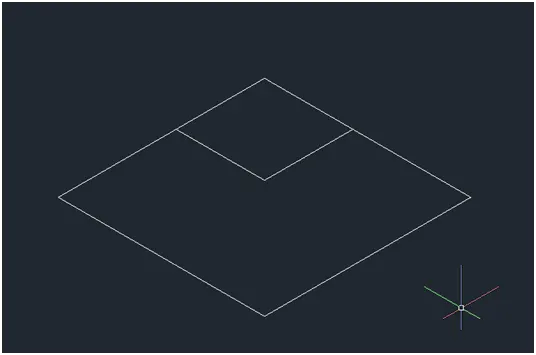
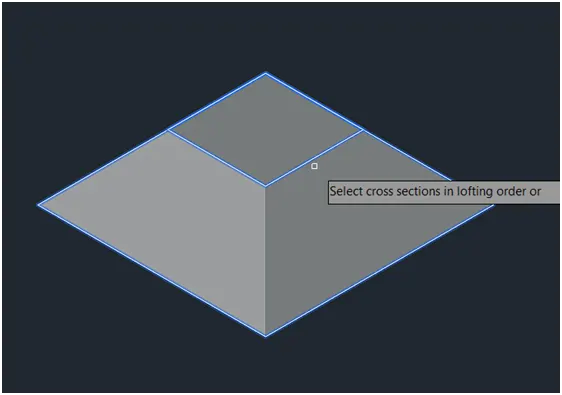
47.The use the loft command to create a solid this object
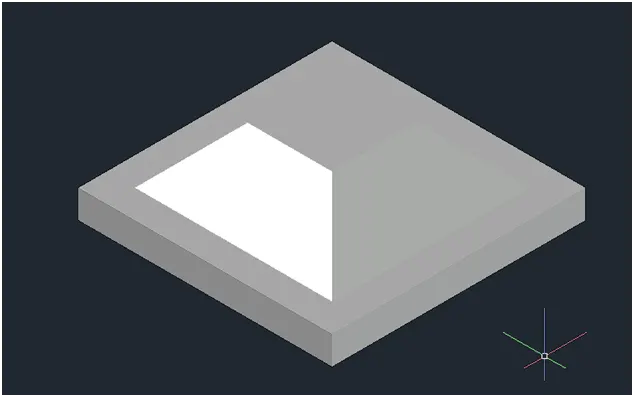
48.Then place the object at mid of the box
49.Cratea another box 1’6”,1’6”,10’
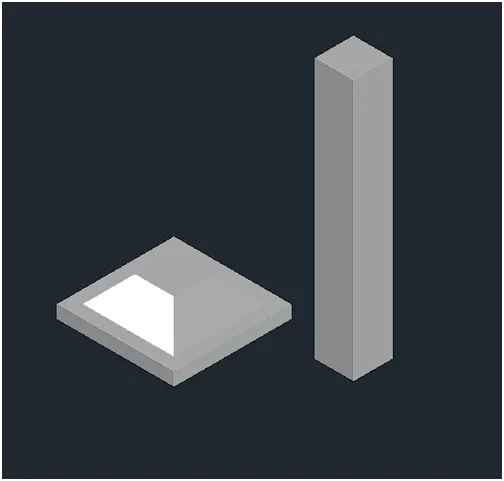
50.Then place the box on top of the object
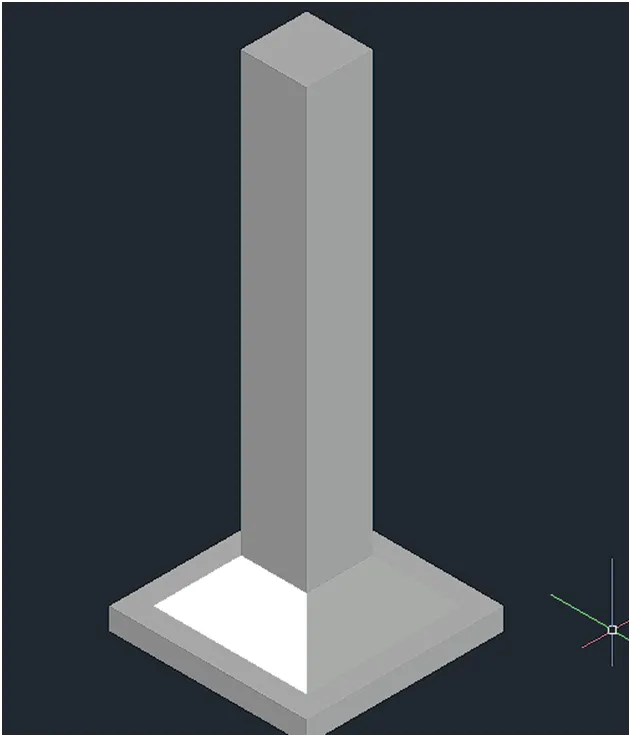
51.The use the union command for single object
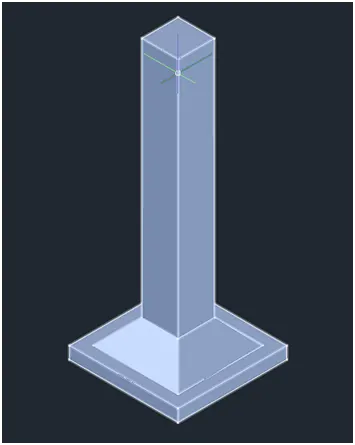
52.The go for the plane and 2D view and give the dimension
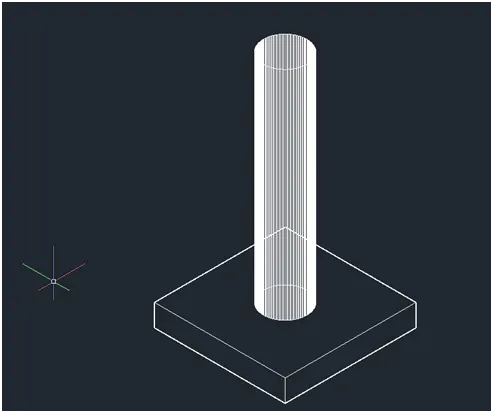
53.To create a circular column for box 3’,3’,6”
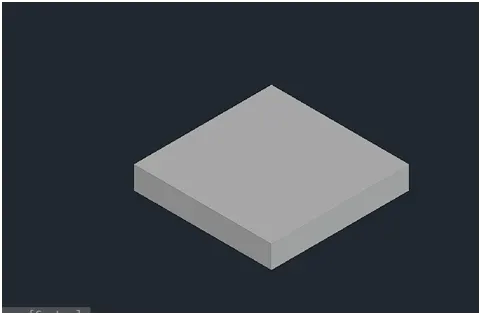
54.Create a circle another place which is diameter 2’
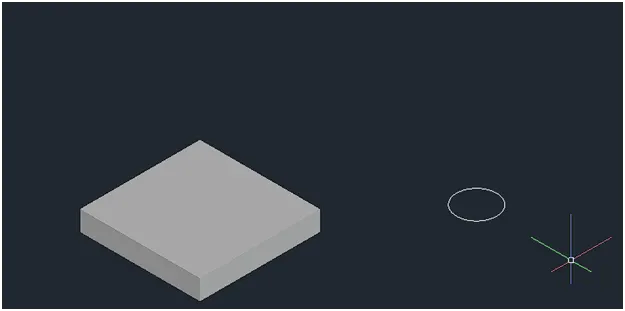
55.Create a vertical line at mid of the circle 10’
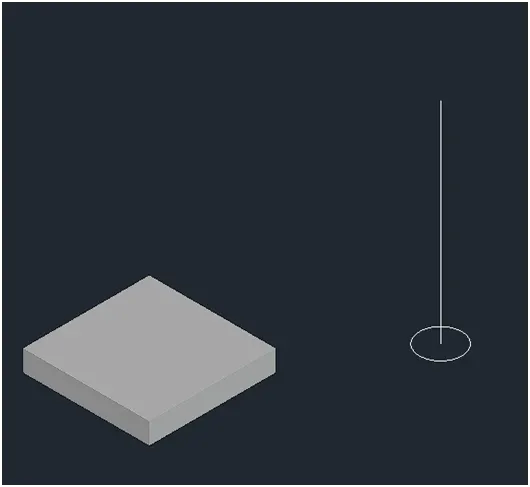
56.Then create a circle at top of the line which is radius 1’
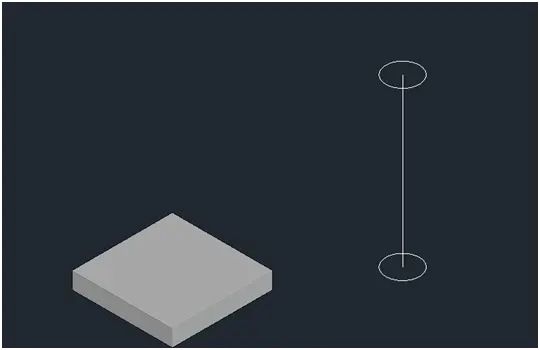
57.To draw a line quadrant to quadrant
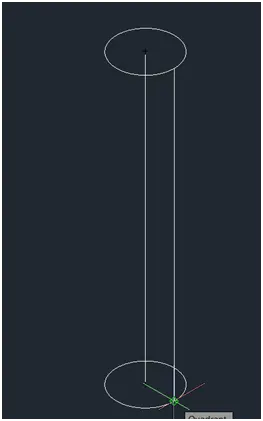
58.Delete the mid line of the circle
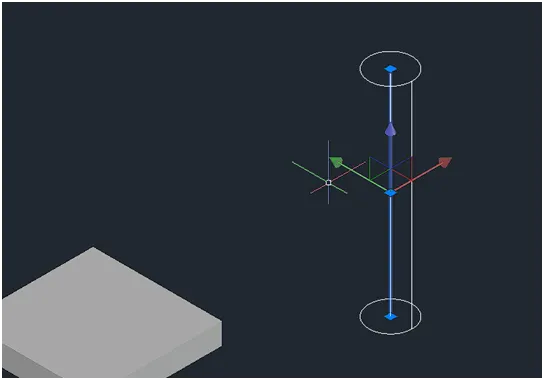
59.Use for polar array for the 180 no. division of the circle
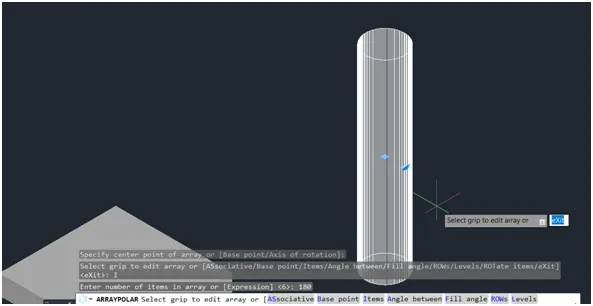
60.Then place the box at mod of the circle
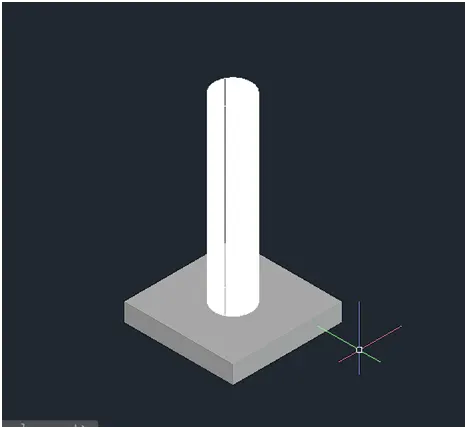
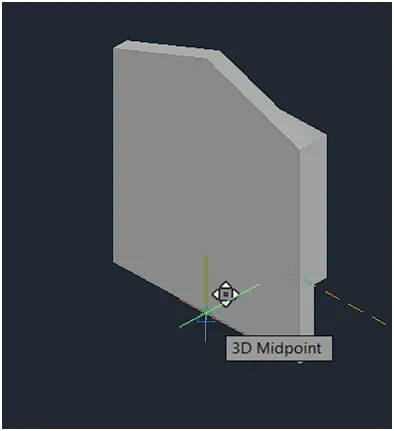
61.Go for hidden view and print the object.
3D wall
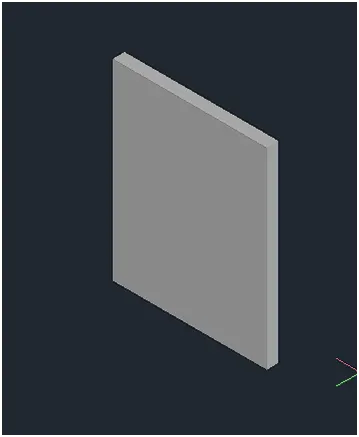
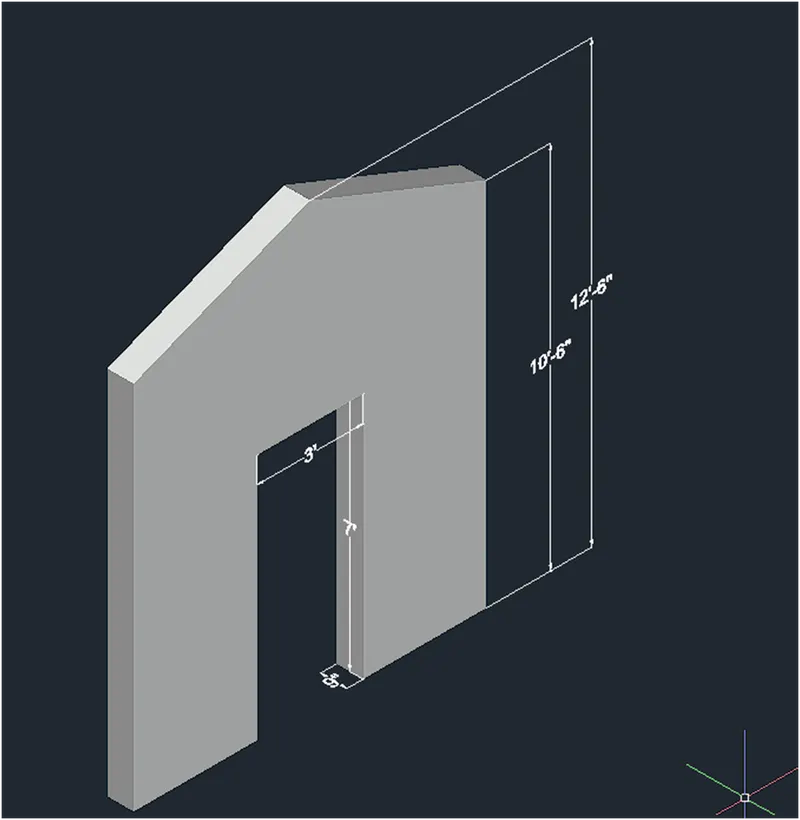
62.create a box 10’,9”,12’6”
63.The go for a plane and crate a two triangle as shown in figure which 5’ length of one triangle and 2’ down word.
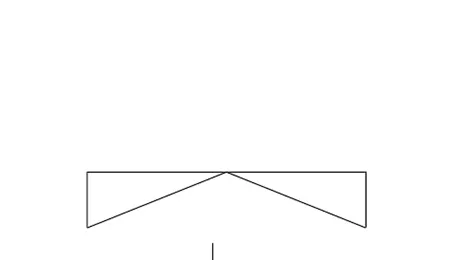
64.Give the surface form region command
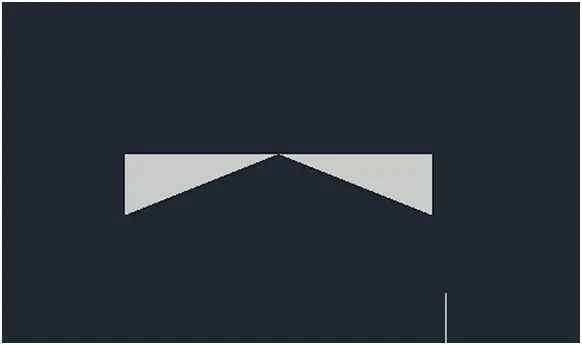
65.The extrude the both triangle 9” and use the union command for convert the single object
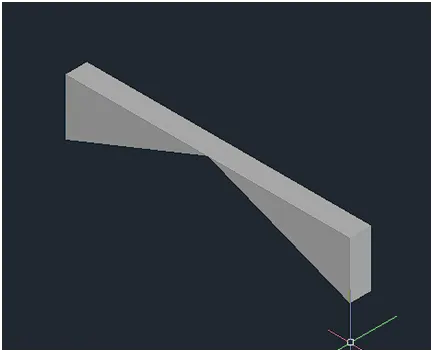
66.Then move the object is top corner of the box
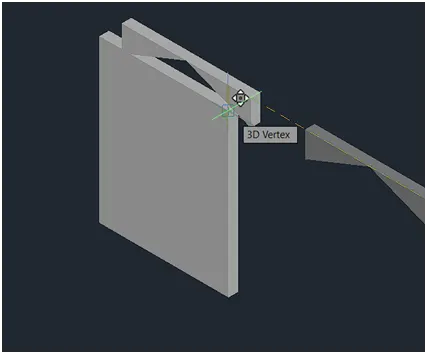
67.Then subtract the object
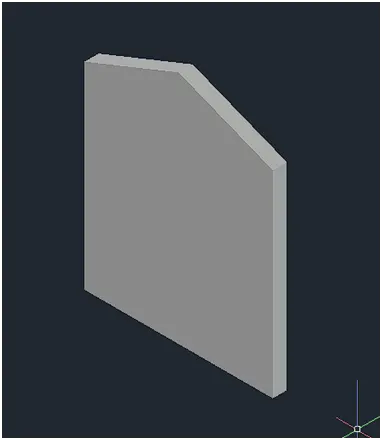
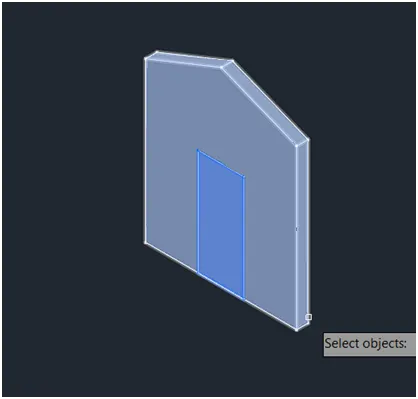
68.Then create a box to cut a door which is 3’,9”,7’
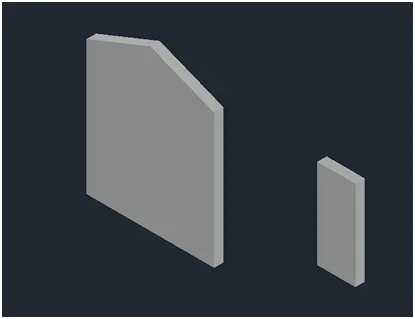
69.Then move the box at mid of the wall
70.Then subtract the object
71.Then give the dimension of the wall and print the object.
RESULT: Complete the challenges of a different objects or drawings.