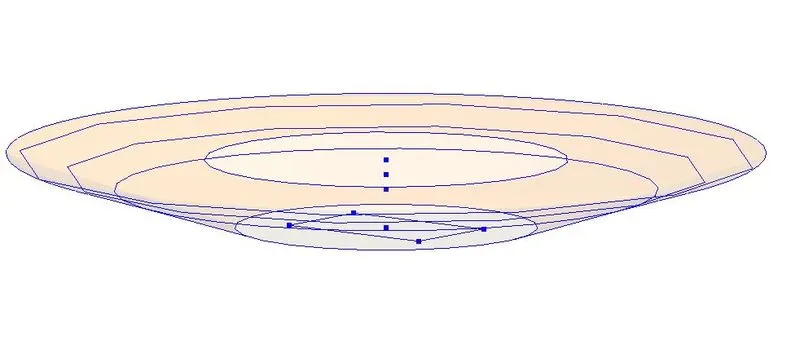
Creating Conceptual mass in REVIT and Creation of Sinusoidal curve and a Parametric stadium using Dynamo
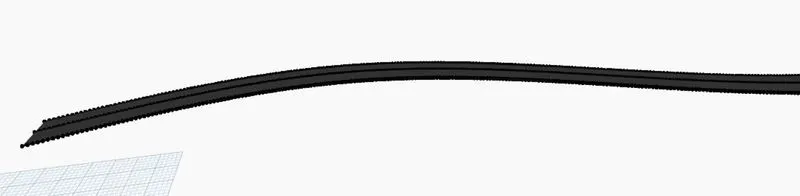
1) Using Dynamo create a set of sinusoidal points and create a curve and create a surface out of the curve.
AIM : To create a set of sinusoidal points, its curve and a surface out of the curve
PROCEDURE :
- Open new project in revit software
- Go to manage tab and select dynamo
- Open new project in dynamo
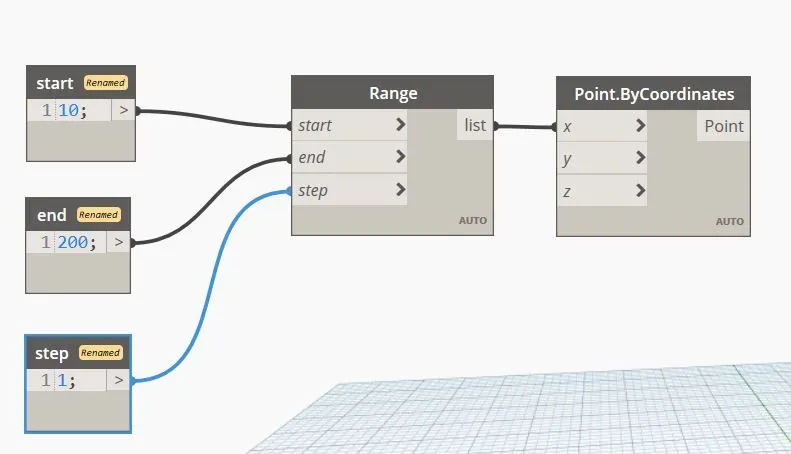
- Enter "point" in search box and choose by coordinates
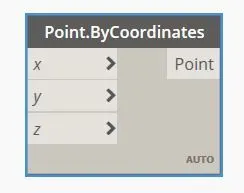
- Enter "range" in search box and select it
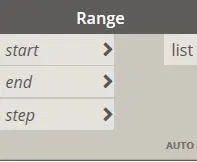
- Enter "code block" and insert 3 code blocks to enter values for start, end and step
- Rename code blocks as start, end and step
- Enter the value for start as 10, end as 200 and for step as 1
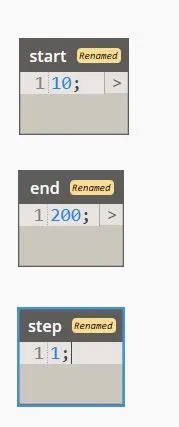
- Connect start, end and step to range
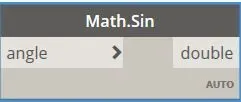
- Enter "Sin" and insert it
- Connect the angle to "list" in range
- Now amplify it to see sin curve
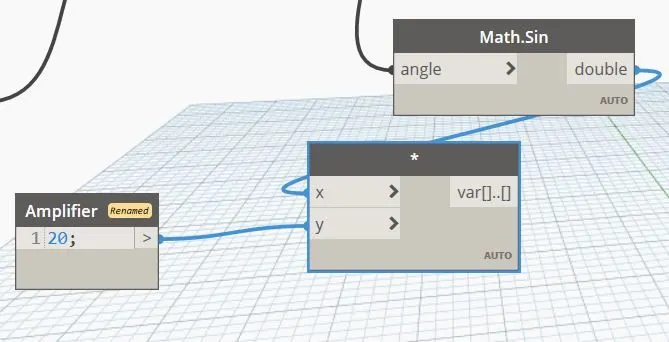
- Enter code block and rename it as "Amplifier"
- Enter the value as 20
- Now multiply the math.sin and amplifier
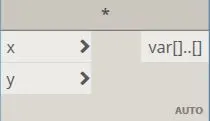
- Therefore enter product and insert it
- Connect double to x and amplifier to y
- Enter "integer slider" (phase) and insert it
- Enter min 20, max 100 and set 1 in interger slider
- Enter "add" and insert it
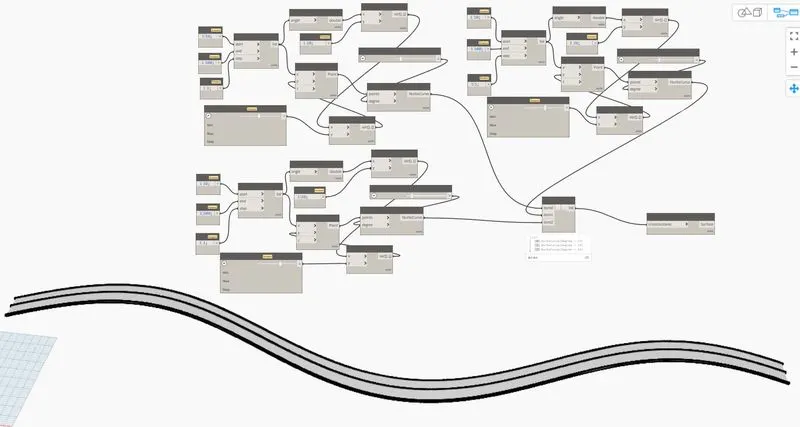
- Connect as shown below
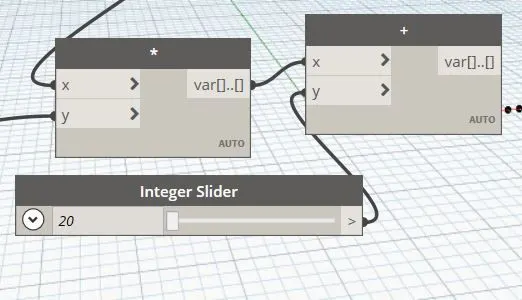
- Connect "vari" in add to "y" in point by coordinates
- Change "end" value to see more curvature
- Enter "line" and insert by control pints (points, degree)
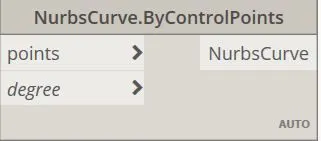
- Connect it as shown below
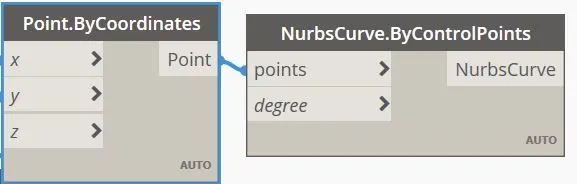
- Enter "interger slider and connect it to degree in nurbscurve.bycontrolpoints
- Copy paste whole connection 2 times and change the phase values to see two more curves
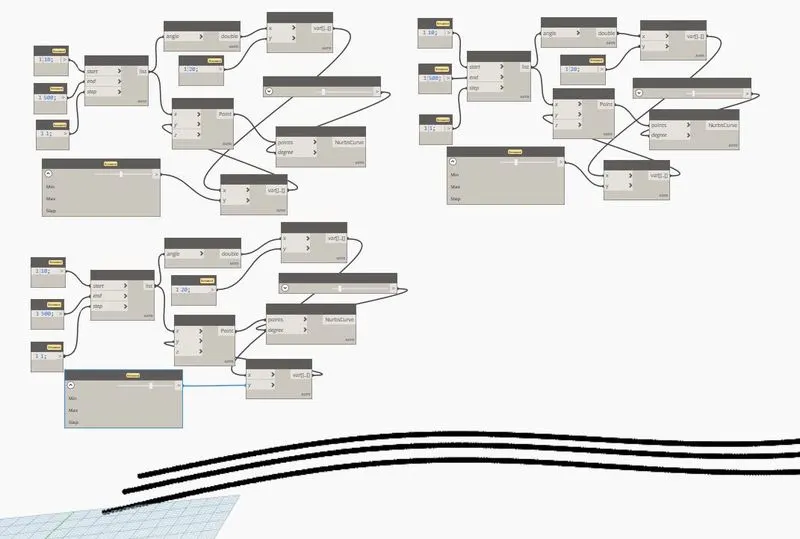
- Enter "list" and insert "list.create"
- To create surface, surface command take from list of points from curve to create surface
- create two more list in it
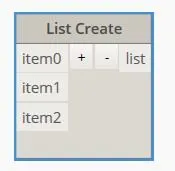
- Connect it to all "nurbscurve"
- Enter "surface", select "byloft" and insert it
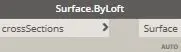
- Connect the list to cross sections
RESULTS
Sinusoidal points, its curve and a surface out of the curve
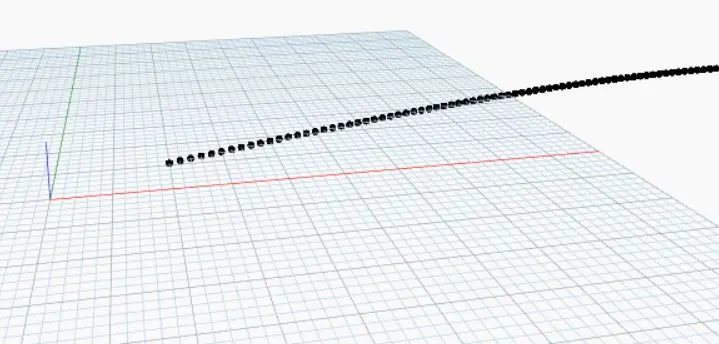
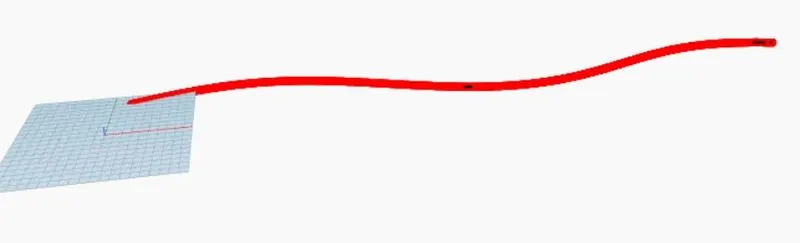
2) Create a conceptual layout of floor plan in dynamo . Using the tools available in dynamo link the lines to appropriate model elements in Revit by choosing the wall types and wall parameters. Make use of the sliders to slide through the height of the wall and length of the wall.
AIM : To create floor layout with model elements
PROCEDURE :
- Open new project in revit software
- Go to manage tab and select dynamo
- Open new project in dynamo
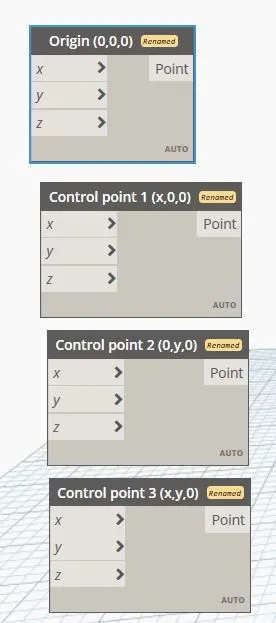
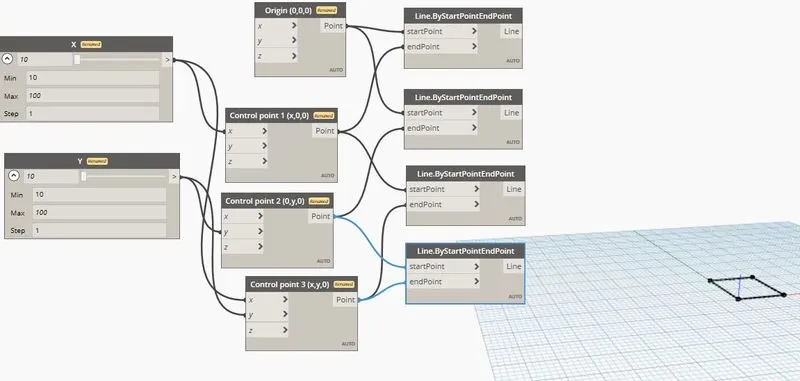
- Enter "point" in search box and choose by coordinates 4 times
- Name it as shown below
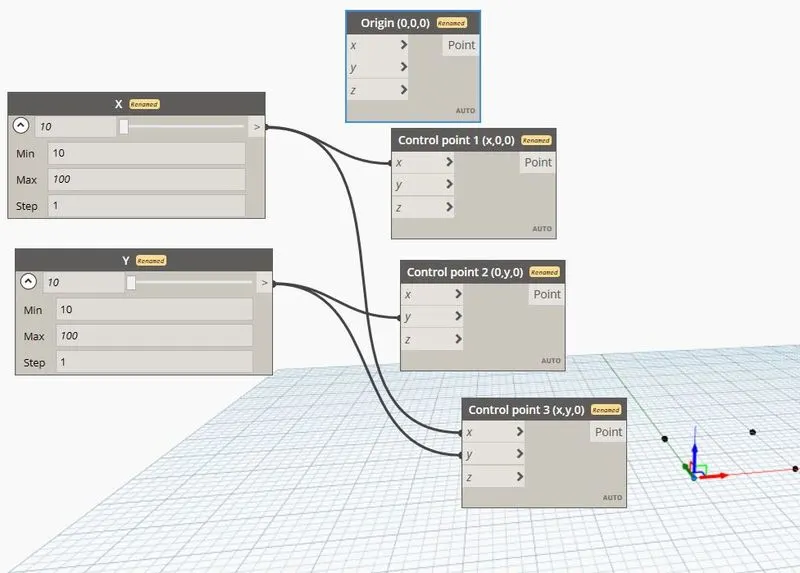
- Enter "Number slider" and insert it to decide x,y value
- Change min to 10, max to 100 and set to 1 in both slider
- Set the sliders to max 100
- Connect it as shown below
- Enter "line", select "by startpoint endpoint" and insert 4 times to have 4 lines
- Connect
- 0,0,0 and x,0,0
- 0,0,0 and y,0,0
- x,0,0 and x,y,0
- y,0,0 and x,y,0
- Enter "wall" , select "by curve and height" and insert it
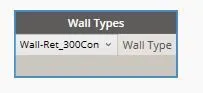
- Enter "walltype" and insert it
- Select wall type as shown below
- Enter "level" and insert it
- Assign the level as "level1"
- Enter "Numberslider" and insert it
- Name it as "Height of the wall" and min as 10, max as 50 and set as 1
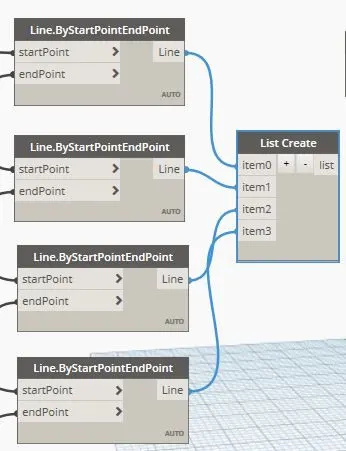
- Enter "list", select "list.create" and insert it
- Create list of items by clicking on add
- Connect each line to each item as shown below
- Connect to wall by curve and height as shown below
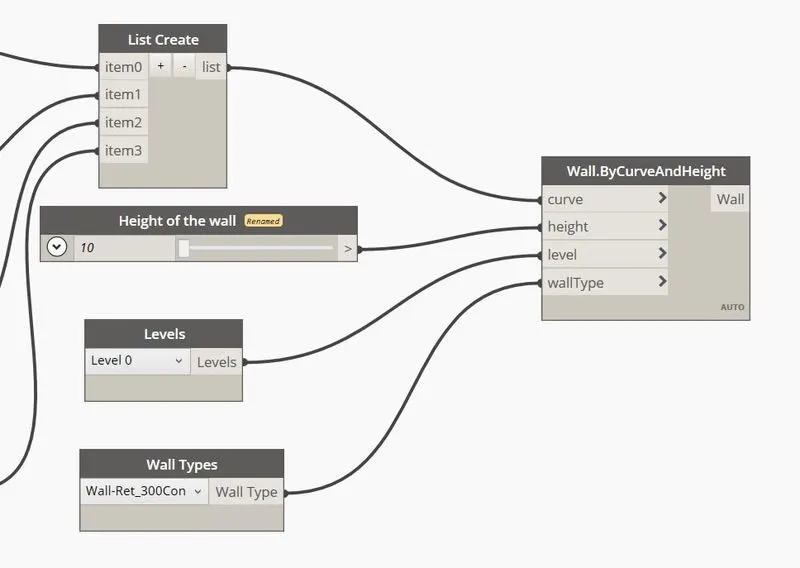
- Change length and height of wall to see the change
RESULT :
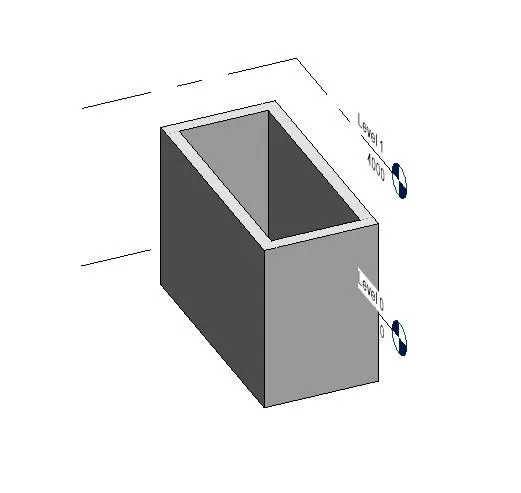
3) Create an array of model elements in Revit. Use dynamo to vary the properties of model elements by using the slider or code block
AIM : To create an array of model elements and vary the properties using dynamo
PROCEDURE :
- Open new project in revit software
- Draw 4 columns of size 450x450mm and place the columns at 1000mm
- Go to manage tab and select dynamo
- Open new project in dynamo
- Enter "select model" and select "select model elements" and insert it
- Enter "rotation", select "Setrotation" and insert it
- Enter "code block", select it and insert it
- Enter a value in code block :45
- Click "select" in select model elements
- Go to revit and select columns
- Selected items are shown
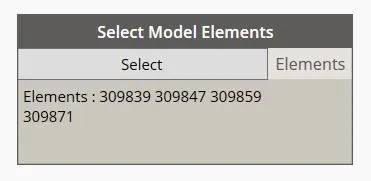
- Connect "select model elements" and "code block" to Familyinstance.setrotation
- Elements are rotated
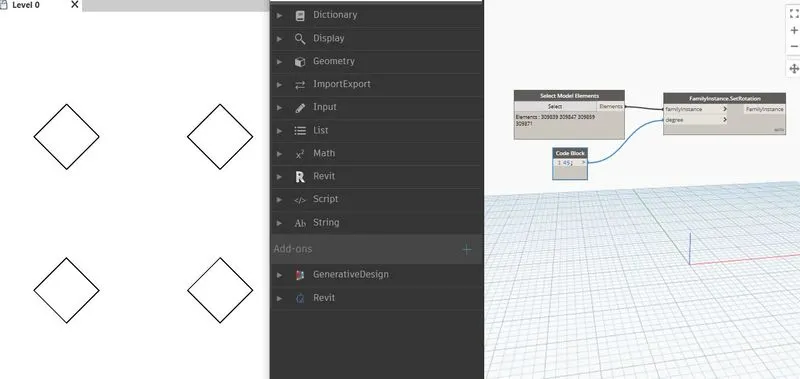
- Enter "Number slider" and insert it
- Enter min as 30, max 90 and set 1 in number slider
- Assign it to degree
- When number slider changes, columns are also rotated
RESULT :
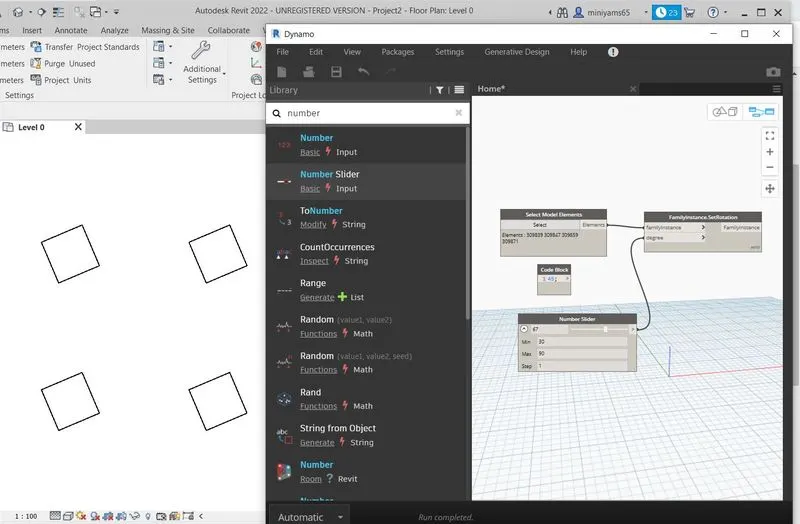
4) Create a conceptual mass in Revit and develop a parametric column by dividing the surfaces and apply the concepts similar to used in parametric walkway modelling. Use triangular bent or square shaped panels to add finish to the parametric column
AIM : To create conceptual mass and to develop parametric column
PROCEDURE :
- Open revit software
- Click on new under family
- Select conceptual mass and select metric mass
- Create a level at a distance 3.5m
- Go to level 1 and set it as work plane
- Draw a rectangle of 0.8m
- Go to level 2 and set it as work plane
- Draw a rectangle of 0.8m
- Go to 3D view
- Set the reference at mid of rectangle
- Set the plane at the mid
- Select circumscribed polygon
- Draw polygon of 4 sides and radius of 1.75m
- select the polygon created and rectangles and click on create form
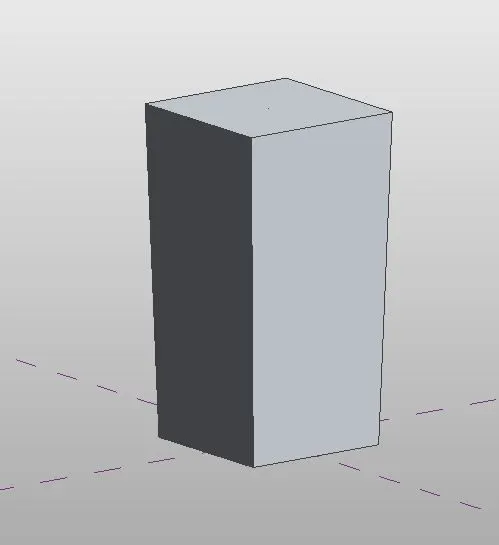
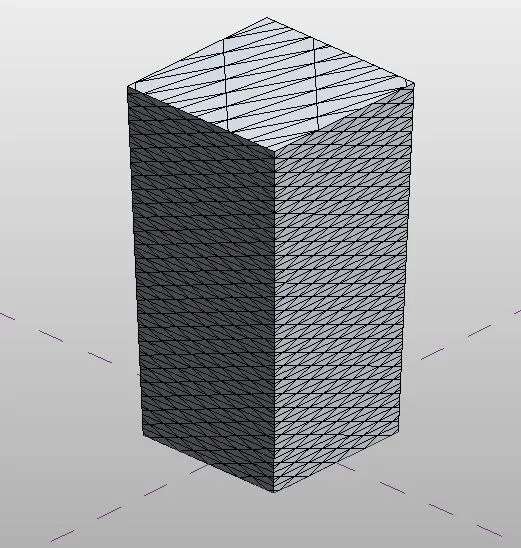
- Select the column and click on divide surface
- Assign pattern (Triangle bent) from properties browser
- Change the properties such as number to 50
RESULT :
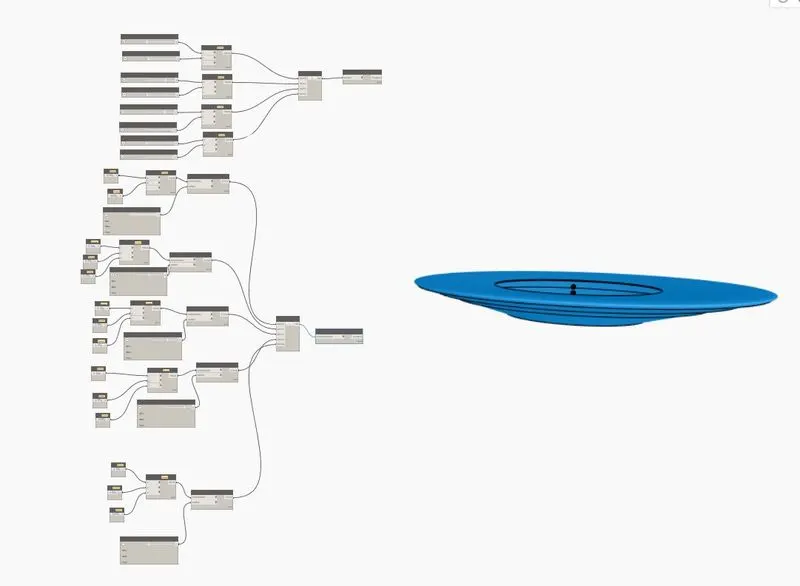
5) Use Dynamo to work on developing a Parametric Stadium. List your parameters and use the visual programming approach to complete the modelling, You can use the concepts discussed in parametric high rise tower in class for reference.
AIM : To create parametric stadium
List of parameters
- Bycoordinates (x,y,z)
- Number slider
- Code block
- By center point radius (circle)
- List create
- By points (polygon)
- By loft crossections
PROCEDURE :
- Open revit software
- Go to manage and open dynamo
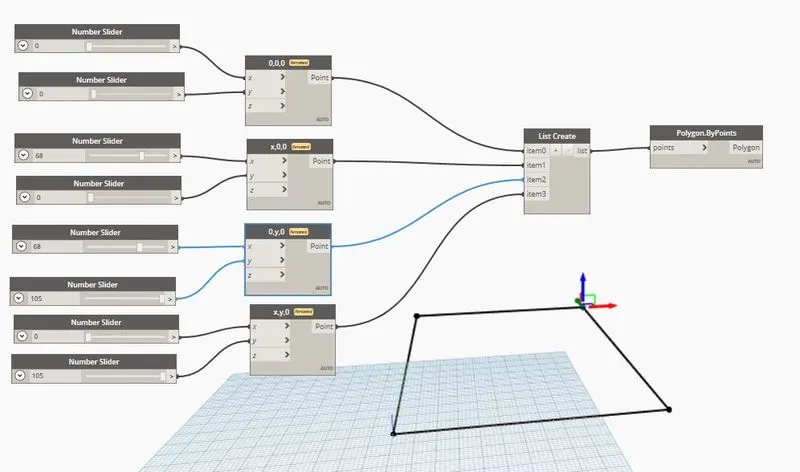
- Insert 4 Bycoordinates
- Insert 8 Number slider
- Insert list create and create list of 4
- Insert Polygon by point
- Connect the parameters with the given values shown below
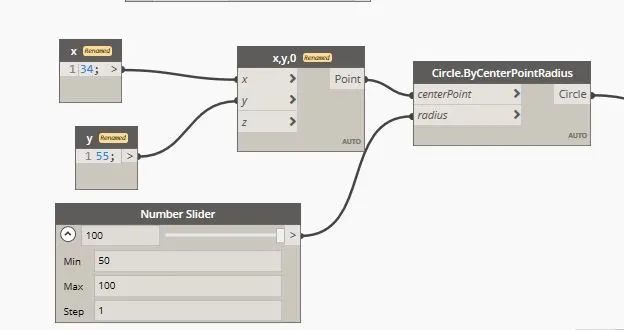
- Insert Code block
- Insert Bycoordinates
- Insert Number slider
- Insert Bypoints circle
- Connect the parameters with the given values shown below
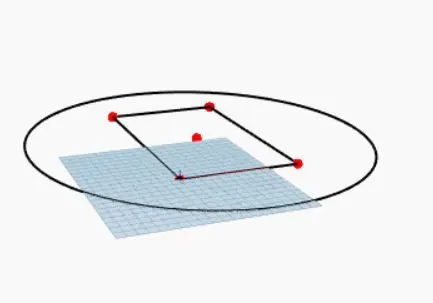
- Create similar circles with the values shown below
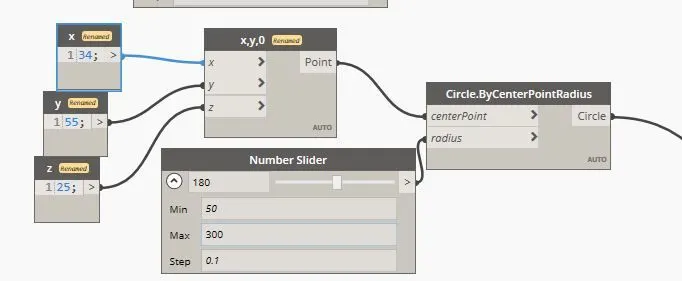
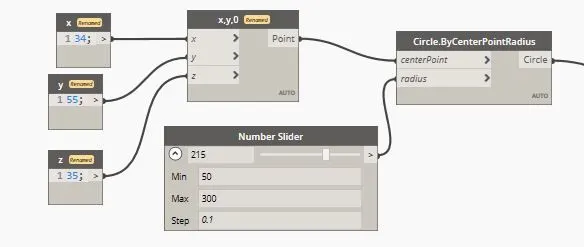
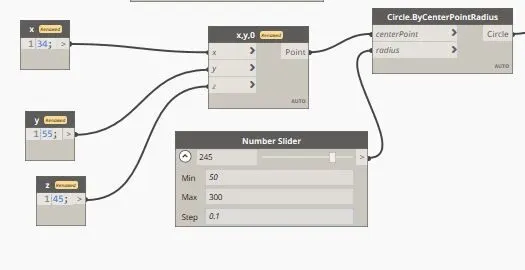
- Insert list and make list of 4
- Connect the each circle to eact item in the list
- Insert loft
- Connect list to cross sections in loft
- Again draw a circle using following values
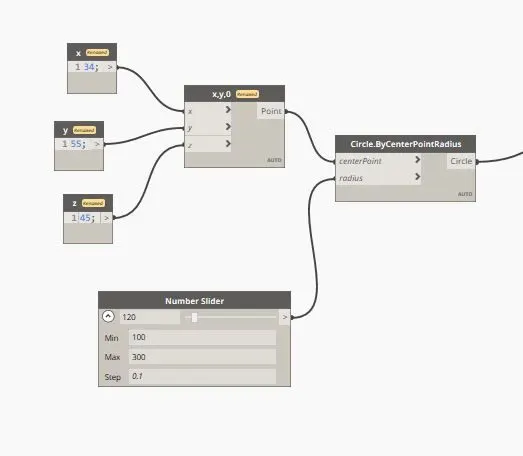
- Add item to previous list and connect the above circle
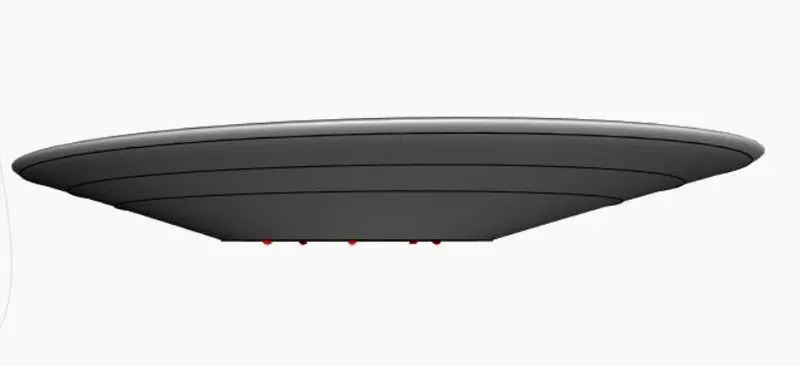
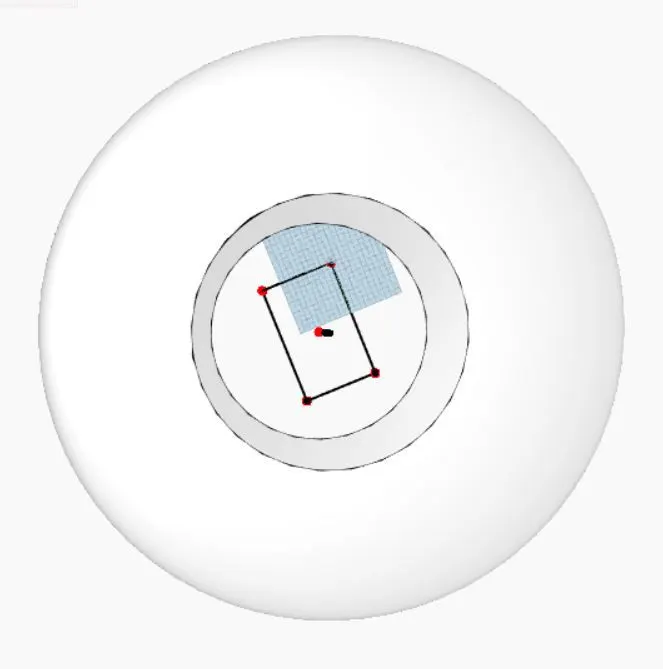
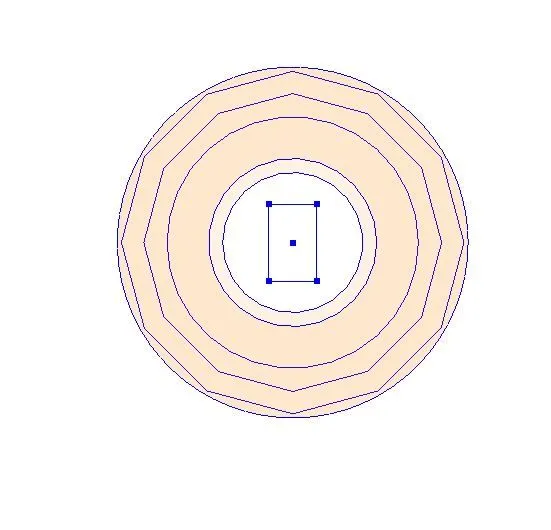
RESULTS :