Creating Bar Bending schedule, Different Door types, and Creation of standard drawing templates using AutoCad
CHALLENGE 9
AIM: Creating a Title block with their dimensions and creating a block and their uses.
INTRODUCTION: Create the templates as given in Figures. Take the size of the title block as per in assume it as per the size of the paper A3. Use text and after creating the title block we need to save it as a block with names: Custom1_titleblock and Custom2_titleblock.
PROCEDURE:
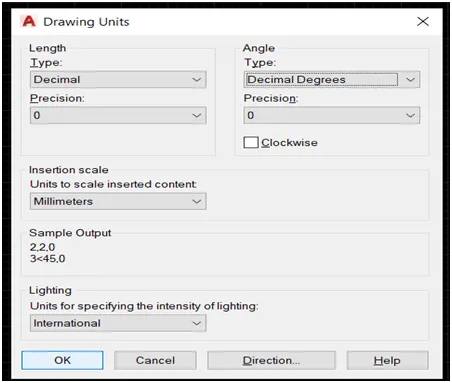
1.open auto cad and set the unit of the drawing
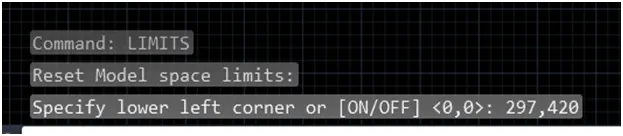
2.Then set the limits which is A3 size of the paper 297,420 mm
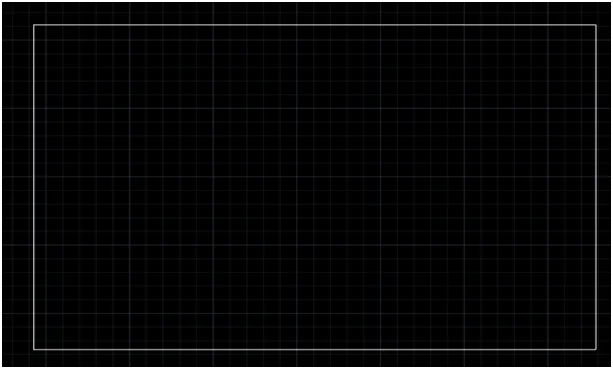
3.create a box 297,420mm
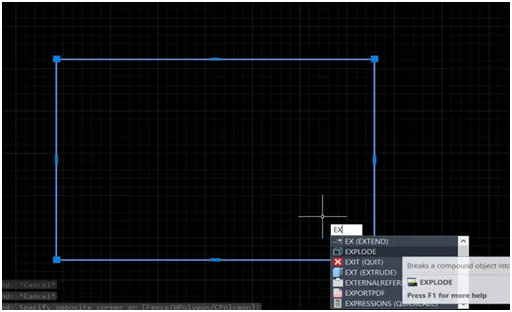
4.Then explode the rectangle
5.Then offset the margin of the paper I can use 15mm of three side as shown in figure
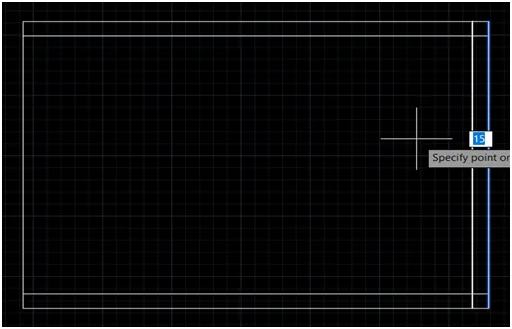
6.And one side 30mm margin
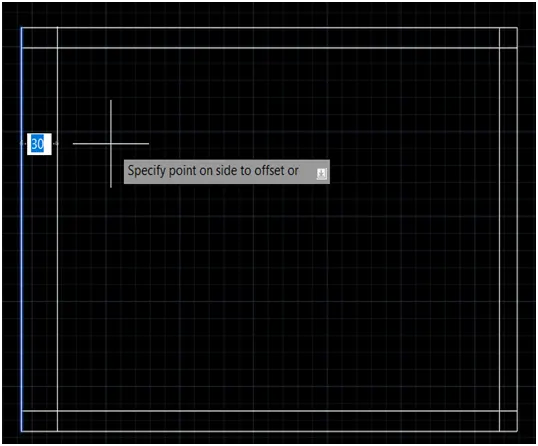
7.Then fillet the all corner with 0 radios
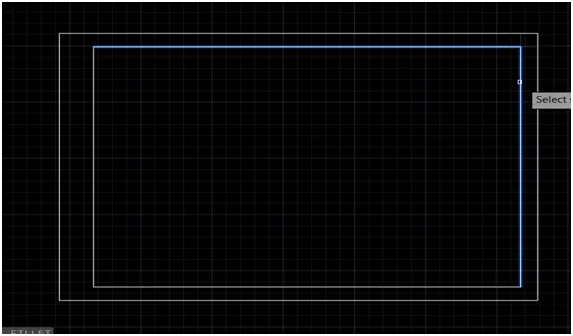
8.Then offset the 150mm right corner which is the title block margin the size of the title block 150,100mm as usual but in but I can the use the dimension as per given drawing.
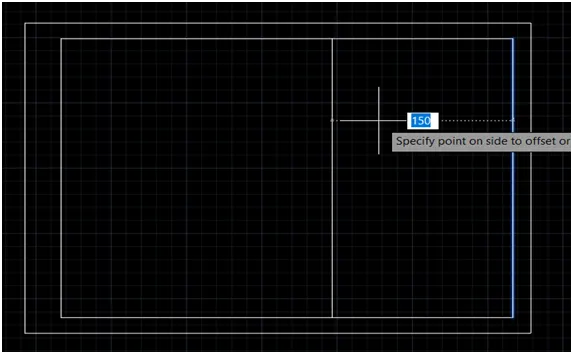
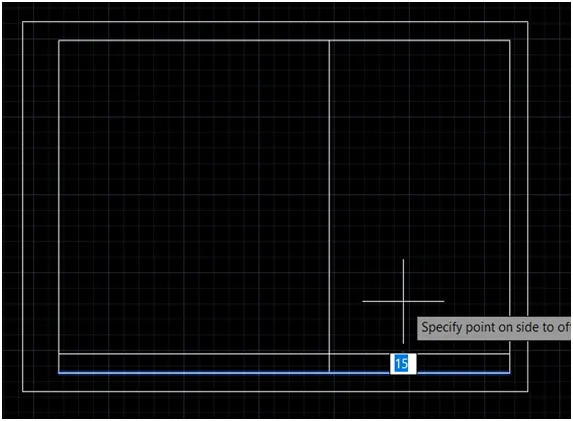
9.offset the line which is required for the text 15mm two times
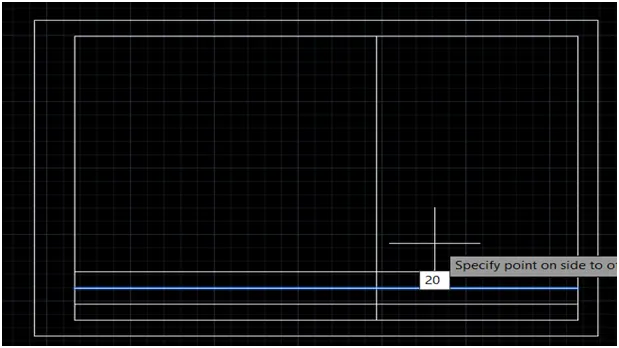
10.offset 20mm four times
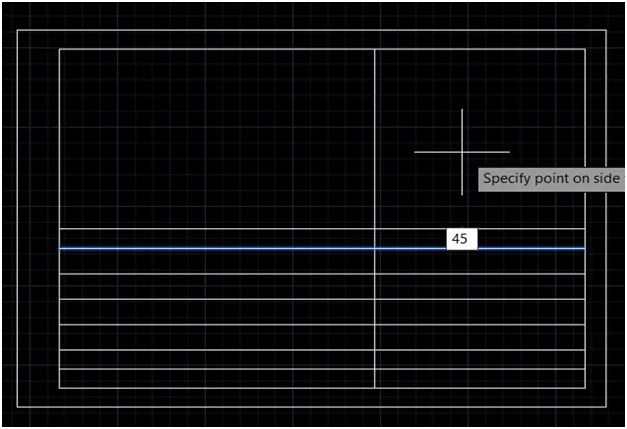
11.offset 45mm
12.offset 15mm
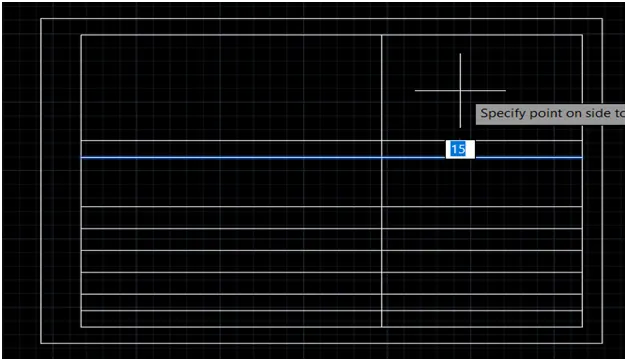
13.offset 10mm two times
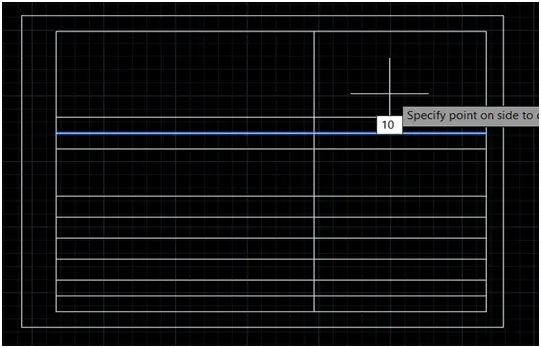
14.offset 20mm ,10mm
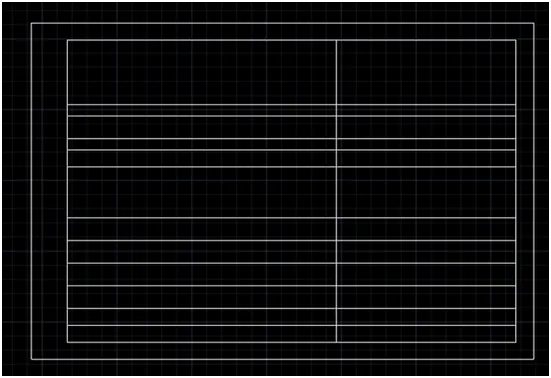
15.Trim the line as shown in figure.
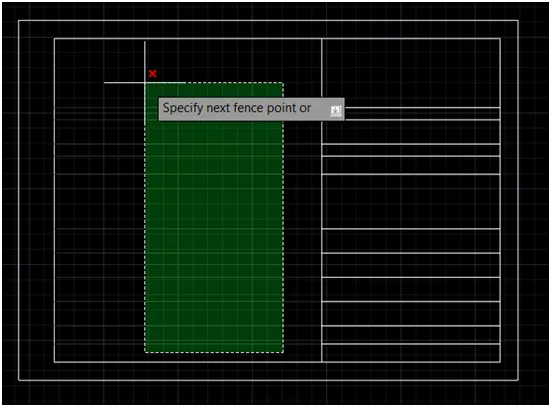
16.offest the line 50mm as shown in figure
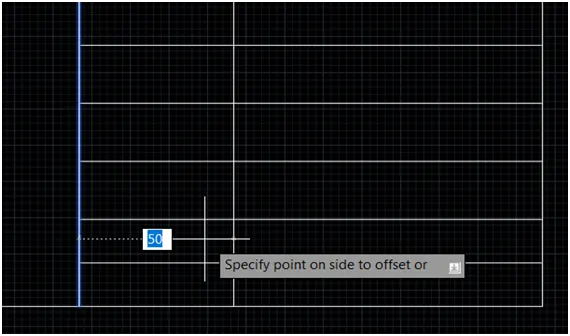
17.offset 30mm , 30mm
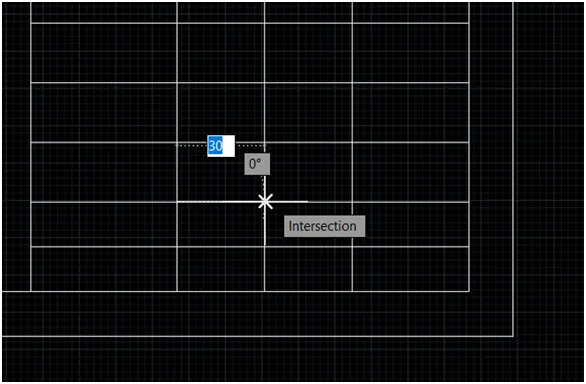
18.Trim the line as shown in figure
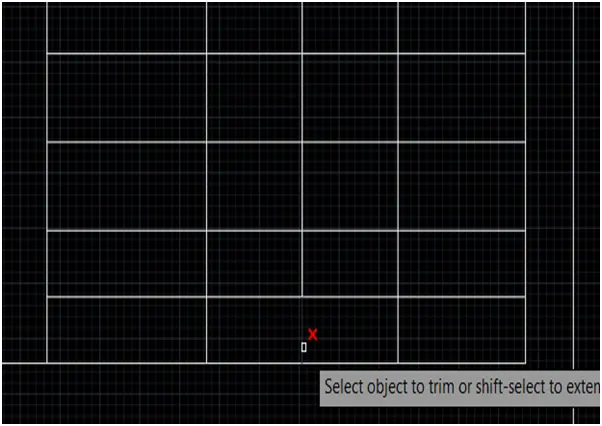
19.Trim the as shown in figure
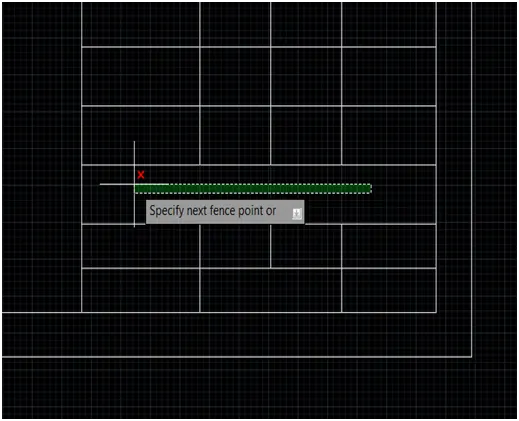
20.select the line and delete the line
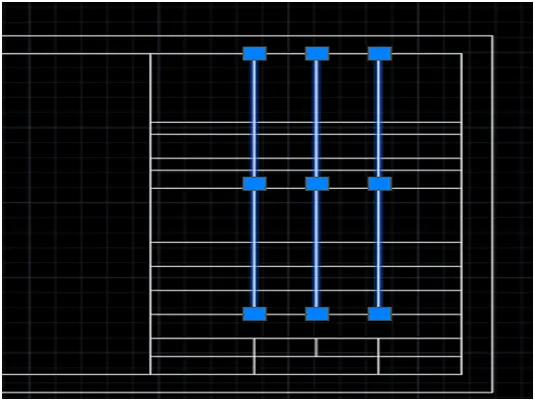
21.create a random line as shown in figure
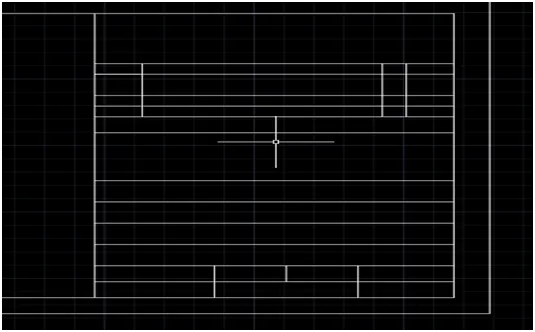
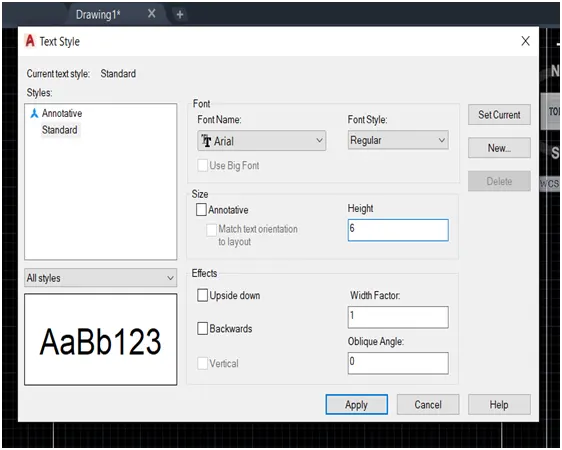
22.set the text style
23.Then writhe the word as given
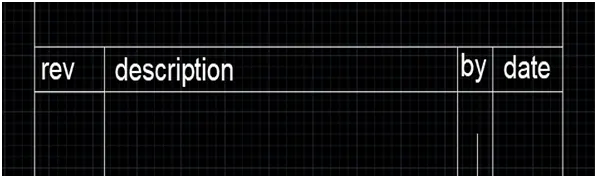
24.The word is same so copy pest the word
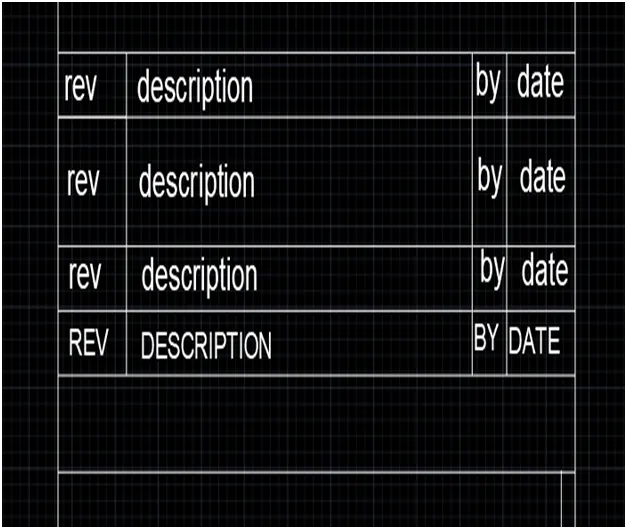
25.writhe the word as given
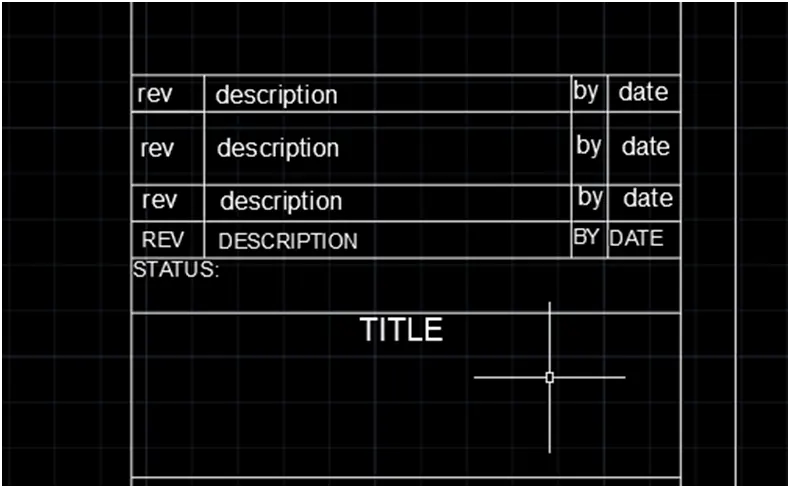
26.writhe the word as given.
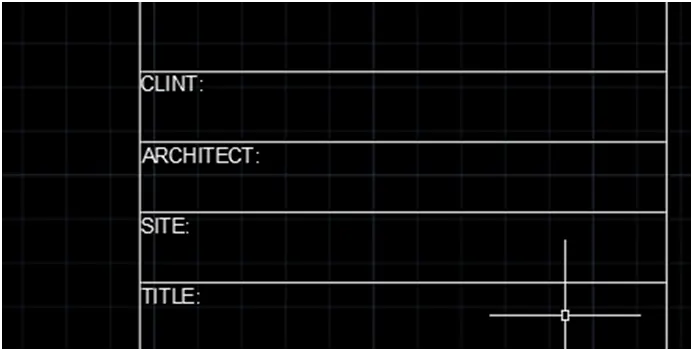
27.writhe the word as given.
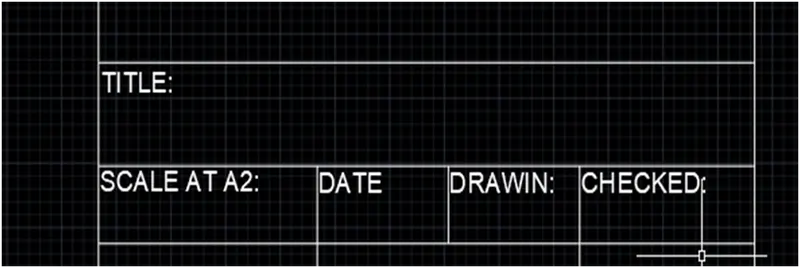
28.writhe the word as given.
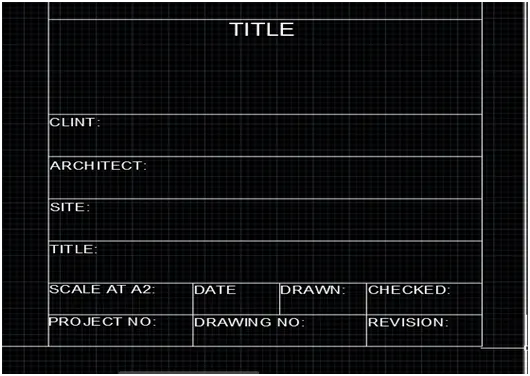
29.Then create the
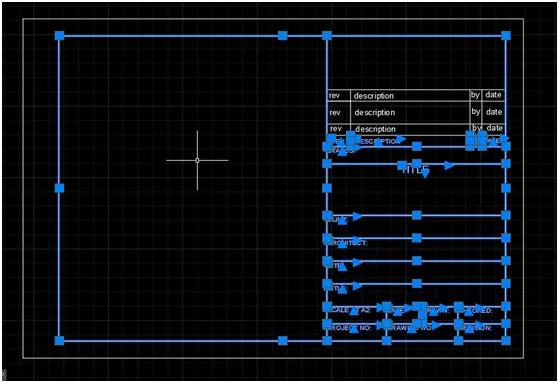
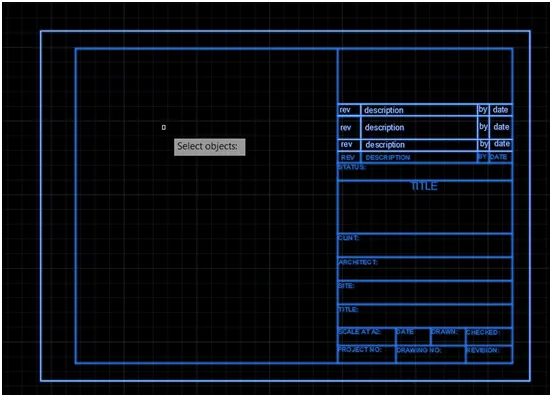
30.Then select the object
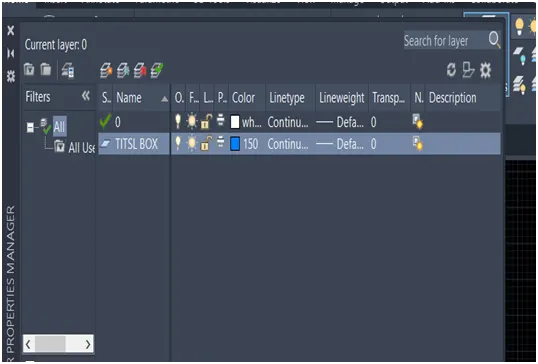
31.Assing the layer as shown in figure
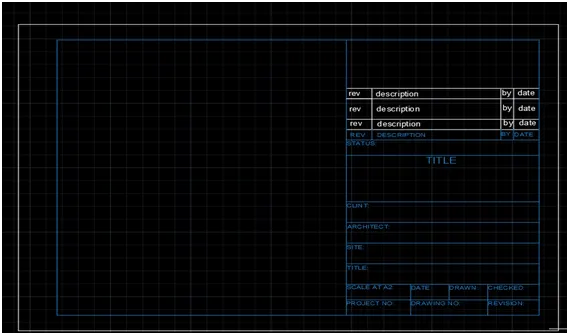
32.Then select the and Block enter
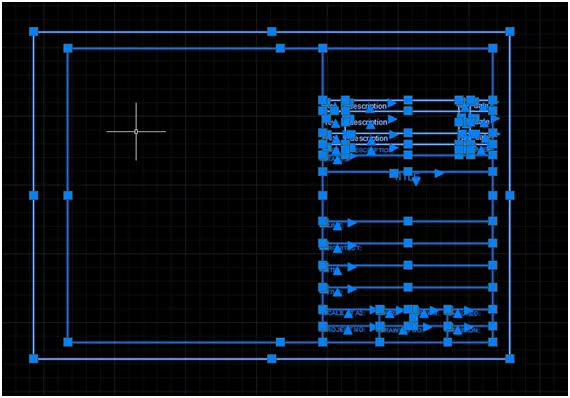
33.Give the name of block
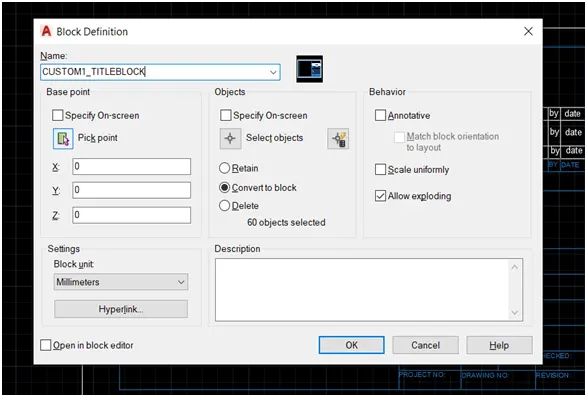
34.Select the pick point of the of the object
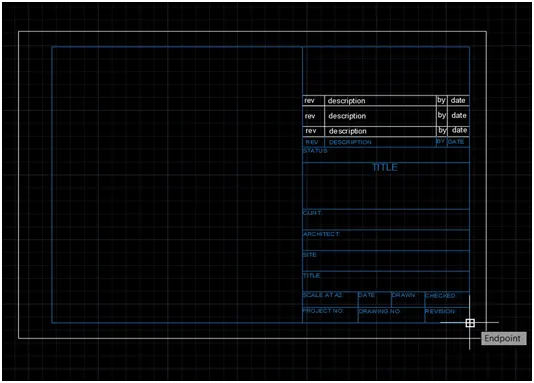
32.select the object of create a block
33.If need five the description then ok
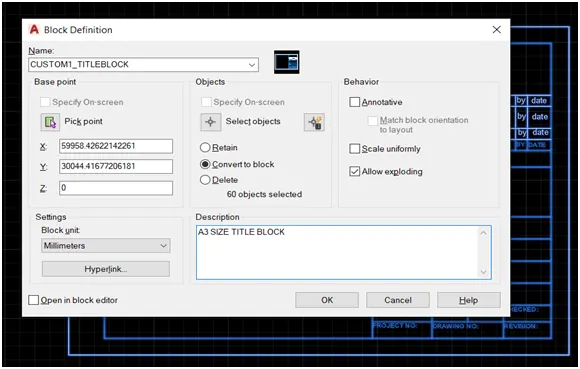
34.After creating a block the object like that the property of same
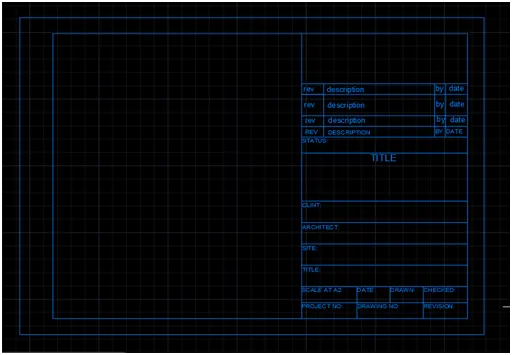
35.Then insert the block
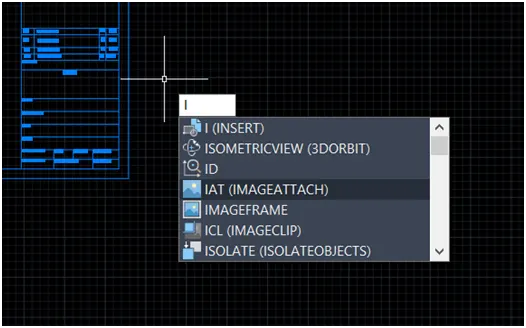
36.The insert window like this we can set the scale of block then insert the block on display
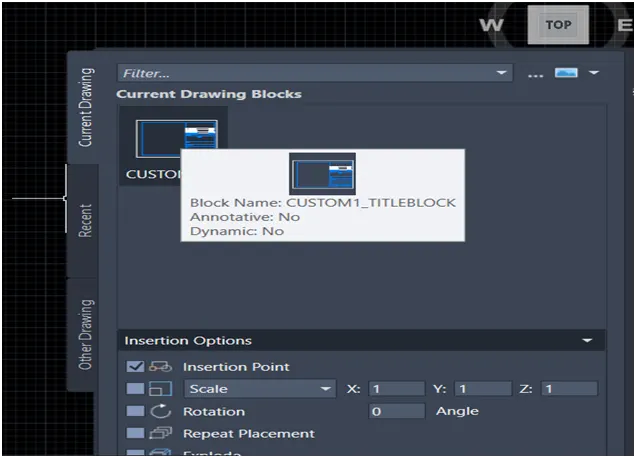
37.Insert the block
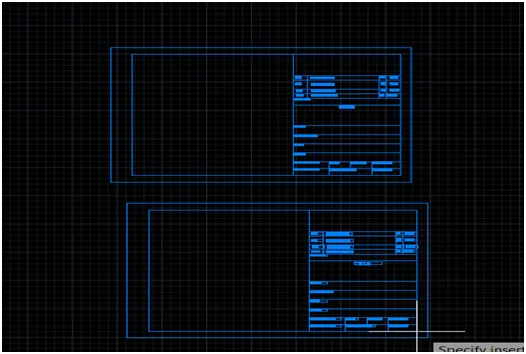
38.After creating custom1_title block go for Custom2_title block, create a box 420,297
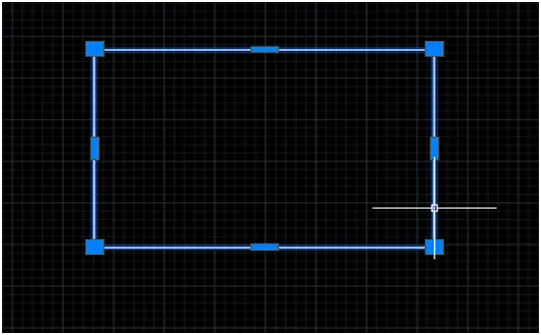
39.then explode the object
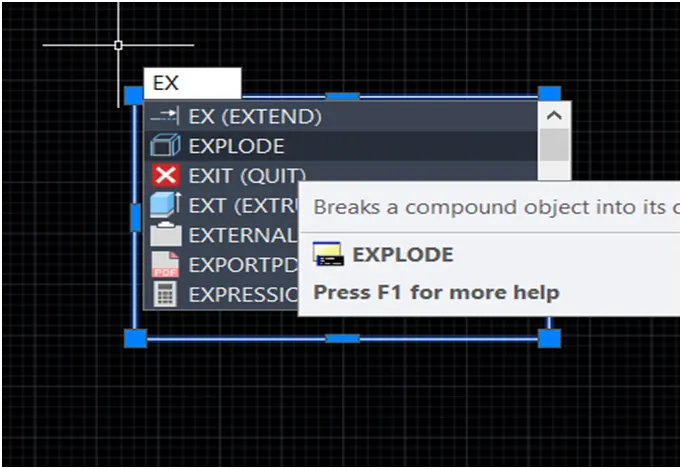
40.then offset the three ends 15mm
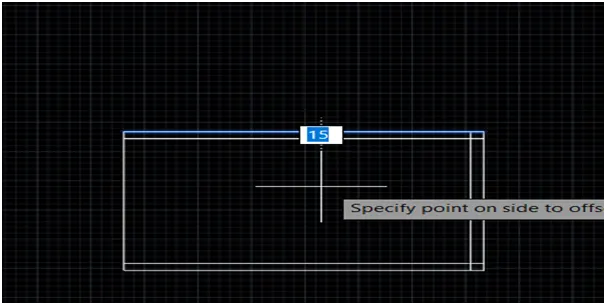
41.and 30mm one side as shown in figure
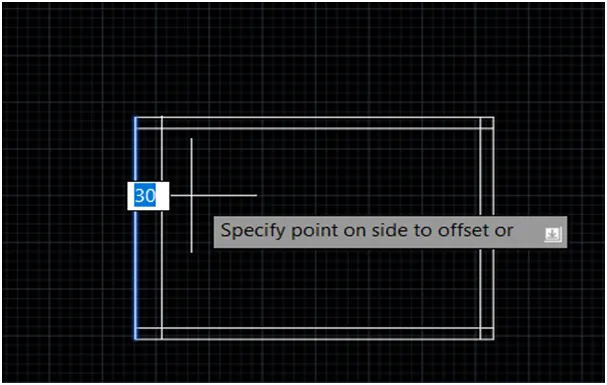
42.Fillet the all edges at radios is 0
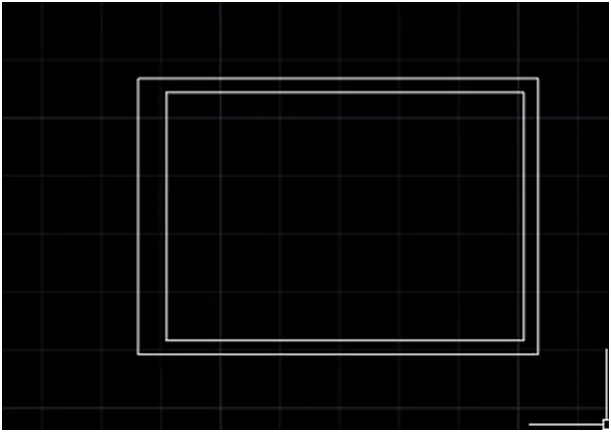
43.Offset the line at a distance 20mm two times
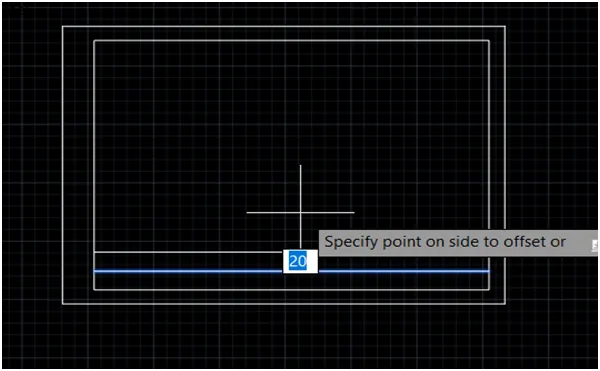
44.offset 10mm Three times
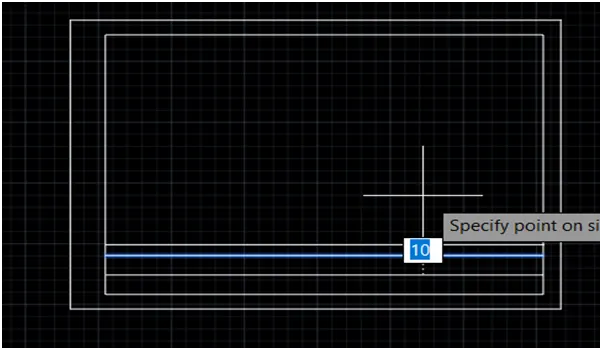
45.offset 20mm,10mm
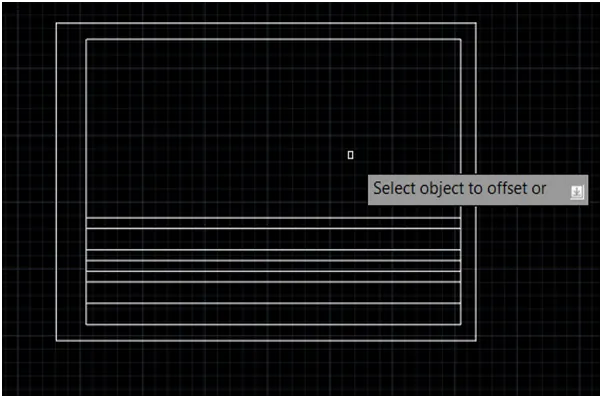
46.Again offset 100mm as shown if figure
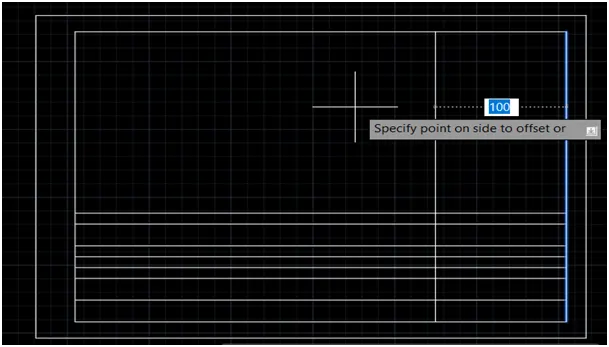
47.Then trim the line as shown in figure
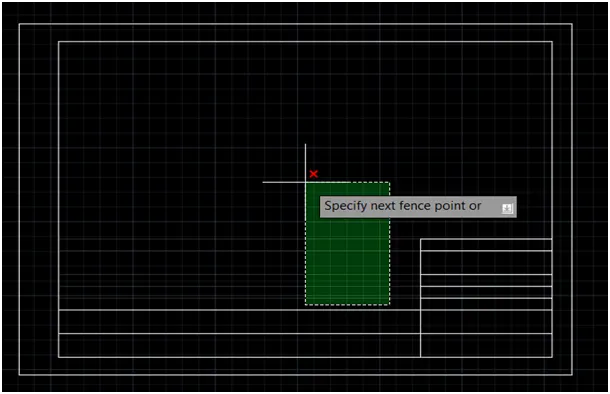
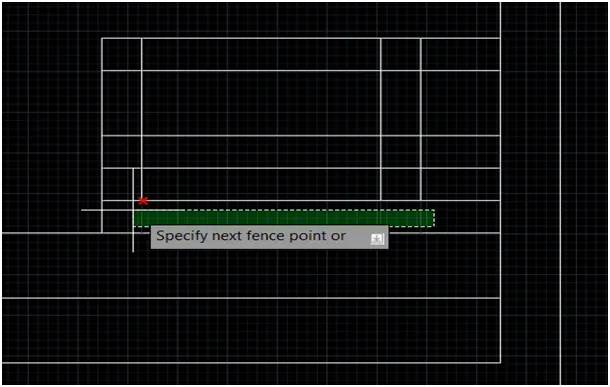
48.Then offset the line and trim bottom side as shown in figure
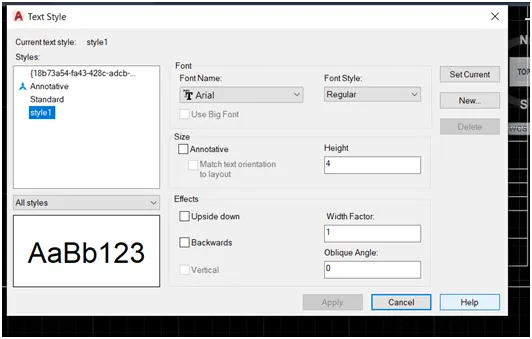
49.Then set the text style in new fount size
50.write the text as given figure
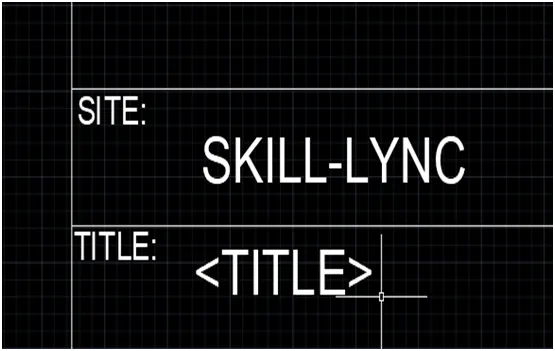
51.write the all text as given figure
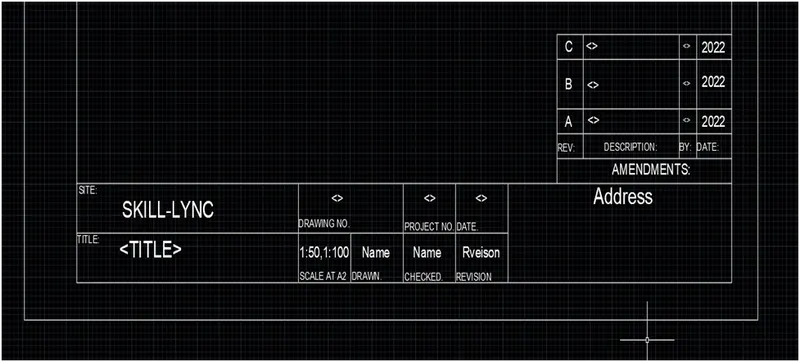
52.After the ready title box go for the block command and chose the pick point and select the object and specify the name then press ok
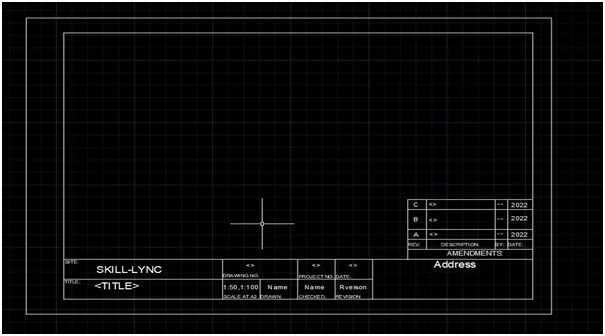
53.Go to insert command and chose the custom2_title box
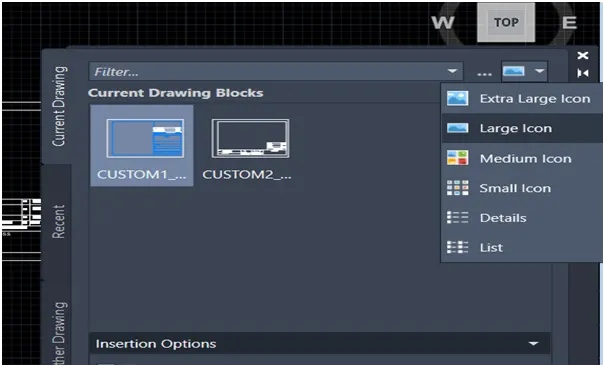
54.And insert the title box
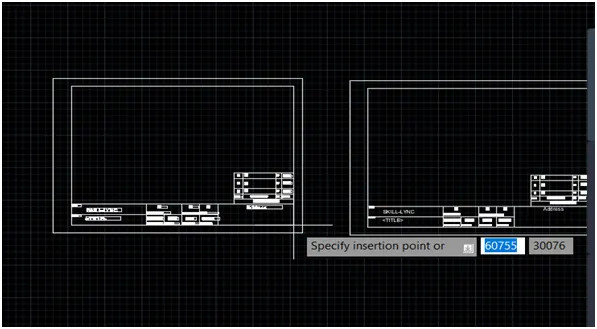
RESULT: I am creating the title box without any difficulty.
DOUBLE DOOR
AIM: creating a door plane with their dimension
INTRODUCTION: Create the doors for warehouse as given the Figure. We create each door type as per given dimensions. Create the blocks of this door type after creating them.
PROCEDURE:
1.Create a box 2330,2750mm
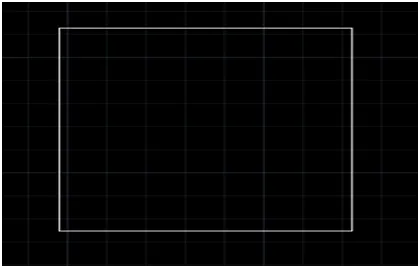
2.Go for the offset 20mm
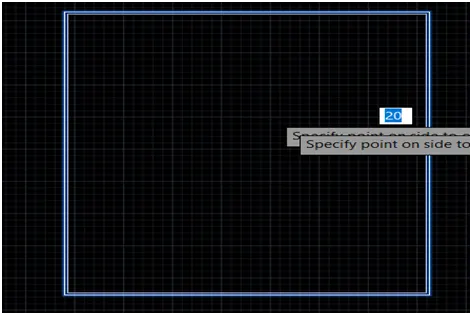
3.Go for the divide command
4.Divide the 4 parts of the inner object
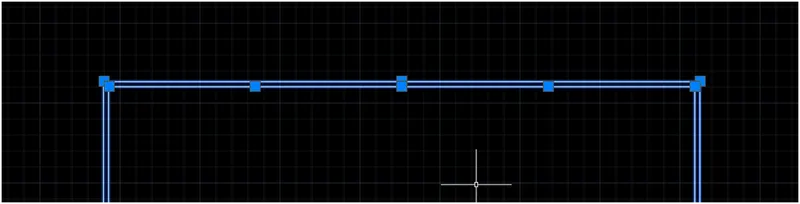
5.Create a straight line at end points.
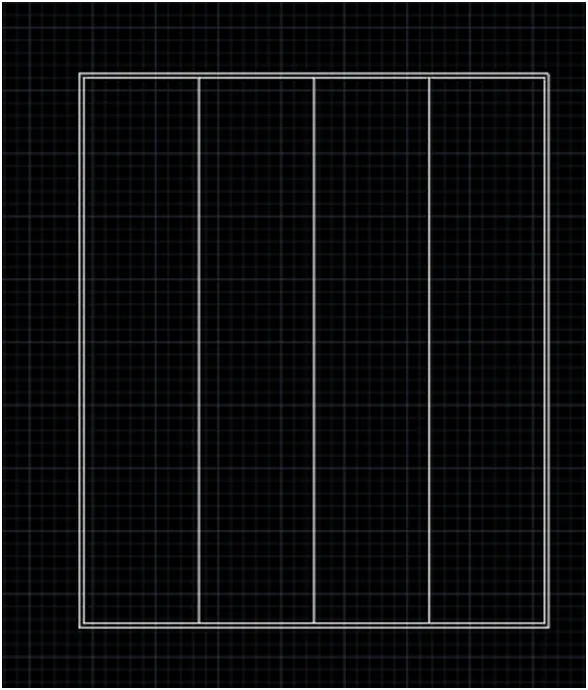
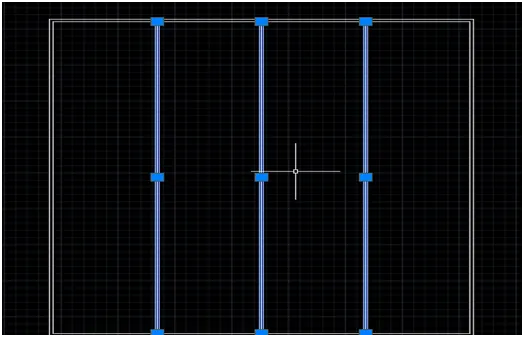
6.Go for the offset 10mm Both side as shown in figure

7.Then delete the mid line
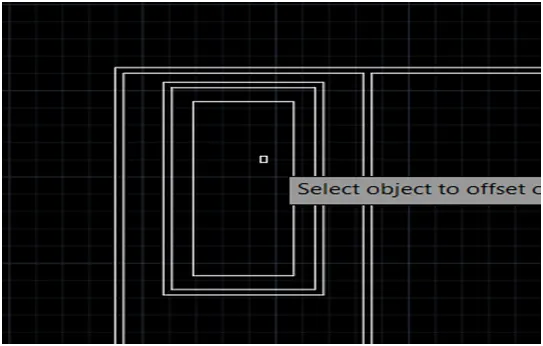
8.Create a rectangle and offset inner side as shown in figure
9.Then draw the tangent line as shown in figure
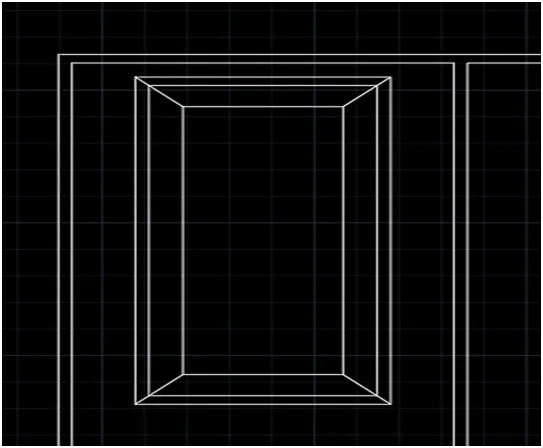
10.Use the group command for creating a single object
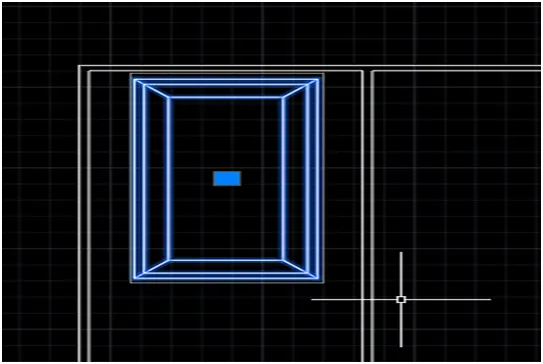
11.Then mirror the object at bottom side as shown in figure and adjust the panel distance
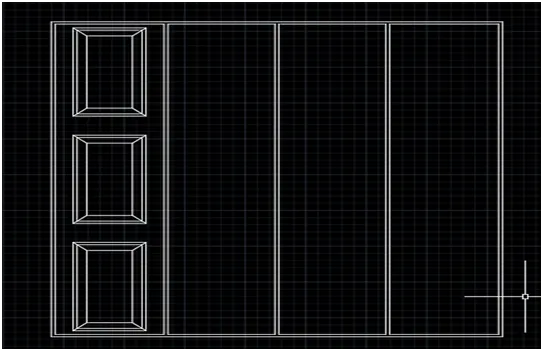
12.Then mirror the all boxes as shown in figure
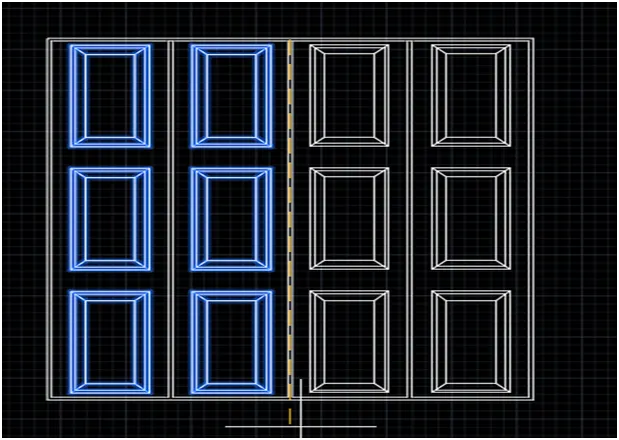
13.Then creating the handle of the door
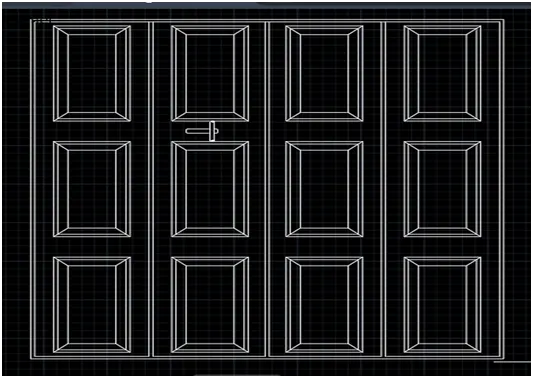
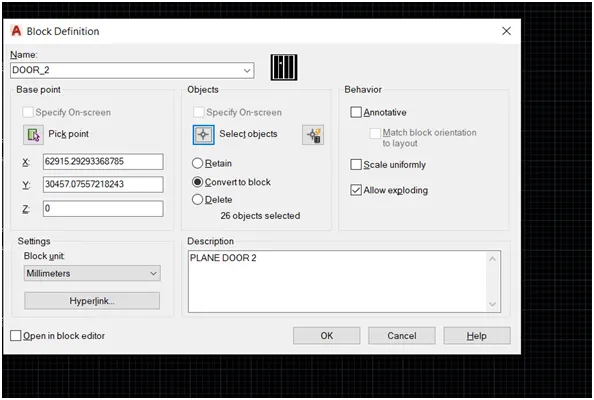
14.Then go for block command and give the name and pick point and select the object then ok
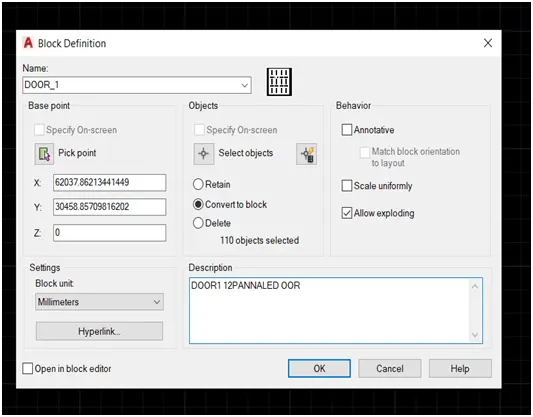
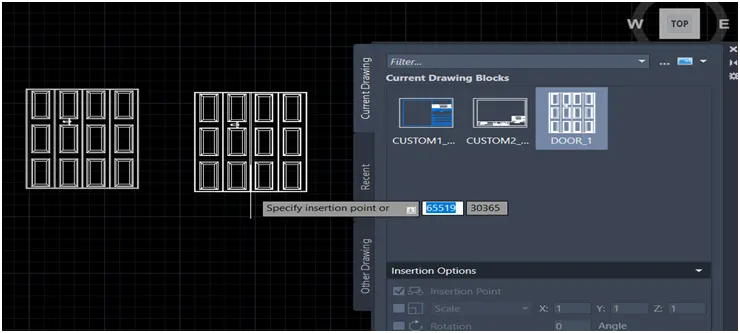
15.Then insert the door on cad window
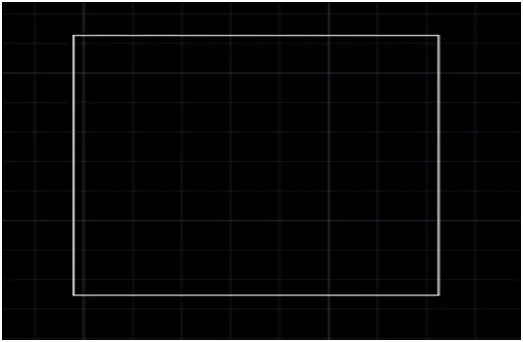
16.After creating door1 we go for the door2 creating a box 2330,2750mm
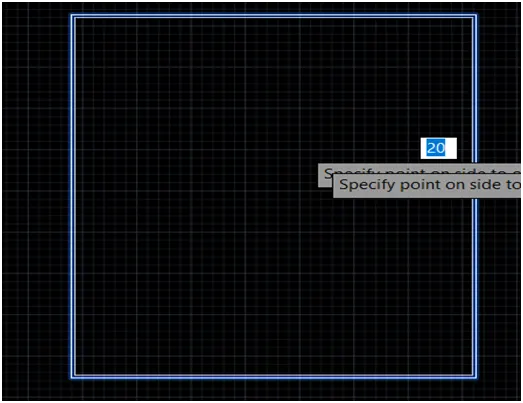
17.go for offset 20mm
18.go for divide command
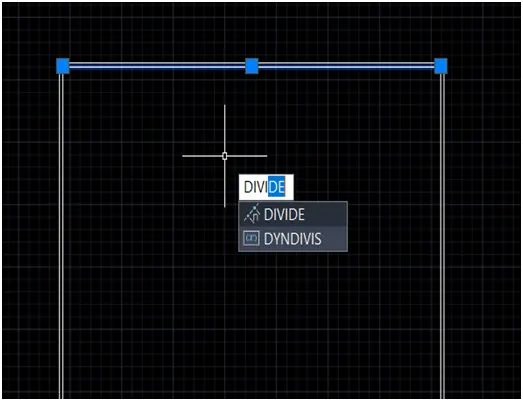
19.Divide in to 4 parts
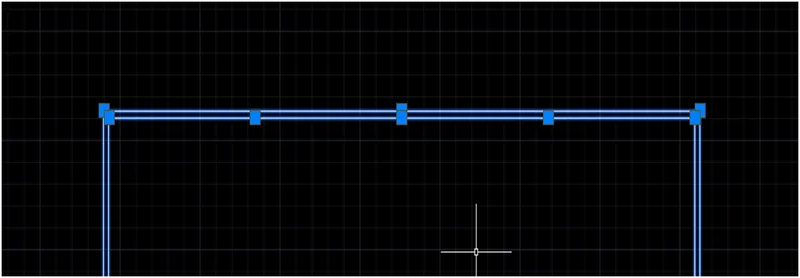
20.create a line end points of the line
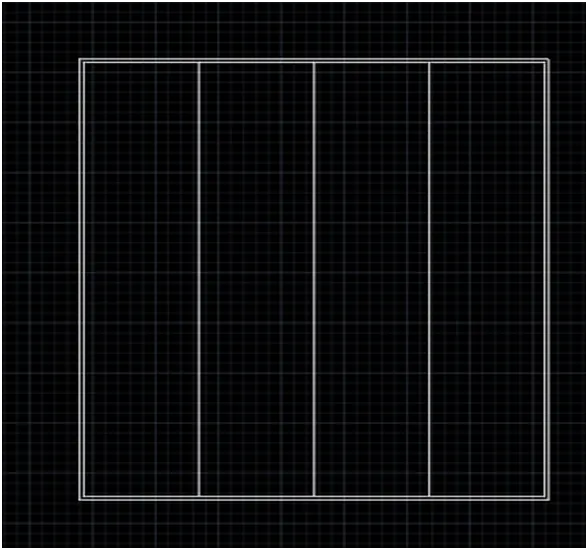
21.Go for the offset 10mm both side of the lines
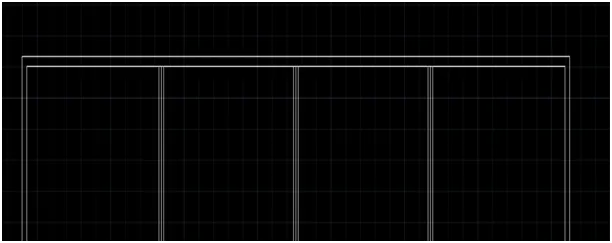
22.Delete the mid lines
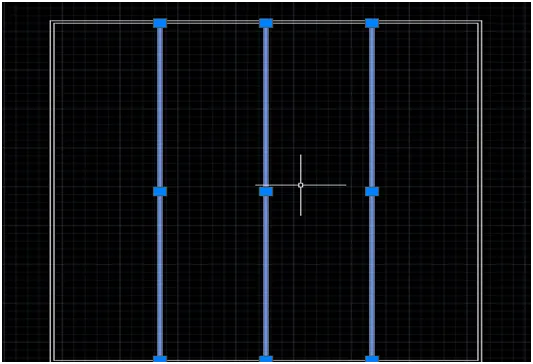
23.Create a handle of the door
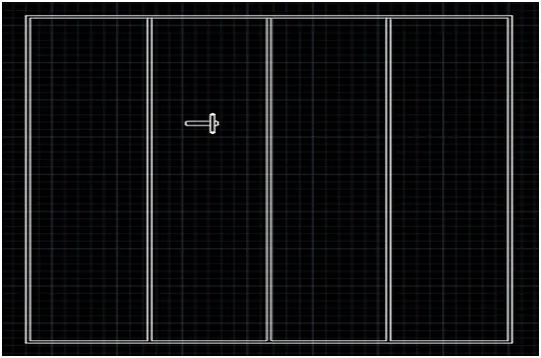
24.Go for the block command and give the name select the pick point and select the object then ok
25.Set the dimension setting and give the dimension of the drawing and nme of the drawing
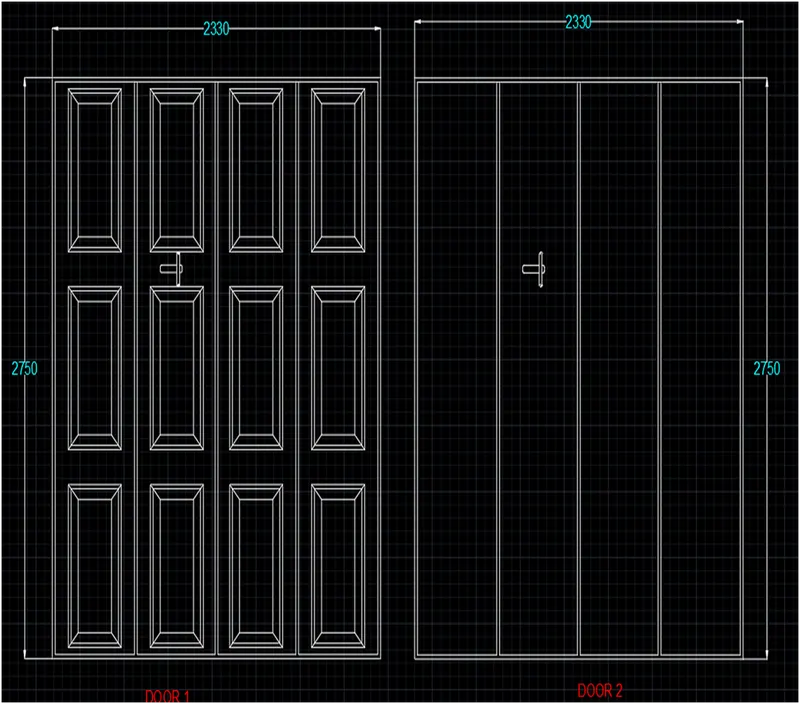
RESULT: I am draw the door without any difficulty
ELECTRIC SYMBOLS LEGENDS
AIM: Draw the electric symbol legends
INTRODUCTION: . Create the symbol as a block with the name given in the legend. After creating the blocks arrange them in the legend from tabular form and give the name of the legends.
PROCEDURE:
1.Create a straight line
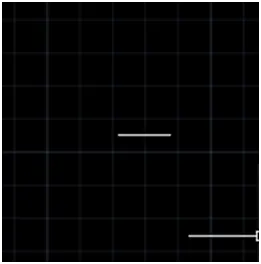
2.continue the bottom side line
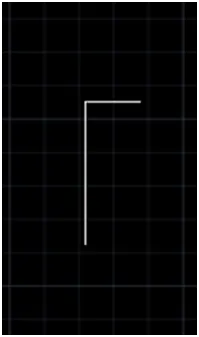
3.Create a circle as shown in figure
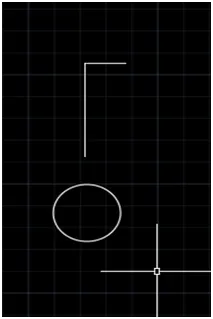
4.Then select the circle and move the end point of the line
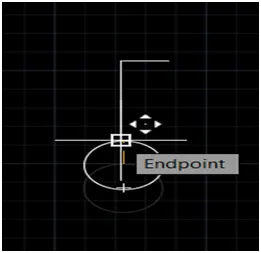
5.Then rotate the object as shown in figure
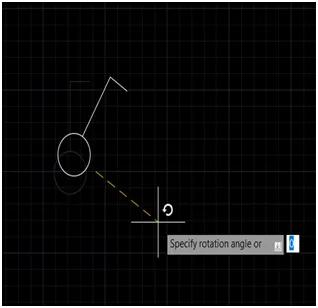
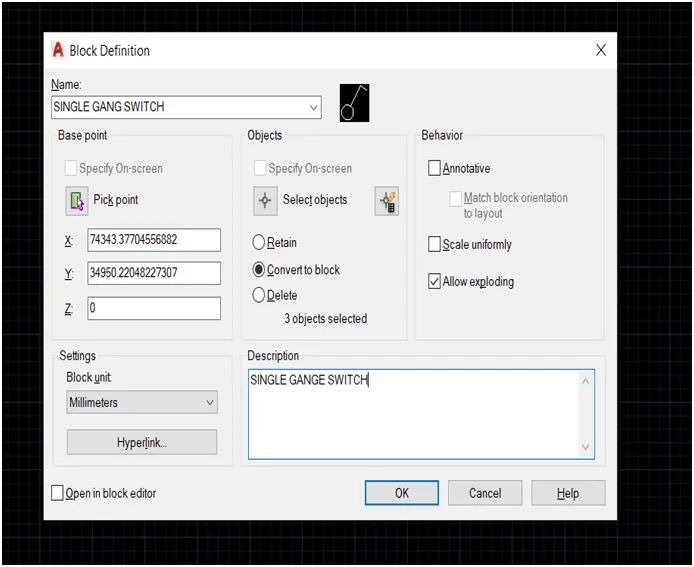
6.Go for the block and give the name and pick point and select the object and then ok
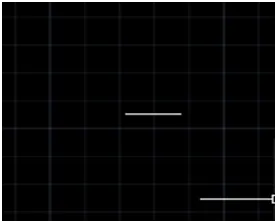
7.Create a horizontal line
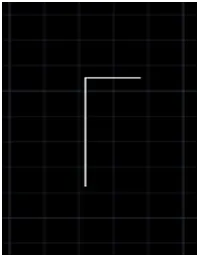
8.continue the down word side
9.Then create a circle
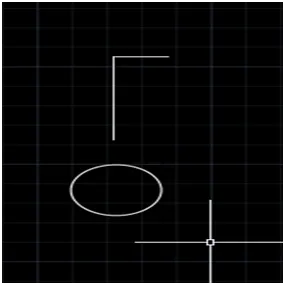
10.move the circle at end of the line
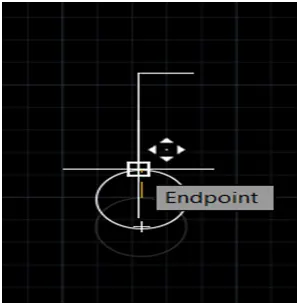
11.Then offset the above line as shown in figure

12.Then rotate the object

13.Then go for the block command and give the name and select the pick point and select the object Then ok
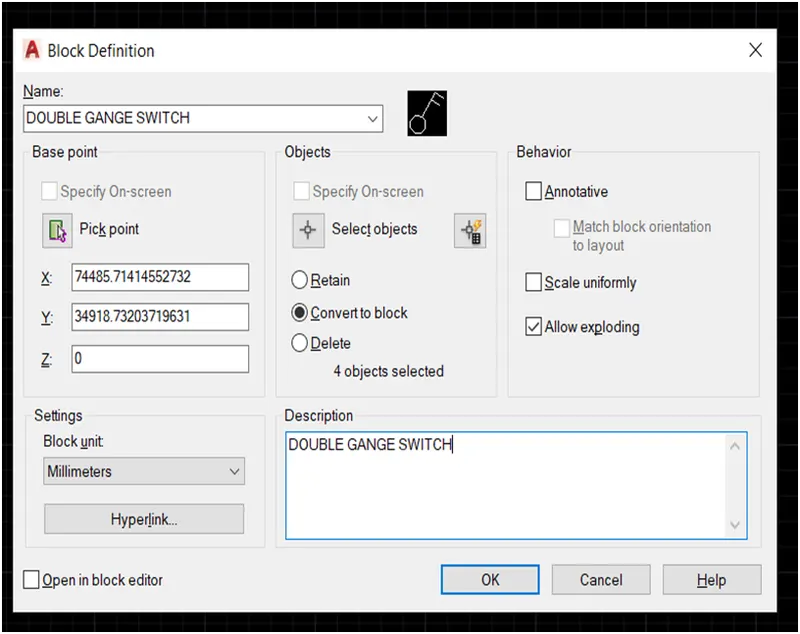
14.Then insert the previous object and explode the object
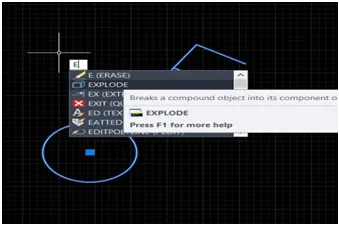
15.Then offset the line as shown in figure
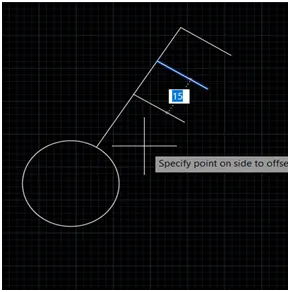
16.Then go for the block command and give the name and pick point and select the object Then ok
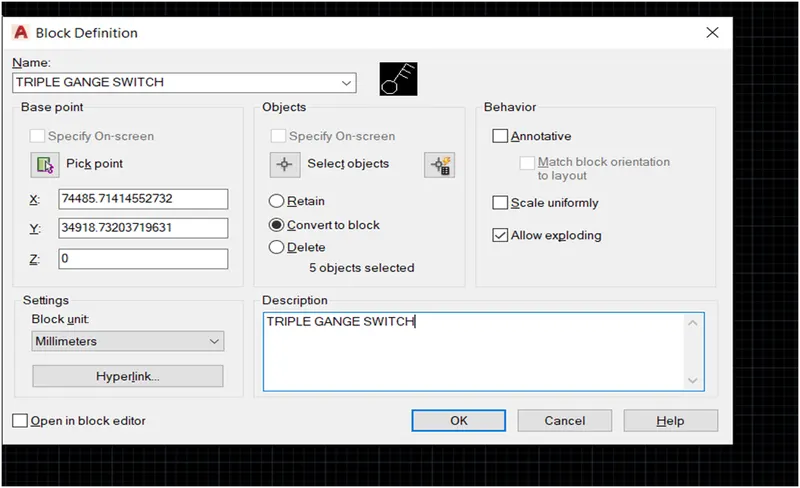
17.Insert the single gang switch
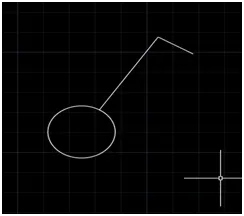
18.Then explode the object
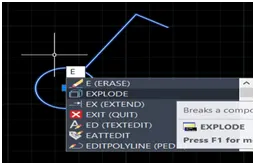
19.Then hatch the circle as a solid color is black

20.Then create a block specify the name and pick point and select the object then ok
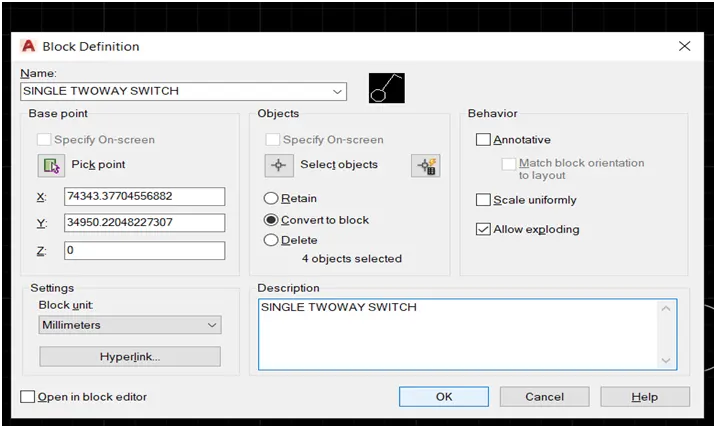
21.Then insert the double gang switch
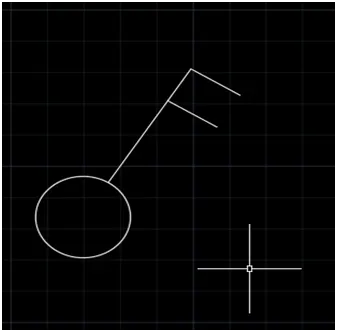
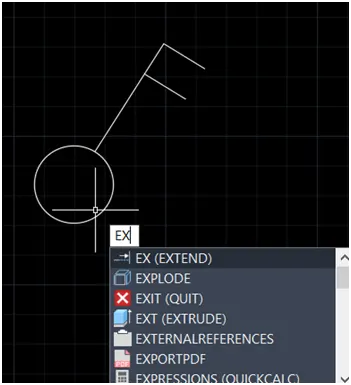
22.Explode the object
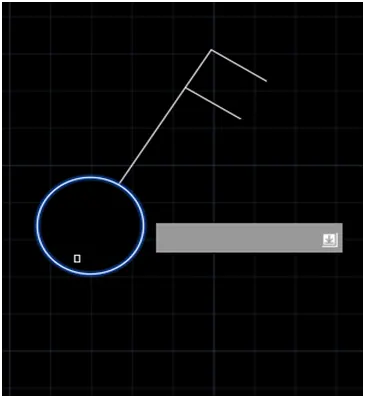
23.Hatch the circle as a solid with color is black
24.Go for block and specify the name and pick point and select the object then ok
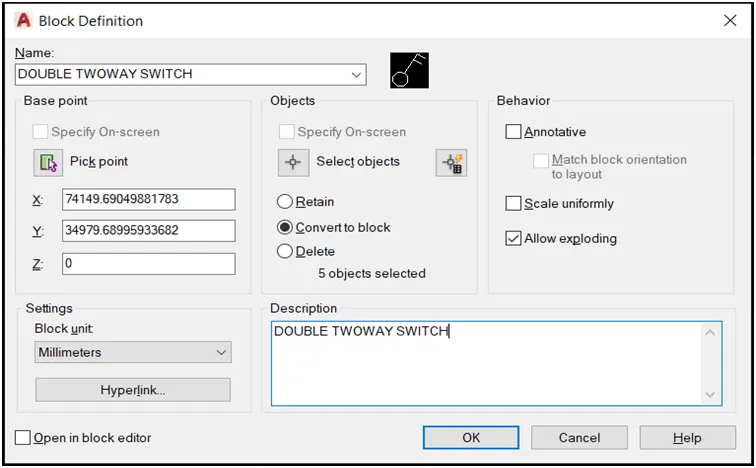
.25.Insert the Triple gang switch
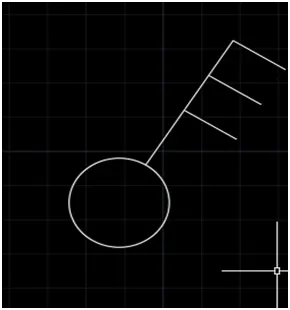
26.Explode the object
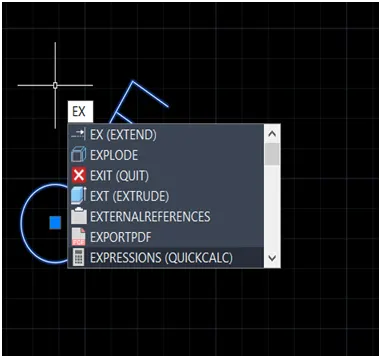
27.Hatch the circle as a solid with color is black
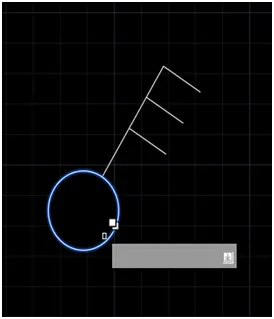
28.Go for block and specify the name and pick point and select the object then ok
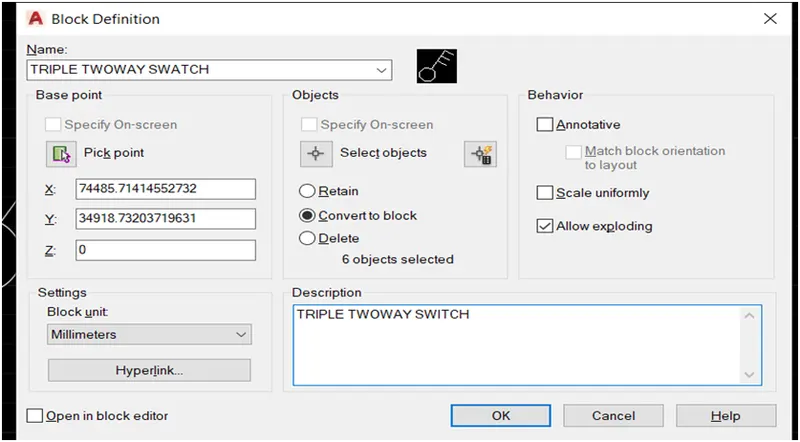
29.Insert the singe two way switch
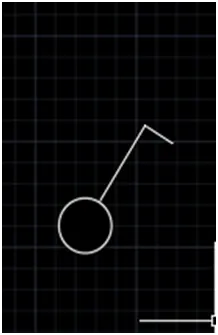
30.explode the object
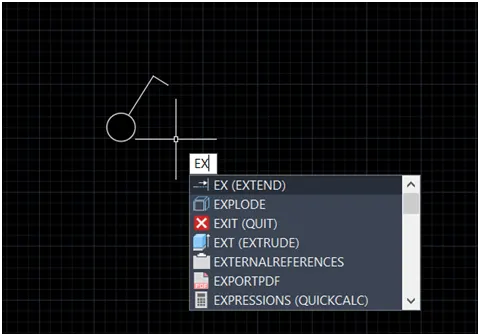
31.mirror the selected object as shown in figure
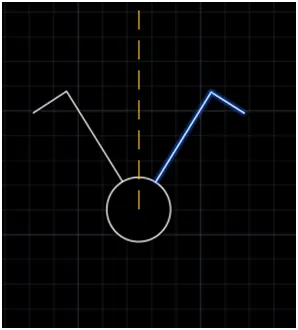
32.Again mirror down word side
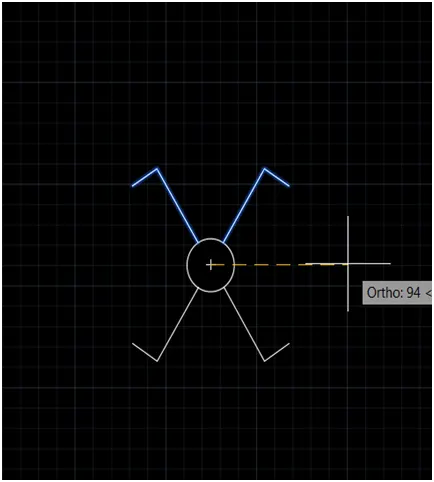
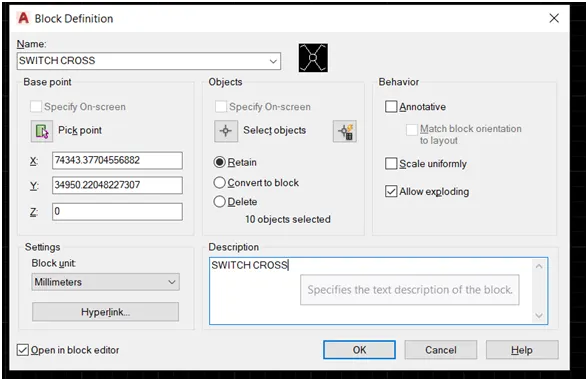
33.Go for block and specify the name and pick point and select the object then ok
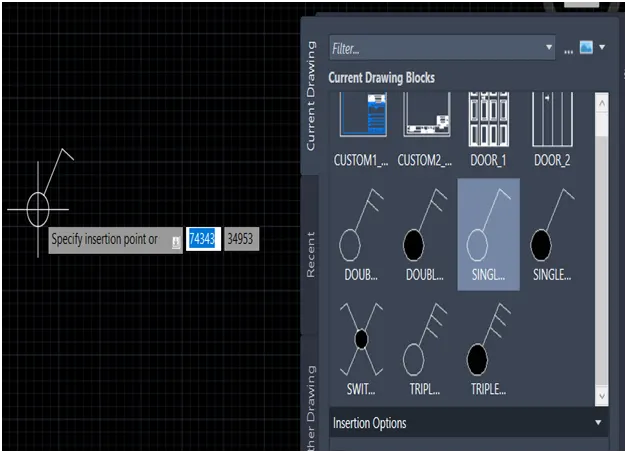
34.Insert the singe single gang switch
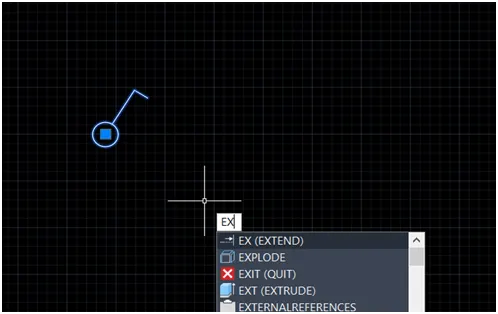
35.explode the object
36.mirror the selected object as shown in figure
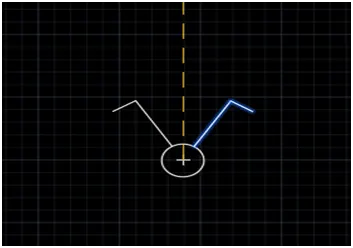
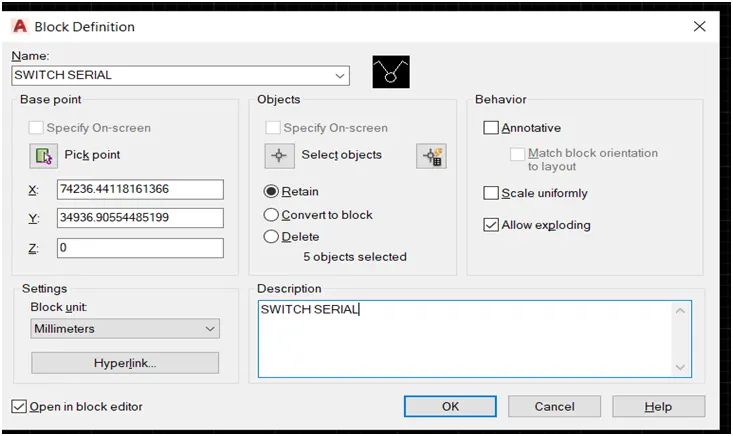
37.Go for block and specify the name and pick point and select the object then ok
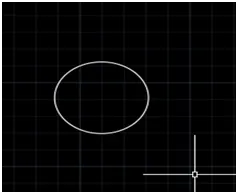
38.Then create a circle
39.create a line mid of the circle
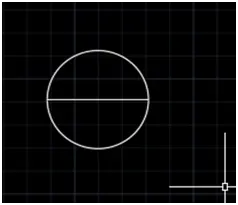
40.Trim the bottom
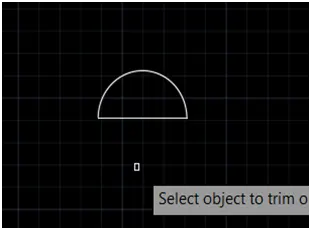
41.create a line at mid of the object
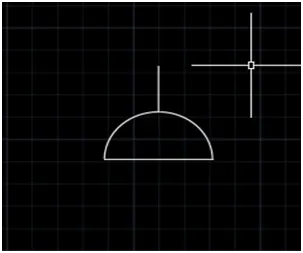
42.Go for block and specify the name and pick point and select the object then ok
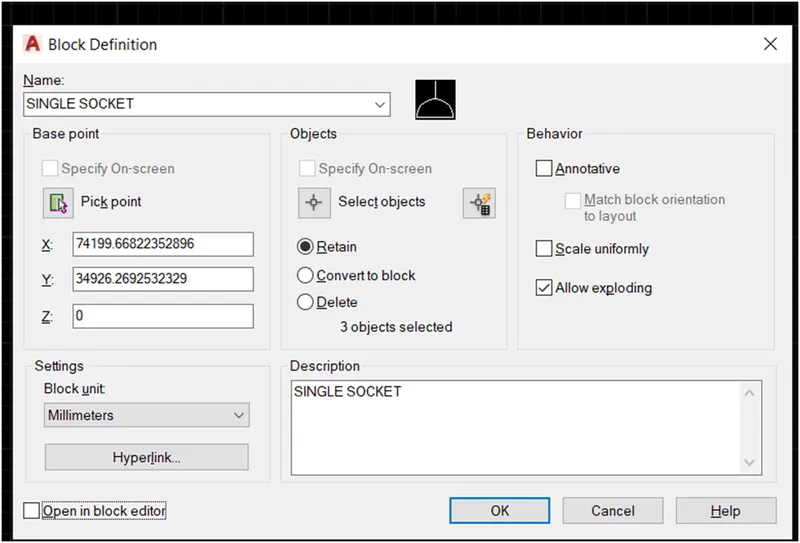
43.Insert the single socket
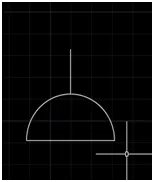
44.Then explode the object
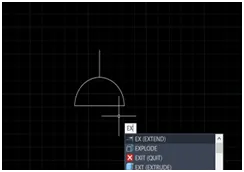
45.create a horizontal line as shown in figure
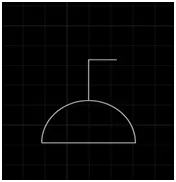
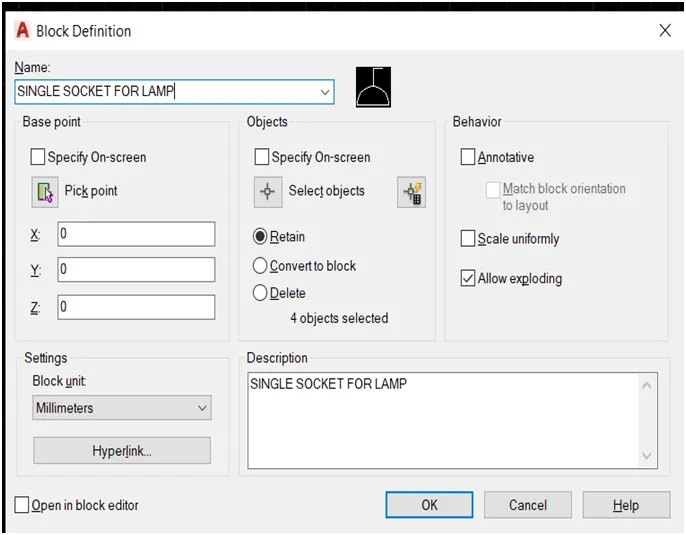
46.Go for block and specify the name and pick point and select the object then ok
47.Insert the single socket and explode the object
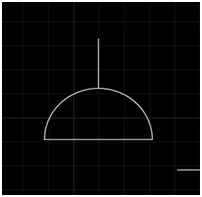
48.Then mirror the object as shown in figure
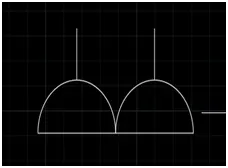
49.Go for block and specify the name and pick point and select the object then ok
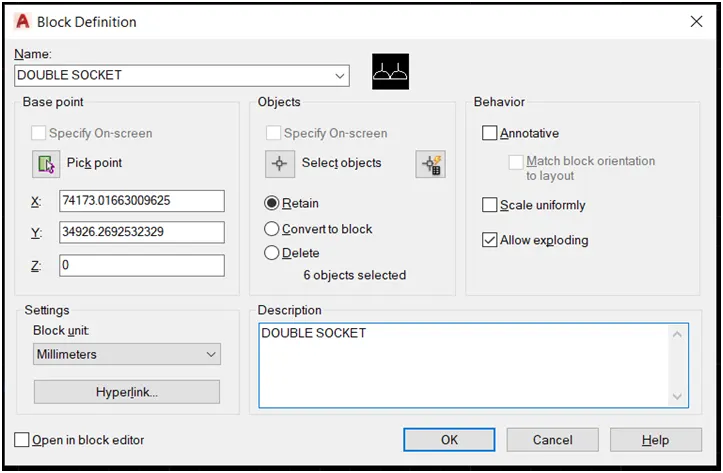
50.Insert the single socket Then explode the object
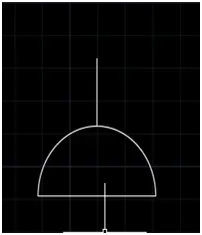
51.create a rectangle as shown in figure
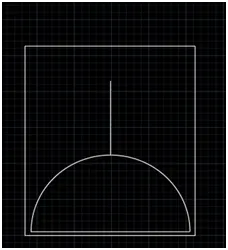
52.Go for block and specify the name and pick point and select the object then ok
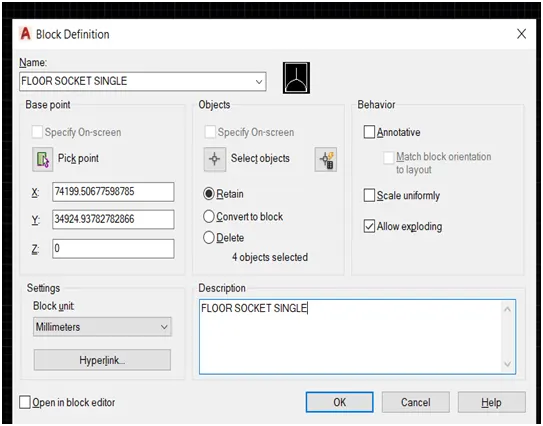
53.Insert the Floor socket single and explode the object
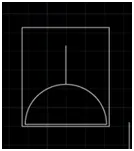
54.Then create a horizontal line as shown in figure
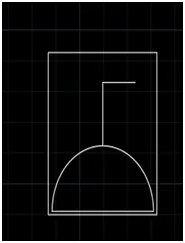
55.Go for block and specify the name and pick point and select the object then ok
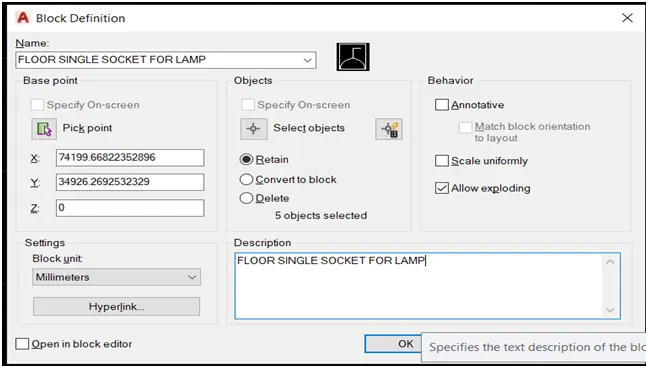
56.Insert the double socket
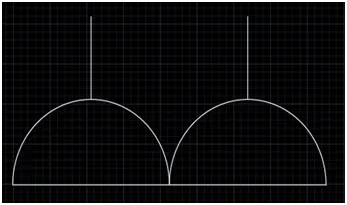
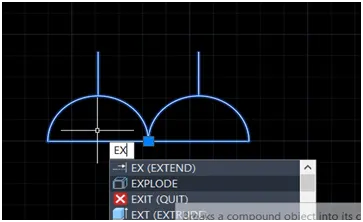
57.Then explode the object
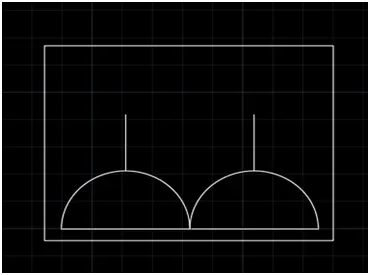
58.Then create a rectangle as shown in figure
59.Go for block and specify the name and pick point and select the object then ok
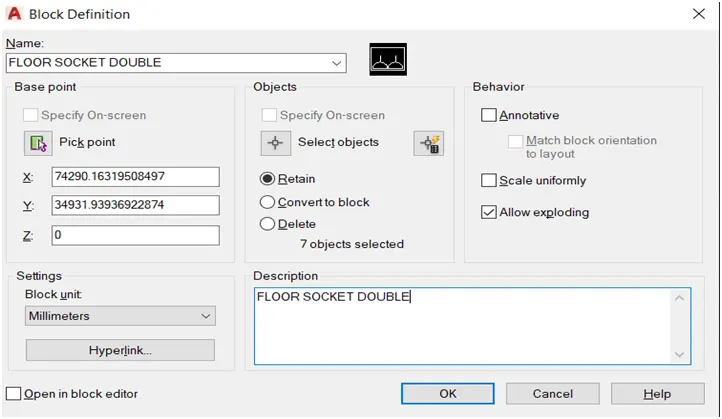
60.Insert the floor socket double and explode the drawing
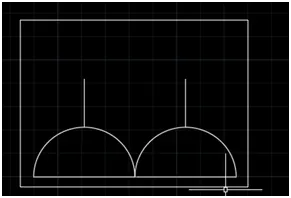
61.Then select the fright arc and delete the arc
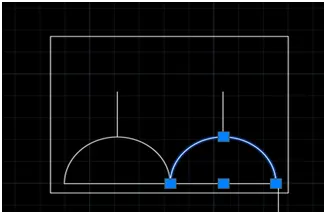
62.Then create a line both end as line or arc
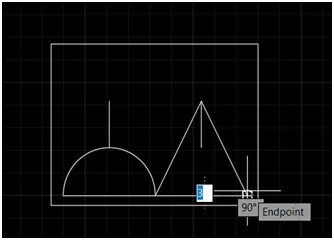
63.Then delete the selected line
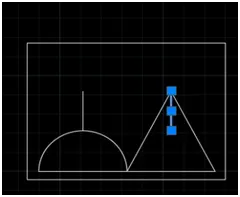
64.Go for block and specify the name and pick point and select the object then ok
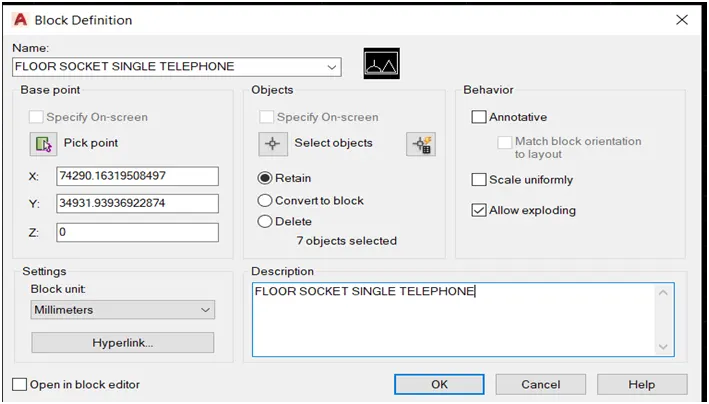
65.Then insert the floor socket single telephone and explode the object
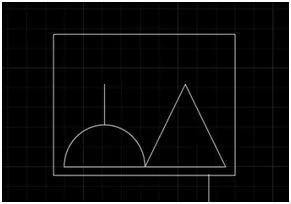
67.Then stretch the rectangle
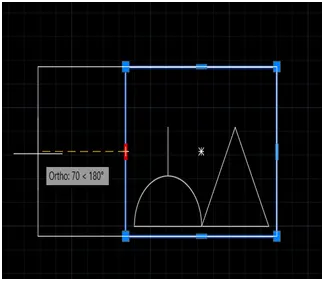
68.select the object
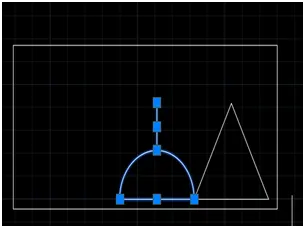
69.copy and pest or use also mirror command
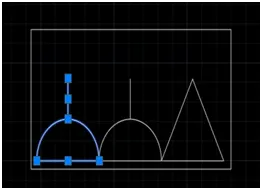
70.Go for block and specify the name and pick point and select the object then ok
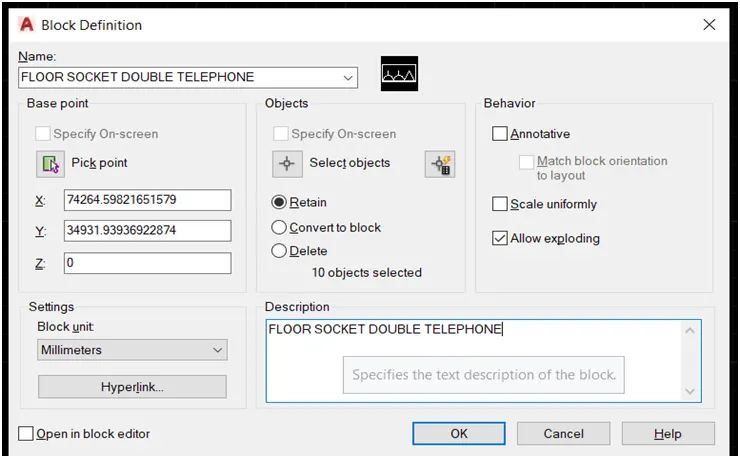
71.Create a triangle
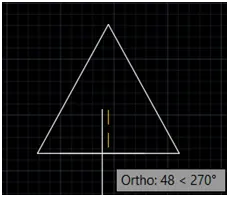
72.Go for block and specify the name and pick point and select the object then ok
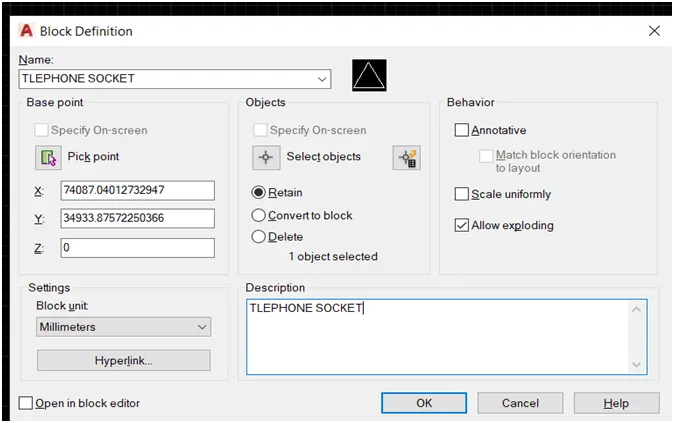
73.Insert the telephone socket and explode the object
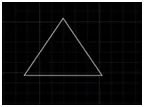
74.Write the i as shown in figure at mid

75.Then create a block specify the name and pick point and select the object then ok.
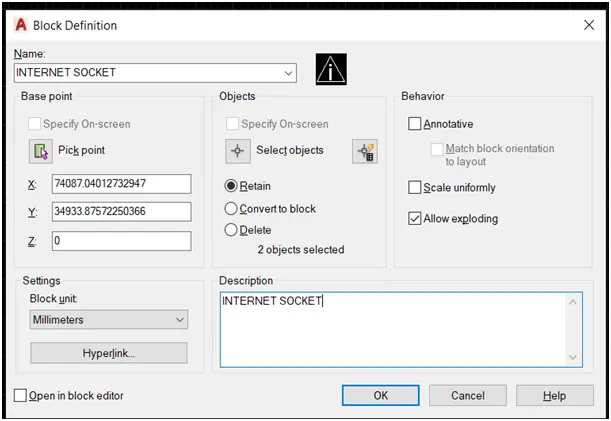
76.Then insert the internet socket and explode the object

77.Edit the text and write TV

78.Then create a block specify the name and pick point and select the object then ok.
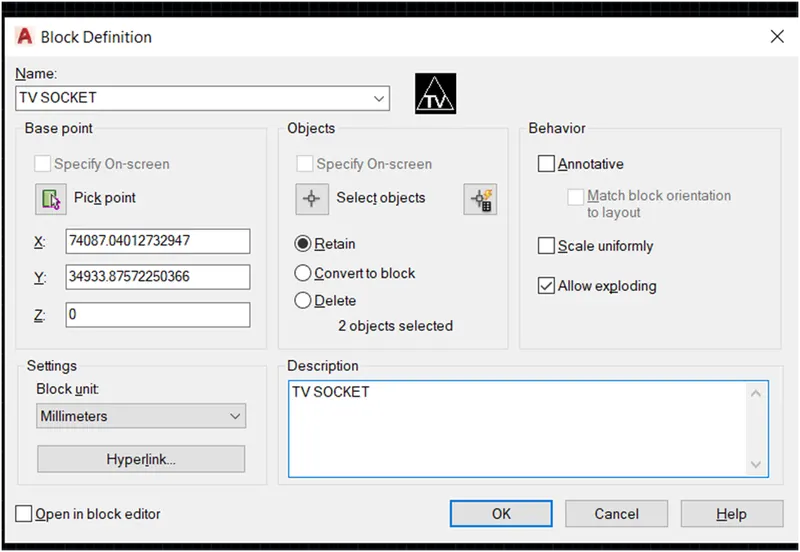
79.Insert the tv socket and explode the object and edit the text write the w

80.Then create a block specify the name and pick point and select the object then ok.
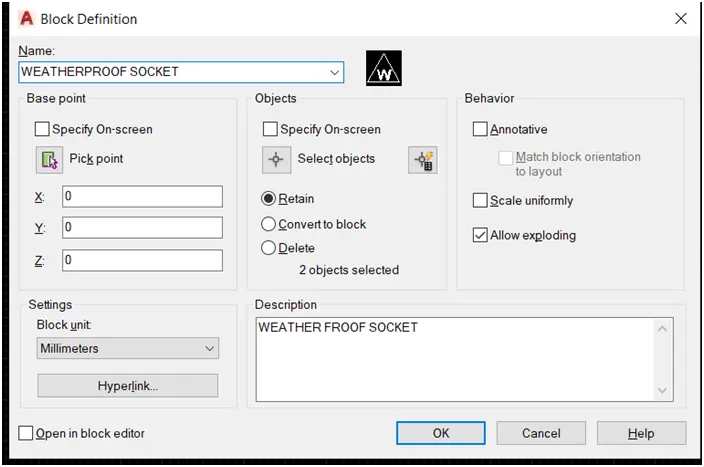
81.Then create a rectangle
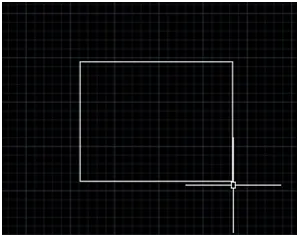
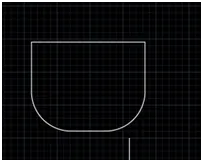
82.Then fillet the bottom edges
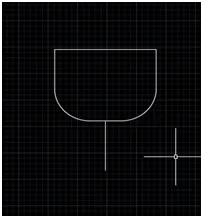
83.Then create a line at mid point
84.Then create a rectangle upper side as shown in figure
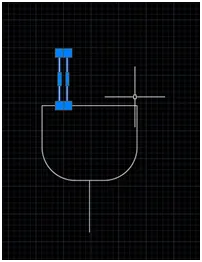
85.Then mirror the rectangle
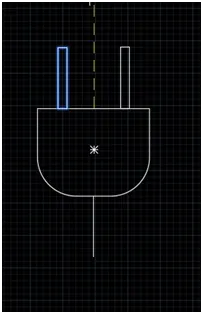
86.Then hatch the rectangle as shown in figure
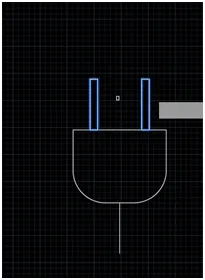
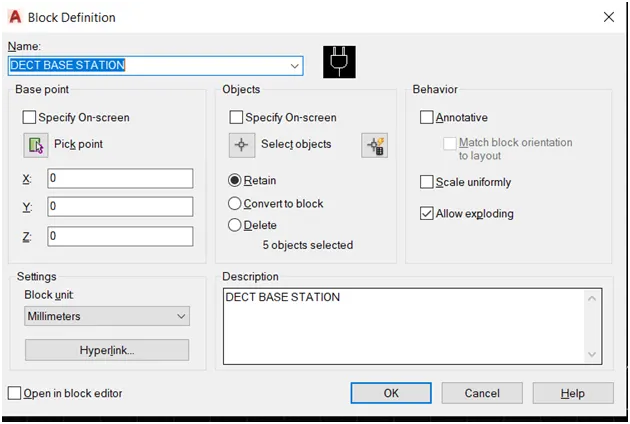
87.Then create a block specify the name and pick point and select the object then ok.
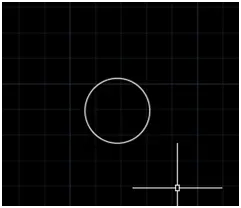
88.Then crate a circle
89.draw the line at mid both side as shown in figure

90.Then stretch the line and create a rectangle and place the end of the line as shown in figure
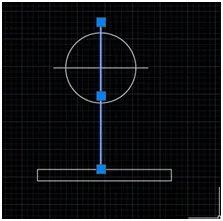
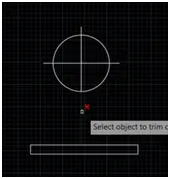
91.Then trim the line
92.Draw the tangent line
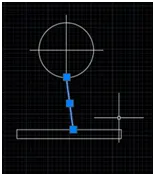
93.Then mirror the line
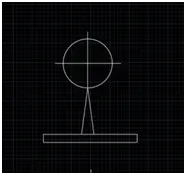
94.Then create a block specify the name and pick point and select the object then ok.
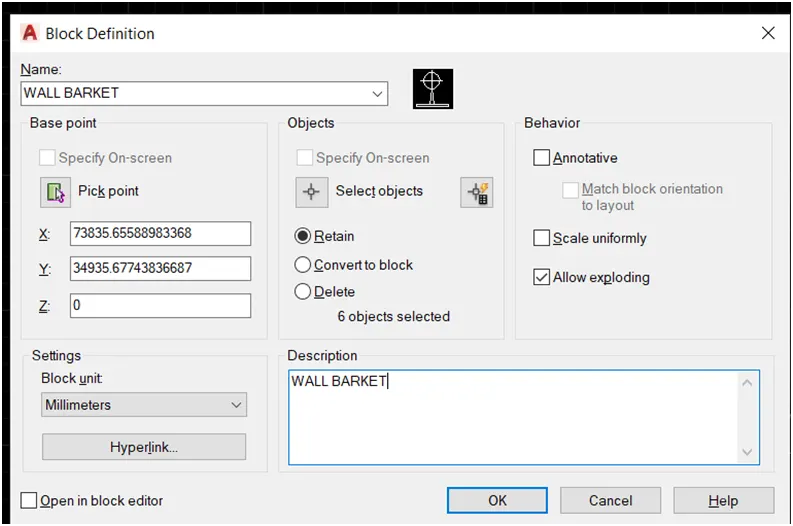
95.Then create a horizontal rectangle
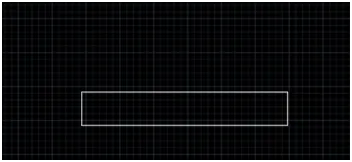
96.Then create a vertical rectangle thin as upper rectangle
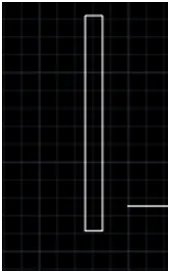
97.Then place the mid point
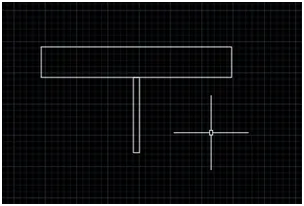
98.Then create a horizontal rectangle small size of the upper rectangle
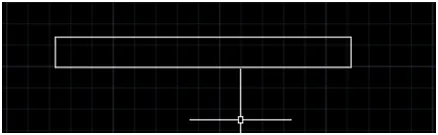
99.Then place the mid of the rectangle
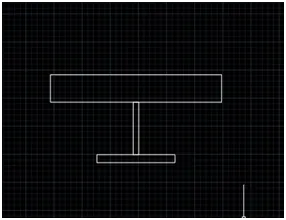
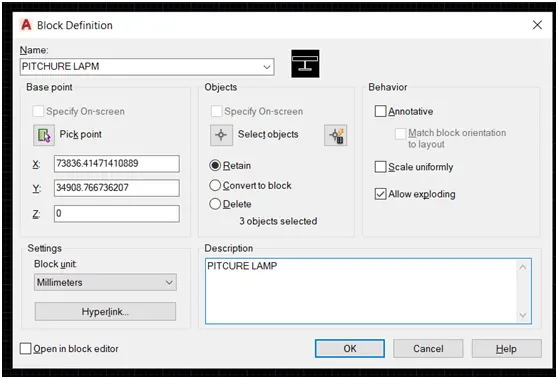
100.Then create a block specify the name and pick point and select the object then ok.
101.Cricate a table to show the symbols legends
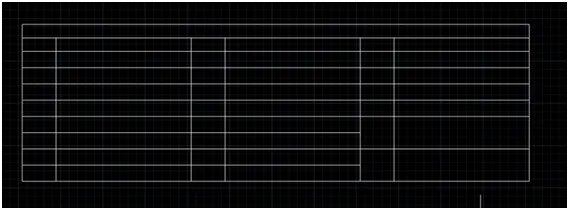
102.Then insert the symbols and write the name with text command
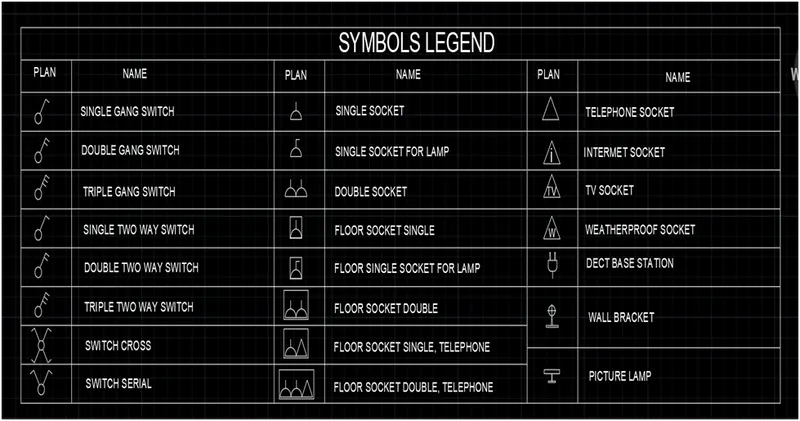
RESULT: Draw the symbols legends and create a block without any difficulty and show the table format.
DOORS
AIM: create a different types of door and door blocks
INTRODUCTION: Create the door different type and size of residential building doors as a block. Save the name of the blocks and their type. Use given dimensions and assumes dimensions.
PROCEDURE:
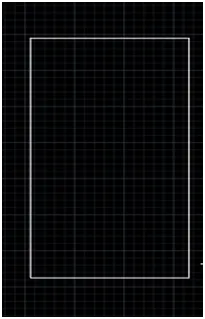
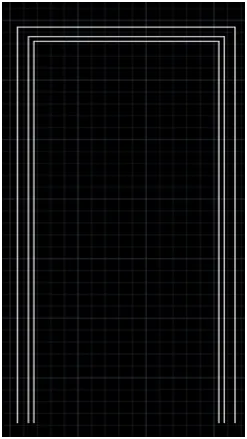
1.create a rectangle 2’10”,6’11”
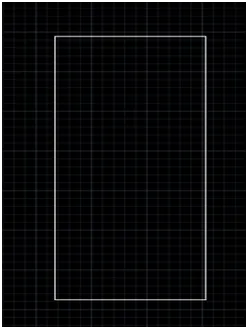
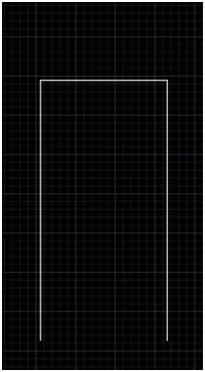
2.trim the bottom line
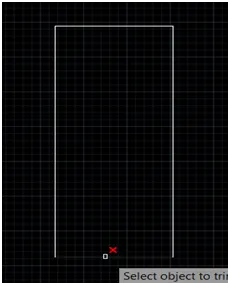
3.And offset inner side 2” two times
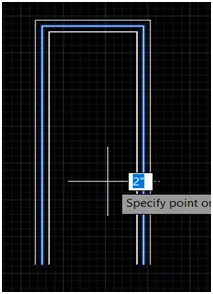
4.The join the bottom line
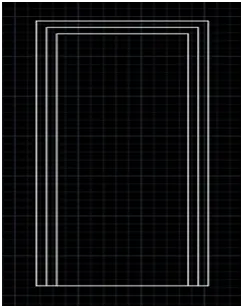
5.Then create a handle of the door
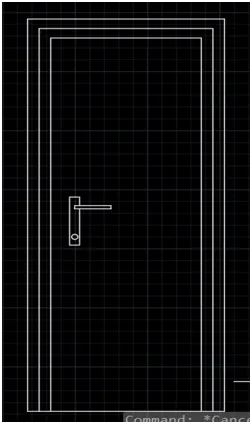
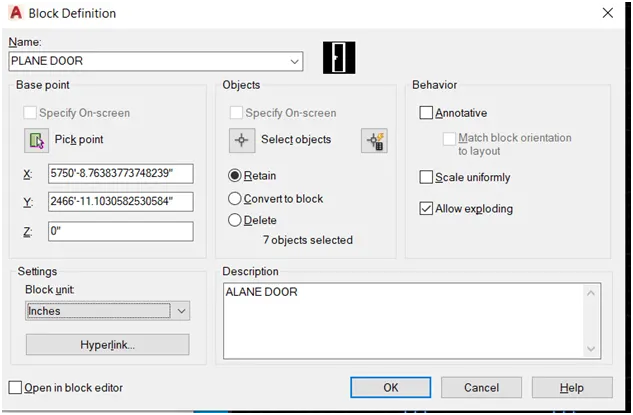
6.Then Go for a block and give the name and choose the pick point and select the object Then ok
7.Go for a dimension setting and set the dimension
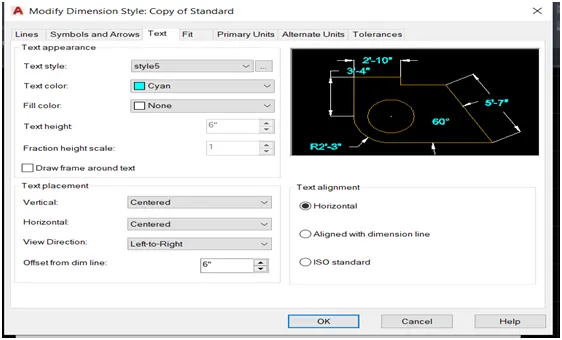
8.Give the dimension of the door
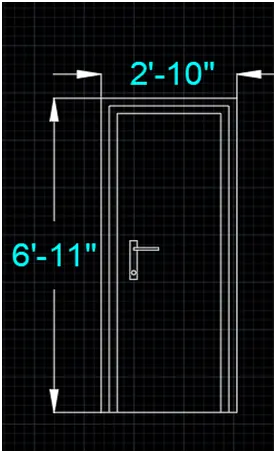
9.Give the name of the door
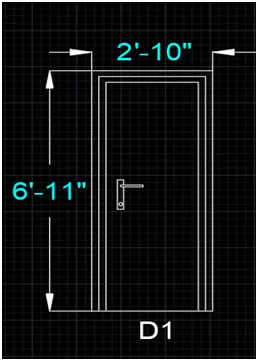
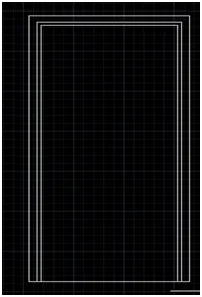
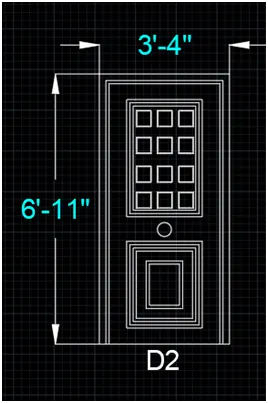
10.Go for another door create a rectangle 3’4”,6’11”
11.Trim the bottom portion
12.Offset the inner portion 2”and 1”
13.Join the bottom line
14.create a rectangle
15.and offset inner side 1”,1”,1”,3”,1”
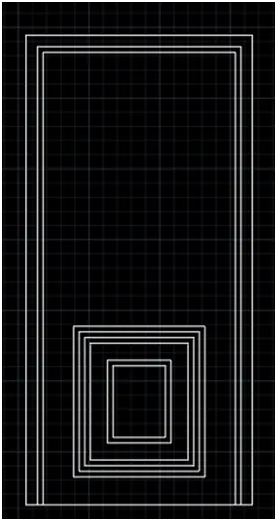
16.Create a circle at mid top of the rectangle
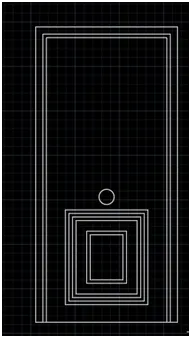
17.create above triangle
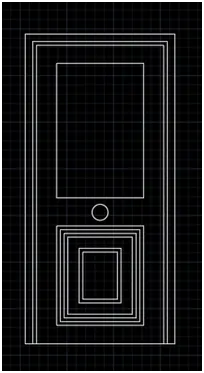
18.Offset 1”,1”
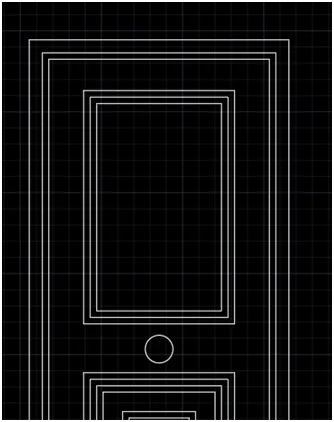
19.create a small rectangle and offset inner side
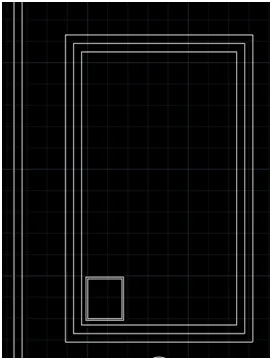
20.Go for array command and array the object
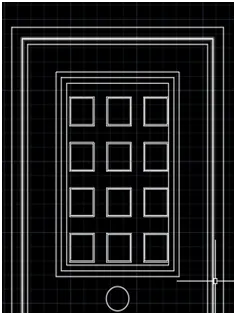
21.And adjust the distance
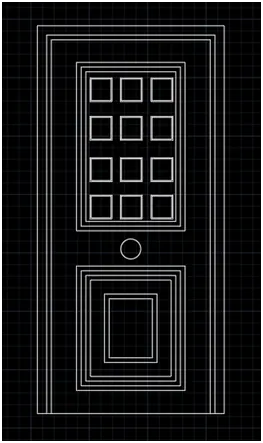
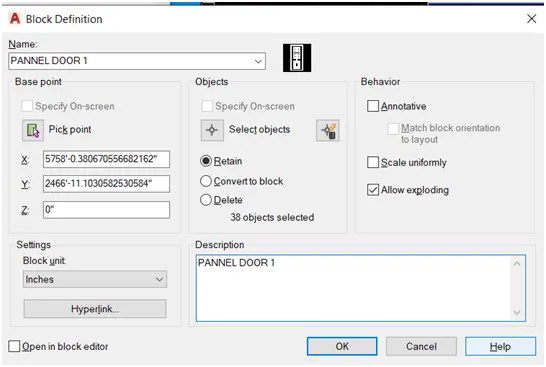
22.Then Go for a block and give the name and choose the pick point and select the object Then ok.
23.Then show the dimension and door name
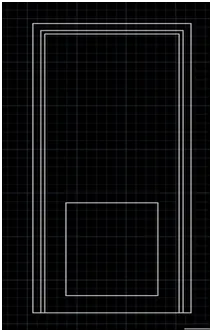
24.Go for another door create a rectangle 2’9”,6’11”
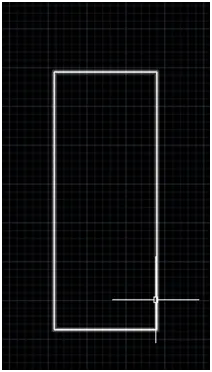
25.Then trim the bottom line
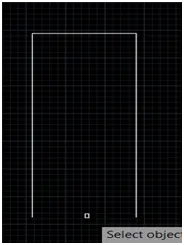
26.Offset the inner side 1”,2”,1”,2”
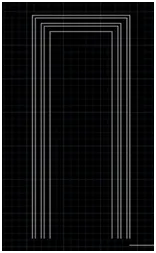
27.Join the bottom line
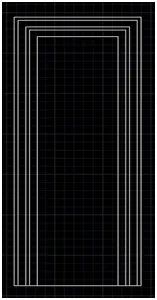
28.create a box inner side and offset
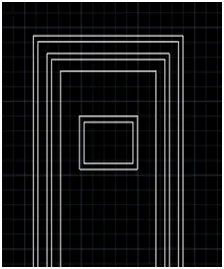
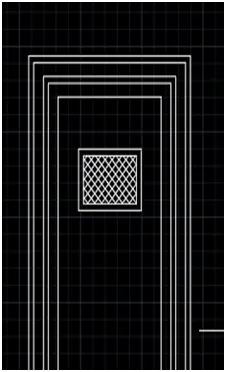
29.Then hatch the inner box as shown in figure
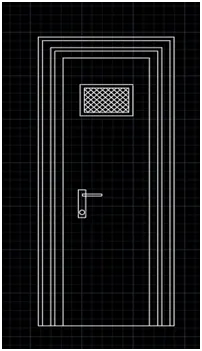
30.Then create a handle of the door
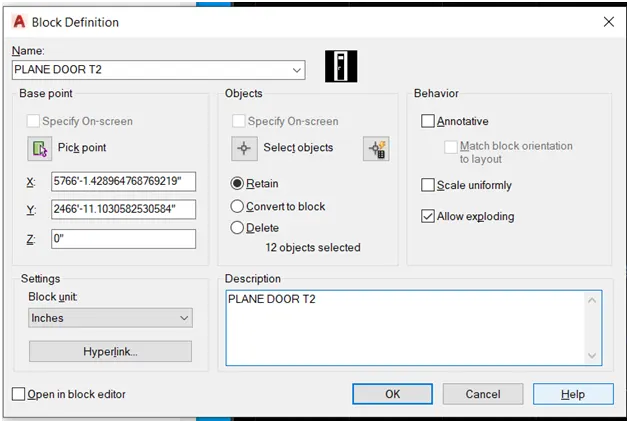
31.Then Go for a block and give the name and choose the pick point and select the object Then ok.
32.Show the dimension and give the name
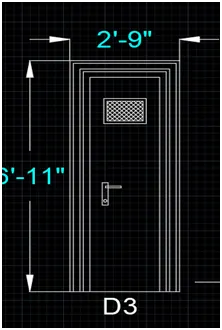
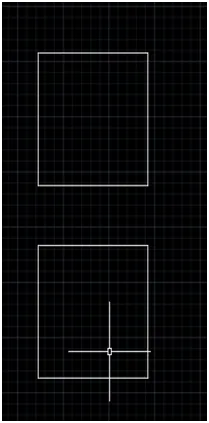
33.Create another door create a two rectangle
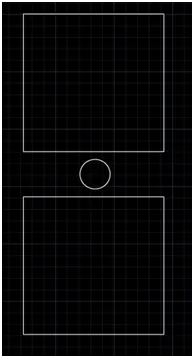
34.Create a circle at mid of the both rectangle
35.Criate a circle upper rectangle as shown in figure
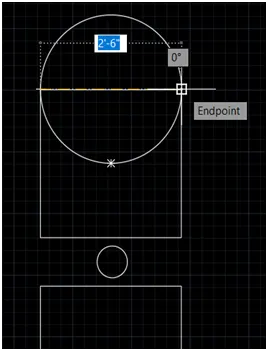
36.Trim the line and arc
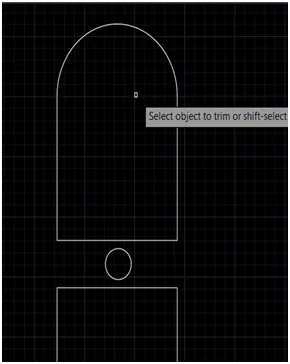
37.Then offset inner side 4 times
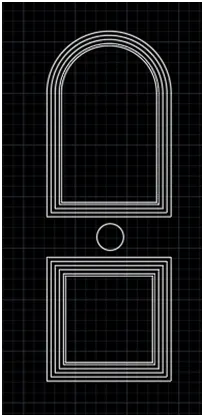
38.Then explode the selected object
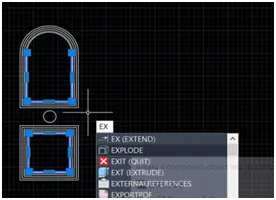
39.Then divide in to three parts
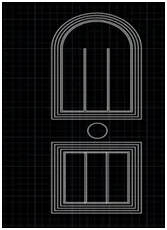
40.Then extend the line
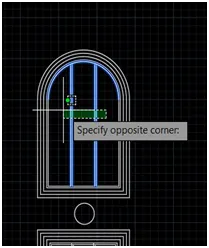
41.Then again divide in to 4 parts bottom horizontal line at inner portion of upside and down side box divide in to 3 parts
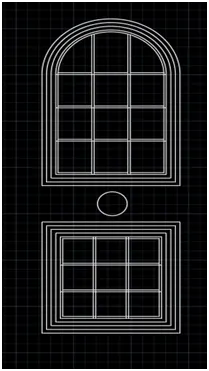
42.Then offset both side of the line as shown in figure and create a rectangle out side
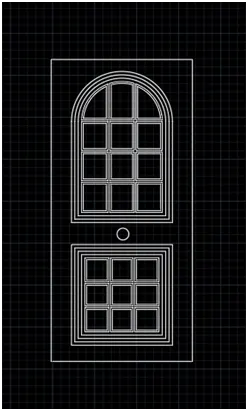
43.go for the offset as shown in figure
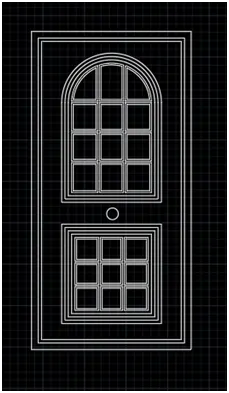
44.Then create a circle at mid of the arc center to end of the line as shown in figure
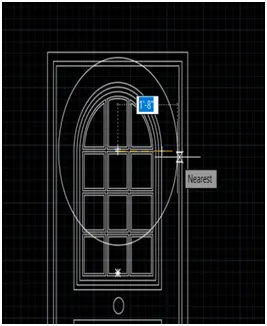
45.Then trim the bottom side arc and delete the arc
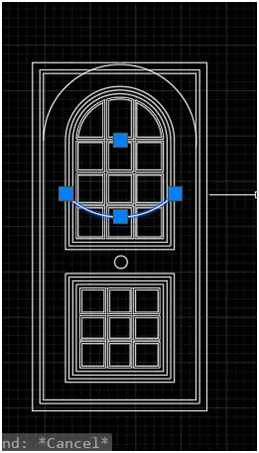
46.Then offset the arc as given size
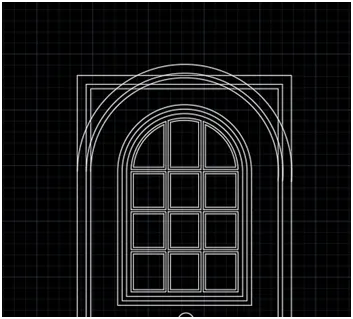
47.Then trim the lines as shown in figure
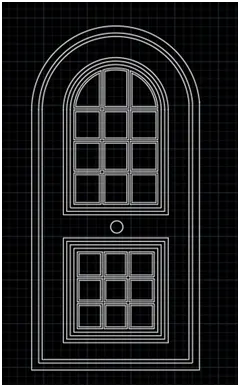
48.Then Go for a block and give the name and choose the pick point and select the object Then ok.
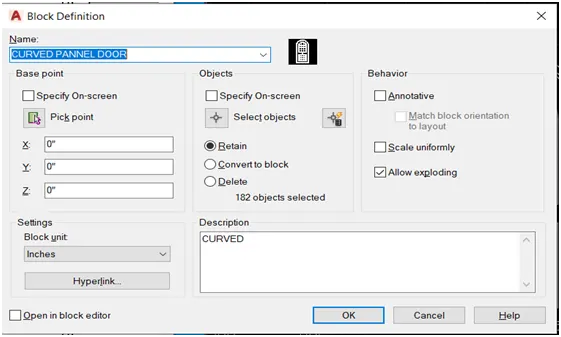
49.Show the dimension and name
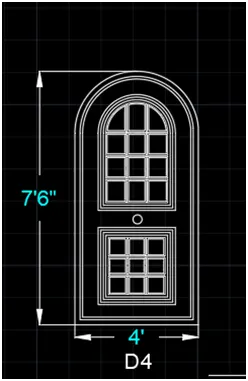
50.Insert the D4
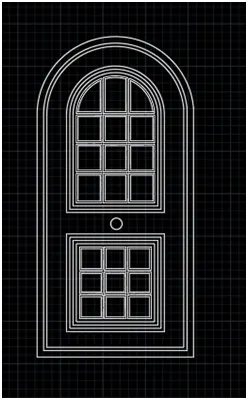
51.And explode the drawing
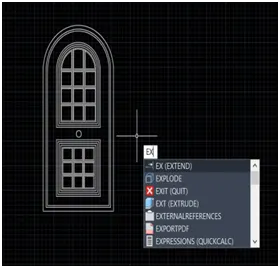
52.Create a line at top
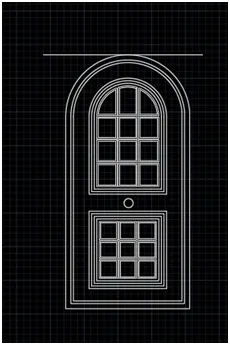
53.Then extent the line
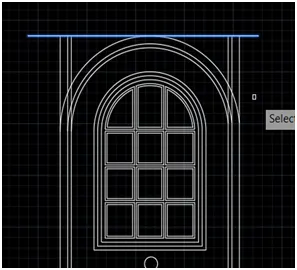
.54.Then create another line as shown in figure
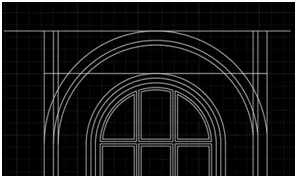
55.then delete the arc
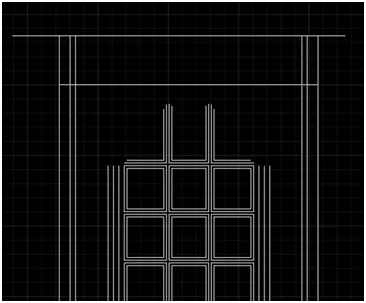
56.Then extend the line
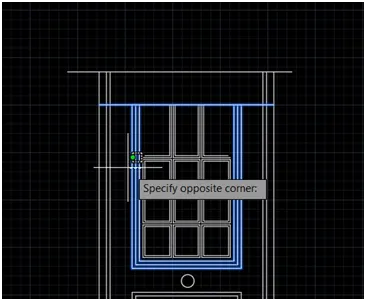
57.Then trim the line
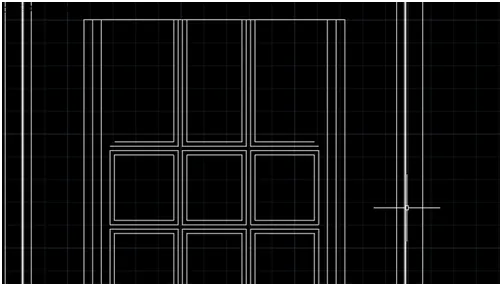
58.Then offset the line down word
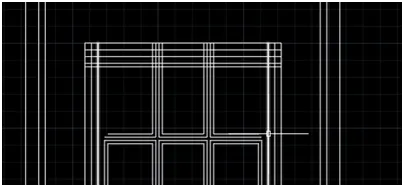
59.Then trim the of fillet the edges
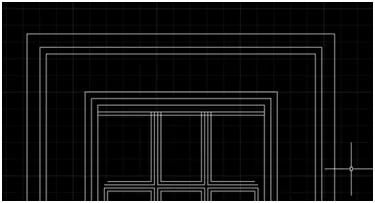
60.create a line as shown in figure
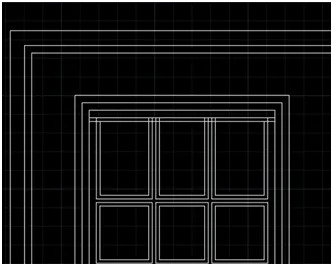
61.Then trim the line
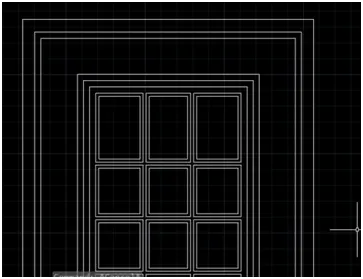
62.Then Go for a block and give the name and choose the pick point and select the object Then ok.
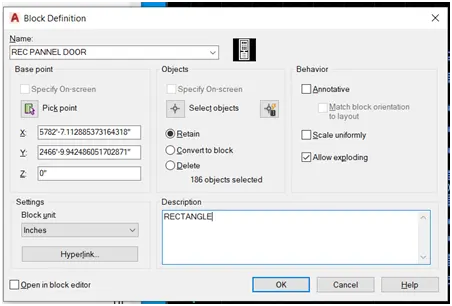
63.Give the dimension and name
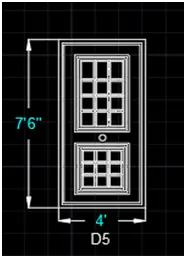
64.Insert the D4
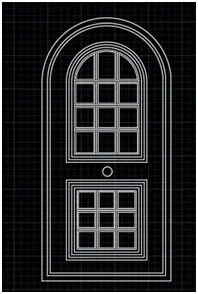
65.Explode the object
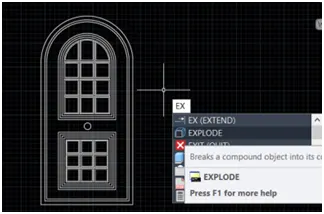
66.Then delete the bottom line of boxes
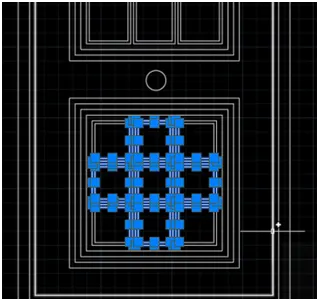
67.Then extend the line
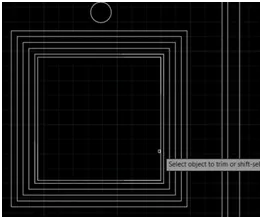
68.select the object
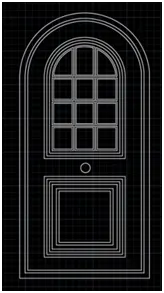
69.Then Go for a block and give the name and choose the pick point and select the object Then ok.
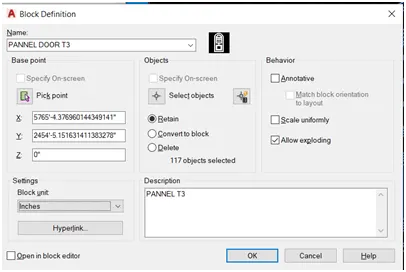
70.Then give the dimension and name
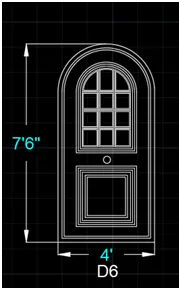
Result: I am creating all the door and their blocks
BAR SHAP DETAIL
AIM: To create a bar schedule and their block
INTRODUCTION: Create bar shape as a block given in the Figure. Save the block and insert them on the table as given.
PROCEDURE:
1.create a line 750mm
2.Offset the line 18mm
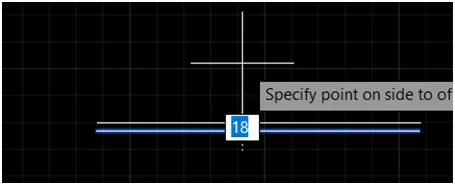
3.Create a circle at both end of the line
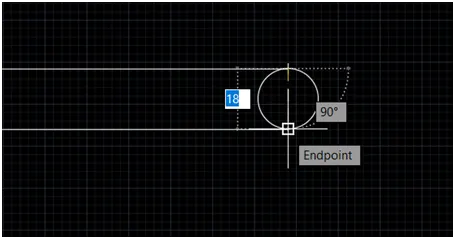
4.Create a vertical line as shown in figure at both end
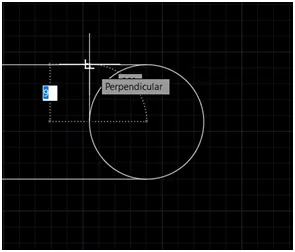
5.Then trim the line as shown in figure at both end
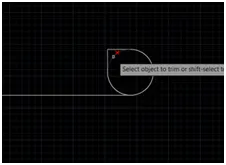
7.Then delete the line
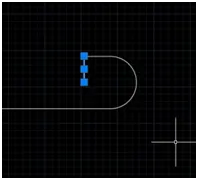
8.Then write the text and give the dimension

9.Then go for the block and give the name and specify the pick point and select the object then ok
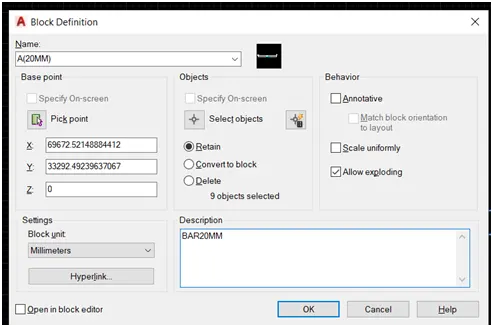
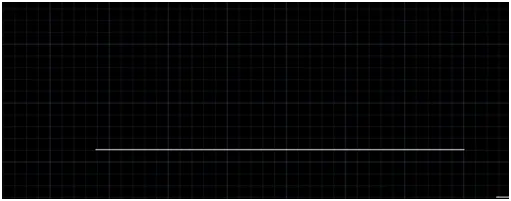
10.Create a line 578mm
12.Offset 41mm
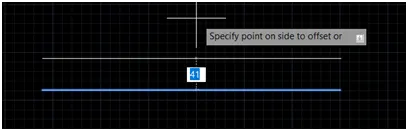
13.Offset down word side 14.5mm
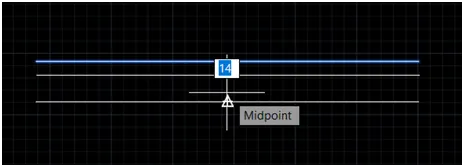
14.create a circle at both end
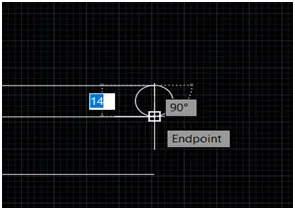
15.Create a line as shown in figure
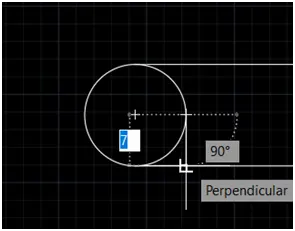
16.Then trim the line
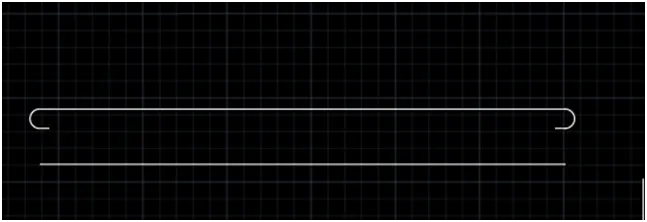
17.Then create a line at both end
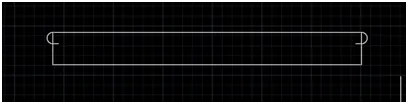
18.Then offset 139 both side
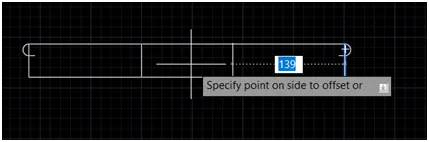
19.Then draw the tangent line at both end as shown in figure then trim the line
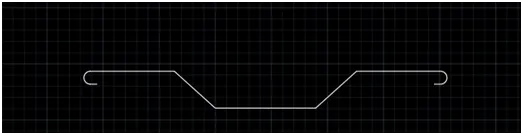
20.Write the text
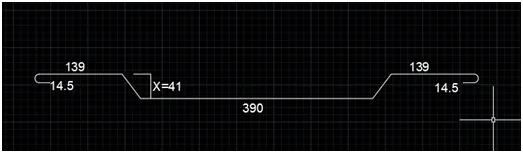
21.Then go for the block and give the name and specify the pick point and select the object then ok.
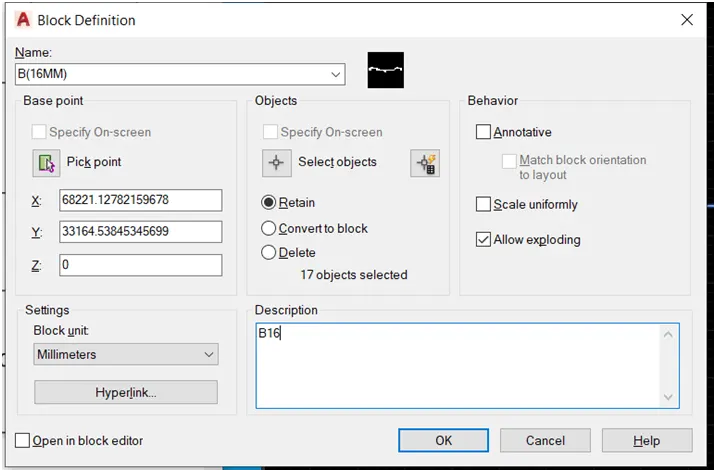
22.Again create a line 210mm

23.Offset 41mm

24.Then draw the tangent line and delete the upper line

25.Then create a line to continue with tangent point and down word 14.4mm and left side 14.4mm same as other end
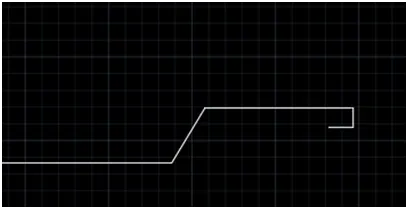
26.Then create a circle and trim t ne circle and delete the line at both end
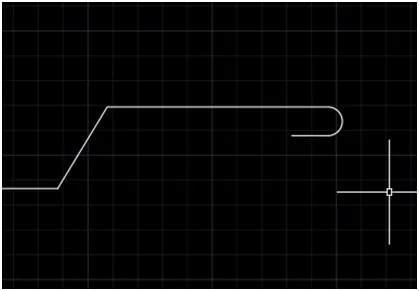
27.Write the text and Give the dimention
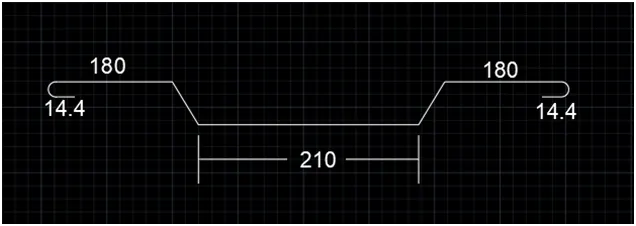
28.Then go for the block and give the name and specify the pick point and select the object then ok.
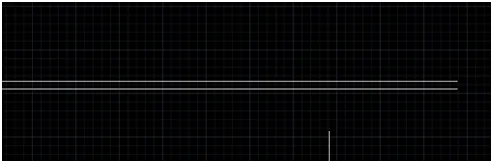
29.Create a line 750mm

30.Offest 11mm
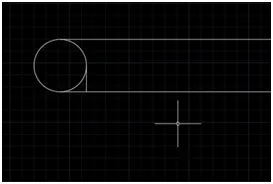
31.Create a circle and draw the line
32.Then trim the arc and delete the line and give the dimension and write the text
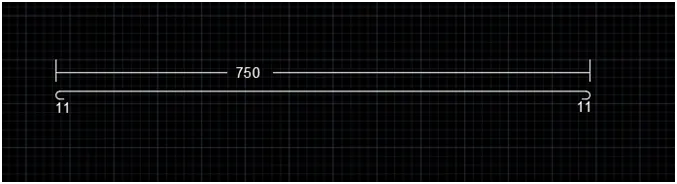
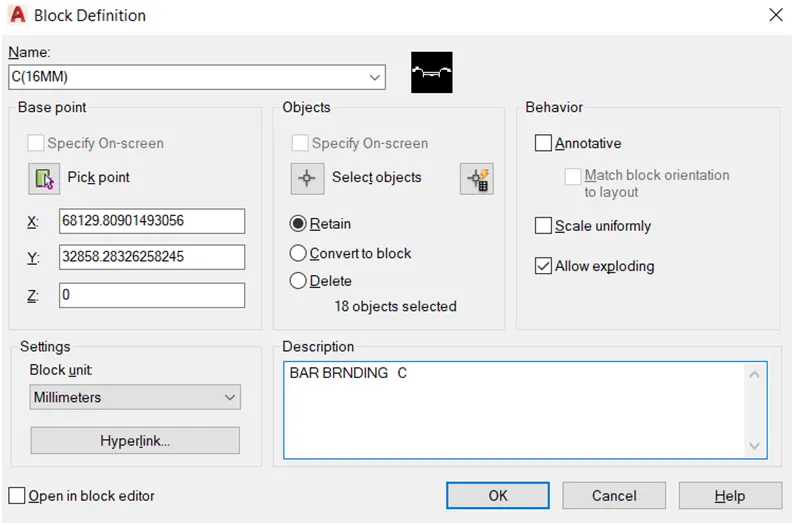
33.Then go for the block and give the name and specify the pick point and select the object then ok.
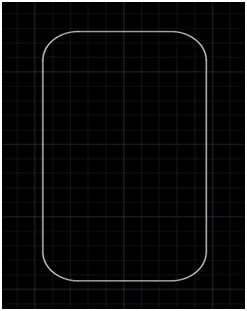
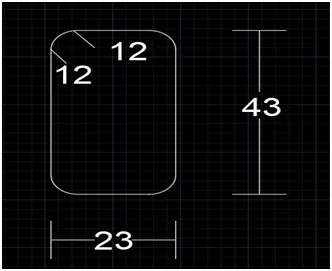
34.Create a box at corner edges are filleted 23,43
35.Give the dimension and write the text
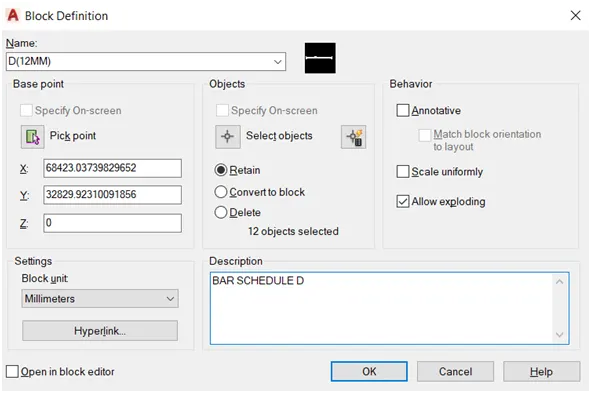
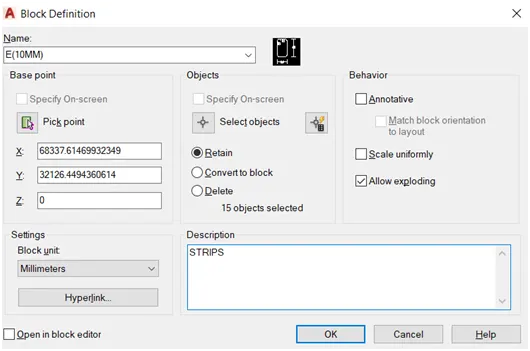
36.Then go for the block and give the name and specify the pick point and select the object then ok.
37.Create a table and insert the block and write the details
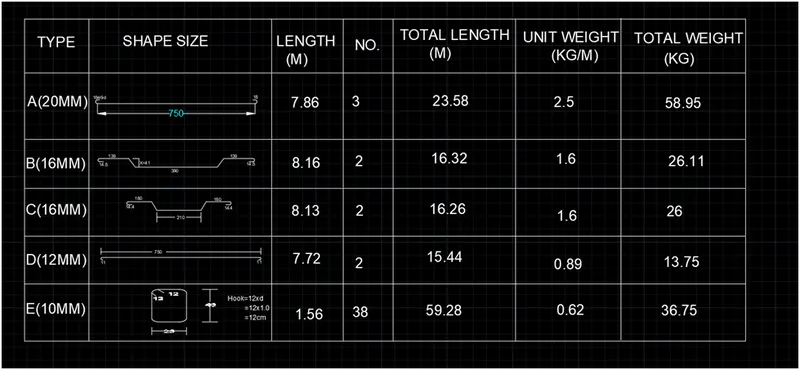
RESULT: I am creating the blocks success full with their dimension.