Creating Bar Bending schedule, Different Door types, and Creation of standard drawing templates using AutoCad
QUE 1]
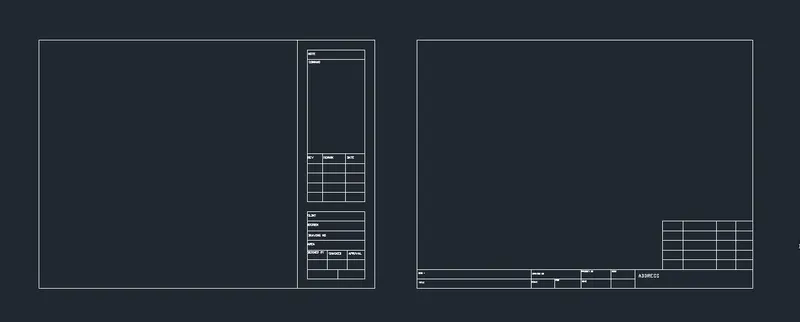
AIM - Create the templates. Taking the size of the title block as per industry standards assume it as per the size of the paper. Using text and attributes wherever required. After creating the title block save it as a block with names: Custom1_titleblock and Custom2_titleblock, respectively.
PROCESS
STEP 1 ]
- In the command prompt type units .mm
- In the command prompt type climax.100.100
- In the command prompt type limits .0 .0
- In the command prompt type zoom .0
STEP 2]
- command rec and create a rectangular
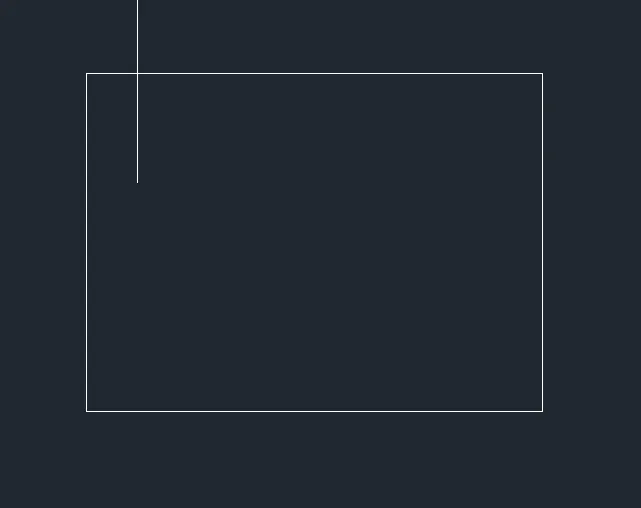
- command offset and take offset of the both side
- command trim and trim the unwanted line
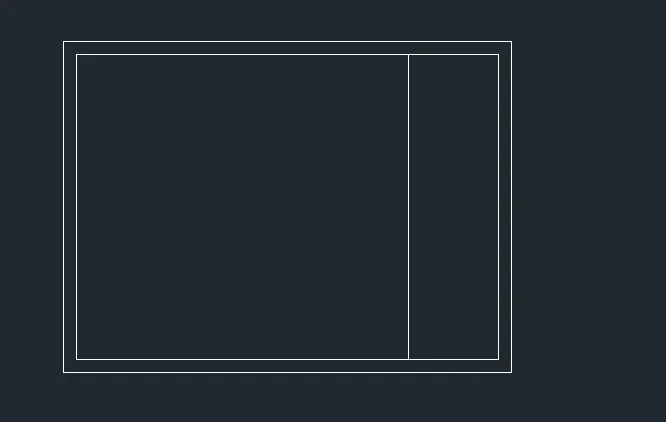
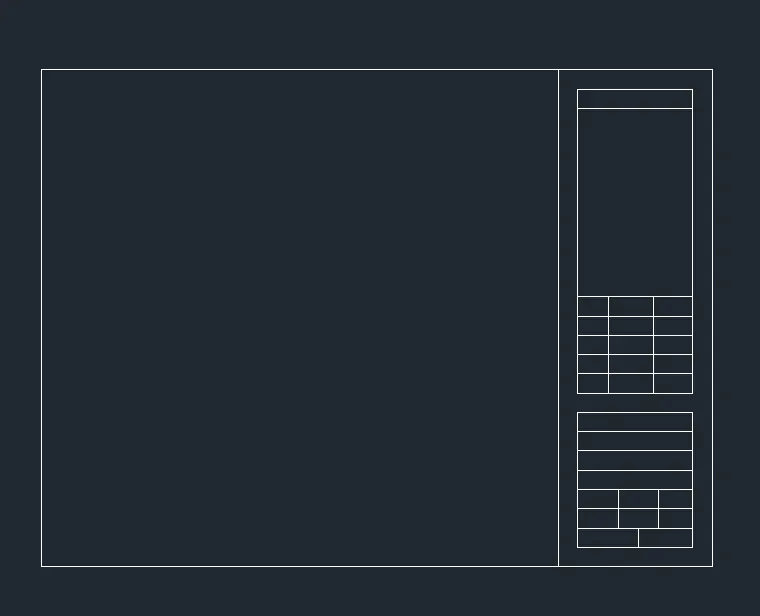
- using the command dtext give the name
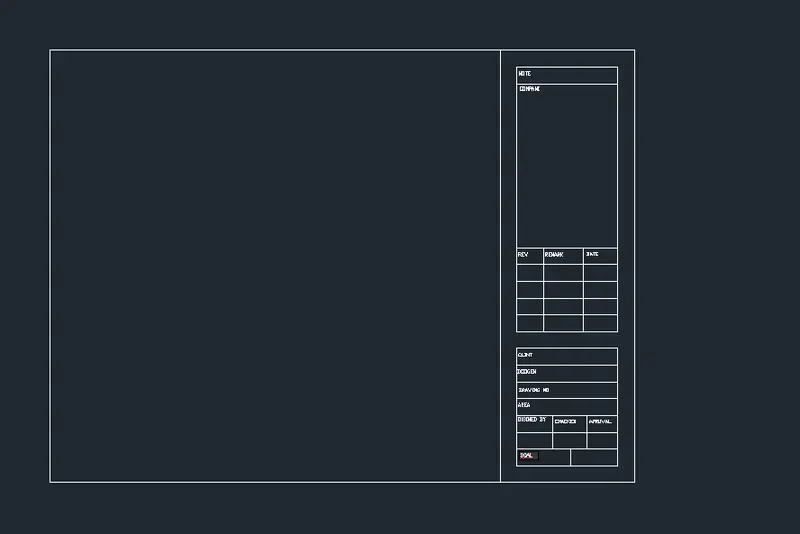
STEP 3]
- command rec and create a rectangular
- command offset and take offset of the both side
- command trim and trim the unwanted line
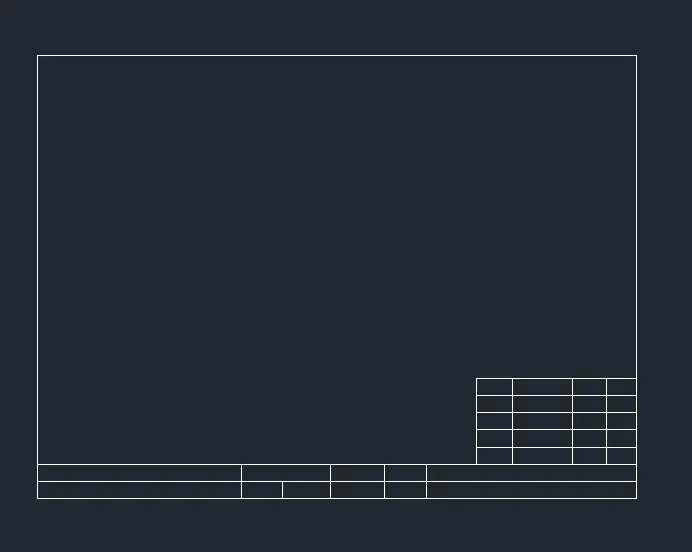
- command dtext and give the name
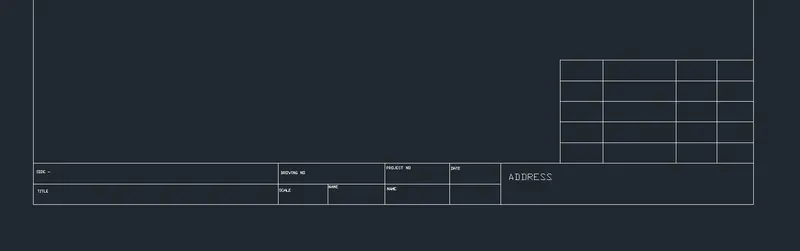
RESULT -
QUE 2]
AIM - Create the doors type for the warehouse. create each door type as per standard size or given dimensions. Create the blocks of this door type after creating them
PROCEDURE
COMMAND USED
rectangular
offset
trim
line
dim
dimstyal
filet
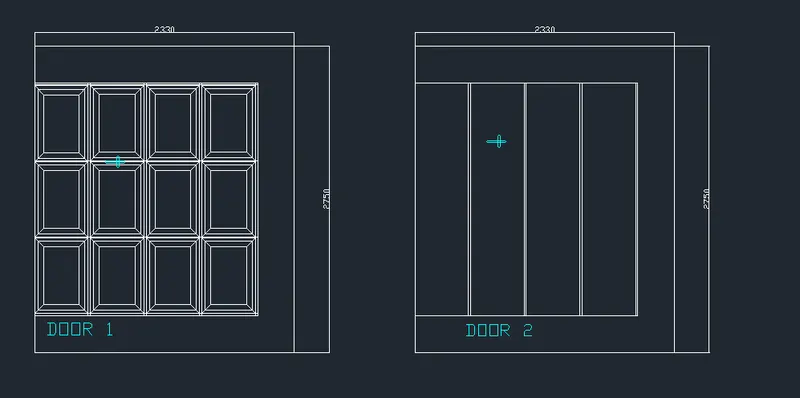
STEP 1] FOR THE DOOR 1
- command rec and create rectangular
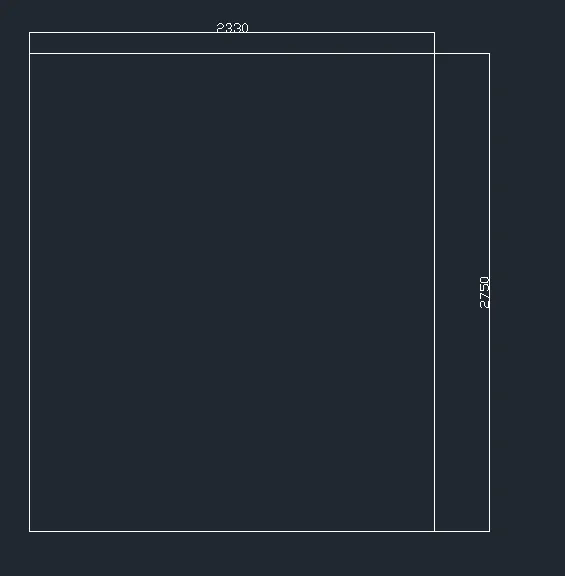
- command offset take offset from the bottom side and top and right side
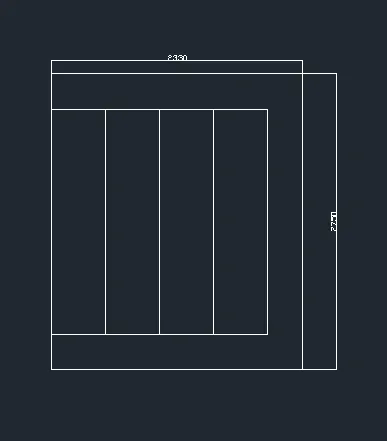
- command rec and create a frame for the door
- then command offset and take offset inner side of rec
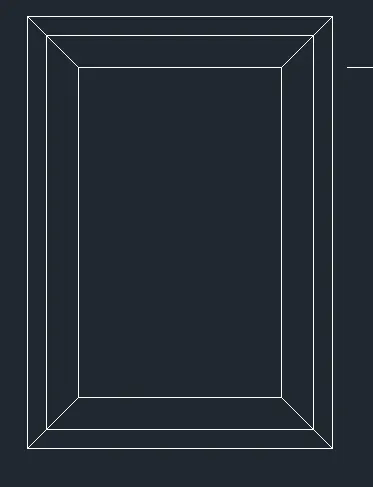
- command co and copy the frame
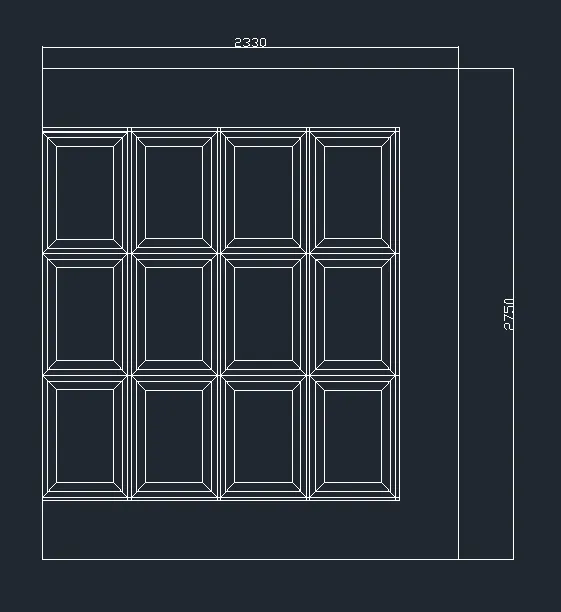
- create a handle with help of line
- command off and offset
- command f and filet
- command layer and colure handale

- command the co and copy the handle on frame
- command dtext and name the bottom
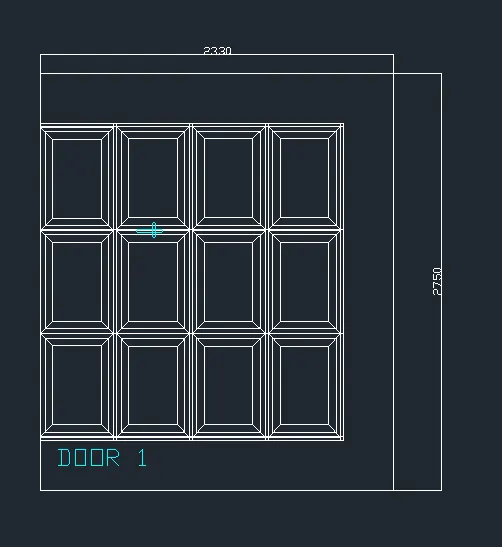
STEP 2 ] FOR THE DOOR 2
- command rec and create rectangular
- command offset take the offest
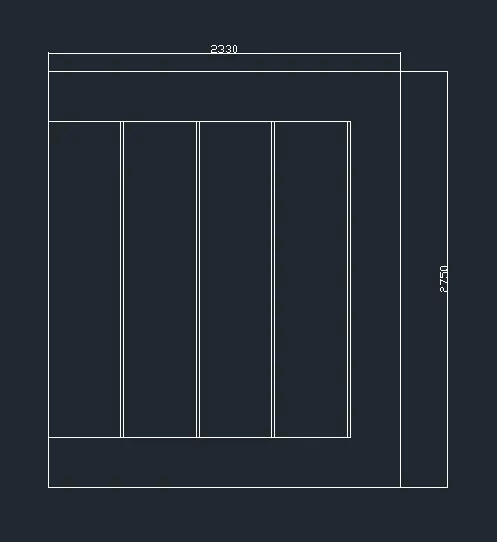
- create a handle with the help of line
- then command offset and
- command f and filet

- command copy and copy on frame
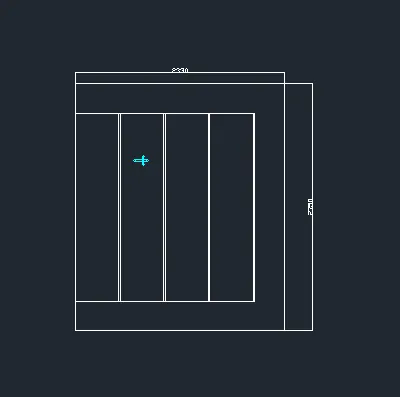
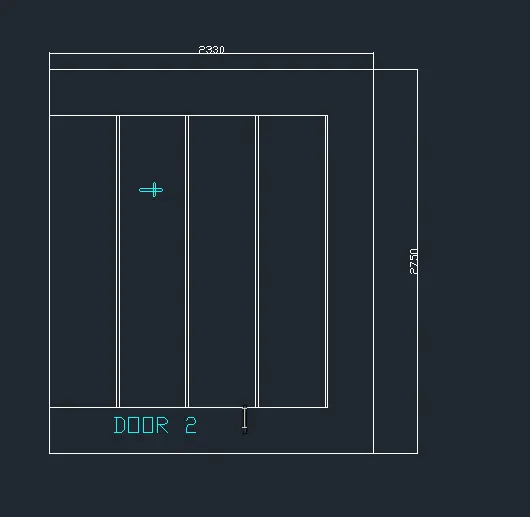
- command dtext and name it
RESULT
QUE 3]
AIM - to Create each symbol as a block with the name given in the legend. After creating the blocks arrange them in the legend
PROCEDURE
COMMAND USED
- unit command
- dimstyle command
- line command
- trim command
- rec command
- dim command
- offset command
- circle command
- block command
- edit command
- insert command
- attribute command
- text command
STEP 1
- command table and create table
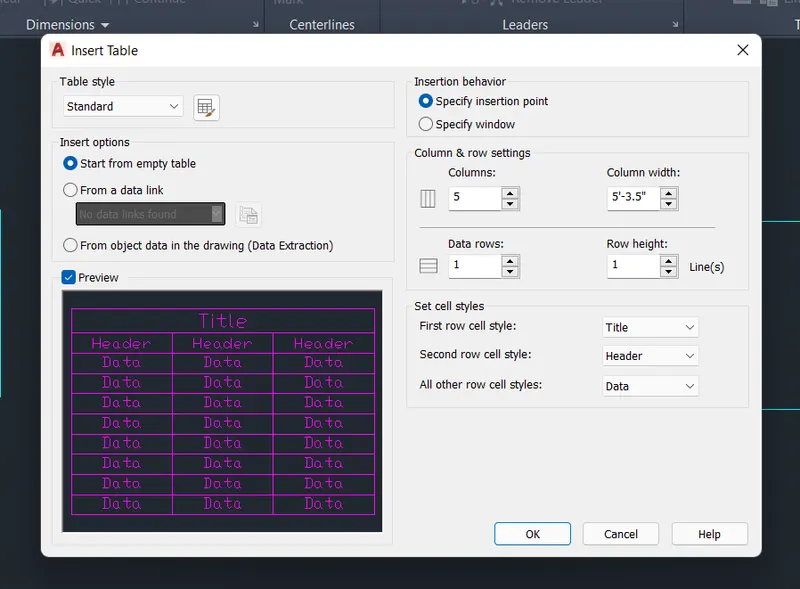
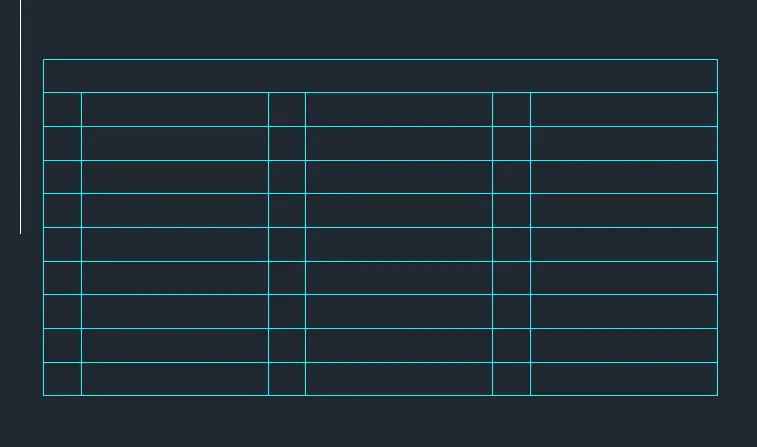
- command block and create a block
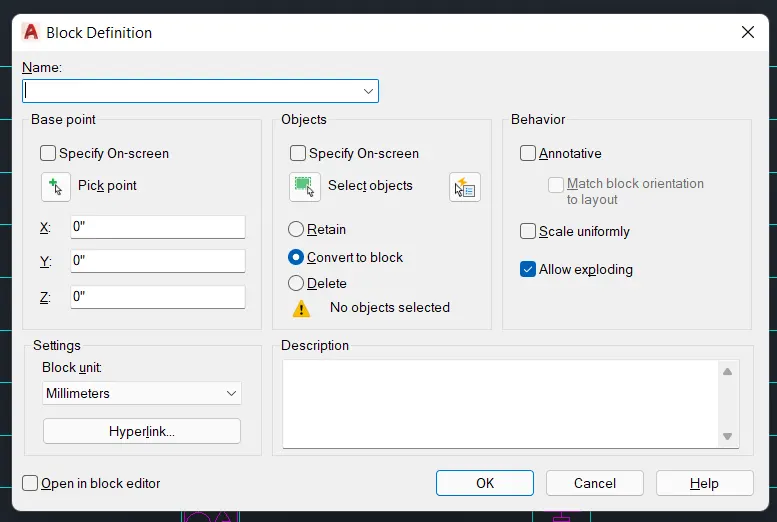
- create a block one by one
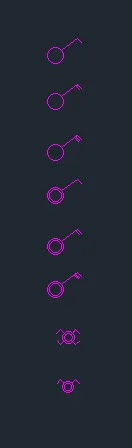
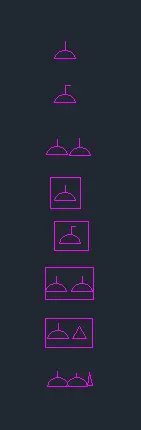
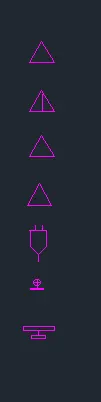
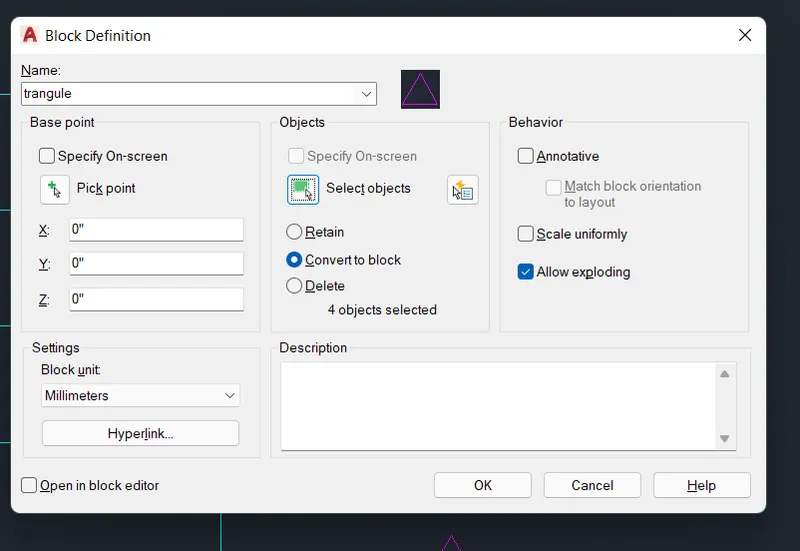
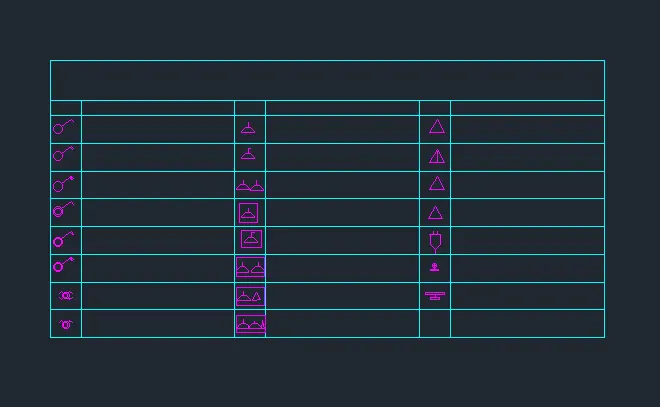
command dtext and give the name
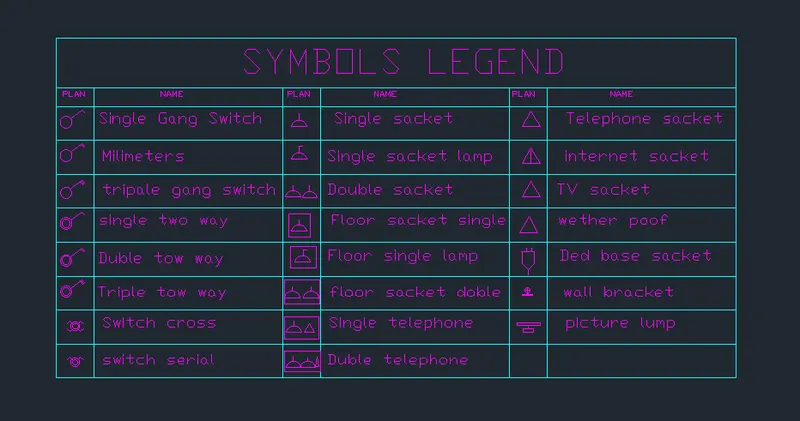
RESULT-
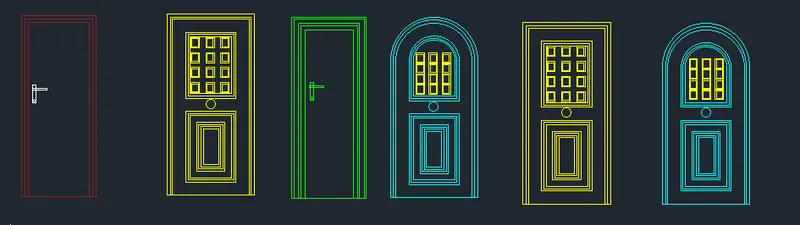
AIM - To create the door type 1 to 6 as shown in the figure by using the AutoCAD tool
INTRODUCTION
two door types are given both with the same dimension first door type as projection or shapes on top it along with door handle and door frame second door type is normal four-panel double swing door with handle and door frame
PRODUCER
COMMAND USED
-
- unit command
- dimstyle command
- line command
- trim command
- rec command
- dim command
- offset command
- circle command
- block command
- edit command
- insert command
- attribute command
- text command
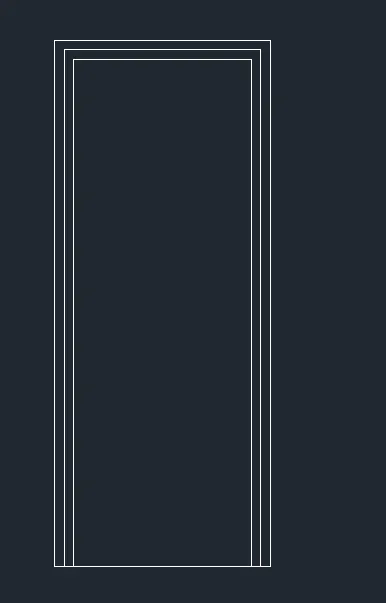
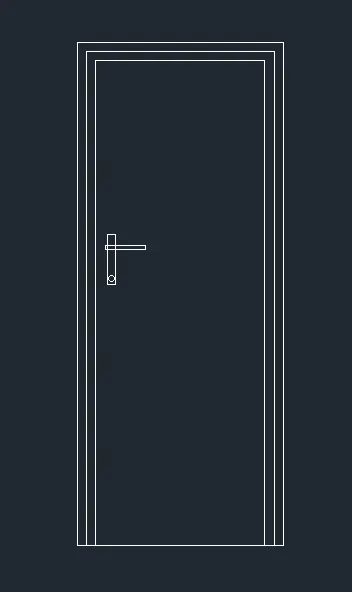
STEP 1 FOR THE DOOR 1
- drow the rectangular of dim 2'10" x 6'11"
- command offset and take offset inner side of rectangular 1.5" or 3"
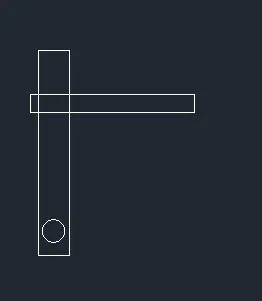
- create a Handel with help of command rectnafuale and circal
STEP 2 FOR THE DDOR 2
- create a rectangular 3'4" x 6'11"
- command offset and take offset 1" a two time
- after command offset and 6"
- command rectangular and create in
- command array and create an array
- command offset and offset bottom side of door
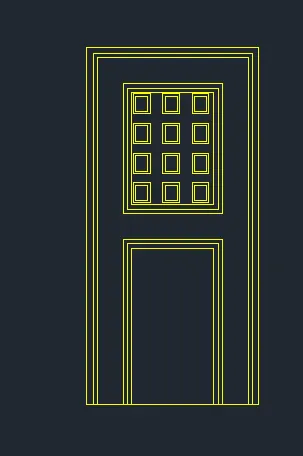
command circle 2.5" middle of door
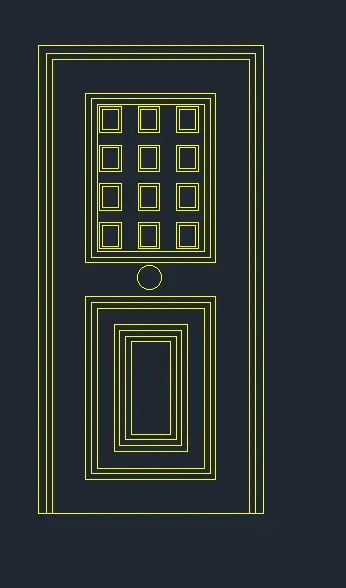
RESULT -
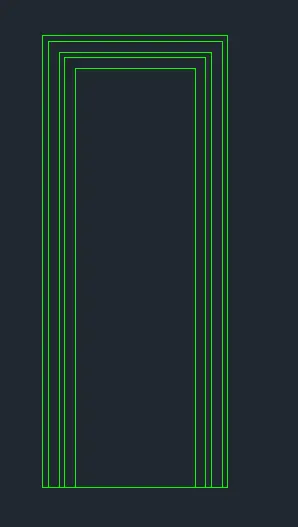
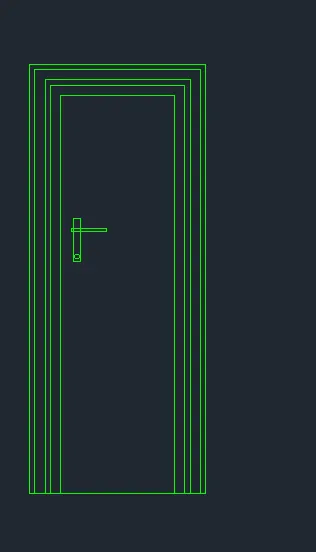
STEPS 3] FOR DOOR 3
- drow thee rectangular dim 2'10" x 6'11"
command offset and take offset 1" or 2" samulatinusly
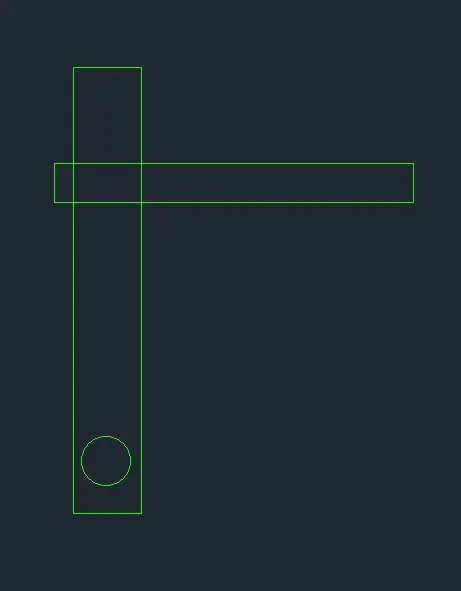
command rectangular and create handul
STEPS 4]FOR THE DOOR 4
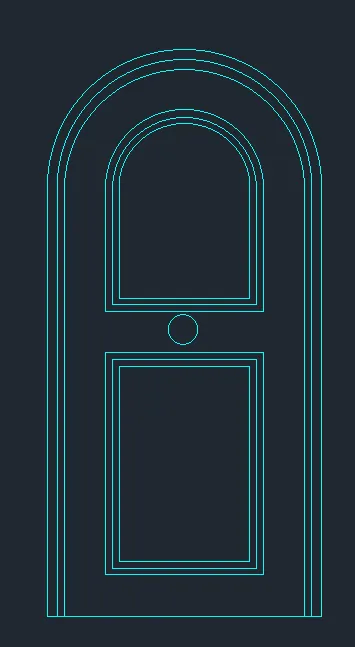
- drow the rectangular dim 3'4" x 6'11"
- select the rec drow above and type explode (x) and presenter
- select the top right left edges and type on and presenter
- command offset inside the rec 1"
- drow the rectechangualar command at an offset of 6" from the last offset

STEP 5 FOR THE DOOR 5
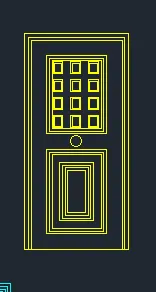
- create a rectangular 3'4" x 6'11"
- command offset and take offset 1" a two time
- after command offset and 6"
- command rectangular and create in
- command array and create an array
- command offset and offset bottom side of the door
STEP 6 FOR THE DOOR 6
- drow the rectangular dim 3'4" x 6'11"
- select the rec drow above and type explode (x) and presenter
- select the top right left edges and type on and presenter
- command offset inside the rec 1"
- drow the rectechangualar command at an offset of 6" from the last offset

RESULT
QUE 5]
AIM -
To create the block and reinforcement schedule as shown in the figure by using AutoCAD
PROCEDURE
COMMAND USED
- unit command
- dimstyle command
- line command
- trim command
- rec command
- dim command
- offset command
- circle command
- block command
- edit command
- insert command
- attribute command
- text command
STEP 1
- drow the line at any point on the screen to a distance of 750
- drow the semicircle at both sides for the bend of to upside

STEP 2]
- drow the line distance of the 730
- drow the semicircle at both sides 14.5
- coinciding of length 390
- move the line down at the distance of 41

STEP 3
- drow the line distance of the 712
- drow the semicircle at both sides 14.4
- coinciding of length 390
- move the line down at the distance of 80

STEP 4
- drow the line at any point on the screen to a distance of 750
- drow the semicircle at both sides for the bend of to downside

STEP 5
rebaar
- drow a rectangle with dim 230 x 430
- fillet the edges with a radius of 40 drow the extended bar fold size 12
STEP 6
- In above the drawing all the lines are drawn by using the line command in the below coommand section
- trim command used to remove line
- offset used for the offset
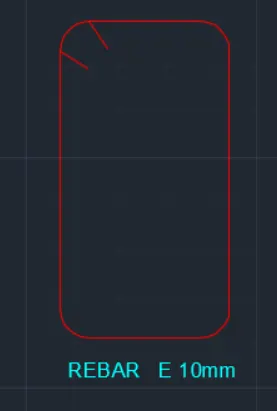
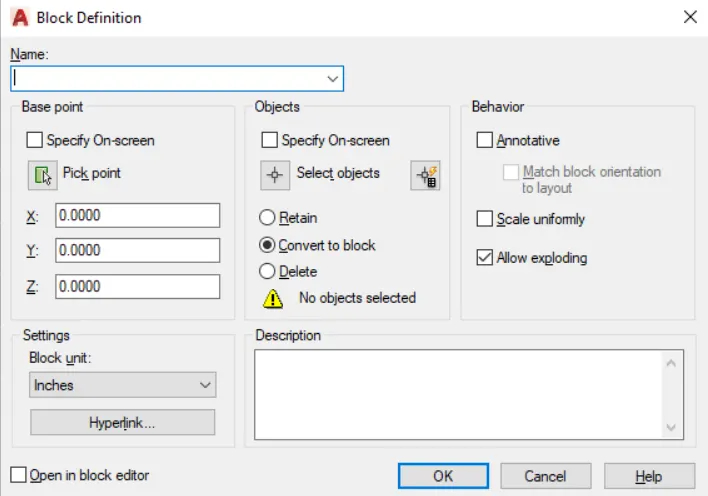
- command block and create block
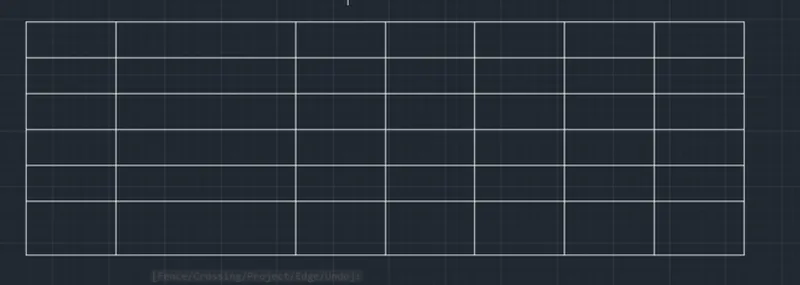
- command table and create table
- create column and row
- command inset and insert the block
- command text and name
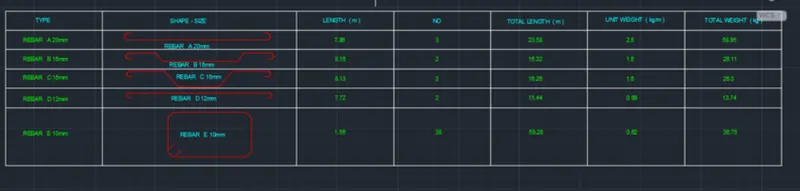
RESULT