Creating Architectural and Structural model with 3D rendering using REVIT
1) Select the type of structure you want to build from one of the three below:
a. Multi-Unit Residential Apartment
b. Office Buildings
c. School
Solution: I am going to choose "School" building from the above options.
2) Assume reasonable assumptions for geographic and location details for your project modeling. Based on assumptions and type of structure selected identify the modeling requirements from NBC
Solution: Assumptions for geogr@phic and location details for your project modelling
- The school is constructed in an open area, Mysore.
- My building is constructed in the plain area(geographic).
- The codal provisions for institutional buildings is taken from "PART 3 DEVELOPMENT CONTROL RULES AND GENERAL BUILDING REQUIREMENTS"
3) Using the structural model, include the following components based on the type of structure selected
a. Foundation – Isolated / Wall/Matt Foundation
b. Columns
c. Beams Connected to Columns
d. Roof Framing/ Truss
e. Floor / Decks
f. Floor Openings for Elevators and Stairs
Solution:
Aim: To draw structural components as mentioned above.
Procedure:
1. Open a revit model(structural template).
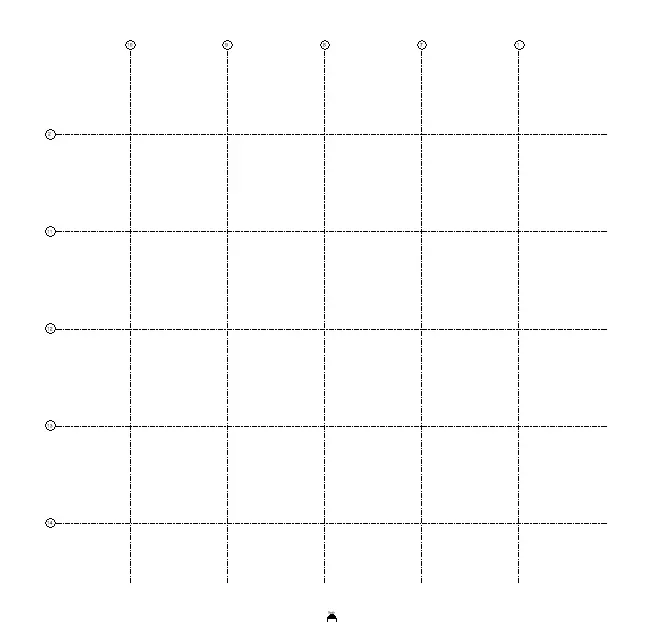
2. Draw horizontal and vertical grids each at the interval of 40'.
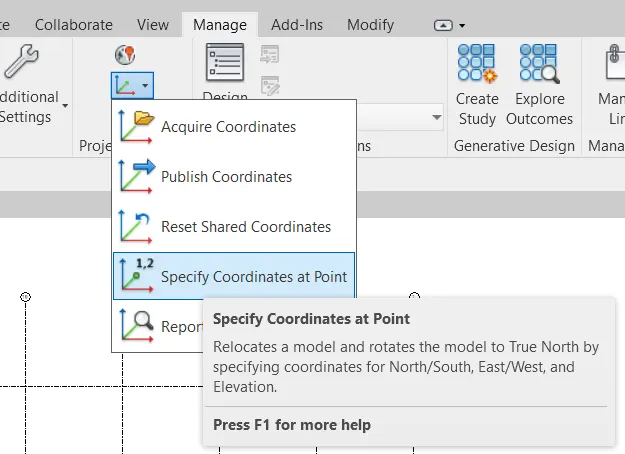
3. Specify the cordinates of right most and topmost grid as 0'0".
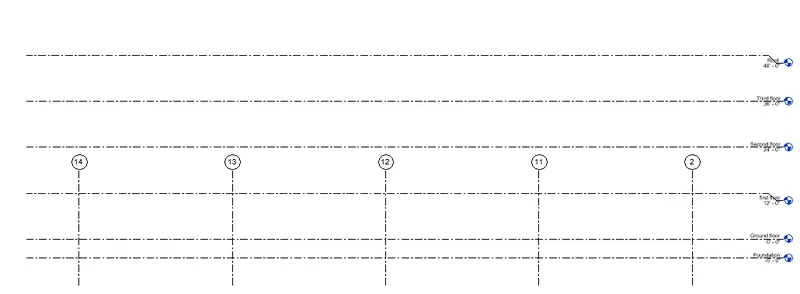
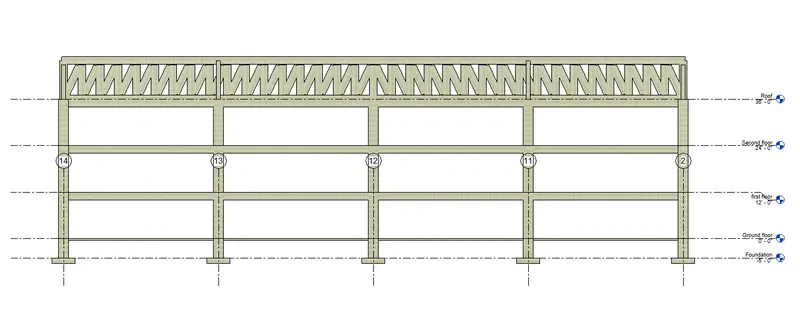
4. Add levels at the interval of 12' each and mention them as ground floor, first floor etc... Draw foundation level at -5'0".
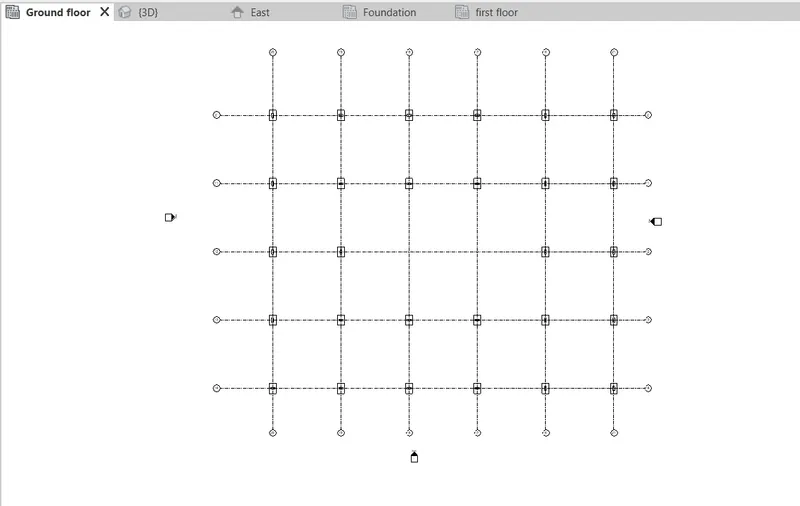
5. Add columns of 30" X 12" at each grids except the two points where the two centre colums meet.
6. Add footings at foundation level.
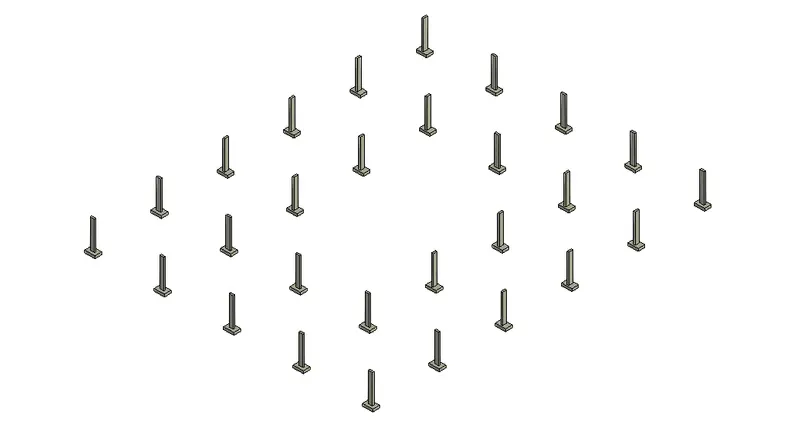
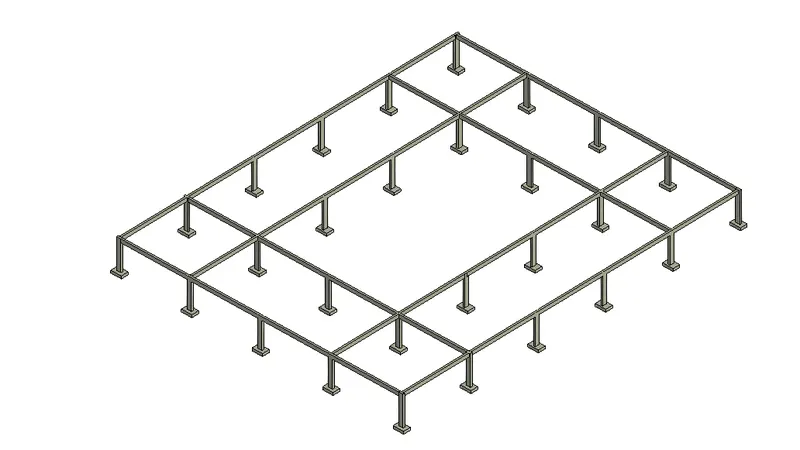
7. Add beams of 12" X 24" at first floor level.
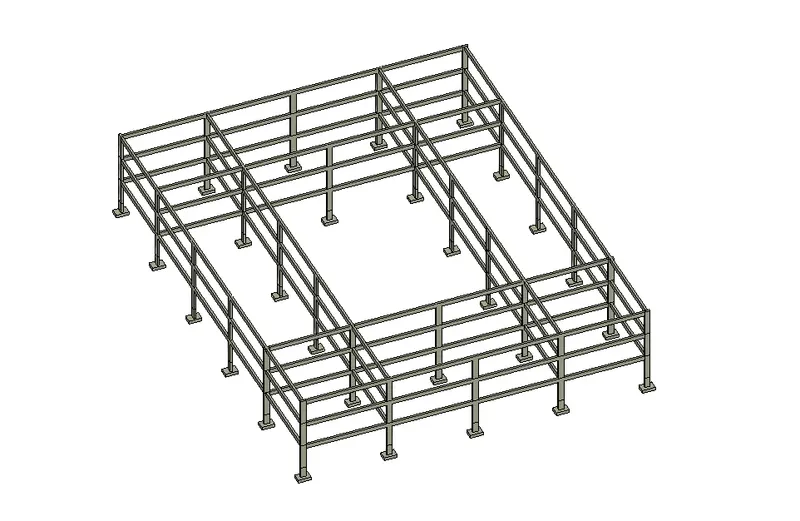
8. Copy the colums and beams and paste them at first, second and third floor levels.
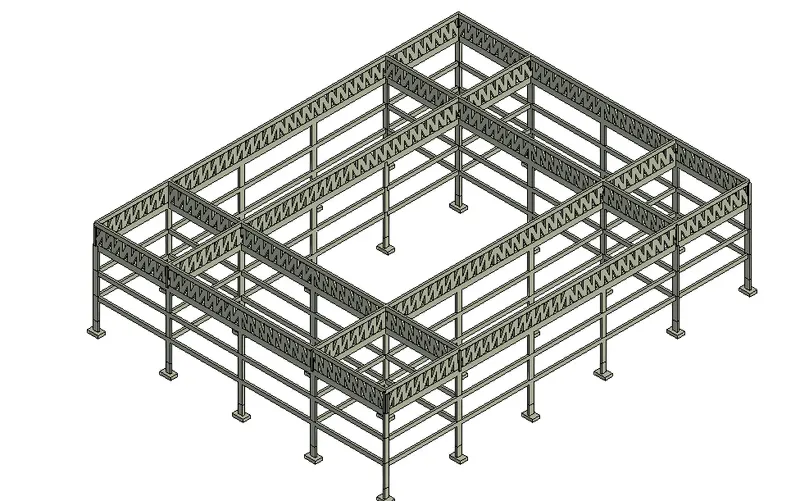
9. Add trusses at the third floor level.
10. Add structural floors to the ground, first and second floors.
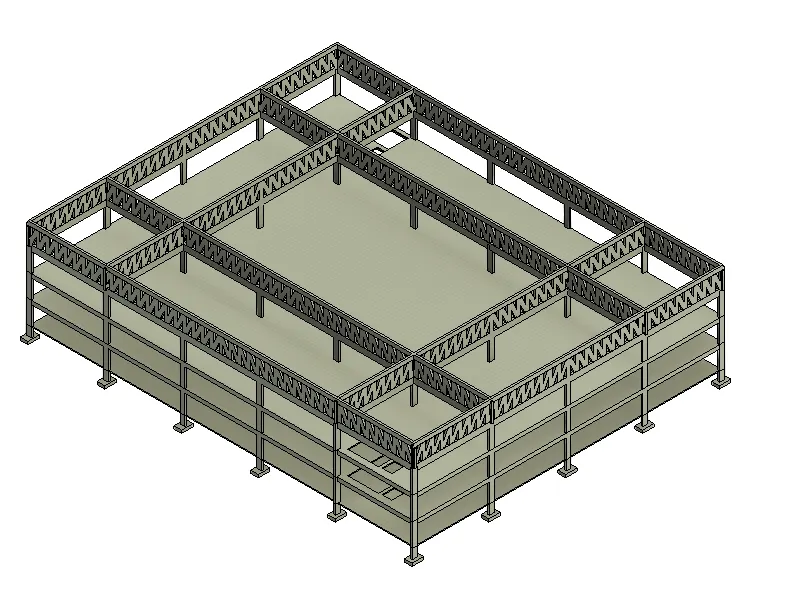
11. Use shaft tool to create shaft for elevators and Stairs.
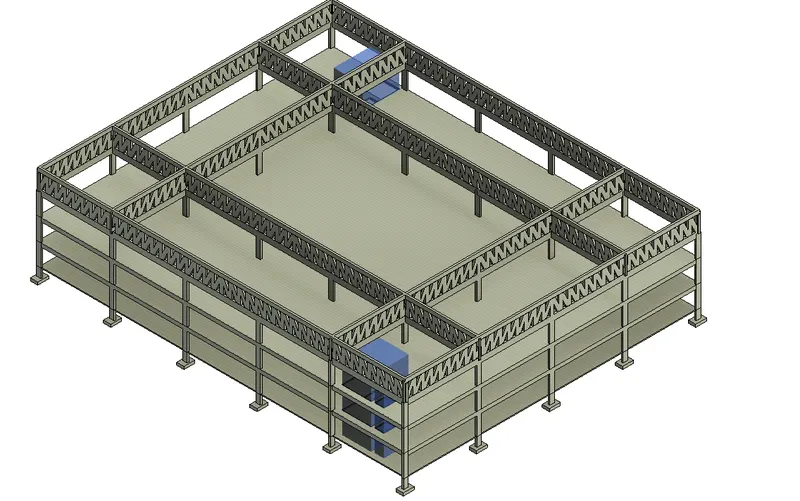
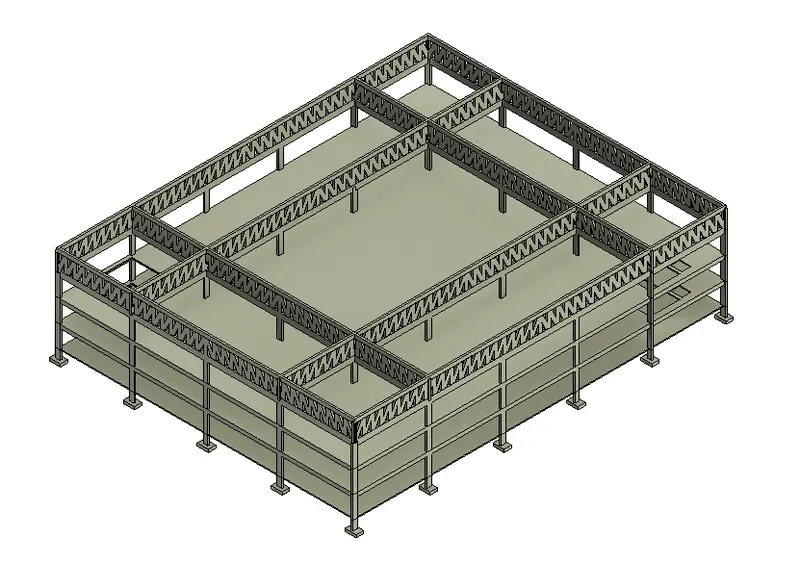
Result: The desired components are successfully added.
4) Using the architectural model, include the following components based on the type of structure selected
a. Wall Layout with appropriate material and finishing
b. Exterior façade with fancy finish
c. Interior partition walls to size rooms
d. Components to add details to a room ( Desk, Chair, Lighting, Plumbing fixtures)
e. Add components such as stairs Elevators
f. Have at-least one side of the building with curtain walls and glass panels
g. Include interior and exterior lighting fixtures
h. Place proper topographic components from outside ( Trees, Parking, Plants) to add details to the model
Solution:
Aim: To draw the architectural components as mentioned above.
Procedure:
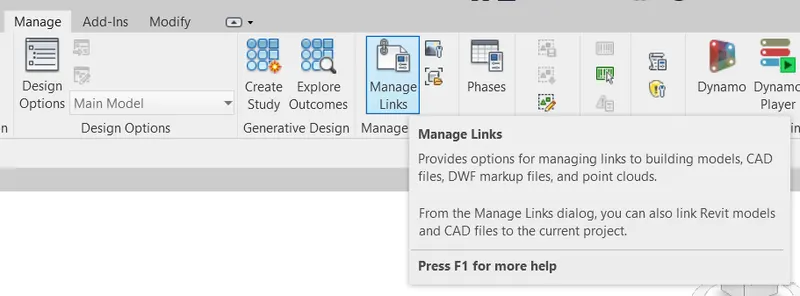
1. Open an architectural model in Revit and link the structural model using the manage links tool.
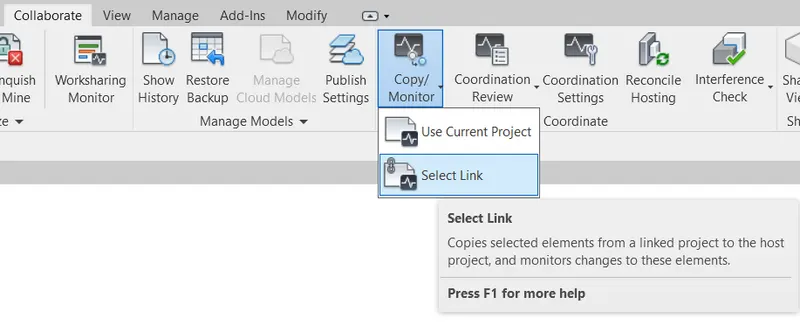
2. Use copy monitor tool to copy levels and grids from the linked model.
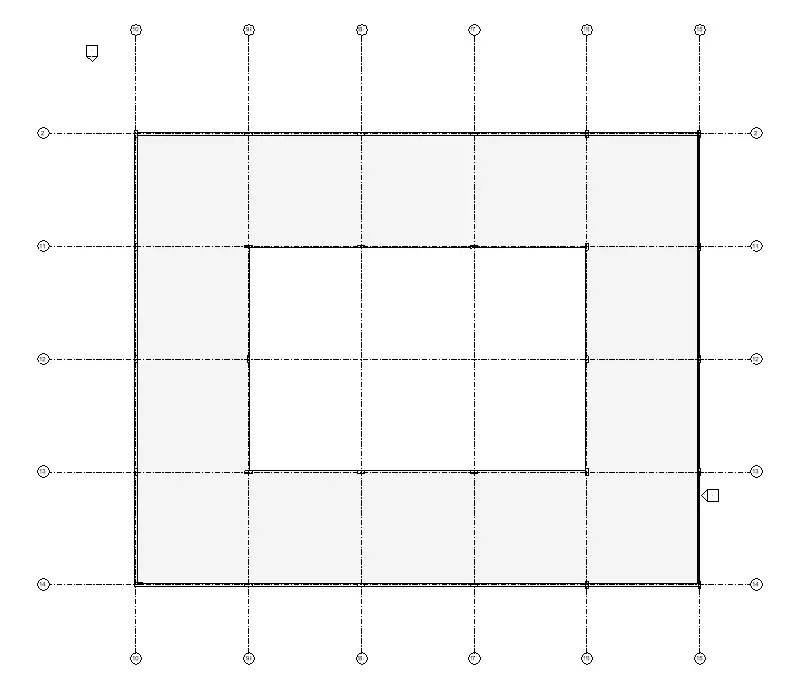
3. Go to ground floor level and add exterior walls of 12" at the boundaries.
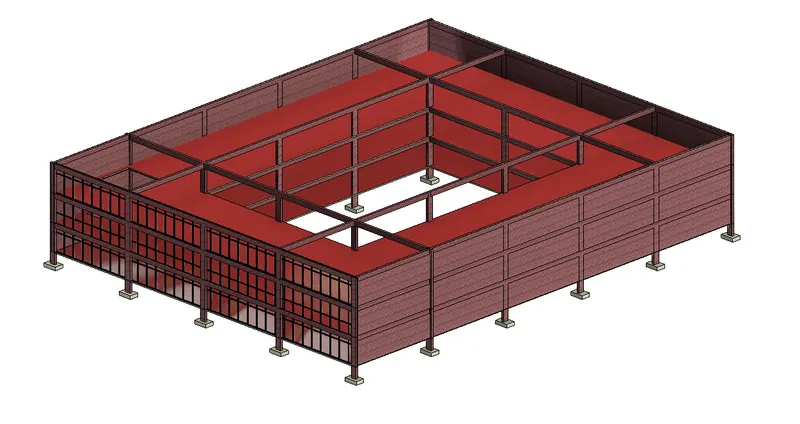
4. Also add curtain wall for front elevation.
5. Go to the ground floor level and add partition walls to seperate rooms.
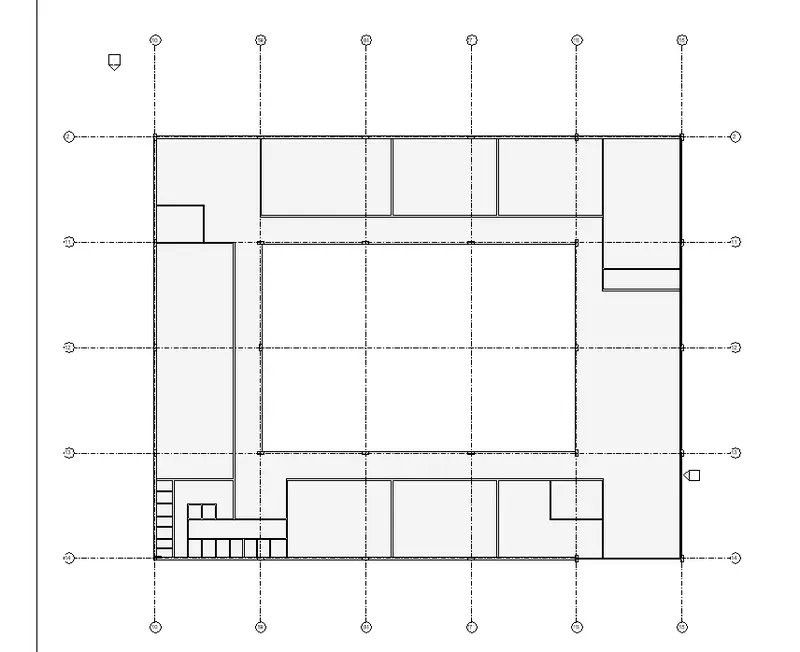
6. Add componenets like doors and windows from the architecture tab.
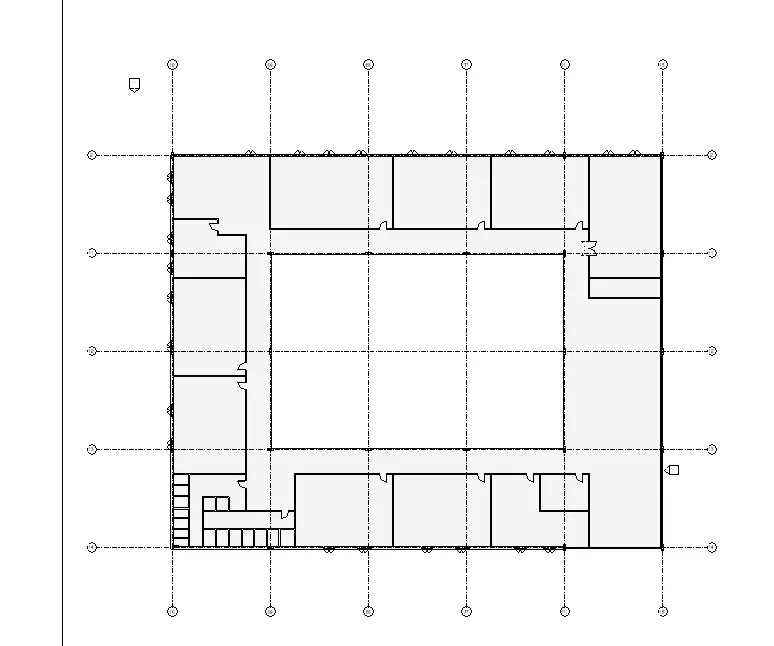
7. Add other components like tables, chairs, desks, shelves as required.
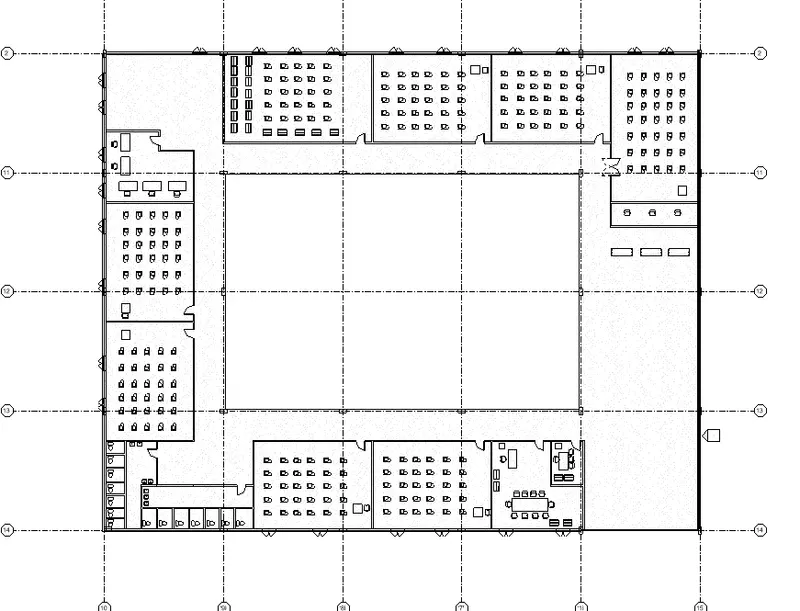
8. Add components such as stairs and Elevators.
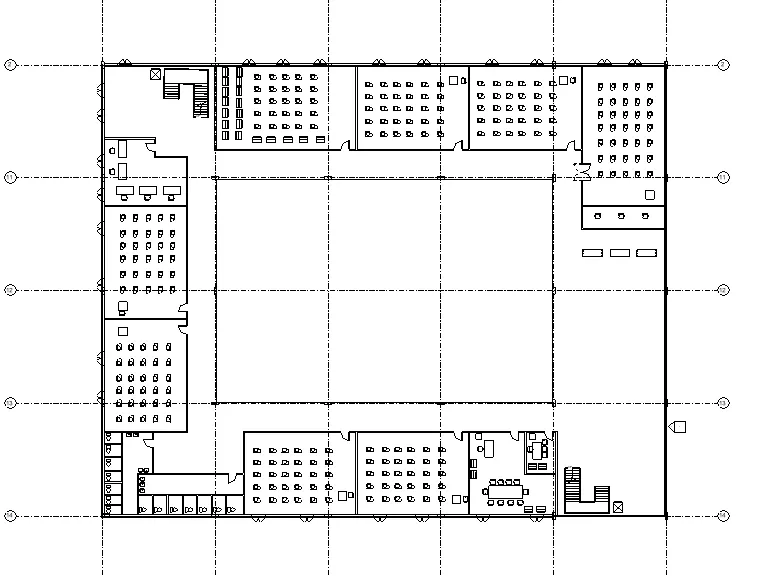
9. Add lightning fixtures using insert family from the insert tab.
10. Use copy tool to align partition walls and other elements to First and second floor levels.
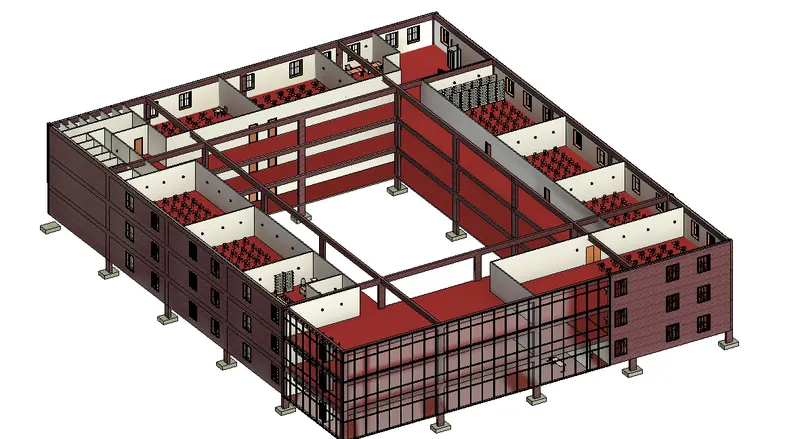
11. Add floor to the site area and add components like parking area, trees etc.
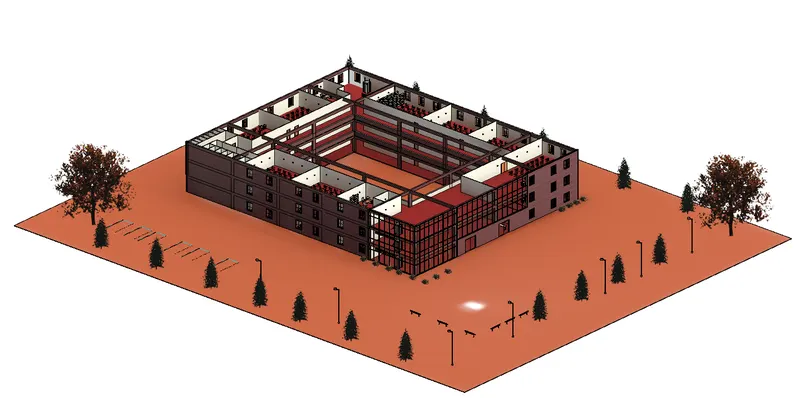
12. Use Roof tool to add roof to the model.
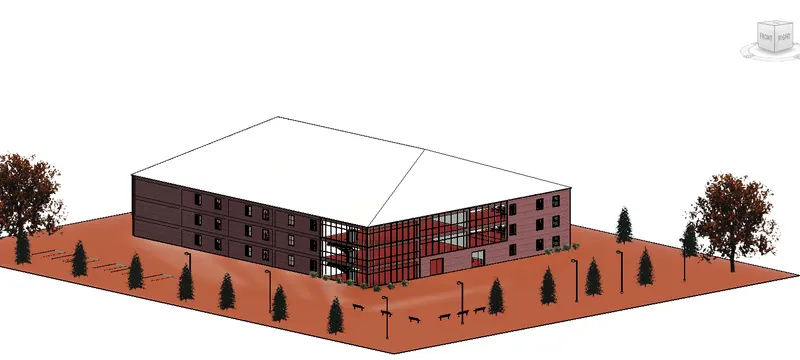
Result:
All the desired architectural elements are added to the model successfully.
5) Provide a set of drawings in an architectural and structural model to list the following details with categories and appropriate sheet templates included
a. Floor Plans with Annotations
b. Elevations
c. Sections
Solution:
Aim: To provide a set of drawings as asked above.
Procedure:
1. Go To the annotate tab and tag rooms and add dimensions to them.
2. Under the view tab, create a sheet and the floor plan and rename it accordingly.
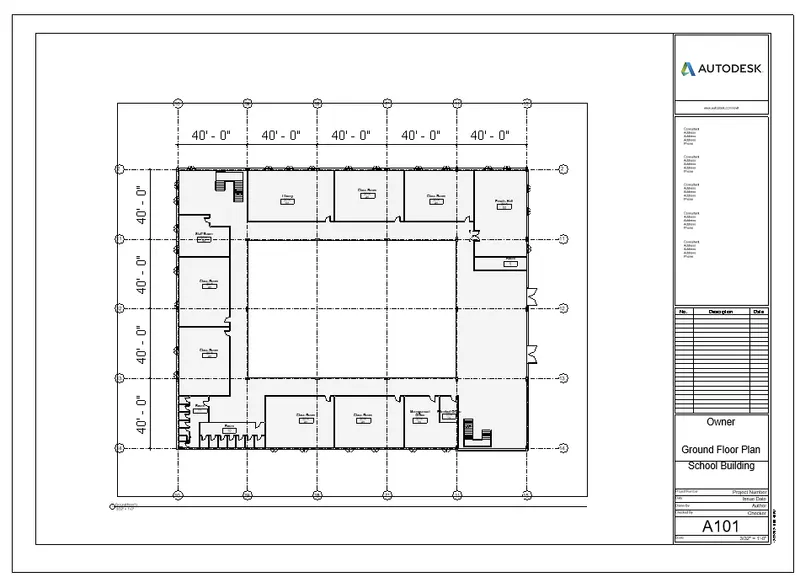
3. Repeat the procedure for first and second floor as well.
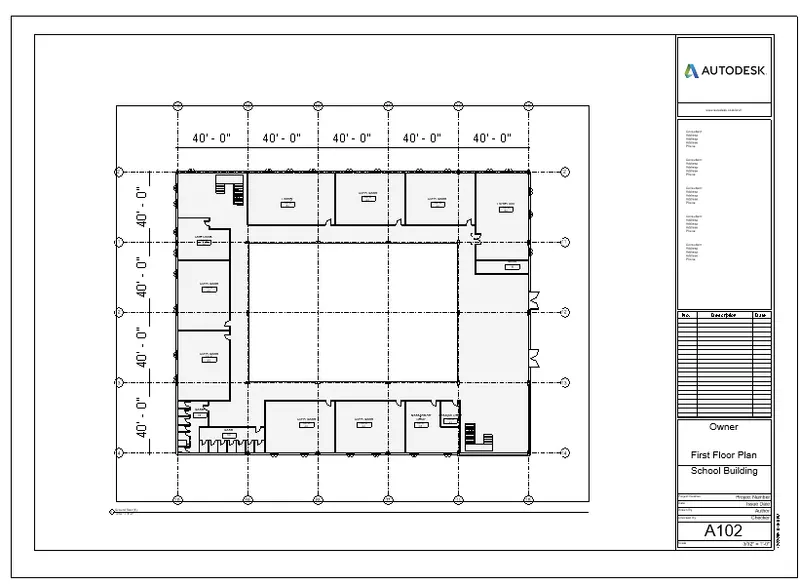
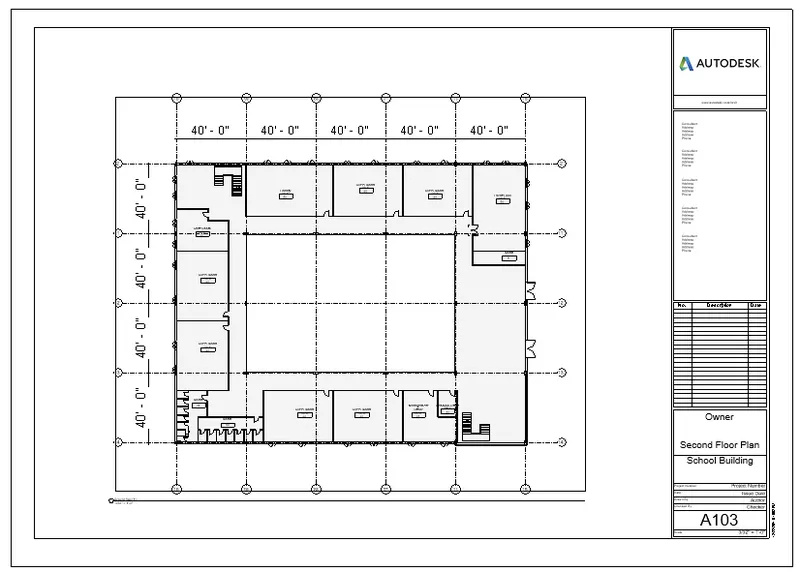
4. Similarly go to the elevation views and add elevations to the sheet.
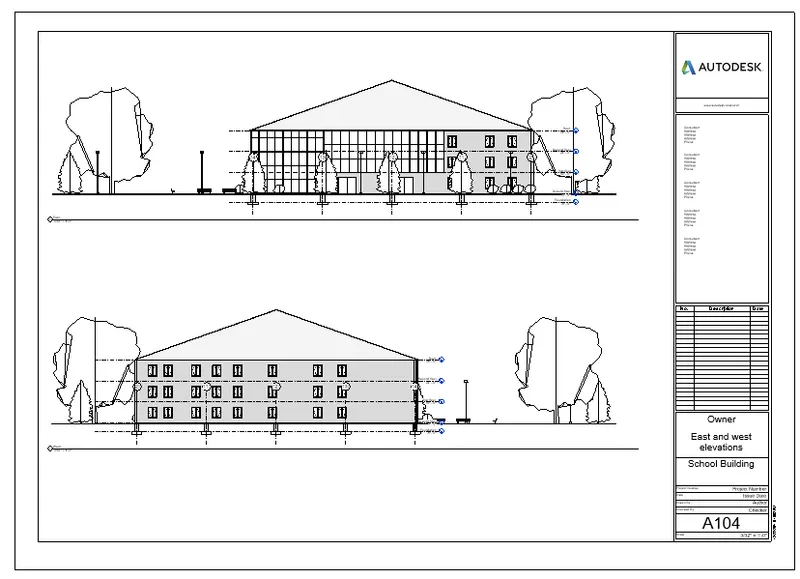
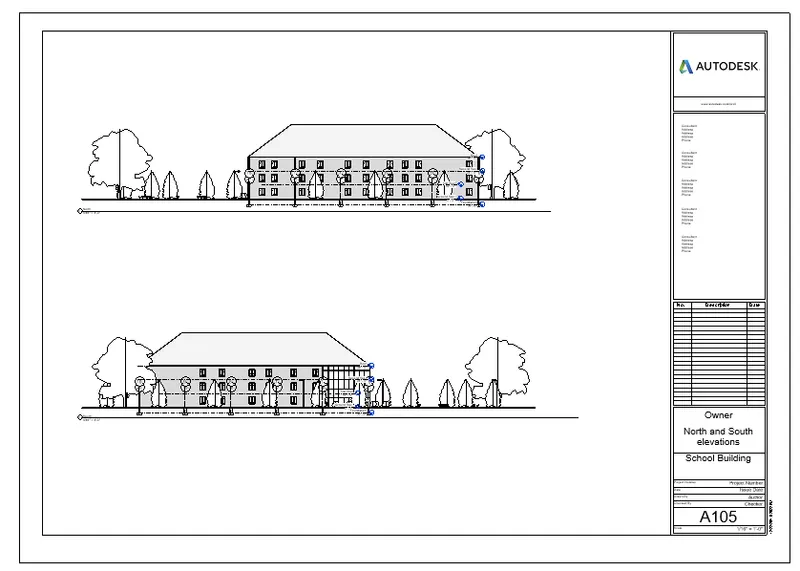
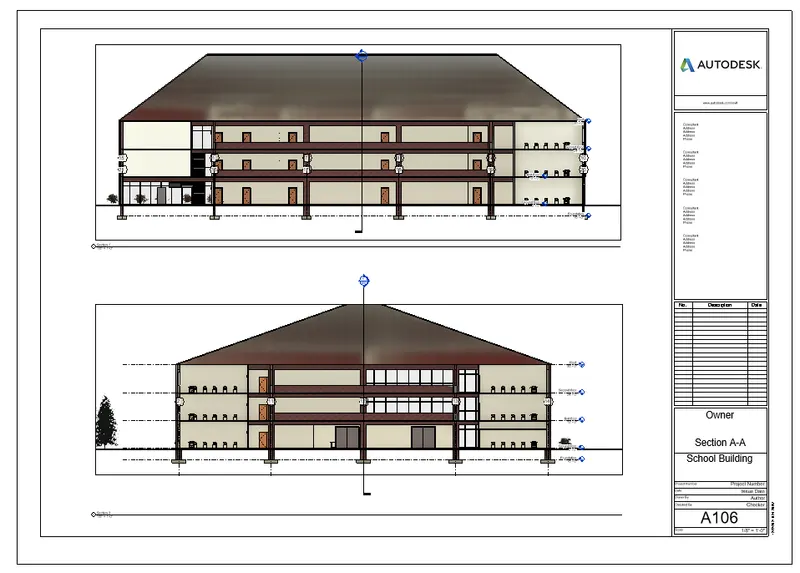
5. Similarly go to the floor plan, cut a section and add the sections to the sheet.
Result:
The Desired Section, elevation and plan views are added to the sheet successfully.
6) Using the Rendering settings, Render images of the 3D model produced and include the rendered images to the drawing sheets
a. Rendering from interior rooms
b. Rendering from out showing topographic features
c. Rendering through structural framing
Solution:
Aim: Using the Rendering settings, Render images of the 3D model produced and include the rendered images to the drawing sheets
Procedure:
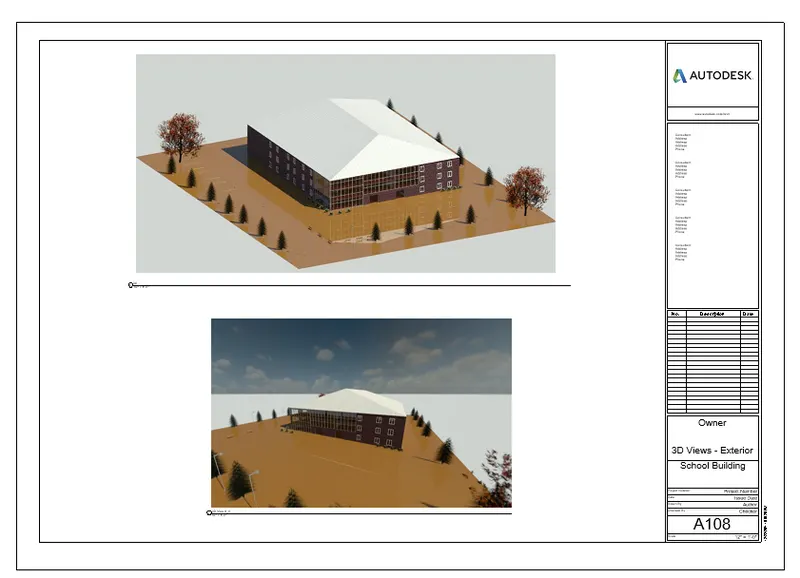
1. Go to the view tab and render the 3D view of the model. Adjust settings according to convinience.
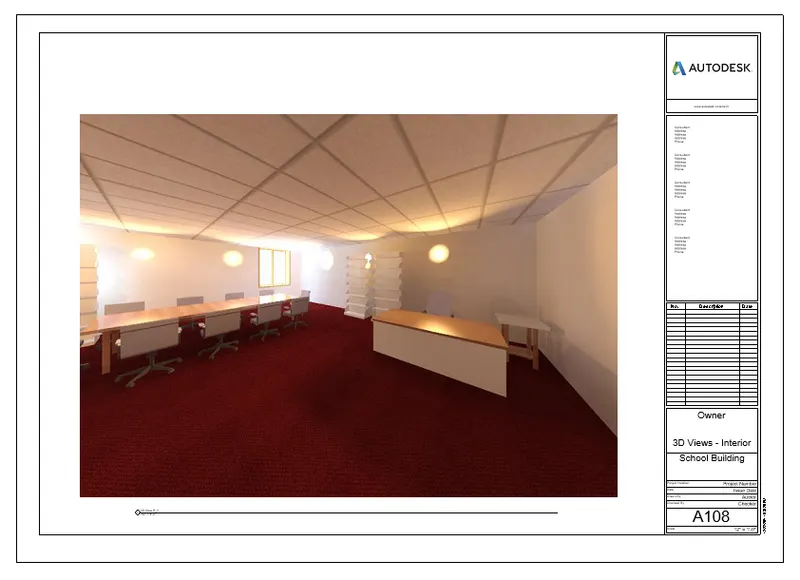
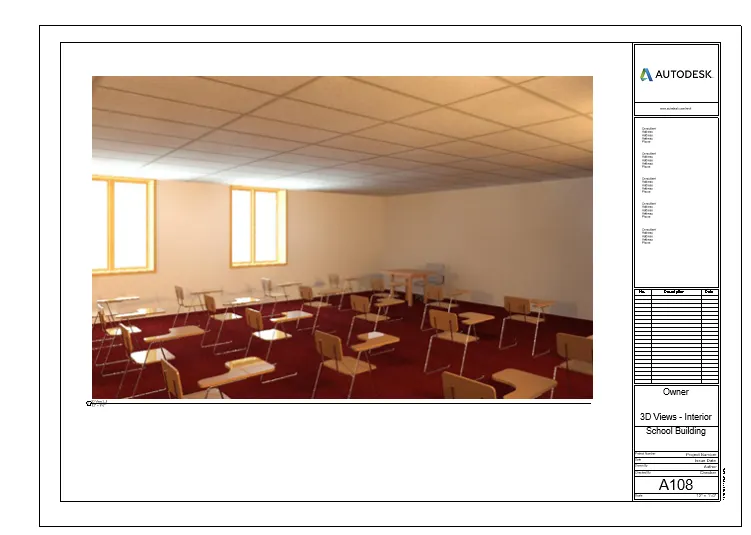
2. Use camera tool to create views of the interior rooms and render the views and place it into the sheets.
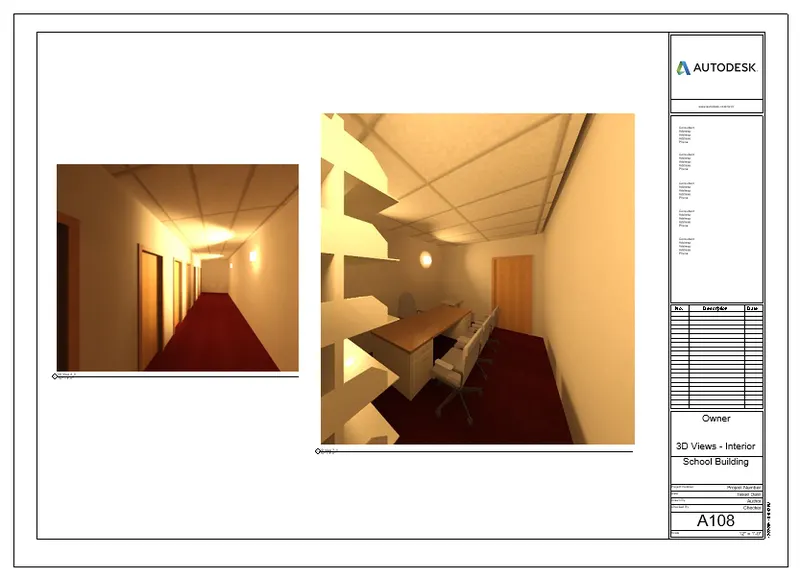
Result:
The desired views have been successfully rendered and placed in the sheets.
7) Print the set of drawing sheets created and submit the drawings from the architecture and structure model
Solution:
Aim: To print the set of drawing sheets created
Procedure:
1. Go to the file tab while you are viewing the desired sheet to be printed.
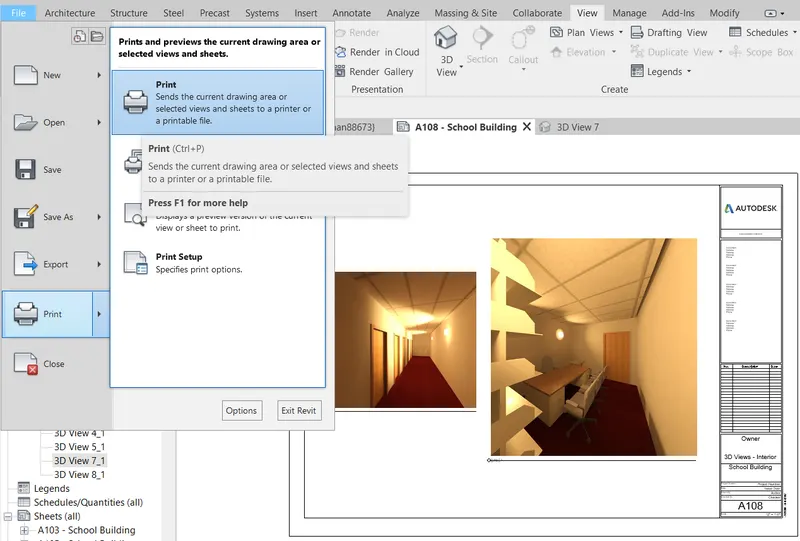
2. Adjust the properties and cilck on OK.
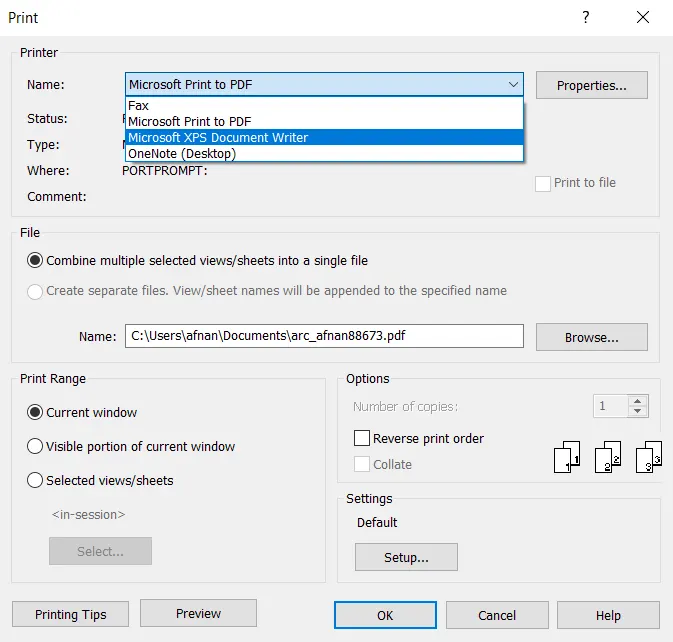
Result:
The required sheets have been printed.