Creating Architectural and Structural model with 3D rendering using REVIT
1) Select the type of structure you want to build from one of the three below:
a. Multi-Unit Residential Apartment
b. Office Buildings
c. School
Ans:- As per the given options in the question I am opting for Multi Unit Residential Apartment
2) Assume reasonable assumptions for geographic and location details for your project modeling. Based on assumptions and type of structure selected identify the modeling requirements from NBC
Ans:- The geographical and location details for my project modeling based on the assumptions are listed below
- My Residential Apartment is constructed in the urban area, Hyderabad, Telangana.
- It comes under the Group A - Residential Building- Subsection A5 as per NBC.
- The height of the Multi-Unit Residential building is 50' .
- The projected height in meters is 16m and the road width is 20m.
- The height, area limitation, and safety measures are followed according to National Building Code 2016.
- The thickness of the walls that I have chosen for Exterior and Internal walls are 9" and 6" respectively.
- The Size of the rooms also taken care of as per the NBC Part V-1.
- So, my project is completely safe and followed all the regulations according to the National Building Code 2016.
3) Using the structural model, include the following components based on the type of structure selected
a. Foundation – Isolated / Wall/Matt Foundation
b. Columns c. Beams Connected to Columns
d. Roof Framing/ Truss
e. Floor / Decks
f. Floor Openings for Elevators and Stairs
ANS:-
AIM:- To create the structural model for the residential building including Columns, Beams, Roof Framing, Floor and Floor opening.
INTRODUCTION:-
- Structural engineers need to be able to efficiently collaborate with all other teams during a project. Revit allows for just that by providing an intelligent model that is used by all stakeholders in real-time.
- Revit is a native BIM solution, which means that all work is done on a single file that is constantly updated. By using such integrated workflows, structural engineers can ensure that no data is lost and minimize the risk of errors.
PROCEDURE:-
- Open the Revit Software.
- Click on the new project.
- Select the template file as Structural template.
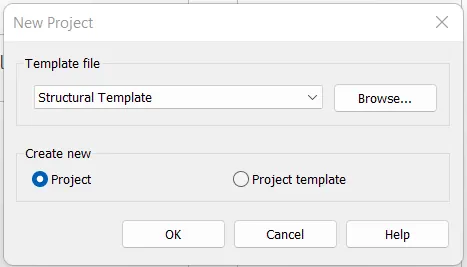
- After opening the Structural template, now we have to create the basic grids and levels
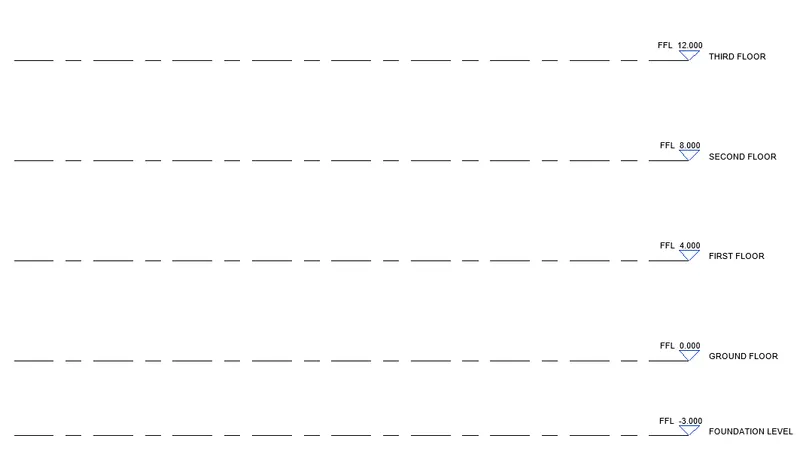
- Go to the Structural tab and select the levels tool
- Create the level 2 at a distance of -3m from the level 1 to level 2 that is foundation level.
- Same as create other levels at a distance 4m from level 1 to level 5 as shown in the figure below
- Now we have to create the basic grids for the project's shared coordinates
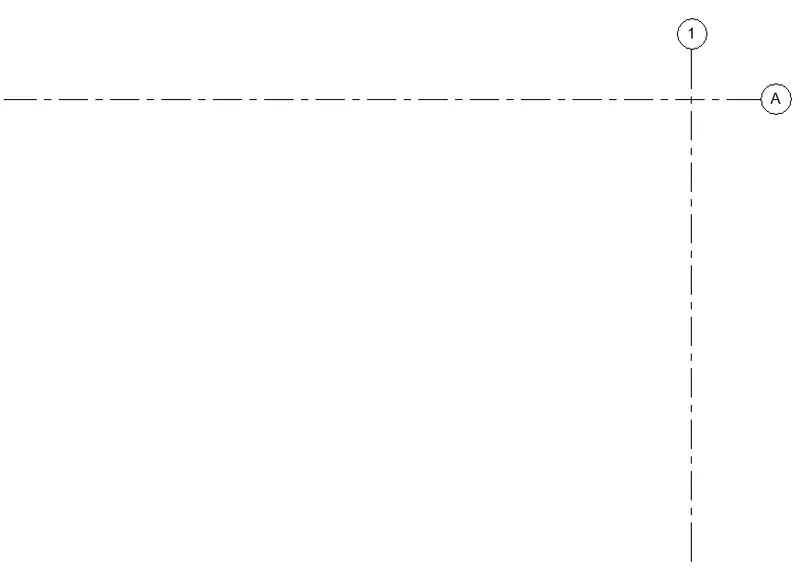
- Go to the Structural tab and select the grids tool
- Create the Horizontal and vertical grids intersecting each other as shown in the figure below
- After creating grids, now we have to specify the coordinates at a point
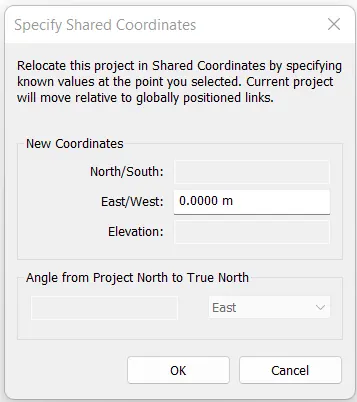
- Go to the Manage tab and select the project coordinates at a point option
- Select the intersecting point of grids and specify the new coordinates as 0.00m for North/South.
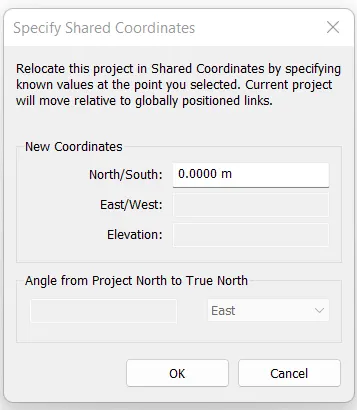
- Similarly specify the new coordinates as 0.00m for East/West .
- After specifying the coordinates, click ok
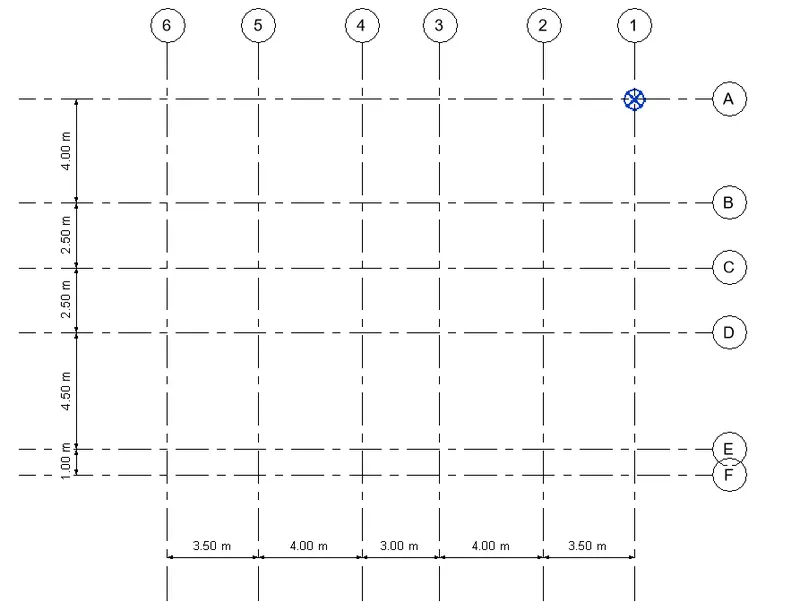
- Now we have to create other grids for reference to sketch the columns and beams
- Go to the Structural tab and select the grid tool
- Create the grids Horizontally and transversely as shown in the figure below
- And also specify the base point as shown.
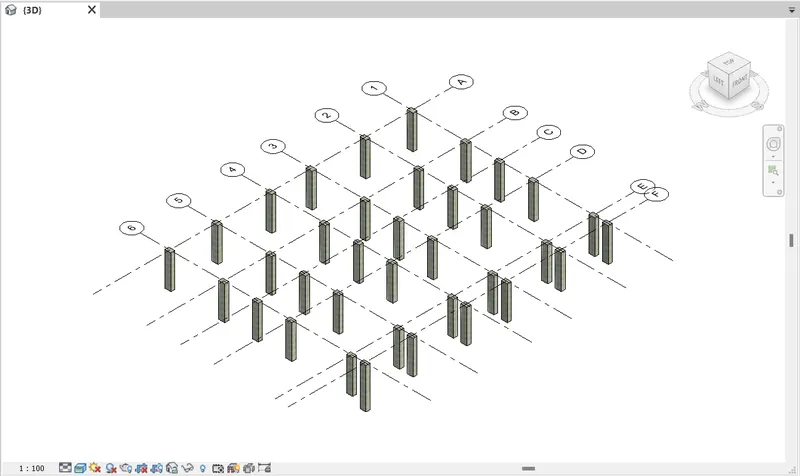
- Now we have to create the columns at the grids level
- Go to the Structural tab and select the column tool
- Select the size of the Column as per the requirement
- In the modify tab, select the option called at the grids level
- Select all the grids and click on the tick mark
- The columns have been created successfully at the grids level.
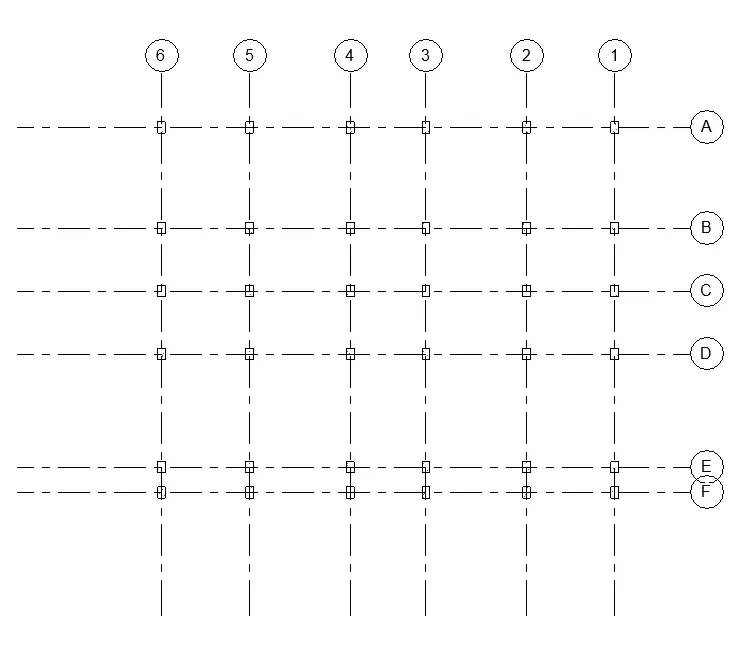
- The 3D view of column is as follows
- After creating columns and footing, now we have to create the beams connecting columns.
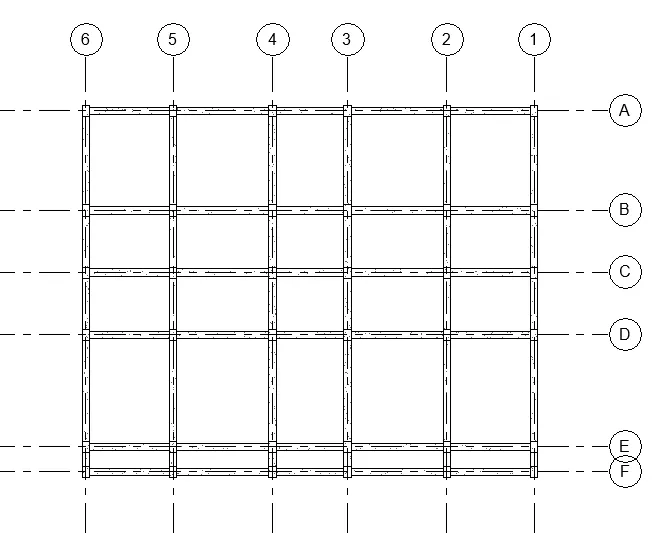
- Go to the Structural tab and select the beam tool
- Select the size of the beam as per the requirement.
- In the modify tab, select the option called at the grids
- Sketch the beams at the intervals of each column as shown in the figure below.
- The beams connecting columns have been created successfully.
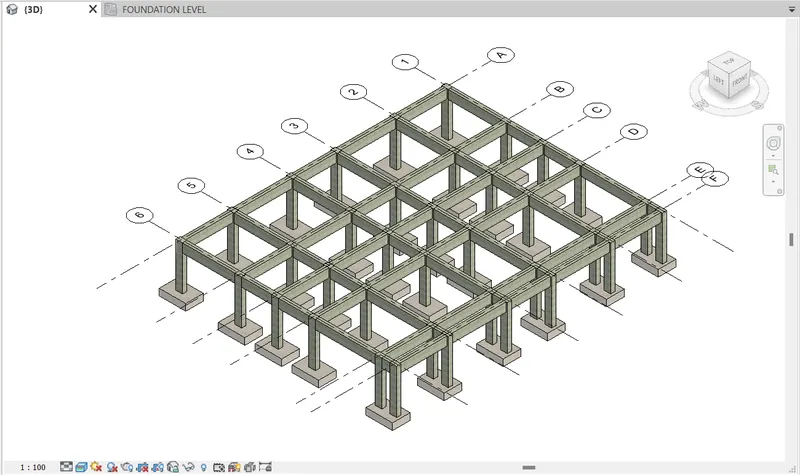
- Go to the Structural tab, select the isolated footing under the foundation tab
- Select the size of the footing as per the requirement
- In the modify tab, select the grids option to create the footings
- Select all the grids Horizontally and transversely
- After Selecting the grids, Click on the tick mark to create the footings
- All the Isolated Footings have been created successfully at the columns
- After creating the columns and beams, we have to create the floor and roof
- The 3d view of beam and column as follows
- Go to the Structural tab, select the structural floor tool
- In the modify tab, select the rectangle tool to sketch the floor
- Sketch the roof at the corners of the building as shown in the figure below
- Similarly, sketch the roof at the top floor level
- The structural floor and roof as been successfully created
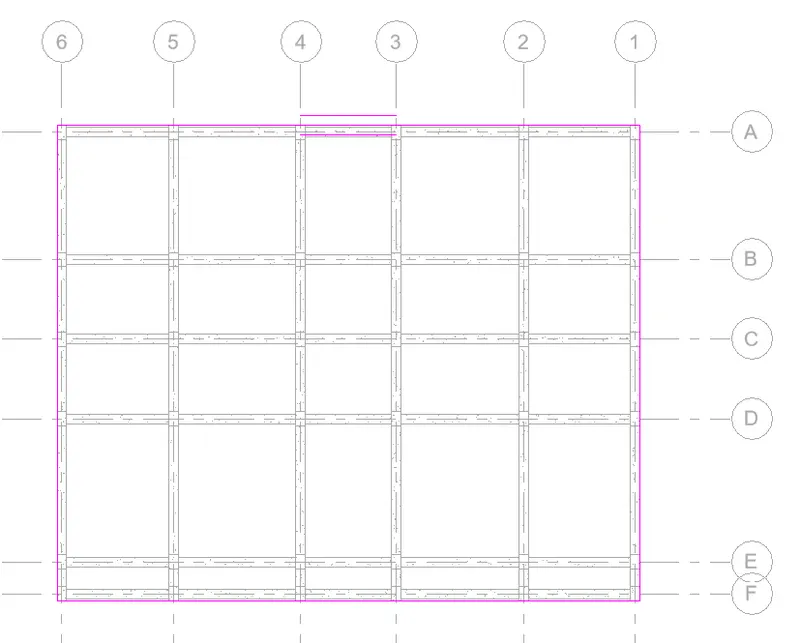
- The 3d view of floor is as follows
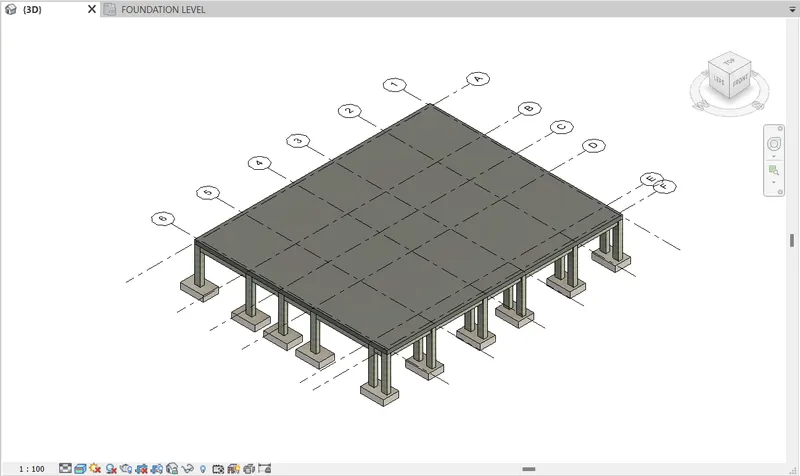
- Copy the figure shown above to next levels thats except footings.
- And the figure is as follows.
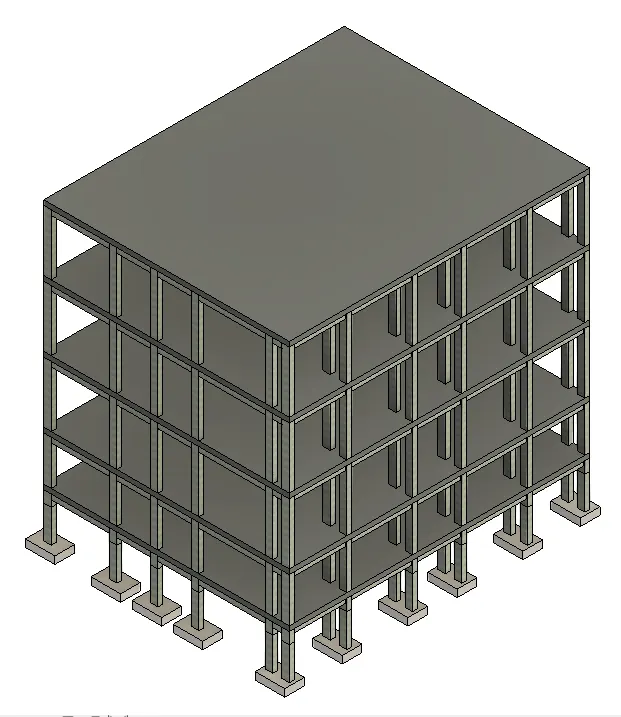
- We have to create the shaft opening for all the levels to sketch the elevator.
- For Staircase shaft opening will be created later on.
- Go to the Structural tab and select the shaft opening tool
- In the modify tab, select the rectangle tool to sketch the shaft opening.
- Sketch the shaft opening carefully as shown in the figure below
- The shaft opening for all the levels has been created successfully
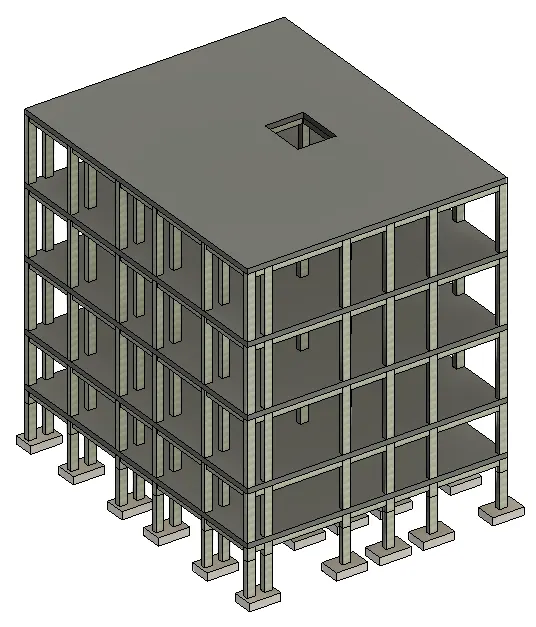
RESULT:-
All the Structural elements such as foundations, columns, beams, floor, roof, and shaft opening for the staircase have been sketched and created successfully.
4) Using the architectural model, include the following components based on the type of structure selected
a. Wall Layout with appropriate material and finishing
b. Exterior façade with fancy finish
c. Interior partition walls to size rooms
d. Components to add details to a room ( Desk, Chair, Lighting, Plumbing fixtures)
e. Add components such as stairs Elevators
f. Have at-least one side of the building with curtain walls and glass panels
g. Include interior and exterior lighting fixtures
h. Place proper topographic components from outside ( Trees, Parking, Plants) to add details to the model
AIM :-
Using the architectural model, include the following components based on the type of structure selected
a. Wall Layout with appropriate material and finishing
b. Exterior façade with fancy finish
c. Interior partition walls to size rooms
d. Components to add details to a room ( Desk, Chair, Lighting, Plumbing fixtures)
e. Add components such as stairs Elevators
f. Have at-least one side of the building with curtain walls and glass panels
g. Include interior and exterior lighting fixtures
h. Place proper topographic components from outside ( Trees, Parking, Plants) to add details to the model.
PROCEDURE:
with the same grids drawn in the previous plan draw a wall along the boundary.
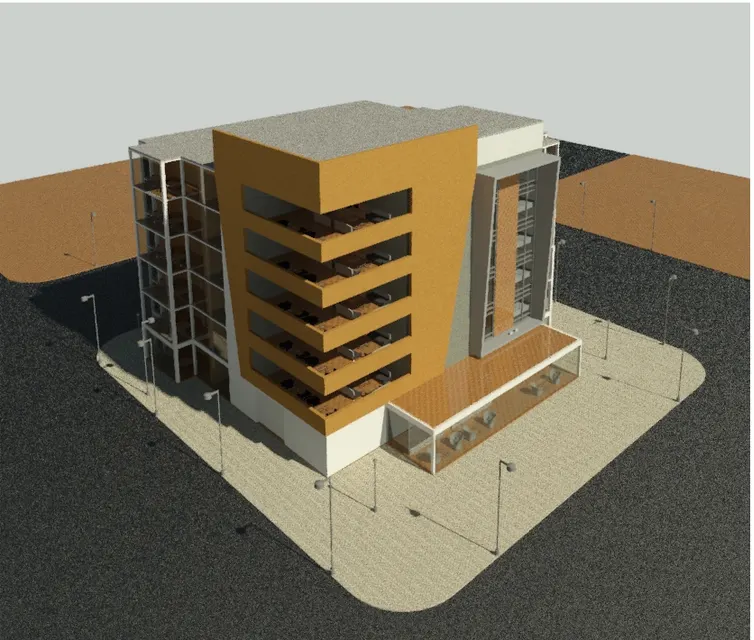
draw the interior partitions and place the required furniture and components in the plan.
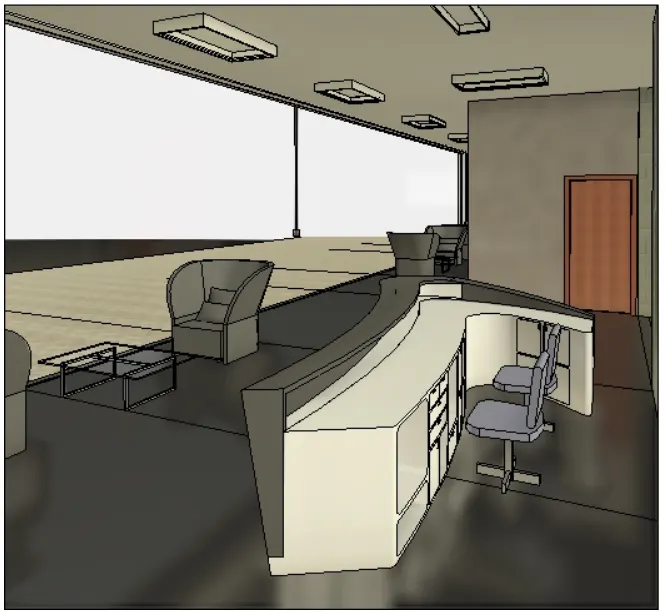
change the front walls of the building with curtain walls or glazed panel as shown in figure and
copy the entire figure and place it to the first floor.
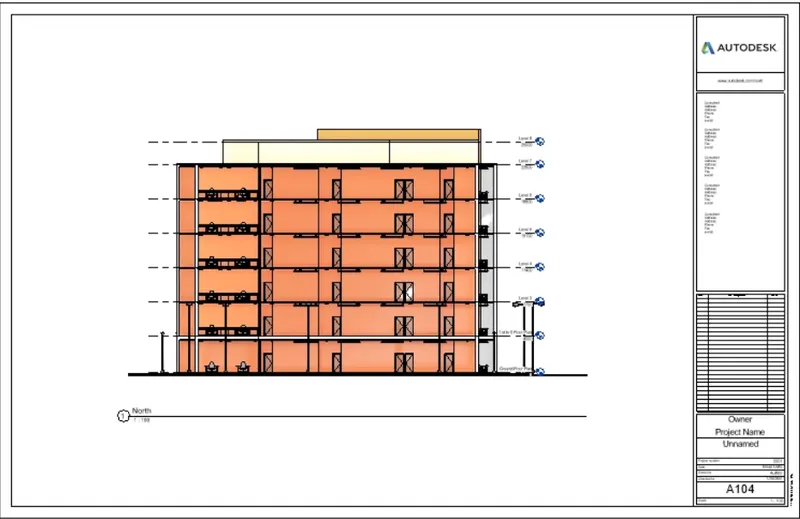
5) Provide a set of drawings in an architectural and structural model to list the following details with categories and appropriate sheet templates included
a. Floor Plans with Annotations
b. Elevations
c. Sections
AIM :
Provide a set of drawings in an architectural and structural model to list the following details with categories and appropriate sheet templates included
a. Floor Plans with Annotations
b. Elevations
c. Sections
PROCEDURE:
fo to the sheet option ,as the sheet opens there is another option below it called views
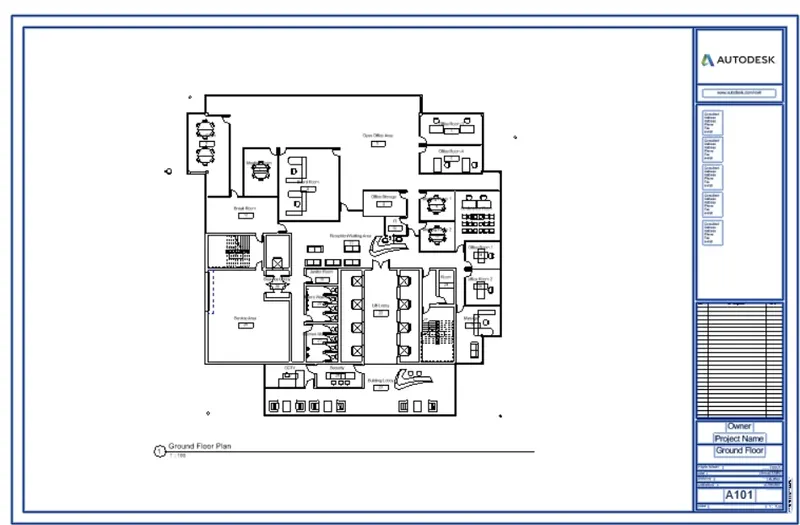
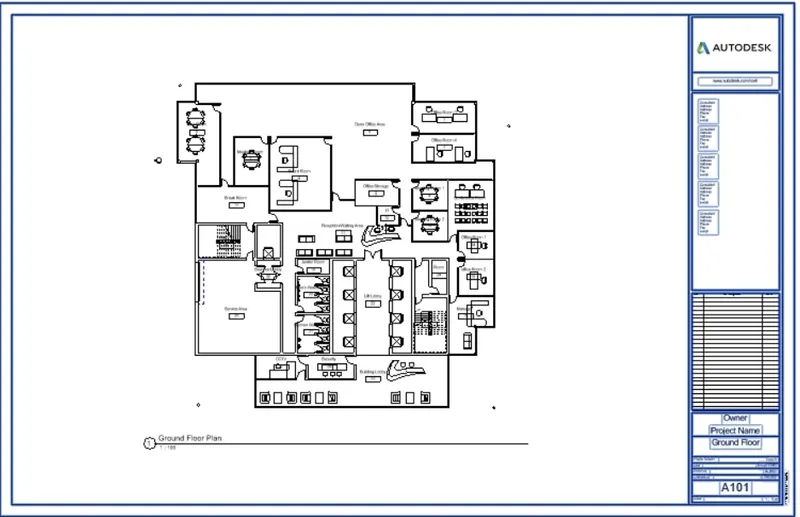
and select the required view you want to place.
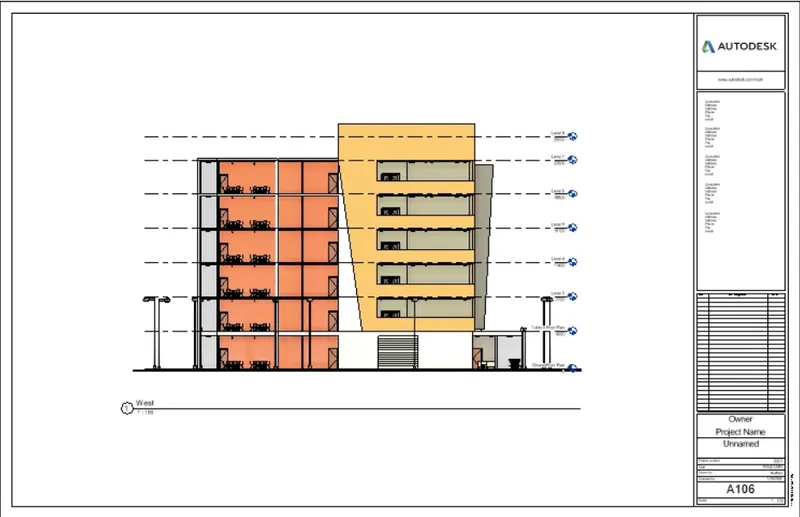
6) Using the Rendering settings, Render images of the 3D model produced and include the rendered images to the drawing sheets
a. Rendering from interior rooms
b. Rendering from out showing topographic features
c. Rendering through structural framing
AIM:-
Using the Rendering settings, Render images of the 3D model produced and include the rendered images to the drawing sheets
a. Rendering from interior rooms
b. Rendering from out showing topographic features
c. Rendering through structural framing.
PROCEDURE:
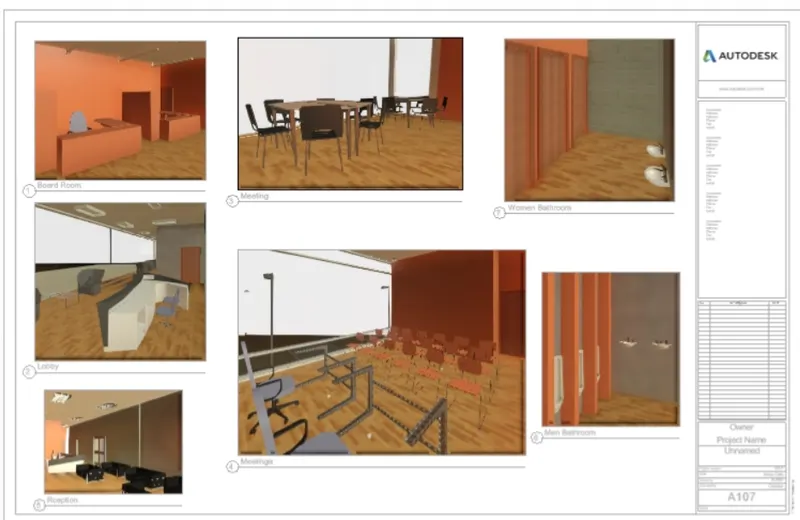
in order to render any figure go to the render option from the ribbon and change the settings you want 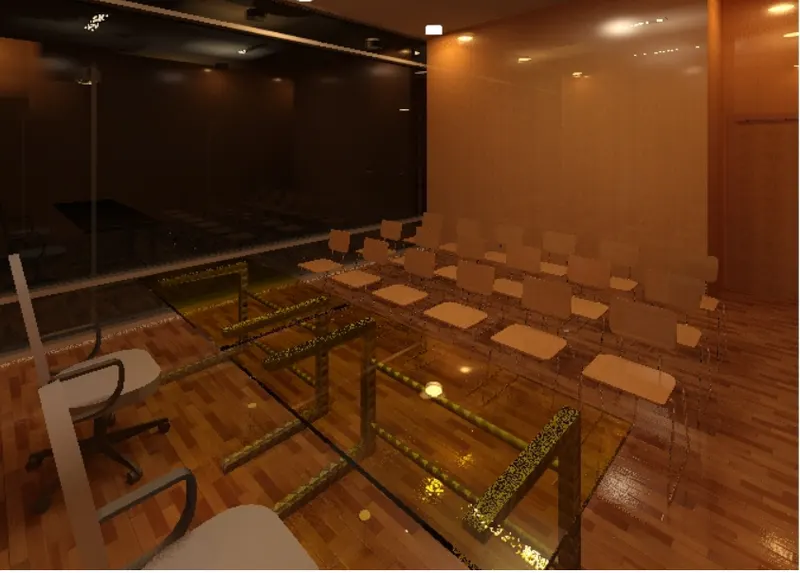
and click render figure will turn to realistic as shown below.
7) Print the set of drawing sheets created and submit the drawings from the architecture and structure model
AIM:-
Print the set of drawing sheets created and submit the drawings from the architecture and structure model
PROCEDURE:-
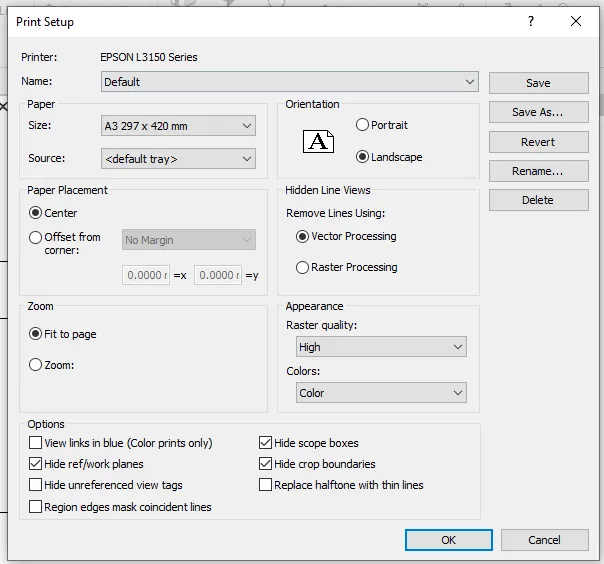
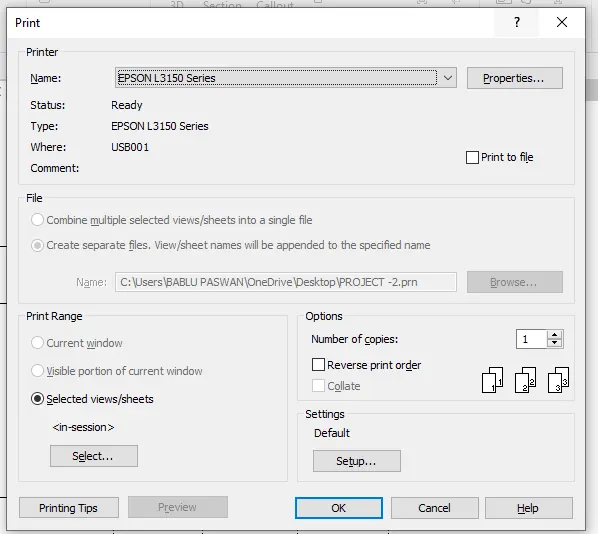
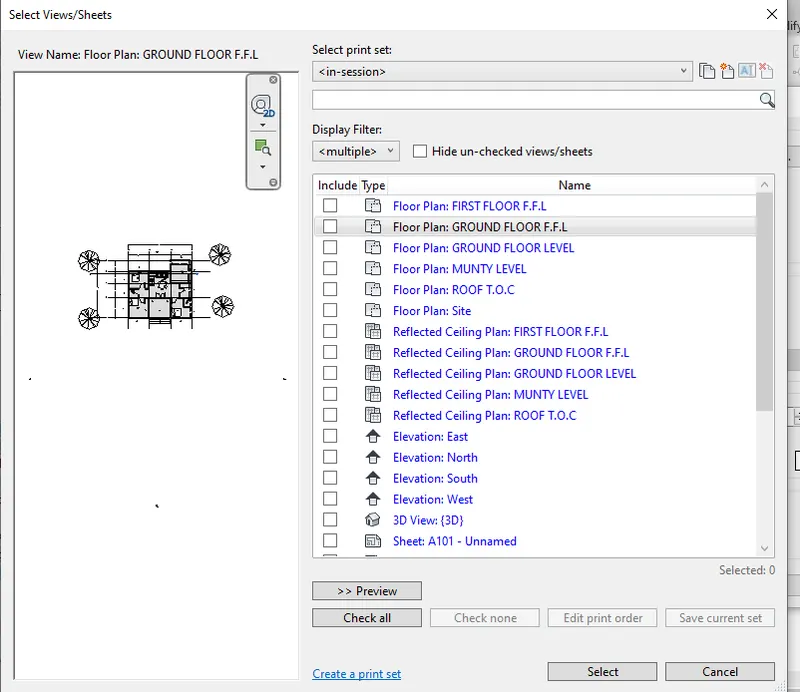
1.go to the ctrl + p press
2.Than choose the any connect the printer
3.Than select the View sheet
4. choose the floor drawing
5.Cleck the plot
1.go to the ctrl + p press
2.Than choose the any connect the printer
3.Than select the View sheet
4. choose the floor drawing
5.Cleck the plot
Result:-