Creating Architectural and Structural model with 3D rendering using REVIT
AIM:-
1) Select the type of structure you want to build from one of the three below:
a. Multi-Unit Residential Apartment
b. Office Buildings
c. School
ANS:- I have choose the Multi - Unit Residential Apartment
AIM:-
2) Assume reasonable assumptions for geographic and location details for your project modeling. Based on assumptions and type of structure selected identify the modeling requirements from NBC
Ans:- Build location in Ghaziabad (U.P) Rajnagar R.D.C
PROCEDURE:-
1.The open space around the building Shall no be less then 4.5m
2.The type of construction as type 2 construction , the FAR value for the business building shall be taken as 2.9.
3.The plote size is taken as 40mx70m i.e 2800m2 and individual floor area is 2000m2 Hence FAR value obtained is 2.14which is within thwe Prescribed limits as per NBC.
4. The width of the road abutting the building is taken as 9m (30').
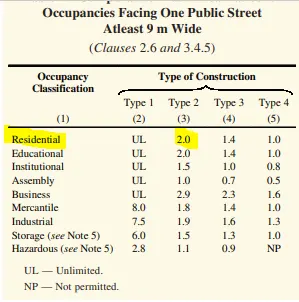
1.In my project the plote size is 30m'x30m' which is the equal to 900m2,and are of each is 170m2,There for the FAR comes out to be 1.9[(170x2)/900] which is the less than 2.0and with the limits provided by the NBC
AIM:-
3) Using the structural model, include the following components based on the type of structure selected
a. Foundation – Isolated / Wall/Matt Foundation
b. Columns
c. Beams Connected to Columns
d. Roof Framing/ Truss
e. Floor / Decks
f. Floor Openings for Elevators and Stairs
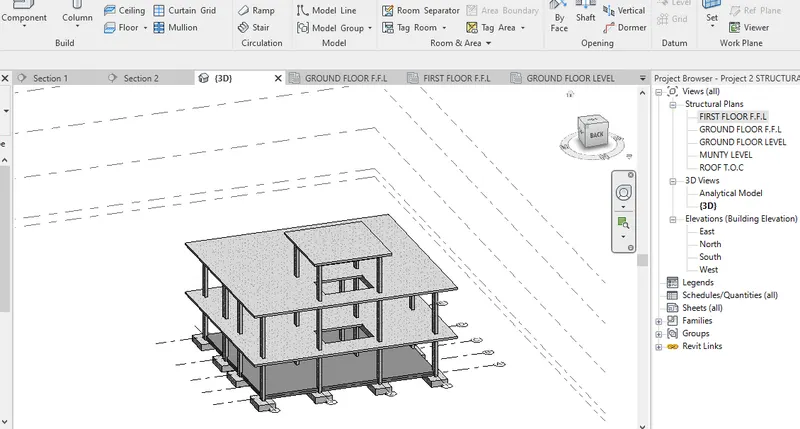
a. Foundation – Isolated / Wall/Matt Foundation
1.Using the structural model,
2.Go to the Architectue and take the gride line
3.Creating the gride line accoding to plan
4.Creat the vertical gride line
5.The Creat the horizental gride line
6.Go to the structural tab and take the isolated Footing
7.take at gride and select the all gride
8.Than creat the gride line than tik mark finish
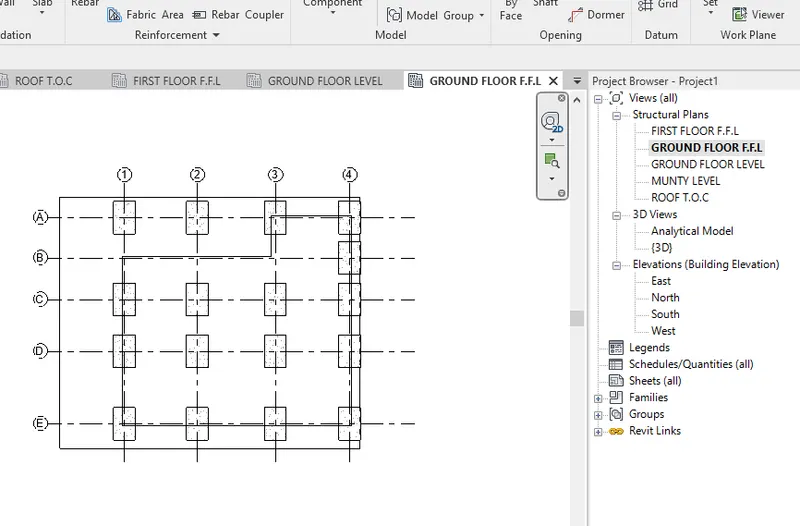
1. Creat the same process column and bem one-by one
2.creatb the column ground floor F.F.L to First floor F.F.l
3.Creat the bem first floor F.F.L
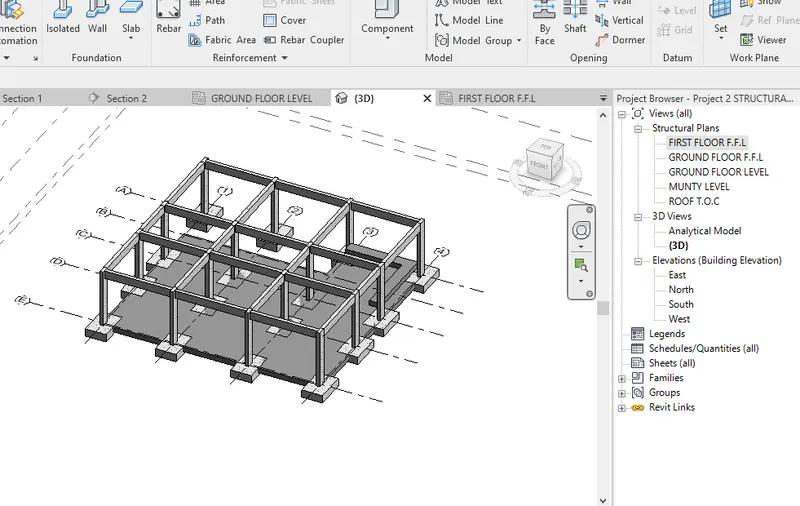
1.Next cteate the column first floor F.F.L to Roof T.O.C
2.Creat the column Next floor
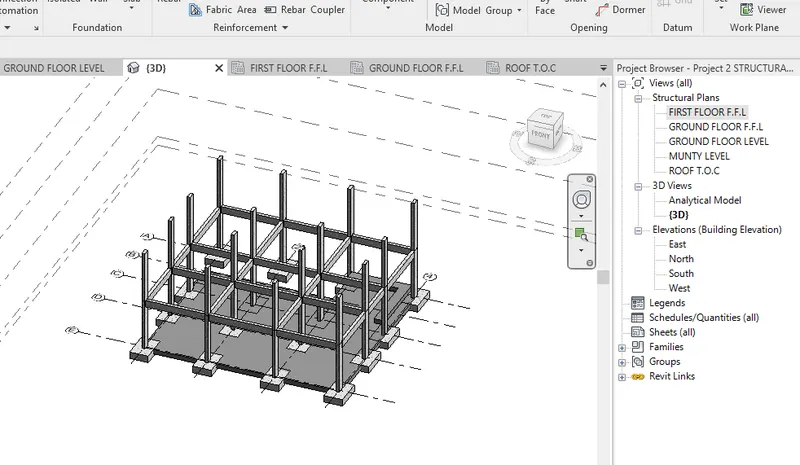
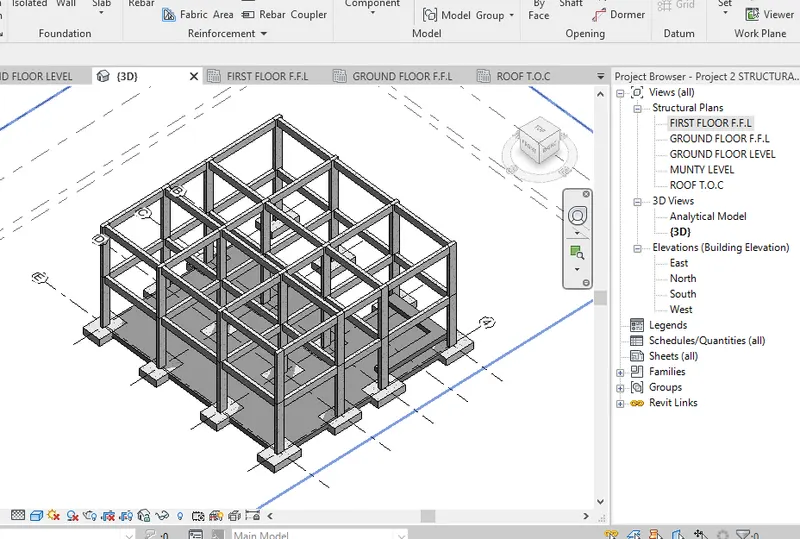
1.Create the column and beam
2.First floor FFL to Roof level
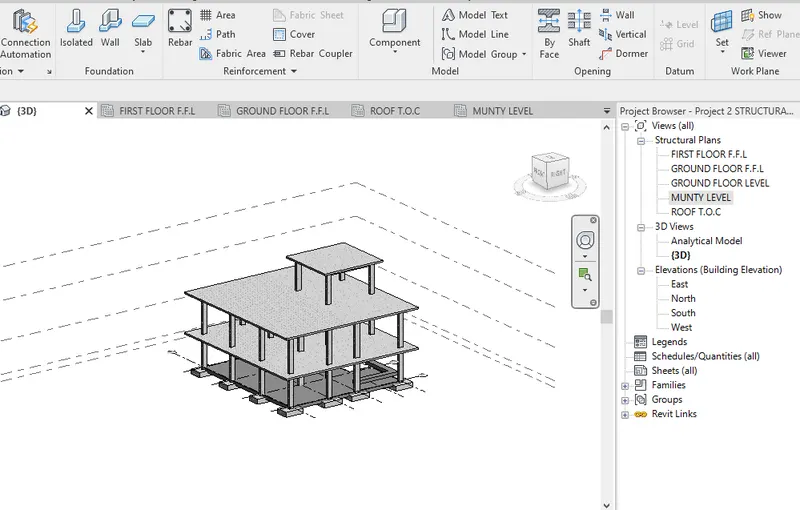
1.Creat the floor
2.Go to the structural tab than select the Floor
3 Than use the line and draw the slab
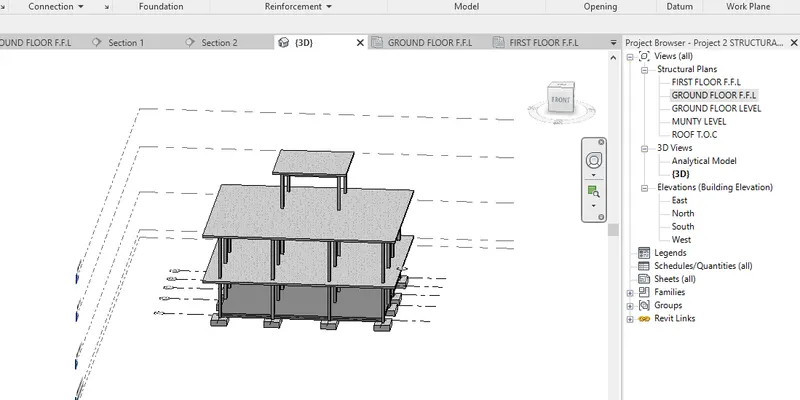
1.Stair opping
2.go to the structure tab and select the shaft
3.than mark the stair case area
4.than finish
AIM:-
4) Using the architectural model, include the following components based on the type of structure selected
a. Wall Layout with appropriate material and finishing
b. Exterior façade with fancy finish
c. Interior partition walls to size rooms
d. Components to add details to a room ( Desk, Chair, Lighting, Plumbing fixtures)
e. Add components such as stairs Elevators
f. Have at-least one side of the building with curtain walls and glass panels
g. Include interior and exterior lighting fixtures
h. Place proper topographic components from outside ( Trees, Parking, Plants) to add details to the model
INTRODUCTION :- Using the architectural model, include the following components based on the type of structure selected and propar design the residensial palan with anotation and Architectural component and Structural component And Building with Curtain wall and parking plant
PROSUDER:-
1.choose the revit Sheet Arcitectural And structutal
2.Plan creatind some Architetural and structural unit set
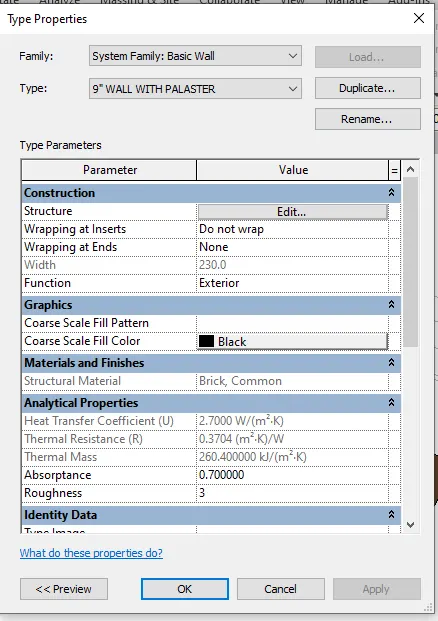
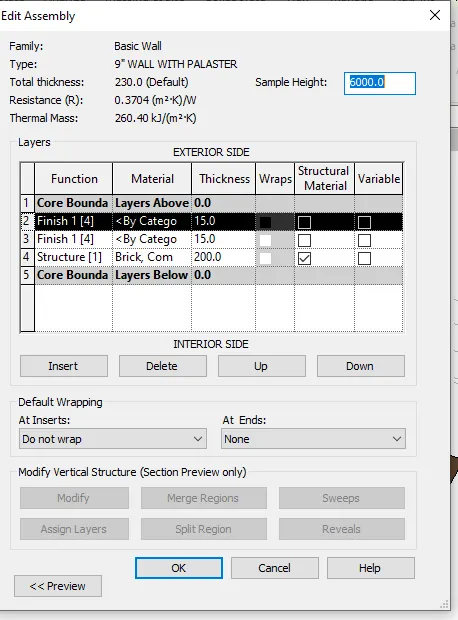
3. Seting of wall 9" outer wall
4.and 4.5" interior wall
5.set the wall brick wall
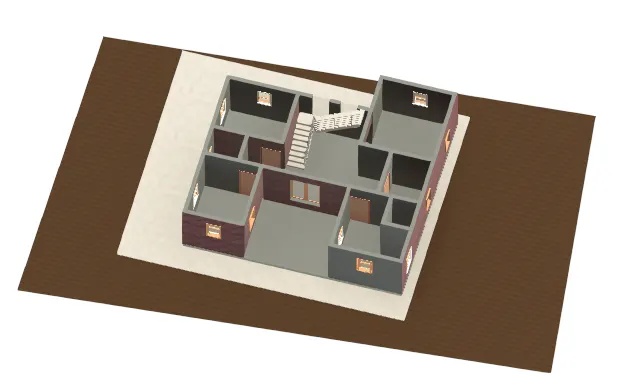
1.Creat the plan and loking fo 3D view
2.Creat the Wall , floor Stair case And topographical land
3. The door ,windows, ventileter
1.Creat the kitchan sab
2.use some Architectur famaly chairs, table , bed, dining table
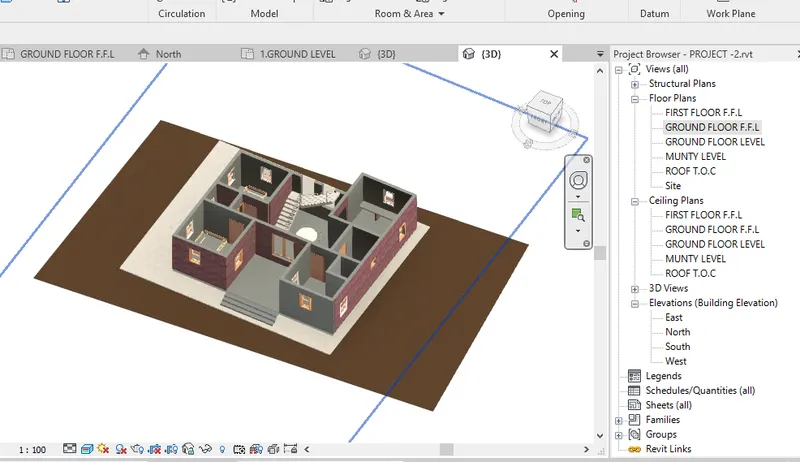
1.Creaing the floor ,
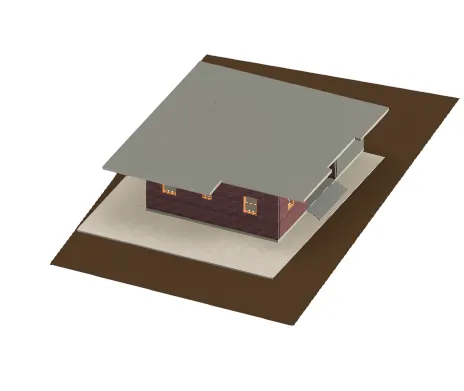
1.SElect the shaft and
2.Use the Stair Opning
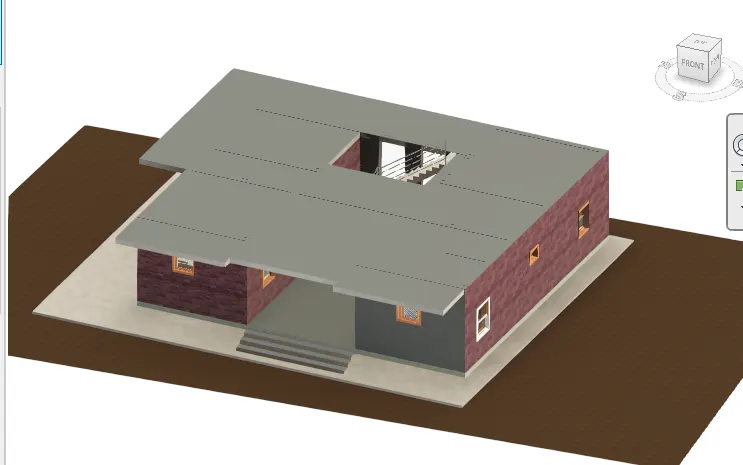
1.Creat the The Ground floor F.F.L to Roof Floor
2.Select the ground floor Wall windows, door , Stair case And copy
3.Than past and offset to First floor F.F.L
4.Creating the complite floor first
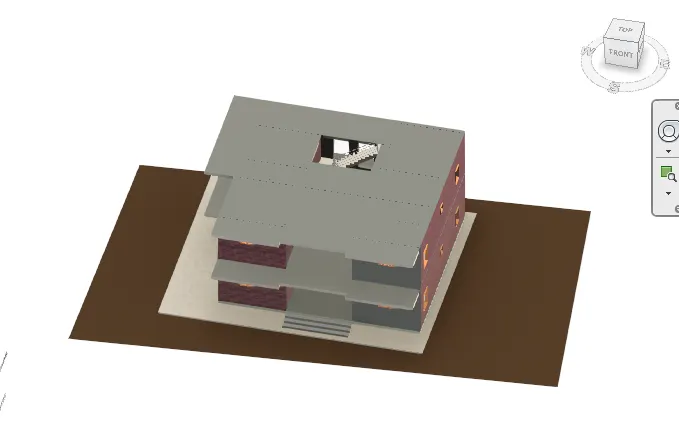
1.Creat the munty
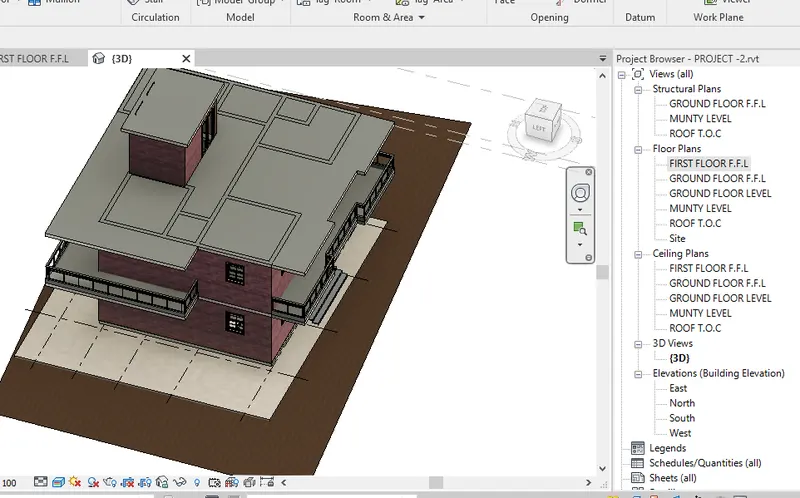
1.Creating the wall finishig material Are use
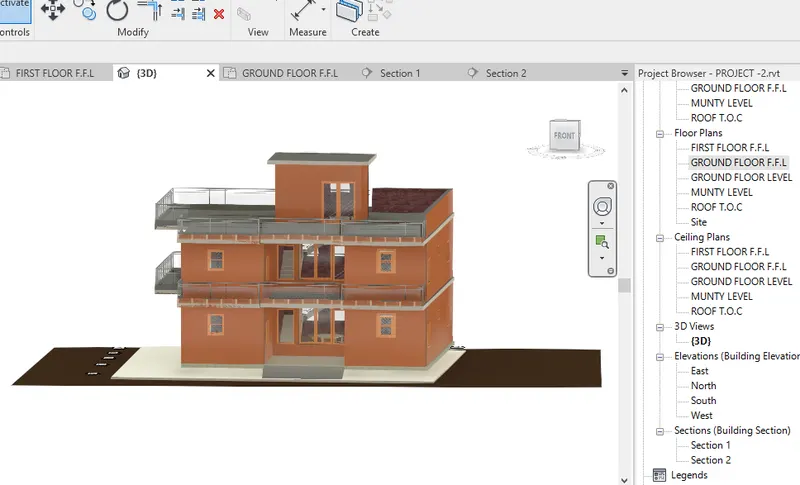
1.Place propar topography Component out side Tree and plant
2.Propal place the tree
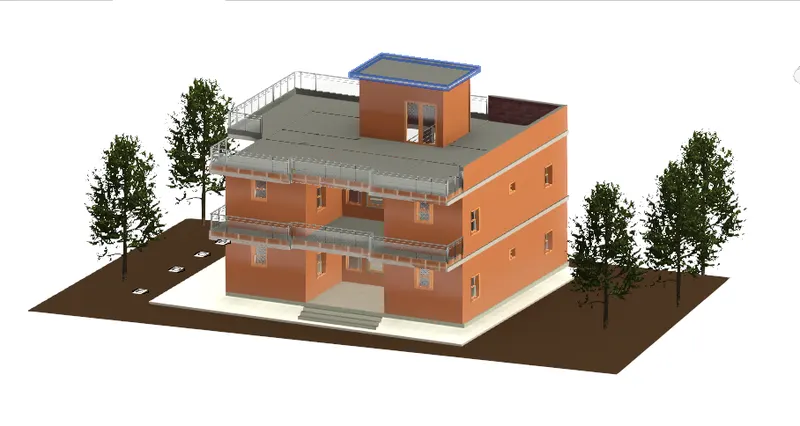
1. Use the Back view of Building
2.Use to curtain glass panal back of stair case area
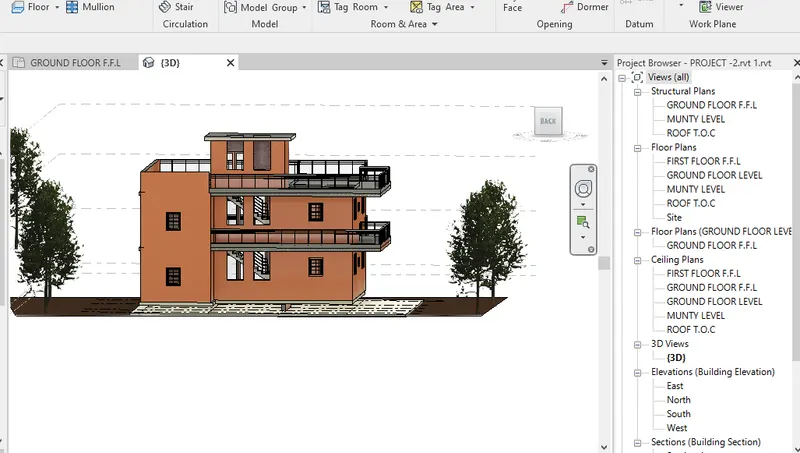
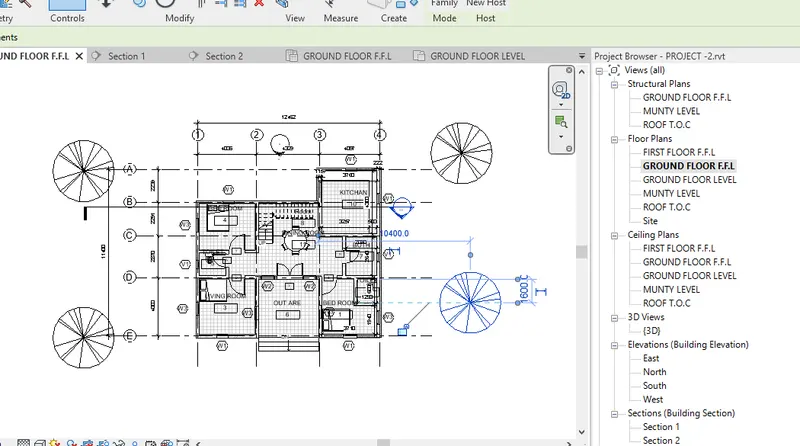
1.Put the 2D building plan With anotation
AIM:-
5) Provide a set of drawings in an architectural and structural model to list the following details with categories and appropriate sheet templates included
a. Floor Plans with Annotations
b. Elevations
c. Sections
PRODUCER:-
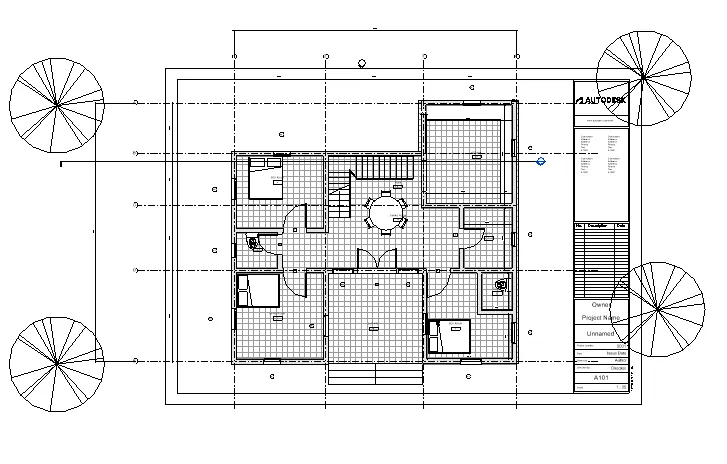
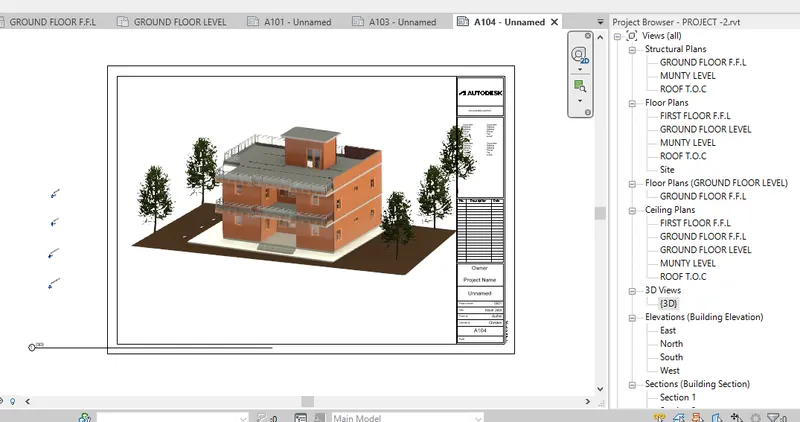
1.Go to the view tab
2.Than take a new sheet
3.than drage the Floor plan with anotation
4.
a. Floor Plans with Annotations
B. Elevations
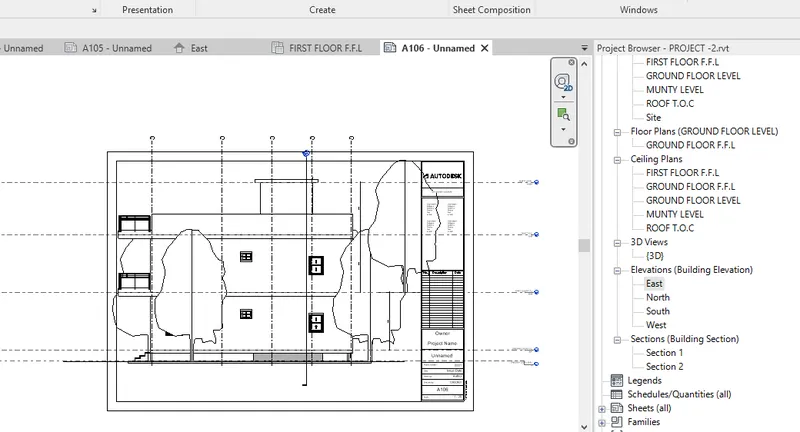
1.Go to the view tab
2.Than take a new sheet
3.than drage the Floor plan with anotation
4.Creating the sheet
5.Than drage the Elevation of East
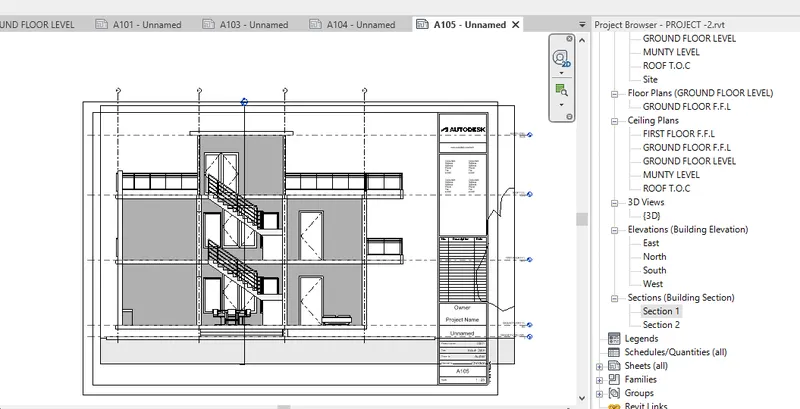
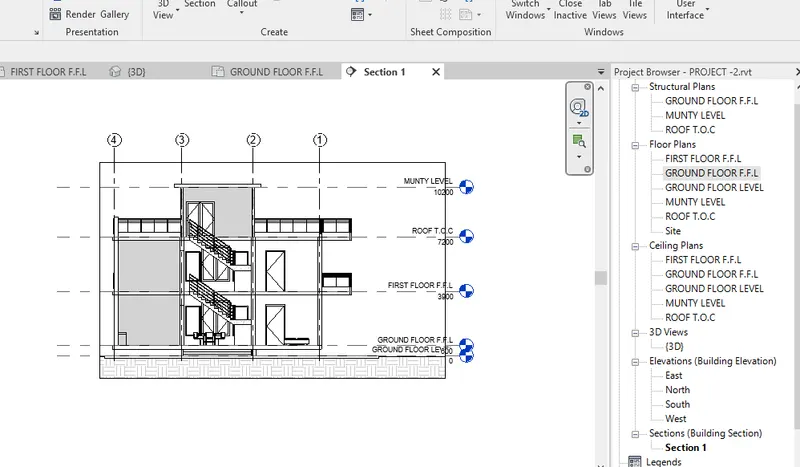
c. Sections
1.Go to the view tab
2.Than take a new sheet
3.than drage the Floor plan with anotation
4.Ther are diffrent cut the sections
5. First cut the section view top to south
Result:-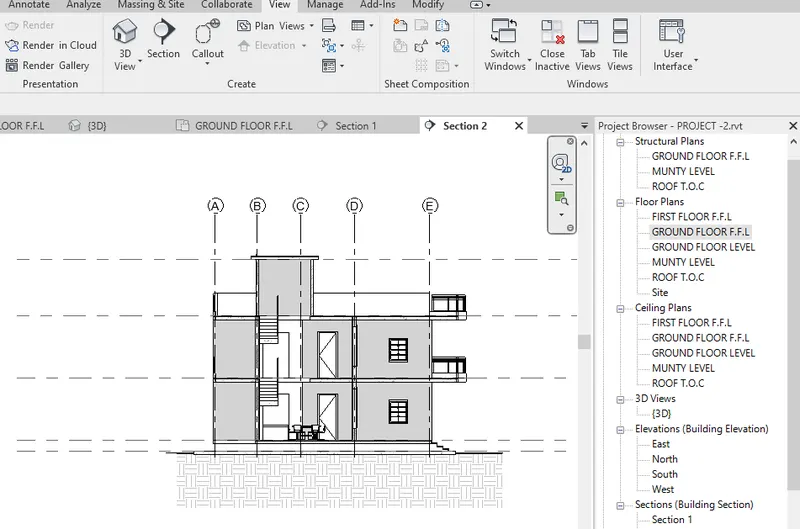
AIM:-
6) Using the Rendering settings, Render images of the 3D model produced and include the rendered images to the drawing sheets
a. Rendering from interior rooms
b. Rendering from out showing topographic features
c. Rendering through structural framing
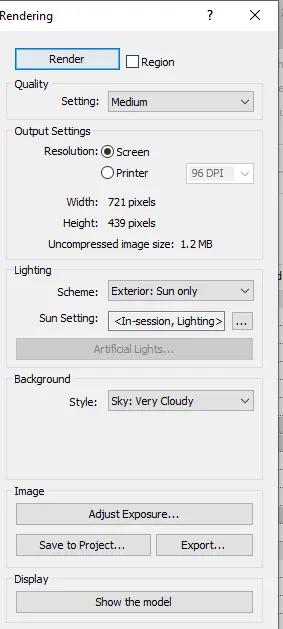
PROSUDER:-
1.Go to the view plan
2.Select the rendaring
b. Rendering from out showing topographic features
1.Go to the view plan
2.Select the rendaring
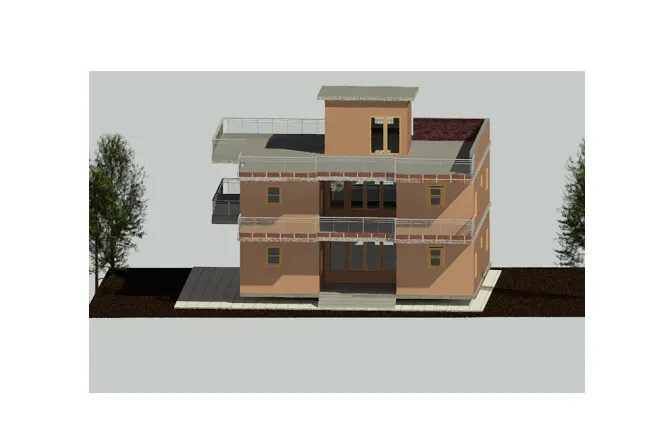
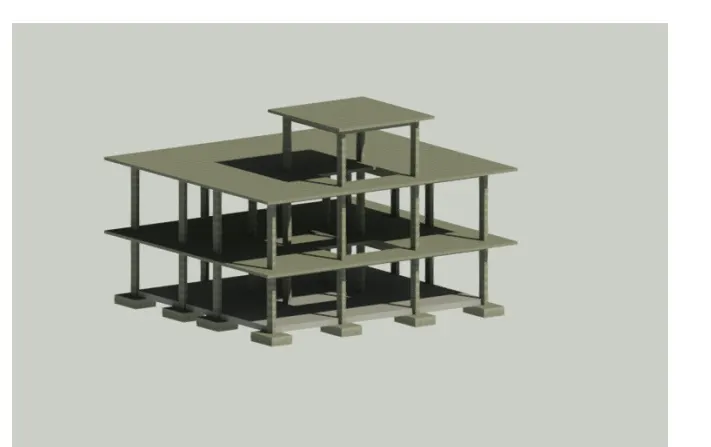
Resul
a. Rendering from interior rooms
1.Go to the view plan
2.Select the rendaring
1.FRONT caimara view
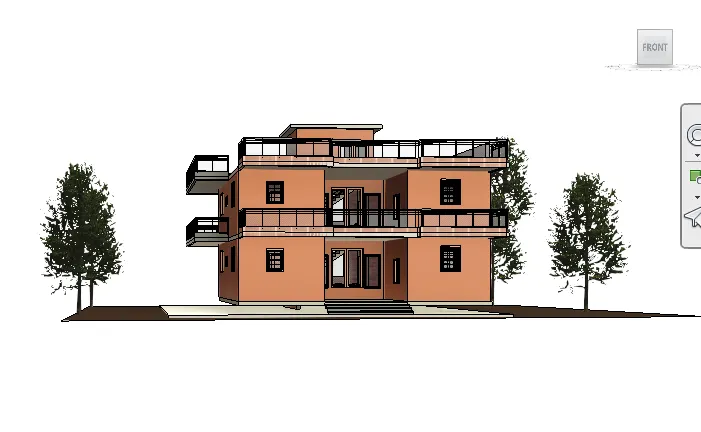
AIM:-
7) Print the set of drawing sheets created and submit the drawings from the architecture and structure model
PROSUDER:-
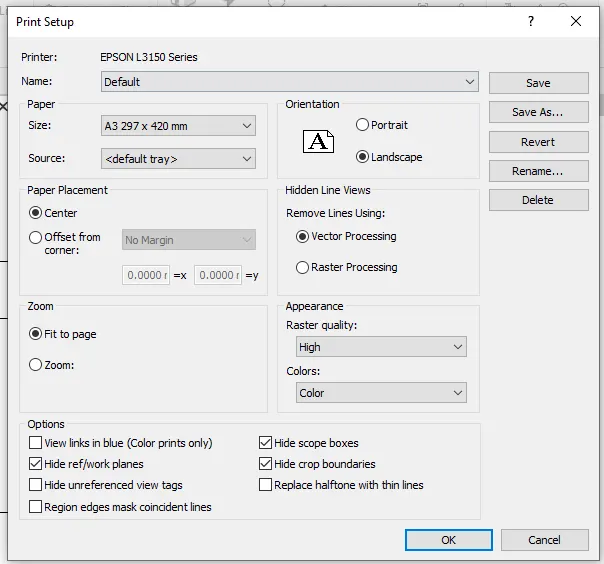
1.go to the ctrl + p press
2.Than choose the any connect the printer
3.Than select the View sheet
4. choose the floor drawing
5.Cleck the plot
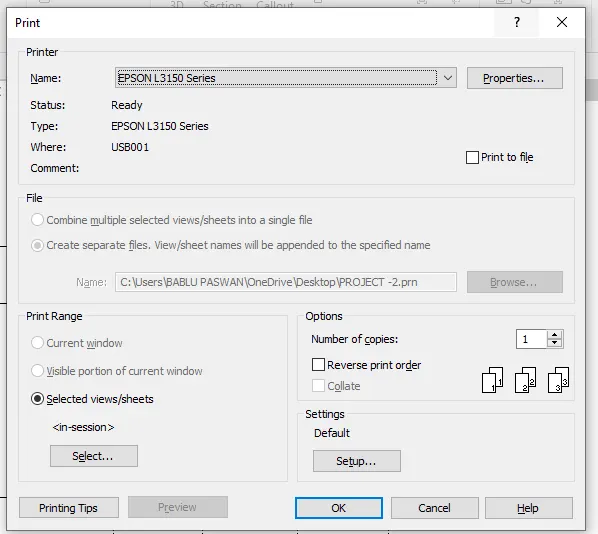
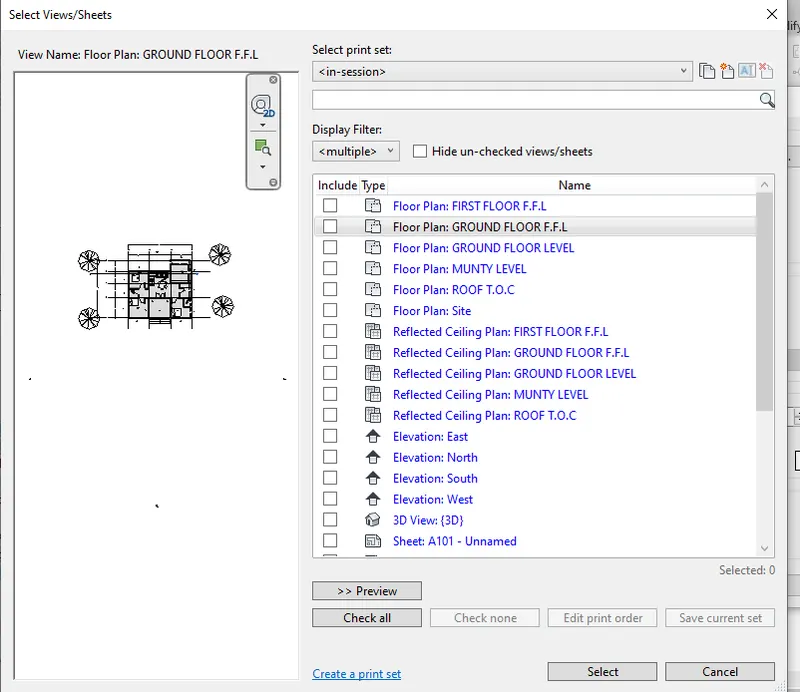
1.go to the ctrl + p press
2.Than choose the any connect the printer
3.Than select the View sheet
4. choose the floor drawing
5.Cleck the plot
Result;-