Creating Architectural and Structural model with 3D rendering using REVIT
1) Select the type of structure you want to build from one of the three below:
a. Multi-Unit Residential Apartment
b. Office Buildings
c. School
I want to build Multi-Unit Residential Apartment
2) Assume reasonable assumptions for geographic and location details for your project modelling. Based on assumptions and type of structure selected identify the modelling requirements from NBC
- The open space around the building shall not be less than 4.5m
- The type of construction as Type 2 construction, the FAR value for the business building shall be taken as 2.9.
- The plot size is taken AS40M into 70m i.e, 2800m2m2 and individual floor area is 2000m 2m. Hence, FAR value obtained is 2.14.
- The width of the road abutting the building is taken as 9m.
3) Using the structural model, include the following components based on the type of structure selected
At first by using the. Grid lines. V create. Horizontal grid lines and. By typical grid lines to assure the location of the columns. and the foundations
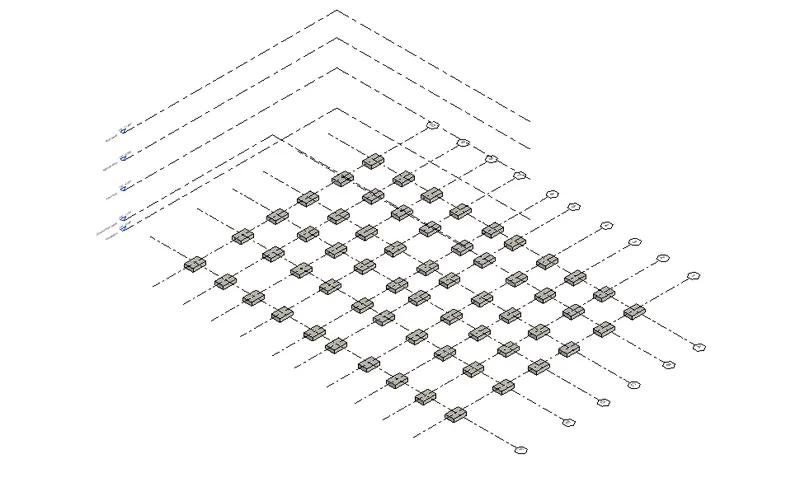
a. Foundation – Isolated / Wall/Matt Foundation
- Click on the structure. tab.
- Then click on the foundation icon.
- Then after select on grids.
- Then select all the grid lines to create the foundations.
b. Columns
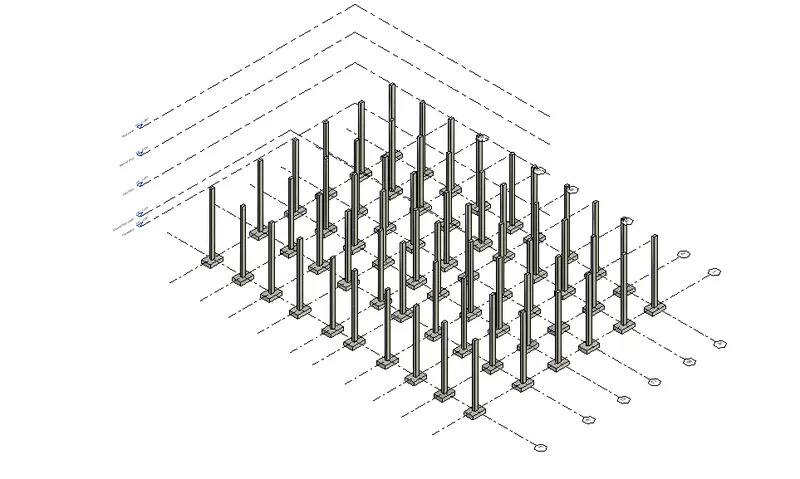
To create the columns follow these steps.
- Click on the structure tab.
- Then click on the structure column. icon.
- Then after select on grids.
- Then select all the grid lines to create the columns.
c. Beams Connected to Columns
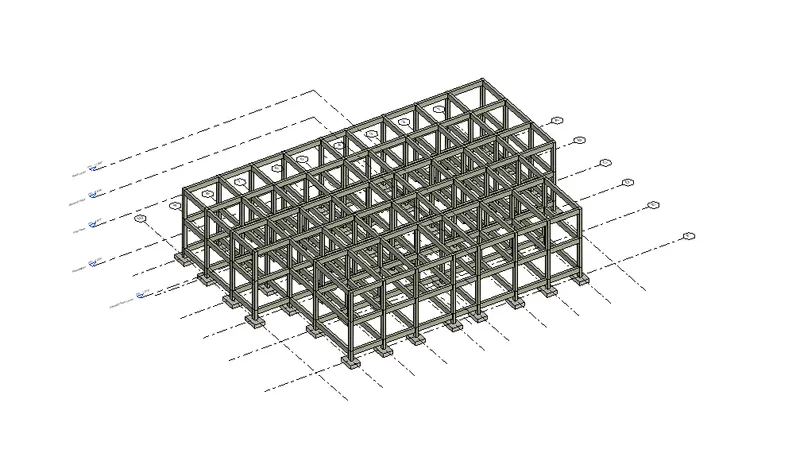
For creating beams follow these steps.
- Click on the structure tab.
- Then click on the structure Beam icon.
- Then after select on grids.
- Then select all the grid lines to create the Beams
d. Roof Framing/ Truss
e. Floor / Decks
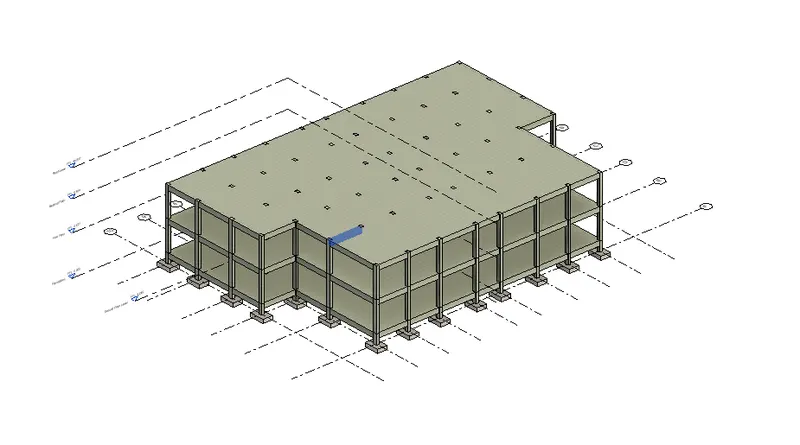
- Click on the architectural tab.
- Then click on the slab.
- By using the. Line option create the outline of the. Model where you want the slab.
- Then click on. Tich Button after completing.
f. Floor Openings for Elevators and Stairs
For creating openings for elevators or stairs. We have to follow these steps.
- click on the architectural tab.
- Then click on the shaft icon.
- Buy rectangular option. Create the rectangle where you want opening for your elevators stairs.
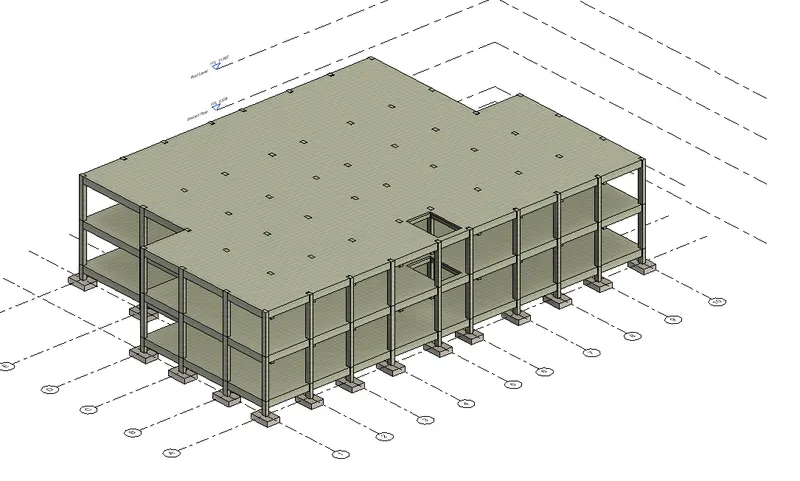
4) Using the architectural model, include the following components based on the type of structure selected
Now we have to make. An architectural model Which contain various residential units.
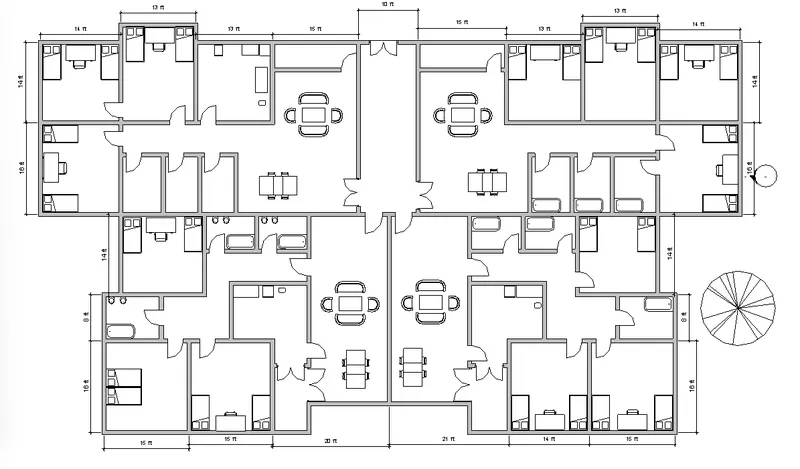
a. Wall Layout with appropriate material and finishing
b. Exterior façade with fancy finish
c. Interior partition walls to size rooms
d. Components to add details to a room (Desk, Chair, Lighting, Plumbing fixtures)
e. Add components such as stairs Elevators
f. Have at-least one side of the building with curtain walls and glass panels
g. Include interior and exterior lighting fixtures
h. Place proper topographic components from outside ( Trees, Parking, Plants) to add details to the model
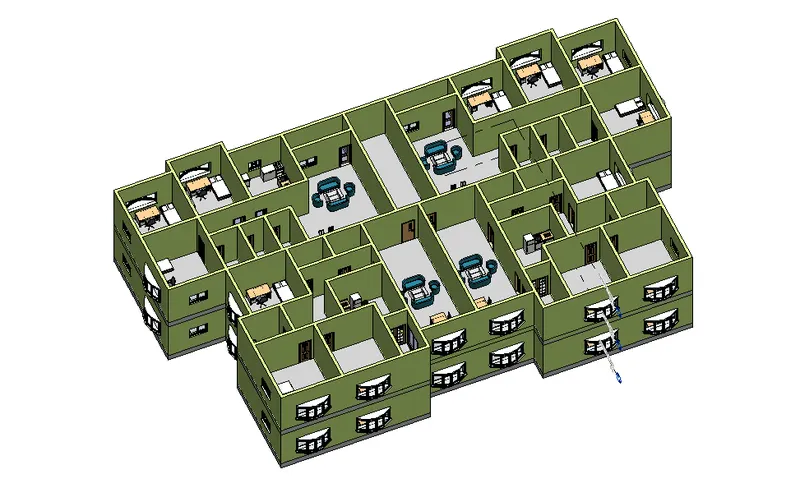
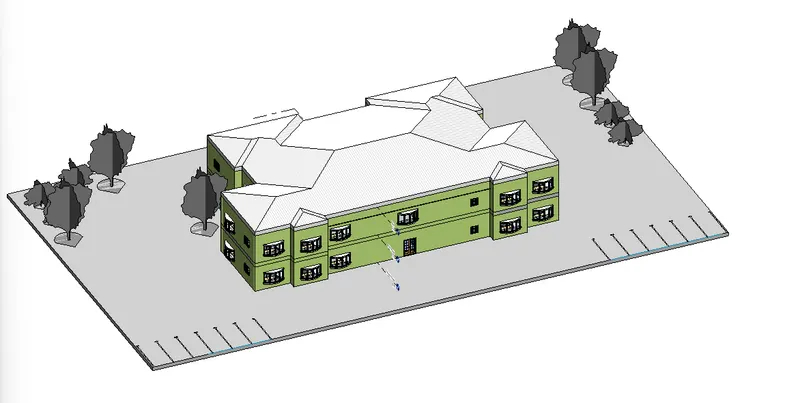
5) Provide a set of drawings in an architectural and structural model to list the following details with categories and appropriate sheet templates included
a. Floor Plans with Annotations
Structure plan must have details of only walls, floors, and columns
- Right click on the view tab.
- Then Click On the Plan view Icon and then Structural Plan.
- By right clicking on A Structural Plan Dialogue Box will appear.
- Then click On Apply and then
- So, The Structural Plan Will be Created.
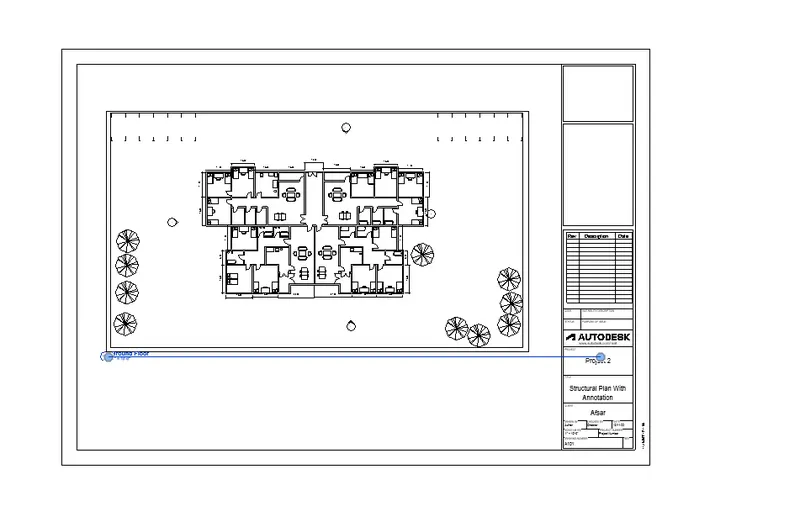
Architecture plan must have walls, floors, and all the components placed within the building
For this,
- Right click on the View tab
- Then Click On the Plan view Icon
- By right clicking on Plan view A Dialogue Box will appear
- Then click On Apply and then Ok
- So, The Architecture Plan Will be Created.
b. Elevations and Sections
To create the elevation views, looking at your building from East, North, South, and West:
- Click on the View Tab
- Select the Elevation Icon
- Then Create the elevation from East,West, South,North.
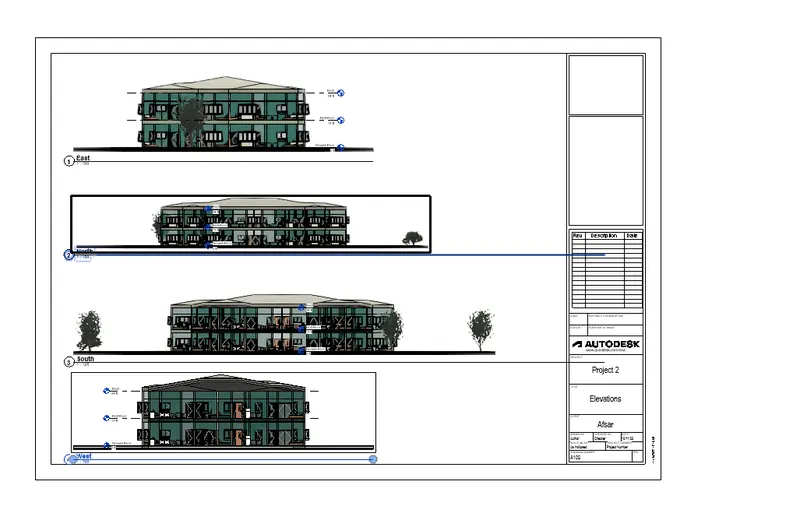
6) Using the Rendering settings, Render images of the 3D model produced and include the rendered images to the drawing sheets
For rendering the images of the 3D model we have produced. Follow these steps.
- Click on the View tab.
- Then then Select the Views you have to render.
- Now. Click on the Render icon.
- And render the image with your own settings.
- After rendering the view, click on the safe to the project and save Your rendered view.
a. Rendering from interior rooms
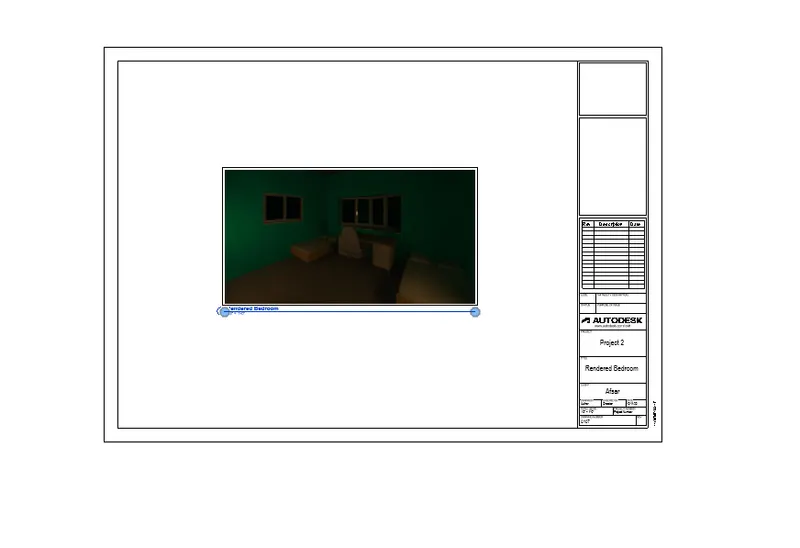
Rendered View of Bedrooms
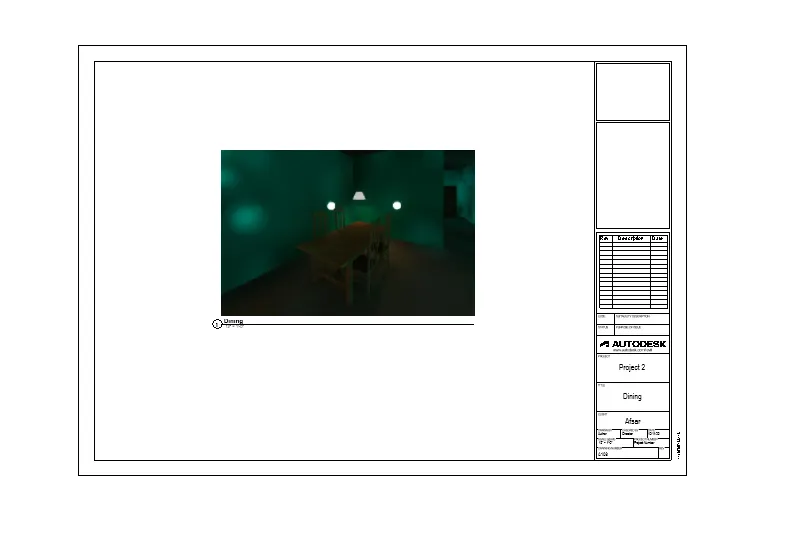
Rendered View of dining Room
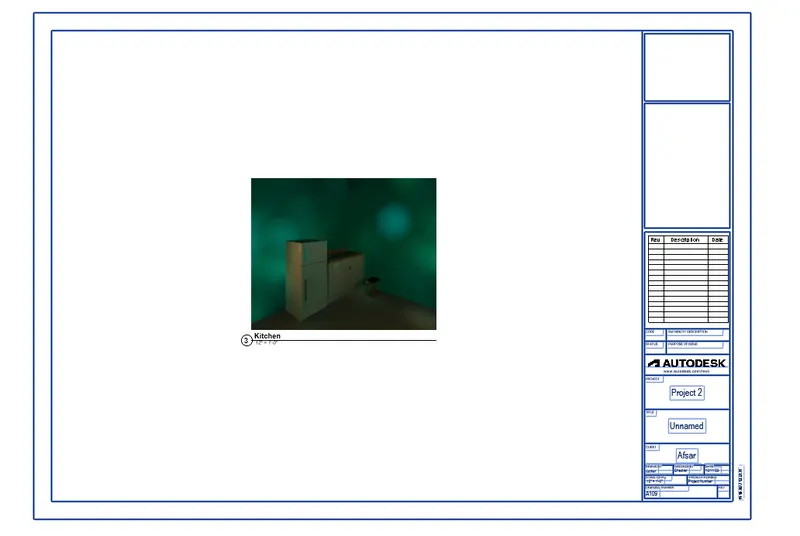
Rendered View Of Kitchen
b. Rendering from out showing topographic features
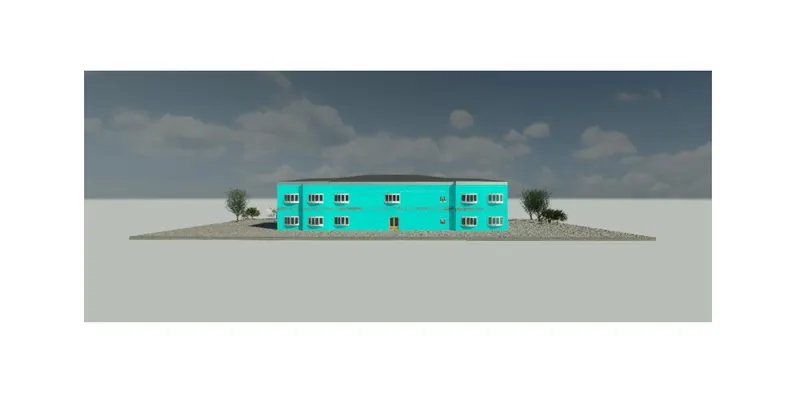
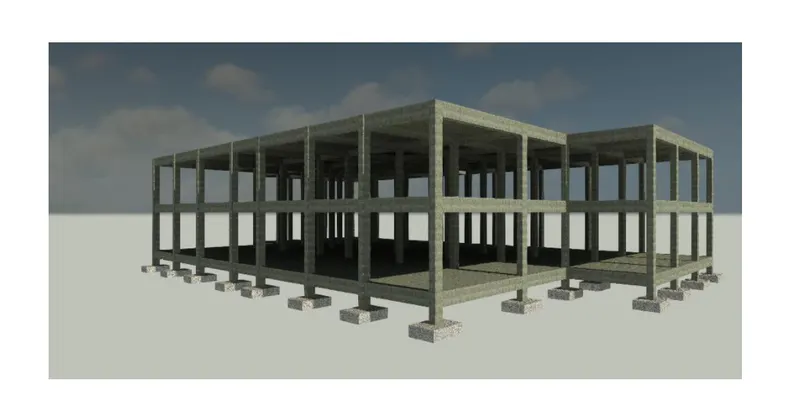
c. Rendering through structural framing
7) Print the set of drawing sheets created and submit the drawings from the architecture and structure model
For printing the set of drawing sheets created in the architecture and structure model.
- Press the ctrl+P
- Then select. From drop down icon. Microsoft to PDF.
- Then click on the OK
- Repeat the same thing for all the files created In the architecture and structural model.