Creating Architectural and Structural model with 3D rendering using REVIT
Aim : 1) Select the type of structure you want to build from one of the three below:
a. Multi-Unit Residential Apartment
b. Office Buildings
c. School
2) Assume reasonable assumptions for geographic and location details for your project modeling. Based on assumptions and type of structure selected identify the modeling requirements from NBC
3) Using the structural model, include the following components based on the type of structure selected
a. Foundation – Isolated / Wall/Matt Foundation
b. Columns
c. Beams Connected to Columns
d. Roof Framing/ Truss
e. Floor / Decks
f. Floor Openings for Elevators and Stairs
4) Using the architectural model, include the following components based on the type of structure selected
a. Wall Layout with appropriate material and finishing
b. Exterior façade with fancy finish
c. Interior partition walls to size rooms
d. Components to add details to a room ( Desk, Chair, Lighting, Plumbing fixtures)
e. Add components such as stairs Elevators
f. Have at-least one side of the building with curtain walls and glass panels
g. Include interior and exterior lighting fixtures
h. Place proper topographic components from outside ( Trees, Parking, Plants) to add details to the model
5) Provide a set of drawings in an architectural and structural model to list the following details with categories and appropriate sheet templates included
a. Floor Plans with Annotations
b. Elevations
c. Sections
6) Using the Rendering settings, Render images of the 3D model produced and include the rendered images to the drawing sheets
a. Rendering from interior rooms
b. Rendering from out showing topographic features
c. Rendering through structural framing
7) Print the set of drawing sheets created and submit the drawings from the architecture and structure model
Procedure :
1. Go to Revit Software.
2. Open a new file that is Structural Template.
3. After opening the Structure Template Go to the Architecture tab.
4. While creating a Residential Building (Group A) it is necessary to create a Gride and Levels.
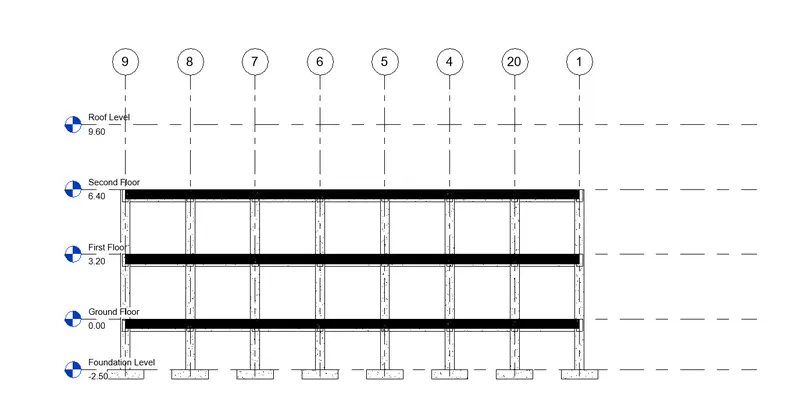
5. In this Project there will be 3 levels excluding the Foundation Level.
6. Ground Floor Level. First, Floor Level, Second Floor Level and the Foundation Level.
7. Each level Height is 3.2 meter
The Process for creating a Residential Building is as follows:
1. Go to Architecture Tab.
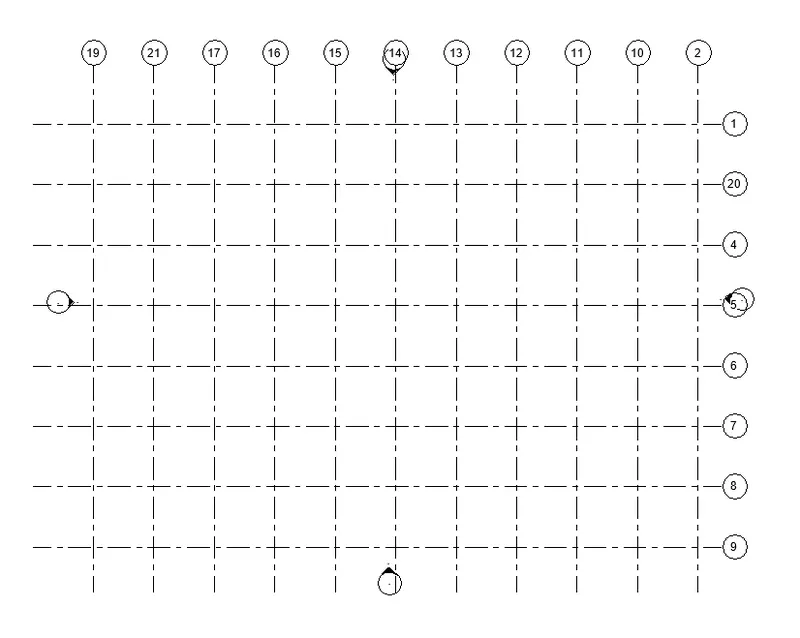
2. Select the Grid Tab and Create a vertical and Horizontal Grid as given below
3. Type UN and set the unit as your comfort. (The below unit is set to meter)
4. Set an offset of 3 meter for the grids.
5. The grids are created below with a off set of 3 meter
6. Go to foundation level in Structure tab
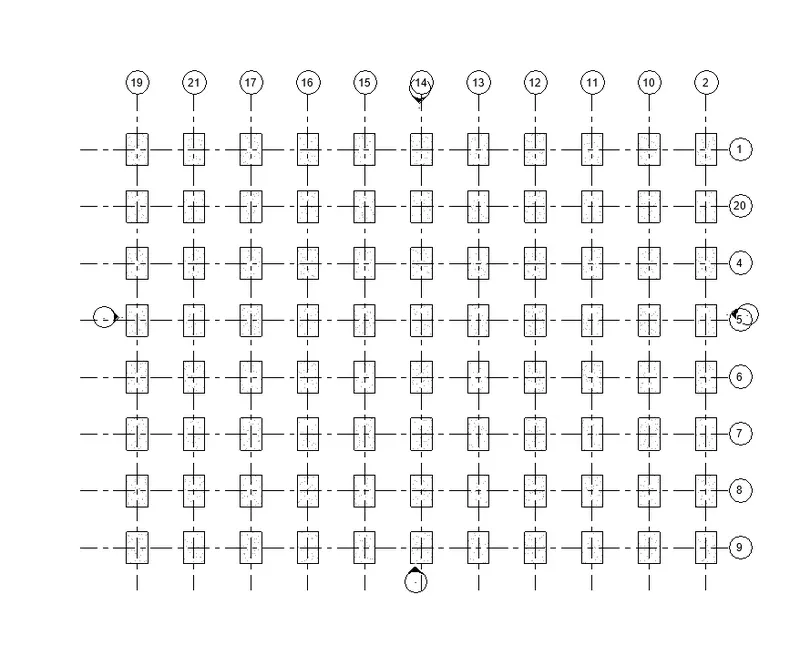
6. After creating Grids the next process is to create footings
7. Then go to the structure Tab and go to footings.
8. Select the Footings and then select all the Grid Lines and the footings will be automatically placed.
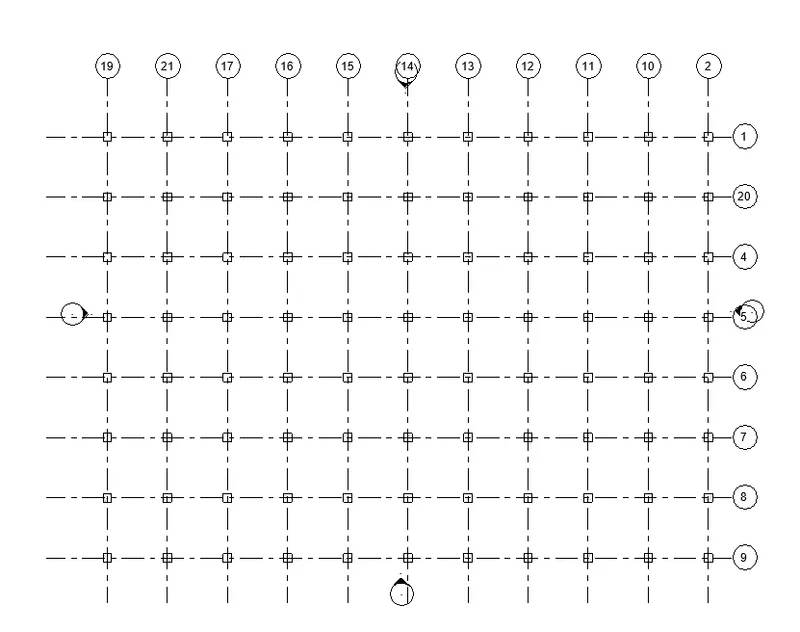
9. The next step is to create a Column
10. Go to Architecture Tab and then go to Column
11. Select columns and select the Grid lines and click the green tick in the Ribbon.
12. The Column will be placed automatically.
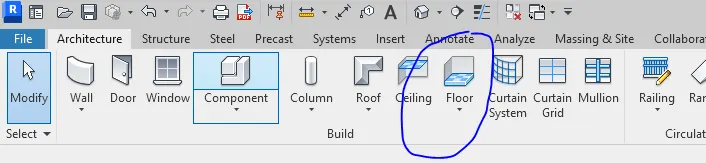
13. The next step is to create a Floor.
14. Go to Architecture Tab and then go to Floor Tab.
15. After going to Architecture tab click Floor and select Architecture Floor
16. Select the floor by floor by using the line option and create the floor on each level.
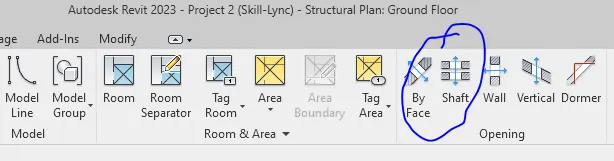
17. The next step is to create the shaft for the Building.
18. Go to Architecture Tab and select shaft.
19. After selecting the shaft go to top floor and by using the line option create a shaft where it is necessary to create a shaft for the staircase or lift.
20. After the shaft is created the next step is to create a Staircase.
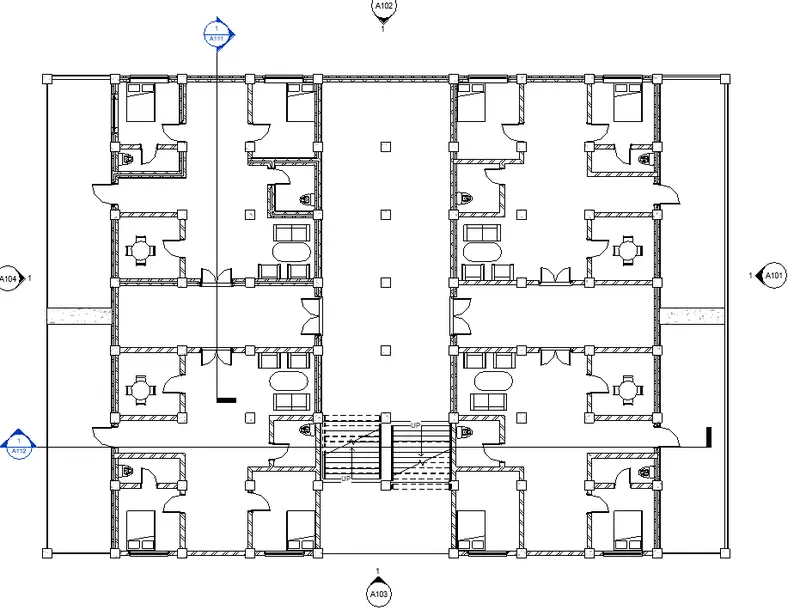
21. Go to the Floor Plan And create the walls for creating the Living Room, Master Room, Toilet etc
22. While Creating the Wall select the hieght according the the height of the floor.
23. Go to the components and select the WC, Bathtubs for the Toilets.
24. After creating the walls go to the Components and select the doors and windows for the Bedrooms, Living Room for the Ventilation
26. In the below given Residential Buildings There are Balcony where it is necessary to create the Hand railings.
27. In the below struture there is also Balcony created for each floor. For creating it just go to Floor option and select the level and go to Line Options to Create a Floor.
28. In this way the Floor is created
29. For creating a Railing for the extended balcony floors, Go to the railing tab select it and then go the extended floor and create the railing.
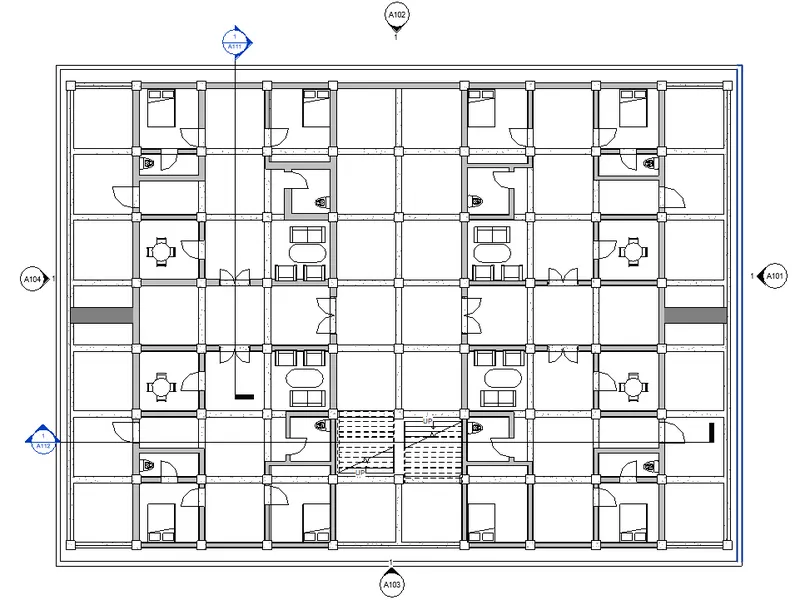
Structure Plan
Architecture Plan
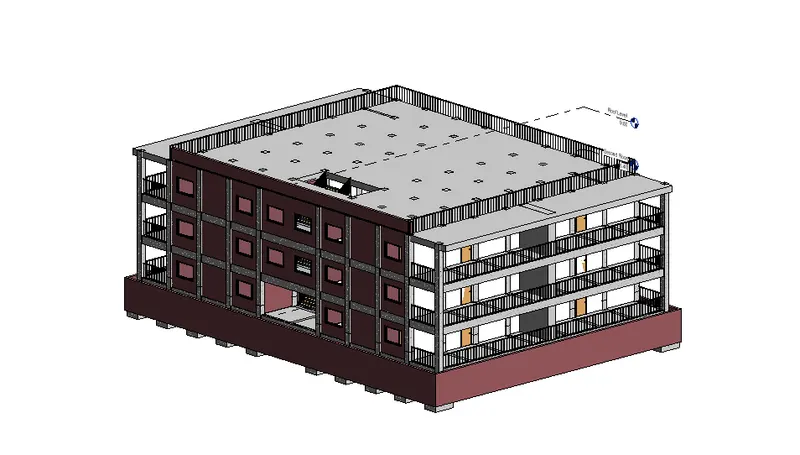
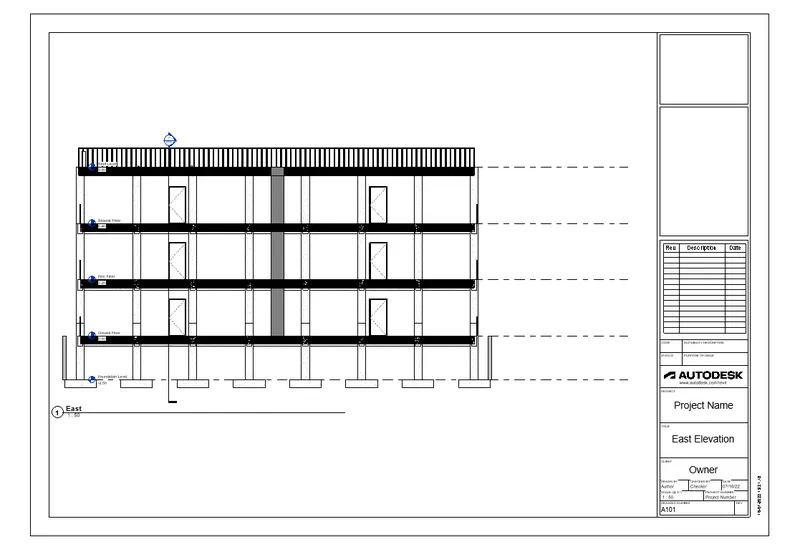
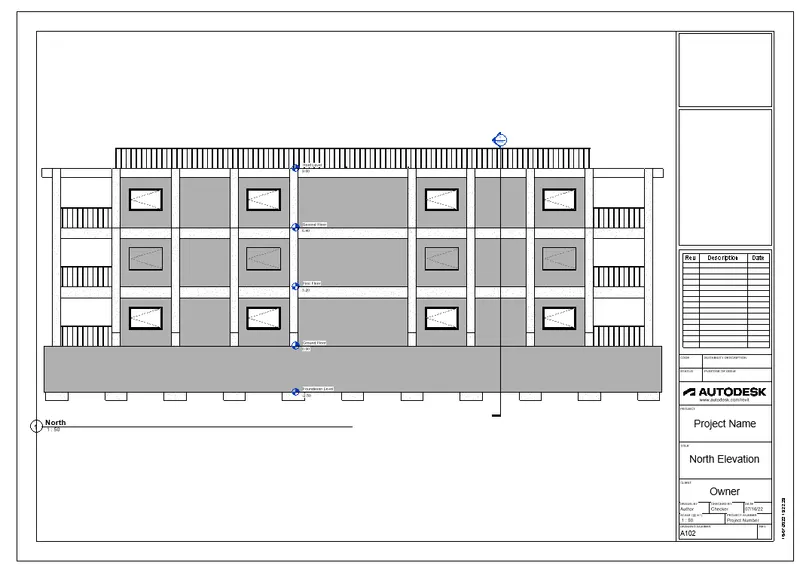
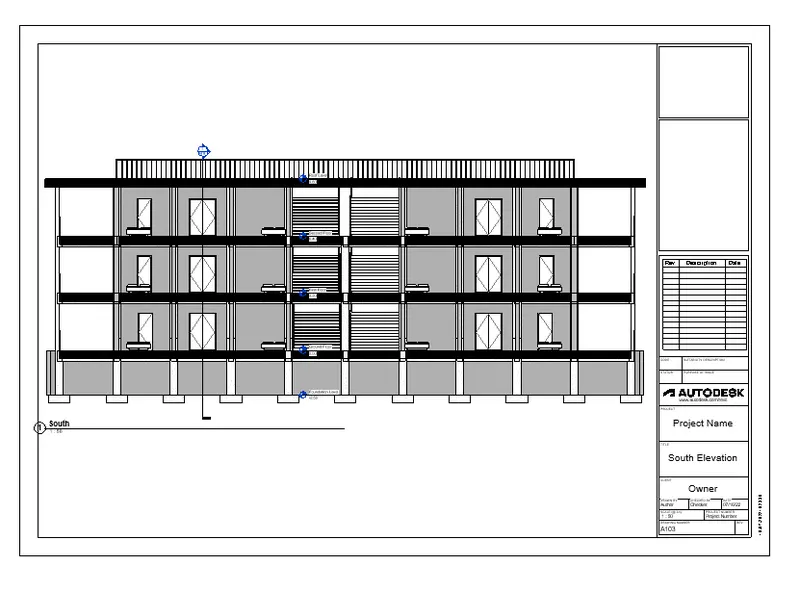
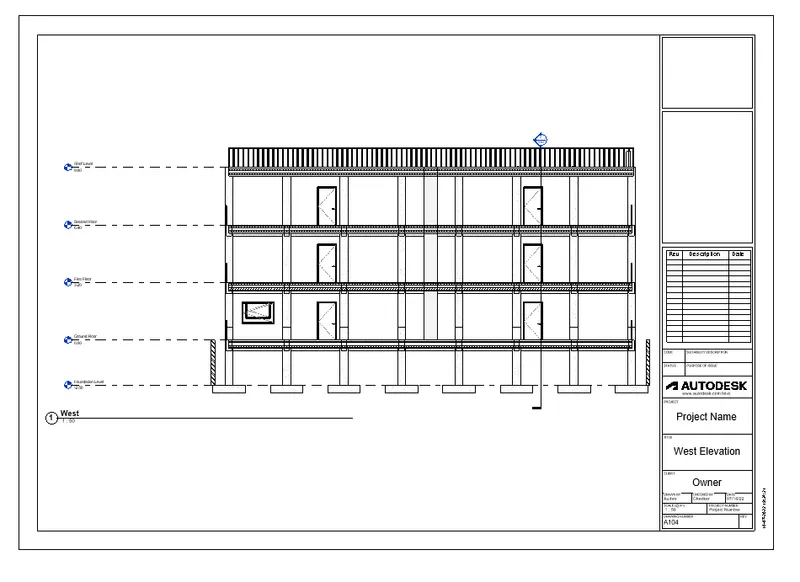
In the below sections according to the Questions the sheet is created for the Elevation in all the Direction East, West, North, South
30. Go to view tab and go to sheets
31. There will be a option to select the A1 sheet
32. Go to Elevation and select each direction view and drag it to sheets
Elevation Sheet
1. East
2. North
3.South
4. West
ARCHITECTURAL PLAN
Go to view tab and go to sheets
33. There will be a option to select the A1 sheet
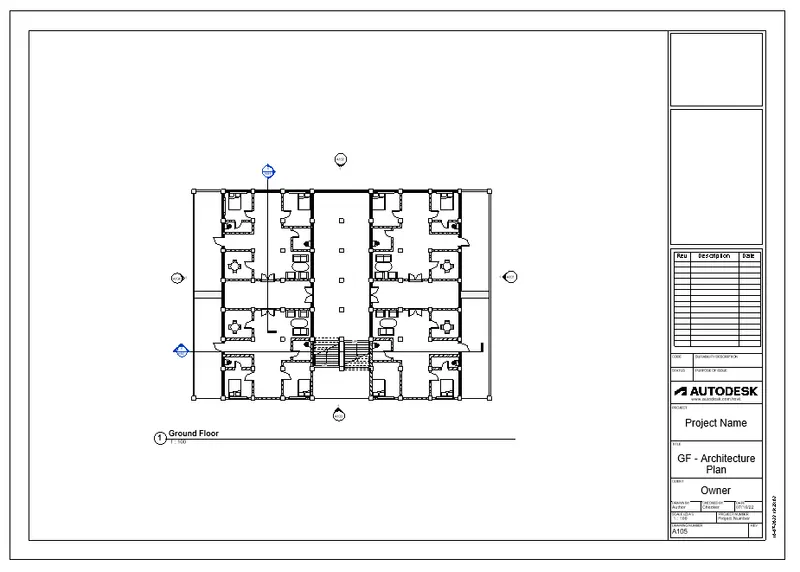
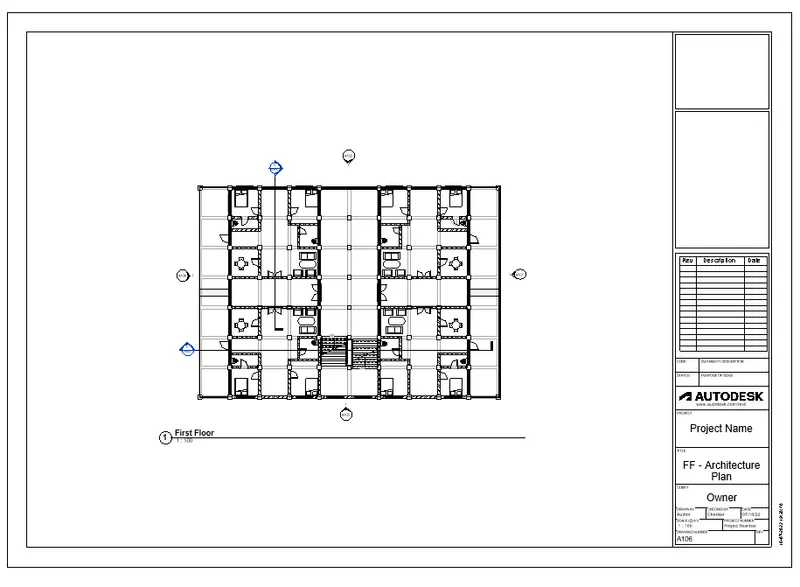
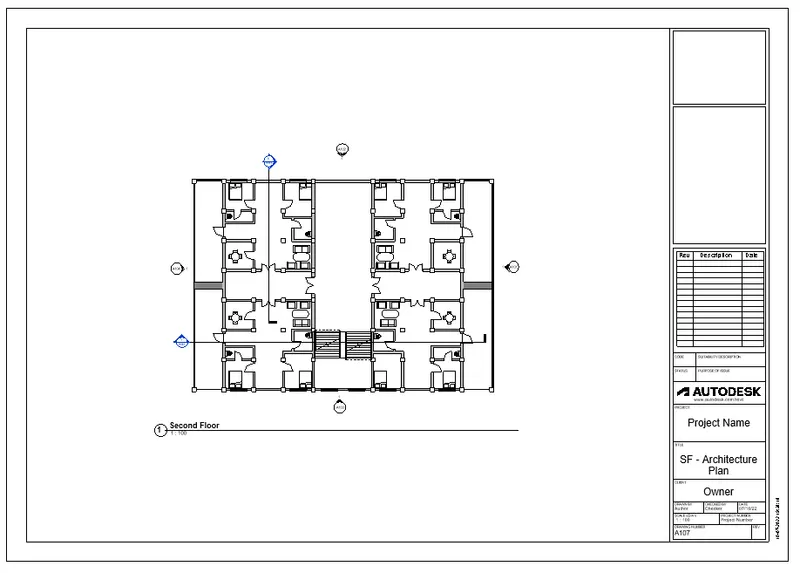
34. Go to Architecture Plans and select each Floor view and drag it to sheets
35. And rename each sheet
1. Ground Floor
2. First Floor
3. Second Floor
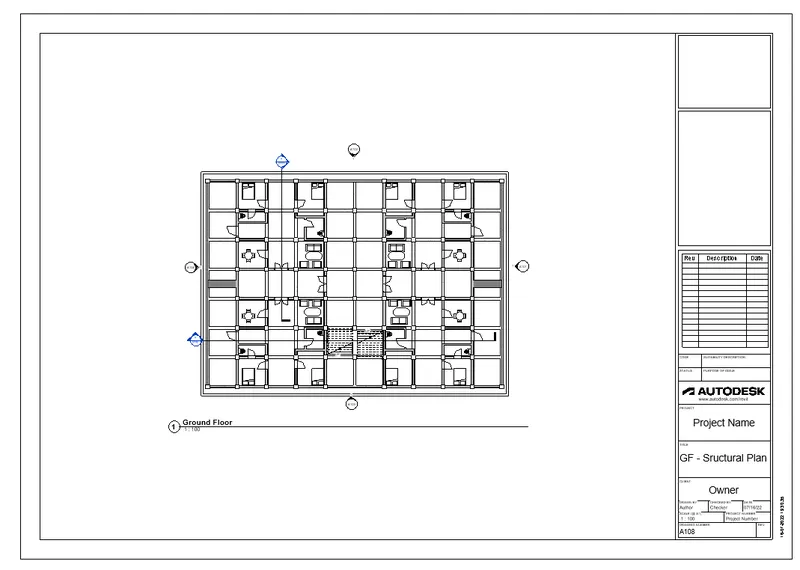
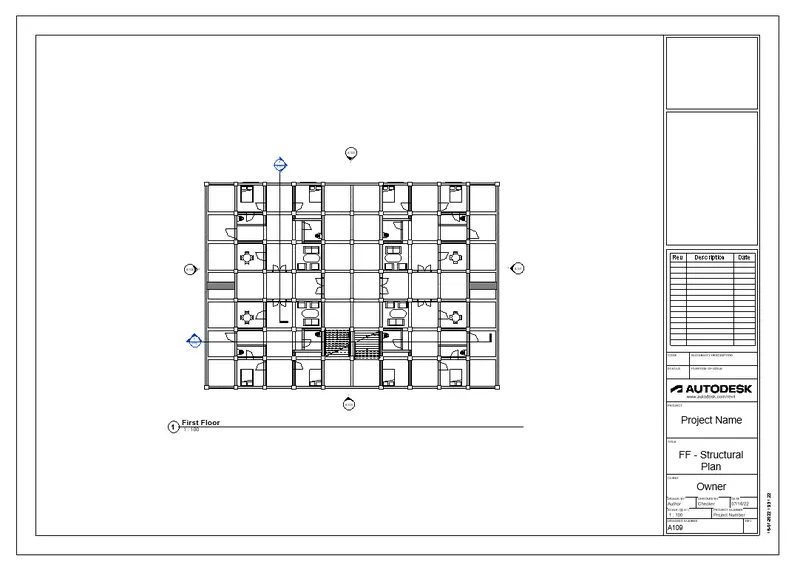
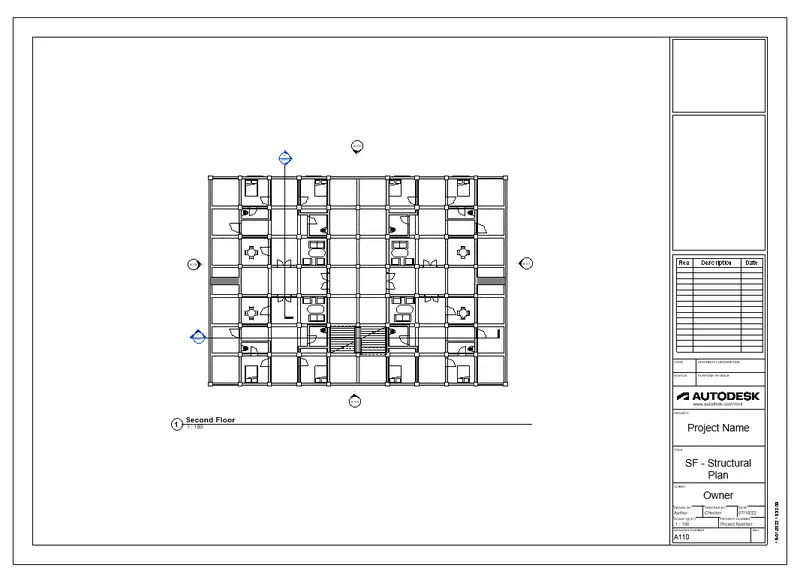
STRUCTURAL PLAN
1. Ground Floor
2. First Floor
3. Second Floor
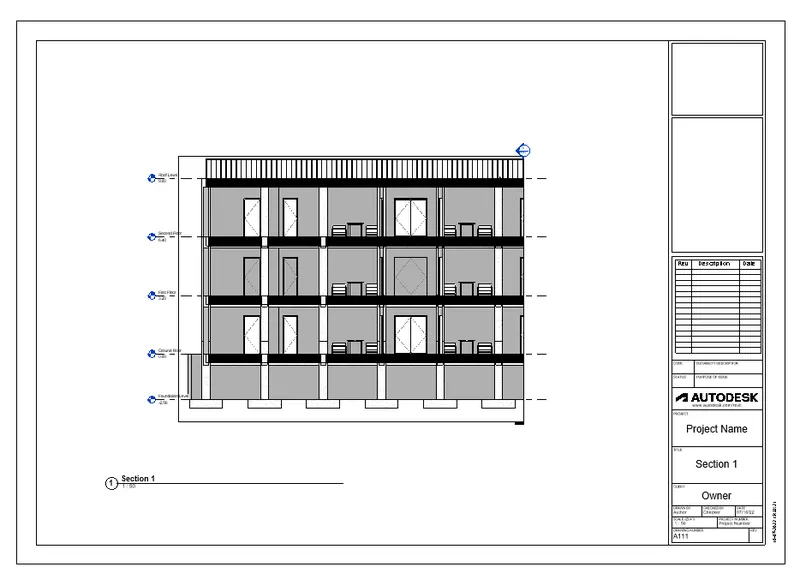
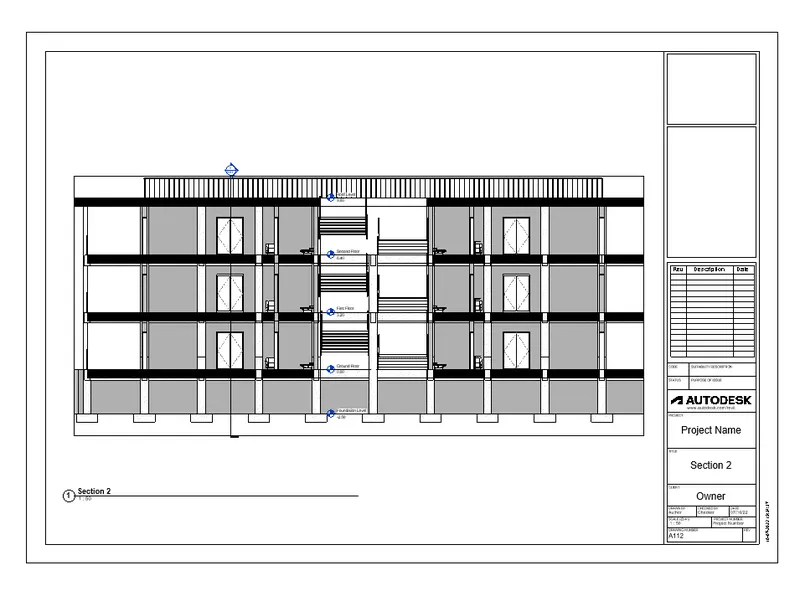
SECTION VIEW
36. There will be a option to select the A1 sheet
37. Go to Section View and select each Floor view and drag it to sheets
35. And rename each sheet
1. Section 1
2. Section 2
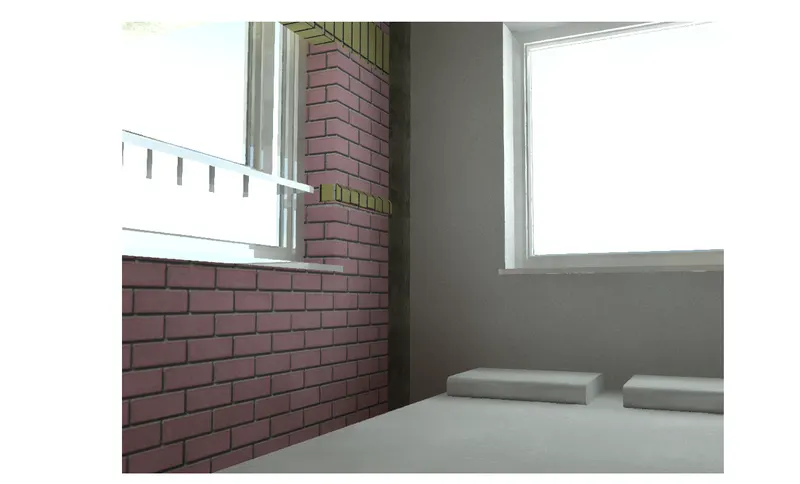
Rendered View
36. Below Given is a Rendered view
37. Go to the View Tab and select the rendered Tab.
38. After selecting the rendered tab select the exposure anf brightness for inner and exterior view (sunlight, evening light etc)
39. And then Click Render
40. The render view is ready
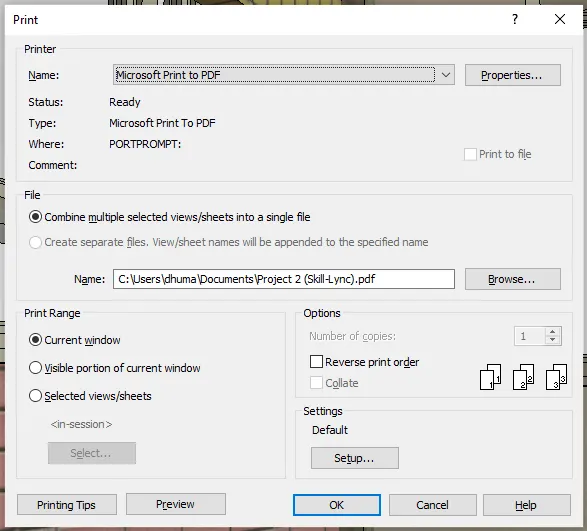
Converting to PDF Formate
41. Next is to create the PDF formate of the rendered view
42. Type ctrl + p and this window will open.
43. Go to the name tab below and select microsoft print to PDF and press Ok
44. If necessary go to the preview tab and preview it.
44. And take a print of the rendered view
Conclusion : In the above given process the Project 2 is Complete