Creating a Residence Layout, Seating plan, Toilet and Utility room plan using AutoCad
RESIDENCE PLAN:
AIM: To draw the residence plan using autocad
PROCEDURE:
To draw the exterior wall:
- Command : units
- Select the type to Engineering option ,precision to 0’.00’ and Insertion to inches
- Command : limmax
- Enter the value 100’,100’
- Command : zoom ,and enter ‘e’
- Command : limits
- Enter the value : 70’,70’
- Command : zoom ,and enter ‘e’
- Command : Xline
- Select option to vertical and click on the screen
- Command : Xline
- Select option to horizontal and click on the screen
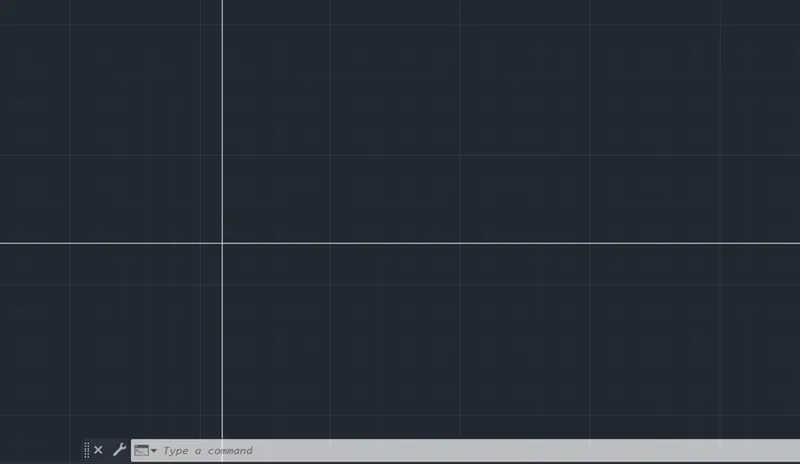
- It appears like this
- Command : offset
- Enter the distance : 9”(as the thickness of the exterior wall is 9”)
- Select the object: click on the horizontal line and click on the downside of the line
- Command : offset
- Enter the distance : 9”(as the thickness of the exterior wall is 9”)
- Select the object: click on the vertcal line and click on the left side of the line
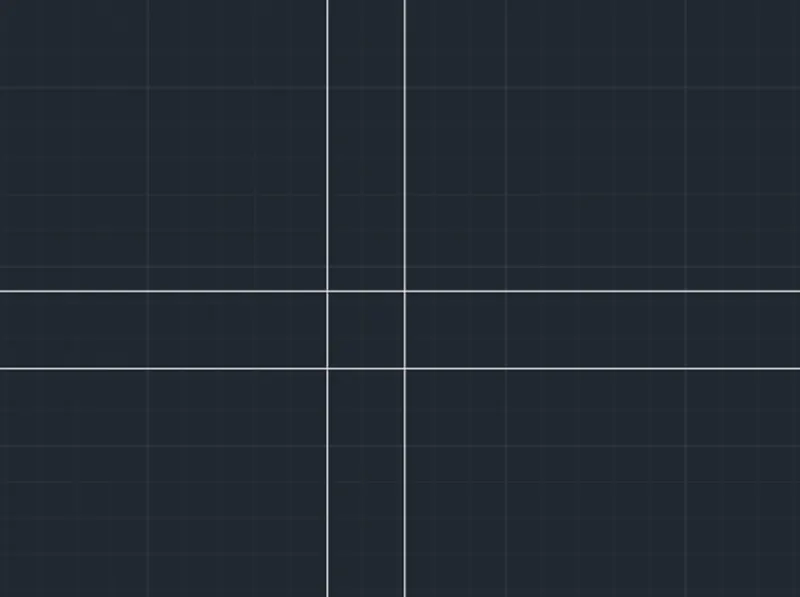
- Command : Fillet
- select the horizontal and vertical line and press enter
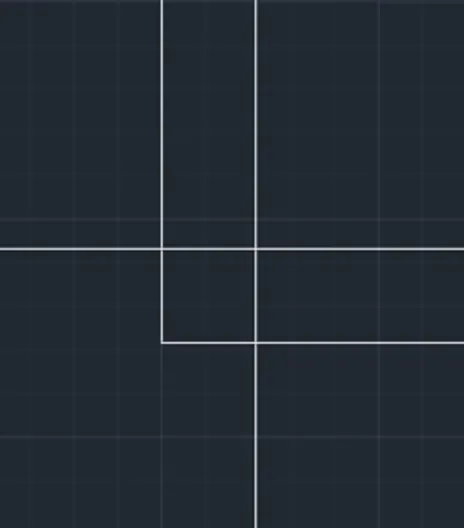
- Again command : Fillet
- Select the horizontal and vertical lines
- Command : offset
- Enter the distance : 6’
- Select the objects : select inside horizontal line and click on the top side of the line
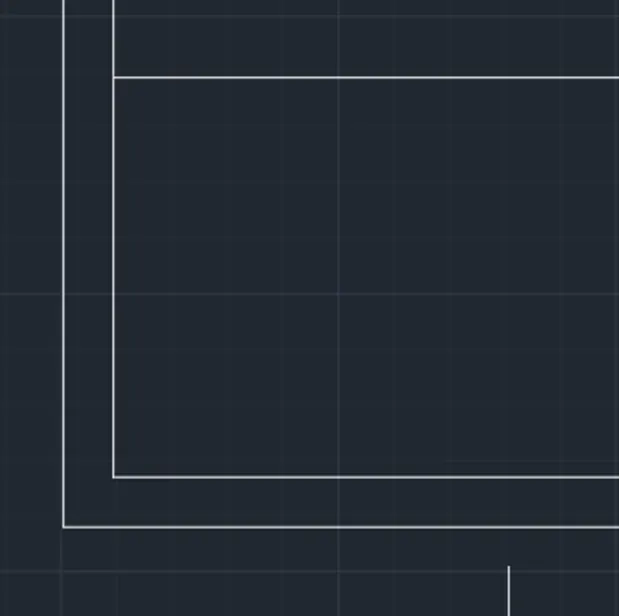
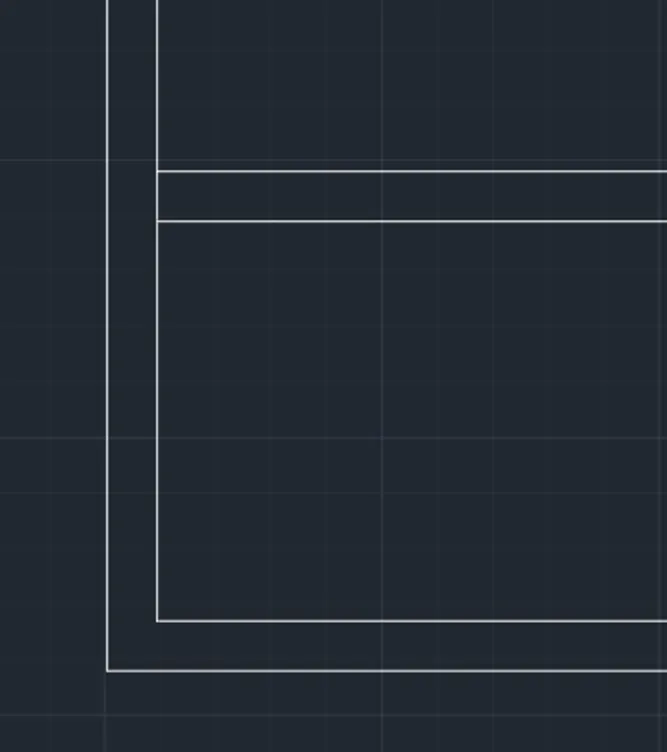
- Command : offset
- Enter the distance : 25’(the total length of the plan is 25’)
- select the object : click the exterior vertical line
- click on the right side of that line
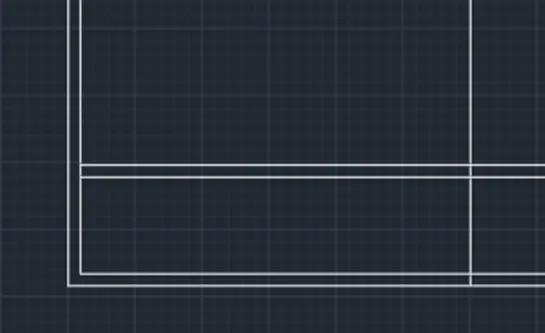
- Command : offset
- Enter the distance : 9”
- Select the objects : select the previously drawn vertical line
- Click on the left side of the line and press enter
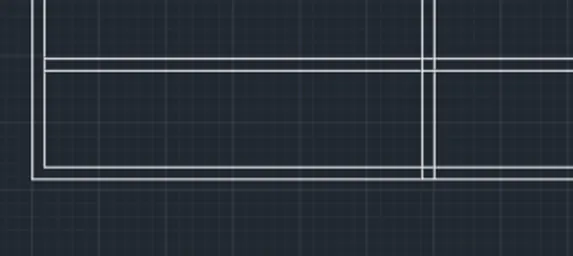
- Command : offset
- Enter the distance :12’6”
- Select the objects : select the outer vertical line
- Click on the right side of that line and press enter
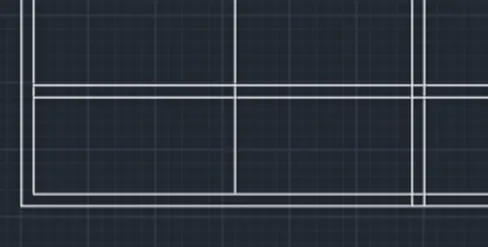
- Command : offset
- Enter the distance : 9”
- Select the previously drawn vertical line
- Click on the left side of that line and press enter
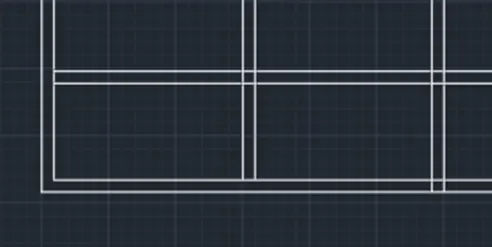
- Command : offset
- Enter the distance : 6’8”(the breadth of the kitchen is 6’8”)
- Select the inside drawn horizontal line
- Click on the top of that line and press enter
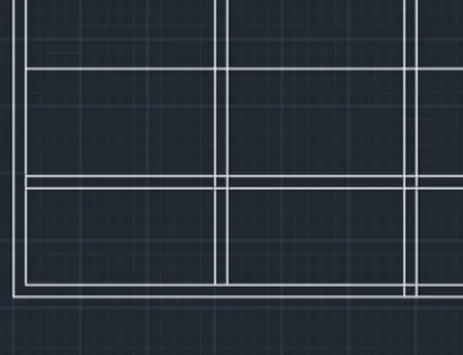
- Command : offset
- Enter the distance : 4.5”(the thickness of the interior wall is 4.5”)
- Select the previously drawn horizontal line
- Click on the top of that line and press enter
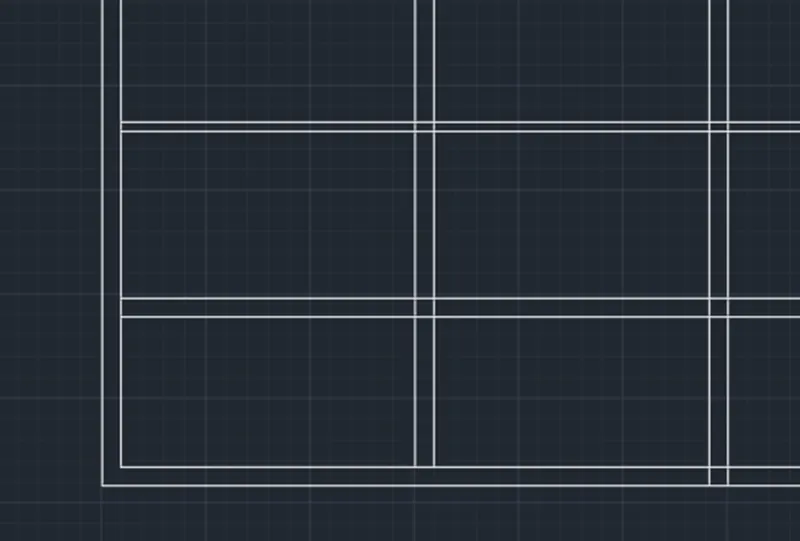
- Command : offset
- Enter the distance : 43’6.5”(the total breadth of the plan is 43’6.5”)
- Select the objects : select the outer most horizontal line
- And click on the top of that line and press enter
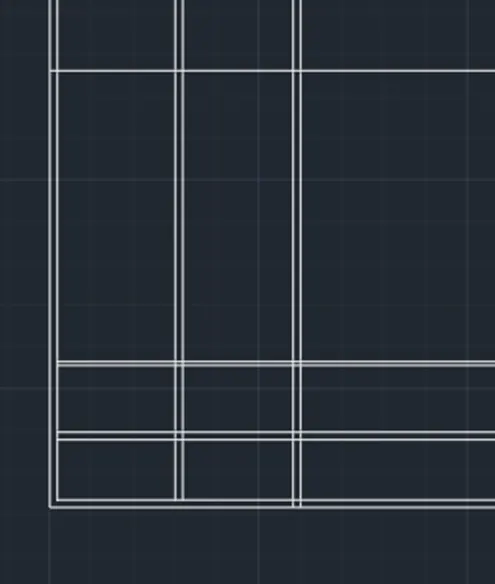
- Command : offset
- Enter the distance : 9”
- Click on the previously drawn horizontal line
- Click on the down side of that line and press enter
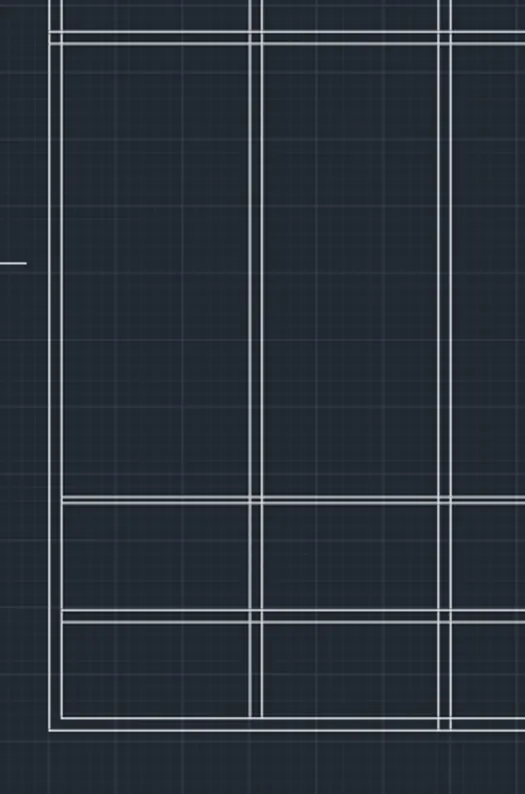
- Now this the total layout of the plan
- And trim the extra lines outside this line
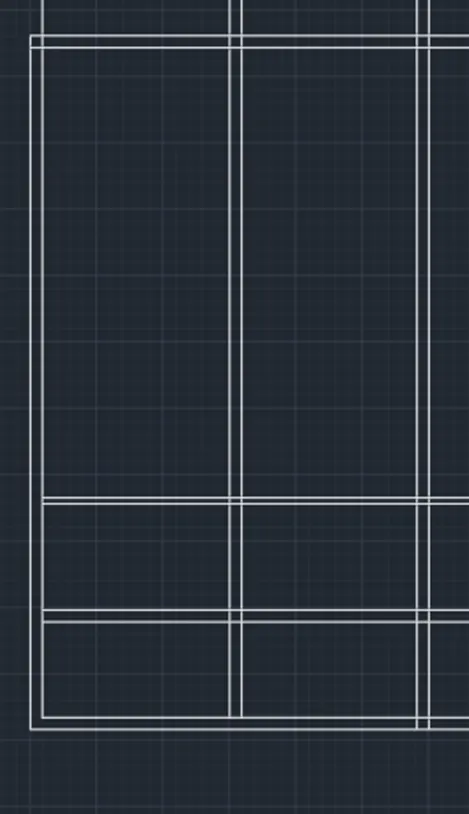
- Command : fillet
- Select the objects : select the vertical and horizontal line
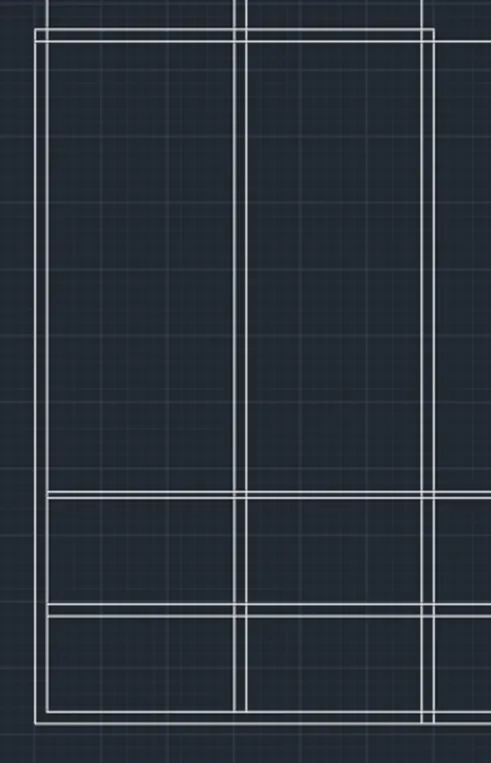
- Command : fillet
- Select the objects : select the top right corner ‘s horizontal line and vertical line
- Command : fillet
- Select the objects : select the respective horizontal and vertical lines on either side
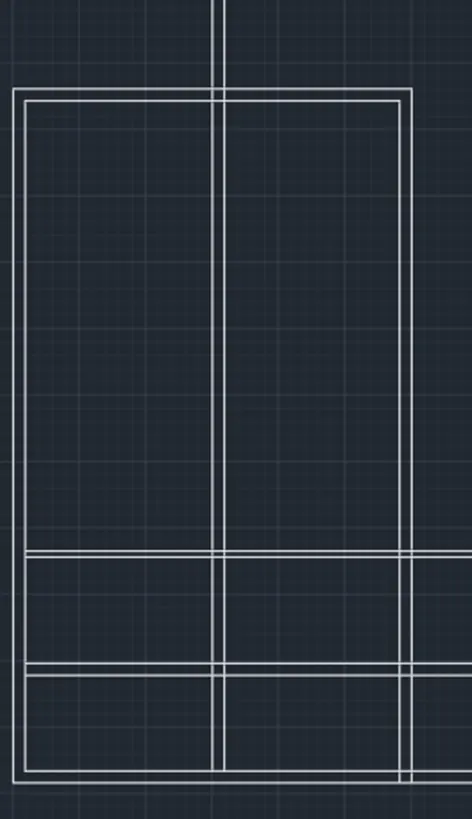
- At the bottom also do the same filleting
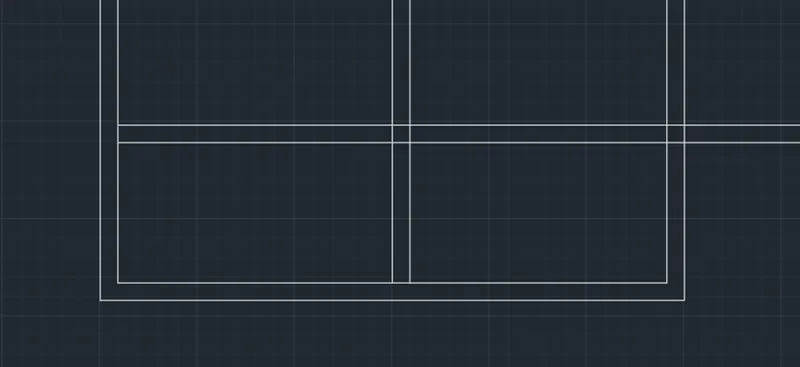
- Now trim the remaining unwanted lines outside the layout
- Command : trim
- Select objects : select the lines outside the layout
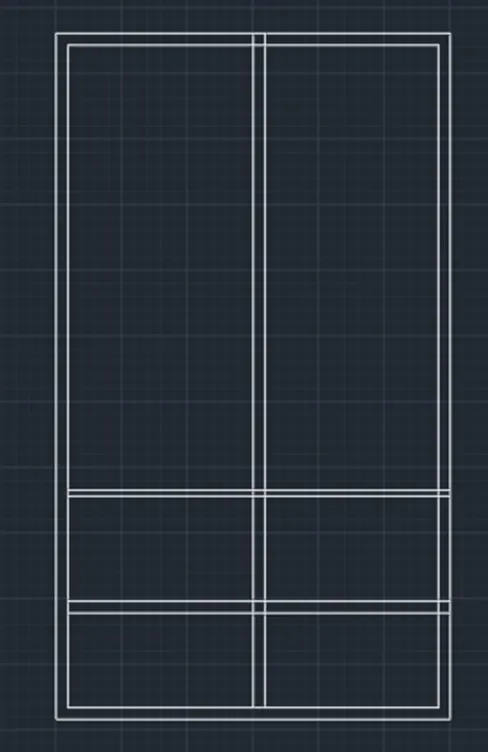
- Remove the bottom horizontal line in the parking
- Command : trim
- Select the objects : click the inside horizontal line in the bottom of the parking
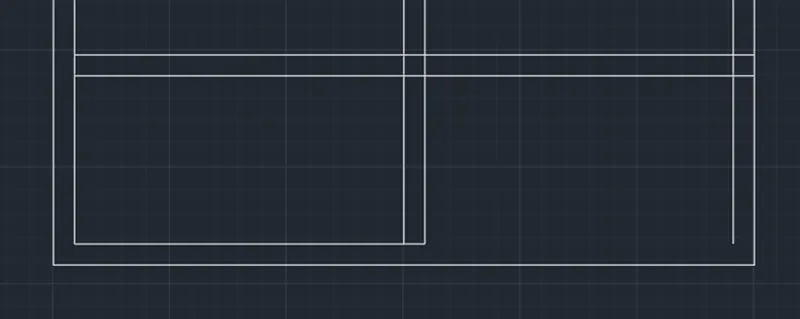
- Command : line
- Select the first point : select the unclosed vertical line in the parking
- Keep ortho on and move the cursor in the downward direction and click on the intersecting point of that LINE with the bottom horizontal line
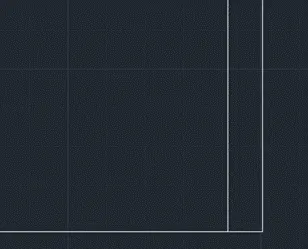
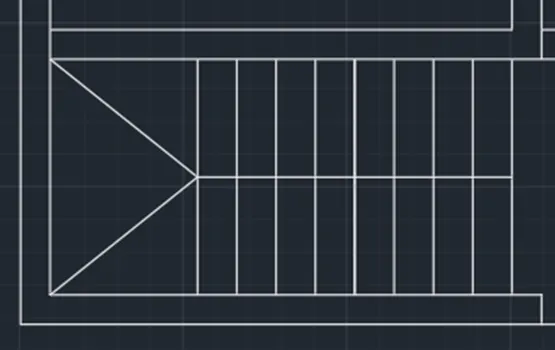
To draw the stairs:
- Command : fillet
- Select the objects : select the horizontal and verticals lines in the stair case space
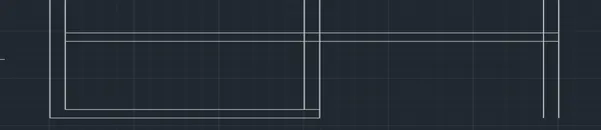
- Command :line
- Enter the first point : click on the end point of the stair case
- Enter the second point : click on the end point of outside vertical line of the parking
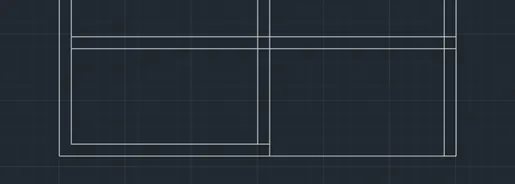
- Command : trim
- Select the objects : select the vertical at the beginning of the stair case
- Click on it and press enter
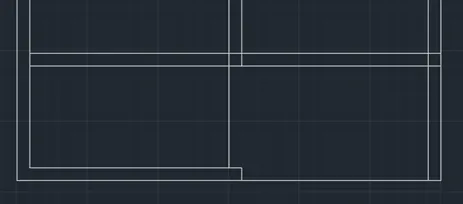
- Command: trim
- Select the objects : select the vertical and horizontal line of the kitchen wall above the stair case
- Click on it and press enter
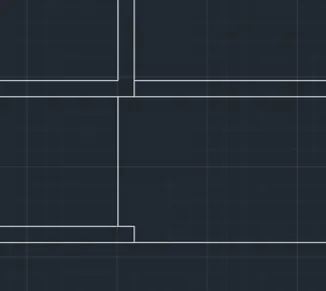
- Command : offset
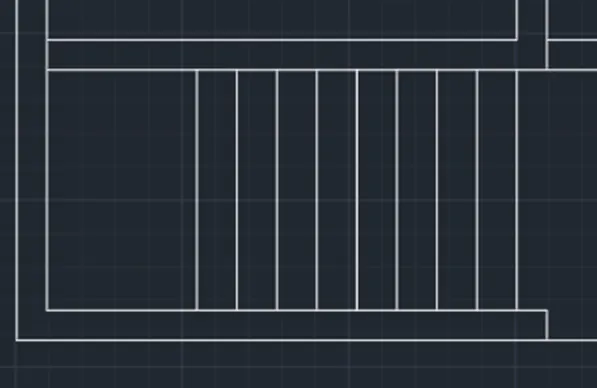
- Enter the distance : 1’(the read distance is 1’)
- Select the objects : select the vertical line of 6” length which is in the beginning of the stair case
- Select MULTIPE option and enter number : 8
- And then click in the left side of that line and press enter
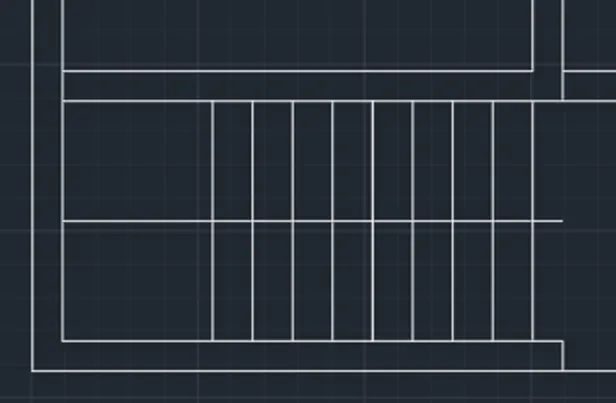
- Command : offset
- Enter the distance : 3’
- Select the objects : select the vertical line at the bottom of the staircase
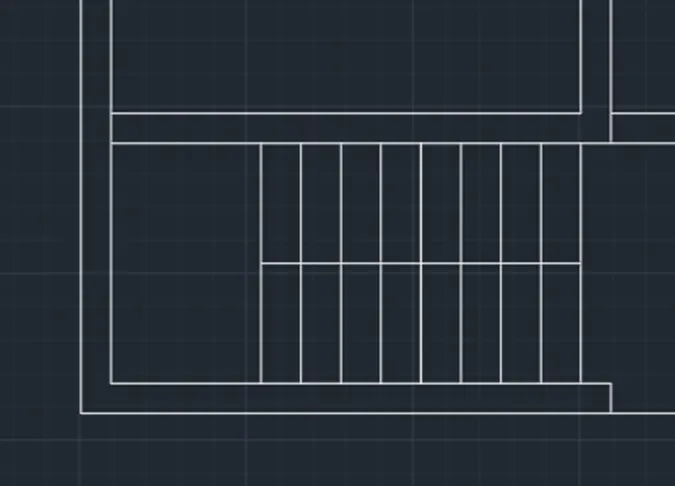
- Command : trim
- Select the objects : select the railing which is extra
- Click on it and press enter
- To draw the steps at the landing
- Command :line
- Enter the first point : click on the starting point of the railing
- Enter the second point : click on the top left corner of the landing
- Command : line
- Enter the first point : click on the starting point of the railing
- Enter the second point : click on the bottom left corner of the landing
To draw kitchen :
- To draw the entrance of the kitchen
- Command : offset
- Enter the distance : 6’4”(the wall at the entrance of the kitchen is 6’4”)
- Select the vertical line
- Click on the left side of that line and press enter
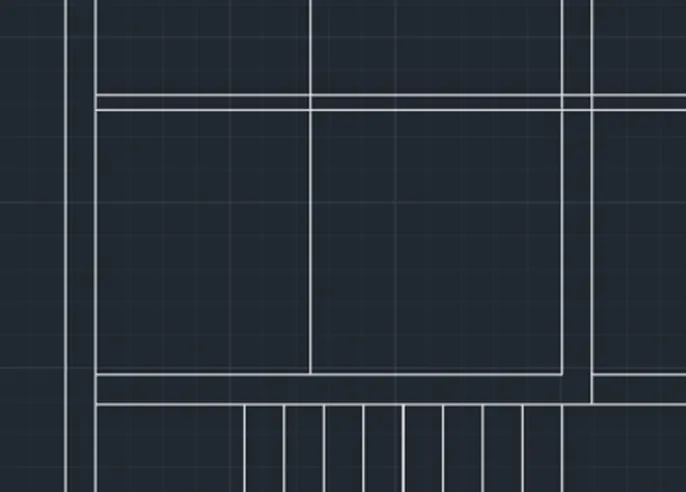
- Command : trim
- Select the objects : select the vertical line and horizontal lines inside the kitchen
- And press enter
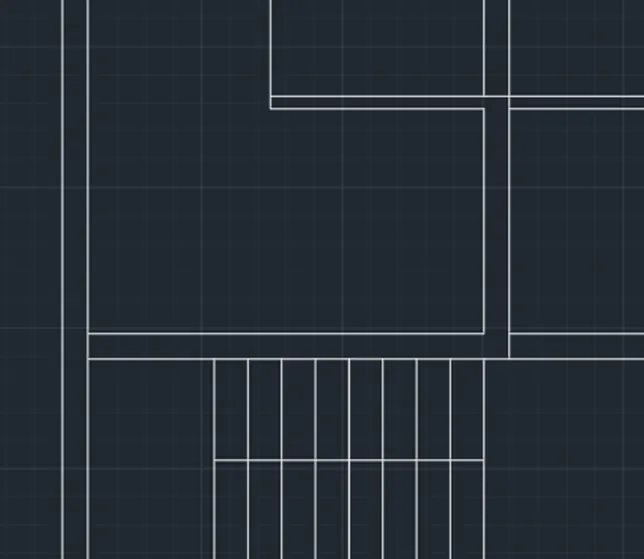
- To draw slab in the kitchen
- Command : offset
- Enter the distance : 2’
- Select the horizontal line and vertical line of the kitchen walls
- Click on them and press enter
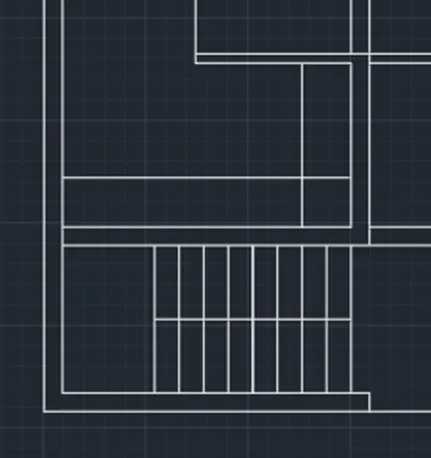
- Command : trim
- Select the objects : select the lines inside the slab
- And press enter
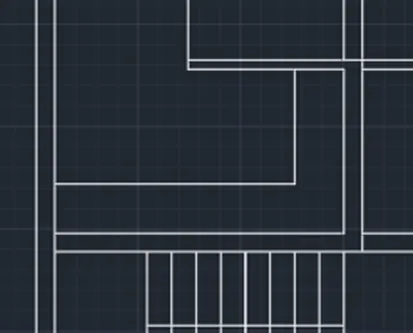
- To draw the steps at the landing
- Command :line
- Enter the first point : click on the starting point of the railing
- Enter the second point : click on the top left corner of the landing
- Command : line
- Enter the first point : click on the starting point of the railing
- Enter the second point : click on the bottom left corner of the landing
To draw the toilet :
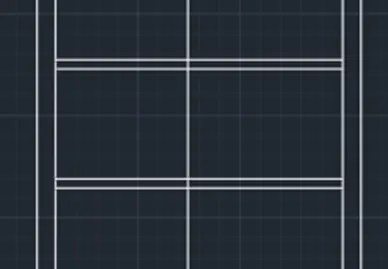
- Command : offset
- Enter the distance :18’0.5”
- Select the objects : click on the horizontal line of the kitchen wall
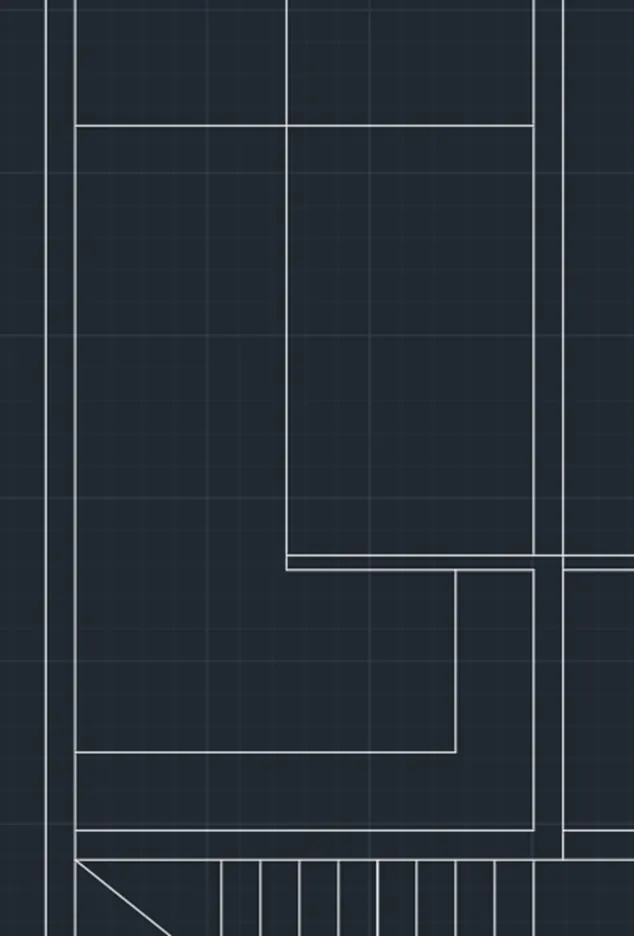
- Command : offset
- Enter the distance :9”(the interior wall thickness is 9”)
- Select the previously drawn horizontal line
- Click on the top side of that line and press enter
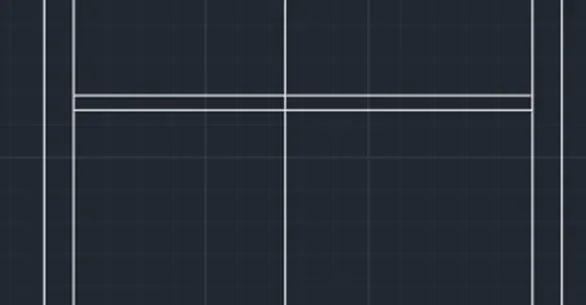
- Command : offset
- Enter the distance : 4’6”(the breadth of the toilet is 4’6”)
- Click on the previously drawn horizontal line of the toilet wall
- And press enter
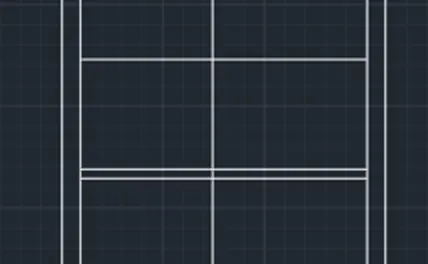
- Command : offset
- Enter the distance : 4.5”
- Select the objects : select the previously drawn horizontal line
- Click on the top side of that line and press enter
- Command : trim
- Select the objects : select the vertical line of the kitchen entrance
- Click on them and press enter
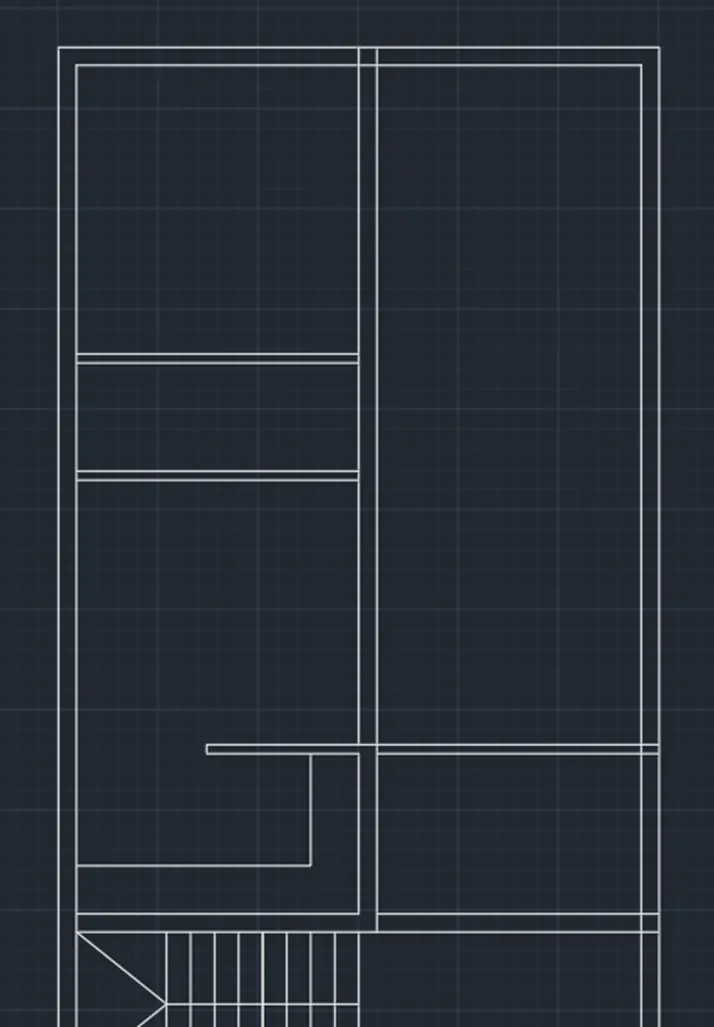
- Command : offset
- Enter the offset distance : 8’3”(the length of the toilet is 8’3”)
- Select the vertical line of the toilet wall
- Click on the right side of that wall and press enter
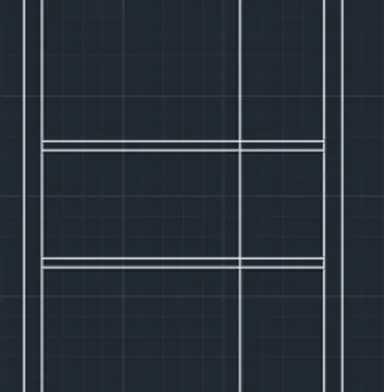
- Command : offset
- Enter the distance :4.5”
- Select the objects : select the previously drawn vertical line
- Click on the right side of that line and press enter
- Command : trim
- Select the objects : select the all parts of the previously drawn vertical line that is intersecting all the remaining part of the plan
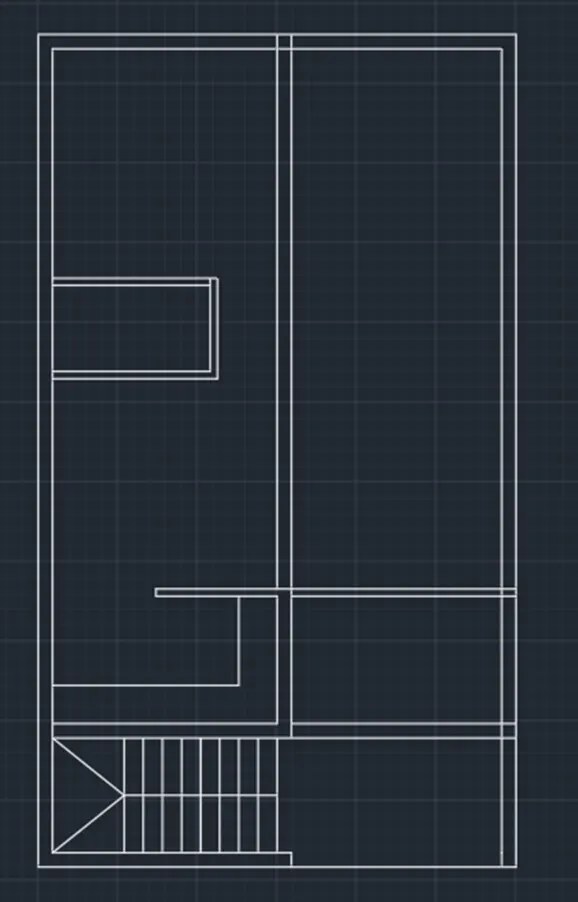
- Command : offset
- Enter the offset distance : 2’6”(the width of door of the toilet is 2’6”)
- Select the objects : select the vertical line of toilet interior wall
- Click on the left side of that line and press enter
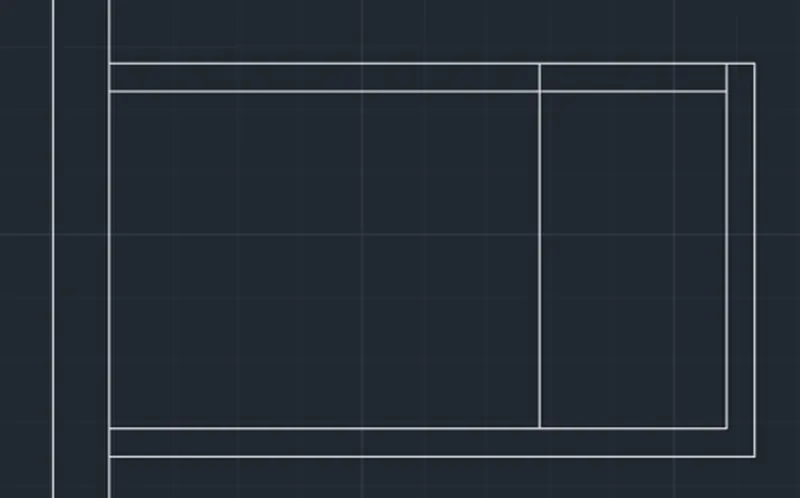
- And trim the vertical line outside the toilet
- Command : trim
- Select the objects : select the door space and trim it
- Click on the door lines and press enter
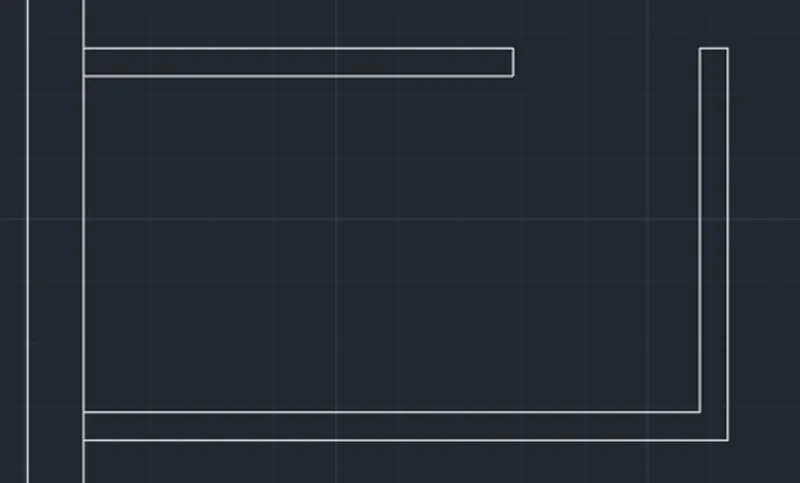
- Command : circle
- Enter center point of the circle : click on the starting point of the door
- Enter the radius : click on the width of the point
- And press enter
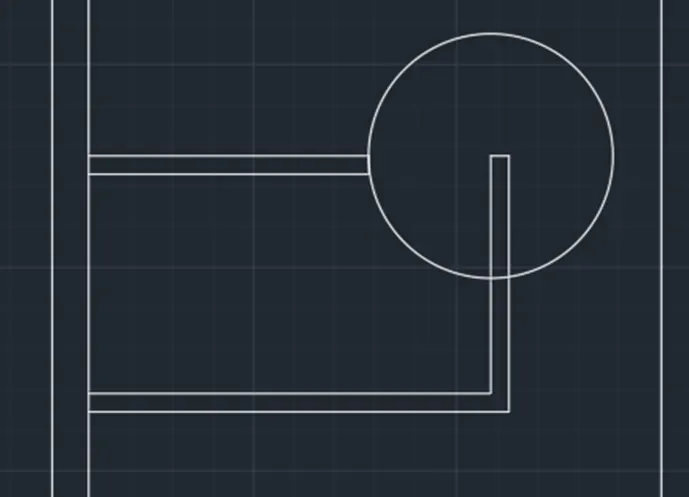
- Now trim the extra part of the door
- Command : trim
- Select the objects : select the part outside the toilet
- And press enter
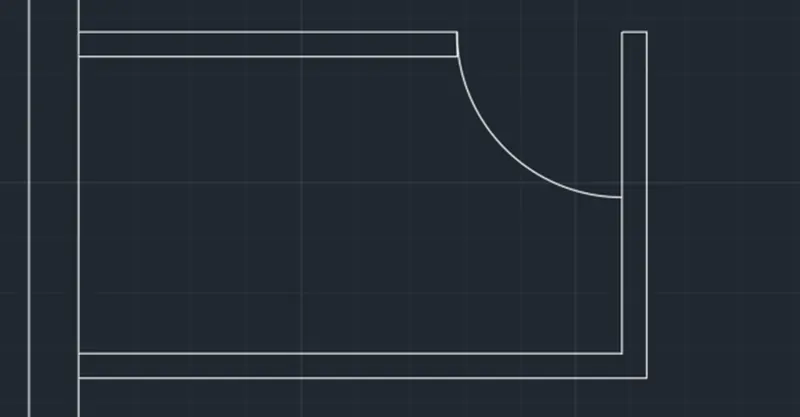
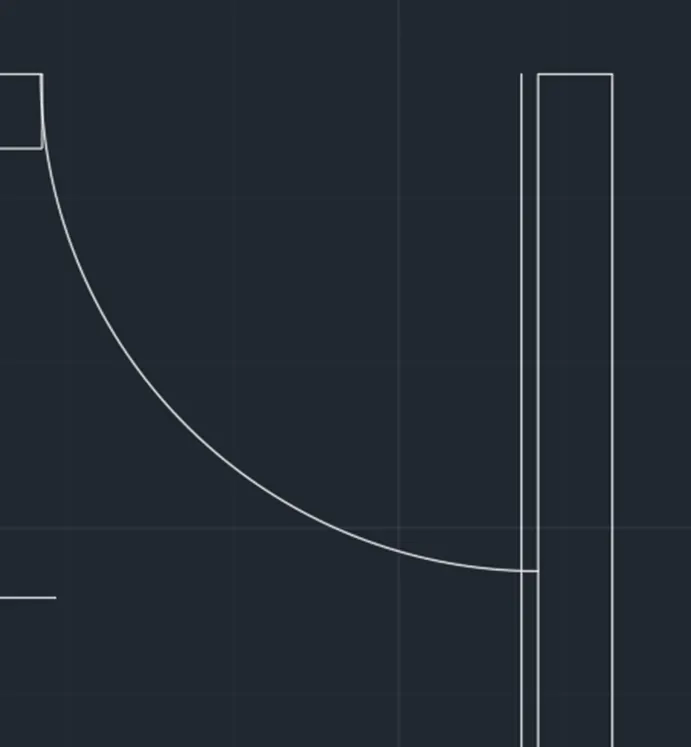
- Command : offset
- Enter the distance : 1”(let us assume the thickness of the door as 1”)
- Select the objects : select the vertical line of the wall at the door
- Click on the left side of the that line and press enter
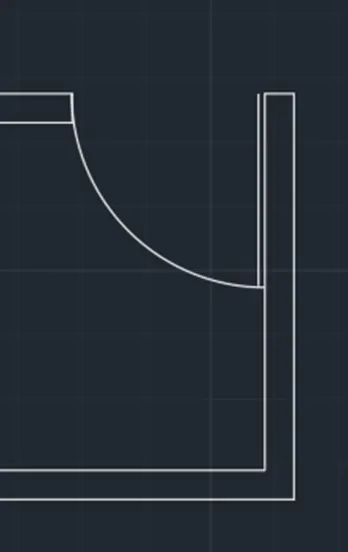
- Now trim the vertical line drawn which is at the outside of the door
- Command : trim
- Select the objects : select the vertical line outside the door
- Click on the line and press enter
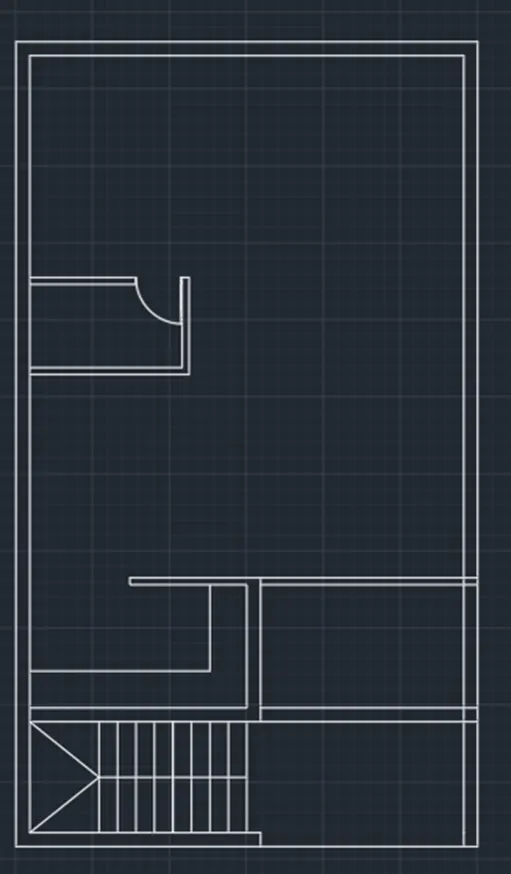
- command : extend
- select the horizontal line at the end of the door wall
- Command : trim
- Select the objects : select the vertical line in the middle of plan
- Click on them and press enter
To draw the bedroom 1:
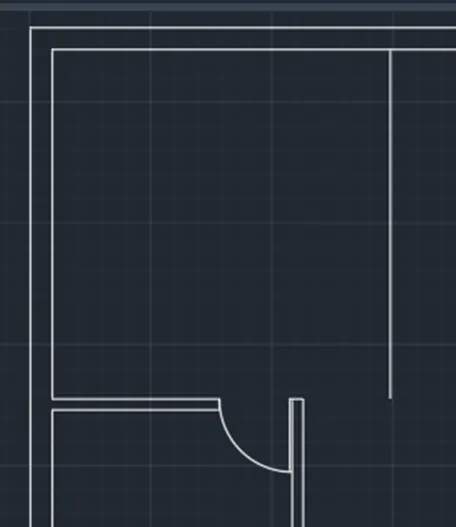
- Command : offset
- enter the offset distance :11’7.5”(the length of the bedroom 1 is 11’7.5”)
- select the object : the vertical line of the exterior line
- click on the right side of that line and press enter
- Command : offset
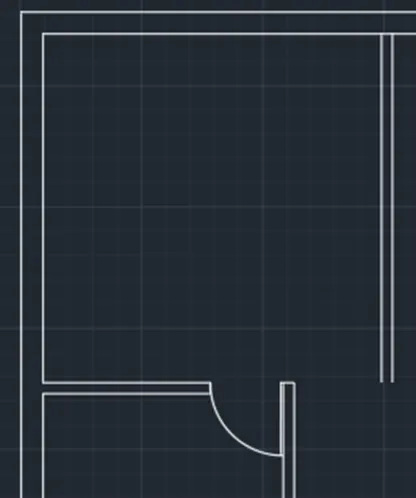
- Enter the offset distance : 4.5”(the thickness of the interior wall is 4.5”)
- Select the objects : select the previously drawn vertical line
- Click on the right side of that line and press enter
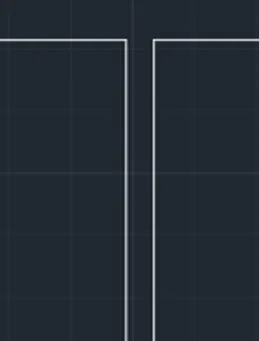
- Command : trim
- Select the objects : click the vertical lines inside the wall
- Click on them and press enter
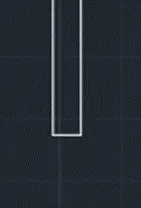
- Command : line
- Enter the first point : select the one end point of the wall of the bedroom
- Enter the second point : click the other end point of the wall
- And press enter
- Command : circle
- Enter the center of the circle: click on the end point of the vertical wall of the bedroom
- Enter the radius : move the cursor to the another point of the entrance of the bedroom
- And click on that point
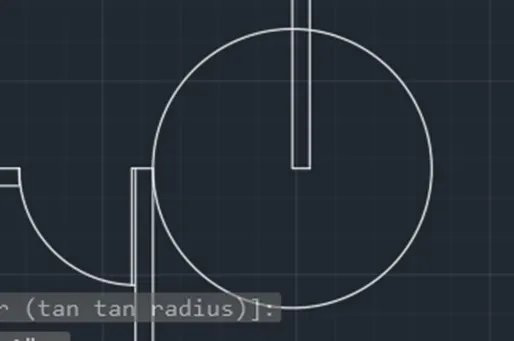
- Now trim the outside circle of the bedroom
- Command : trim
- Select the objects : select the circle outside of the bedroom
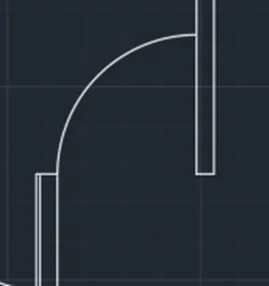
- Command : offset
- Enter the offset distance : 1”(assume the thickness of the door as 1”)
- Select the vertical wall of the bedroom near the door
- And press enter
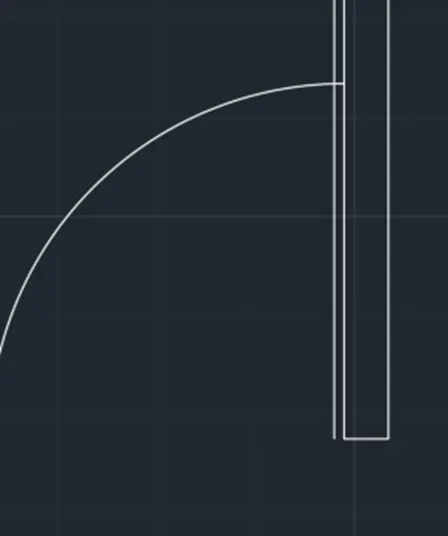
- Command : trim
- Select the objects : select the vertical offset drawn previously which the line outside the door
- And press enter
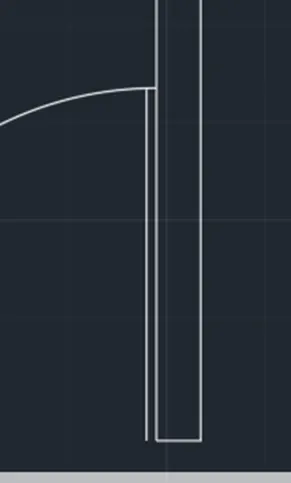
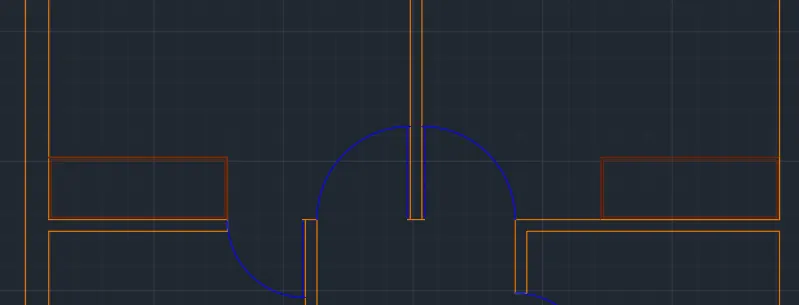
- Now close the door item
- Command : extend
- Select the line : select the horizontal line at end of the wall beside the door
- And press enter
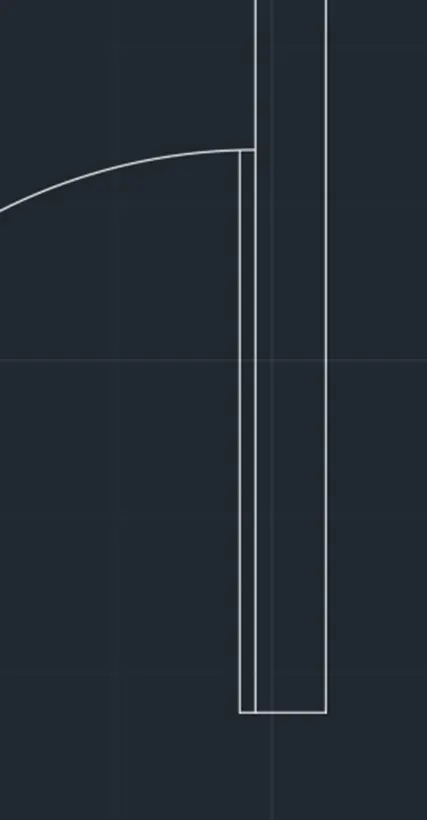
To draw the cupboard in the bed room 1:
- Command : line
- Enter the the first point : select the end point of the interior horizontal wall of the bedroom
- Enter the second point : keep ortho on and keep the cursor in the 90degree angle and enter 2’(assume the width of the cupboard as 2’)
- Enter the next point : keep the cursor in the 180 degree angle and click on the exterior wall of the bedroom
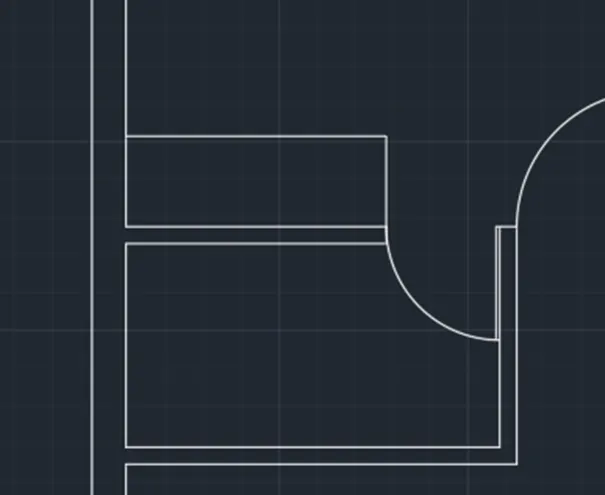
- Command : offset
- Enter the offset distance :1”(assume the thickness of the cupboard id 1”)
- Select the objects : click on the all four sides of the cupboard
- Click on the inside of the cupboard and press enter
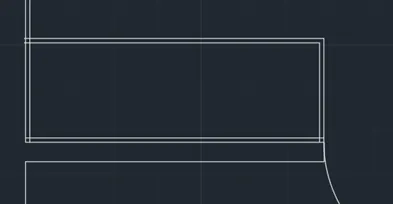
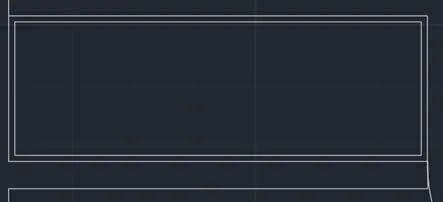
- Now trim the lines outside the cupboard
- Command : trim
- Select the objects : select the all lines outside the cupboard which are unnecessary
-
To draw bedroom 2 and toilet 2:
- Command : offset
- Enter the offset distance : 12’(the width of the bedroom 2 is 12’)
- Select the objects : select the horizontal line of the exterior wall inside the bedroom
- Click the down side of that line and press enter
- Command : offset
- Enter the offset distance : 4.5”(the thickness of the interior wall is 4.5”)
- Select the objects : select the previously drawn horizontal line
- Click on the down side of that line and press enter
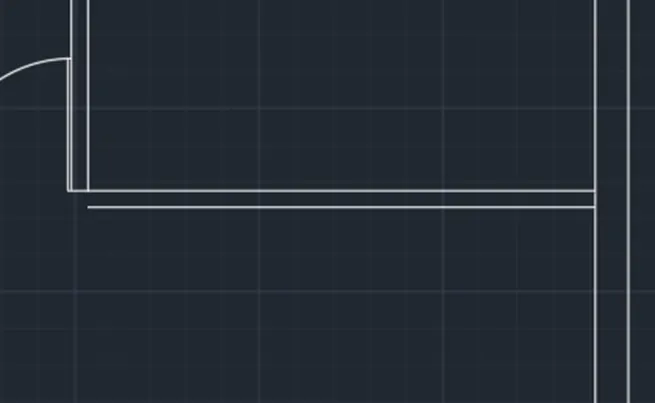
- Command : offset
- Enter the distance : 4’6”(the width of the toilet 2 is 4’6”)
- Select the previously drawn horizontal line and press enter
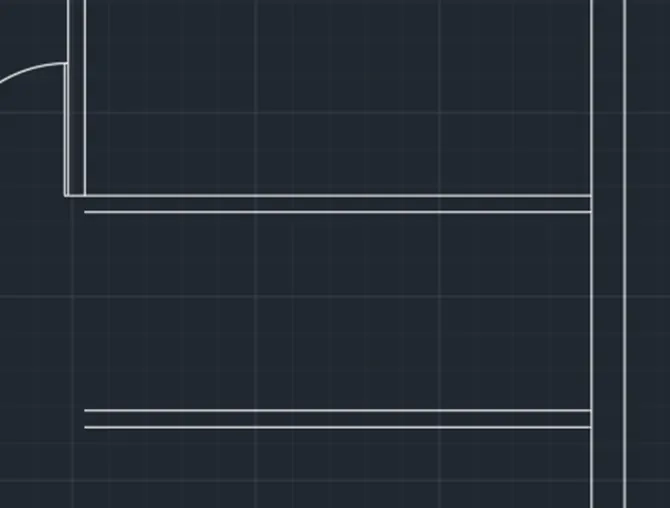
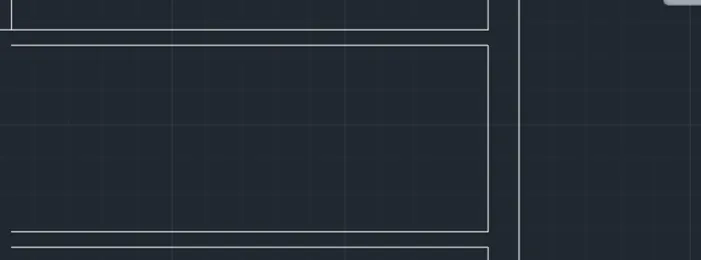
- Now trim the edges of the walls
- Command : trim
- Select the objects : select the lines inside the walls
- Click on them and press enter
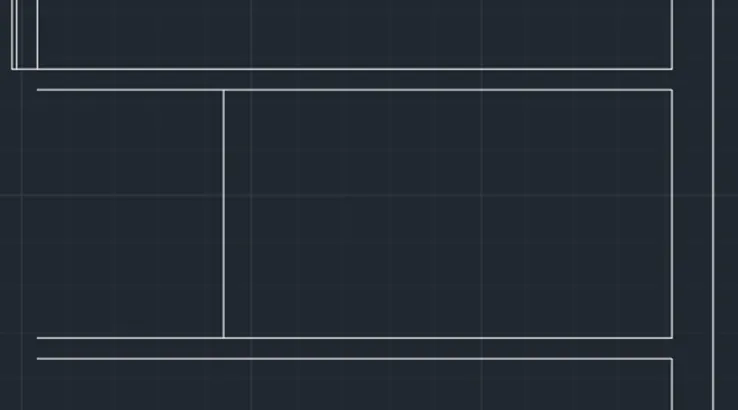
- Command : offset
- Enter the distance : 8’1.5”(the length of the toilet 2 is 8’1.5”)
- Select the objects : select the vertical of the exterior wall of the toilet 2
- Click on the left side of that line and press enter
- Command : offset
- Enter the offset distance : 4.5”(the thickness of the interior wall is 4.5”)
- Select the objects : select the previously drawn vertical line
- Click on the left side of that line and press enter
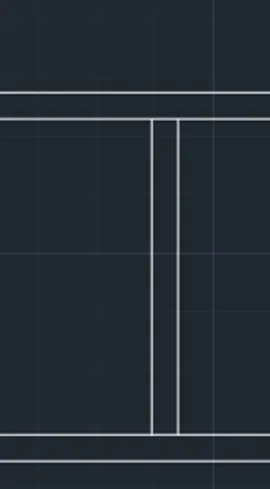
- Now trim the vertical lines outside the toilet which are unnecessary
- Command : trim
- Select the objects : select the vertical lines outside the toilet
- Click on them and press enter
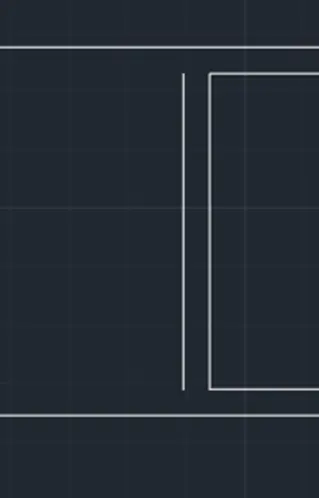
- Now extend the that vertical alone to intersect both the horizontal lines
- Command : extend
- Click on the vertical line to the top and again to the bottom
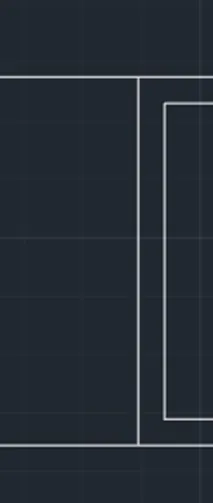
- Now trim both the horizontal lines outside the toilet
- Command : trim
- Select the objects : select those two horizontal lines
- Click on them and press enter
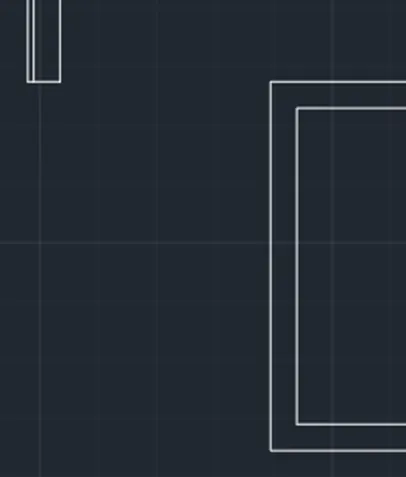
- Now extend the horizontal line
- Command : extend
- Select the objects : select the bottom horizontal line of the toilet wall
- Click on it and press enter
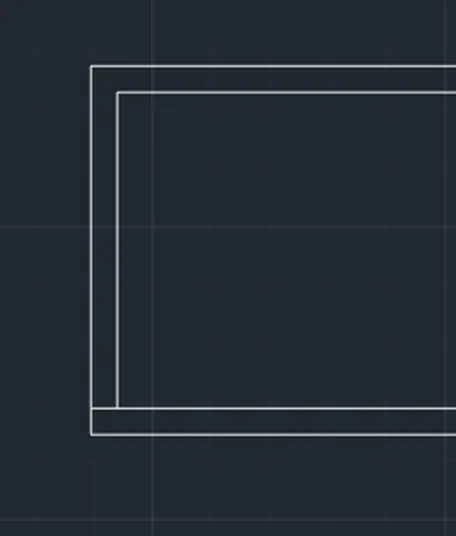
- Command : offset
- Enter the distance : 2’6”(the width of the D1 is 2’6”)
- Select the objects : select the extended horizontal line
- Click on the top side of that line and press enter
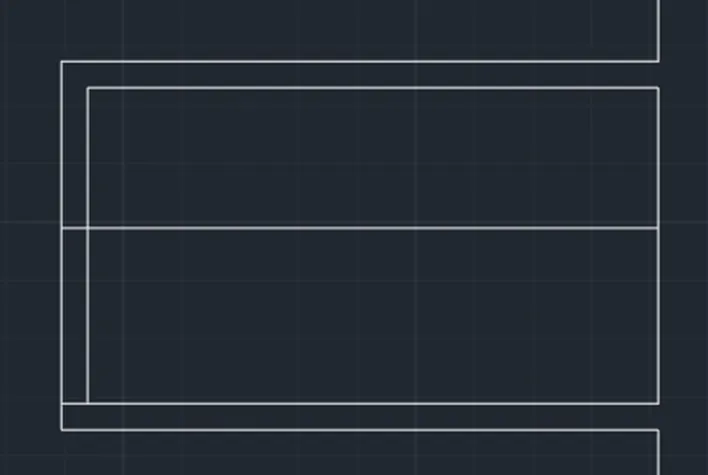
- Now trim the door space
- Command : trim
- Select the objects : select the vertical lines in the door space
- Click on them and press enter
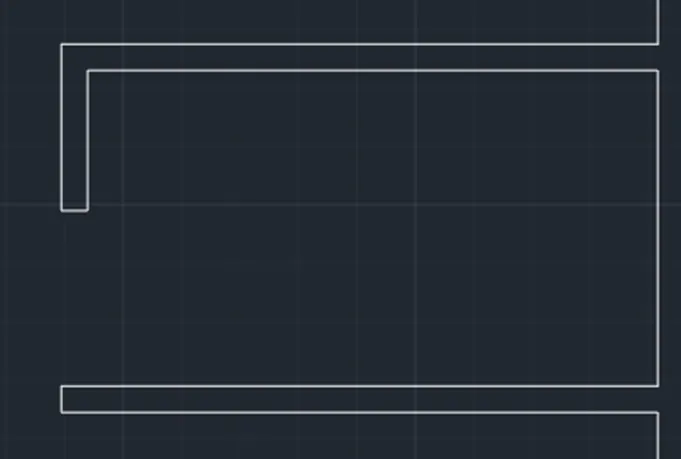
- Command : circle
- Enter the center point of the circle : select the end point of the horizontal line of the bottom of the toilet interior wall
- Enter the radius of the circle : click on the mid point of the other wall edge of the toilet
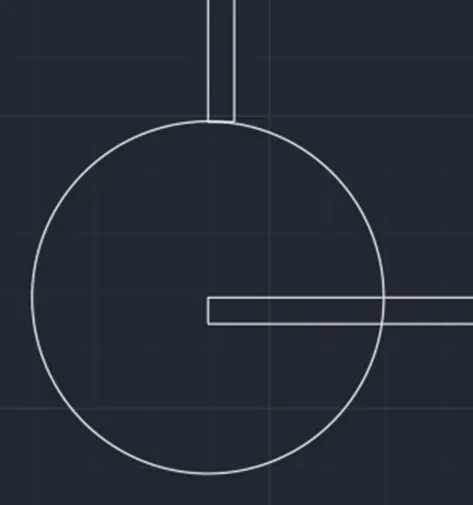
- Now trim the circle part which is outside of the toilet
- Command : trim
- Select the objects : select the circle outside the toilet
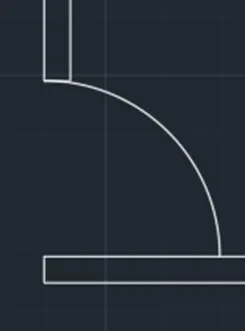
- Command : offset
- Enter the distance : 1”
- Click on the horizontal line of the interiors wall of the toilet beside the door
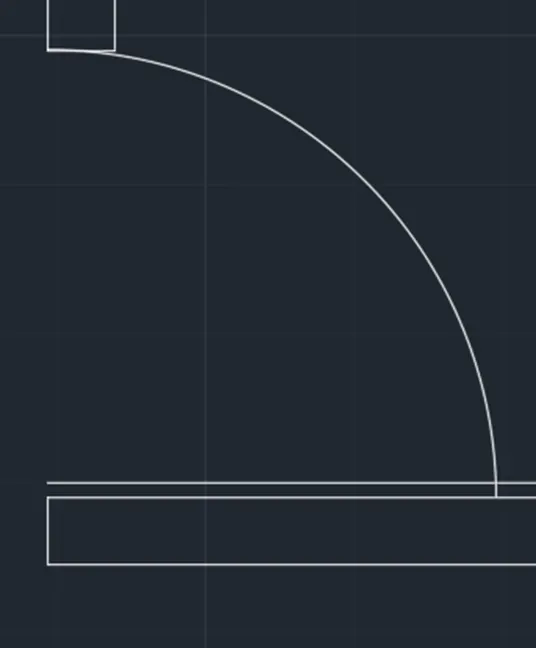
- Command : trim
- Select the objects : select the horizontal line drawn previously which is outside the door
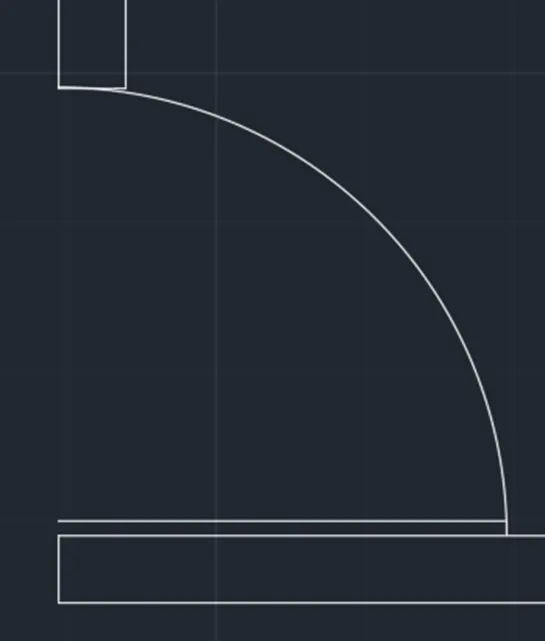
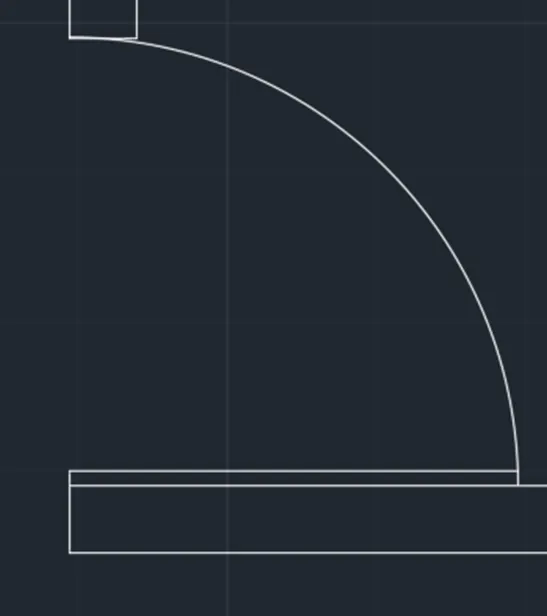
- Command : extend
- Select the objects : select the vertical line of the edge of the wall and press enter
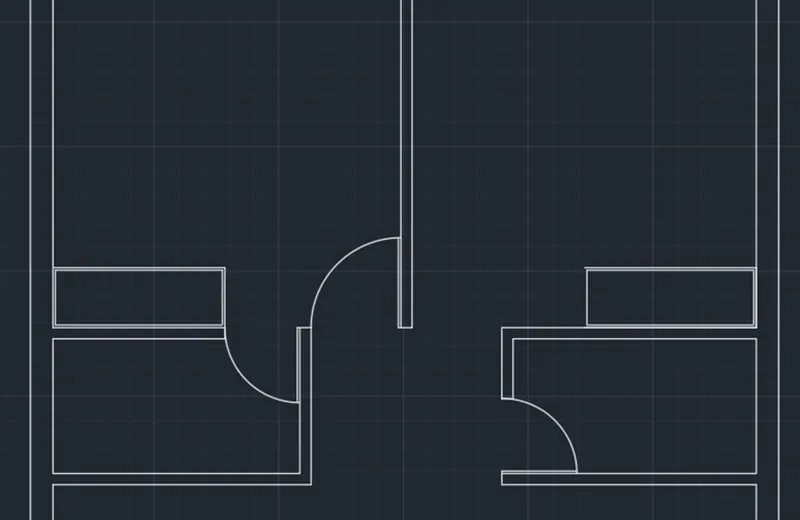
- Command : copy
- Select the objects : select the cupboard in the bedroom 1
- Select the basepoint : select any point of the cupboard
- Select the other point : select the point in the bedroom2 at the point where to place the cupboard and click on the point
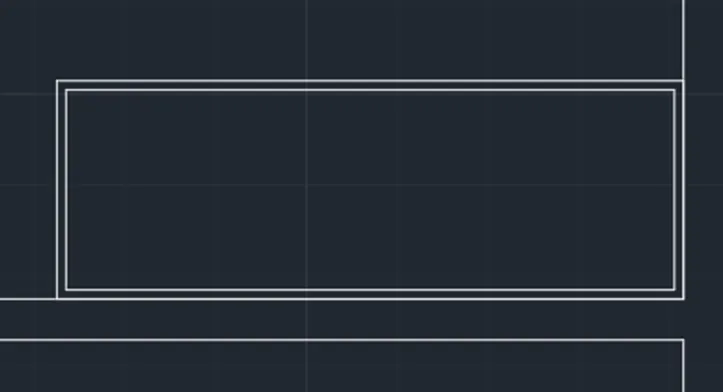
- Command :line
- Enter the first point : click on top of the cupboard
- Enter second point: click on the bottom edge of the cupboard
To draw the door of the bedroom 2:
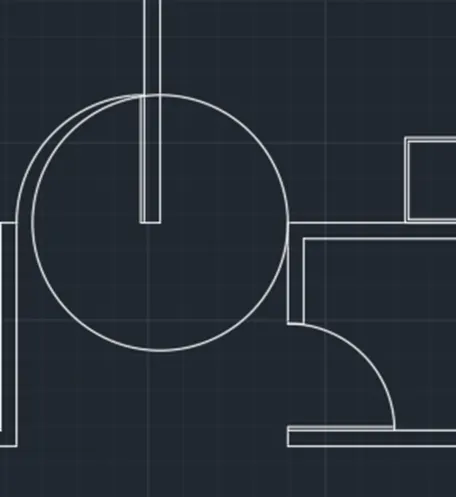
- command :circle
- enter the center of the circle : select the vertical wall edge point of the bedroom
- enter the radius : drag the mouse to the edge horizontal line of the wall of the bedroom
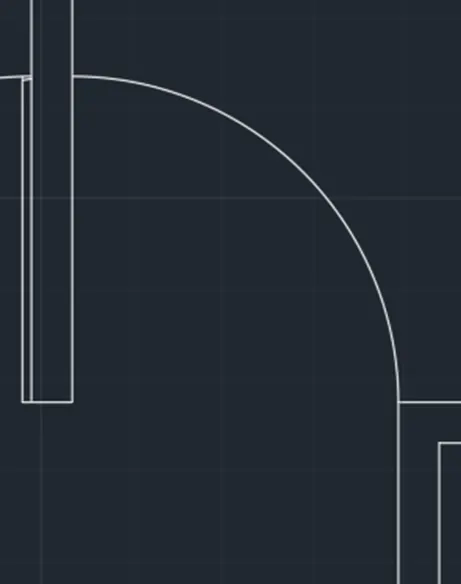
- Command : trim
- Select the objects : select the circle outside of the bedroom
- And press enter
- Command : offset
- Enter the distance : 1”(assume the thickness of the door as 1”)
- Select the objects : select the vertical line of the bedroom beside the door
- Click on the right side of that line and press enter
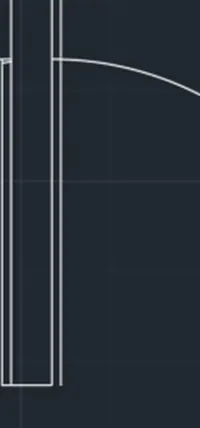
- Command : trim
- Select the objects : select the the previously drawn vertical line which is outside the door
- Click on it and press enter
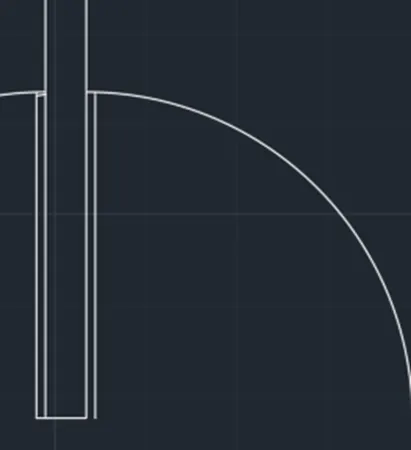
- Command : extend
- Select the objects : select the horizontal line at the edge of the vertical line
- Select it and press enter
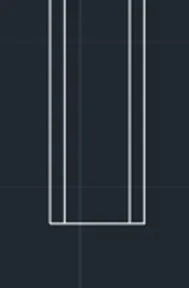
To draw the parking :
- Command : trim
- Select the objects : select the vertical lines inside the parking which are unnecessary
- Click on them and press enter
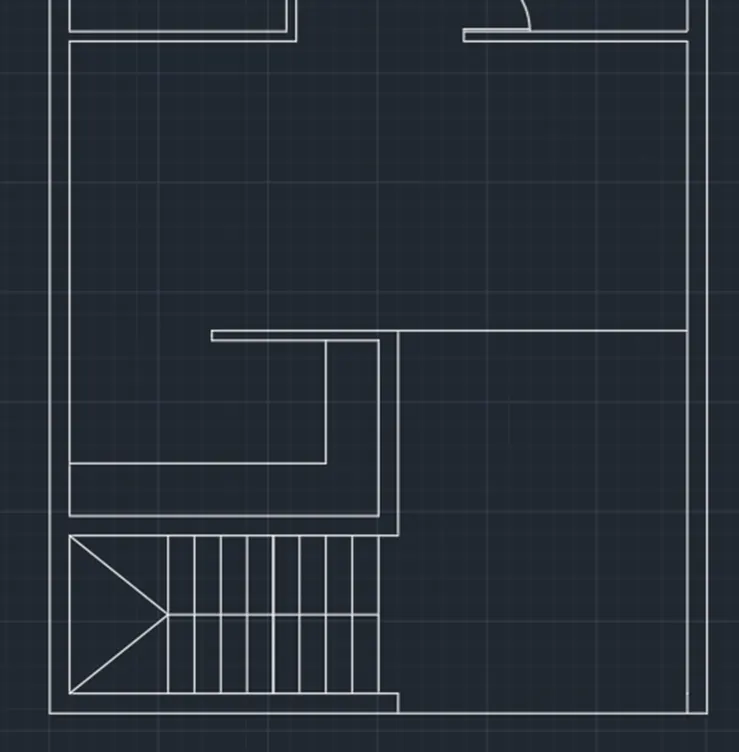
- Command : offset
- Enter the distance : 9”(the thickness of the exterior wall is 9”)
- Select the objects : select the horizontal line of the bottom wall of the living room
- Click on the bottom side of that line and press enter
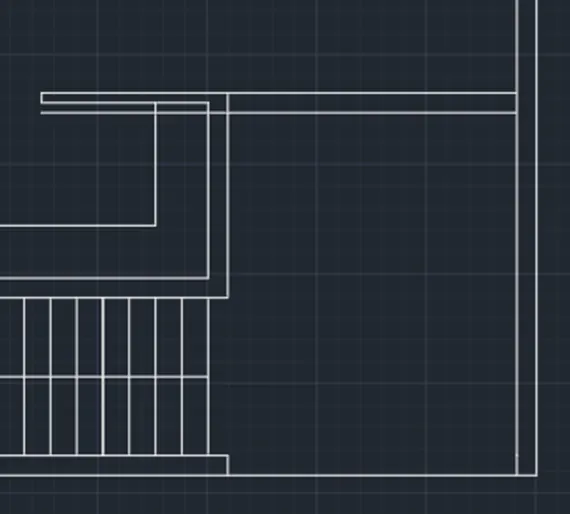
- Command : trim
- Select the horizontal line drawn previously which is outside the parking
- Click on it and press enter
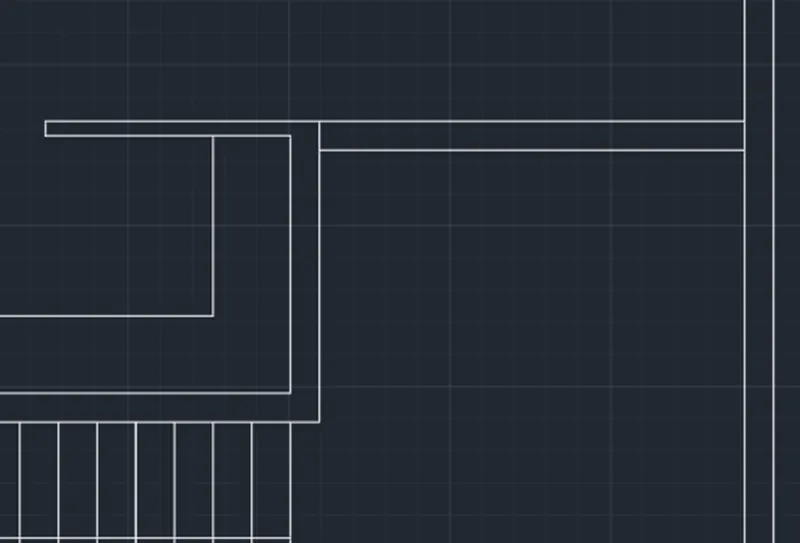
- Command : offset
- Enter the distance : 8’6”(the length of the parking wall from the door is 8’6”)
- Select the objects : select the vertical line of the exterior wall of the parking
- Click on the left side of that line and press enter
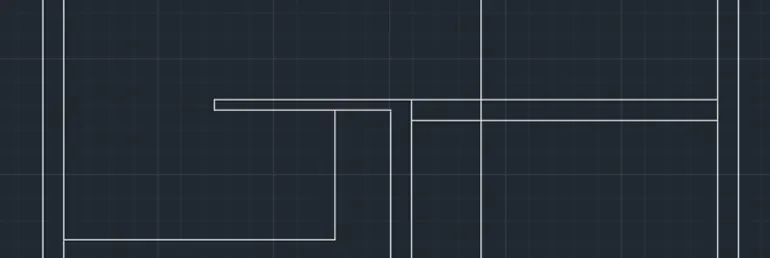
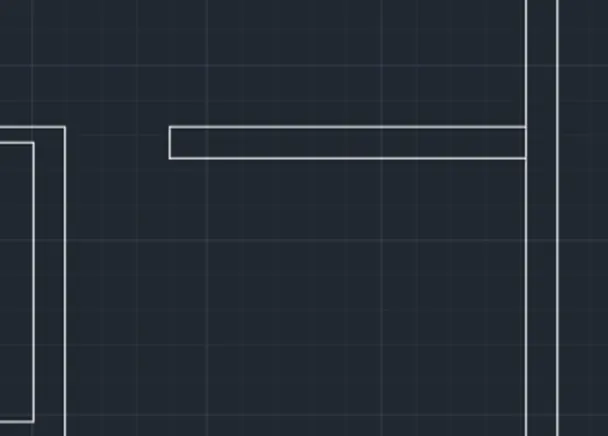
- Command : trim
- Select the vertical line drawn previously which is outside the exterior wall
To draw the door of the living room:
- Command : circle
- Enter the center of the circle : click on the edge horizontal wall of the living room at the entrance
- Enter the radius: drag the cursor to the other end of that entrance and the edge of that vertical wall

- Command : line
- Enter the first point : click on the center of the circle
- Enter the next point : move the cursor towards upward dirction and on the intersecting point of the circle with this line
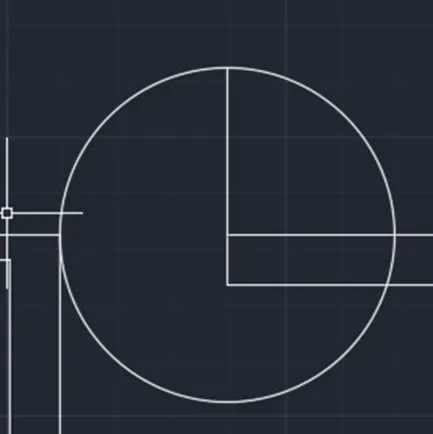
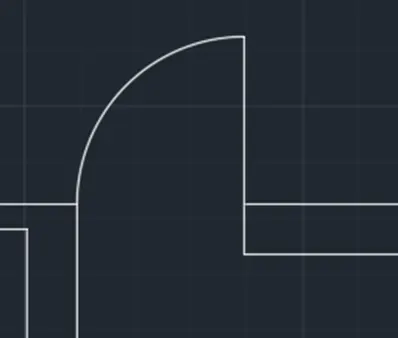
- Command : trim
- Select the objects : select the circle outside the door
To draw the window in the living room:
- Command : offset
- Enter the distance :4.5”(the half value of the thickness of the exterior wall of the living room)
- Select the object : select the horizontal line of the exterior wall of the living room
- Click on the down side of that line and press enter
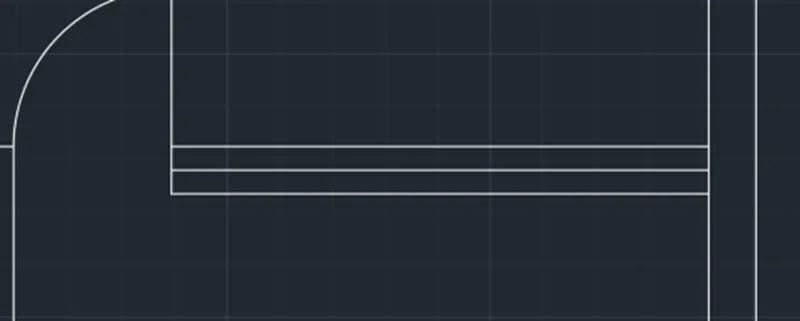
- Command : offset
- Enter the distance : 1’3”
- Select the objects :select the horizontal line of the edge of the exterior wall of the living room
- Command : offset
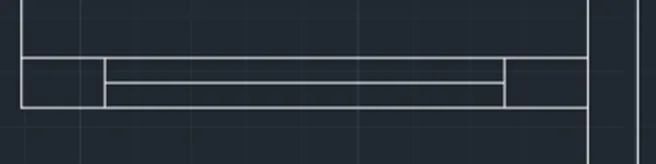
- Enter the distance : 6”(the length of the window is 6”)
- Select the objects :select the previously drawn vertical line
- Click on the right side of that line and press enter
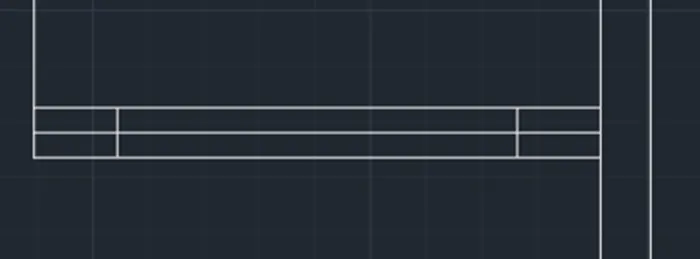
- Command : trim
- Select the objects : select the vertical line outside the window which is not necessary
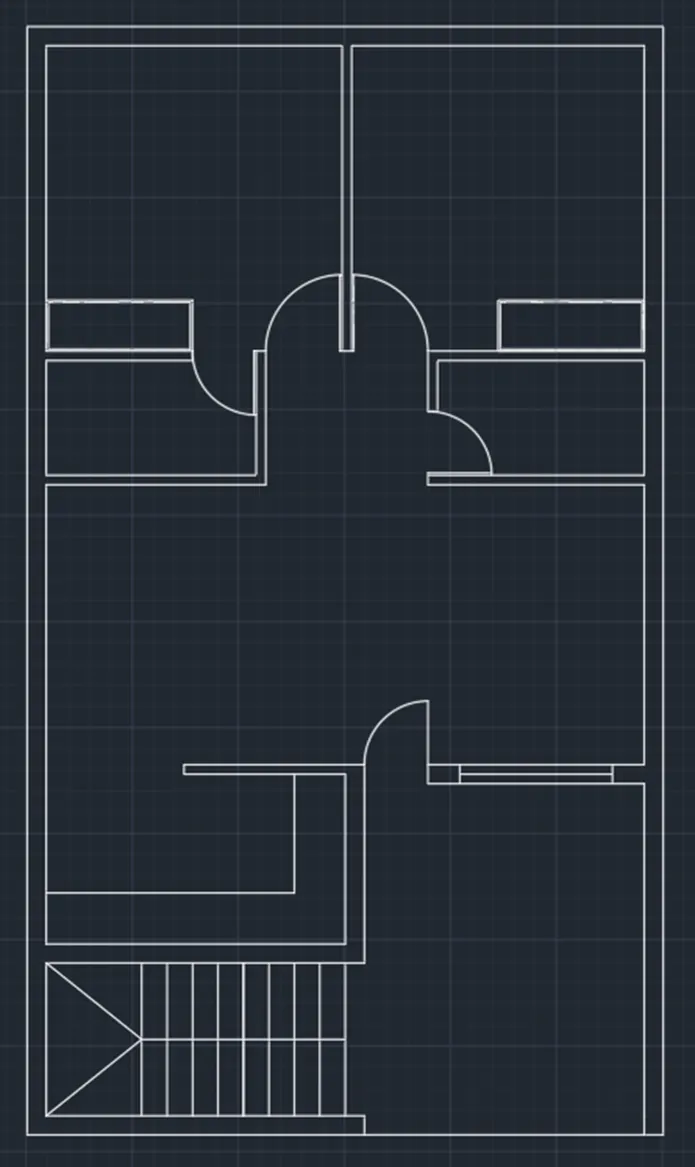
- Command : trim
- Select the objects : select the unnecessary lines in the exterior walls
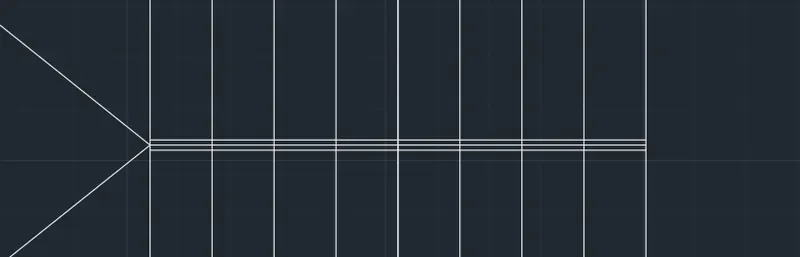
- command : offset
- enter the distance : 1"(assume the tickness of hand rail in the stair case as 1")
- select the objects :select hand rail in the stair case
- click on the either side of the hand rail and click on the screen
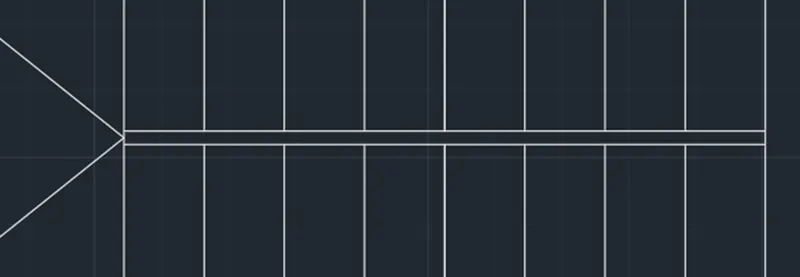
- command : trim
- select the objects : select the lines inside the hand rail object
-
To create layers:
- select layer properties from the Ribbon bar
- select new layer tool
- enter the layer name : wall ;colour : 30 from index color
- Create each layer with required name and color
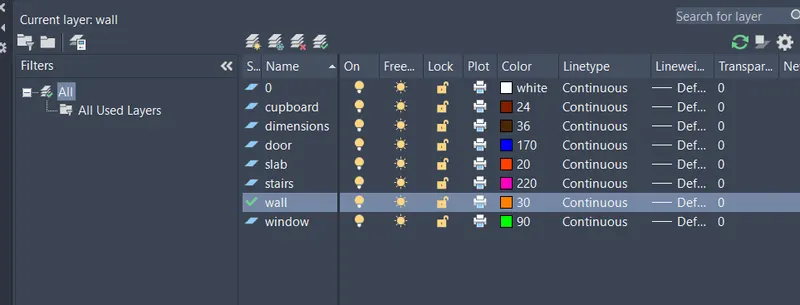
Implementing layers to the plan :
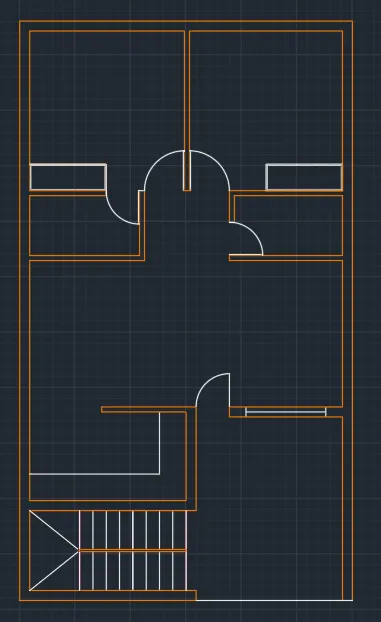
- 1.wall layer:
- select the walls in the plan
- goto the layer drop down
- select wall layer
- the selected objects in the plan changes to wall layer
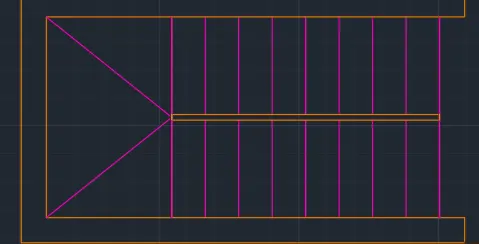
- 2.Stair case layer:
- select the steps
- goto layer drop down
- select stairs layer
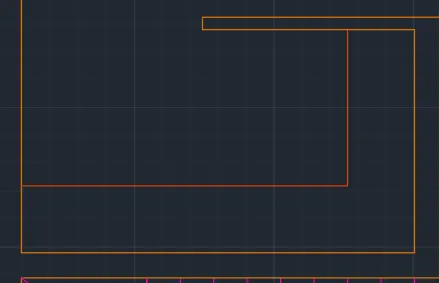
- 3.slab layer:
- select kitchen slab object
- goto layer drop down
- select slab layer
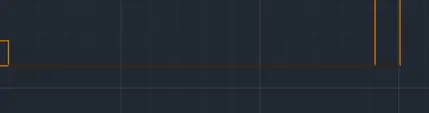
- 4.parking exterior wall :
- select the exterior wall of the parking
- goto layer drop down
- select dimensions layer(both are given the same layer color)
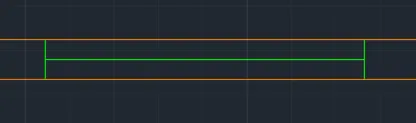
- 5.window layer :
- select the window object in the living room
- goto layer drop down
- select window layer
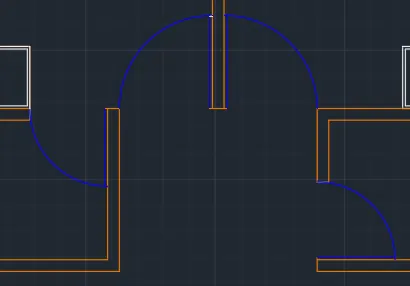
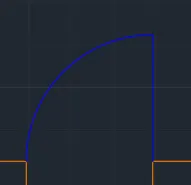
- 6.door layer :
- select the door objects in the plan
- goto layer drop down
- select door layer
- 7.cupboard layer :
- select the cupboards in the both the bedrooms
- goto layer drop down
- select the cupboard layer
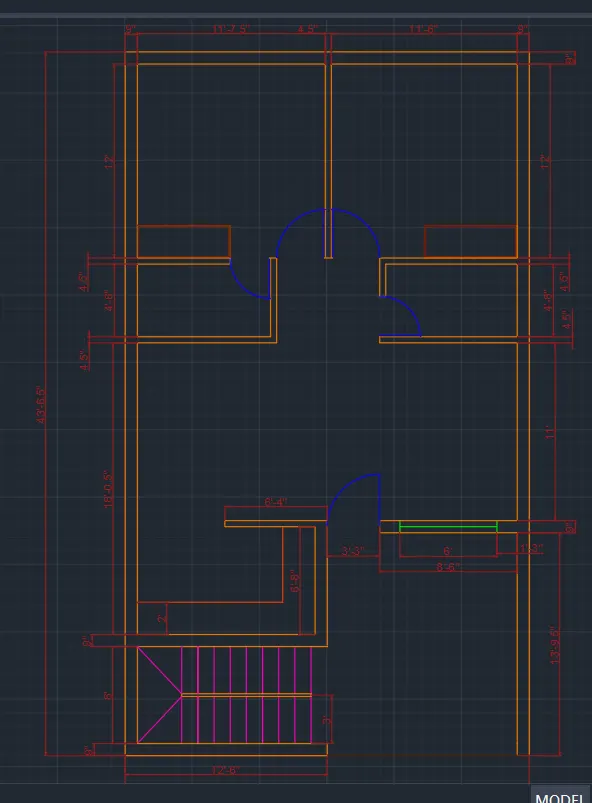
- To draw the dimensions :
- command : D
- Dimension style manager dialogue box appears
- select Modify option
- select primary units tab
- select unit format : Engineering
- select precision : 0'.0"
- and press ok
- command : dimlinear
- select the two points between which the dimension is to be drawn

- To write texts:
- command : text
- select the start point of text : select the point to start point to start the text
- enter the text height : 9"
- now enter the text
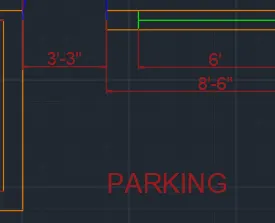
- in this at all the points enter the text
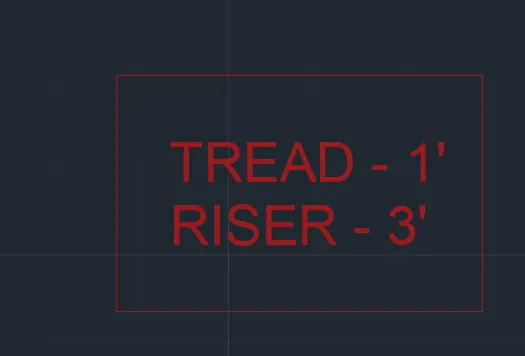
- command : text
- select the start point of text : select the point to start point to start the text
- enter the text height : 4.5"
- now enter the text
- command : rectang
- enter the starting point : click on the corner of the text and drag the cursor to the opposite corner and click on it
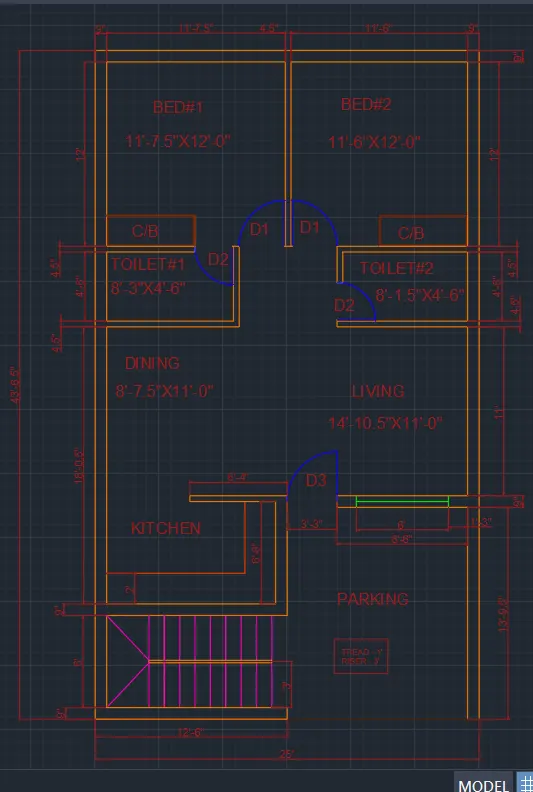
RESULT:
2.OUTDOOR SEATING WITH CANOPY:
AIM: To draw the outdoor seating with canopy using autocad
PROCEDURE :
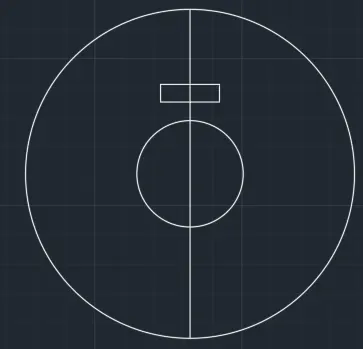
To draw the canopy :
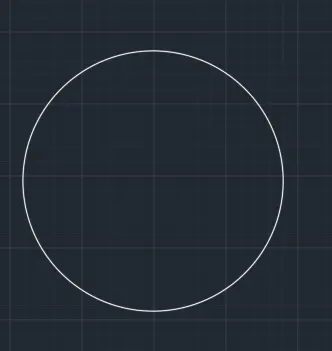
- command : circle
- enter the radius : 452(the radius of the inside circle is 452)
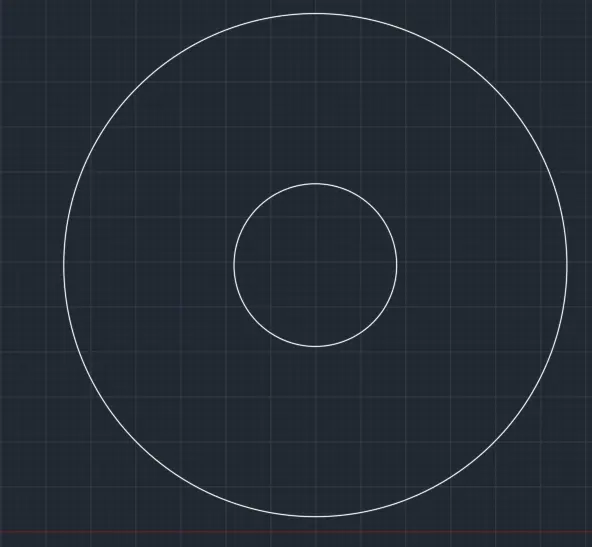
- command : circle
- enter the radius : 1398(the radius of the circle is 1398)
To draw the seating :
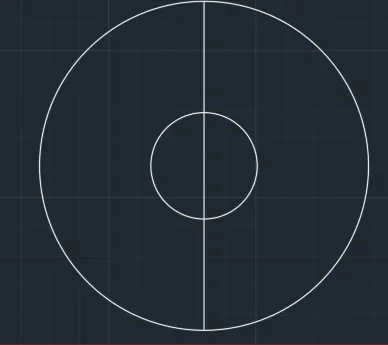
- command : line
- enter the first point : click on the point on the top of the outer circle perpendicular to the center of the circle
- enter the second point : click on the opposite of that point on the outer circle
- command : line
- specify first point : click on the vertical line at same small distance from the inner circle
- specify next point : @250,0
- specify next point : @0,150
- specify next point : @-500,0
- specify next point :@0,-150
- specify next point : click on the initial point of line started
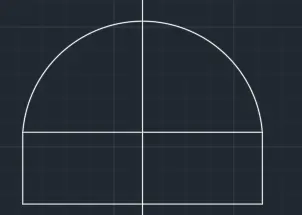
- command : arc
- select : 3 point option
- select the first point : click on the top corner of the rectangle
- select the second point : click on the vertical drawn inside the circle at some ditance
- select the third point : click on the other corner of the rectangle
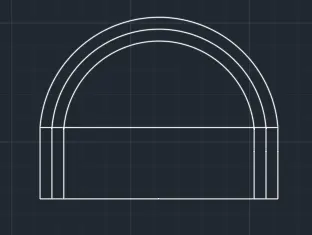
- command : trim
- select the objects : select the vertical line inside the circle
- command : offset
- enter the distance : 25
- select the objects : select the two vertical edges the rectangle and the arc
- click inside of them and click on the screen
- do it for 2 times
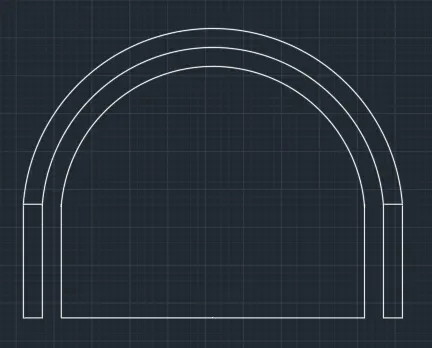
- command : trim
- select the objects : select the horizontal lines in the miidle offset part
- command : fillet
- select radius option
- enter the radius : 30
- select the objects : select the vertical line and adjacent horizontal line
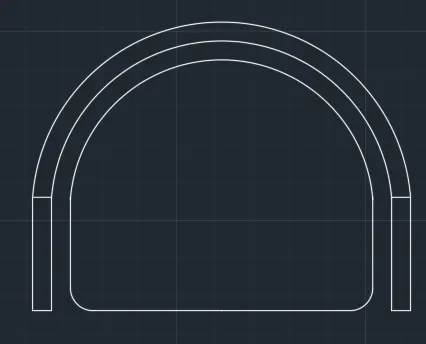
- command : copy
- select the object : select the bottom horizontal line of the hand
- select any base point and copy it to the level of the fillet edge and click on it
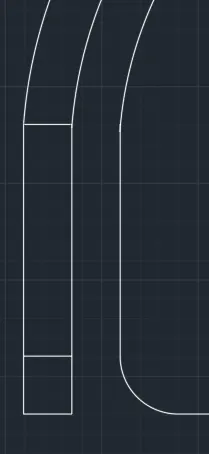
- now trim the bottom part
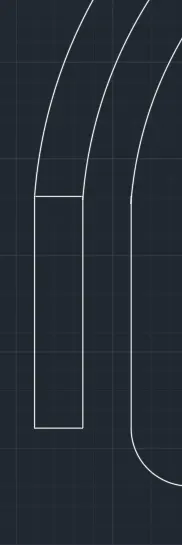
- command : copy
- select the same line and select any base point
- and click the other base point just below the top horizontal line
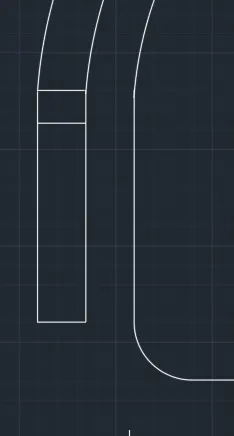
- now trim the middle part of the two copied lines
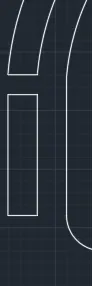
- now do the same process on the other side
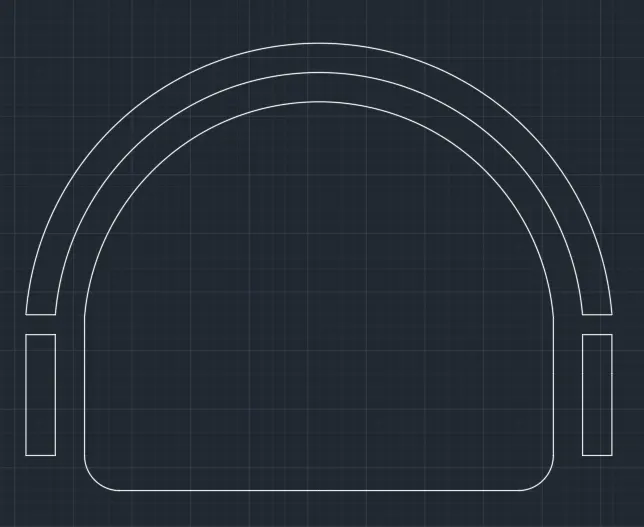
- now draw the remaining 3 objects
- select array drop down in ribbon bar
- select array path option
- select the path object : select the inner circle
- and Associate option from the right side ribbon and press enter
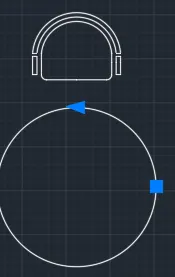
- move the arrow mark in clock wise direction
- move the arrow till only 3 objects obtaining
- and click on the arrow
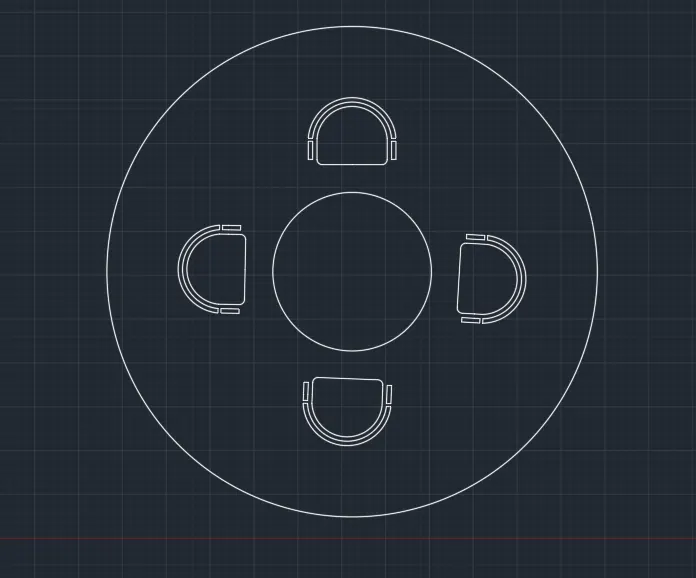
- the final output is shown in the result
RESULT:
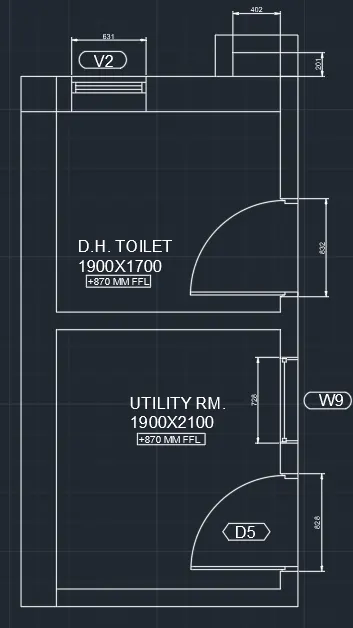
3.PART PLAN FOR THE TOILERS AND UTILITIES ROOM:
AIM: To draw part plan toilers and utilities room
PROCEDURE:
- To draw the exterior and interior:
- Command : unitsSelect the type to Decimal option ,precision to 0.0
- and Insertion to millimeters
- Command : limmax
- Enter the value 10000,10000
- Command : zoom ,and enter ‘e’
- Command : limits
- Enter the value : 100,100
- Command : zoom ,and enter 'All'
- Command : Xline
- Select option to vertical and click on the screen
- Command : XlineSelect option to horizontal and click on the screen
- command : offset
- enter the distance : 150(the thickness of the bottom horizontal wall of the utilities room is 150)
- click on the upside of that line and press enter
- command : offset
- enter the distance :300(the thickness of the left side vertical wall is 150)
- click on the right side of that line and press enter
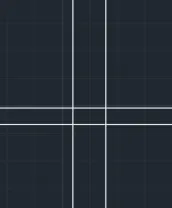
- command : offset
- enter the distance :2100(the width of the utility room is 2100)
- click on the upside of the inside horizontal line and click on the screen
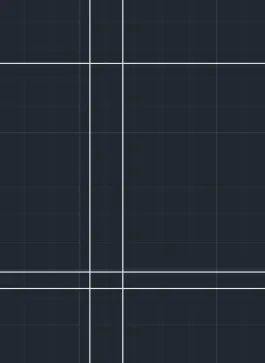
- command:offset
- enter the distance : 150(thickness of the divide wall is 150)
- click on the upside of the previously drawn horizontal line and click on the screen
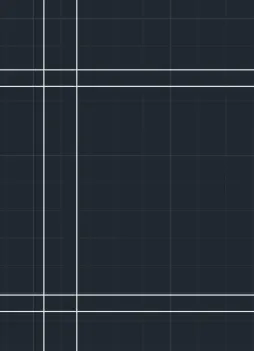
- command : offset
- enter the distance : 1700(the thickness of the toilet room is 1700)
- click on the previously drawn horizontal line and click on the upside of that line and click in the screen
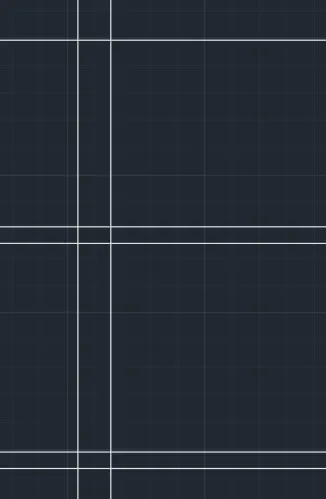
- command : offset
- enter the distance : 300(the thickness of the exterior horizontal wall is 300)
- select the objects : select the previously drawn horizontal line
- click on the upsisde of it and press enter
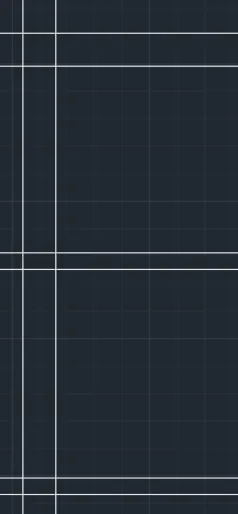
- command : offset
- enter the distance : 1900(the length of the rooms is 1900)
- select the objects : select the vertical line
- click on the right side of the line and press enter
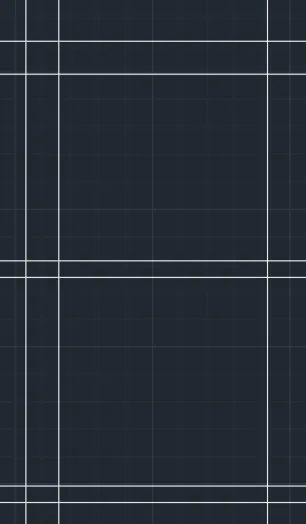
- command : offset
- enter the distance : 150
- select the object : select the previously drawn vertical line
- click on the right side of that line and click on the screen
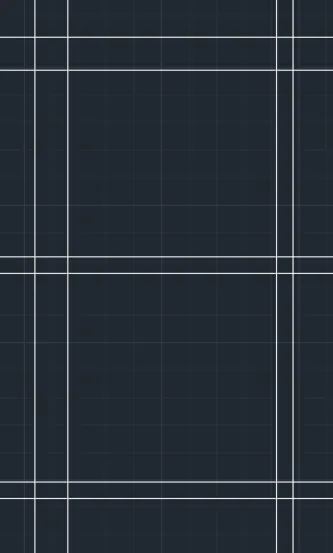
- command : fiilet
- click on the respective horizontal and vertical lines in the corners of the drawn closed figure
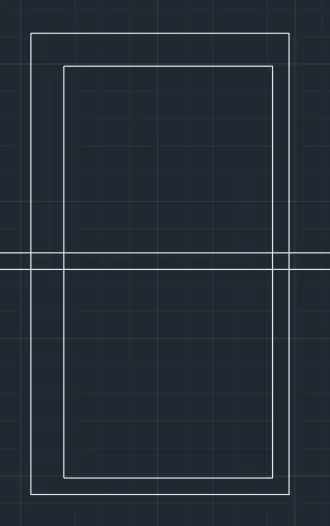
- command : trim
- select the objects : select the horizontal lines inside the walls and outside the walls
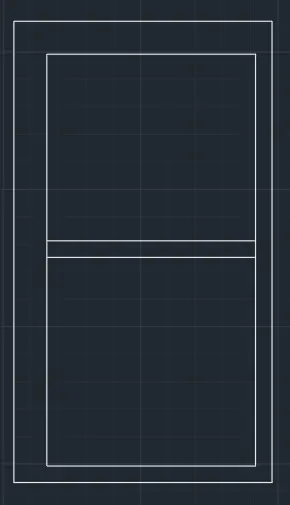
To draw shower:
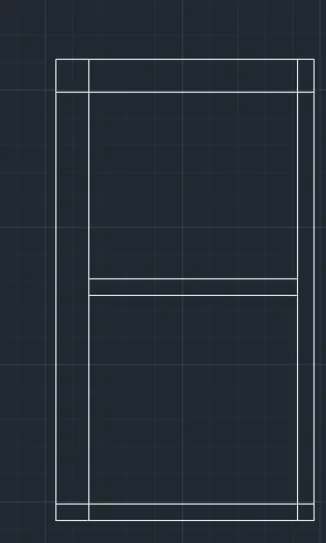
- command : extend
- select the objects :select the horizontal and vertical lines inside of the walls at the corners
- command : line
- enter the first point : select the inside point of the top right corner of the plan
- enter the second point : @0,201
- enter next point: @-402,0
- enter the next point : keep the cursor in the downward direction and enter 201
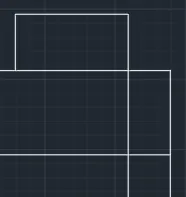
- command :offset
- enter the distance :150
- select the objects : select the 3 sides of the rectangle drawn
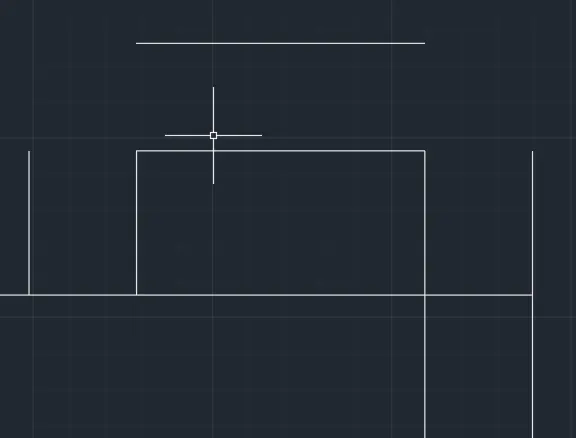
- command : fillet
- select the objects : select the adjacent sides of the unjoined lines
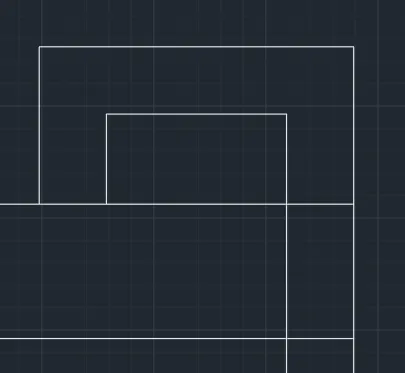
To draw v2:
- command : offset
- enter the offset distance : 130(assume the diastance between left vertical wall to the v2)
- click on the inside vertical wall line and in the right side of it
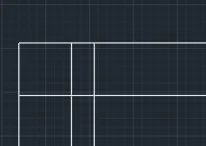
- command : offset
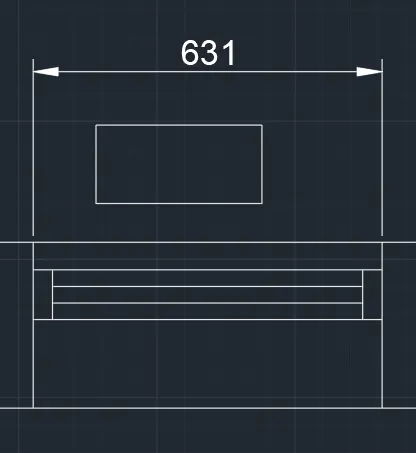
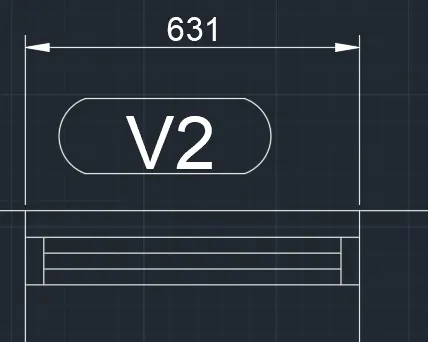
- enter the distance : 631(the length of the v2 )
- select the objects : select the previuosly drawn vertical line
- click on the right side of that line
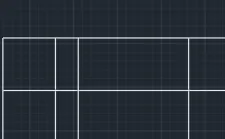
- command : trim
- select the objects : click on the vertical lines outside the wall
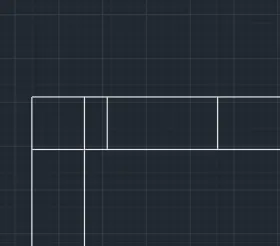
- command : offset
- enter the distance : 50
- select the objects : select the outer horizontal line of the of the wall
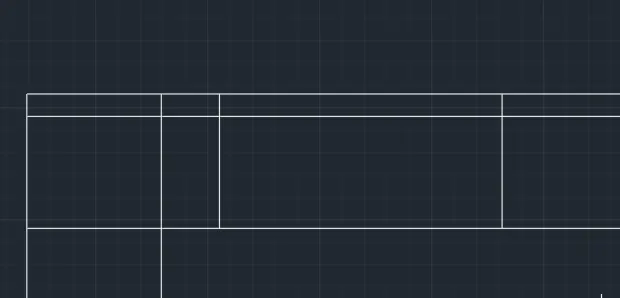
- command : trim
- select the objects : select the horizontal line outside the v2
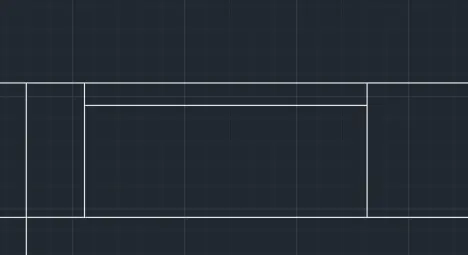
- command : offset
- enter the distance : 30(assume the distance between the glazing as 30)
- select the vertical line which is trimmed and click on the down side of the line
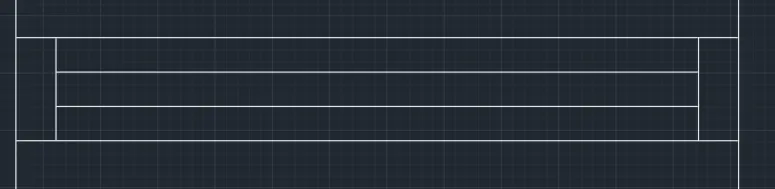
- draw 3 lines below that line
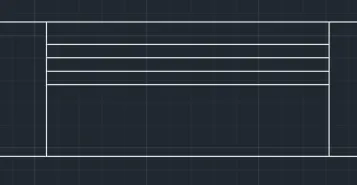
- command : offset
- enter the distance : 35(assume the of the glazing edge as 35)
- select the objects : select the vertical line of the v2
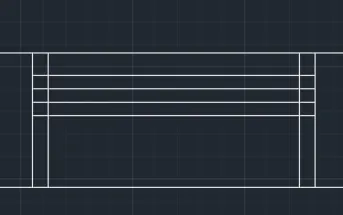
- command : trim
- select the objects : select the vertical lines outside the v2 and aslo the 2 horizontal glazings which are inside the glazing edge
To draw door in the toilet :
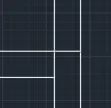
- command: extend
- select the objects : select the right side end point of the divide wall and click on it
- command : offset
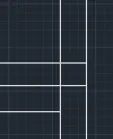
- enter the distance: 130(assume the distance between the the divide wall to the door of the toilet as 130)
- click on the topside of that line of the divide wall and click on the screen
- command : trim
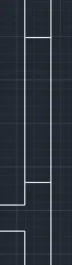
- select the objects : select the unnecessary lines as shown in the below figure

- command : offset
- enter the distance : 832
- select the objects : select the previously drawn horizontal line
- click on the topside of that line and click on the screen
- command : trim
- select the objects : select the vertical line inside the wall
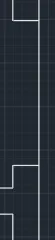
- assuming all the dimensions of door to the limit of given width of the door 832
- command :line
- enter the first point : click on the edge of the inside door wall
- enter the second point : @15,0
- enter the next point : @0,15
- enter the next point : @25,0
- enter the next point : @0,25
- enter the next point :click the point on thr exteiror wall line
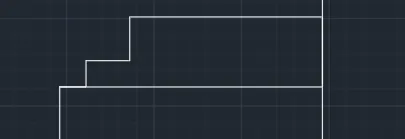
- on the opposite of that door edge we need to draw the same
- command :line
- enter the first point : click on the edge of the inside door wall
- enter the second point : @15,0
- enter the next point : @0,-15
- enter the next point : @25,0
- enter the next point : @0,-25
- enter the next point :click the point on thr exteiror wall line
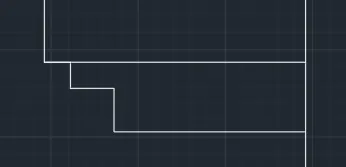
- let us assume the thickness of the door is 25 and the length of the door is 802(832-15-15)
- enter command : line
- enter the first point : click on the down side edge of the door
- enter the second point : @-802,0
- enter the next point : @0,-25
- enter the next point : click on the end point of the door
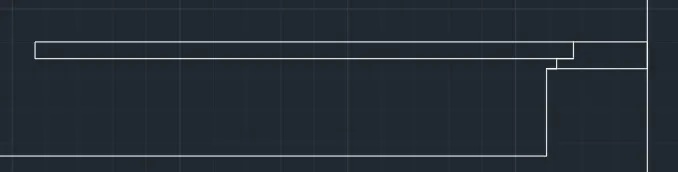
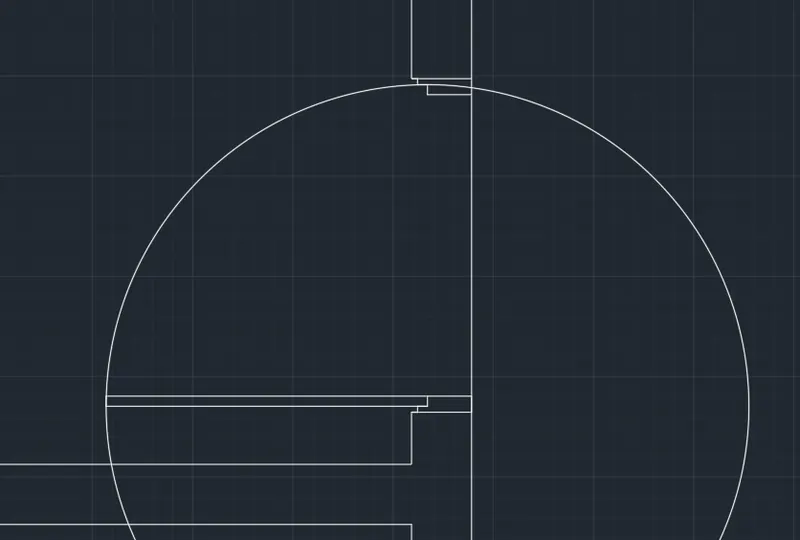
- command : circle
- enter the center point of the circle : click on the hinge point of the door
- enter the radius : drag the cursor so that the circle touches the other hinge point and click on that point
- command : trim
- select the objects : select the circle part which outside the door
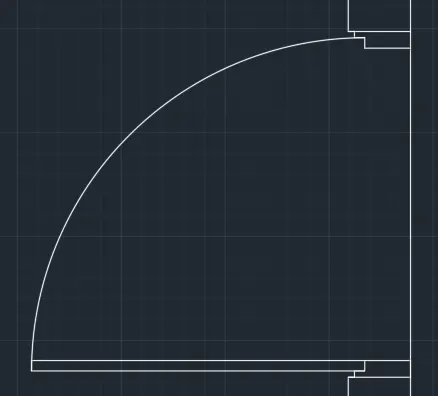
To draw the DOOR OF THE UTILITY ROOM:
- command : offset
- enter the offset distance : 130( assume the distance of door from the exterior wall is 130)
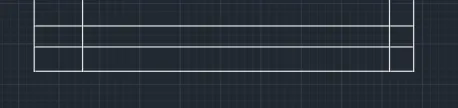
- select the exterior wall line and click on the topside of that line
- command : trim
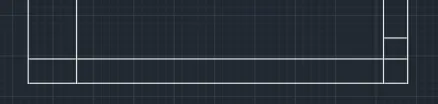
- select the objects : click on the horizontal line outside the vertical wall of the room
- command : offset
- enter the distance : 828(the length of the door space is 828)
- click on the previusly drawn horizontal line and click on the top side of that line
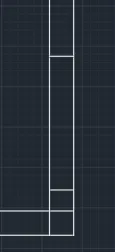
- command : trim
- select the objects : select the vertical line shown below
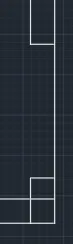
- and trim the vertical and horizontal line inside the wall

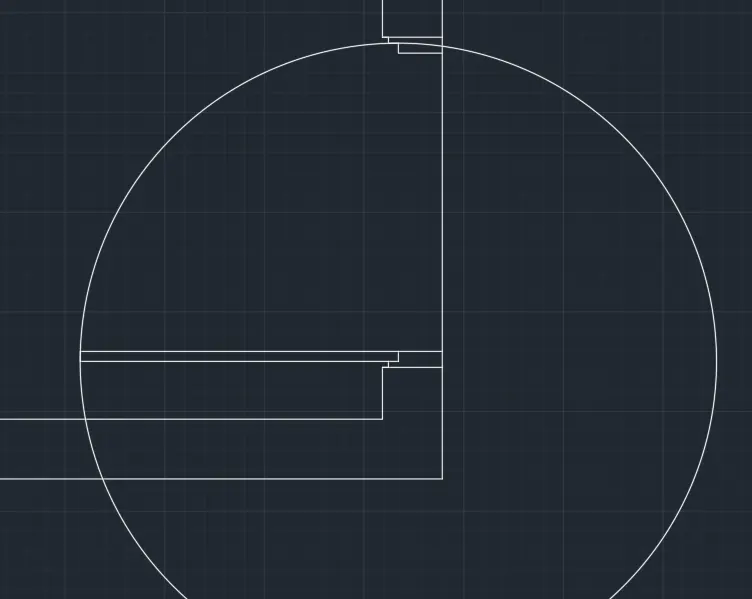
- command : line
- specify the first point : click on the inside edge of the vertical wall
- enter next point : @15,0
- enter next point : @0,15
- enter next point : @25,0
- enter next point : @0,25
- enter next point : click on the end point of the vertical wall
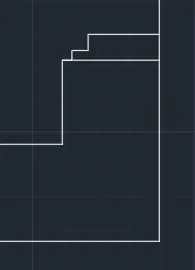
- in the same way create on the opposite end of the door
- command : line
- specify the first point : select the inside edge of the opposite door end
- enter the next point : @15,0
- enter the next point : @0,-15
- enter the next point : @25,0
- enter the next point :@0,-25
- enter the next point : click on the point on the vertical wall to close the figure
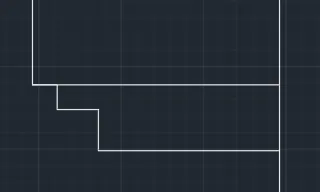
- command : line
- specify the first point : click on the starting point of the door
- enter the next point : @-798,0(the length of the door is 828-15-15)
- enter the next point : @0,-25
- enter the next point : click on the endpoint of the door hinge

- command : circle
- enter the center of the circle : click on the end point of the door side hinge
- enter the radius : drag the cursor to opposite hinge point and click on it
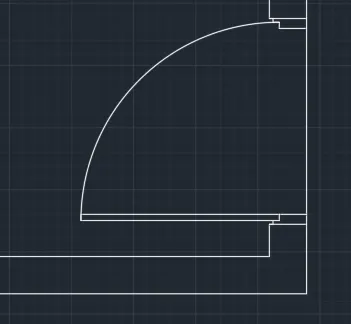
- command : trim
- select the objects : click circle outside of the door
To draw the WINDOW OF THE UTILITY ROOM:
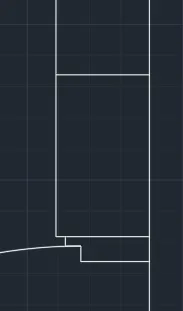
- command : offset
- enter the distance : 260(let us assume the distance between the door and the window is 260)
- select the door wall at the end of the door
- click on the topside of that line
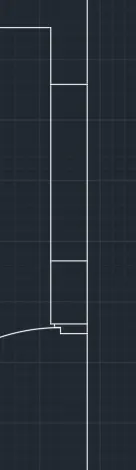
- command : offset
- enter the distance : 728(the length of the window space is 728)
- select the objects : click on the previously drawn horizontal line and click on the top of that line
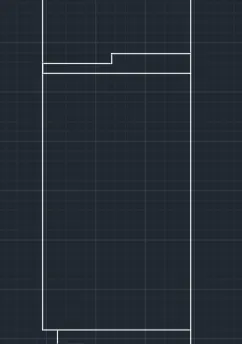
- command : line
- specify the first point : click on the down side end of the window hinge
- enter the second point : @0,10
- enter the next point : @50,0
- enter the next point : @0,10
- enter the next point : click on the vertical wall line to complete the figure
- on the opposite hinge of the window draw the hinge with same dimensions
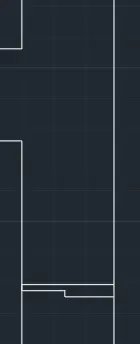
- command : line
- specify the first point : click on the end point of the window space
- enter the next point : @0,-10
- enter the next point :@50,0
- enter the next point :@0,-10
- enter the next point : click on the end point of the vertical wall to close the figure
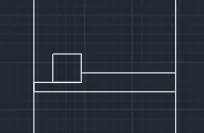
- command : line
- enter the first point : click on the point on the hinge at the end of the thinner part
- enter the next point : @30,0
- enter the next point : @0,-30
- enter the next point :@0,-30
- enter the next point : click on the end point of the hinge to close the figure
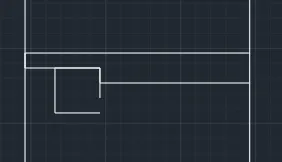
- and in the opposite hinge we need to draw the same square
- command : copy
- select the objects : select the square objects
- select the basepoint : select corner point of that object
- select the other basepoint : click on the opposite hinge at the point which fits the object
- command : fillet
- select the objects : select the unjoined lines and click it
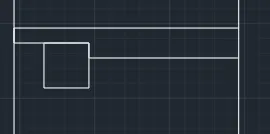
- comand : line
- specify the first point : as ortho is on click on the mid point of one of the squares drawn at the hinges
- specify the next point : click on the mid point of the square edge of other side
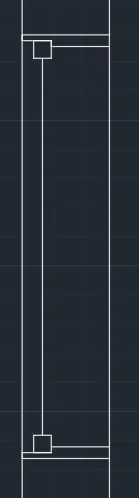
- command : trim
- select the objects : select the unnecessary lines inside the walls
To specify dimensions :
- command : d
- dimension style dialog box opens
- select Modify option
- select Units tab
- select units to decimal and precision to 0.0
- and the open Fit tab
- increase the size of the dimensions scale to 18
- command : Dimlinear
- click on the ends of the v9
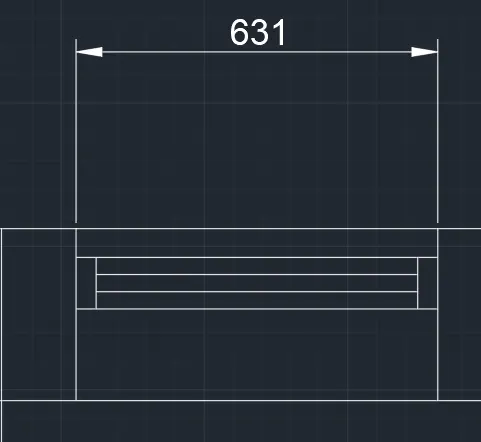
- in the same way draw dimensions for mentined objects
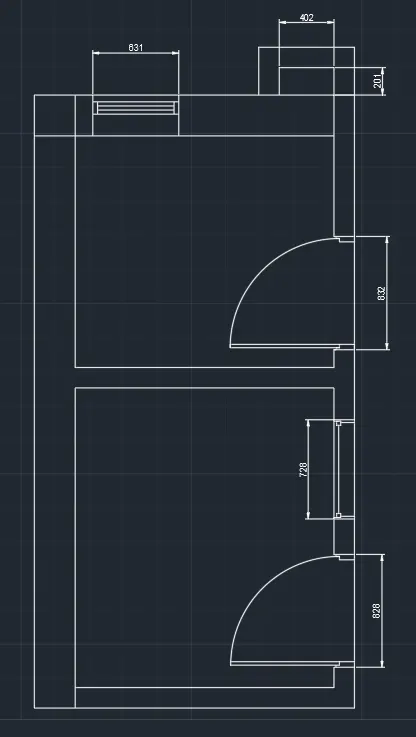
To draw the TEXT:
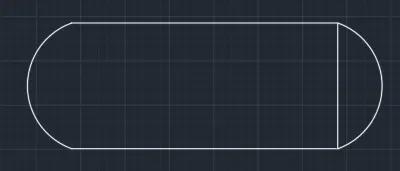
- Command : rectang
- enter the first corner point : click on the corner point nearer to the v9 to draw the object for writing the text
- enter the opposite corner point : drag the cursor to the opposite within the dimline
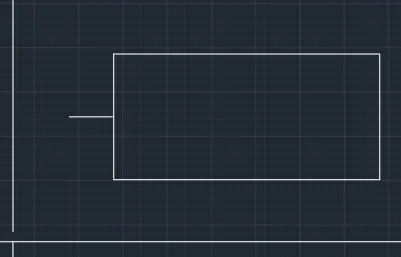
- command : line
- enter the first point : click on the mid point of the left edge of the rectangle
- enter the second point : @-100,0(assuming )
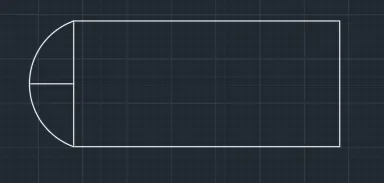
- select the arc opiton drop down
- select 3 point option
- specify the first point : click on the top end point of the left edge
- specify the second end point : click on the end point of the horizontal drawn
- specify the third point : click on the other end point of the left edge of the rectangle
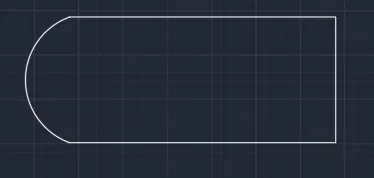
- command : trim
- select the objects : select the horizontal line and the left edge of the rectangle
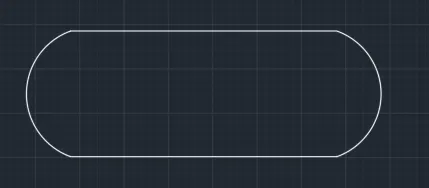
- now draw the same arc in the opposite side
- select Mirror option from the ribbon bar
- select the objects : select the arc drawn
- select the point on mirror line : select the midpoint of the rectangle edge
- click on the point at which the arc fits the rectangle
- command : trim
- select the objects : select the right edge of the rectangle
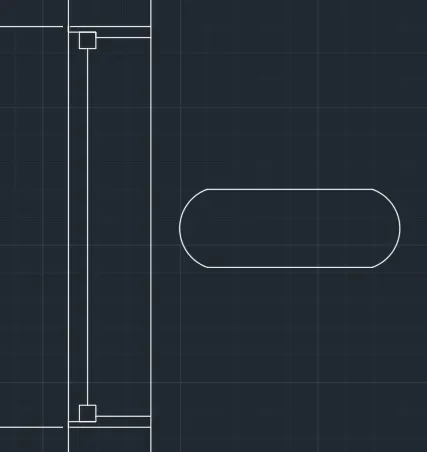
- command : copy
- select the objects : select the object drawn previuosly
- select the base point : select any point of the object
- select 2nd base point : drag the object beside the window and click on any point
- copy the same object inside the door of the utility room
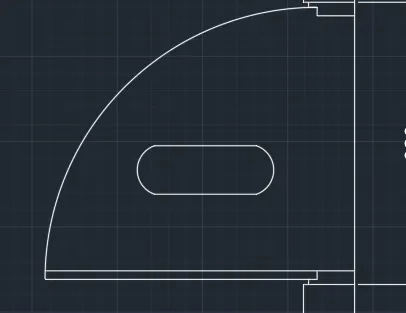
- command : line
- enter the first point : select the left end point of the arc
- enter the next point : click on the mid point of the arc
- enter the next point : click on the other end point of the arc
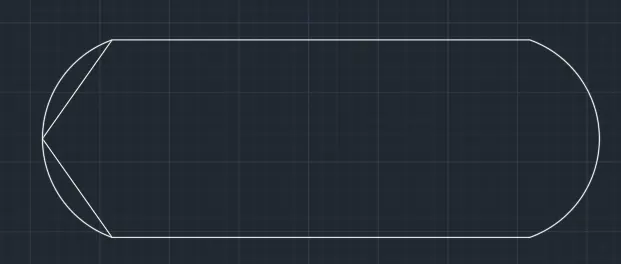
- command : trim
- select the objects : select the arc on the left of the object
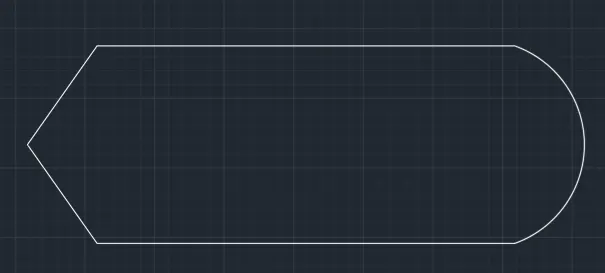
- now in the same way draw the lines on the other of the rectangle
- command : line
- enter the first point : select the right end point of the arc
- enter the next point : click on the mid point of the arc
- enter the next point : click on the other end point of the arc
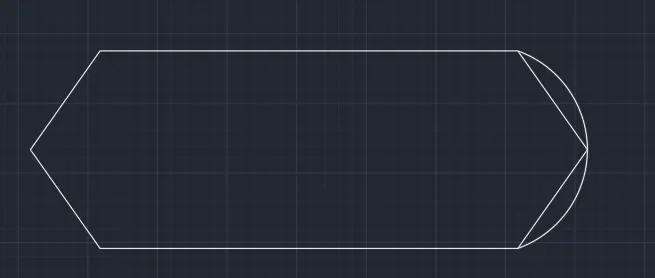
- command : trim
- select the objects : select the arc on the right of the object
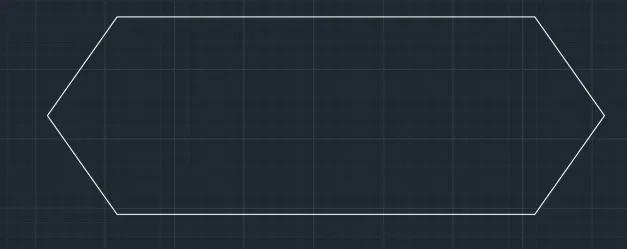
- command : text
- select the start point : select the point nearer to the point of the v2 inside the object drawn for text in the toilet room
- text height : 100
- rotate angle :0
- write the text : V2
- To draw text inside the toilet room , click on the starting point inside the room
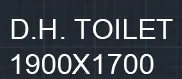
- enter the text : D.H. TOILET and then press enter
- enter the text : 1900X1700
- Below line of this text should be of smaller size
- .so press esc
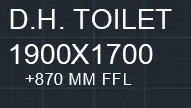
- command : TEXT
- select the start point : select the point down side of the text
- text height : 50
- rotate angle :0
- enter text : +870 MM FFL
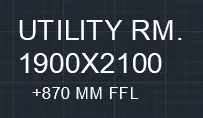
- To draw the text inside the utility room
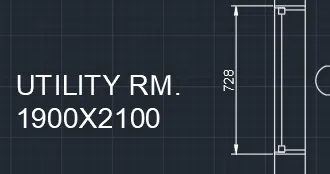
- command : text
- enter the start point : select the point near the window
- text height : 100
- enter the text : UTILITY RM. and press enter
- enter the text : 1900X2100
- Below line should be of smaller text .so press esc
- command : TEXT
- select the start point : select the point down side of the text
- text height : 50
- rotate angle :0
- enter text : +870 MM FFL
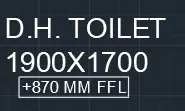
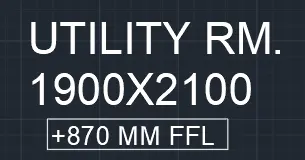
- to draw the rectangle around the smaller text
- command : rectang
- enter the first corner point : select the point from the starting point of the smaller text
- enter the opposite corner point : drag the rectangle to fit the text and click on the point
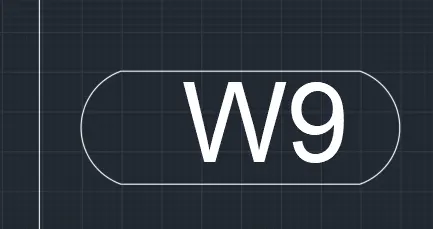
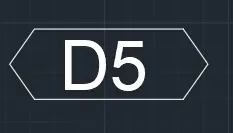
- To draw the text w9 and D5,
- command : text
- enter the start point : select the point inside the object drawn near the window
- text height : 100
- enter the text : W9
- click the point inside the object drawn near the door
- enter the text : D5
RESULT: