Creating a Residence Layout, Seating plan, Toilet and Utility room plan using AutoCad
AIM :Creating a Residence Layout, Seating plan, Toilet and Utility room plan using AutoCad
Q1
PROCEDURE:
STEP 1:Set the sheet in imperial (feet and inch)
Now set the units as UN ENTER (engineering)
Now set the limits as LIMITS ENTER (0',0'), (75',75')
Z ENTER and A ENTER.
STEP 2:Now using XL command draw a line XL ENTER, H ENTER & XL ENTER V ENTER
now using offset command O ENTER and horizontal take offset as 43'6.5"
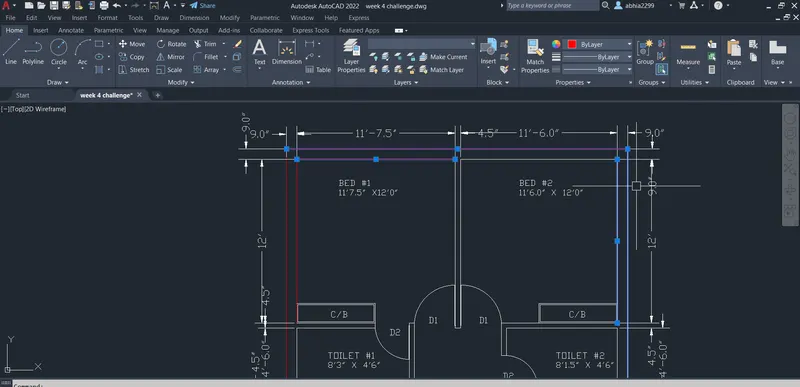
now again using offset tool and set the external wall as 9" wall thickness
O ENTER 9" ENTER
and by using trim tool cut the excess part of the line TR ENTER
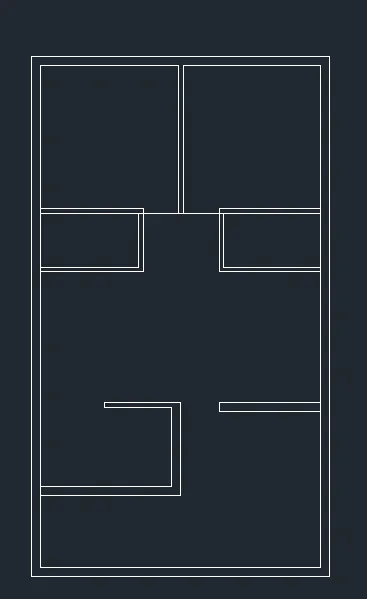
step 3:Now using offset tool by analysing the plan draft the internal wall 4.5" according to the plan
by using of set O ENTER and 4.5" distance now edit the plan by using trim and fillet tools
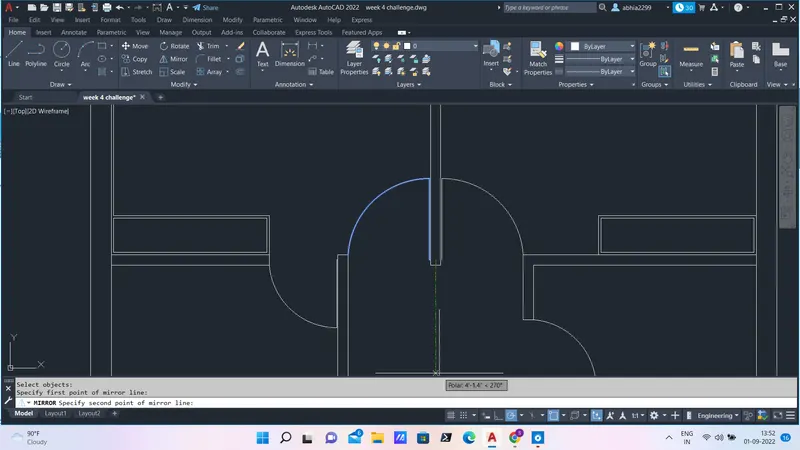
STEP 4: Now draft the doors and windows according to the plan specifing the different sizes of doors
by using the line , circle and trim tools
STEP 5:Draft the staircase by analysing the plan using the offset tool through distance of 1'
and other part is doted lines
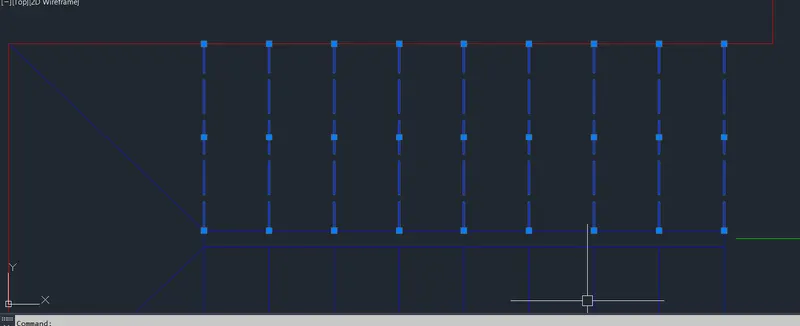
STEP 6:Now draft the remaing part by observing the plain slab of the kitchen by offset tool through 2' distance
and cupboards assuming the reqired dimensions and using the line and offset tool
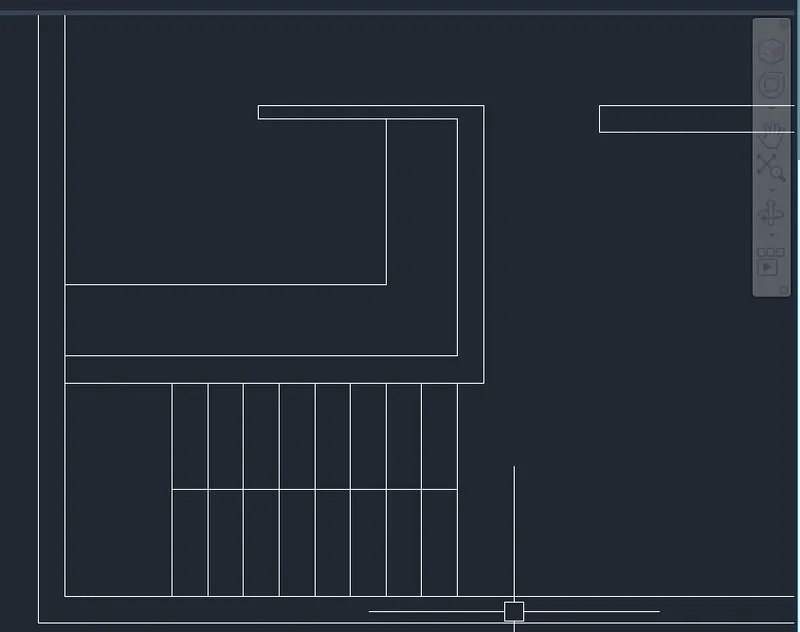
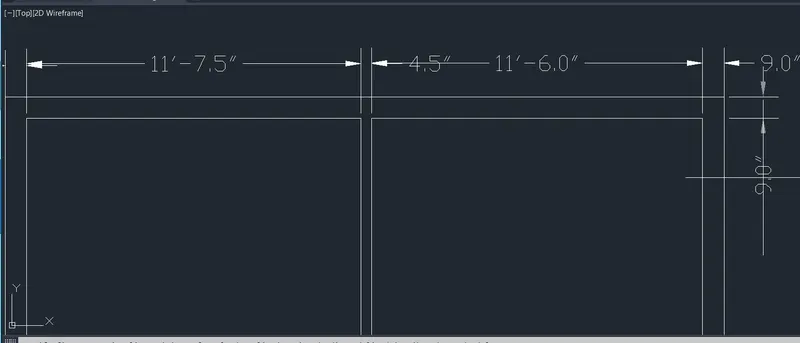
STEP 7:Now using DIMLIN command specify the dimensions of the plan
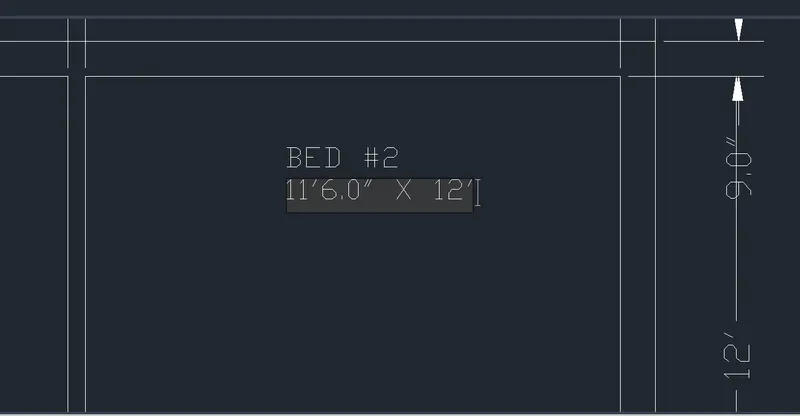
STEP 8 :By using the MTEXT command specify the dimensions of the plan
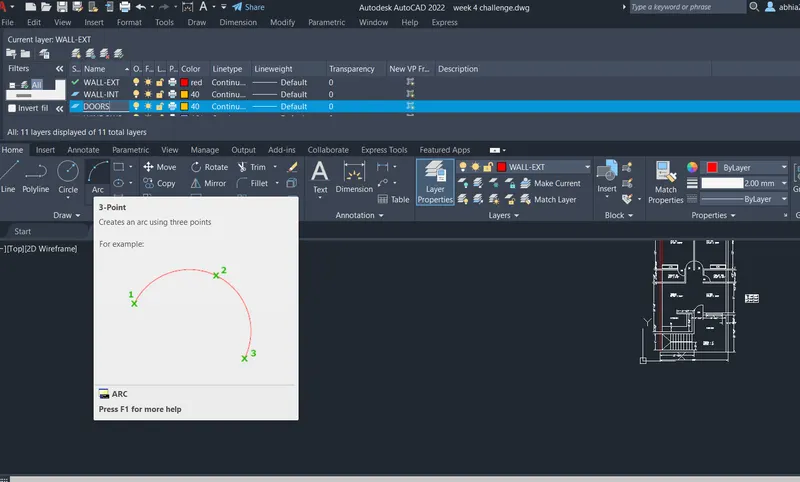
STEP 9:Now create the layers in layer properties and name them as different materials and chose colour of the materials
now sellect the line from the sketch and click the required material from the layer properties
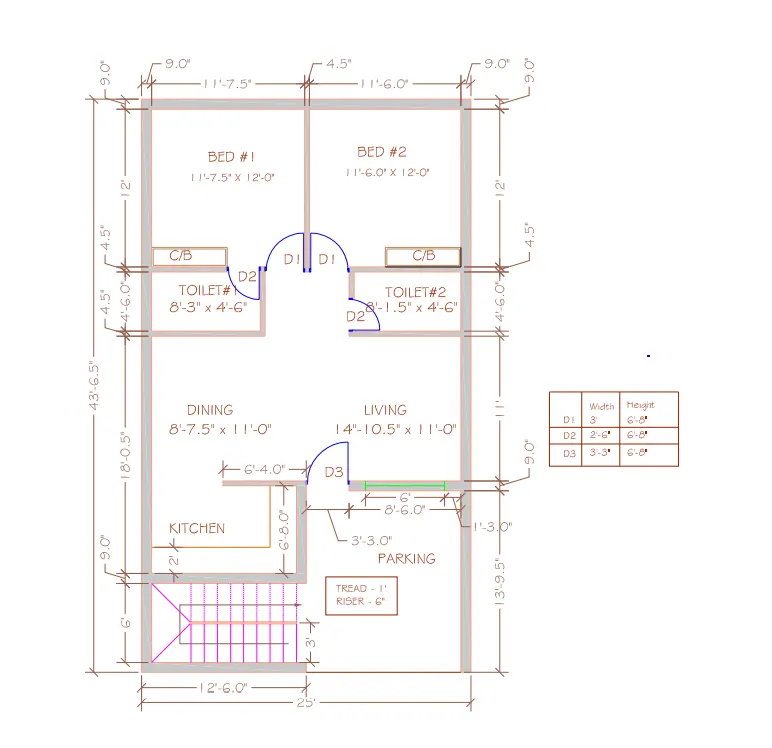
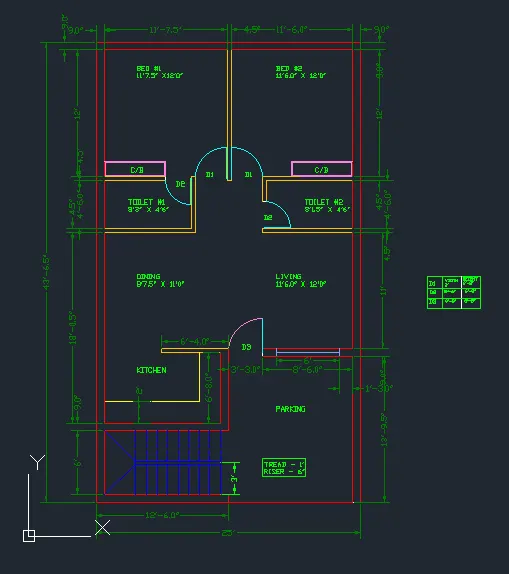
FINALL PLAN OF RESIDENCE PLAN:
Q2:
PROCEDURE:
STEP 1:Set the sheet in imperial (feet and inch)
Now set the units as UN ENTER (engineering)
Now set the limits as LIMITS ENTER (0,0), (2500,2500)
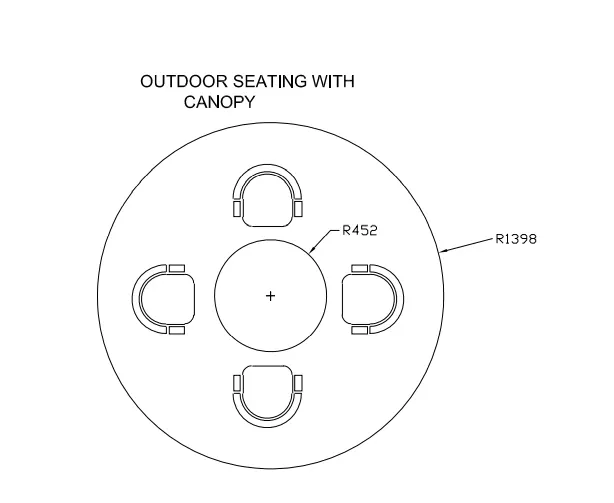
STEP 2:draw the circle of radius 452 using circle command and draw another circle at the center of the circle of radius 1398
STEP 3:Now draft the chair by using following steps
draw a rectangle of 200 length and 500 depth
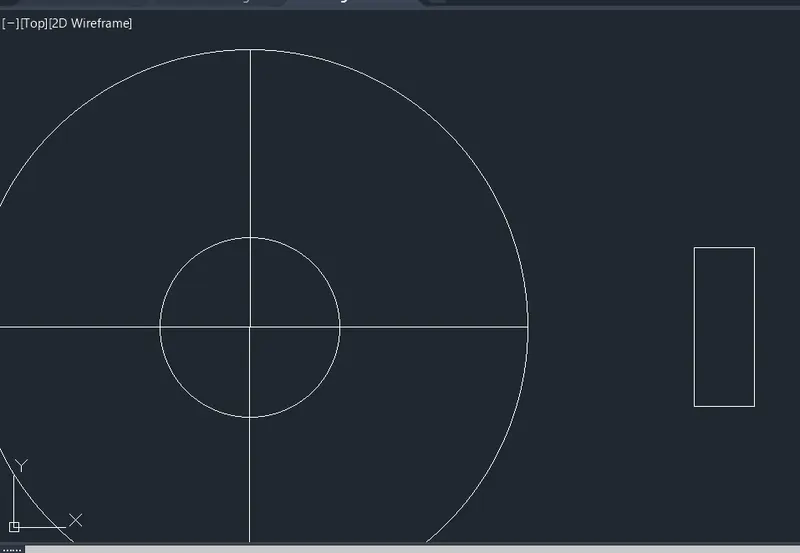
By using fillet tool set the radius of 50 and curve it
and now using the circle tool curve the rectangle
by using offset tool and fillet tool draft the chair
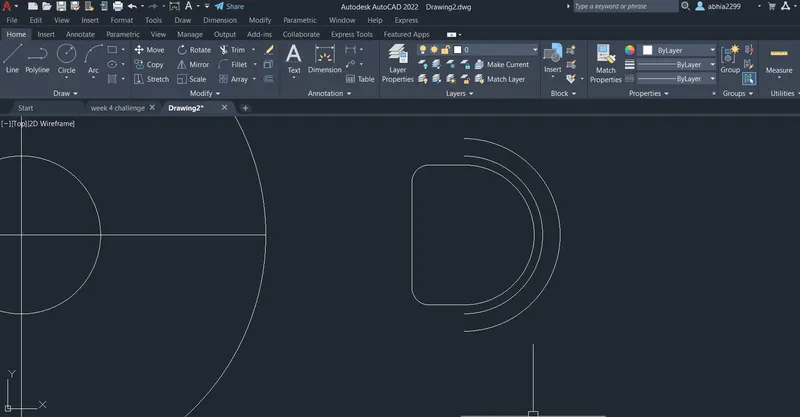
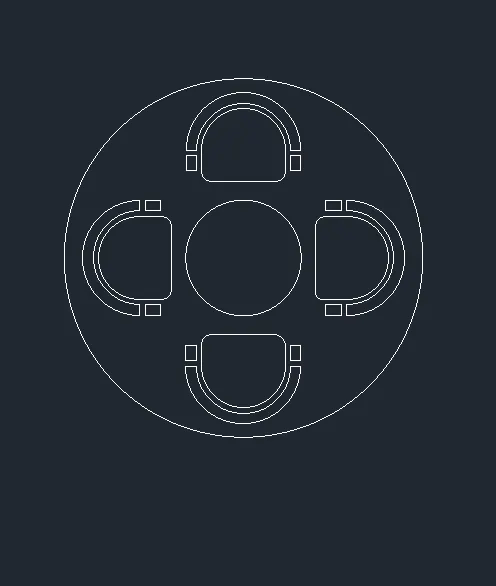
STEP 4: by using the rotate tool copy tool and move tool form the chairs according to the plan
STEP 5:Now create the layers in layer properties and name them as different materials and chose colour of the materials
now sellect the line from the sketch and click the required material from the layer properties
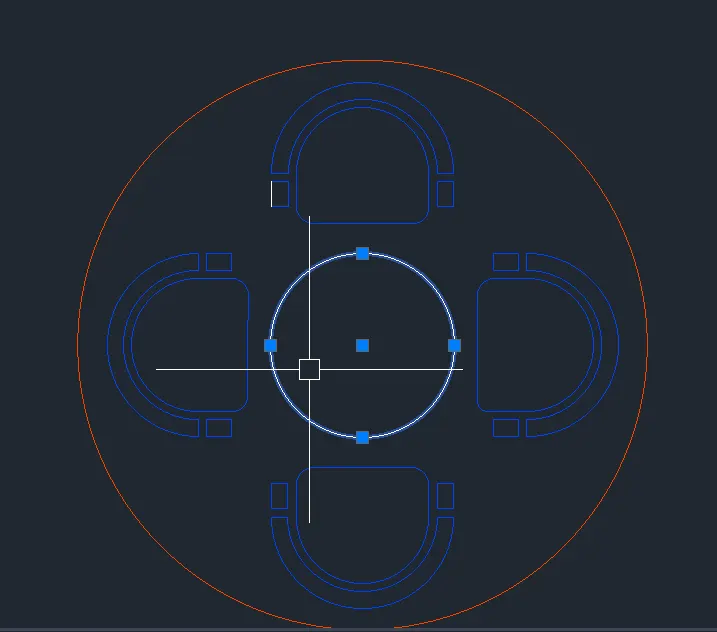
STEP 6:Now using DIMLIN command specify the dimensions of the plan
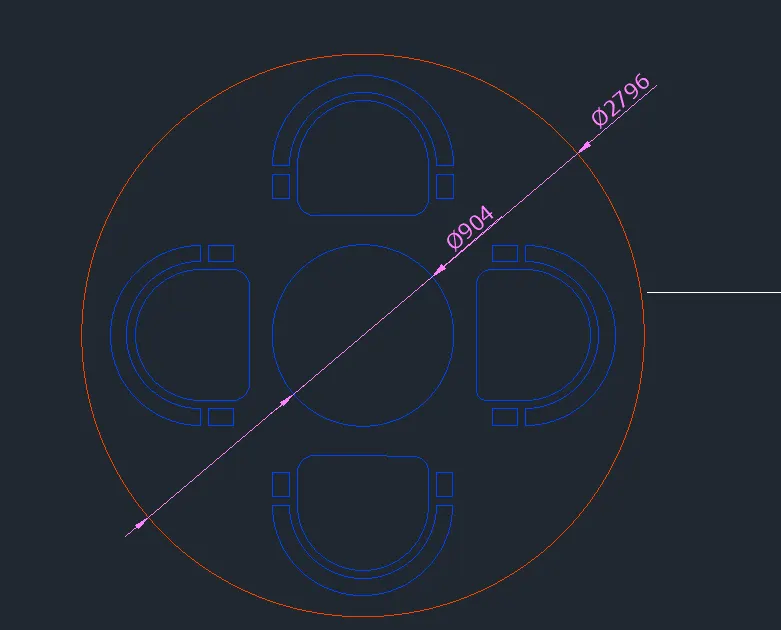
FINAL PLAN OF SEATING PLAN
Q3: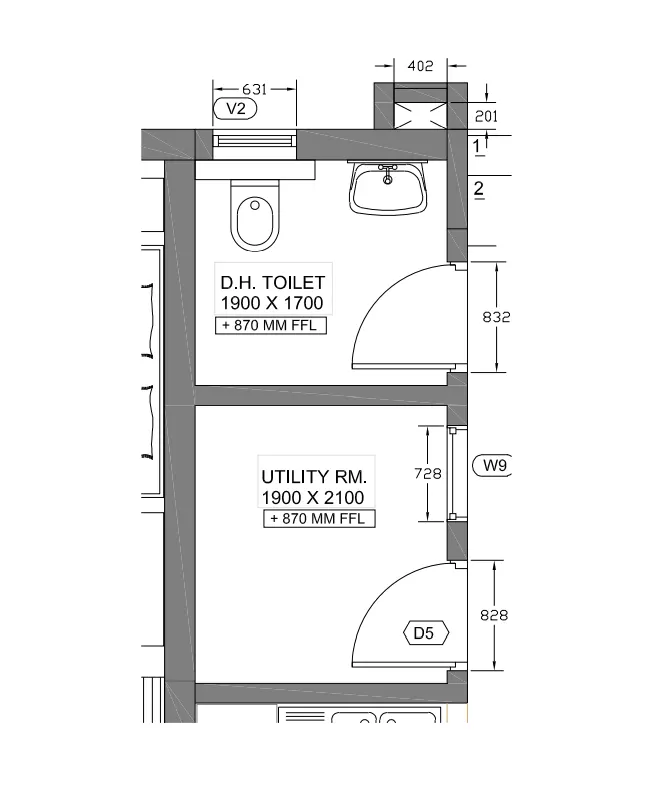
PROCEDURE:
STEP 1:Set the sheet in imperial (feet and inch)
Now set the units as UN ENTER (engineering)
Now set the limits as LIMITS ENTER (0,1), (3000,3000)
Z ENTER and A ENTER.
STEP 2:Now using XL command draw a line XL ENTER, H ENTER & XL ENTER V ENTER
now using offset command O ENTER and vertical take offset as
now again using offset tool and set the external wall as 300wall thickness
STEP 3:Now using offset tool by analysing the plan draft the external wall 150 according to the plan
by using of set O ENTER and 150 distance now edit the plan by using trim and fillet tools
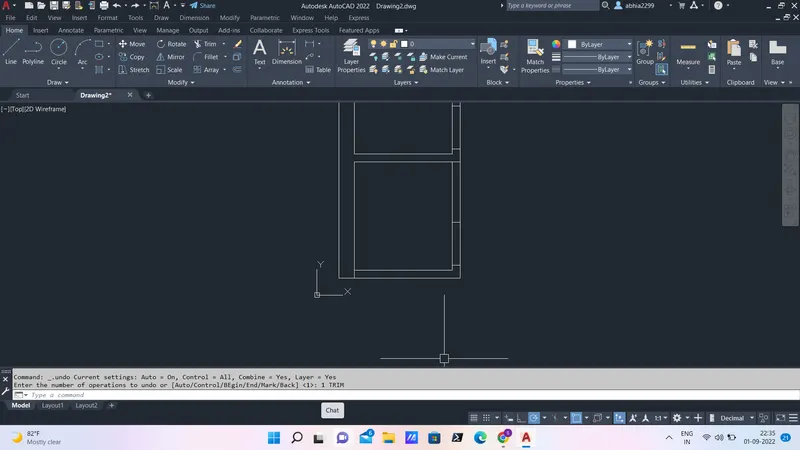
STEP 4: Now draft the doors and windows according to the plan specifing the different sizes of doors
by using the line tool, circle tool and trim tools
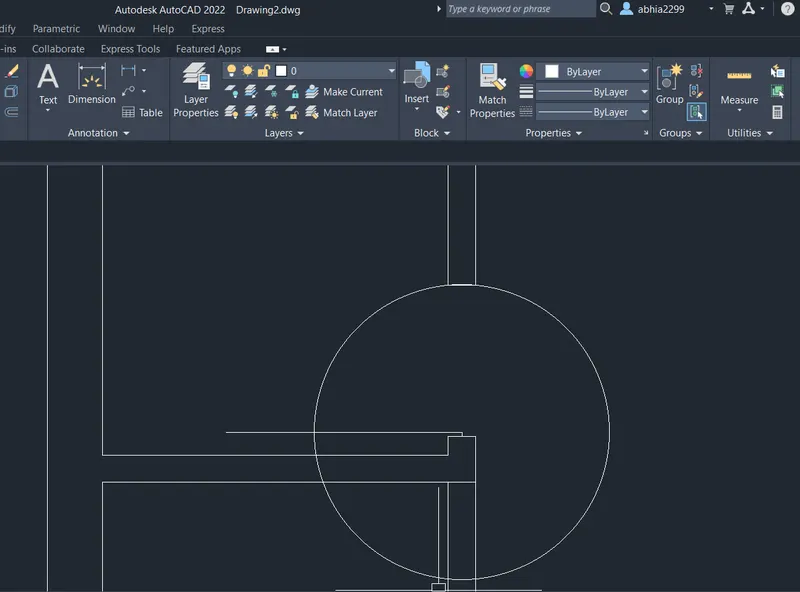
STEP 5:Now draft the toilet and washbasin cy using the line tool, circle tool, ellipse,offset tool
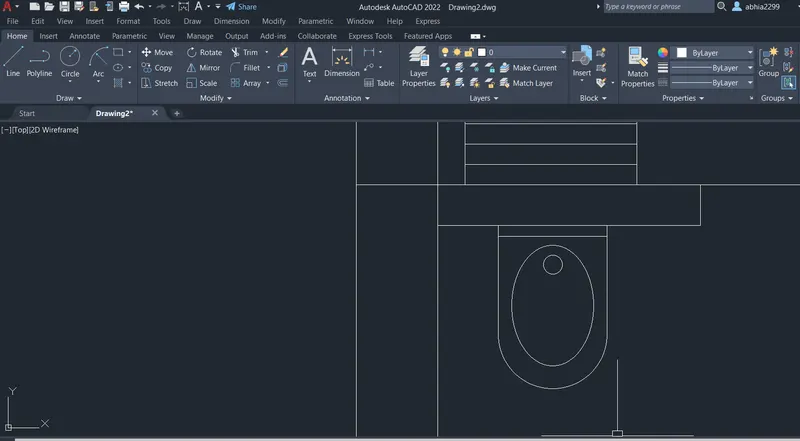
STEP 6:Now using DIMLIN command specify the dimensions of the plan
STEP 7 :By using the MTEXT command specify the dimensions of the plan
STEP 8:Now create the layers in layer properties and name them as different materials and chose colour of the materials
now sellect the line from the sketch and click the required material from the layer properties
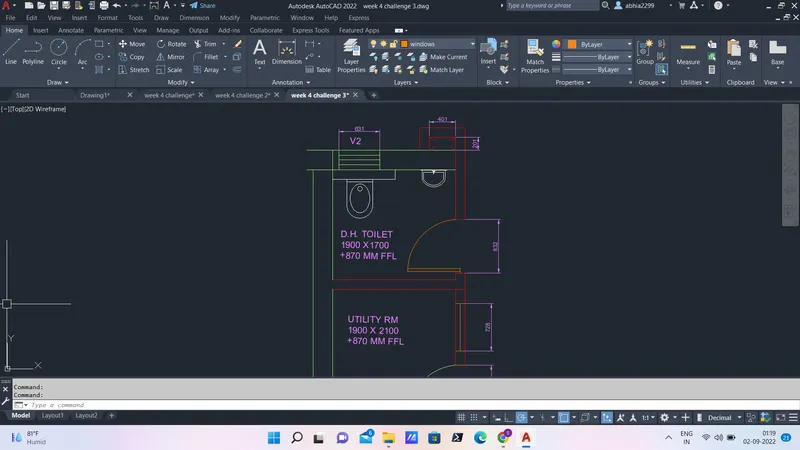
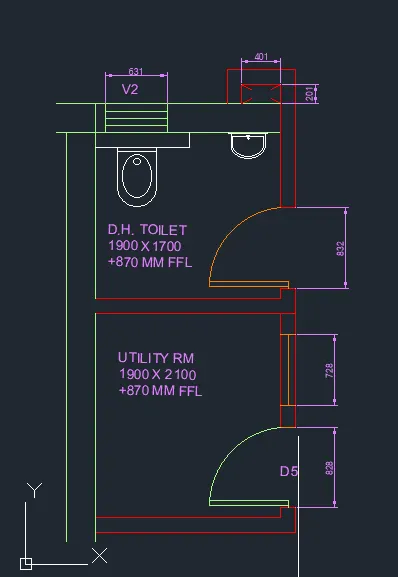
FINAL PLAN OF TOILETS AND UTILITY ROOM PLAN: