Creating a Residence Layout, Seating plan, Toilet and Utility room plan using AutoCad
1 ans:
THE TOOLS USED ARE XLINE,OFFSET,TRIM,FILLET,ARC,LAYERS,CIRCLE,ETC
Introduction:
AIM:
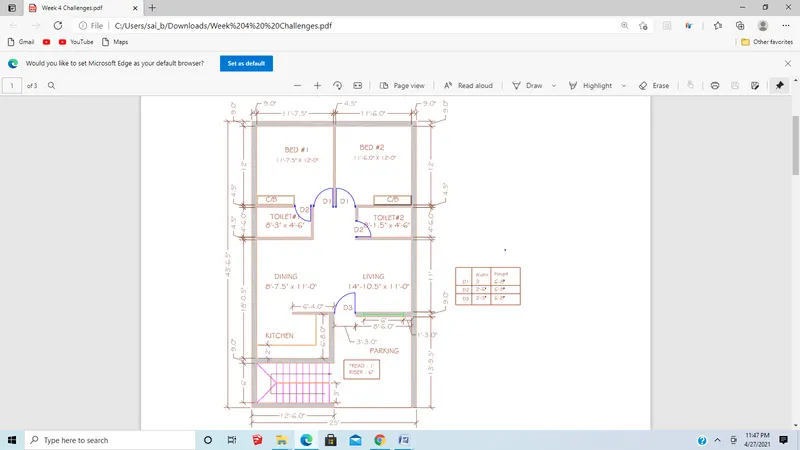
Residence Plan: TO sketch the layout of a residence as shown in Figure 1. Consider all dimensions as
reference to sketch the unit plan.
PROCEDURE
- open the AutoCAD, first thing to do is press UN enter to invoke the unit
- Command: LIMITS
- Reset Model space limits:
- Specify lower left corner or [ON/OFF] <0'-0",0'-0">: 0',0'
- Specify upper right corner <1'-0",0'-9">: 100',100'
- press xl enter on the keyboard and select the horizontal or vertical line option one after the other.
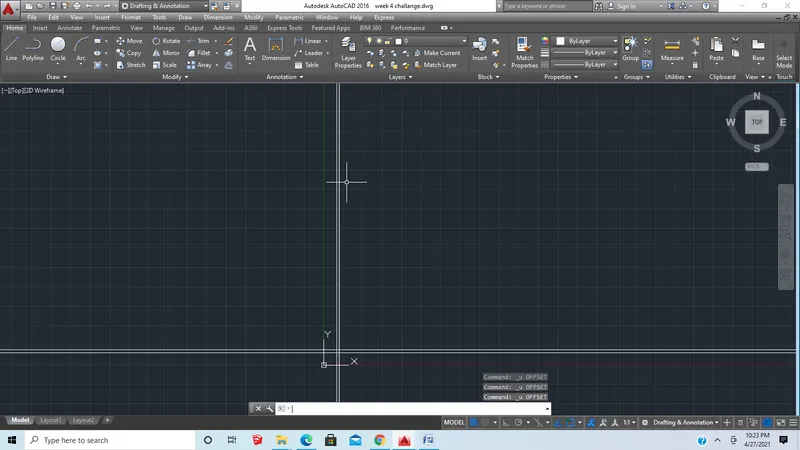
- let us start by horizontal and draw the line, then take the offset of 9 inches which marks the exterior wall of the plan, similarly take the same offset on the vertical side, and make a total outline
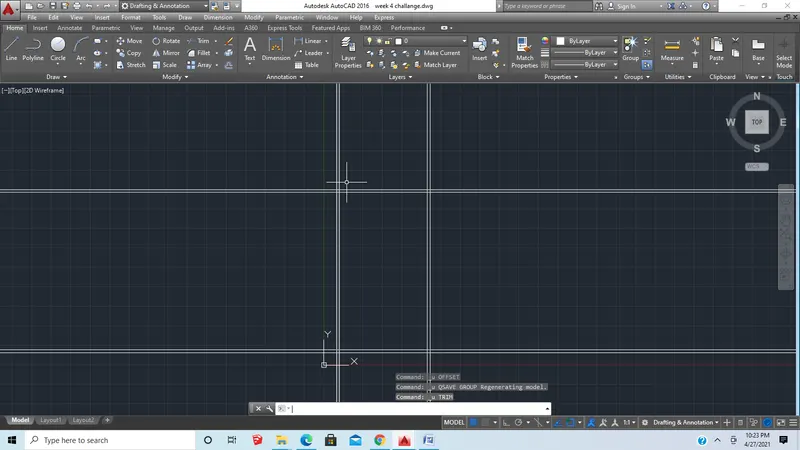
- Press Tr enter to trim the unnecessary lines.
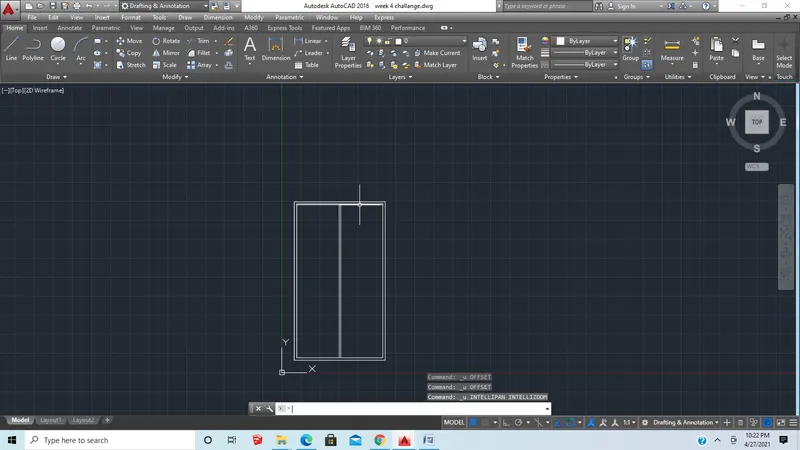
- Take the offset of 6' followed by an offset of 9inches in the horizontal direction
- Take the offset of 12'6" from the left vertical direction and an offset of 9" to the same way
- Take an offset of 6'4" from the previous wall and take an offset of 4.5 to the same wall above
- Take an offset of 11' above the previous line followed by an offset of 5.
- Take an offset of 8'3" in the left vertical direction from the exterior left vertical wall and an offset of 46 in the horizontal above the dining hall
- Take an offset of 11'6" from this internal wall followed by an offset of 9 to mark its external boundary.
- Take an offset of 12 from the top external boundary of bedroom 2 followed by an offset of 5.
- Then take an offset of 8'5" from the right external boundary and an offset of 4.5" to mark the staircase by taking an offset of 6 starting from the first line up to a specified number of stairs.
- And trim all unwanted lines
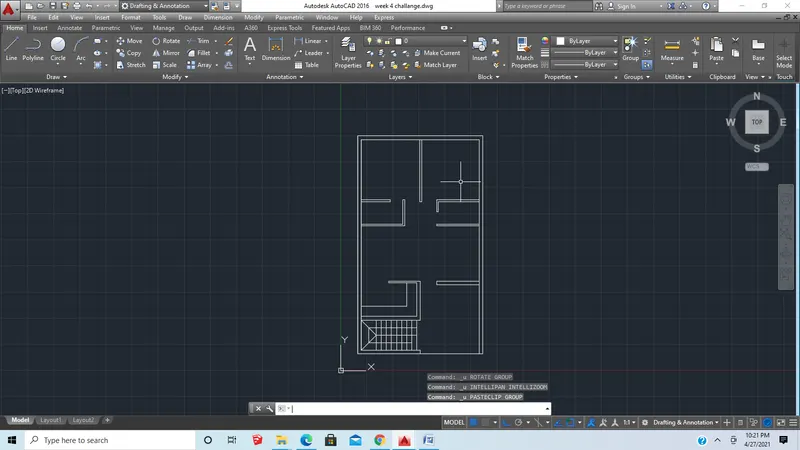
- Mark all the internal and external dimensions as per the given figure
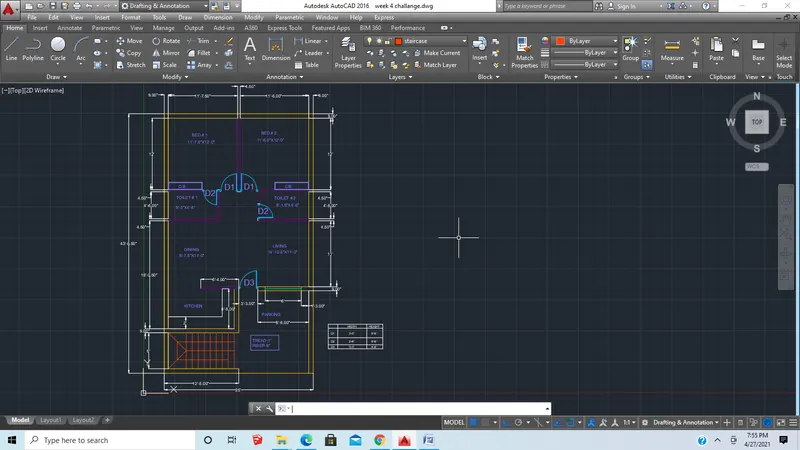
- Now add layers and modify all colors of walls, doors, windows and Now we get the image.
- RESULT:
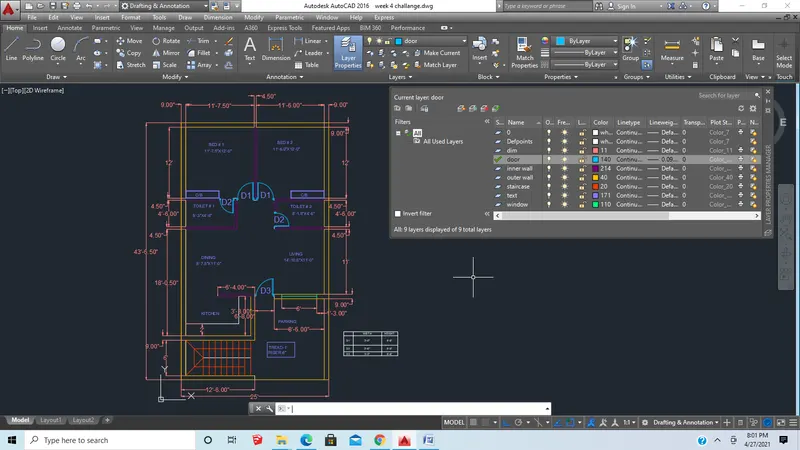
2 ans:
AIM:
To Sketch the seating plan for an outdoor canopy.
PROCEDURE:
- units- decimal-precision 0.00- millimeter-ok.
- Limits- 0,0 and 4000,4000
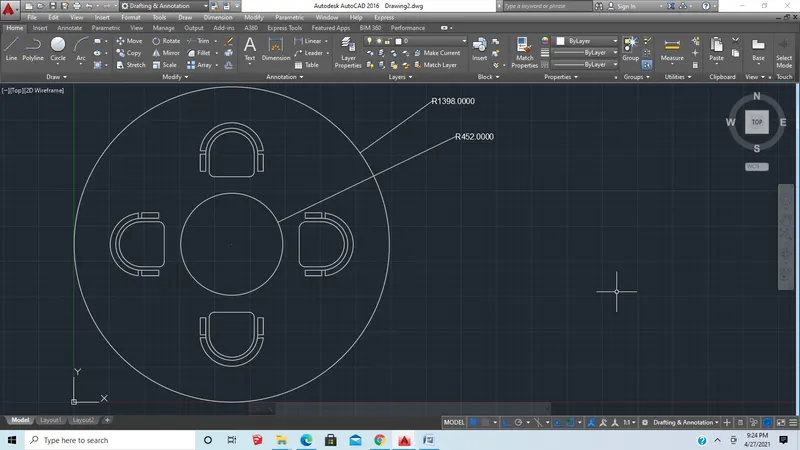
- Draw a circle of radius 1398mm.
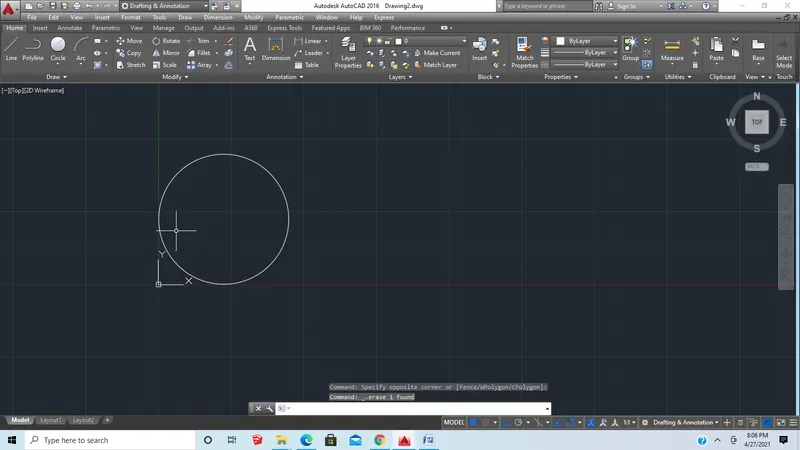
- Now draw a circle of 452 radii keeping same center point
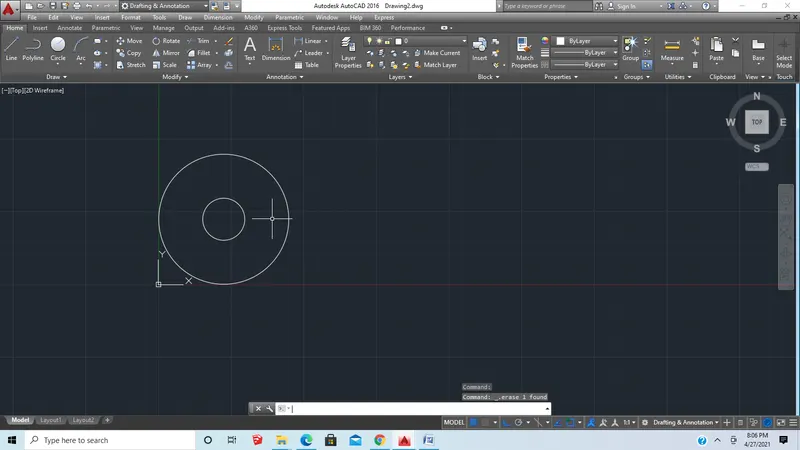
- Now by using xl line draw horizontal and vertical line
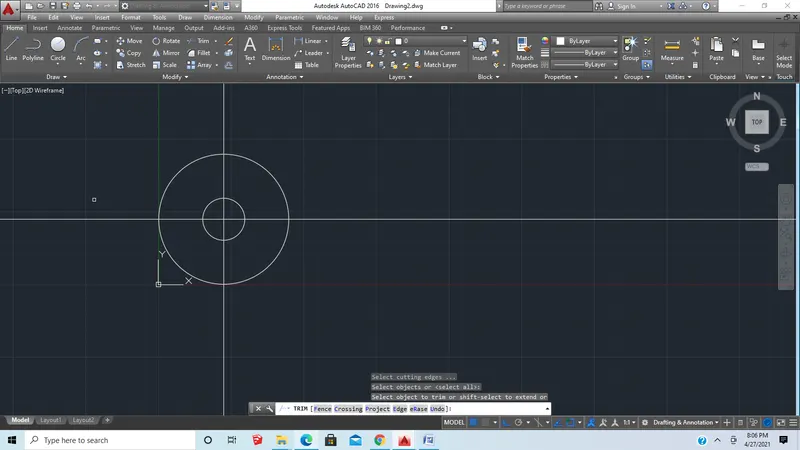
- Now use offset and draw offsets on both sides in Horizontal and vertically with offset length of 200 till you form a rectangle on four sides
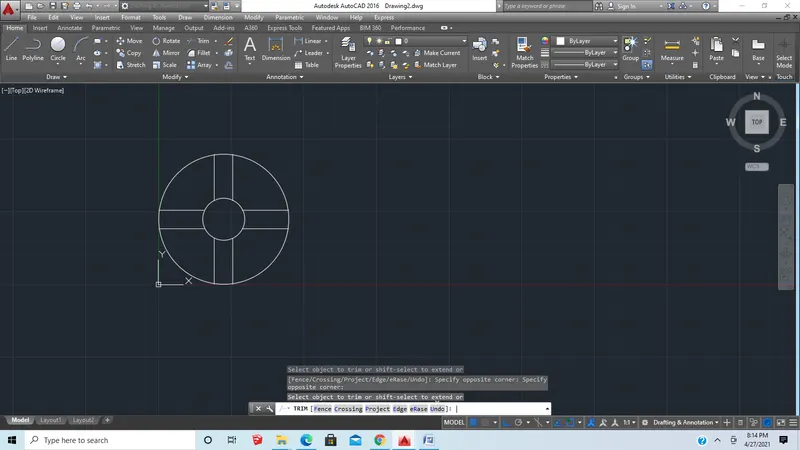
- Now remove unwanted lines
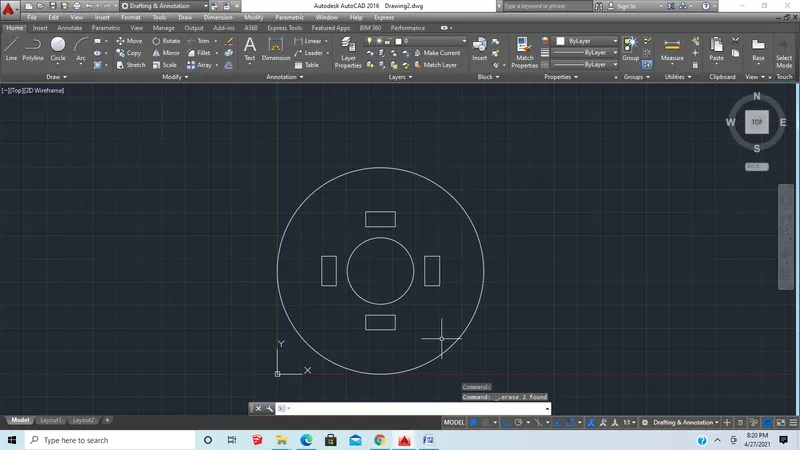
- Now Use fillet and fillet four rectangles of radius 50mm towards circle
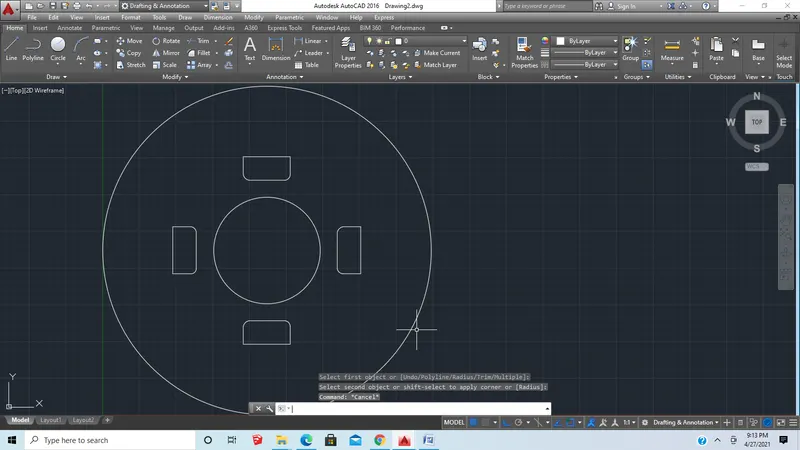
- Now use arc and draw arc on flat edge side
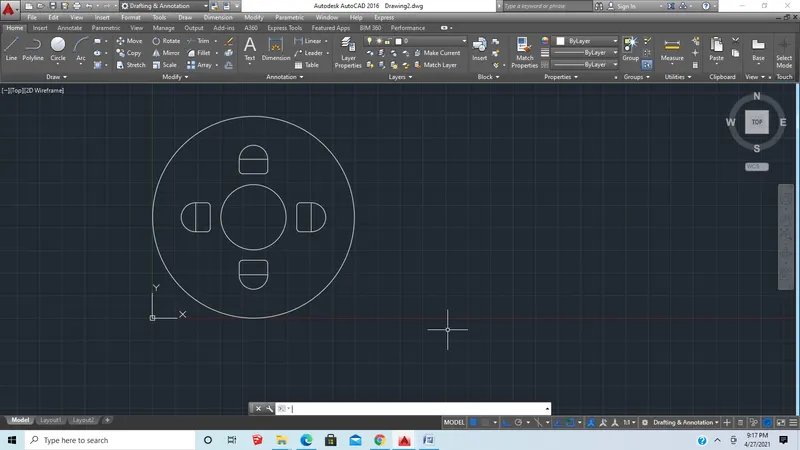
- Now use the offset command and take the first offset distance as 20mm and 40mm for second
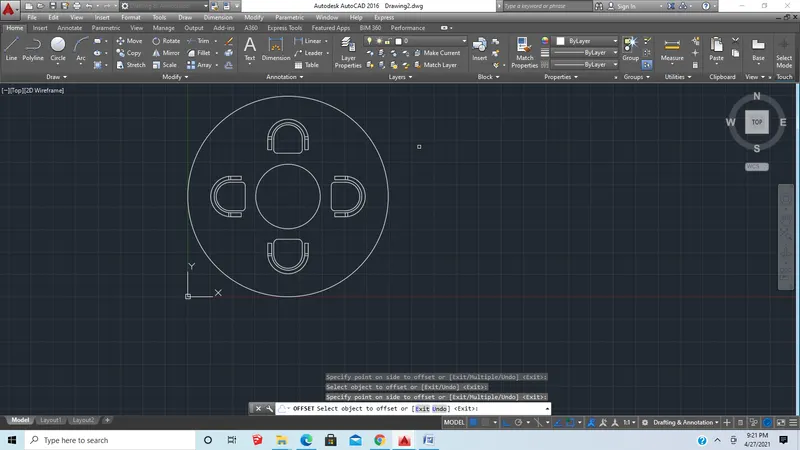
- Now give dimensions to get the figure
RESULT:
3 ans:
AIM:
To Sketch the part plan for the toilers and utility room. Considering the outer wall thickness as 300mm and
inner wall thickness as 150mm.
PROCEDURE:
- New sheet- units- decimal-precision 0.00- millimeter-ok
- Limits- 0,0 and 1000,1000
- zoom-All.
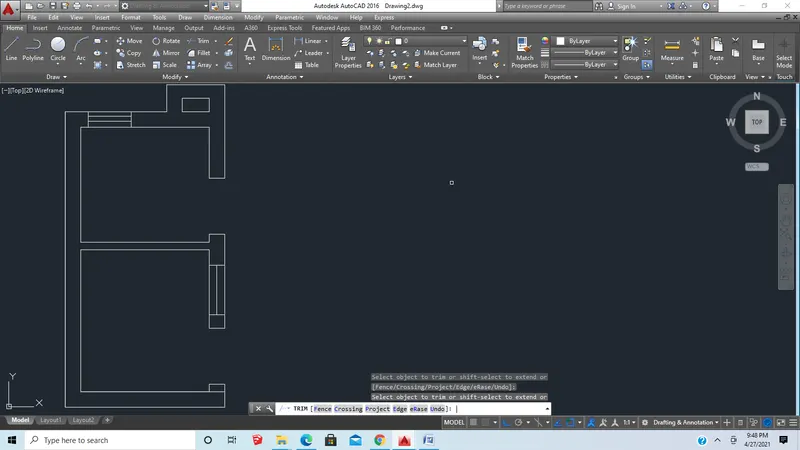
- Select Line tool and offset, make the outer wall of thickness 300mm and inner walls of thickness 150mm.
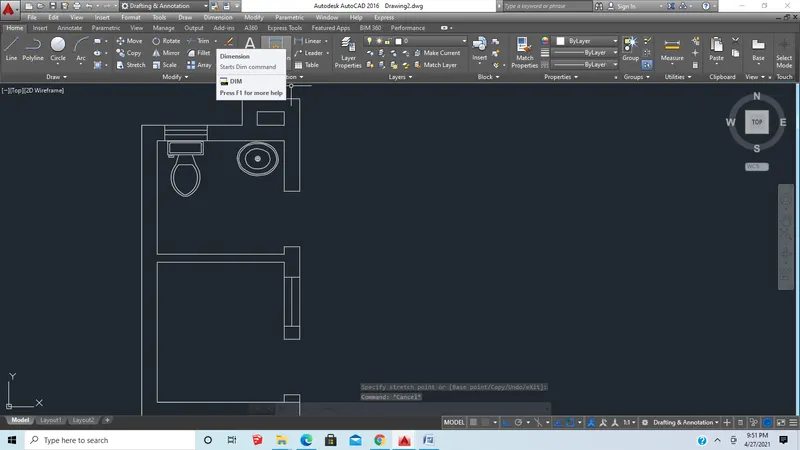
- Select the toilet components from the Design center and place them accordingly.
- Annotate and give dimensions and use layers
RESULT:
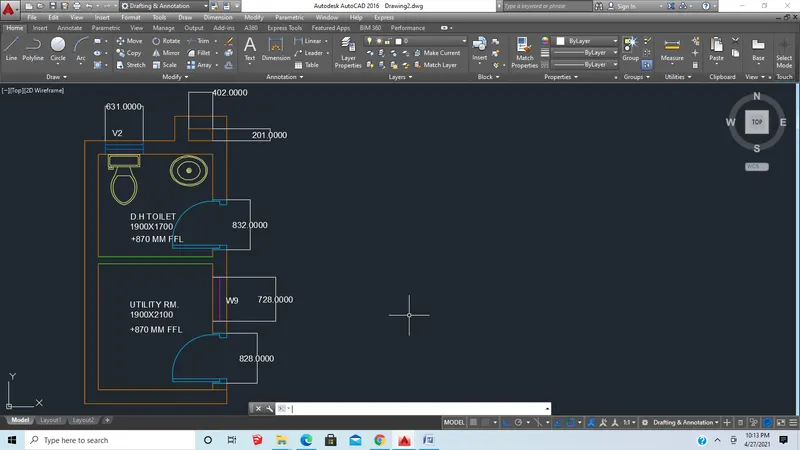
RESULT:
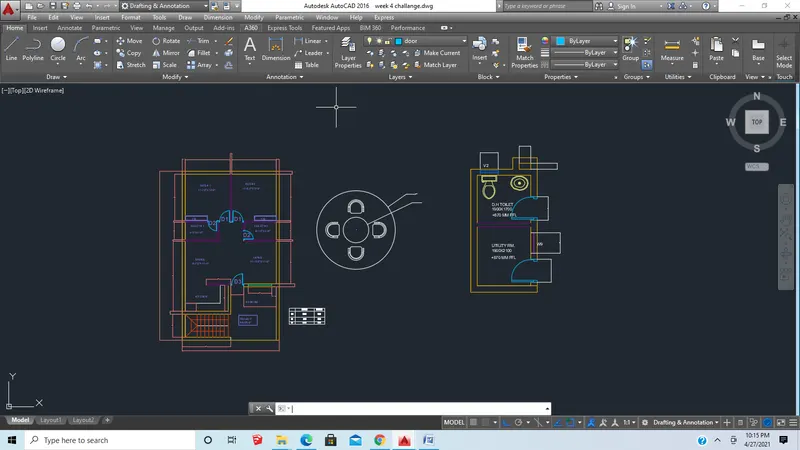
1
2
3