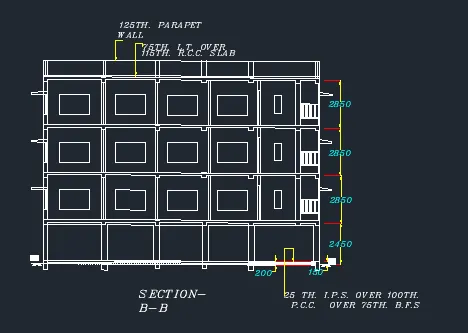
Creating a Layout, Section and Elevation with dimensions using AutoCad
Creating a Layout, Section and Elevation with dimensions using AutoCad
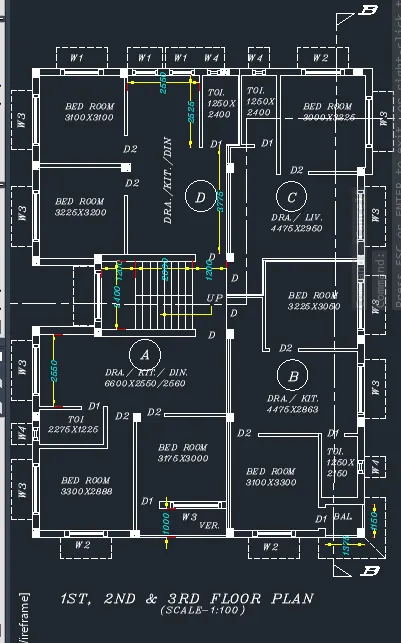
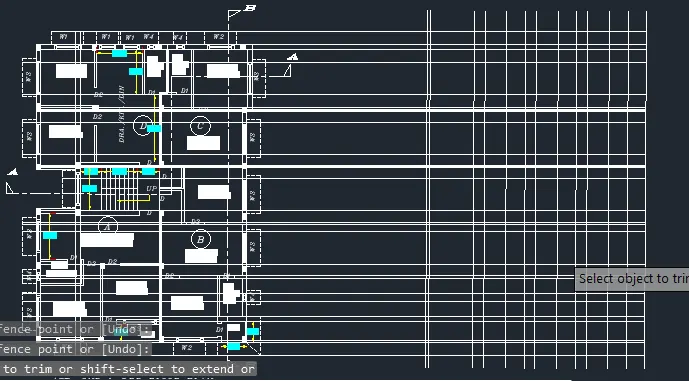
Aim:- Create the Plan and Sections as shown in the Figures. Use proper dimension techniques and dimension styles to document the project. Assume the sizes of the doors and windows as per construction standards. Refer to sections for stair details if required.
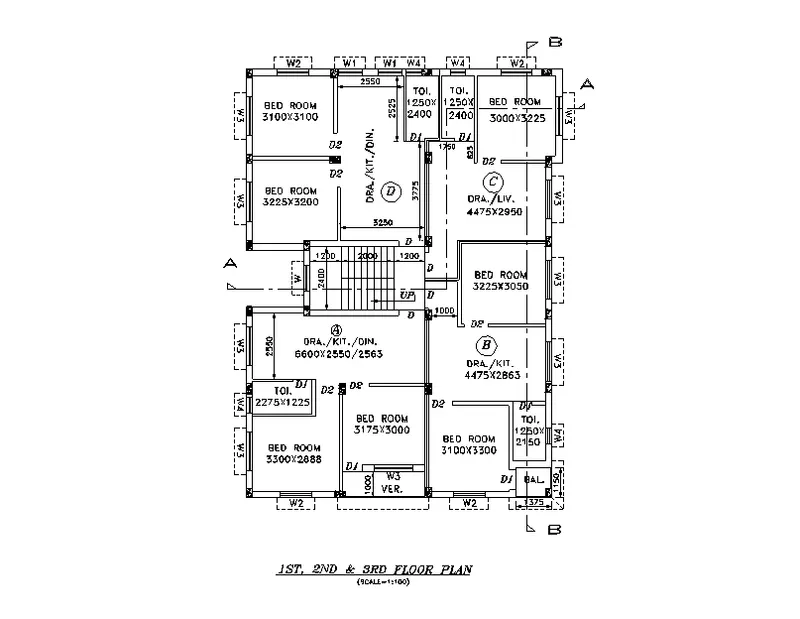
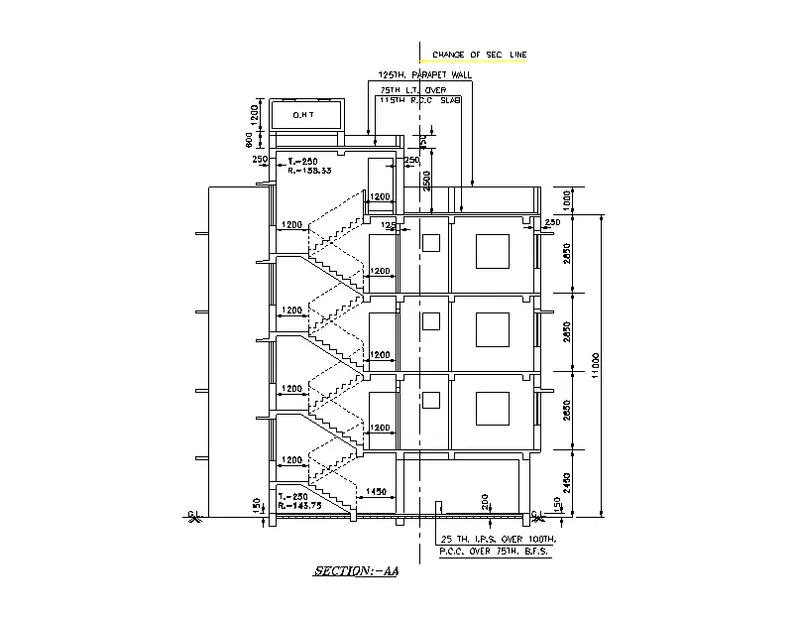
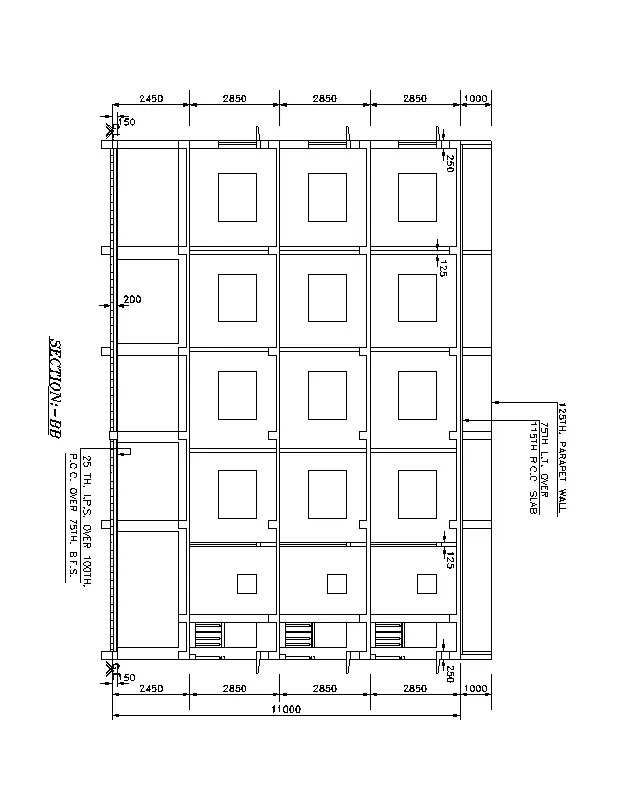
Stepwise procedure to draw thw sketch:-
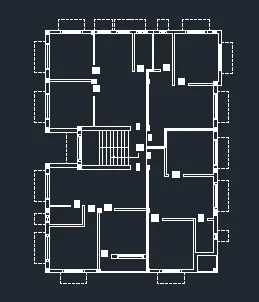
FLOOR PLAN:-
- Take xline command
- Select the vertical line and click anywhere on screen
- Press enter.
- Take again Xline command
- Select horizontal line and click on screen
- Press enter.
- Trim the negative coordinate lines.
- Take wall thickness as ; External=250mm and Internal = 125mm
- Take offset command
- Offset the all the vertical and horizontal lines as per the dimensions given in the drawing
- Take Trim command and trim all the unwanted lines
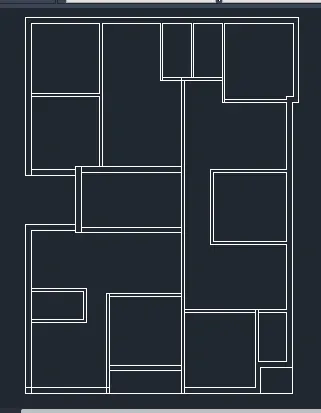
- Assuming the opening of Doors and Windows as below:
- W = 1800X1350
- W1 = 900X1200
- W2= 1500X1350
- W3= 1800X1200
- W4/V= 450X1050
- D = 1100X2100
- D1= 900X2100
- D2= 1000X2100
- From THE assumed sizes create the doors and windows using the line , offset command.
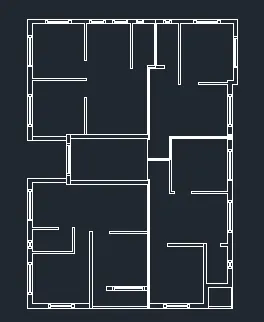
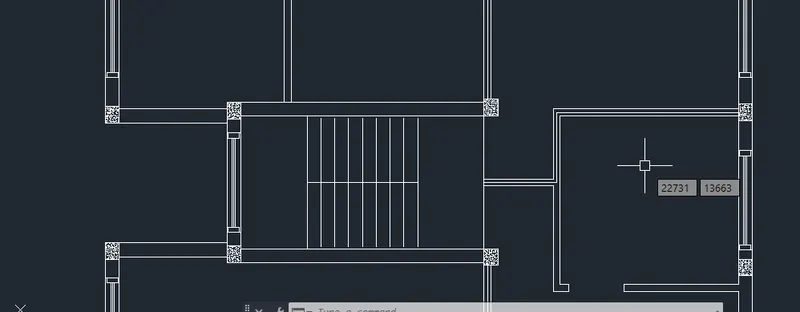
- Assume column size = 250mmx300mm
- Take Rec command and draw the column
- Copy the column and place in the positions given in drawing
- Take Hatch command – select the AR-CON
- Select the hatch pattern scale as 10 unit
- Sketch the hatches by clicking pick point inside the column
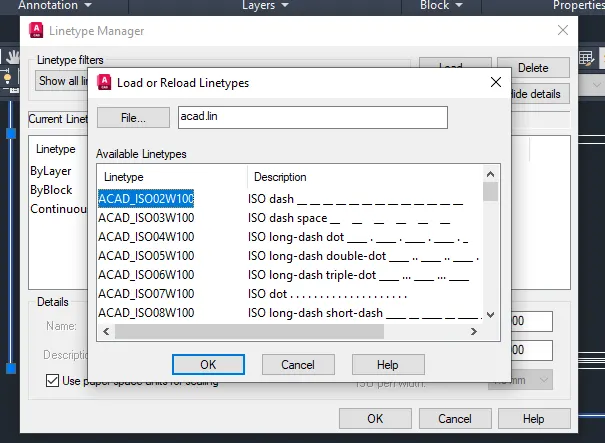
- Select linetype as ISO dash
- Take line command
- Draw all the sunshade projections.
- Give the single line text by selecting the
- Select italic-IV50, take height as 200 units
- Write the text in proper rooms
- Go to the D command -modify
- Select the text 250 units and colour CYAN
- Extension line colour as RED
- And colour of dimension line as
- Click ok and close.
RESULT:-
SECTION -AA:-
- Given : slab th=115mm
- Rise = 143.75mm and Tread = 250mm ---For the ground floor
- Rise = 158.33mm and Tread = 250mm ---For the Above ground floor
- Assuming sill height as 600mm
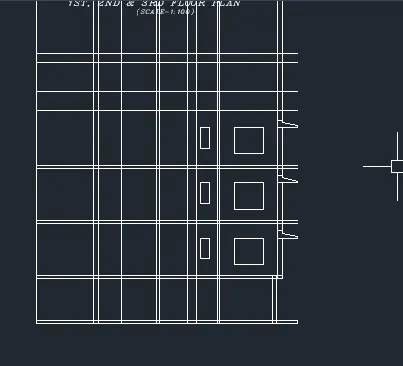
- Take the xline command
- And draw the vertical projection lines from the plan as per the section AA given
- Take reference horizontal line as N.G.L by knowing the distance up to height of the building
- From all the drawn projections create the doors, windows, sunshade, overhead tank, by use of offset , line and Trim command.
- To draw the staircase
- Go to the line command
- Select start point from the projections seen in ground floor
- Specify next point as 143.75 <90
- Specify next point as 250<180 like wise up to landing then,
- Again give the line command
- Specify first point on end of below flight
- Specify the next point as 143.5<90
- Specify next point as 250<0
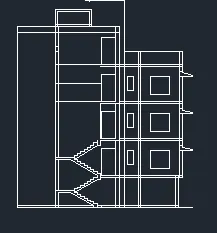
- By following above steps draw all the flight as per the rise and tread dimension given for the different floors
- Give the single line text by selecting the
- Select italic-IV50, take height as 200 units
- Write the text in proper rooms
- Go to the D command -modify
- Select the text 250 units and colour CYAN
- Extension line colour as RED
- And colour of dimension line as
- Click ok and close.
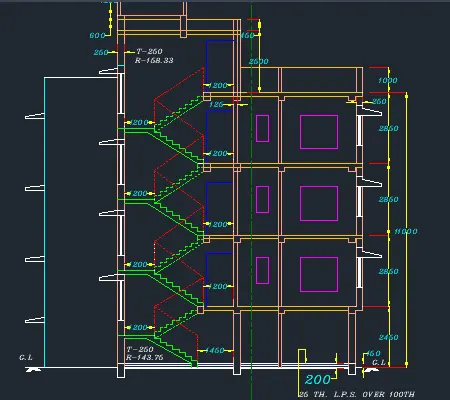
- Give all the text and the dimensions given in the section AA.
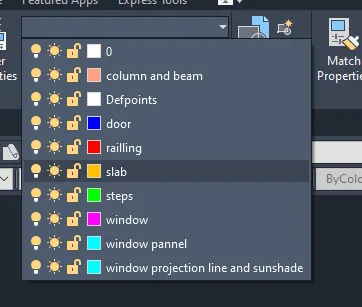
- click on the layer properties and create the layer as per the items with colour
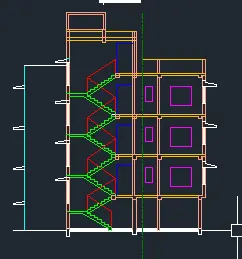
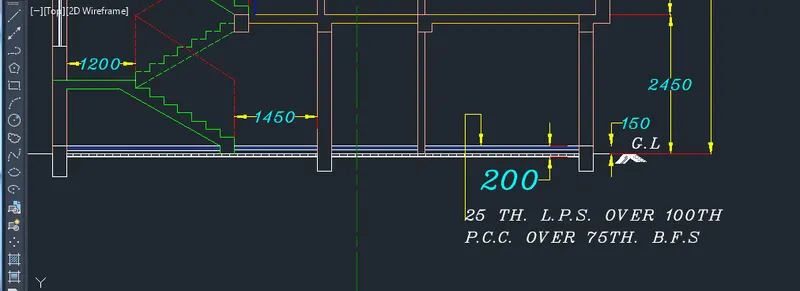
RESULT:-
SECTION- BB:-
- Take the xline command
- Draw all the horizontal projections that are cut through the section line BB .
- Make the reference line by giving the Xline command-vertical line
- By taking the offset , line , trim , extend command
- Draw the doors, columns, windows, etc .. all the necessary parts specified in the drawing
- Trim all unwanted lines
- Select italic-IV50, take height as 200 units
- Write the text in proper rooms
- Go to the D command -modify
- Select the text 250 units and colour CYAN
- Extension line colour as RED
- And colour of dimension line as
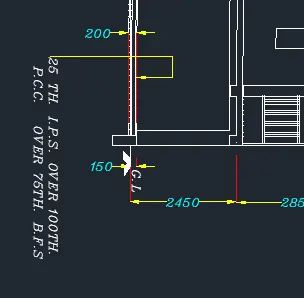
- Click ok and close.
- Give all the text and the dimensions given in the section BB
RESULT:-