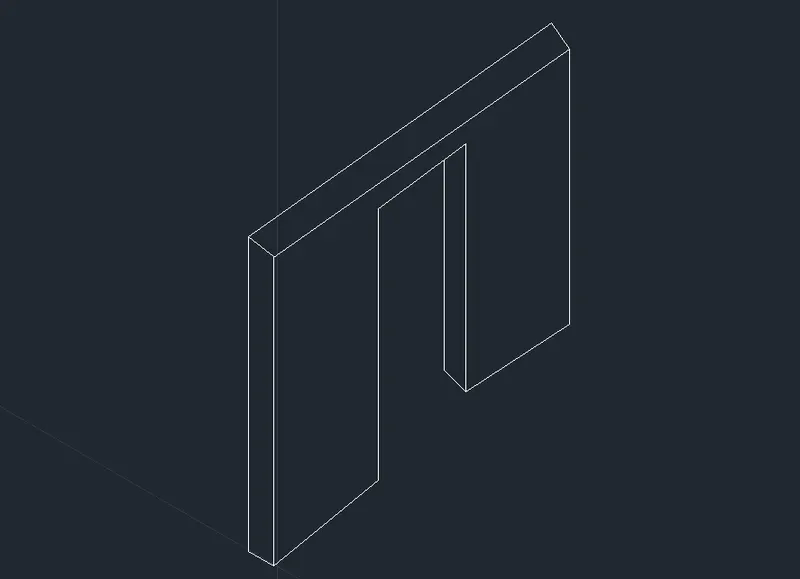
Creating a Floor plan, Footing detail and Isometric view using AutoCad
AIM:
To Create a Floor Flan, footing detail and isometric view using AutoCAD.
Procedure:
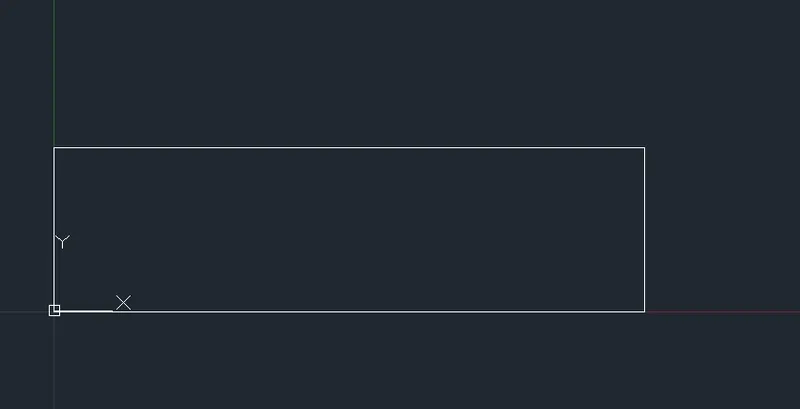
Type Rec in the command Bar and press enter.
Specify the first corner.
Enter "D" for Dimensions.
Enter the length 0.90
Enter the width 0.25
Specify the corner
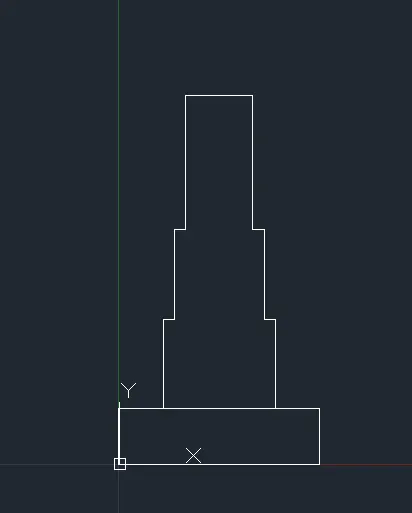
Type the L in the command bar and press Enter
specify the first point 0,0
Specify next point: 0.20,0
Specify the next point: 0,0.4
Specify the next point: 0.05,0
Specify the next point: 0,0.04
Specify the next point: 0.05,0
Specify the next point: 0,0.60
Specify the next point: 0.30,0
Specify the next point: 0, -0.60
Specify the next point: 0.05,0
Specify the next point: 0, -0.4
Specify the next point: 0.05,0
Specify the next point: 0, -0.4
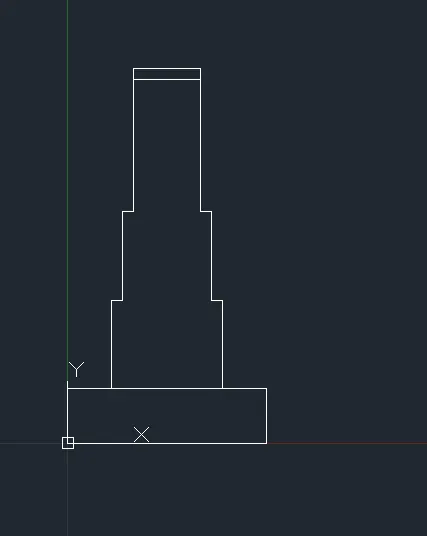
Type the L in the command bar and press Enter
specify the first point (B)
Specify next point: 0,0.05
Specify the next point: 0.03,0
Specify the next point: 0, -0.05
Type the L in the command bar and press Enter
specify the first point (C)
Specify next point: 0,1
Specify the next point: 0.03,0
Specify the next point: 0, -1
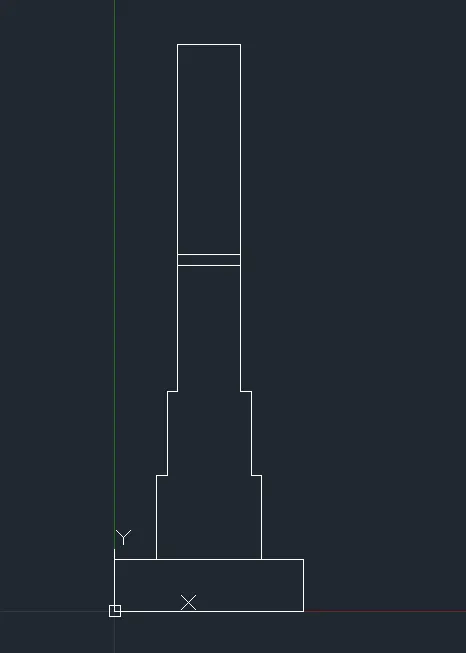
Type the L in the command bar and press Enter
specify the first point (d)
Specify next point: -0.3,0
Specify the next point: -0.05,0
Specify the next point: -1.15,0
Specify the next point: 0, -0.15
Specify the next point: 1.15,0
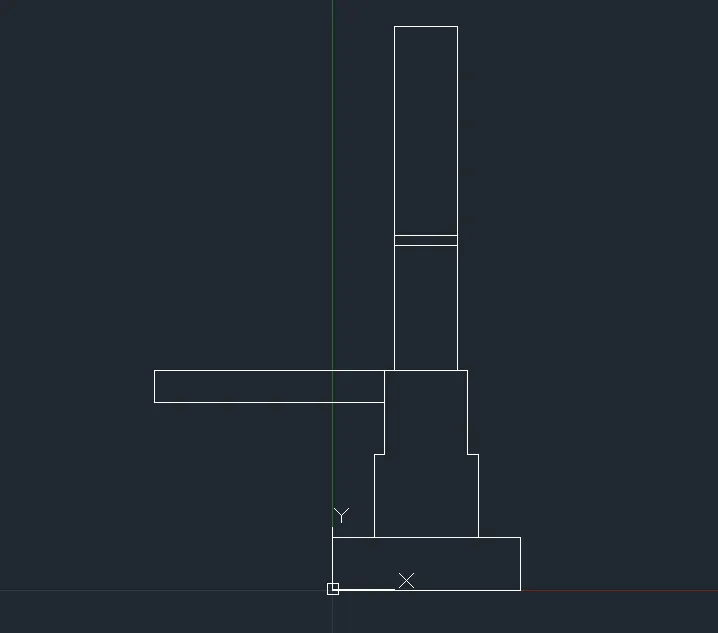
Type the L in the command bar and press Enter
specify the first point (e)
Specify next point :0.3,0
Specify the next point: 0,0.15
Specify the next point: 0.30,0
Specify the next point: 0,0.15
Specify the next point: 0.30,0
Specify the next point: 0,0.15
Specify the next point: 0.30,0
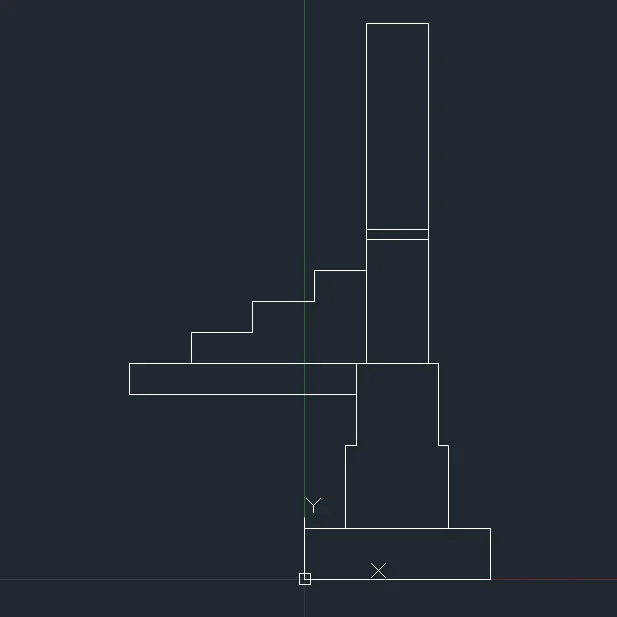
Type the L in the command bar and press Enter
specify the first point (f)
Specify next point :1,0
Specify the next point: 0, -0.60
Specify the next point: 0, -0.60
Specify the next point: -0.95,0
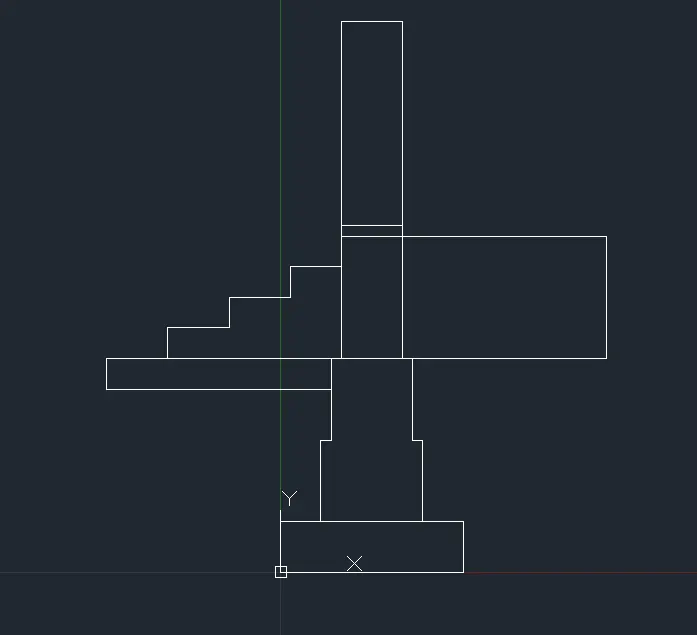
Part II: Diagram for 2-bedroom set
Type Rec in the command Bar and press enter.
Specify the first corner.
Enter "D" for Dimensions.
Enter the length 40
Enter the width 25
Specify the corner
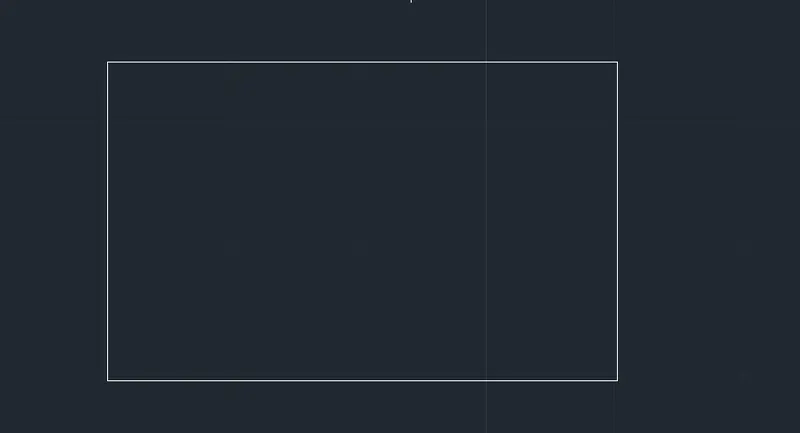
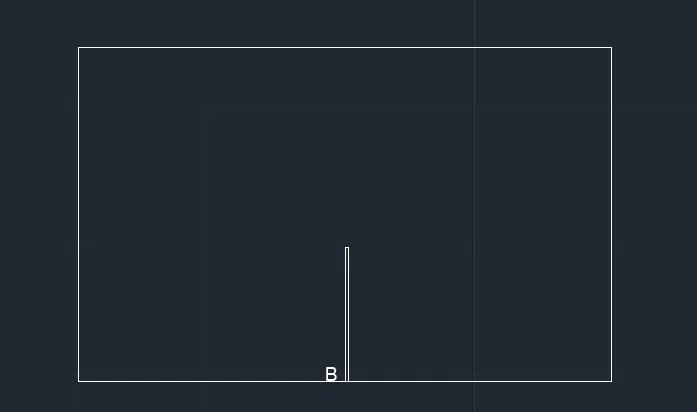
Type the L in the command bar and press Enter
specify the first point B
Specify next point: 0,10
Specify the next point: 0.23,0
Specify the next point: 0, -10
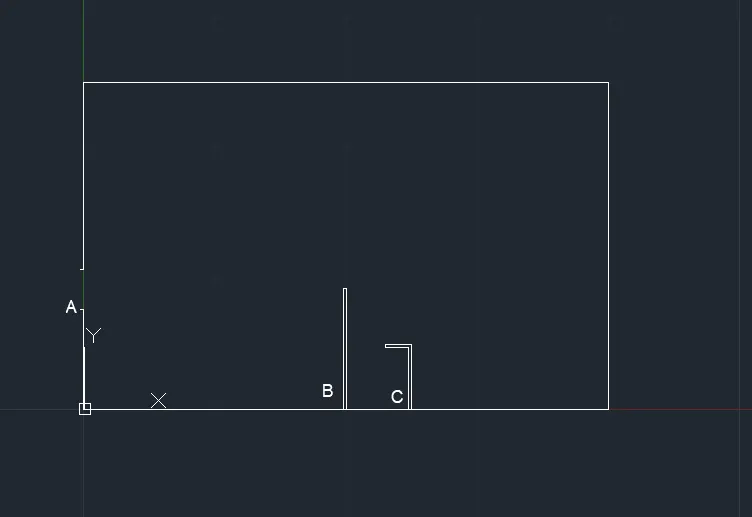
Type the L in the command bar and press Enter
specify the first point C
Specify next point: 0,5.23
Specify the next point: -2.23,0
Specify the next point: 0, -23
Specify the next point: 2,0
Specify the next point: 0, -5
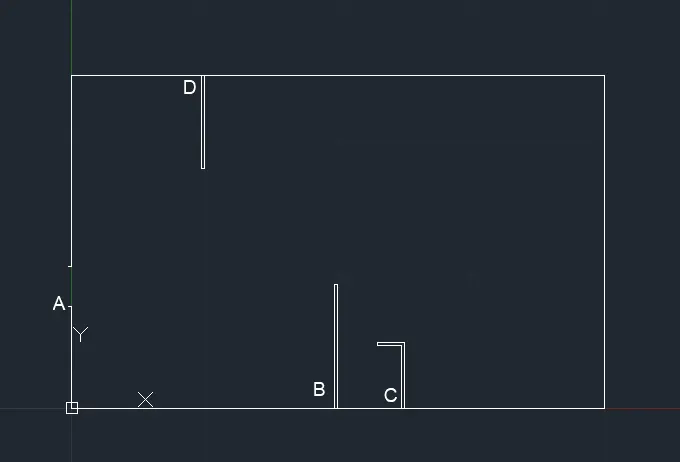
Type the L in the command bar and press Enter
specify the first point D
Specify next point: 0, -7
Specify the next point: 0.23,0
Specify the next point: 0,7
Type the L in the command bar and press Enter
specify the first point E
Specify the next point: 0, -10
Specify the next point: 0.23,0
Specify the next point: 0,10
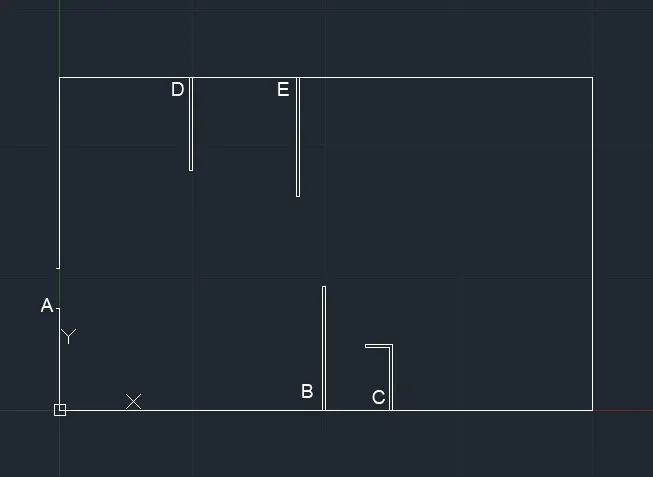
Type the L in the command bar and press Enter
specify the first point F
Specify next point: 0,5.23
Specify the next point: -2.23,0
Specify the next point: 0, -23
Specify the next point: 2,0
Specify the next point: 0, -5
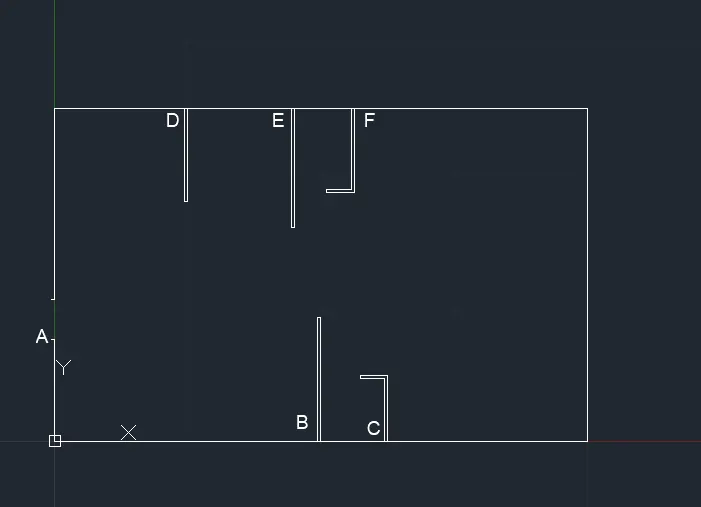
Type the L in the command bar and press Enter
specify the first point G
Specify next point: 40,0
Specify the next point: 0,0.23
Specify the next point: -40,0
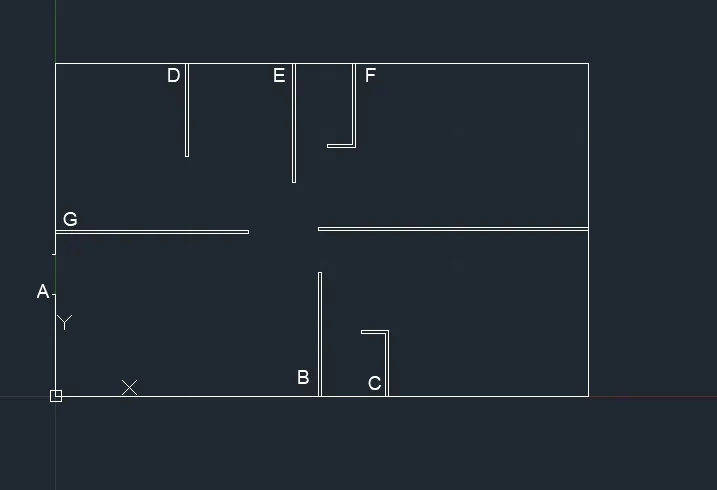
Type the "O" for offset in the command bar and press Enter
Specify offset distance 0.23
select the Object and press enter.
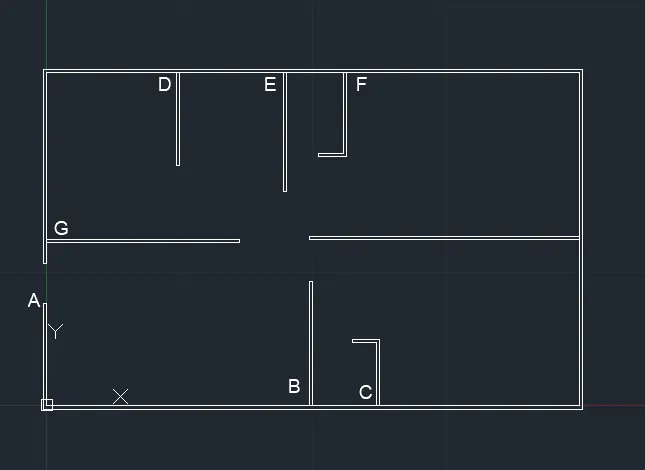
Part 3: Isometric view
Procedure
Type DS and press enter.
Tick on isometric snap in snap style or press F5 key.
Type L in the command line and press enter.
Specify start point A
Specify next point 0.30, curser towards NW
Specify next point 3, curser towards N
Specify next point 0.30 curser towards SE
Specify next point 3 curser towards S.
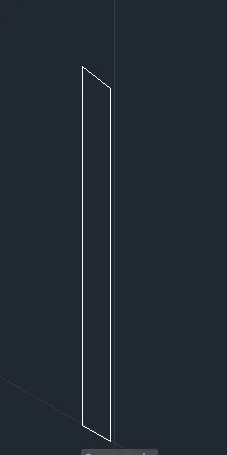
Type L in the command line and press enter.
Specify start point B
Specify next point 2.42, curser towards N
Specify next point 1, curser towards NE
Specify next point 2.42 curser towards E
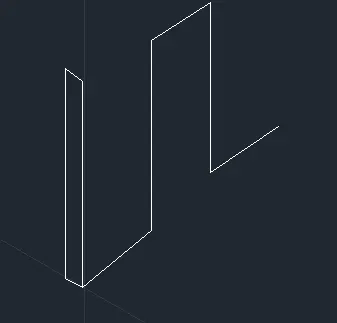
Type L in the command line and press enter.
Specify start point C
Take Isoplane left
Specify next point 0.30, curser towards NW
Take Isoplane Right
Specify next point 2.12, curser towards N

Type L in the command line and press enter.
Specify start point D
Specify next point 3.5, curser towards NE
Specify next point 0.3, curser towards SE
Specify next point 3.4 curser towards SW
Specify next point 0.3 curser towards N.
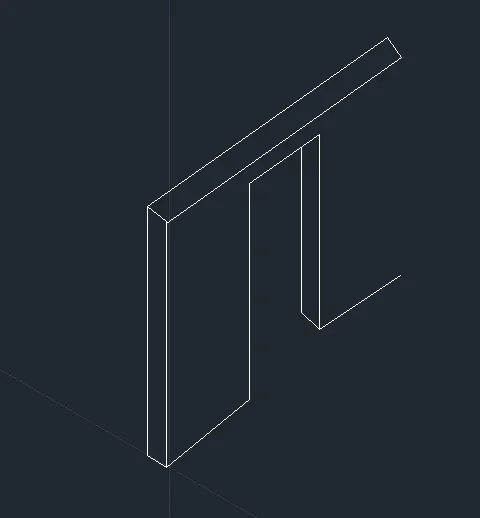
Type L in the command line and press enter.
Specify start point E
Specify next point 3 curser towards N.