Challenge 5 : Concept Modeling of Car Bumper
Title of the project: Concept modelling of car bumper (Abarth 500 car)
Objective:
- To provide a smooth modelling surface to car bumper
- For fine drawing of car bumper using curves and surfaces
Introduction
Autodesk Alias (formerly known as Alias StudioTools) is a family of computer-aided industrial design (CAID) software predominantly used in automotive design and industrial design for generating class A surfaces using Bézier surface and non-uniform rational B-spline (NURBS) modelling method.
The product is sold specifically as CAID rather than CAD, and its tools and abilities are oriented more towards the "styling" aspect of design - that is to say, the product's housing and outer appearance. It does not go into mechanical detail like other CAD programs such as Siemens NX, Inventor, CATIA, Pro/ENGINEER and SolidWorks.
A bumper is a structure attached to or integrated with the front and rear ends of a motor vehicle, to absorb impact in a minor collision, ideally minimizing repair costs. Saving the impact energy in the bumper to be released in the environment reduces the damages of the automobile and passengers.
Design methodology
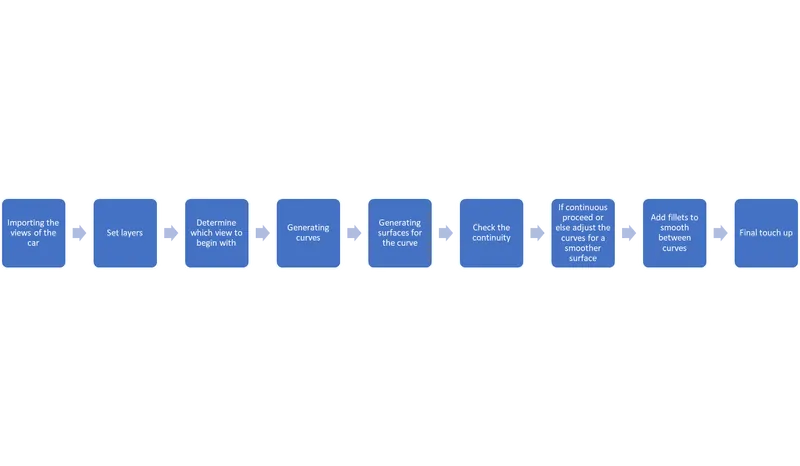
Description
Firstly, a box is created to the dimensions of the car. This is to ensure that the design fully fits in the box as per the requirement.
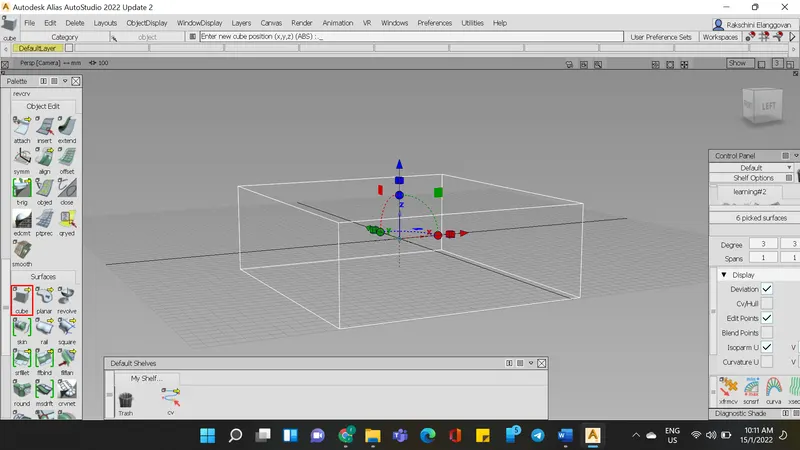
The cube is set to the required dimensions. Next, the images of the car were imported according to the views. Right view on the right plane, top view on top plane and front view on front plane.
Steps to import image:
File -> Import -> Canvas Image -> Go
The images are then scaled down to fit in the box and in a way where it fits all views.
Steps to scale the image:
-> Press ctrl + shift along with clicking and holding the left mouse button.
-> Select Pick object - Select the image
-> Press ctrl + shift along with clicking the middle mouse button
-> Select Scale
-> Hold left mouse button and move up and down to scale the image larger and smaller.
Steps to move the image:
Palette -> Transform -> Move.
The image is given some amount of transparency so that the curves can be traced easily on it at required positions.
Steps to set transparency.
-> Press shift + ctrl along with clicking and holding right mouse button.
-> Select plane editor.
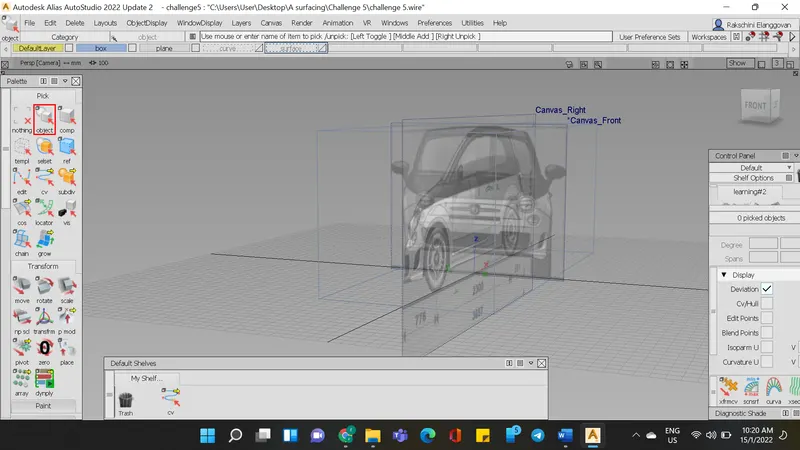
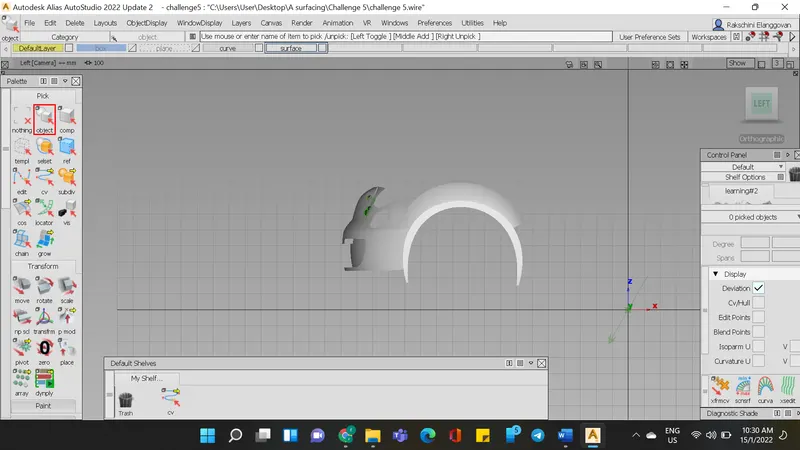
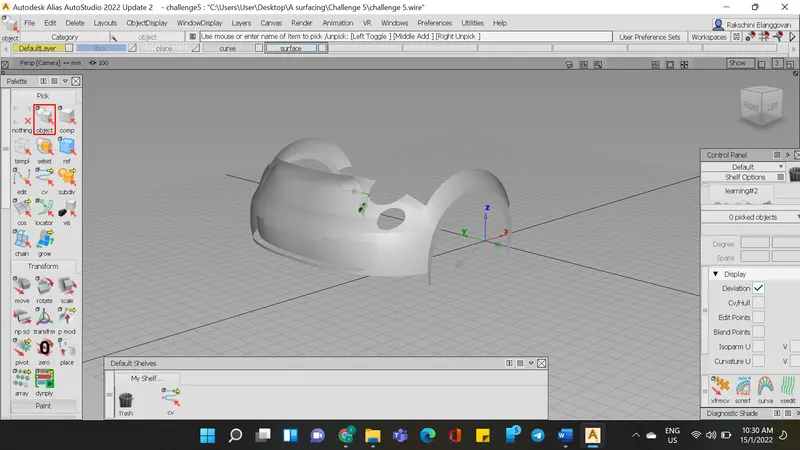
Screenshot of model
FRONT VIEW
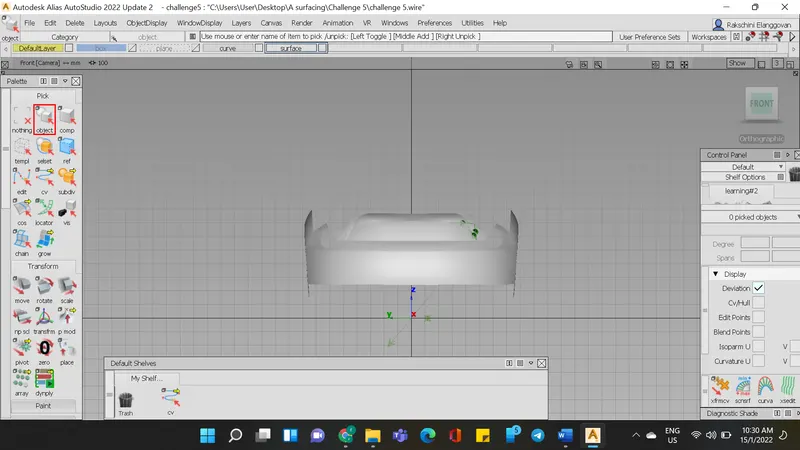
TOP VIEW
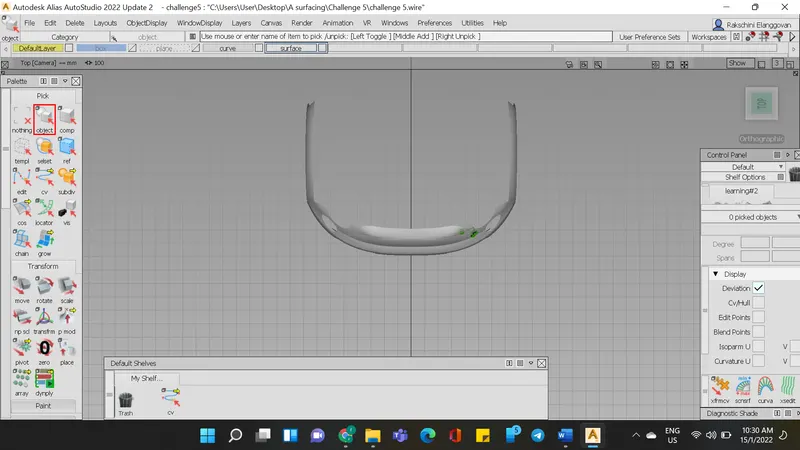
SIDE VIEW
PERSPECTIVE
Conclusion
Fine surfacing was established using the curve commands and surfacing. Fillets were added to further smoothen between surfaces