Aston Martin ONE-77 Challenge-11 (Project)
Project
Surface Modelling Of An Aston Martin Car
Using Solidworks
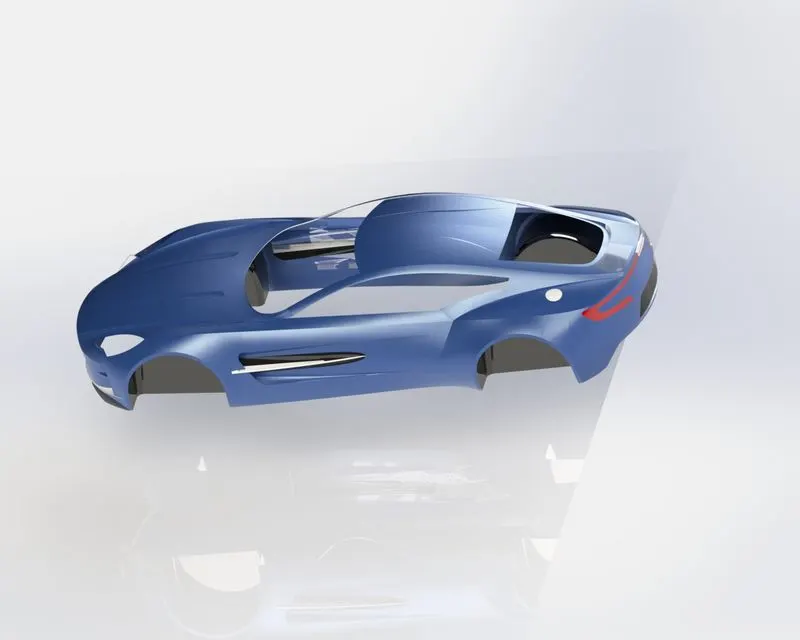
Introduction : Aston Martin One- 77 is a sports car built by British car manufacturer Aston Martin. It was built in 2008 but revealed in full at the 2009 Geneva Motor Show.
Specifications:- Body Style :-2 Door Couple
Class :- Sports car
Layout :- Front Engine ,Rear Wheel Drive
Engine :- 7.3L AM Cosworth V12
Power Output :- 559KW
No of cylinder :- 12
Max Torque :- 570Nm
Fuel Tank Capacity :-98.0
Transmission Type :- Automatic
Wheel Base :- 2,791mm
Width :- 2,204mm
Length :- 4,601mm
Height :-1,222mm
Objective:- Aston Martin Car has good graphics and contains complexity in its model meanwhile its technology is very advanced so as a learner it gives a very good opportunity to learn different-different tools of Solidworks in an advanced manner. The tools I used to make this project are very useful for Surface modeling and more or less solid modeling and these tools are used at a very large scale in the automotive and aerospace industries too.
The different components of an Aston Martin Car we deal with are
1. Insert Blueprint (Front view,top view,Side view, And Rearview)
2. Roof
3. Side
4. Rear Bumper
5. Front Bumper
6. Hood
7. Window
8. Door
9. Front Wing
10. Roof Finishing
11. Side Door Design
12. Hood graphics
13. Grills
14. Light
15. Wheels
16. Disc Brake
17Emblem
After designing the part components, we have worked upon the assembly and the photo rendering of the Aston Martin car which gives it a complete and realistic view.
Let us discuss what are the features and properties used in the entire model to design different parts :
1 Setup Blueprint:- insert all the views front, topside, and rear.
Go to sketch on plane< tool
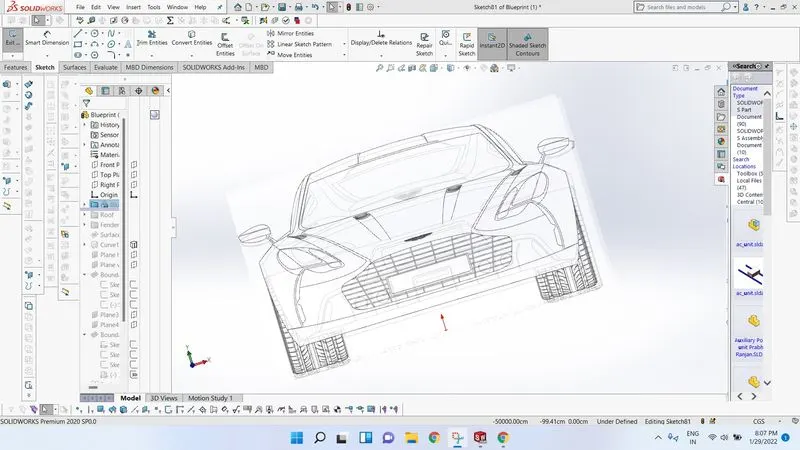
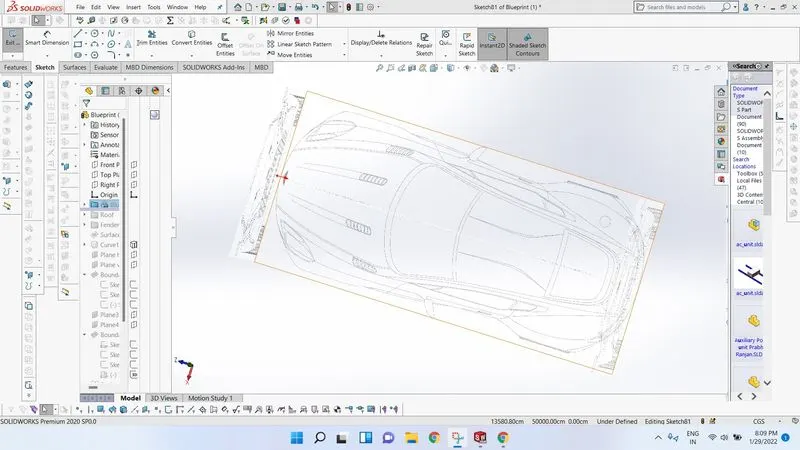
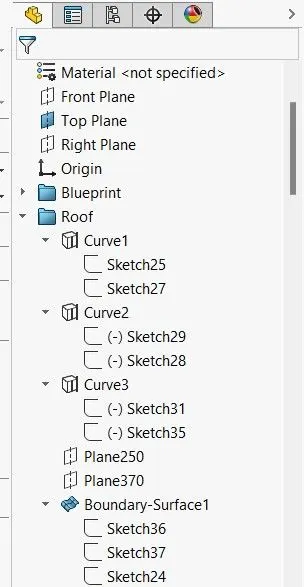
2.Roof:- start a sketch on top plane and dimensioned properly
Start a sketch on the side plane and dimensioned properly basically here we have to draw a projected curve to apply
surface boundary.
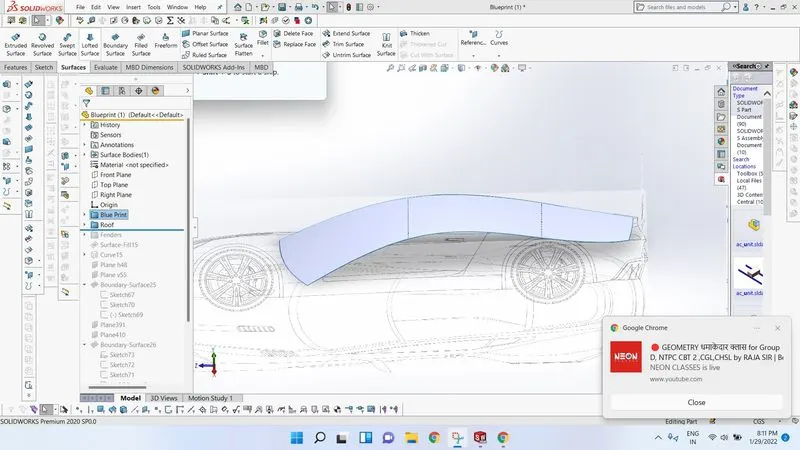
2.Side:-Lower portion of the door is to be created by many sketches on the side plane and top plane, go to curve and choose projective curve and select two sketches and then validate this step will repeat many times and then
Go to surface< surface boundary
Remember right side portion will normal to profile.
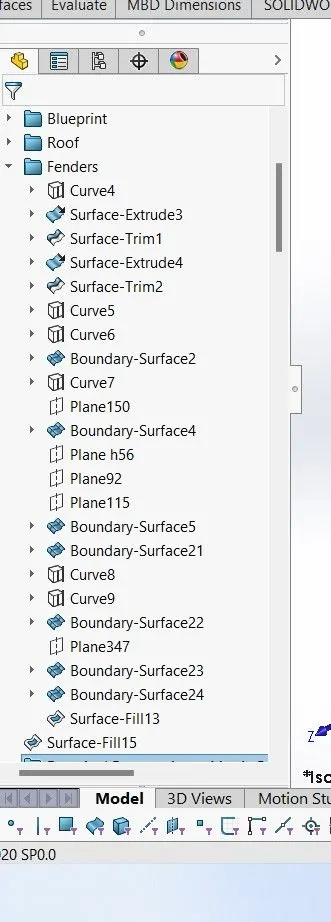
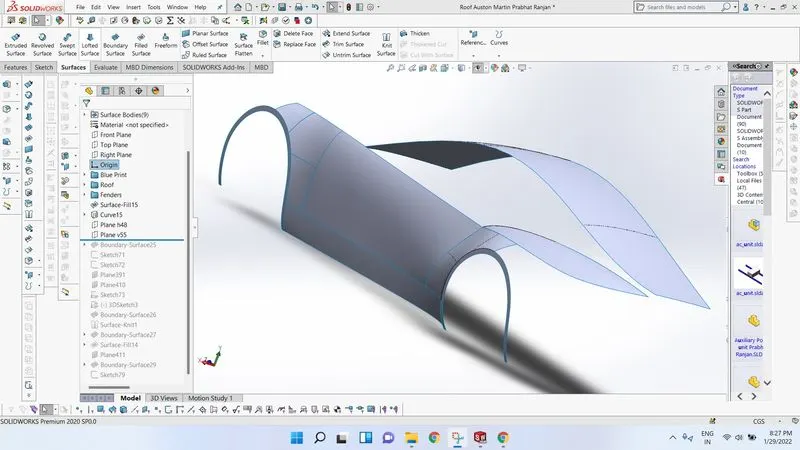
3. Fenders:- The surface above the wheel is called a fender. fender gives a graphics design of the car so it is very important to sketch the fender with proper dimension.To create a fender we can use the following tools:-
Draw sketches on the side and top plane
make a projective curve(go to the feature manager
After that use boundary surface
use trim tool to cut the extra part
4. Rear Bumper:- Rear bumper is part of the car body, it is the back surface above the rear wheel. The rear bumper gives look from the rear side of the car so it is a very important thing in the whole car body. While creating a rear bumper be careful of dimensioning the sketch.
Here some of the important steps are given:-
first start sketch on the top plane
Take reference plane 48 cm above from top plane , rename this plane as planeh48 for future use
start a sketch on this plane.
Again start a sketch on the side plane and dimension it
Once again take reference plane but this time chooses right plane and give a distance of 55 cm, rename the plane as planev55 for future use. start sketch on this plane
In this way, we sketched many sketches and then apply boundary surface
While applying boundary surface, the surface with the right plane must be normal to profile.
As you can see in my feature tree ...
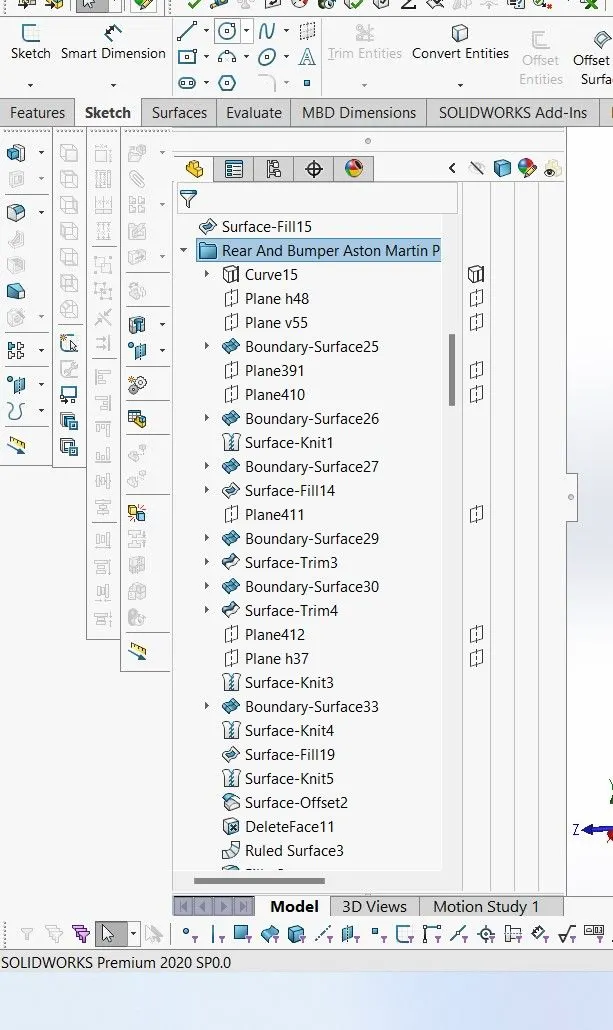
Delete the extra surface
Knit the rear bumper with fender surface
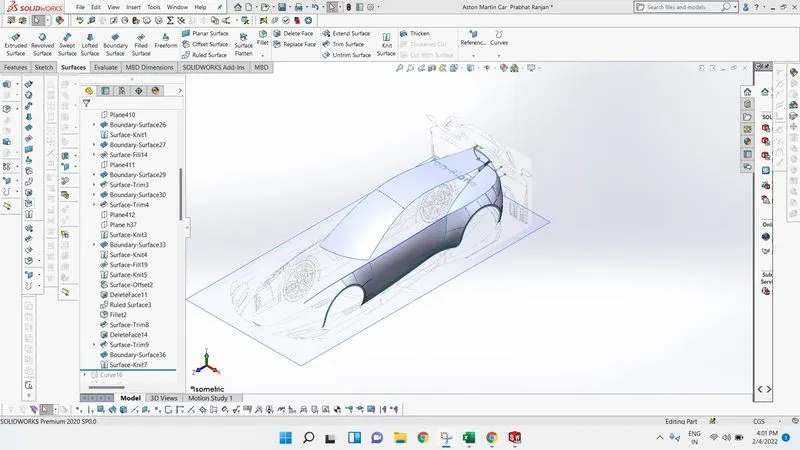
5. Hood:- The hood or bonnet is the hinged cover over the engine of motor vehicles. Hood can open to allow access to the engine compartment or trunk on the rear engine for maintenance and repair.
For designing the hood we have taken special care because it is the front part of car and it gives very high defination look,so its surface must be perfect.
let us see the steps of designing in brief.
First, start with a sketch on the top plane.
start a sketch on the side plane, the purpose of the sketches to draw the projective curve.The projective curve gives 3d shape of the body
take reference plane w.r.t front plane at 70 cm distance
take another reference plane from a front plane at a distance of 115cm
Apply boundary surface and surface fill as you can see in my feature tree:-
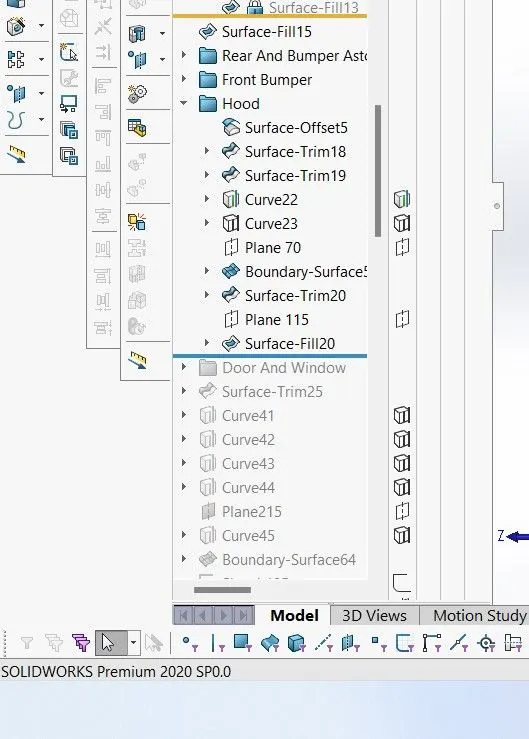
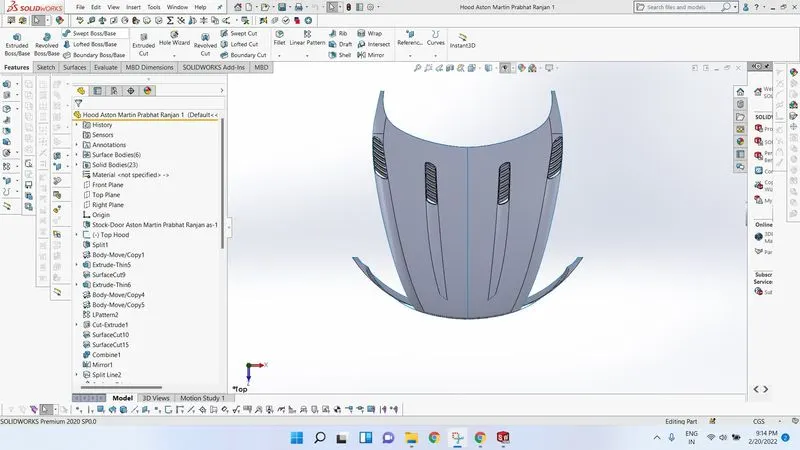
6. Window:-Window of the car is given to see outside of the car, it has transparent glass. The window is a very important part of a car because it gives good look moreover it can use as an emergency exit in case the door is self-locked.
so to make the window of car we can use the following steps...
It is a surface modeling process so basic steps are to create the projective curve.
Add reference plane for guide curve and draw sketches on it.
After completing the basic sketches, just apply the boundary surface .it is quite an easy process as long as your sketches is right .
As you can see my feature tree is below...
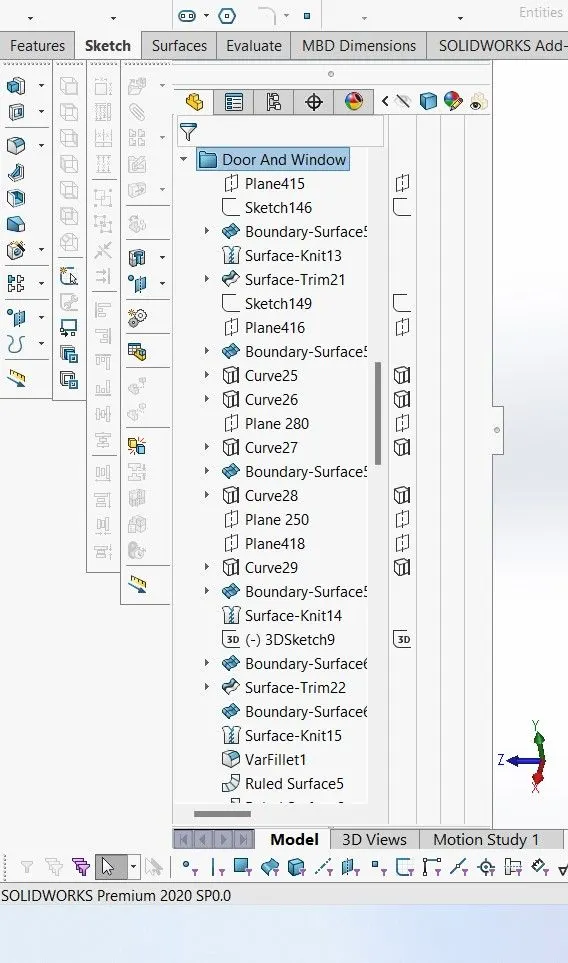
You can absorb that I used many times surface boundary and complete the window surface
Add variable fillet so that corner becomes curve and looks nice.
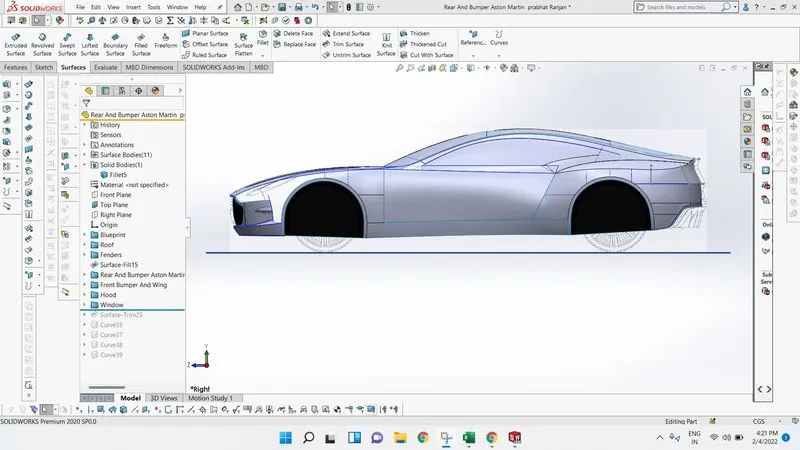
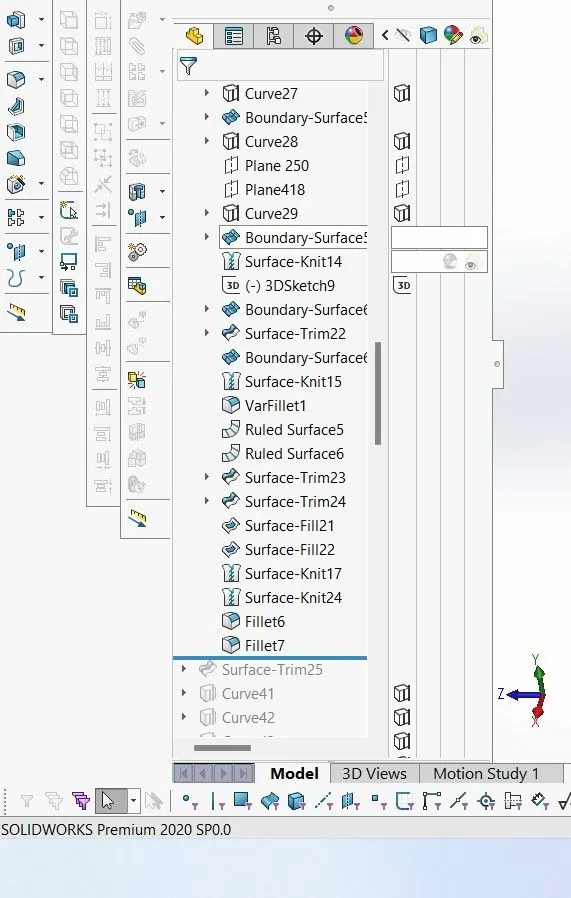
7. Doors:-Door is an entry point right! So it very important part of surface modeling. The surface of the door is not as simple as the fender or surface above the fender, it has a special curve and cuts so the door takes special attention while sketching. First, draw a sketch on the side plane and apply the boundary surface.
Then draw a sketch on side plane as blueprint go to insert <feature<split
you can see my feature tree..
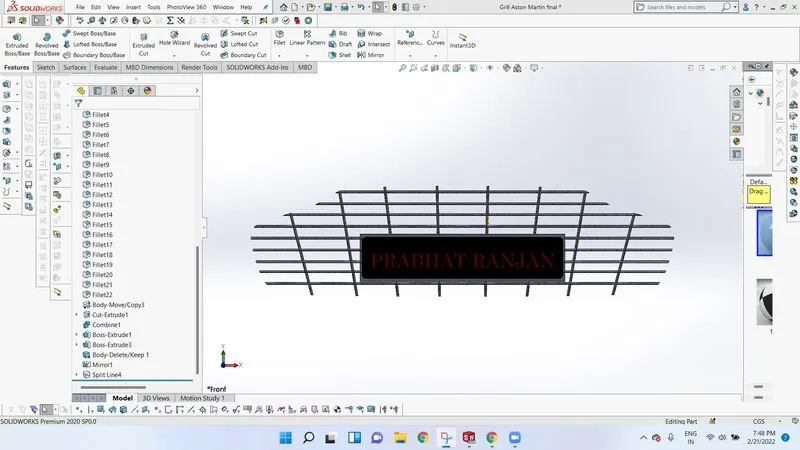
8. Grills:- Grill is the front part of the car it is given for venting. The engine of the car gets heated up after running a long time so it is required to cool. This cooling requirement is fulfilled by Grills.
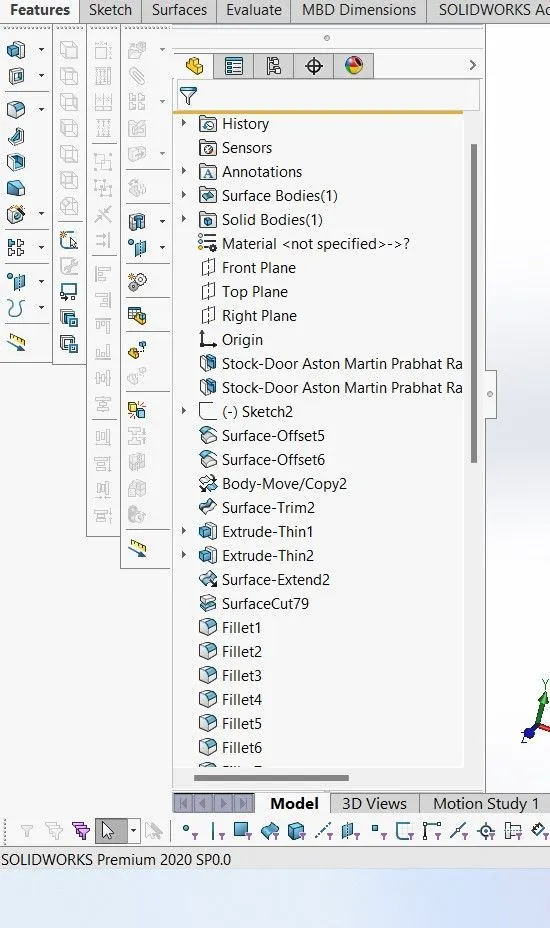
It also gives good look to the whole car. The sketch of the grill is very simple just follow some steps and complete the grill.
The following steps are as follows.
Export the grill portion in a new file from the main body file.
Take surface to offset two times
Move rear surface of the grill as 2.5cm(go to insert <feature
Start sketch on the side plane
then go to feature and add extrude boss /base
Again start a sketch on the side plane
again add extrude boss /base.
Apply cut with the surface.
Apply fillet on horizontal body 0.6cm
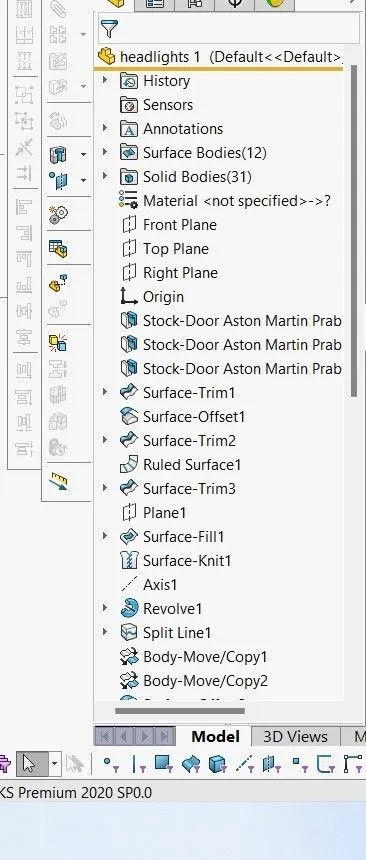
just you can see my design tree..
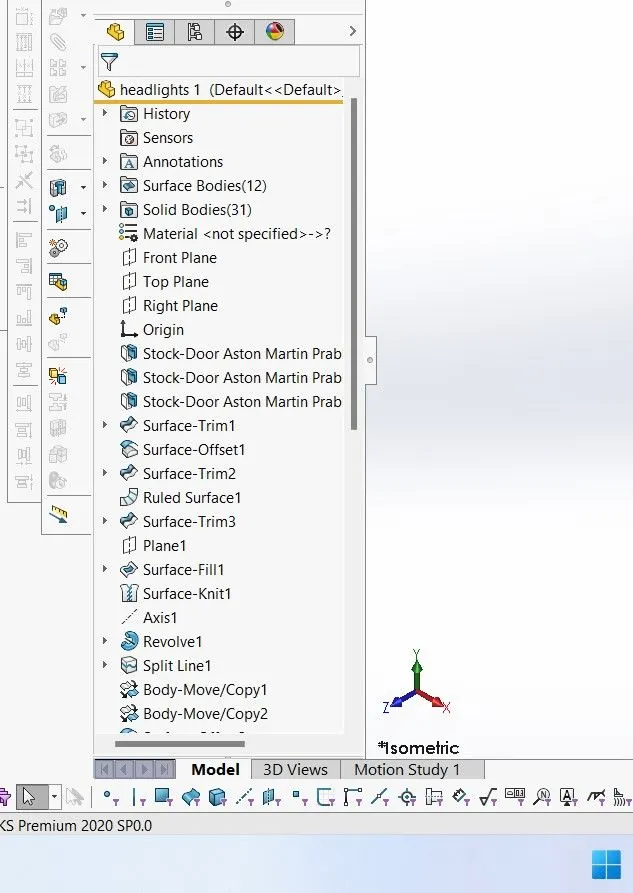
9. Light:- Light of the car plays a very important role in running time. It is an integral part of the car because without light car can not be derived. so far sketch of light is more or less hard but not difficult. There are some brief sketch steps ...
First of all export the light part from the main body file into a new body file.
Start a sketch on the front plane.
Take 0cm surface offset
10 Wheel:-Wheel is a unit of the power transmission system of the car.It helps the car to move .
Steps :
start sketch on the top plane
Apply Revolved boss base
now add cut on the tire by making so many sketches
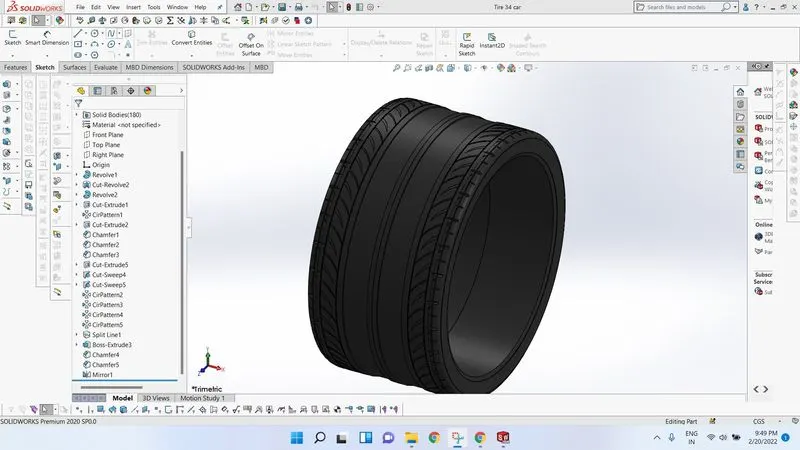
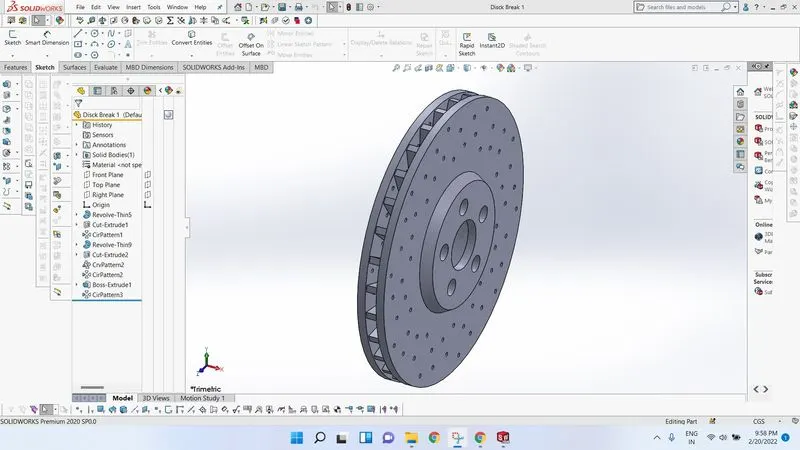
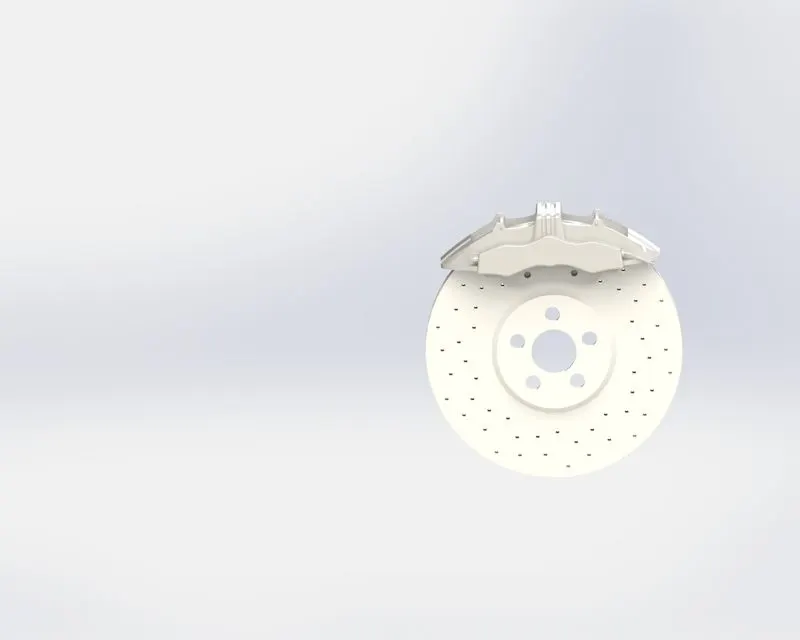
11. Disc Brake:- Disc brake is a new braking system. This breaking system has very good gripping and works very precisely
It is used in high-speed vehicles because the disc brake works very quickly relative to the drum brake.
Sketch is very simple ,start sketch on top plane and apply to revolve boss base ,
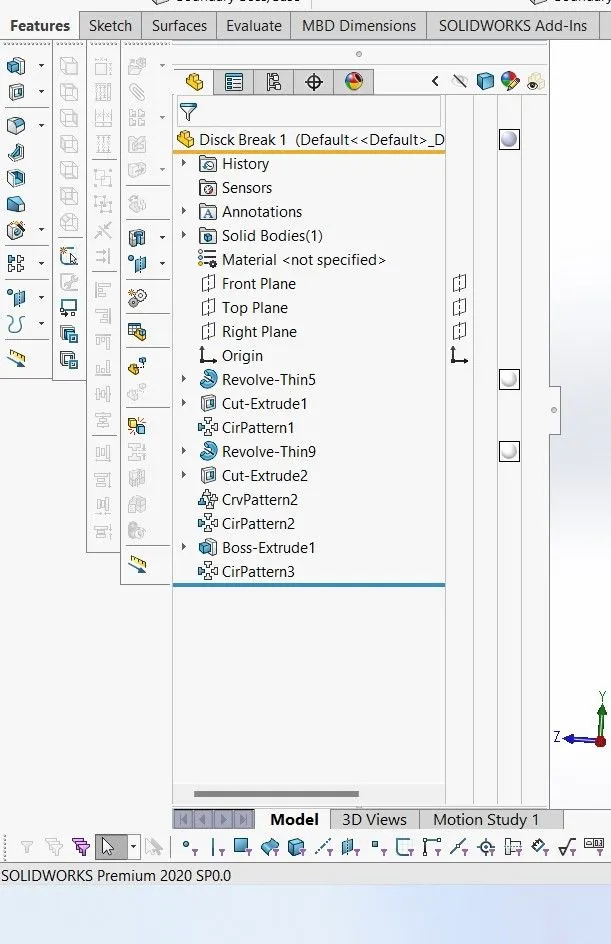
Just you can see only a few steps are in my design tree
all are very simple
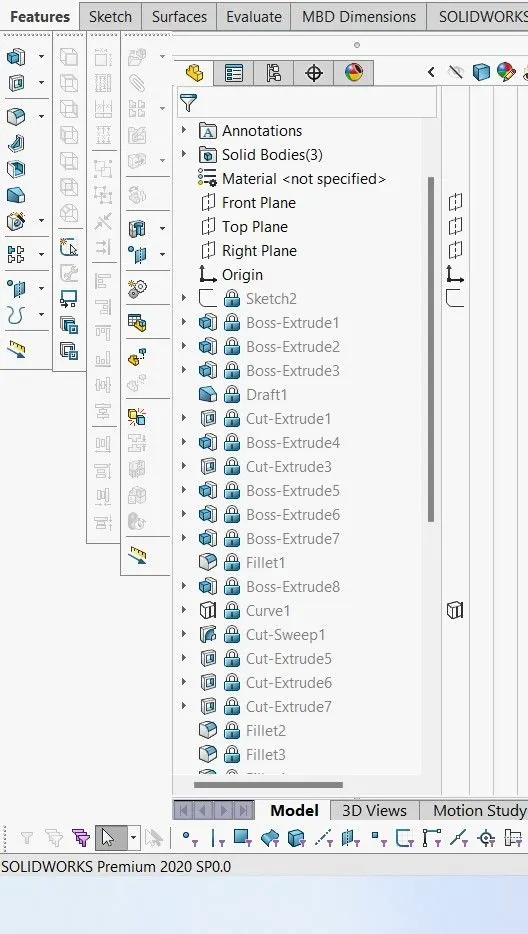
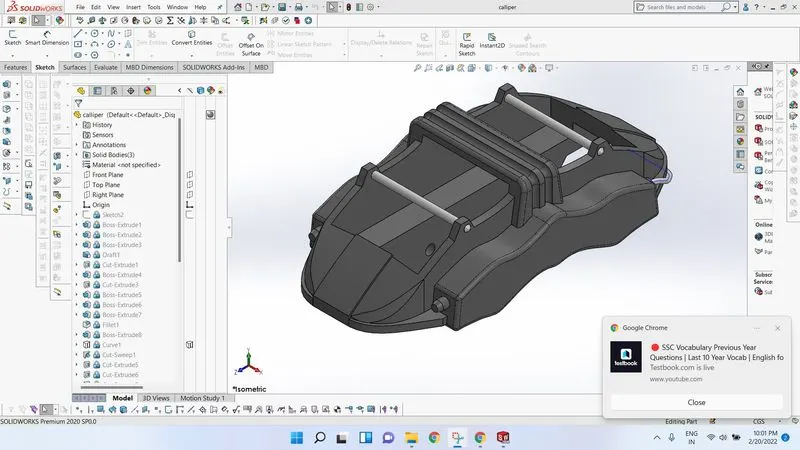
12. Caliper: Caliper is a device that is used in a disc brake for griping the disc plate as above drawn.
The sketch of the caliper is also easy
First, insert a blueprint of the caliper on the top plane
Just sketched according to the blueprint add extrude boss base.
Here is an amazing thing is you have to create just a quarter part of the caliper and after completing the part simply mirrored the part two times the first time make it half and the second times make it complete.
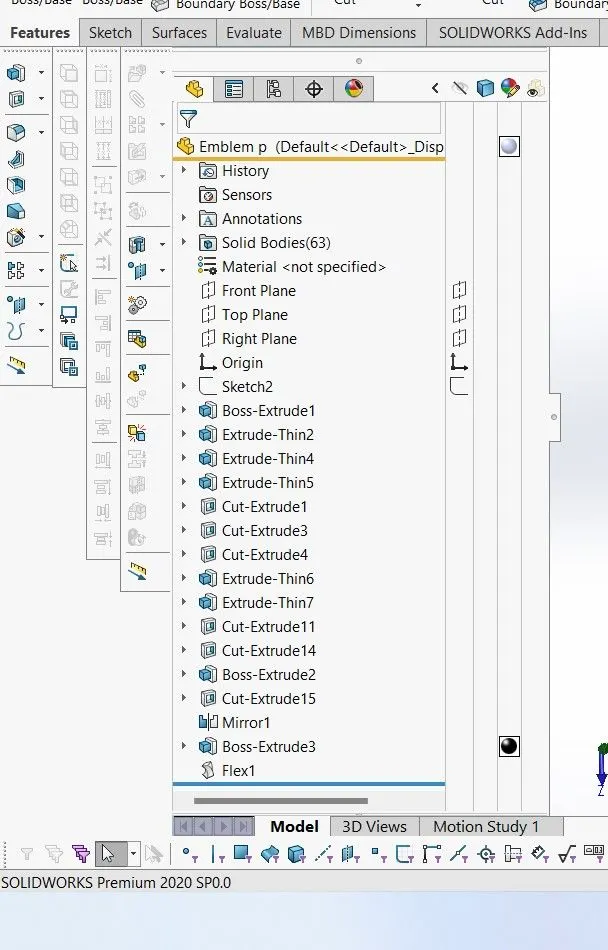
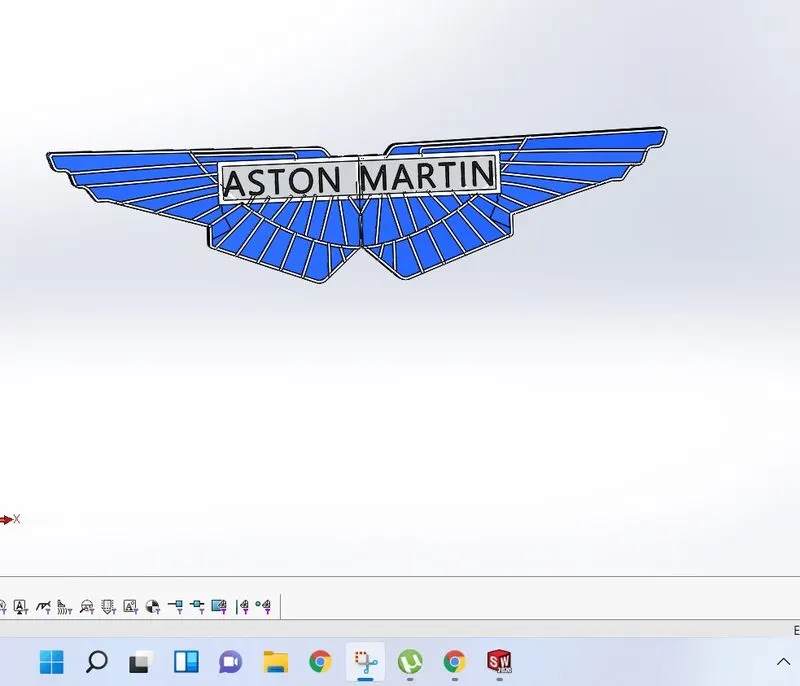
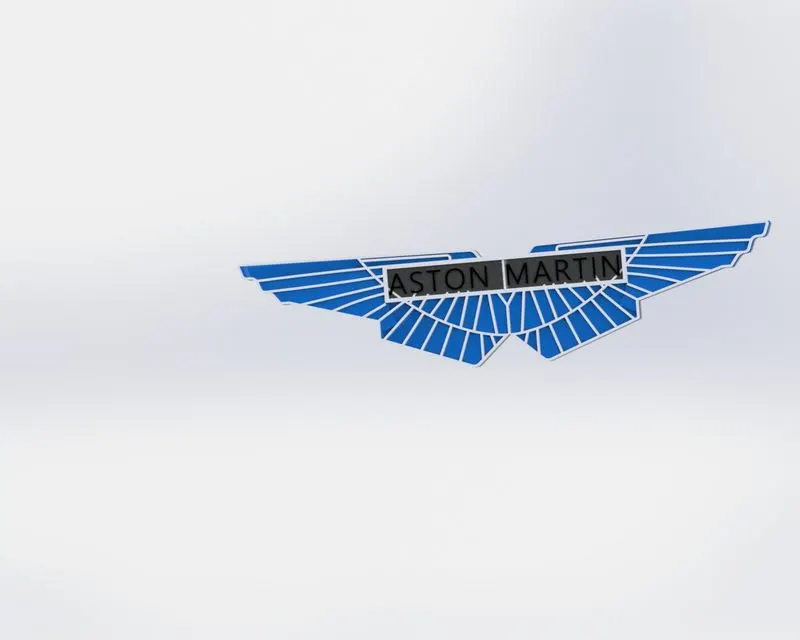
13. Emblem:- It is a logo or you can say brand identification. Aston Martin has also a special logo Aston Martin is a very big brand in the field of the Automotive industry. So emblem is very important and its sketch is not much tough.
First of all, insert the blueprint of the emblem on the front plane. start sketch on the front plane
Apply to extrude boss base
cut extra extruded par by extrude cut.
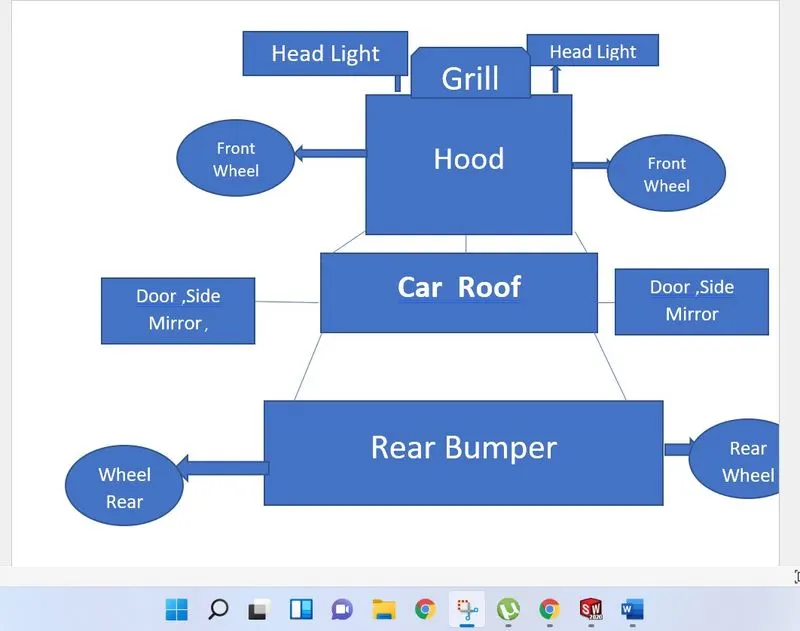
14 Car Block Diagram:-
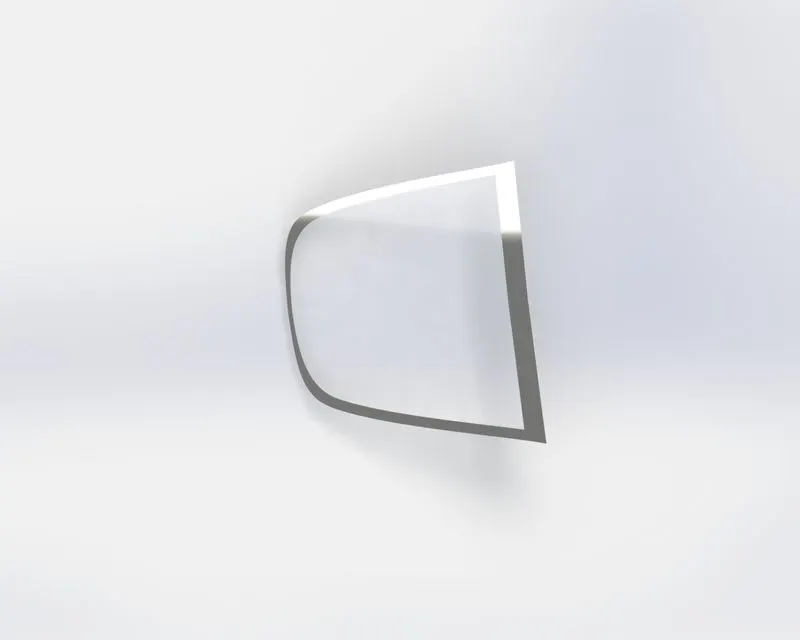
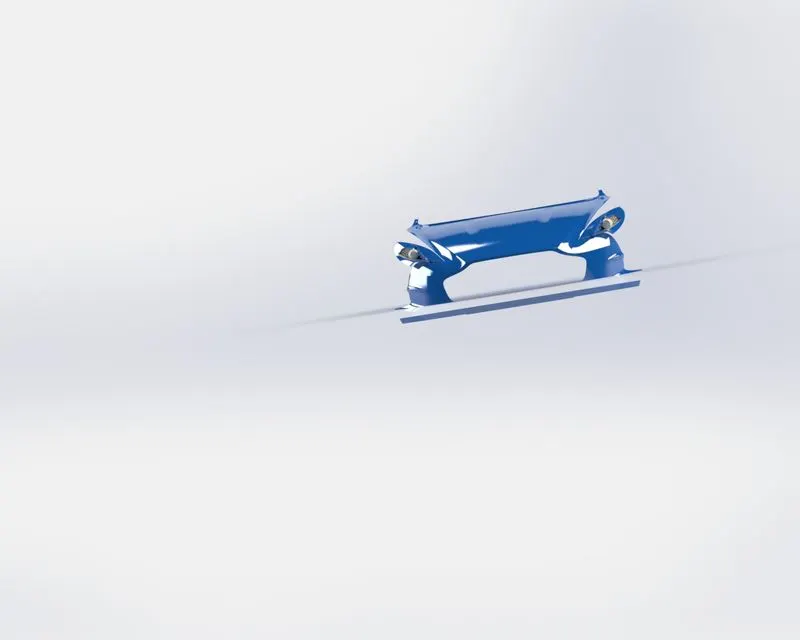
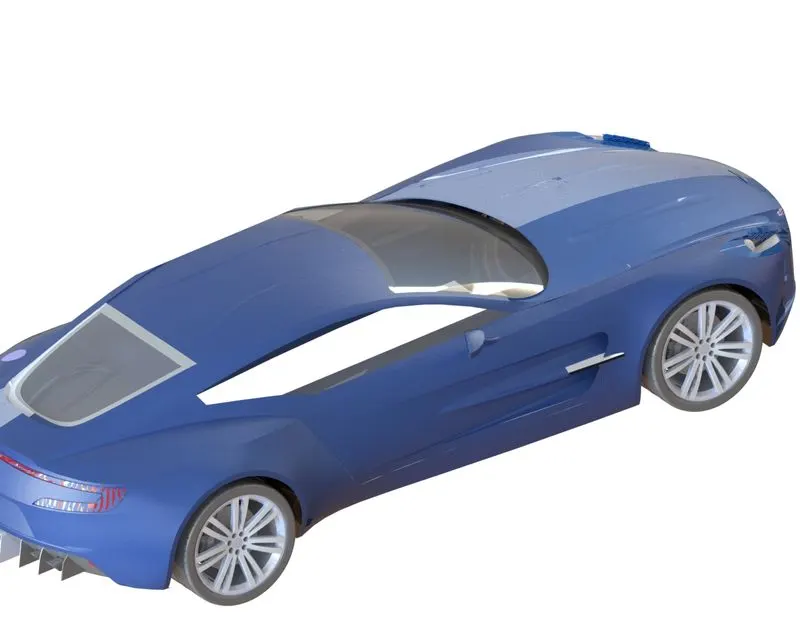
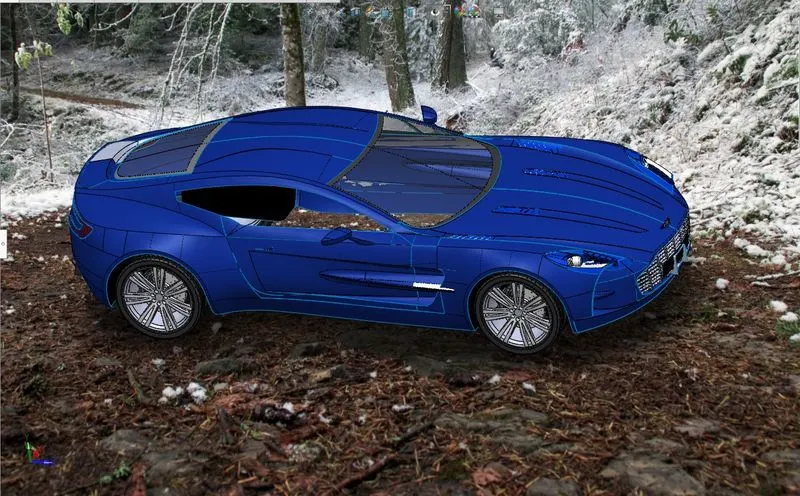
15. Rendering:- Rendering is the process of turning information from a 3d model into a 2d image.3d rendering can be used to create a variety of images, from intentionally nonrealistic to what is called photorealistic. Behind every 3d rendered image, realistic or not is a rendering process that starts with 3d modeling.
some rendered images are shown below.
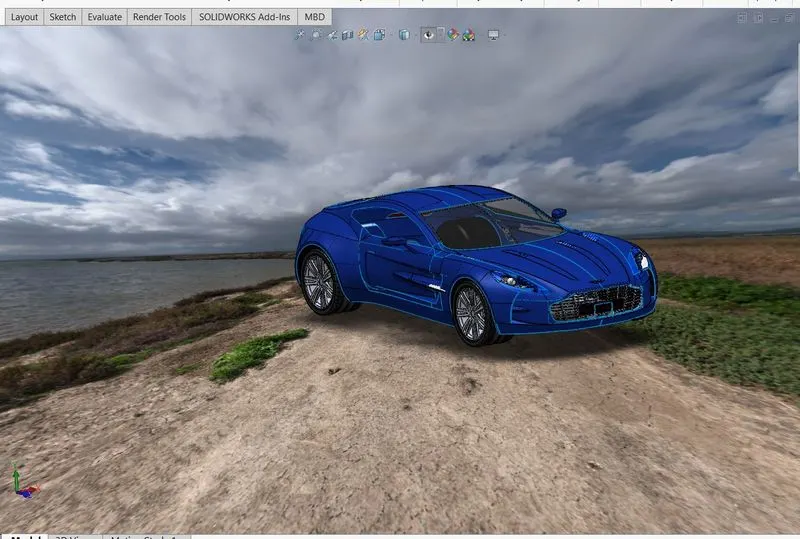
Here is the link to all part files, just click on it and see what are designs procedures are applied and what types of tools are used throughout the project. Fine!
https://drive.google.com/file/d/1d1jVcjHtTw2W35QFiPcRvsqWGmSO9lcW/view?usp=sharing
https://drive.google.com/file/d/1-OH1uil7RGMSGTWVdklA6knSu_Cc0Psn/view?usp=sharing
https://drive.google.com/file/d/1rN1qg0Wt_PZktIEB2SLvr-Hm0AtBUfoq/view?usp=sharing
https://drive.google.com/file/d/1_tGsXxfhkt02S-K3WKoSmd1Meux7rrnv/view?usp=sharing
https://drive.google.com/file/d/1DYdpYAtswrlINlGUeKLcfcV9UBB0Vp7i/view?usp=sharing
https://drive.google.com/file/d/1H72_Svs1gVSIqpoI4VhCcL7EpJLc_r6s/view?usp=sharing
https://drive.google.com/file/d/1A7XcerxRFcft4P1WcIU7SSQ4pLiETsyu/view?usp=sharing
https://drive.google.com/file/d/1B59MOu5P7P_e1_gutdde7eJ5DfTvhwoV/view?usp=sharing
https://drive.google.com/file/d/1-OH1uil7RGMSGTWVdklA6knSu_Cc0Psn/view?usp=sharing
Conclusion:- All the parts of Aston Martin have been Designed very well and assembly of all parts is done in a single file.
At the end of this project, now I am able to develop any type of surface no matter how much it is complex. I feel at the end of this project that I have used all the possible surface modeling tools.
Thanks!
PRABHAT RANJAN