Assignment 5-RADIOSS Interfaces & Study of Effect of Notches Challenge
Objective: In this challenge we will be understanding about RADIOSS Interfaces and study the effect of notches from the given Crash Tube.
Solution:
Case-1:
-Open hypemesh software and choose RADIOSS profile.
-Import the geometry to Hypermesh software and run the analysis as it is with the default properties.
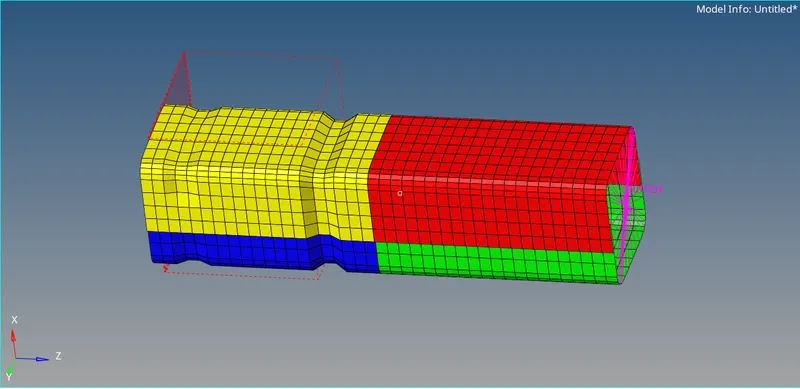
-Now, for case-1 as we need to run with default properties.
-Hence, we will go to analysis tab and choose Radioss, save the model and run the analysis.
-After completion of the analsysis, we will split the screen to three and open Hyperview in one of the screen and HyperGraph 2-D in the other.
-Now, we import the H3D file in HyperView and check how the animation went through.
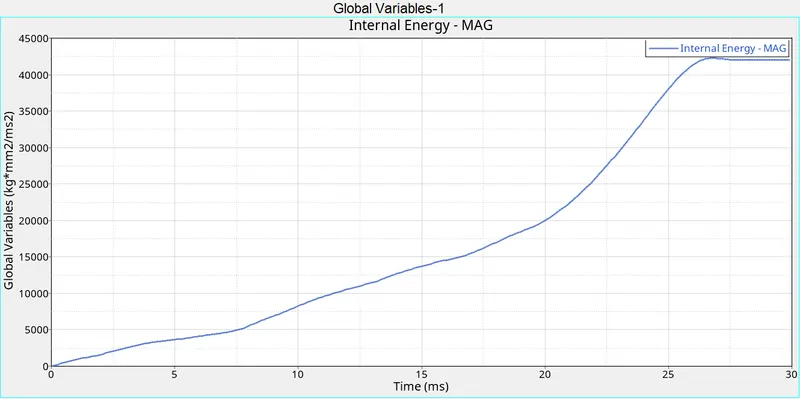
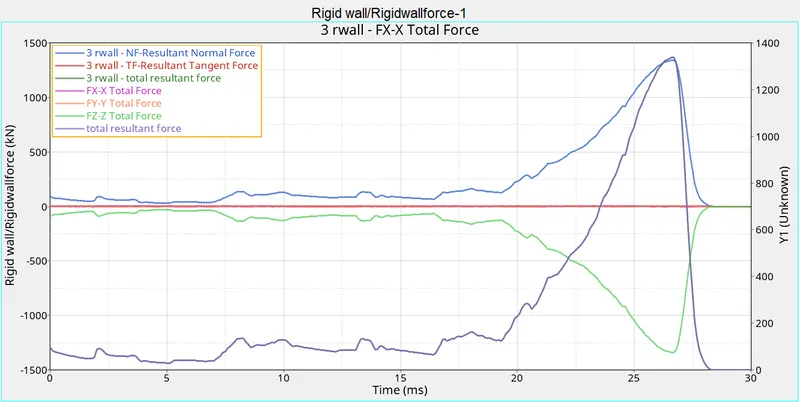
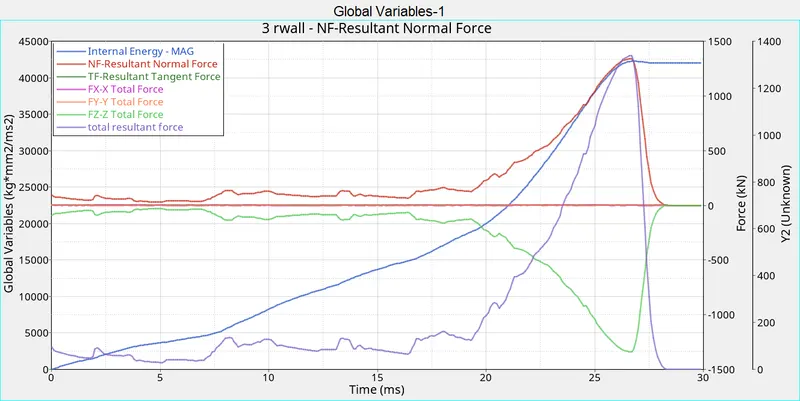
-After that we open HyperGraph 2-D and Import the T01 file to plot Internal Energy and RWall forces graph.
Case-2:
-In this case we need to change Inacti value from Type7 Interface from default(0) to 6(Gap is variable with time but Initial penetration is computed).
-What happens if we change inacti 0 to 6 is that when any node is penetrating through the gap then this Inacti:6 will make sure that the gap differentiates such that there is no penetration takes place.
-Hence, After we change the Inacti value, we will go to analysis tab and choose Radioss, save the model and run the analysis.
-After completion of the analsysis, we will split the screen to three and open Hyperview in one of the screen and HyperGraph 2-D in the other.
-Now, we import the H3D file in HyperView and check how the animation went through.
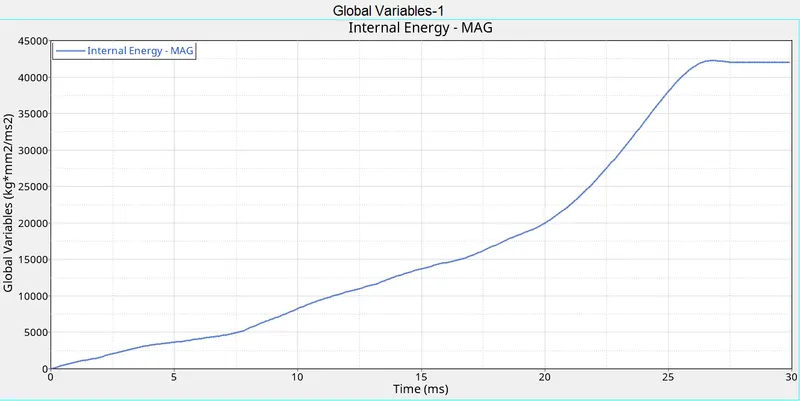
-After that we open HyperGraph 2-D and Import the T01 file to plot Internal Energy and RWall forces graph.
Case-3:
-In this case we need to add Type-11 Interface contact. Type-11 contact is the edge to edge contact.
-Hence, After we add type-11 contact, we will go to analysis tab and choose Radioss, save the model and run the analysis.
-After completion of the analsysis, we will split the screen to three and open Hyperview in one of the screen and HyperGraph 2-D in the other.
-Now, we import the H3D file in HyperView and check how the animation went through.
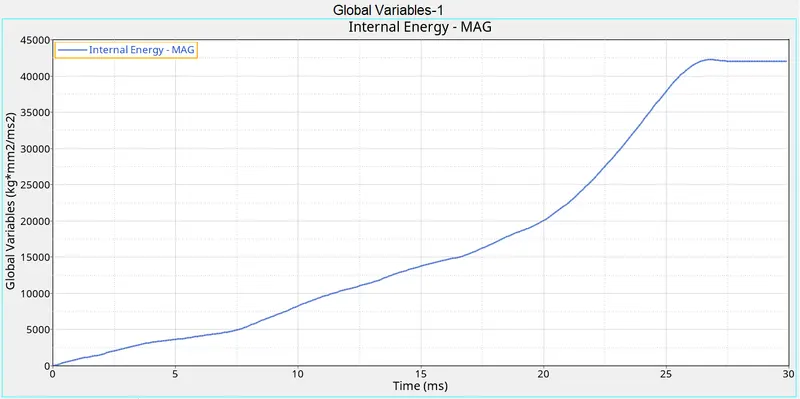
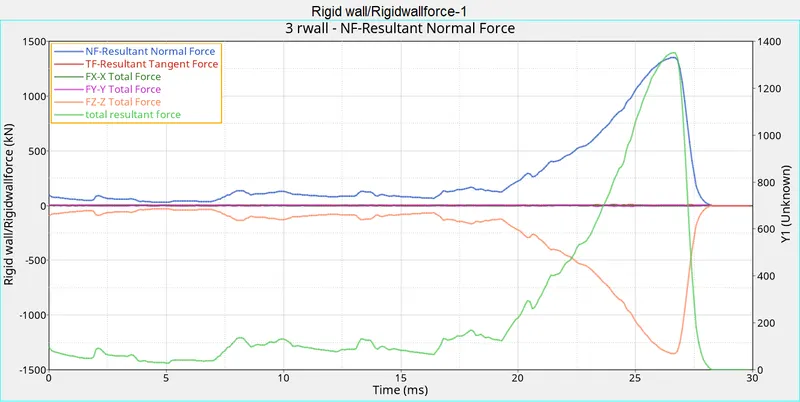
-After that we open HyperGraph 2-D and Import the T01 file to plot Internal Energy and RWall forces graph.
Case-4:
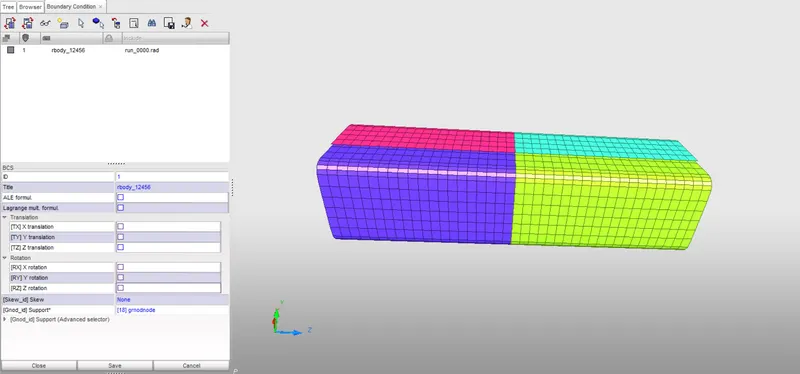
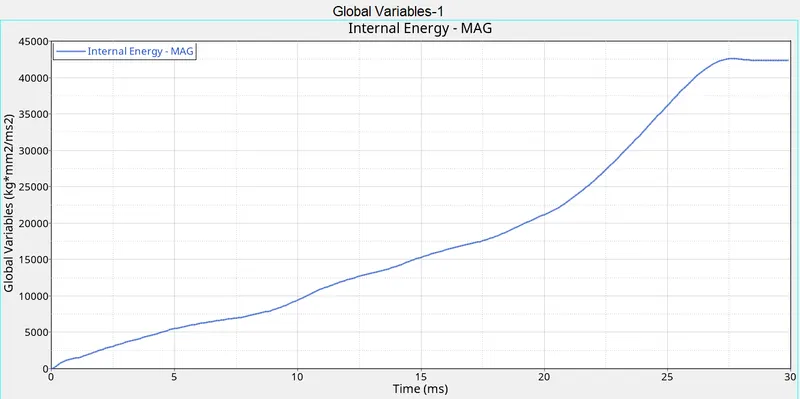
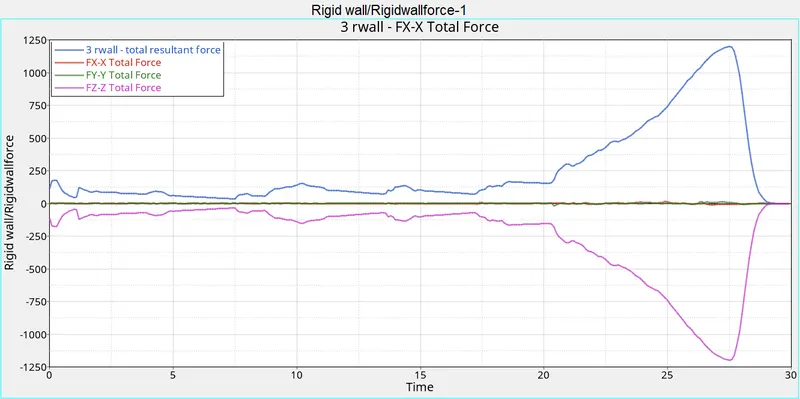
-In case-4 we need to remove the notches on the crash tube and we have to remove the boundary condition on the rigid node and then run the analysis.
-Hence, after removing the notches and boundary condition on the rigid node, we will go to analysis tab and choose Radioss, save the model and run the analysis.
-After completion of the analsysis, we will split the screen to three and open Hyperview in one of the screen and HyperGraph 2-D in the other.
-Now, we import the H3D file in HyperView and check how the animation went through.
-After that we open HyperGraph 2-D and Import the T01 file to plot Internal Energy and RWall forces graph.
Case-5:
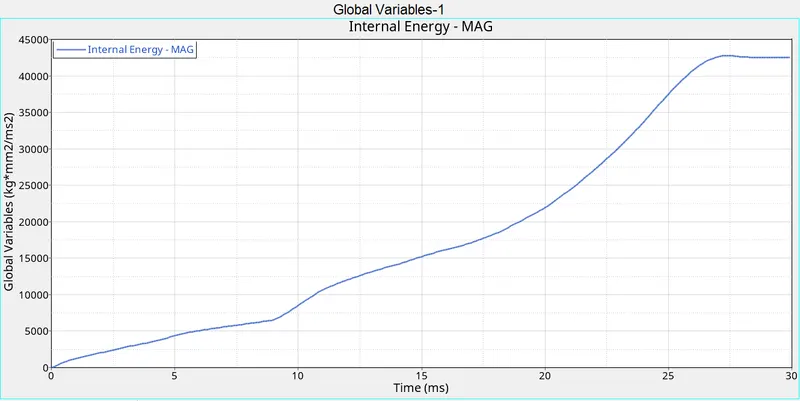
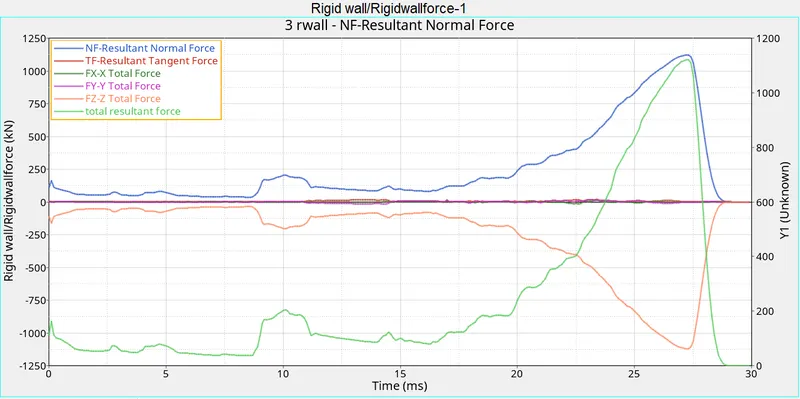
-In this case we need to remove the notches which are present on the crash tube and create a new notch in the middle of the crash tube and run analysis.
-Hence, after removing the notches and addiding a new notch, we will go to analysis tab and choose Radioss, save the model and run the analysis.
-After completion of the analsysis, we will split the screen to three and open Hyperview in one of the screen and HyperGraph 2-D in the other.
-Now, we import the H3D file in HyperView and check how the animation went through.
-After that we open HyperGraph 2-D and Import the T01 file to plot Internal Energy and RWall forces graph.
Case-6:
-In this case we need to remove the nothches which are present on the crash tube and create a new notch on either sides of the crash tube and run analysis.
-Hence, after removing the notches and creating notches on either sides, we will go to analysis tab and choose Radioss, save the model and run the analysis.
-After completion of the analsysis, we will split the screen to three and open Hyperview in one of the screen and HyperGraph 2-D in the other.
-Now, we import the H3D file in HyperView and check how the animation went through.
-After that we open HyperGraph 2-D and Import the T01 file to plot Internal Energy and RWall forces graph.
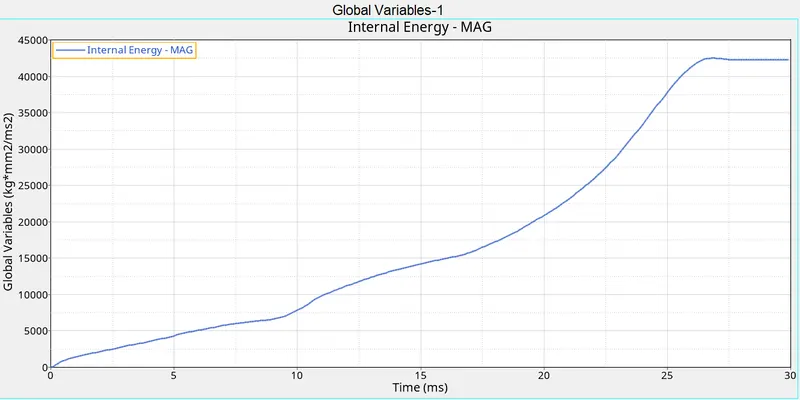
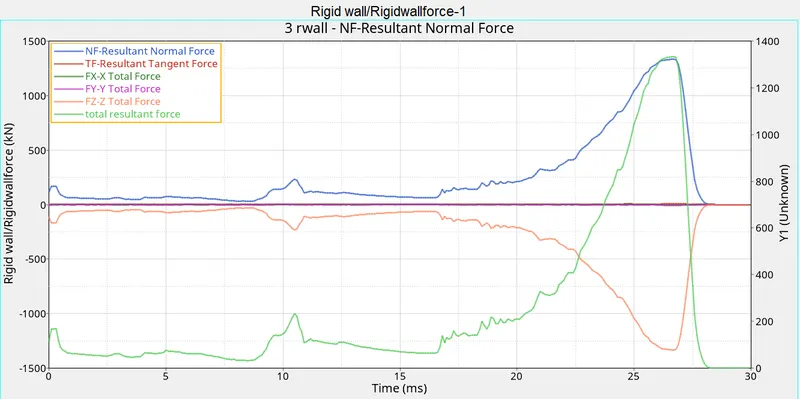
Comparision Table:
No.of Cycles Energy Error Time
Case-1 83529 -3.8% 93.86s
Case-2 83529 -3.8% 193.96s
Case-3 90737 -3.9% 42947.56s
Case-4 78376 -3.0% 195.96s
Case-5 142120 -2.8% 333.37s
Case-6 104122 -2.9% 243.27s
Simulation Animation:
Result:
From the above comparission table we can see that the case-1 and case-2 are almost having same values but the only difference is the elapsed time that is because, the only difference in case-1 and case-2 was the value of inacti.
What does inacti-6 actually do is that, if there is any penetration in between the surfaces then inacti-6 will make sure that the gap differentiates in such a way that there is no penetration. Hence, as there is no penetration between the surface gaps so there is no much difference in the values of case-1 and case-2 except for the ellapsed time.
Now, coming to case-3. Here, we need to add the type-11 contact i.e edge to edge contact. It is the same as that of type-7 contact but, we need to give less parameters and this type will take huge computational time.
Now, for case-4. We have to remove the notches and the boundary condition on the rigid node. Here, what happens is that when we compare the Energy error from the above three cases this case has low energy error.
Now, case-5. In this case the nrash tube undergfoes deformation at the middle where the notch is present and then the whole bottom part gets deformed 1st and then the upper part starts to deform. This case has the least energy error.
Now, case-6. Here in this case the deformation happens non-linearly as there are notches only on either sides of the geometry.
Bumper System:
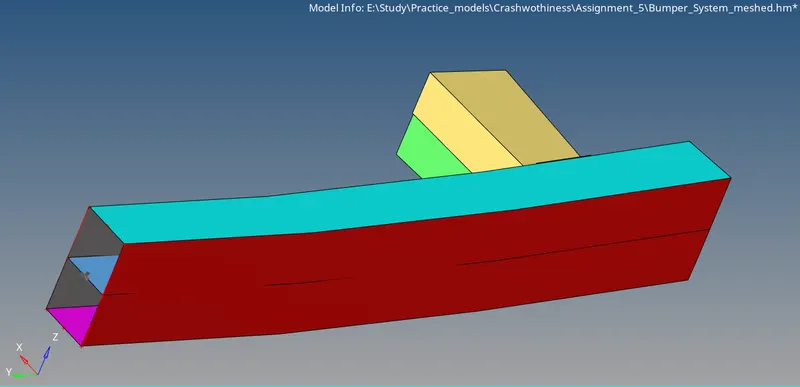
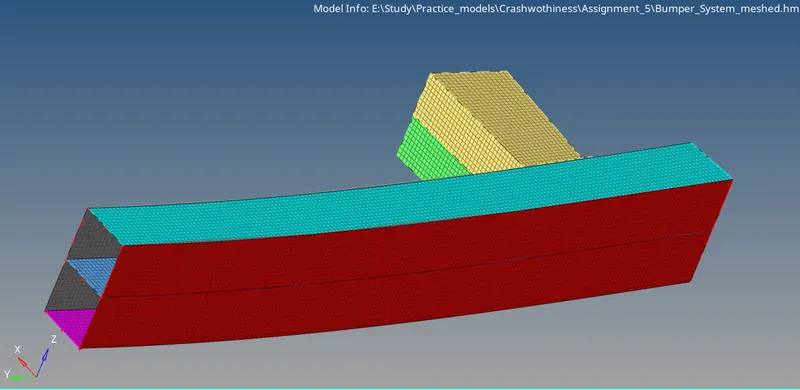
Meshing of bumper system with the given element size of 6mm.