Assignment 2-RADIOSS Engine File Editing & 3D Meshing Challenge
Objective :
To edit the engine file of radioss by using starter file of radioss. To mesh the given two parts I. Arm brackett II. Housing in 3d hexa mesh and Volume tetra mesh.
Procedure :
Step 1. To edit the engine file or extract the details from starter file open rad files in notepad++. In notepad++ rad files can be easily edited.
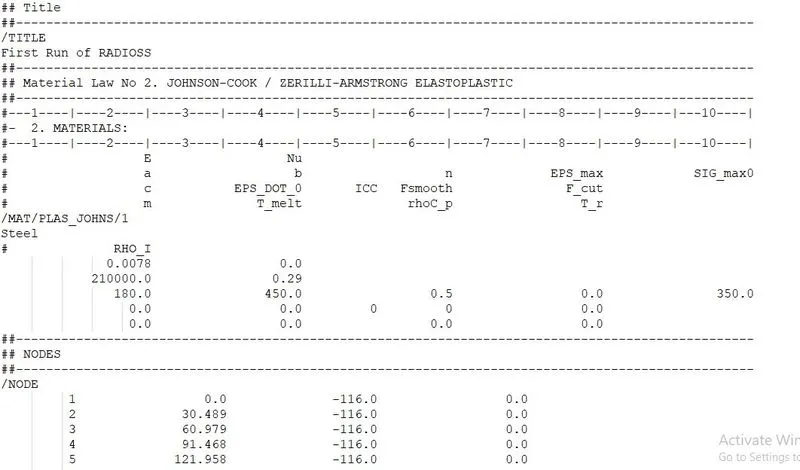
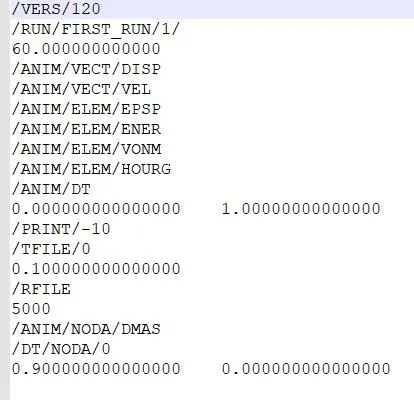
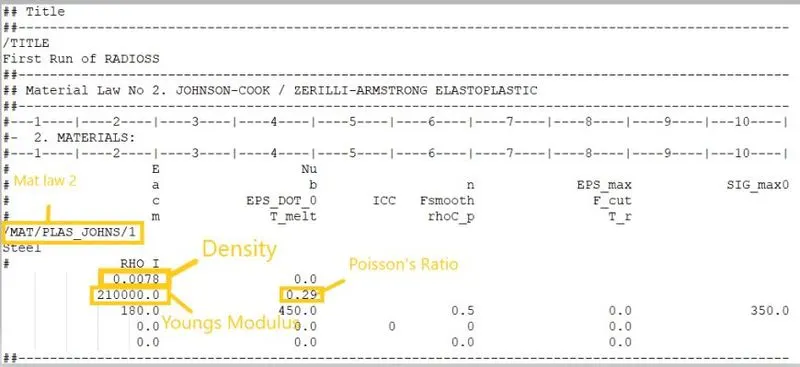
Step 2. Take the values of Young's modulus and density which helps to calculate time step. By scrolling down rad file all element are shell so time step for shell elements is
`Deltat = l_c/(√[E/p]` where speed of sound is c = (√[E/p]) by substituting Young's modulus value and density value, c = 5188.745217 mm/ms
Here given length of the rail is l = 1000mm,
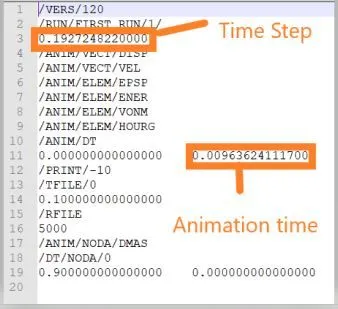
So `Deltat =` 0.192724622 ms.
Step 3 : To calculate frequency of animation for 20 time steps is
f = `Deltat `/ 20 = 0.00963624
Step 4 : Now edit time step value and animation dt value in rad file which is shown below.
Step 5 : Now 3d tetra mesh wants to perform for housing model. Import the model to Hypermesh.
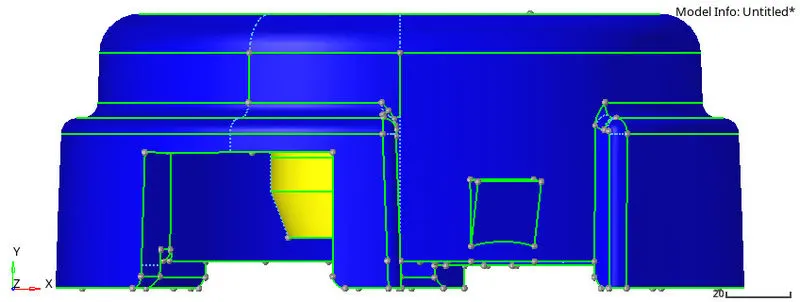
Step 6 : Housing model consists cover and hub parts so we need to perform individual tetra mesh for the parts. First hide hub and go to 2d mesh and select the tetra only and give 5mm and mesh the entire cover part. Do same for hub part.

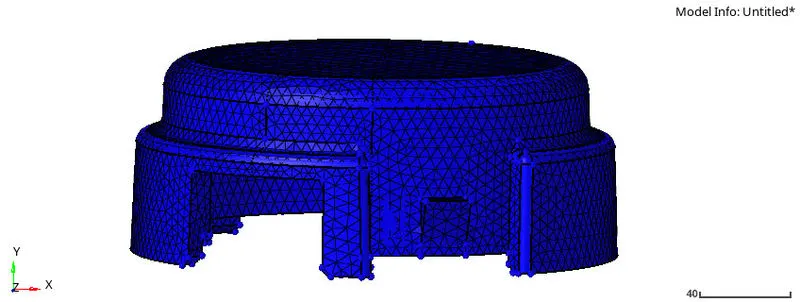
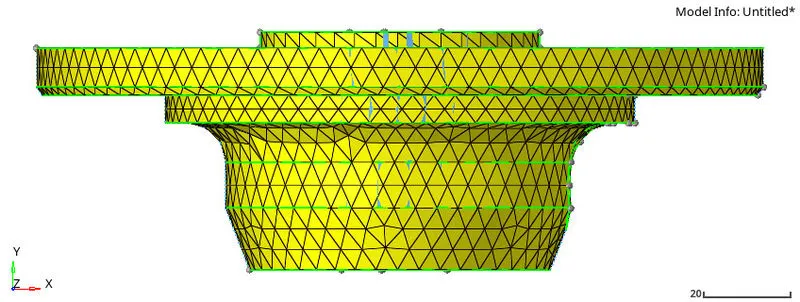
Step 7 : After 2d mesh, 3d tetra mesh has to perform on parts. Go to 3d and select tetra mesh option and select existing 2d elements and surface to fill 3d tetra and apply the mesh. By using mask we can see the mesh inside the surface.
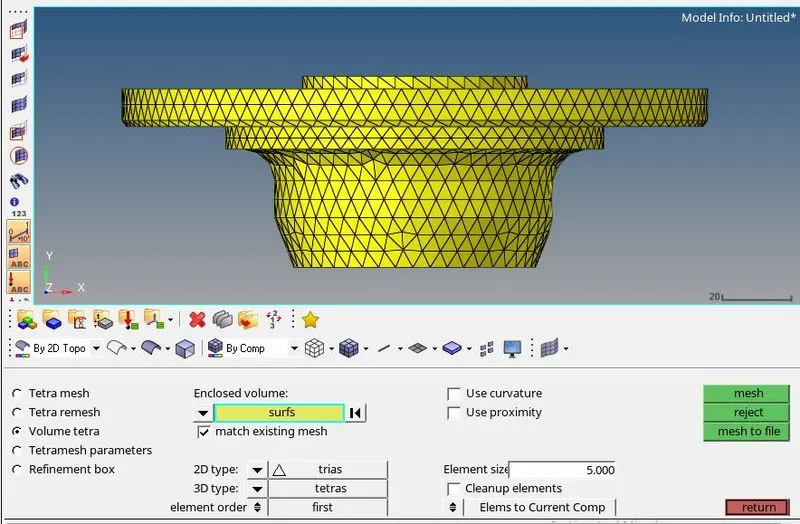
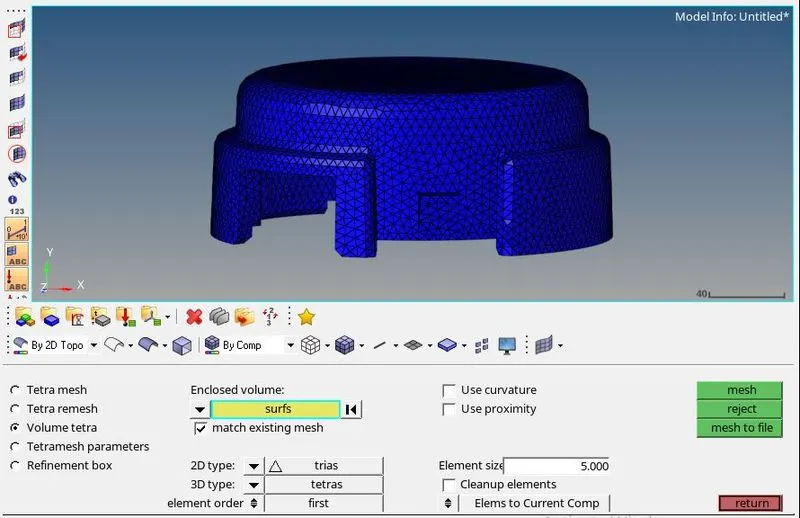
Step 8 : To check tet collapse for model go to tool and select 3d and click on tet collapse option and it will show how many elements are failed, here it shows zero elements.
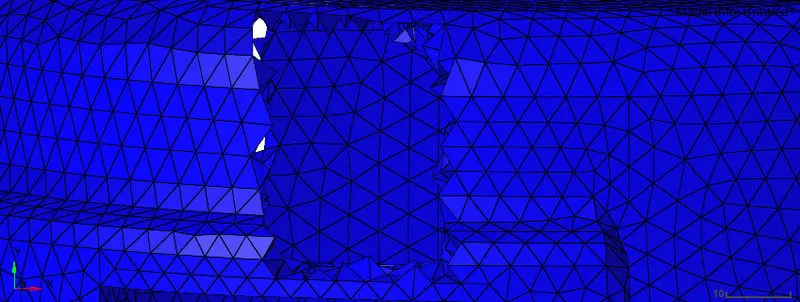

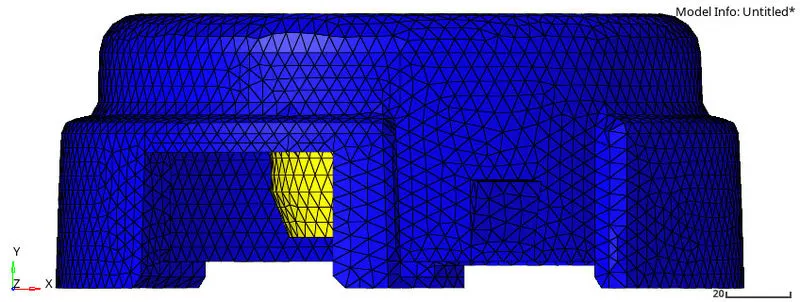
Step 9 : Now 3d hexa mesh has to perform for arm brackett and import the model to Hypermesh.
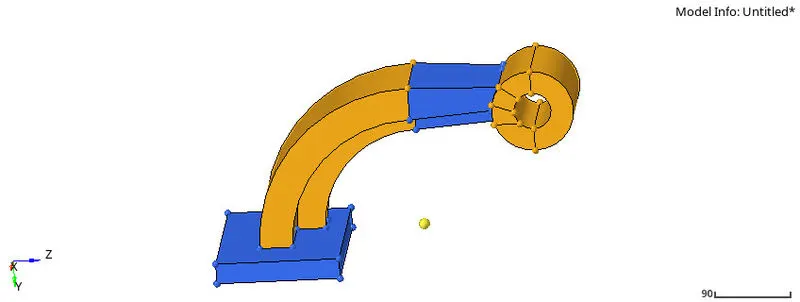
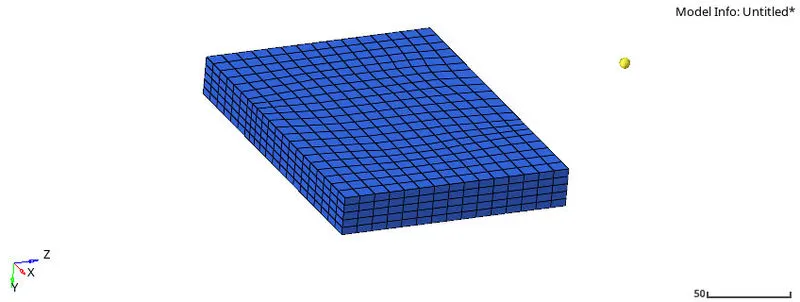
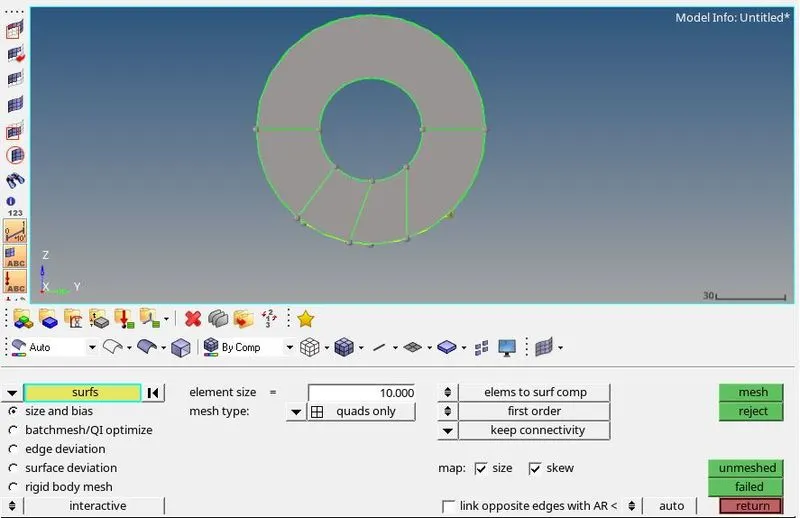
Step 10 : They are four parts in the arm brackett model so start with base part. First start meshing the base part with quads only elements with 10mm length. To convert these 2d mesh into 3d hexa mesh, go to 3d tab and select element 2d elements and select the surfaces and give 5 layers with total of 25mm thickness.


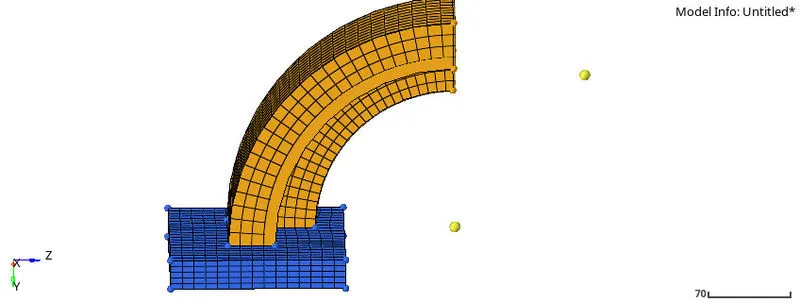
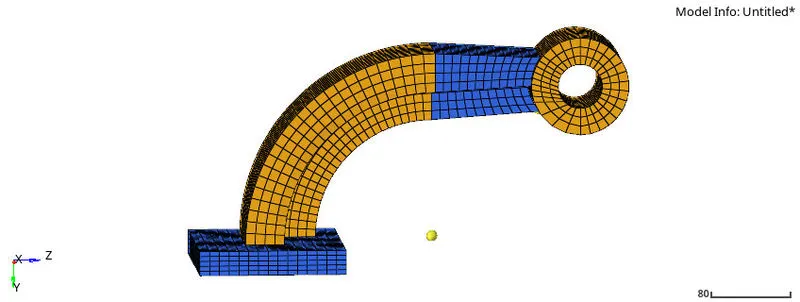
Step 11 : To mesh arm curve in 3d hexa first we need to mask 2d elements and then go to 3d tab and select the spin option in that select 2d elements of arm curve and select the x-axis base which is created using three point option and select offset- and it creates 3d hexa mesh on arm curve.

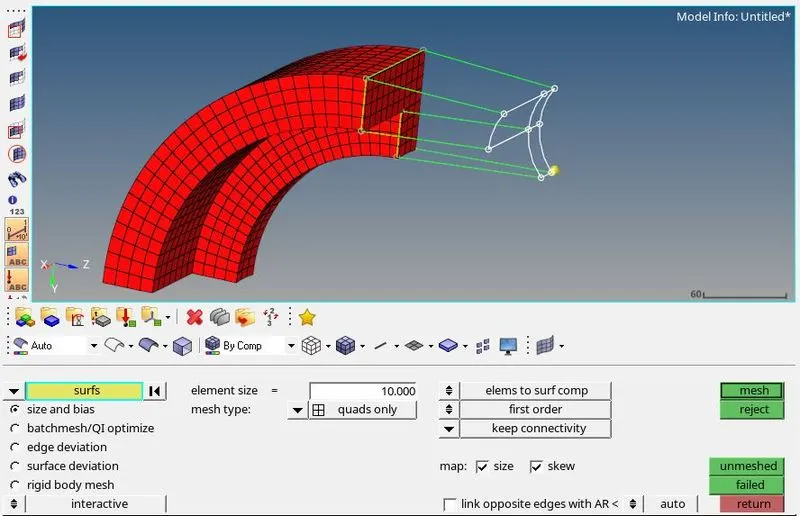
Step 12 : To create mesh on arm straight we need to create 2d hex mesh on one side of arm straight part and after creating that go to 3d tab and select linear solids and slect the 2d elements of arm curve and select 2d elements of arm straight and select the nodes of arm curve and arm straight and give density of 12 which is half of arm curve and select solid to create 3d hex mesh on the arm straight part.

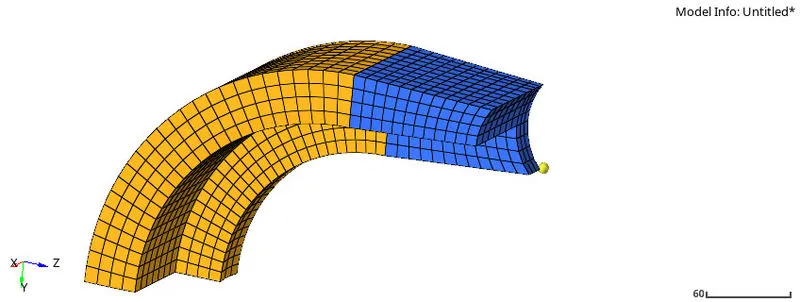
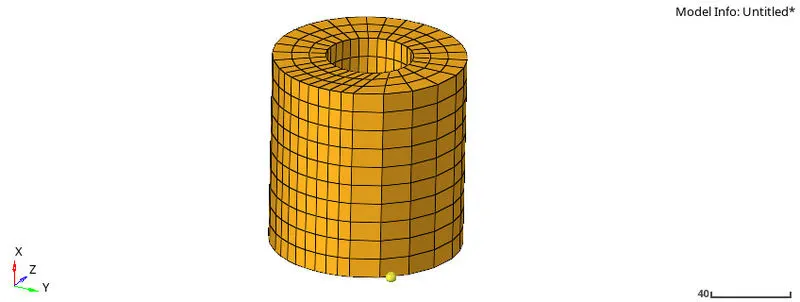
Step 13 : To create mesh on the boss first create 2d quad only mesh on top of the boss part and go to solid map in that select general option and select the 2d elements an d surface of the part and also select the line in which direction you need to mesh the part and mesh. Solid map option will create a seperate 3d hexa elements, so these elements has to be organised into boss using organise option.

Conclusion :
Thus we edit the engine file by calculating time step and animation frequency and performed 3d tetra mesh on housing model and 3d hexa mesh on arm brackett using Hypermesh.