Assignment 1-2D Meshing Challenge
Assignment 1-2D Meshing Challenge
AIM
To take mid surface, geometry cleanup and mesh the 3 different components with mention size.
OBJECTIVE
To carry out the geometry cleanup operation on
- Practice component.
- Clip repair component.
- Mounting bracket.
There should not be any free edges, convert all of them into refine geometry.
Clean the geometry.
Extract mid surface.
Clean mid surface geometry.
Ignore holes less than dia 5mm.
Create a 2D mesh with a target length of 5mm, min 3.5 min, and max 7mm.
Assign a proper thickness, by creating a generic property.
PROCEDURE
Part 1
Importing the geometry in hypermesh and checking for the solid part, but the part has the surface only.
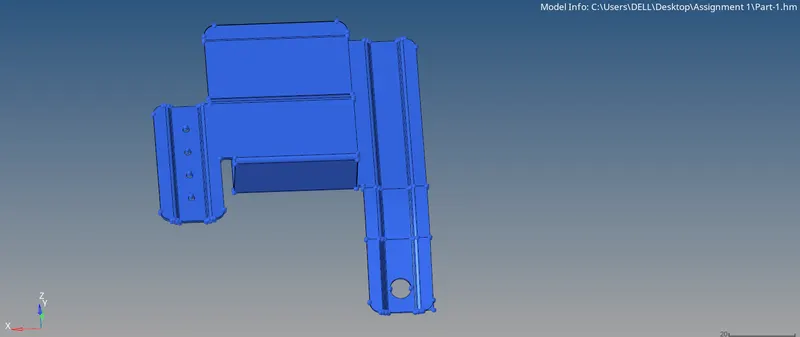
Fig 1: Part 1 Geometry
Checking for the free edges and toggling them with a tolerance of 1 and deleting the improper surface and creating that surface
with the spline or ruled option.
Fig 2: Geometry cleanup
- Completing the geometry cleanup and extracting the mid surface from the parent geometry by selecting the mid surface
option, selecting the geometry, and extracting the mid surface.
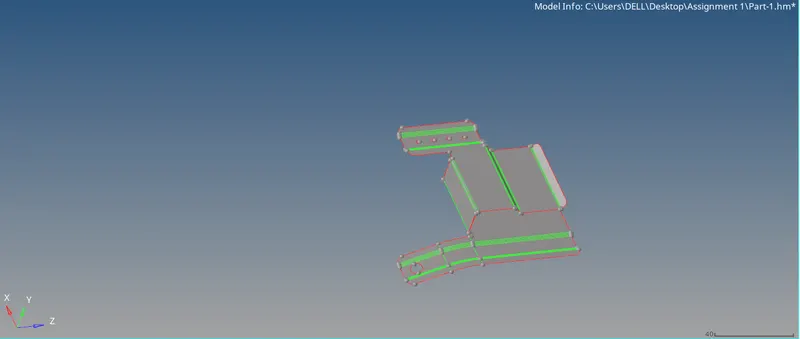
Fig 3: Mid surface
- After extracting the mid surface, checking for geometrical error and cleanup with the edit panel tool, and then meshing the
component with an element size of 5mm and giving the quality criteria in the criteria file preference with minium size 3.5mm
and maximum element size 7mm. - Meshing the component with the same quality criteria.
- Meshing the component by small surfaces and with continuous mesh flow, checking for any free edge and unconnected mesh
is connected with edges option, equivalence value of 1 and equivalence all the unconnected mesh. - There are some failing elements that are fixed by the remesh option or else with the cleanup tools that are used from the
quality index.
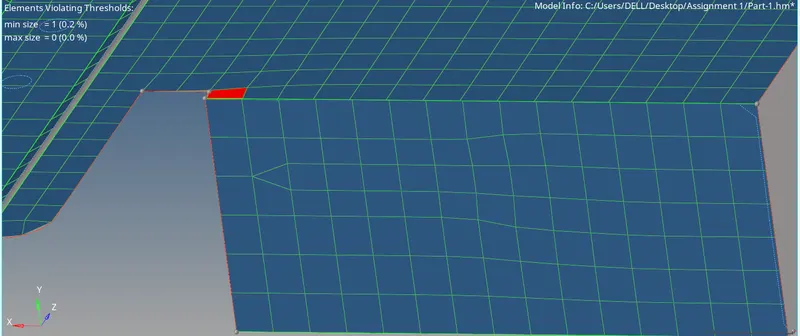
Fig 4: Drag tria and fixing element
- The element at the surface edge is not connected and failing for element quality, the node is replaced with another node of the
element by replacing the option and the combine the element.
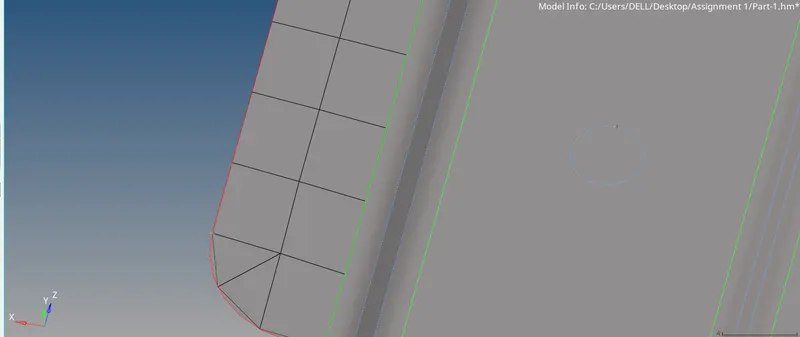
Fig 5: Combine two-element
- Part 1 component is obtained with the quality output without failing any element and then the property assigned to the
component with the thickness of 1.82.
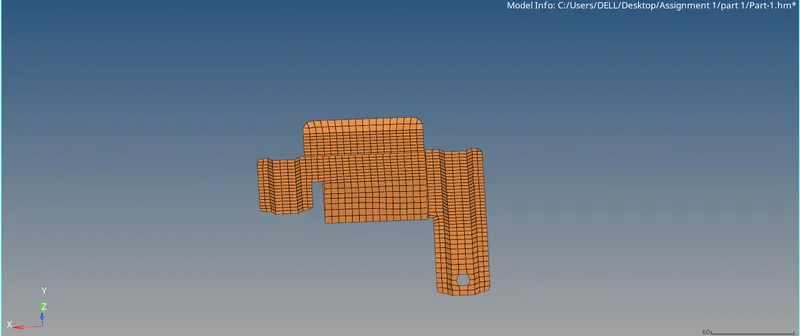
Fig 7: Assign Property
Part 2: Mounting Bracket
- This part is mounting bracket importing the component in hypermesh and checking for the solid part, the geometry has
surfaced so delete the solid part is not required.
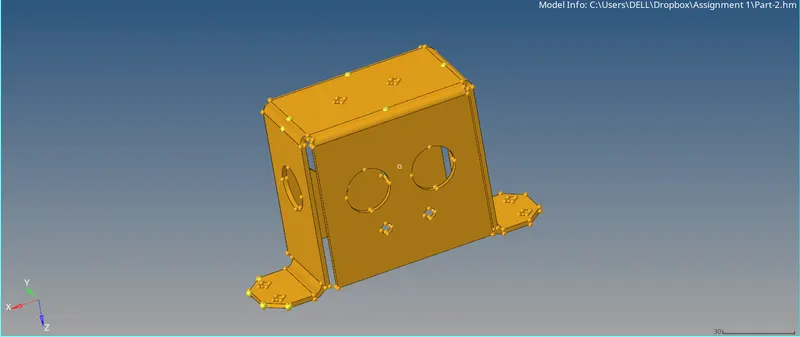
Fig 8: Mounting geometry
- The component is trying with the auto mid surface but the many surface issue is found so, the offset (manual) mid surface
option tried with by selecting the offset option, selecting any one surface by face and duplicating the surfaces and using vector
normal option and take mid surface by 1mm to a different component folder.
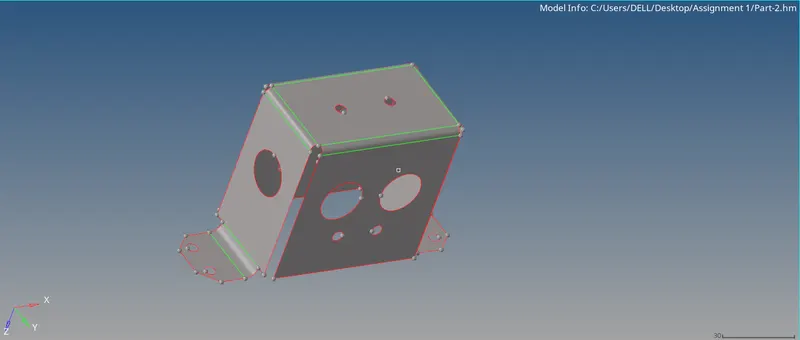
Fig 9: Mid surface
- Meshing the component using the same quality criteria and element size as used above and clear the failed element with
quality index tool using the node placing the option, element optimizes option.
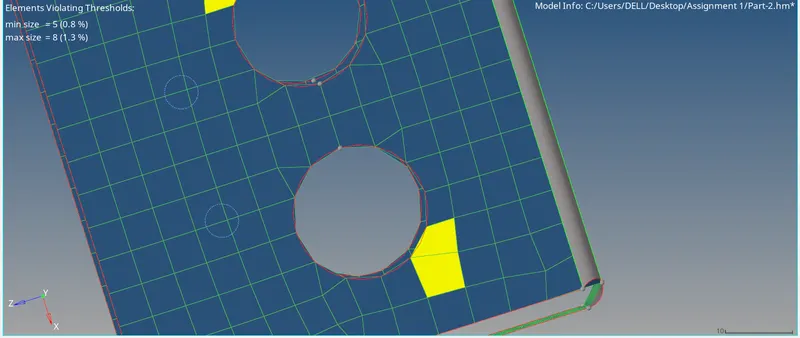
Fig 10: Fixing quality
- After fixing the failed elements, the component is assigned with the thickness value of 2mm to the property and then assigning
this property to the mid surface of the component.
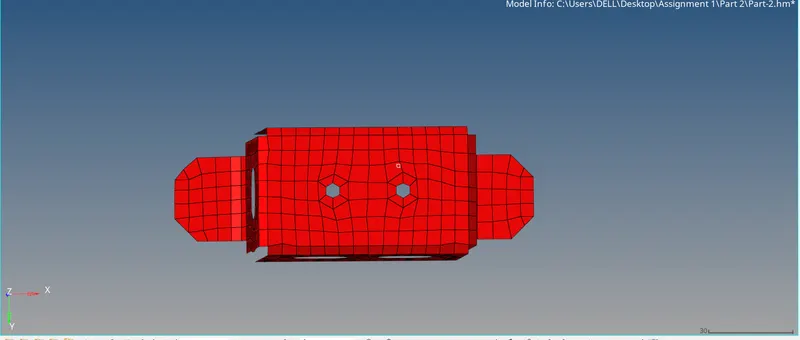
Fig 11: Property Assigned
Part 3 Clip Repair
- The clip repair part importing the component in hypermesh and checking for the solid part, the geometry has surfaced so delete
the solid part is not required.
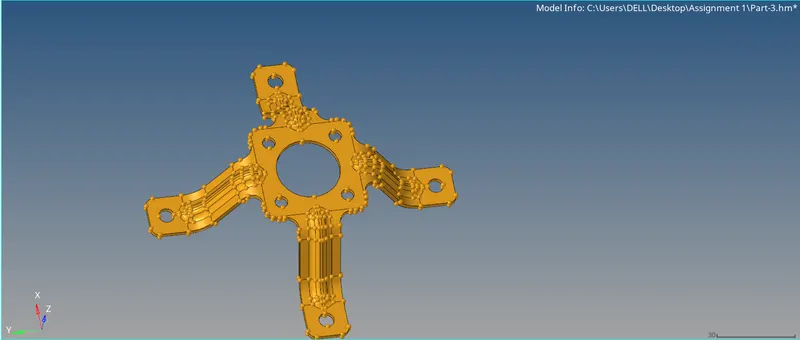
Fig 12: Clip repair
- This component is also trying with the auto mid surface but the many surface issue is found so, the offset (manual) mid surface
option tried with by selecting the offset option, selecting any one surface by face and duplicating the surfaces and using vector
normal option and take mid surface by 0.9mm to a different component folder. - Use deafuture comand to remove all pinholes below 5mm
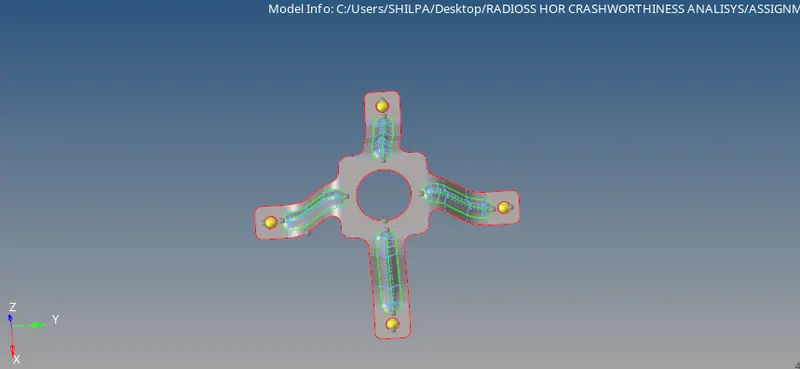
Fig 13: Clip Repair mid surface
- Meshing the component using the same quality criteria and element size as used above and clear the failed element with
quality index tool using the node placing the option, element optimizes option many of the elements are failing for minium
quality criteria and maximum quality criteria.
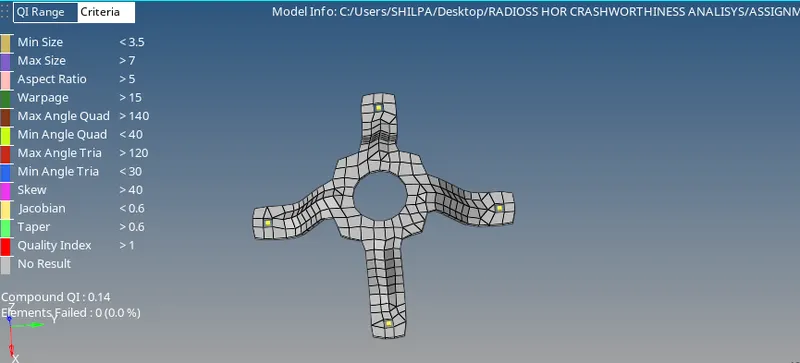
Fig 14: Mesh on clip repair
- Clip repair has a small surface which could fail for the minimum length, such lines are toggled.
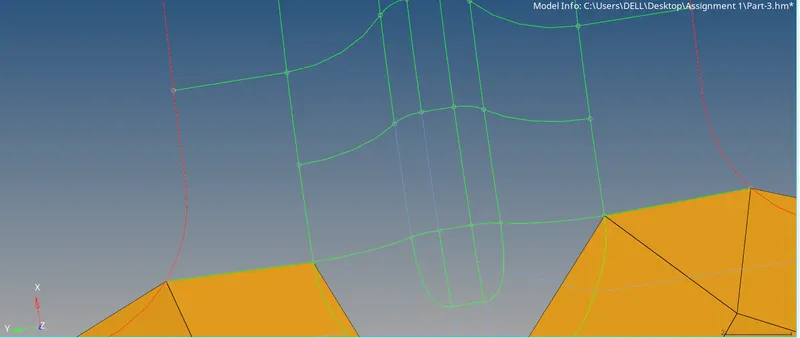
Fig 15: Toggled small surface
All the failing elements are fixed and the component is achieved with zero fail elements and with proper mesh flow.
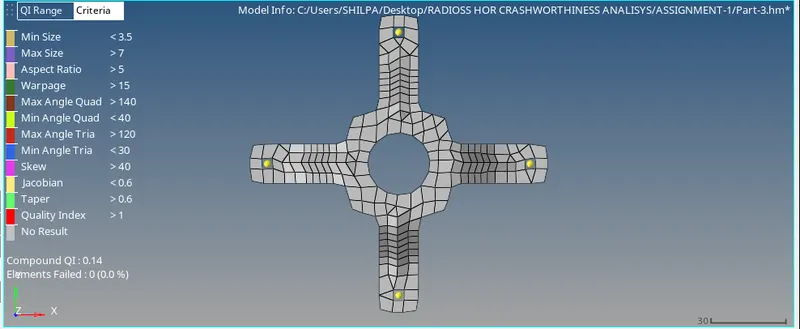
Fig 16: Quality output
The component is assigned to the property and thickness of 1.8mm.
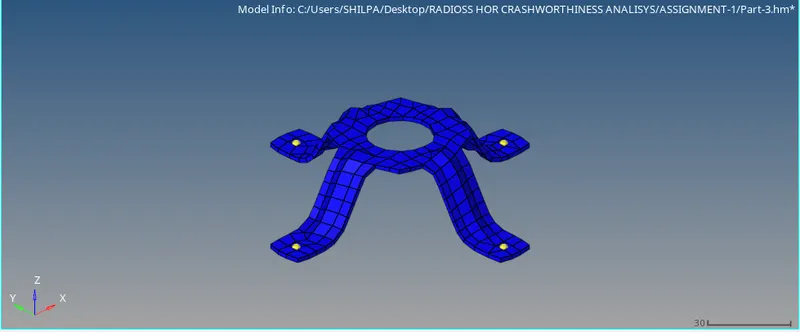
Fig 17: Clip repair property assign
CONCLUSION
The learning outcomes from this assignment is mentioned below:
- To do geometry cleanup using edit tool option and fixing surfaces.
- Take the mid surface by using auto mid surface option and the manual offset option.
- Geometry cleanup on the mid surface and then mesh the component with given target size element.
- Fixing the failed elements using quality index tool or remesh option.
- Checking the edges except at the boundary of the component.
- Assignin the property with the parent component thickness.