Assignment 1-2D Meshing Challenge
Objective:
We need to mesh the given components and there should not be any free edges, convert all of them into refine geometry.
- Clean the geometry.
- Extract midsurface.
- Clean midsurface geometry.
- Ignore holes less than dia 5mm.
- Create 2D mesh with target length 5mm, min 3.5mm max 7mm.
- And assign proper thickness, by creating a generic property.
Procedure:
There are 2 parts that need to be worked on.
Part-1:
Step-1:-
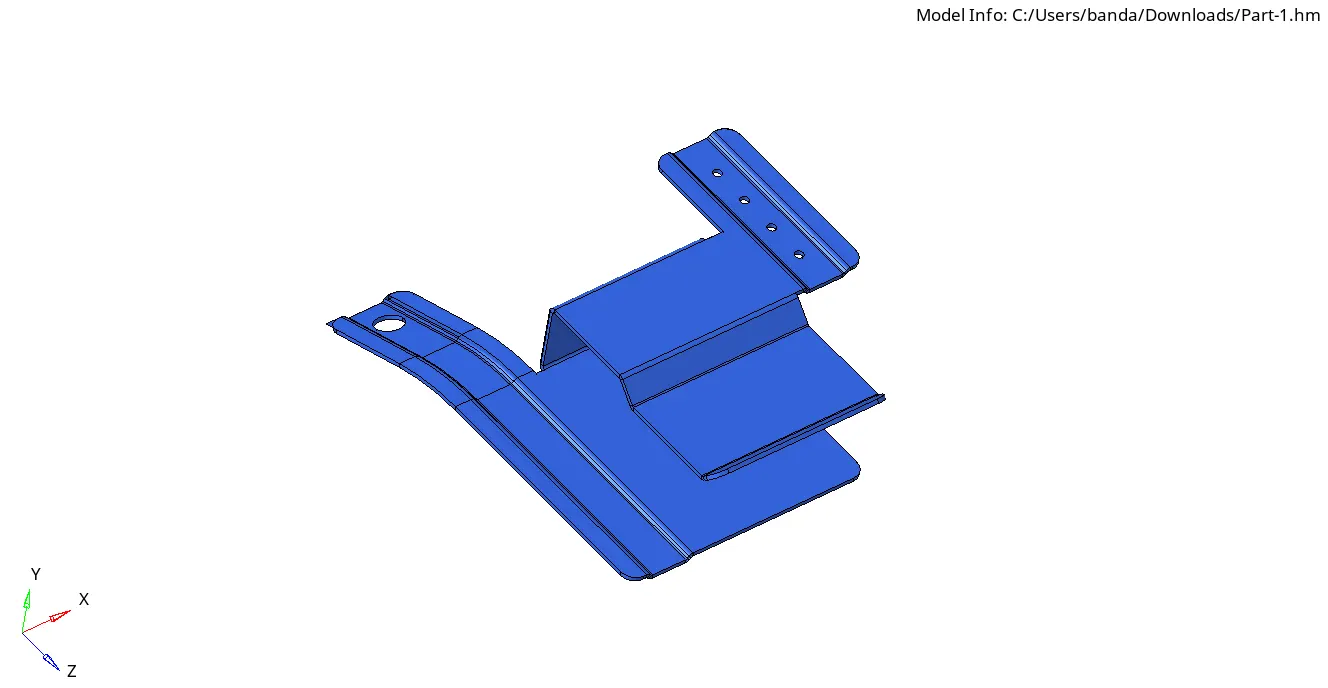
We have to Download the model and import it into Hypermesh software.
Step-2:-
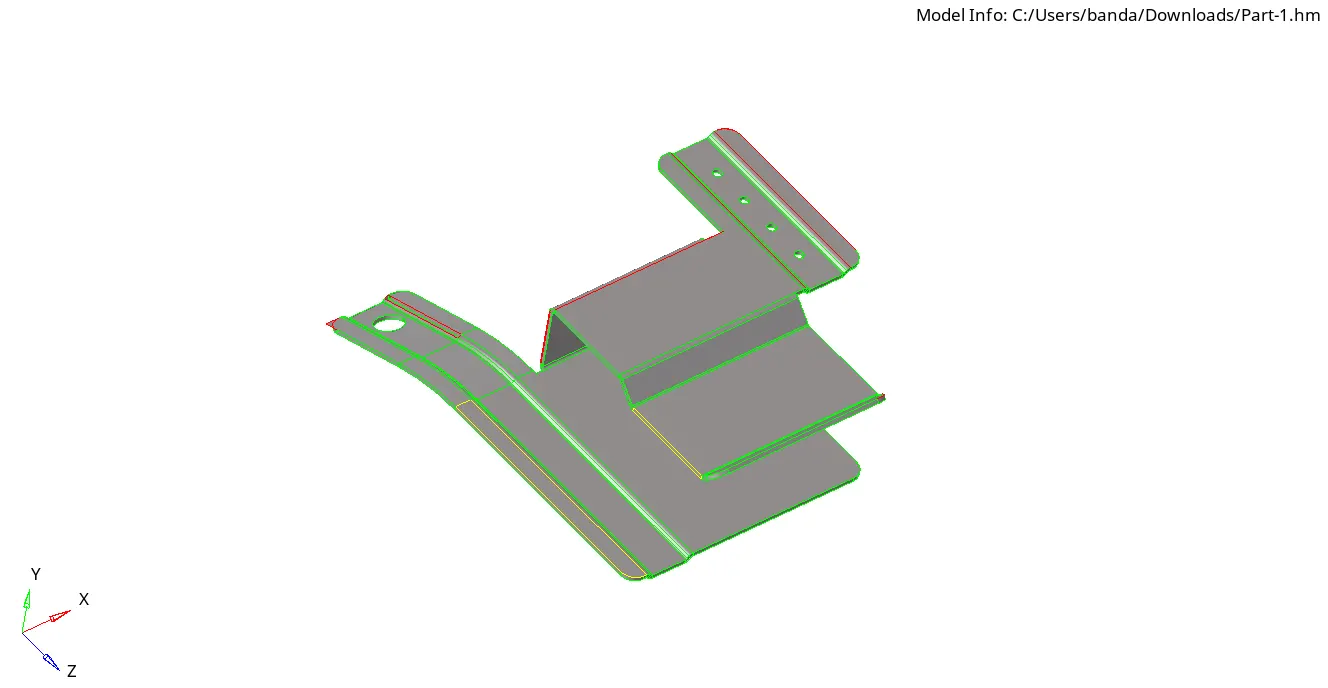
To know whether the model is perfect or not is been confirmed by viewing TOPO mode.
Step-3:-
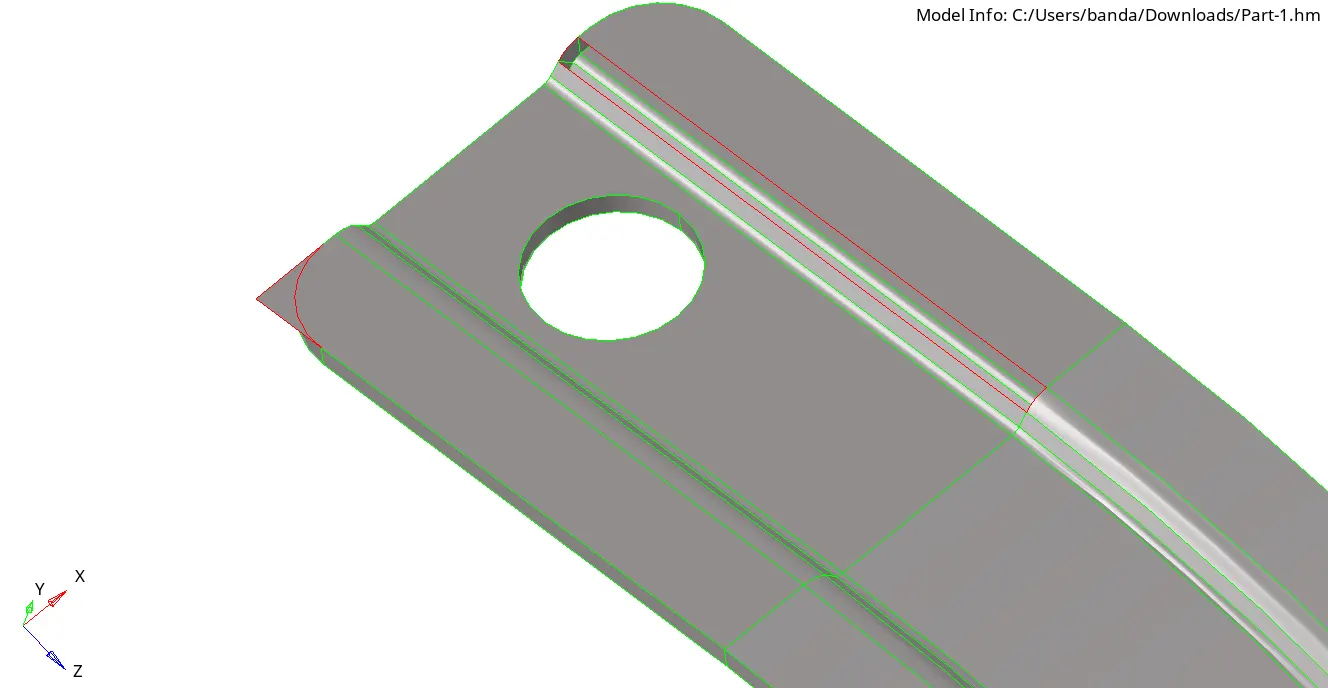
See there are some free edges that need to be corrected in the above picture.
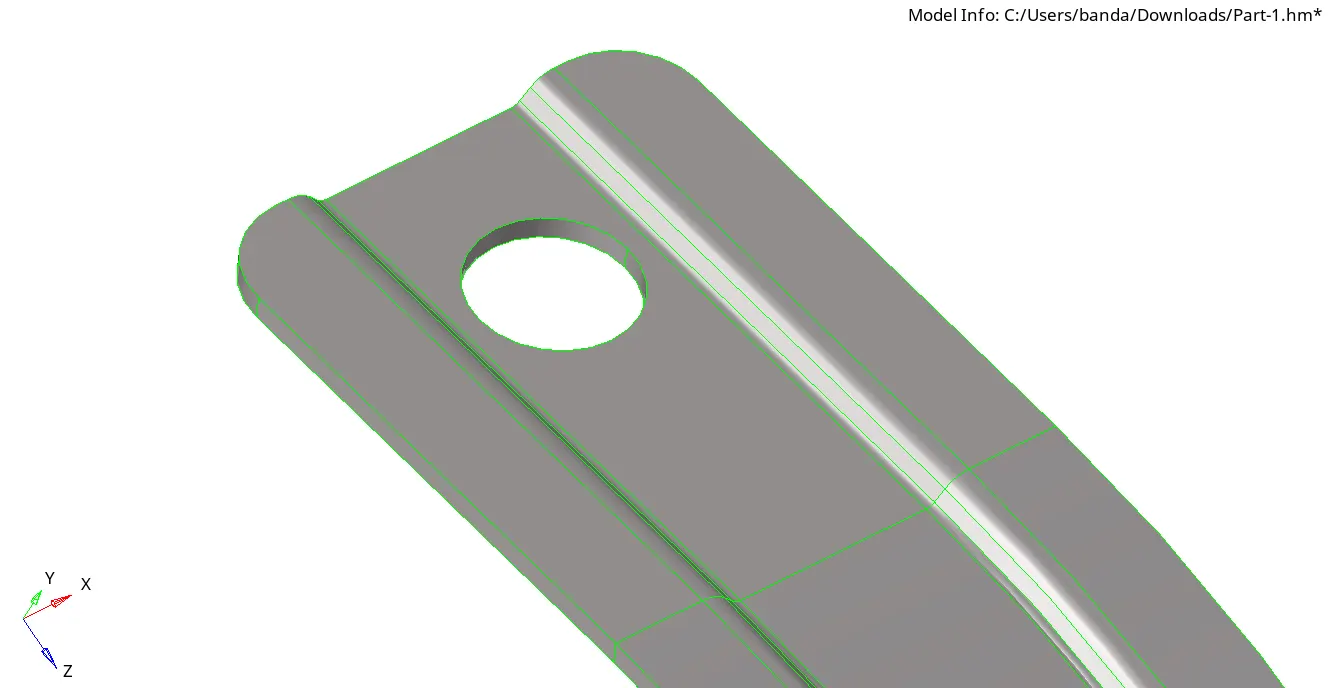
You can observe in the picture the free edges have been corrected.
Step-4:-
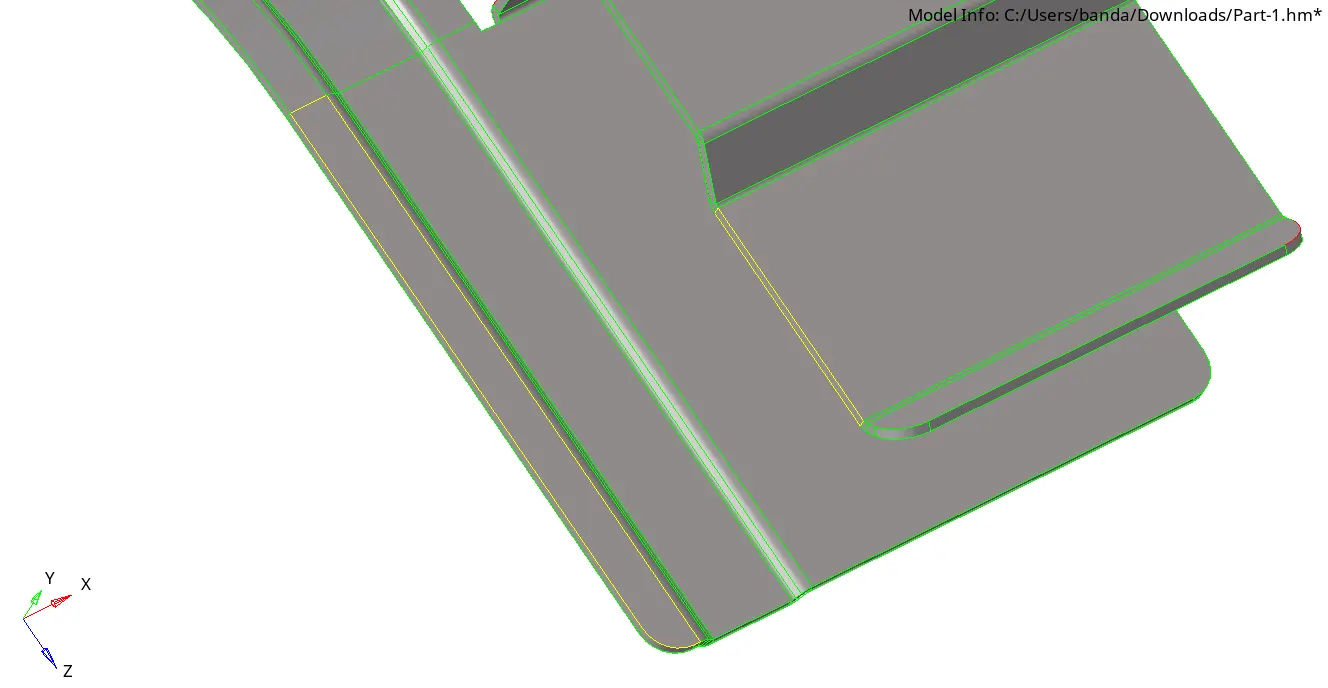
We can observe in the above picture at the edges there are some triple cons.
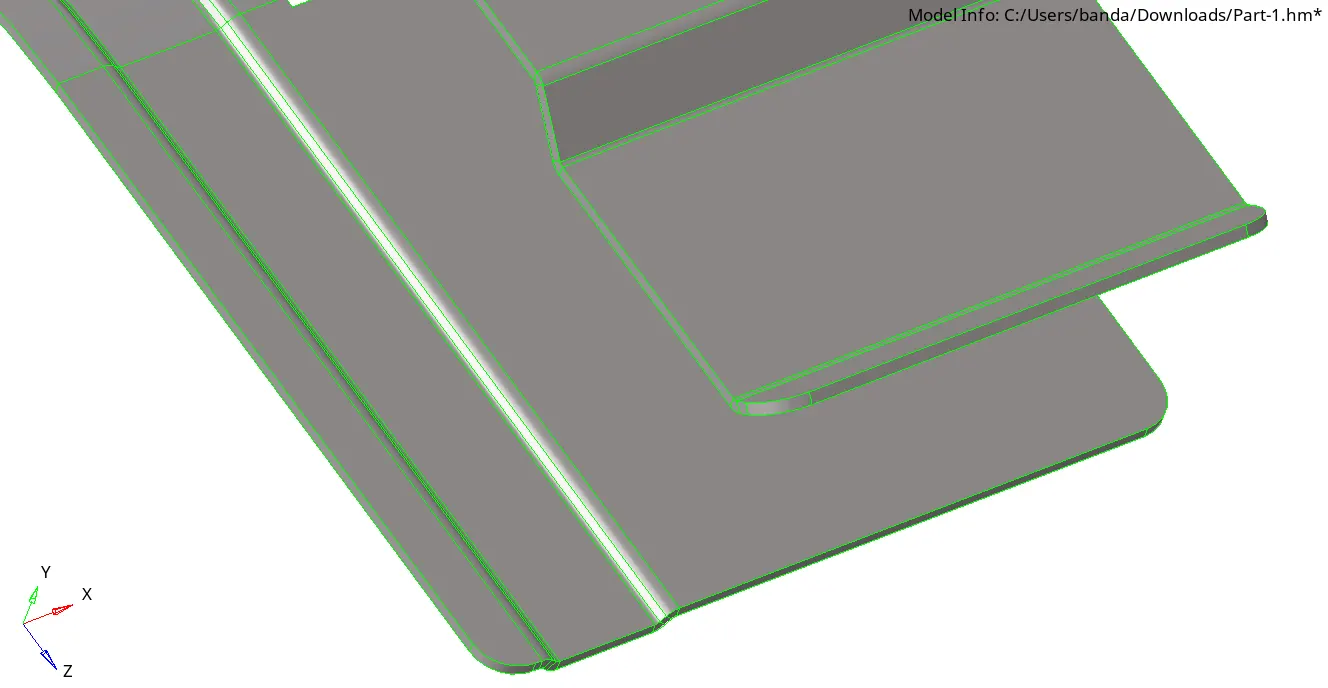
So these errors have also been corrected.
Step-5:-
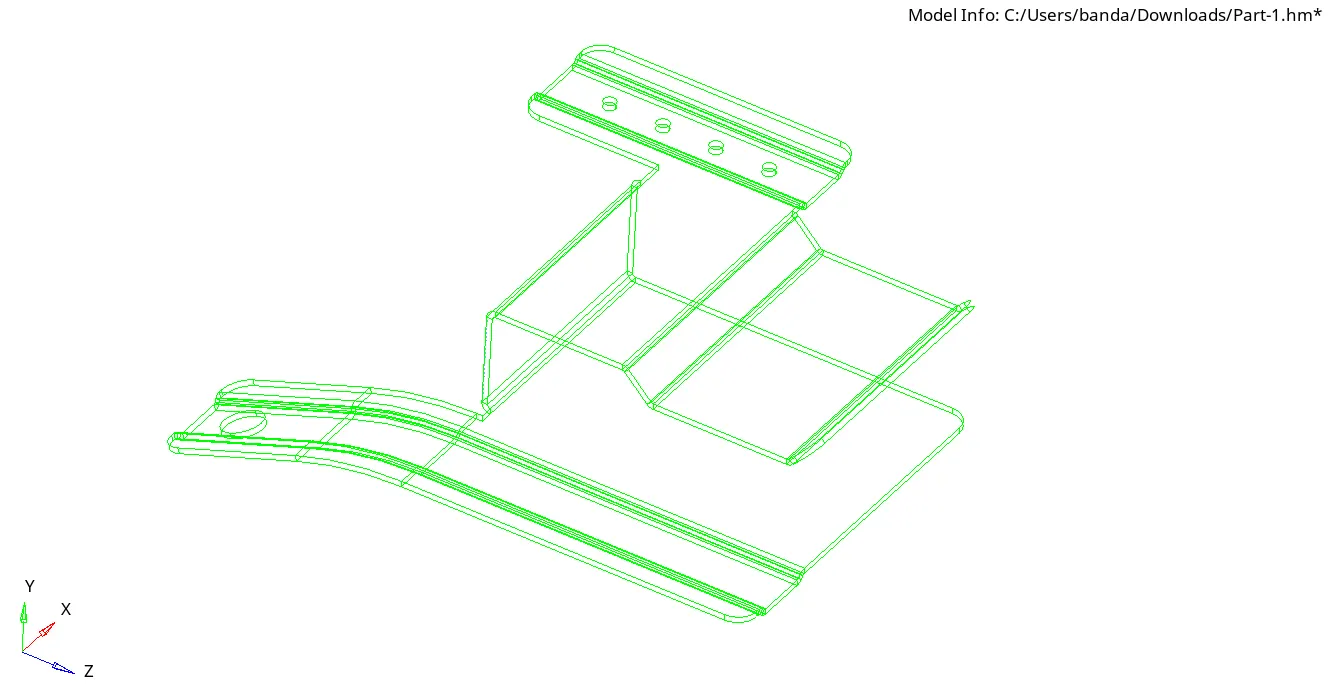
I corrected all the errors in the model and I confirmed by viewing the model in wireframe mode.
Step-6:-
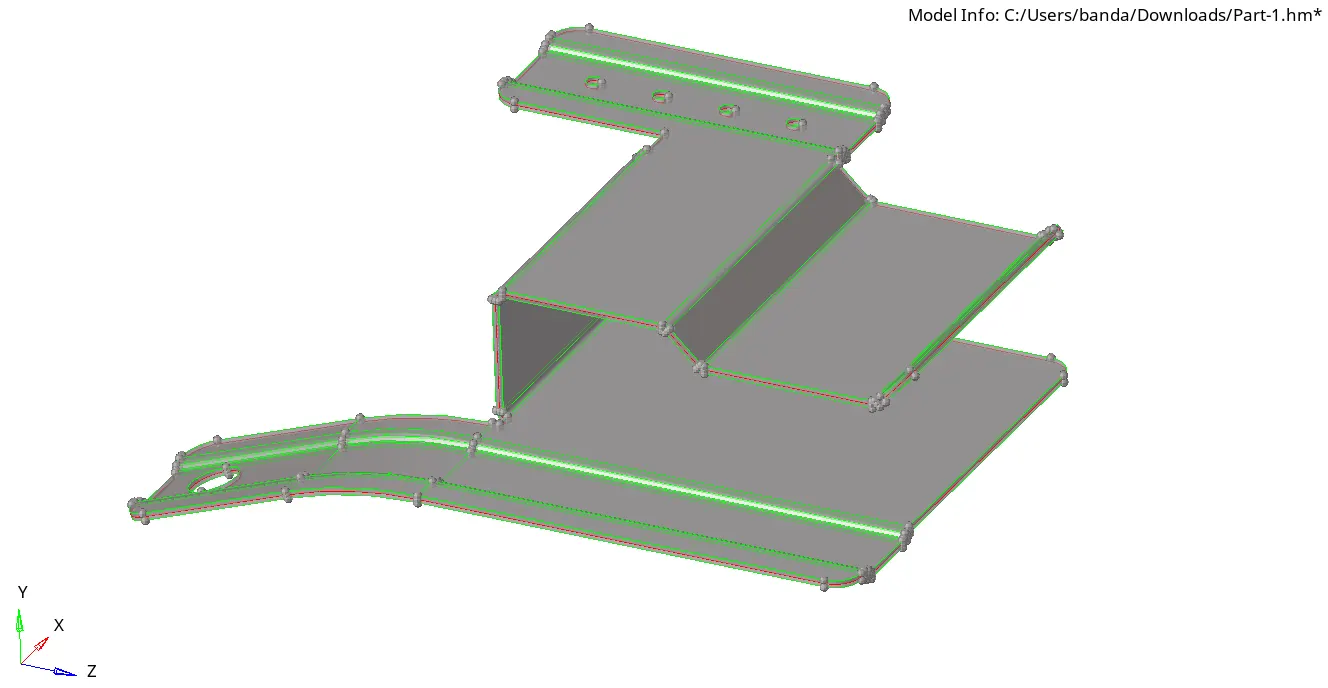
Now geometry cleanup is completed mid-surface setup is done.
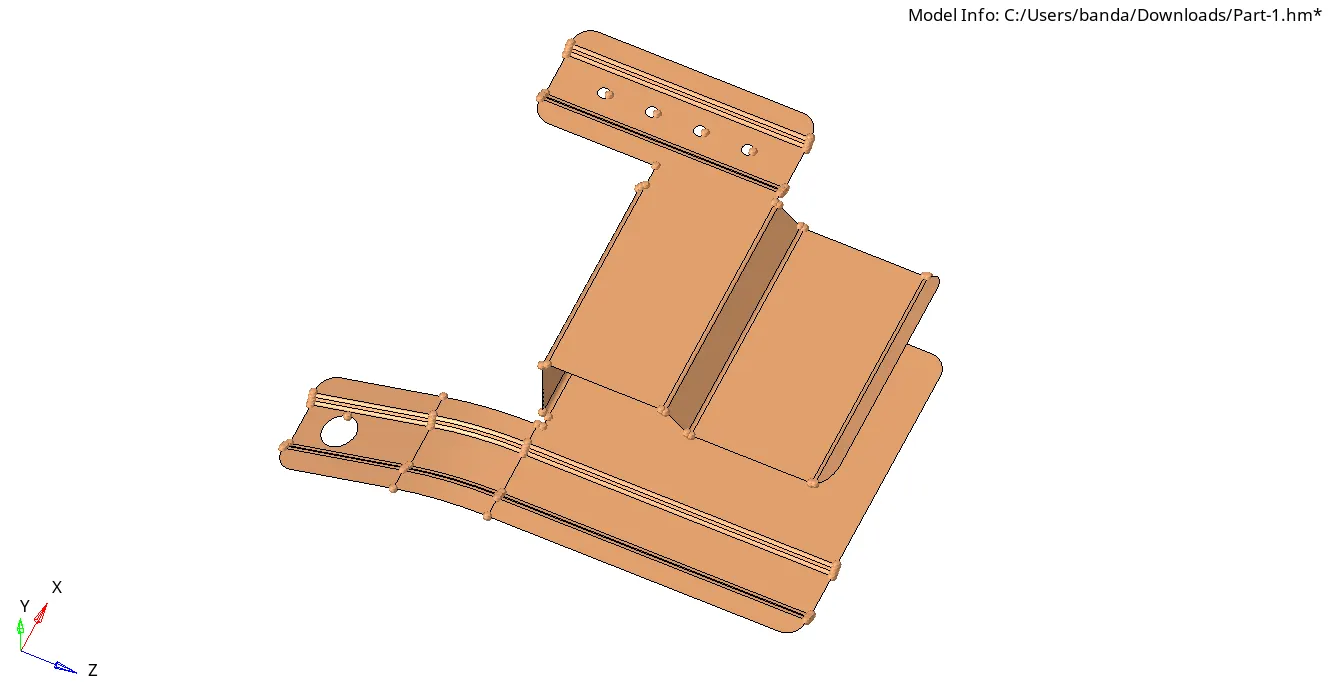
Mid-surface also has been extracted.
Step-7:-
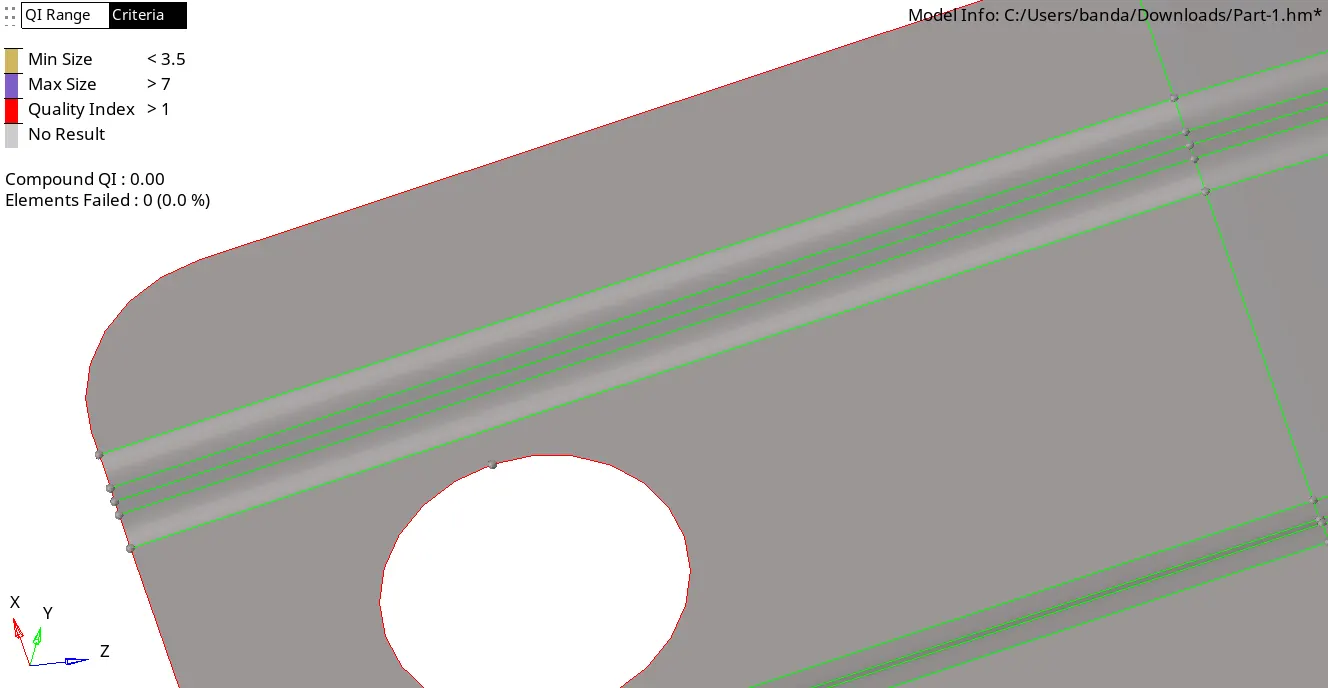
To get a proper mesh flow I checked the distances between lines and confirmed to toggle them as the distance is very small.
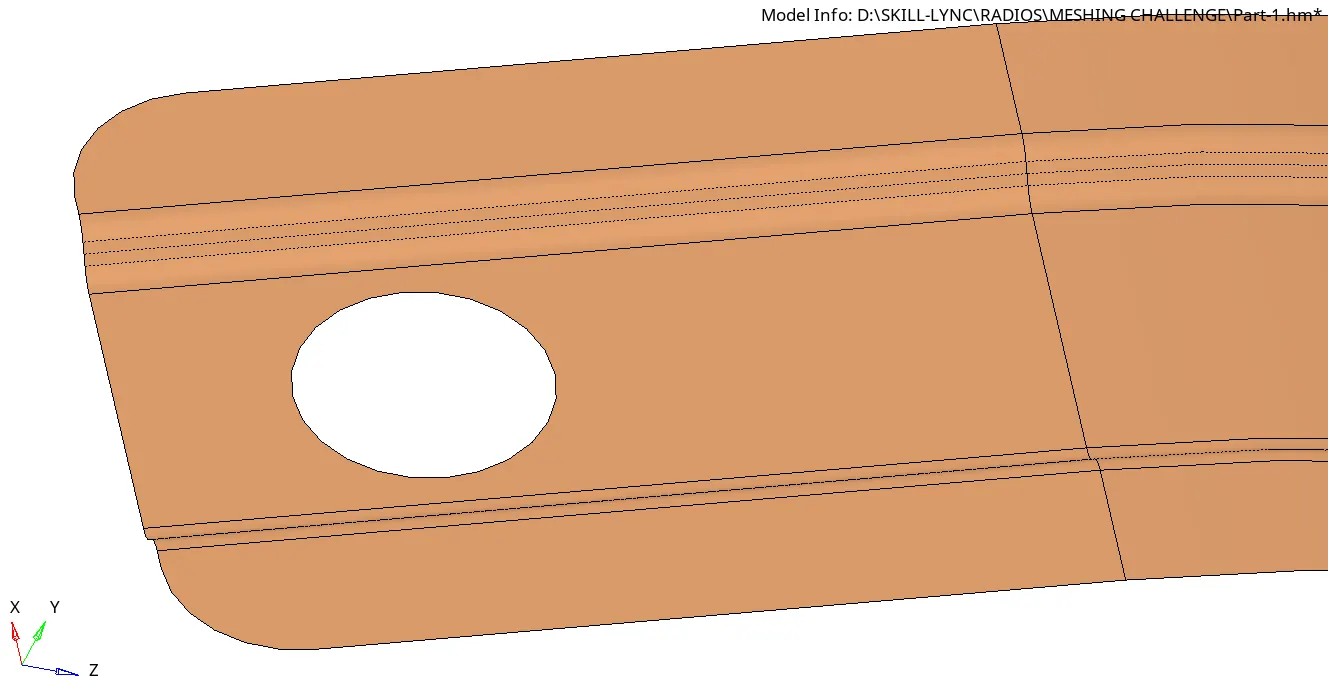
As mentioned the lines are toggled.
Step-8:-
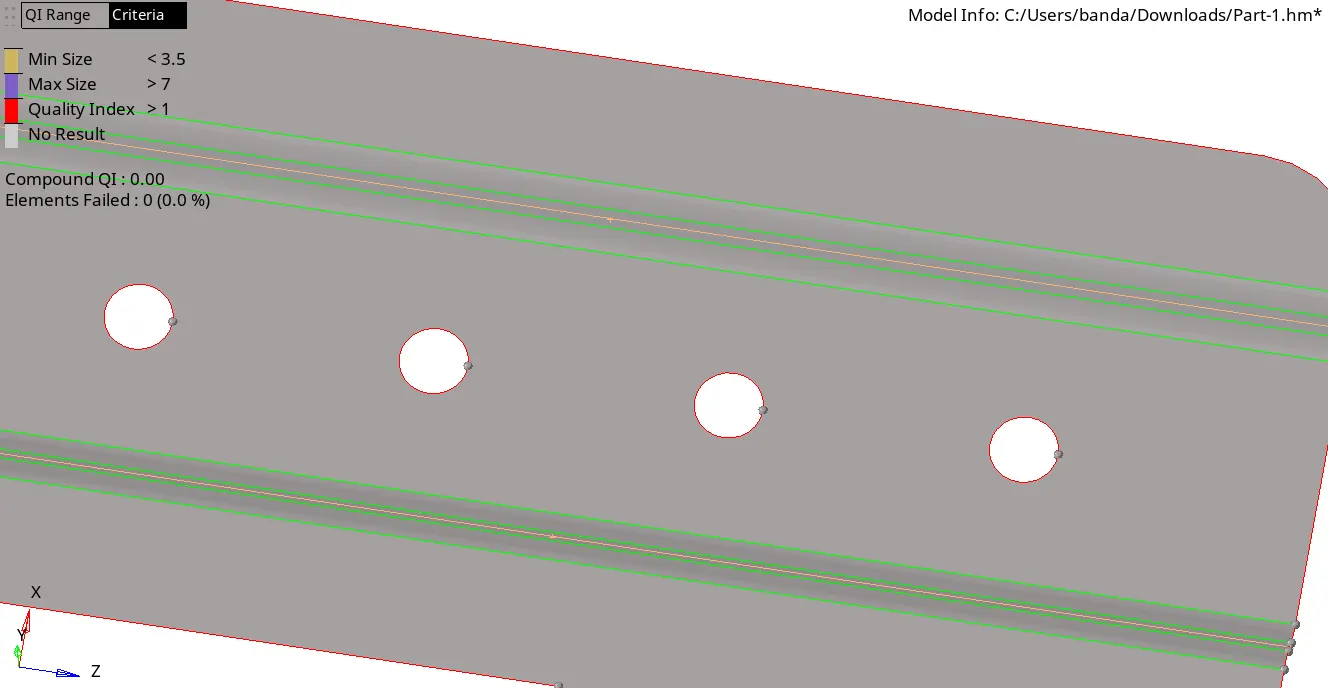
Here as mentioned in the guidelines holes less than 5 mm need to be avoided as these holes are around 2mm.
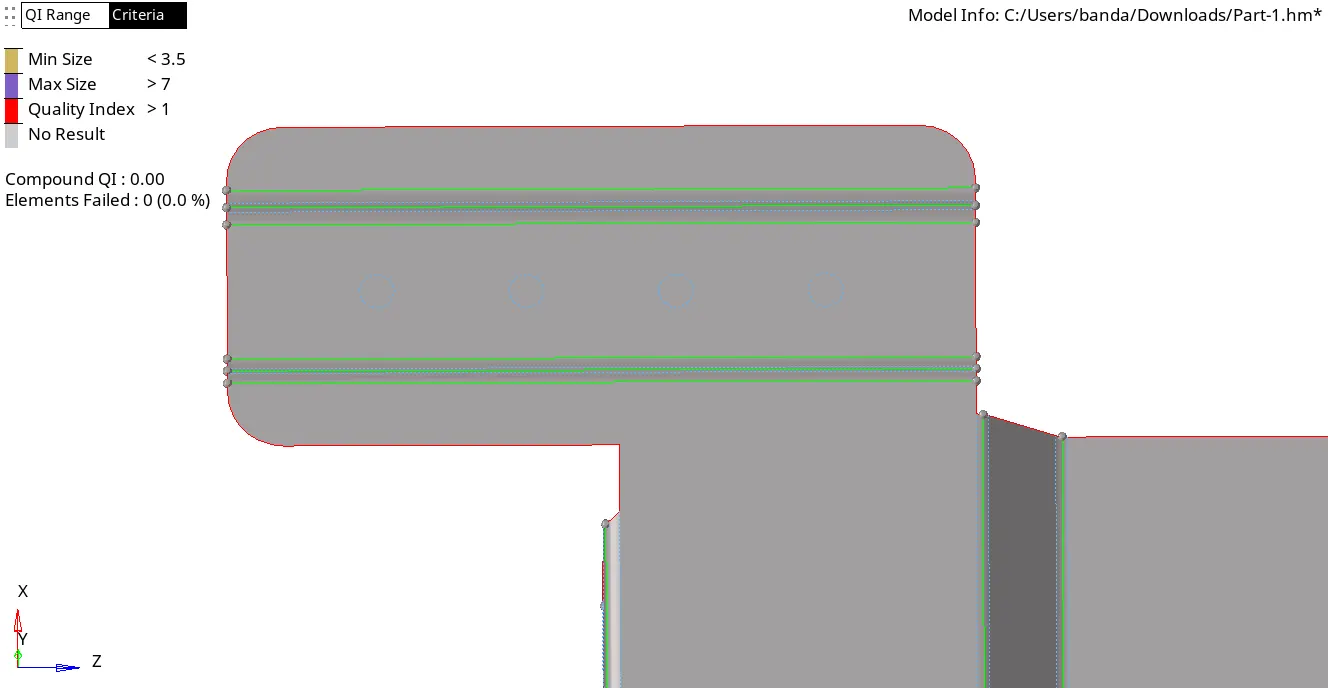
So the holes are filled according to the guidelines.
Step-9:-
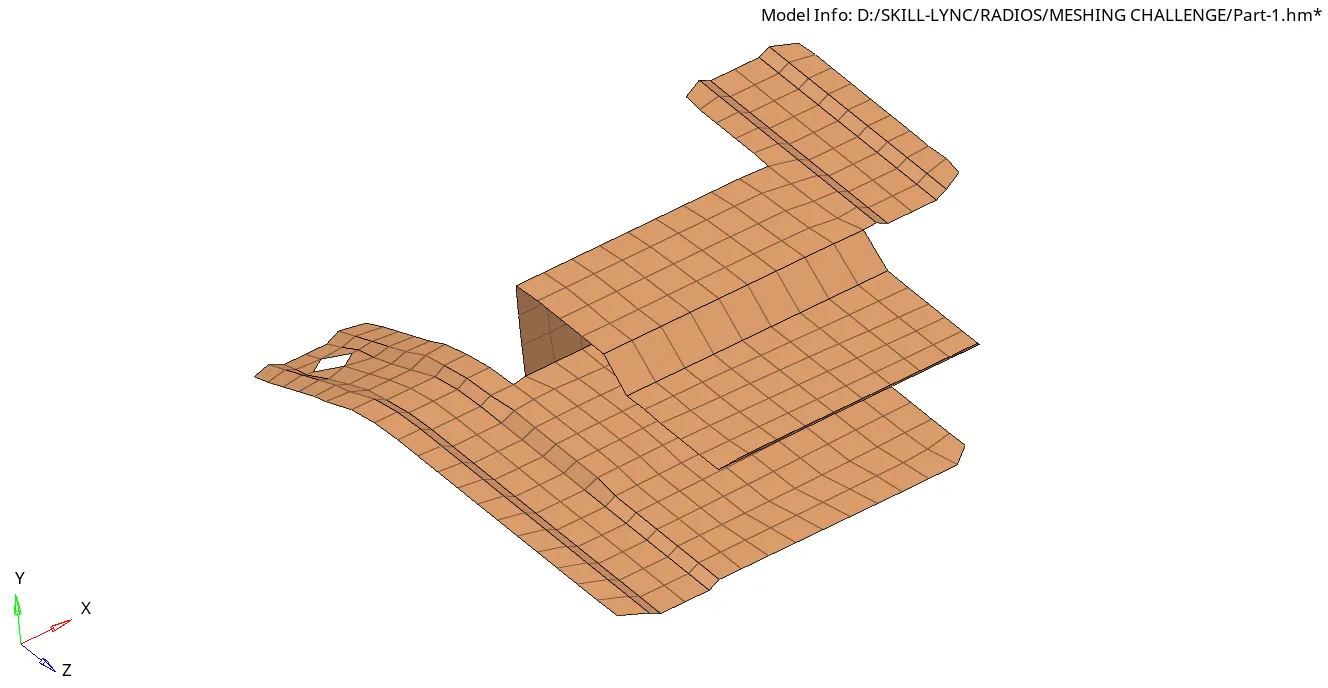
Meshing has been completed with a target size of 5 mm a minimum size of 3.5 mm and a maximum size of 7 mm.
Step-10:-
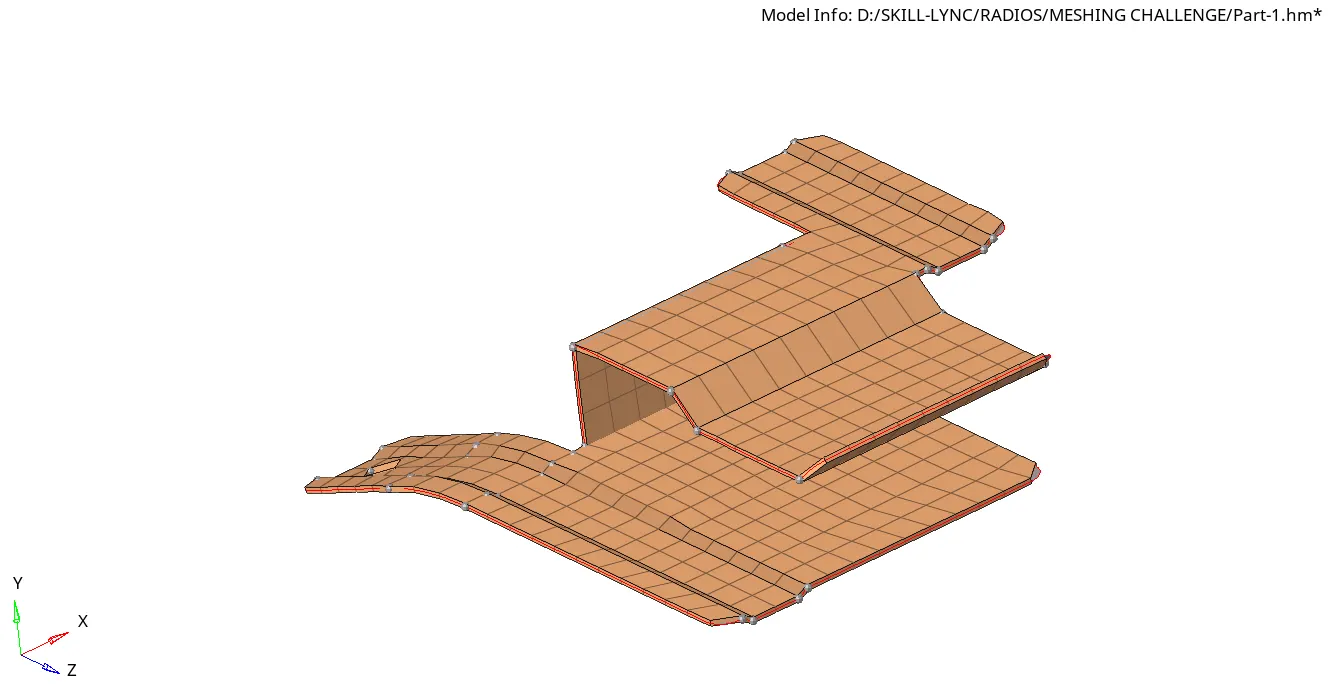
Thickness is also assigned according to the component thickness.
Part-2:
Step-1:-
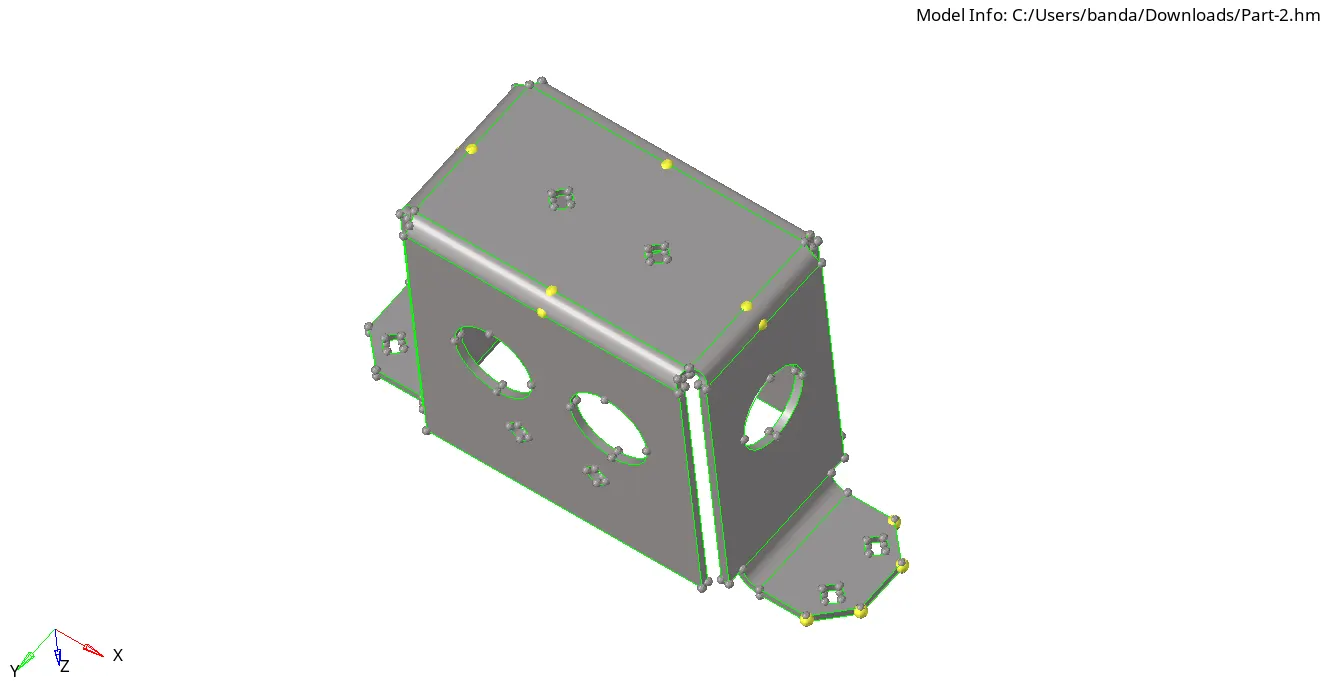
The given component is imported into hypermesh software.
Step-2:-
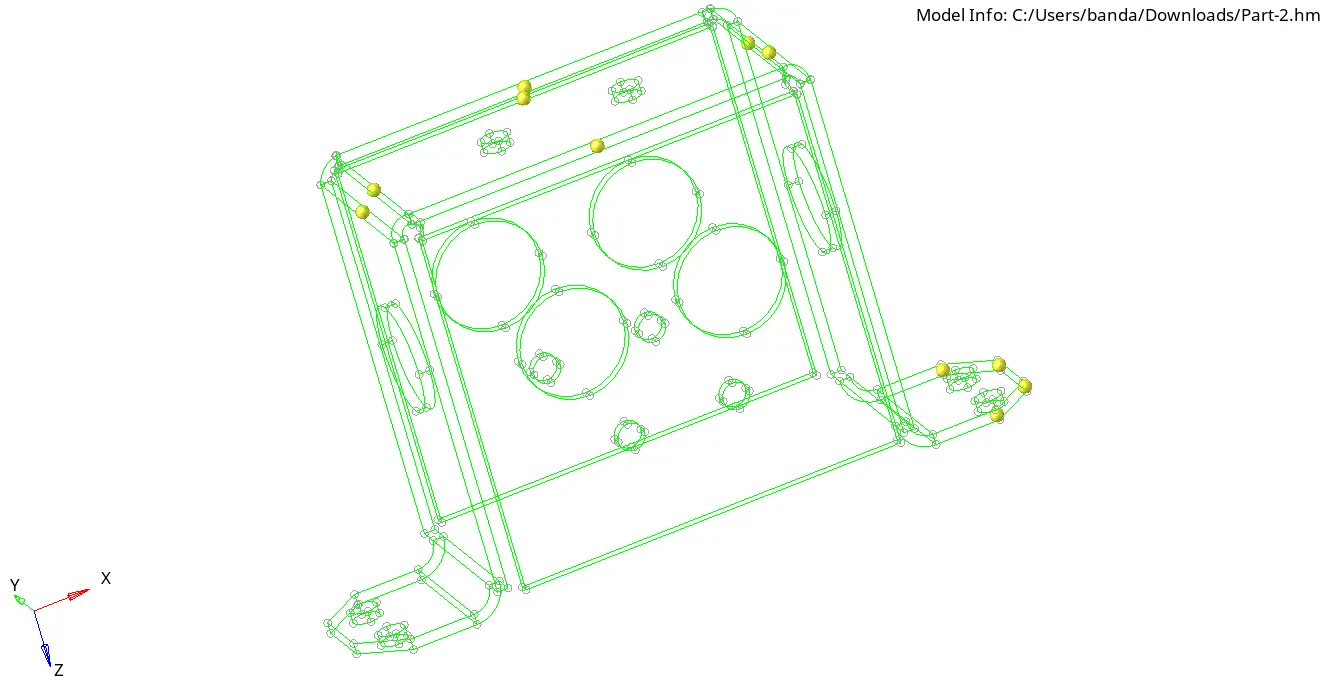
There are no errors we can observe it in the wireframe mode to confirm it.
Step-3:-
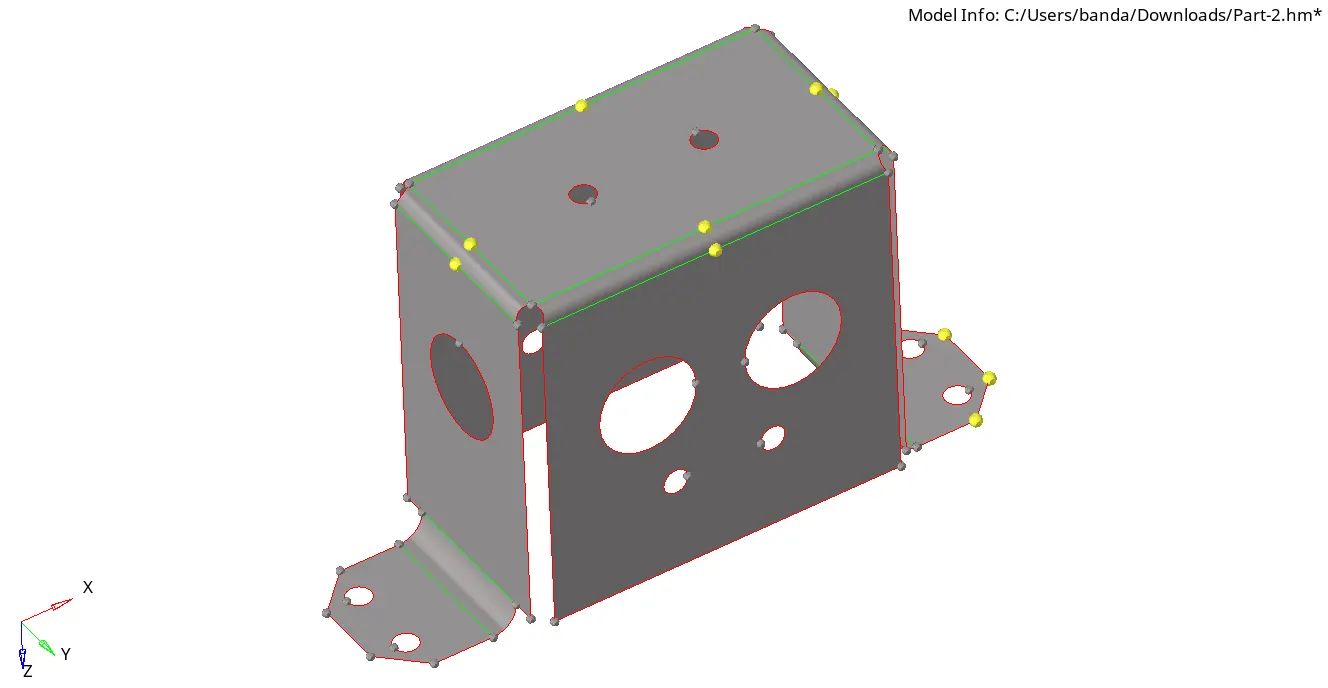
Now mid-surface has been extracted.
Step-4:-
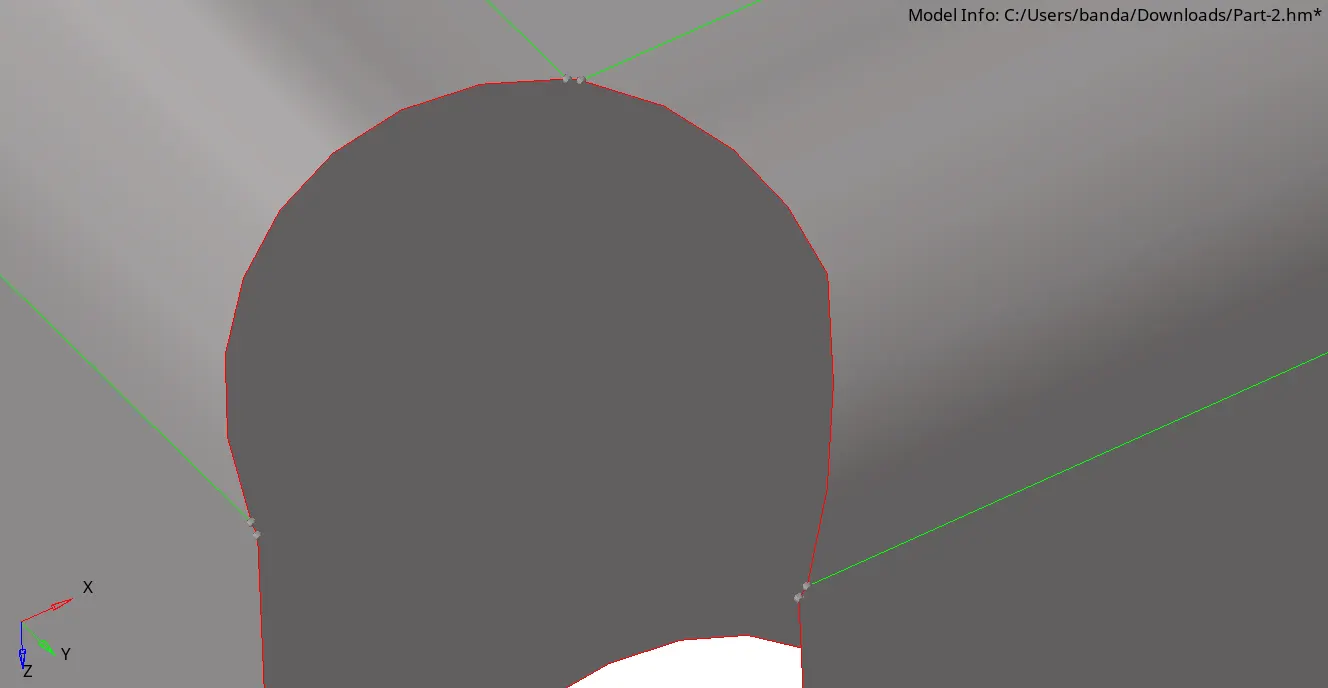
There are some extra points that can affect mesh flow.
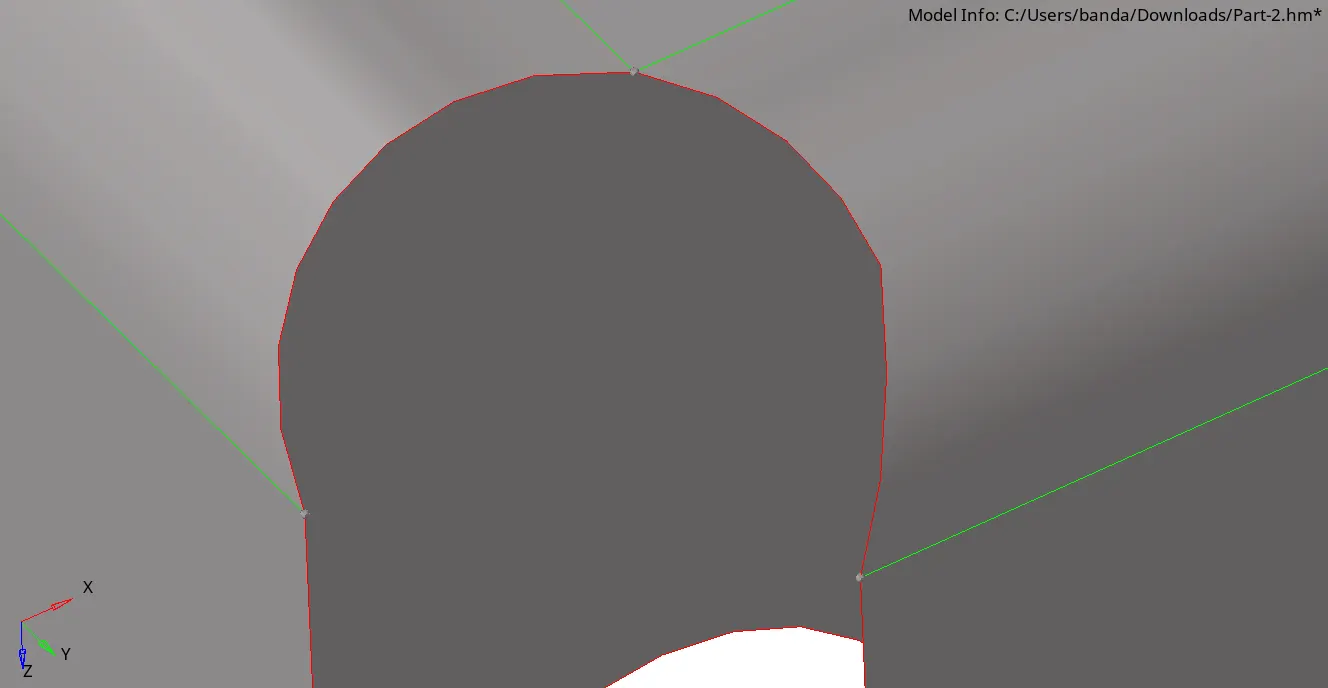
So the extra points are replaced with the other points.
Step-5:-
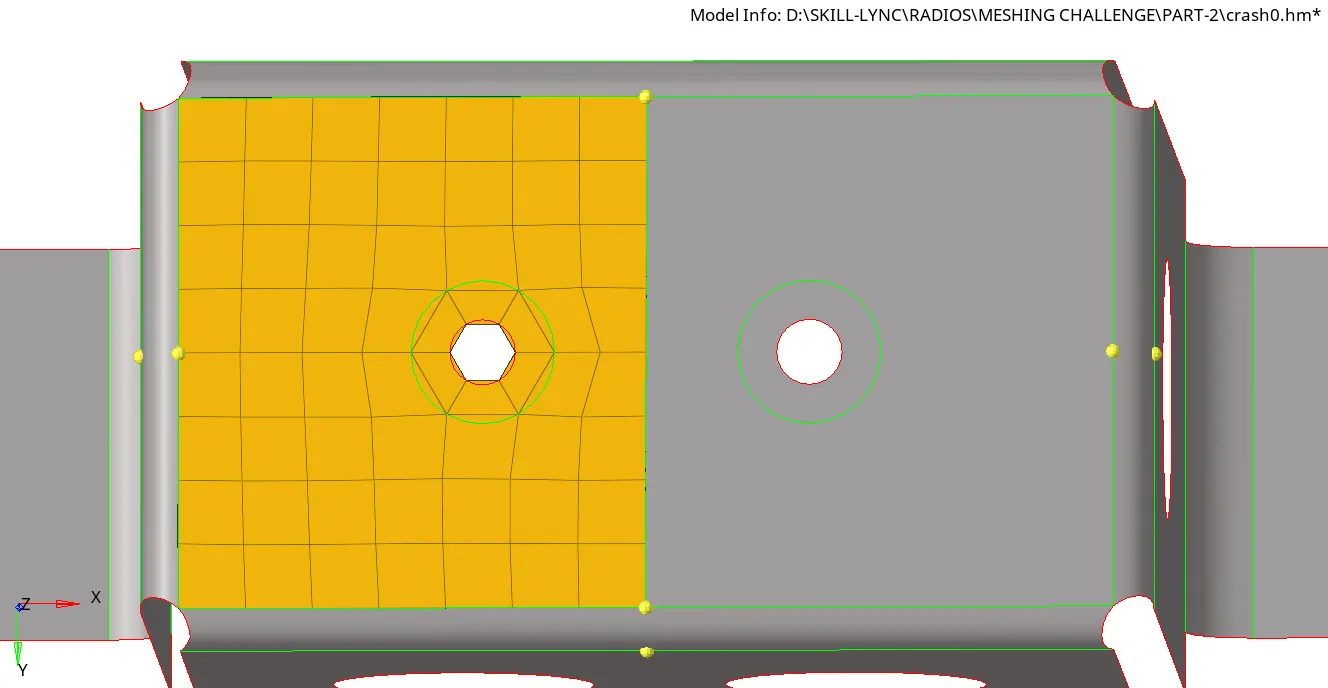
Now I split the top surface and meshed.
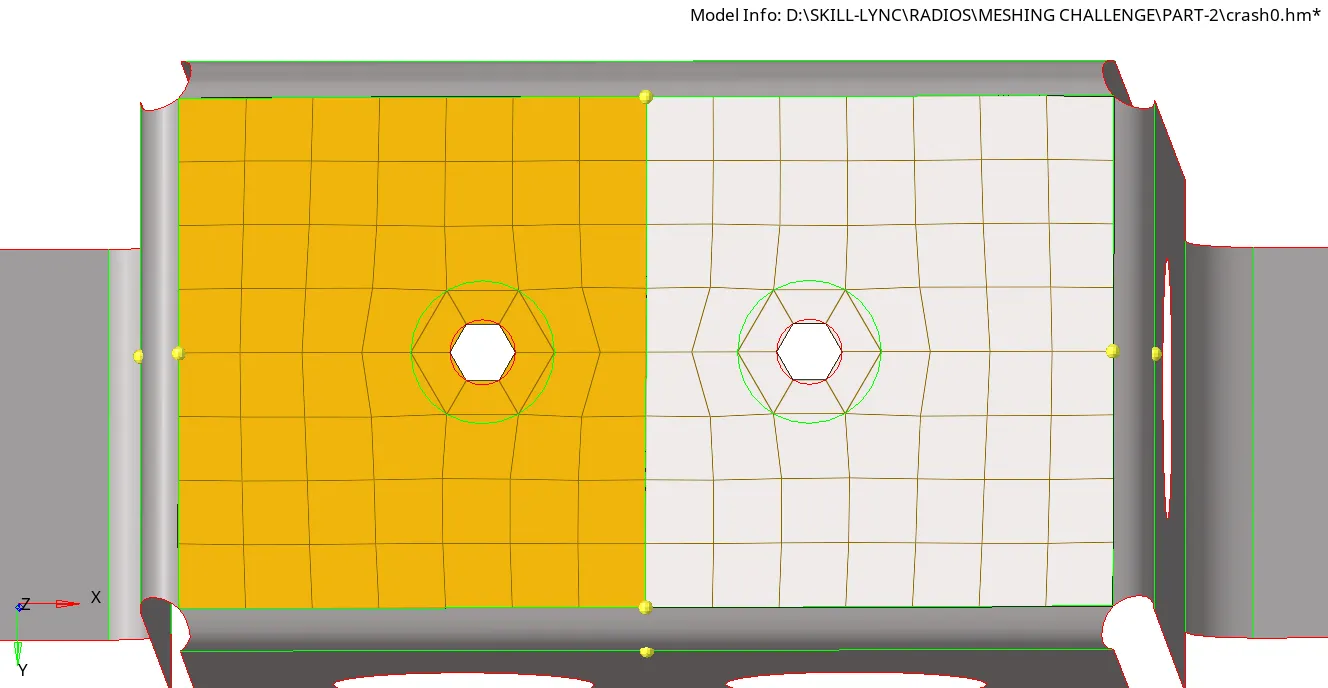
Then it got reflected on to other side.
Step-6:-
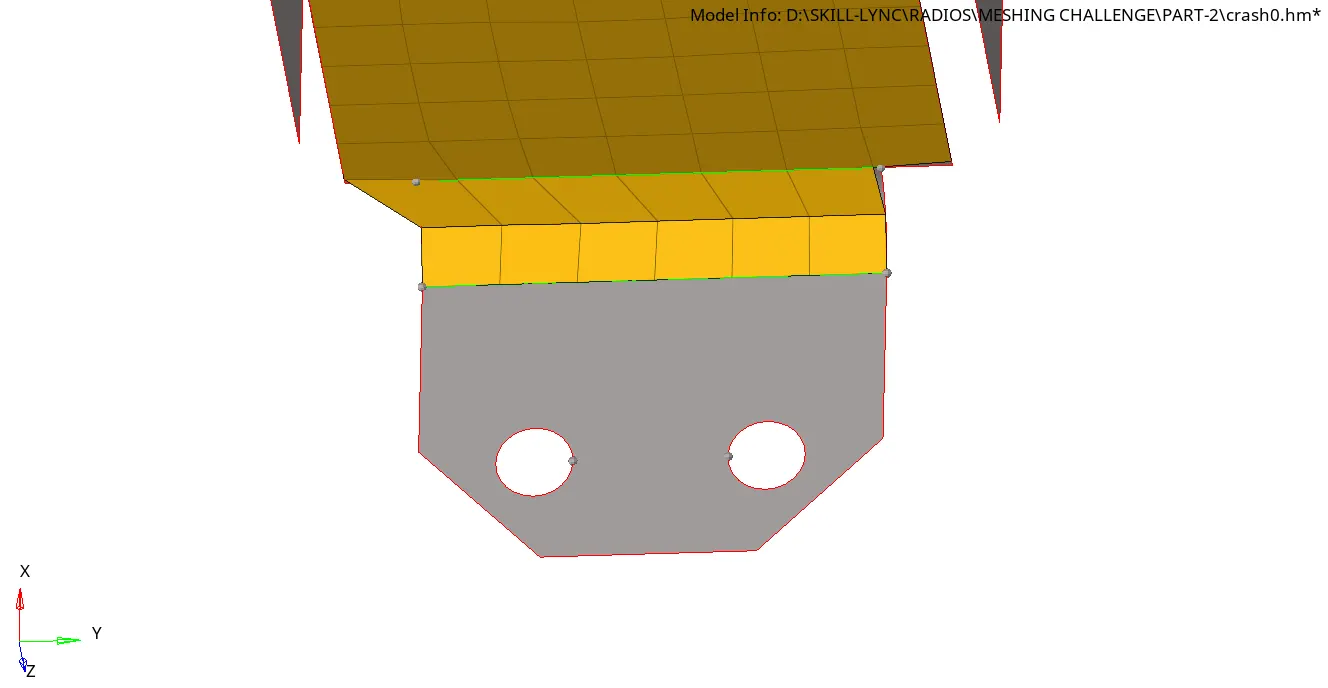
These holes are very small so they need to be filled.
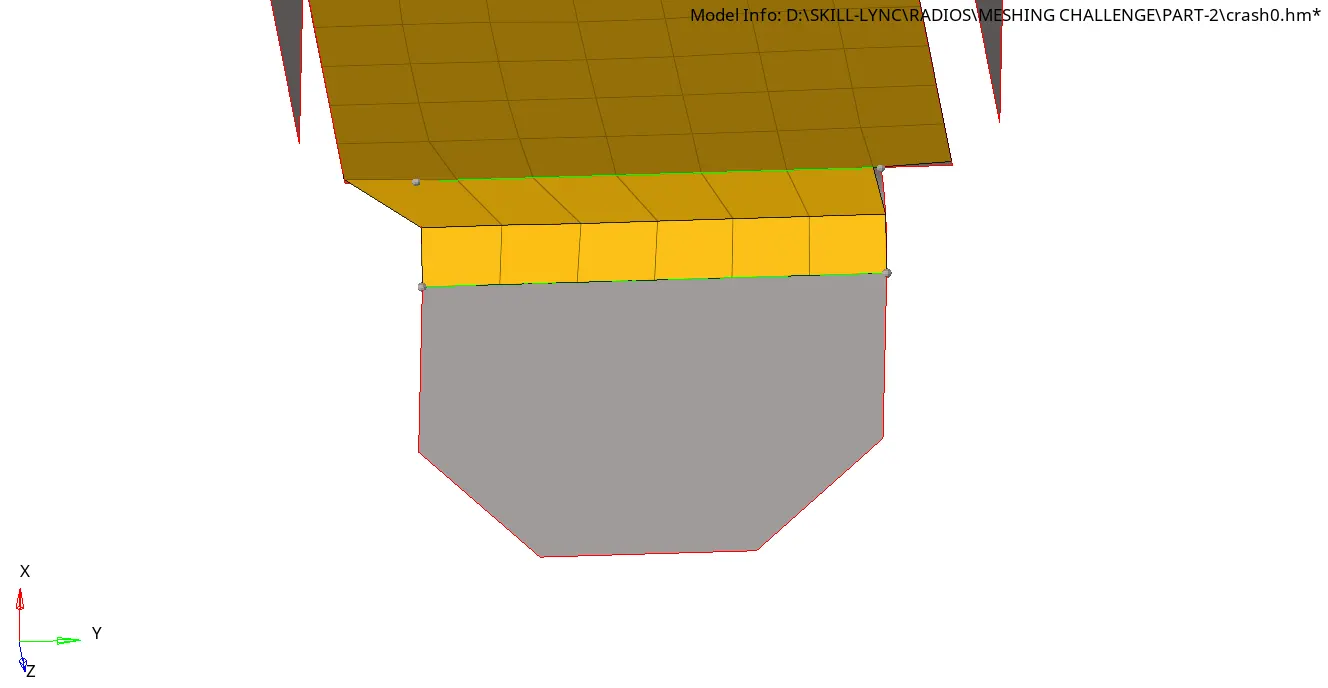
So as per guidelines I filled the surface to bet a better mesh flow.
Step-7:-
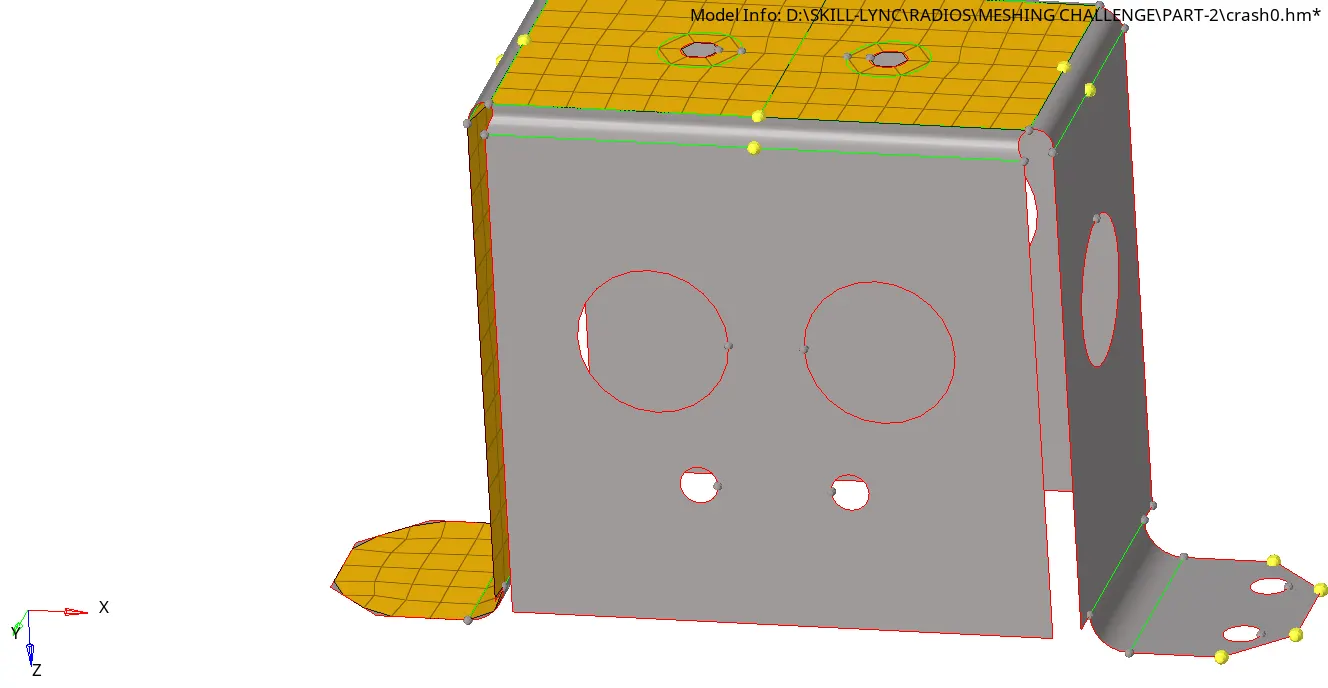
See these holes on this surface can be meshed using washers but the big holes are also near to the holes which can affect the mesh flow so I decided to fill the small holes.
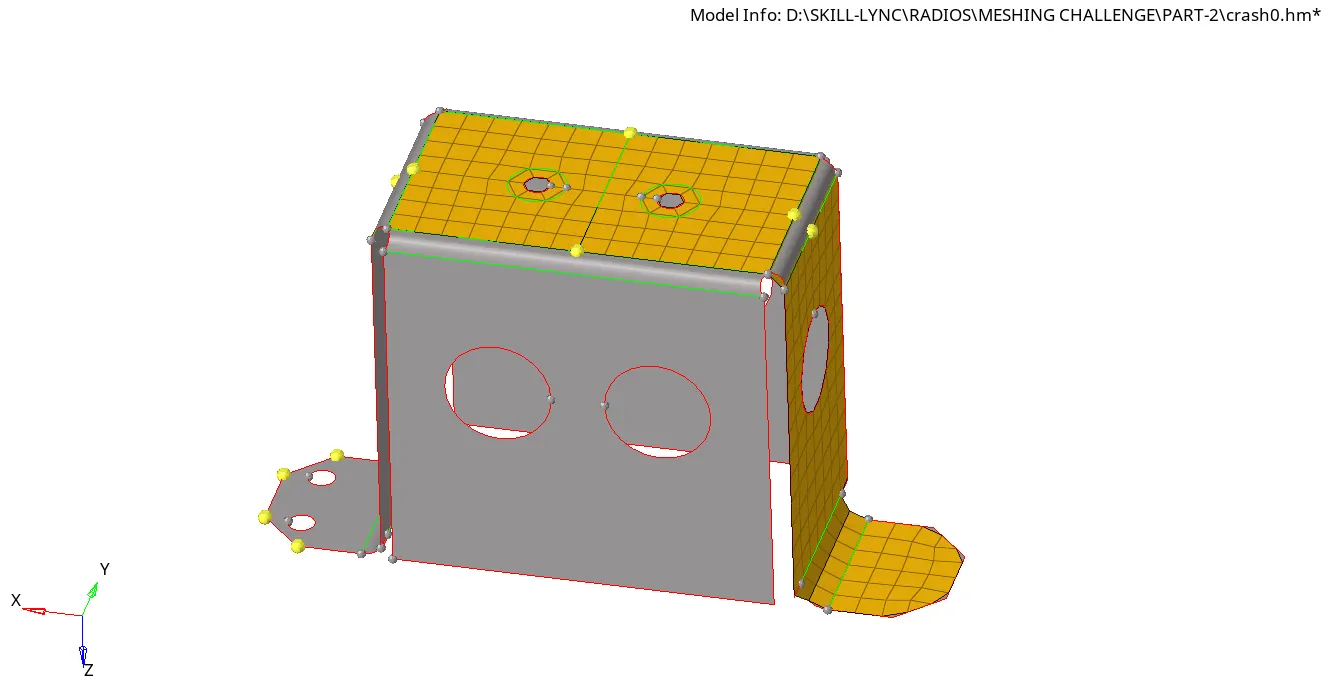
The small holes are filled for better mesh flow.
Step-8:-
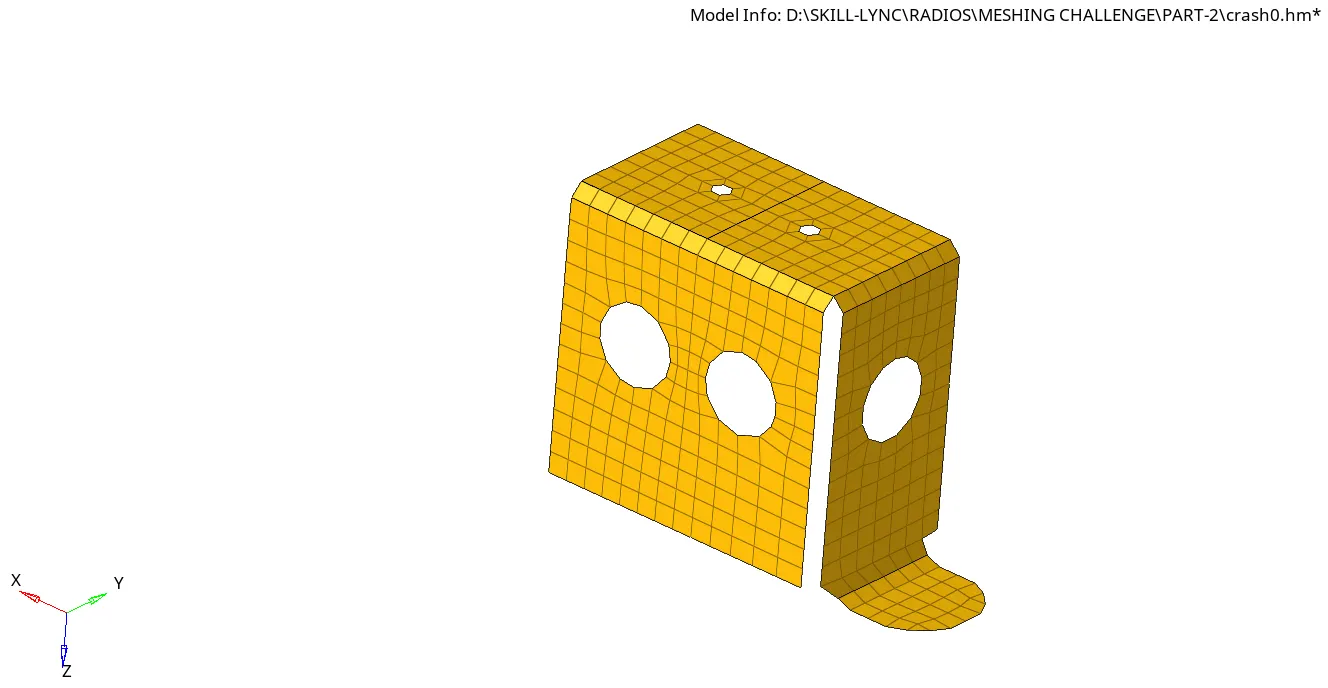
So for faster progression of work, I did mesh on the opposite surfaces.
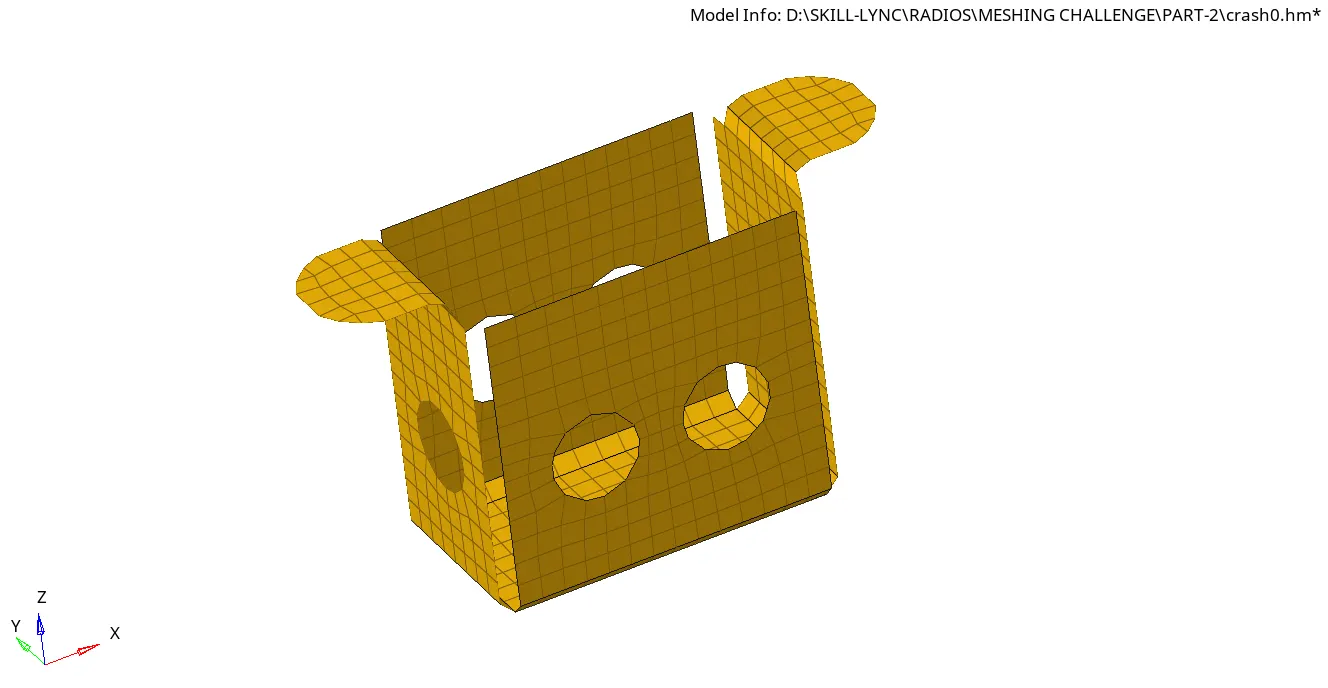
Then they are reflected onto the other sides to complete the full mesh.
Step-9:-
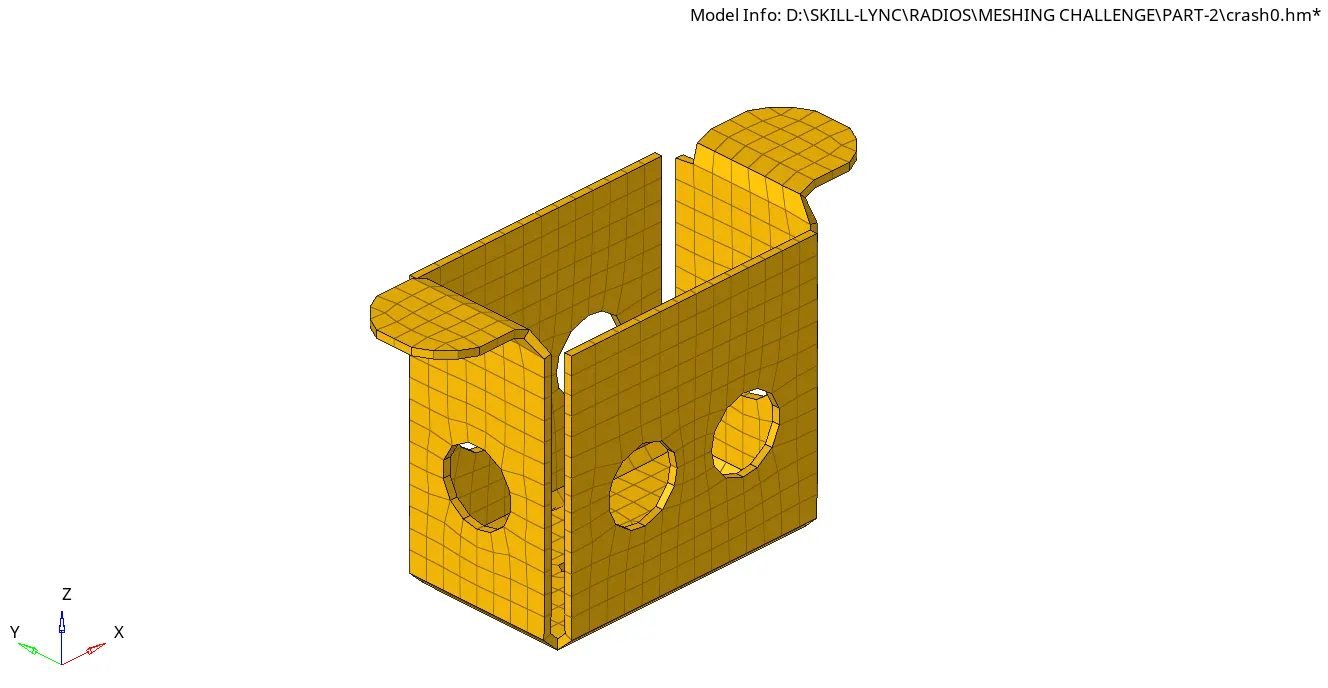
Then as per the given component thickness of 2 mm is been assigned to the mesh.
Conclusion:-
Part-1:
Part-2:
As mentioned in the task all the required operations are done, and meshing the components, and thickness is also assigned.