Assignment 1-2D Meshing Challenge
AIM
Carry out the geometry cleanup operation on the given 3 files.
- Practice
- Clip Repair
- Mounting Bracket
There should not be any free edges, convert all of them into refine geometry.
- Clean the geometry.
- Extract midsurface.
- Clean midsurface geometry.
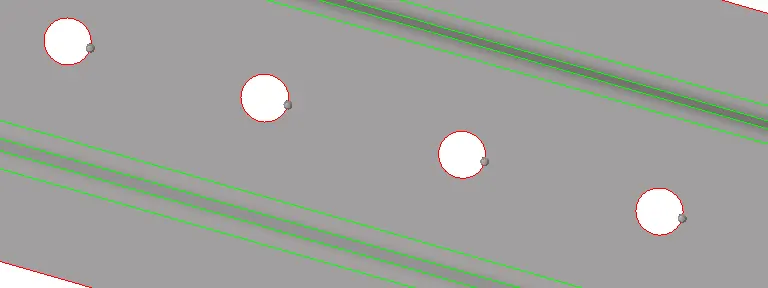
- Ignore holes less than dia 5mm.
- Create 2D mesh with target length 5mm, min 3.5mm max 7mm.
- And assign proper thickness, by creating a generic property.
- Then Save in .hm format.
CAD MODEL
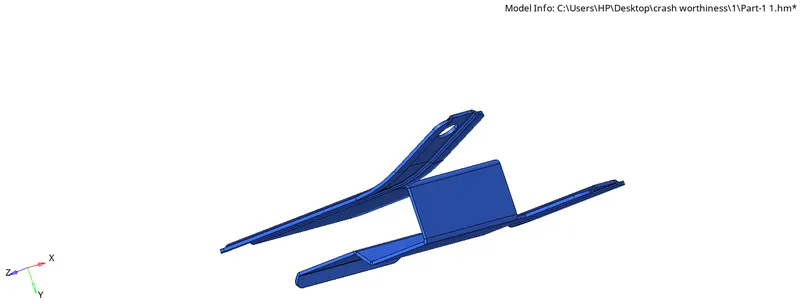
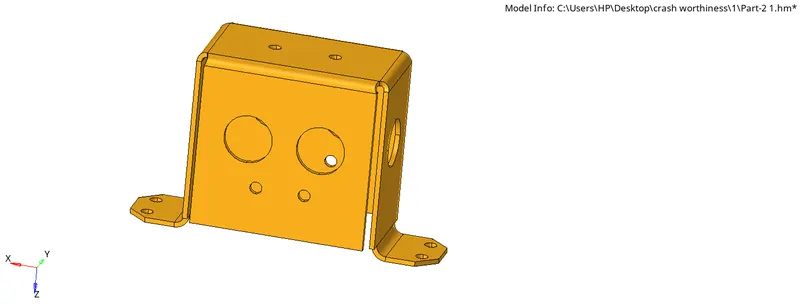
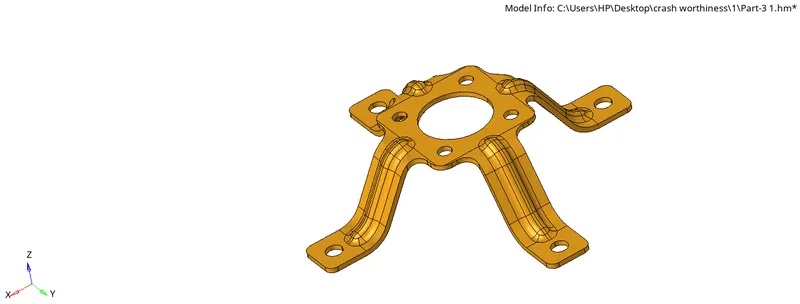
PROCEDURE
- Open the hyperworks software
- Select "import geometry" option and also set the file type format, then import the first model.(import geometry>model>open)
- Here we have three models so take the part one by one.So first we can take first model.
- we have to clean up the given model by removing the holes and unfilled surfaces (Geometry>quick edit>fill hole)
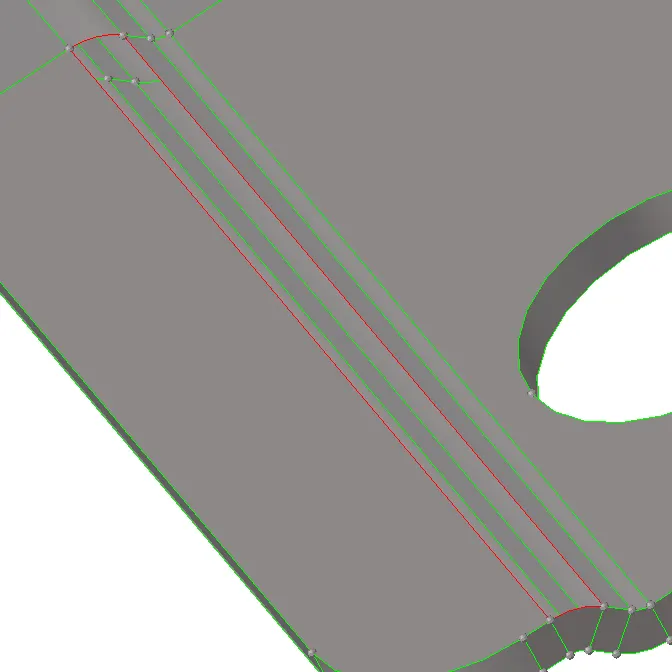
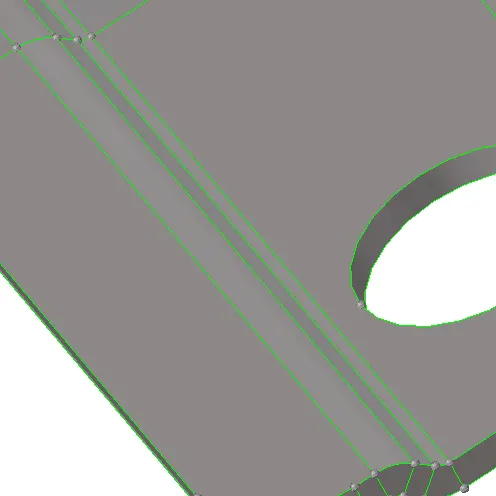

- Toggle the free edges within the model which shows red lined.
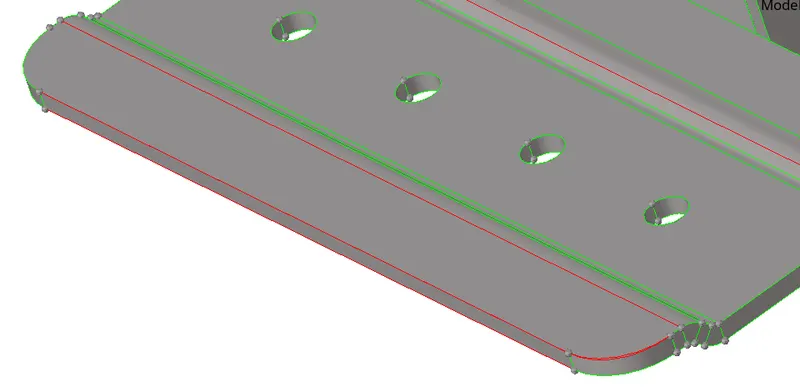
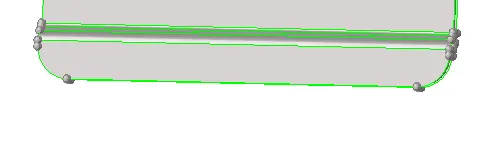
- Delete the unwanted surfaces which are coincide with each other
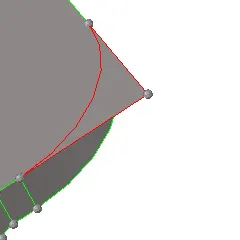
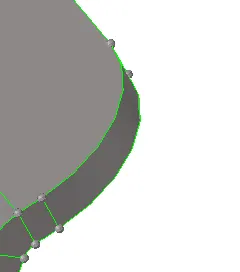
- Delete the dulicate surface present in the body(F2)
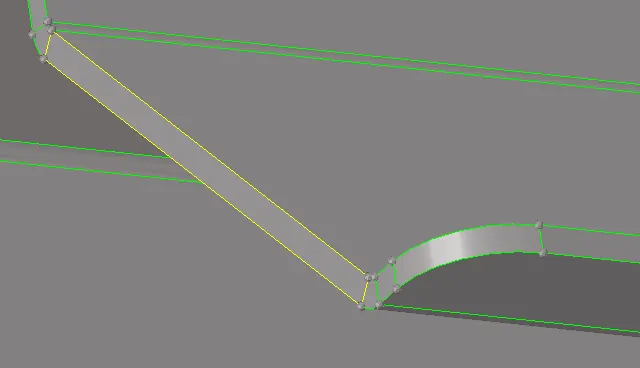
- We have to take midsurface of the given model.so go through thefollowing steps(Geometry>midsurface>select surface>extract)
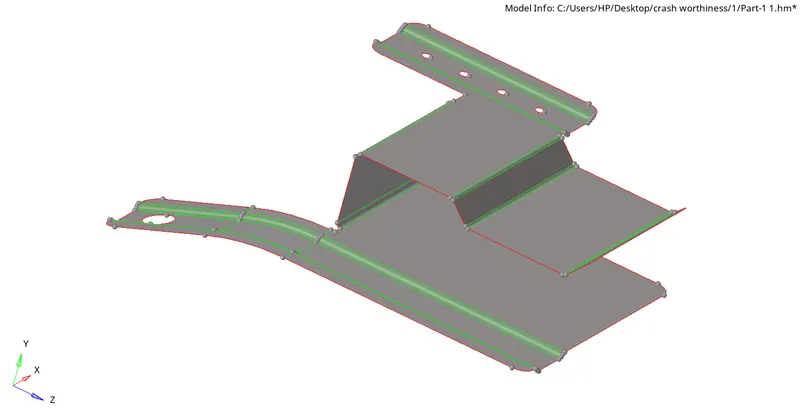

- Do the geometry clean up by toggle edge where the minimum length criteria fails.(Geometry>quick edit>toggle)
- Divide the surface into different parts by using split-surface-line tool(Geometry>quick edit>split-surface-line)
- Give washer split with length 5mm.(Geometry>quick edit>washer split)
- Fill the hole which have diameter below 5mm as given below.
- Select the surfaces and mesh by using automesh tool.(2D>automesh>select surface>mesh).

- We can adjust the no of nodes on the edges by right click/left click and give the good mesh flow
- Clear the failed elements using the tools in quality index (2D>quality index)
- There are many tools in quality index section for fixing the failed elements.
- Check wheather there is any free edges present within the body (Tools>edges)
- If there is any free edge present mesh fix it by using replace points(F3)
- Next step is to give thickness to the given components and assign meterial property.
- In order to give thickness to the shell elemets we need to create a property and give thickness of the component to the propert and assign the property to the mid-surface component and change visibility to 2D detailed element representation
- Do the same steps for all three models.
FINAL MODELS
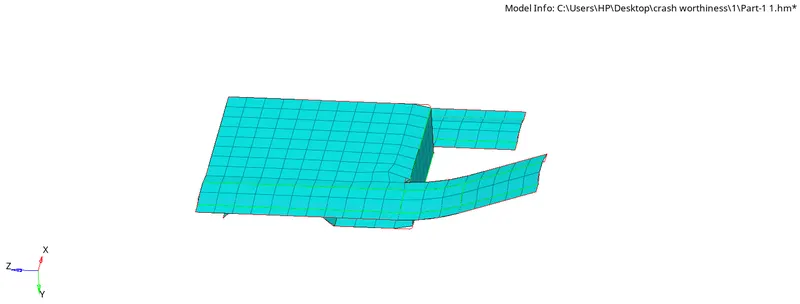
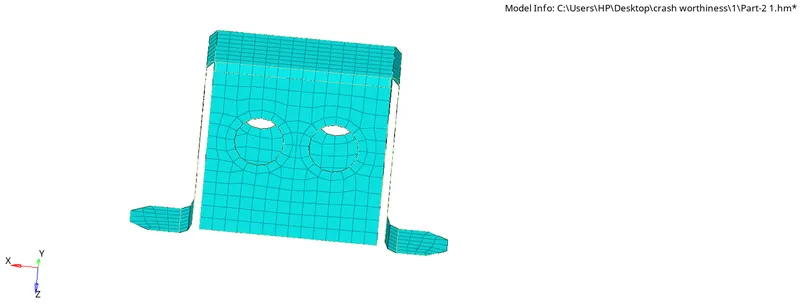
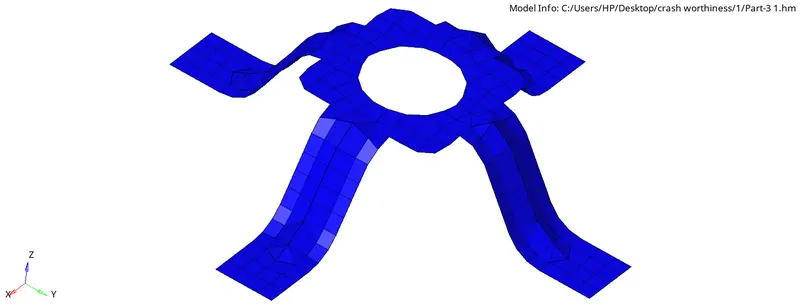
RESULT
Performed geometry cleanup and extracted mid-surface of these three models and meshed the component with given element quality criteria and assigned thickness to the shell elements.