Assignment 1-2D Meshing Challenge
Objective -
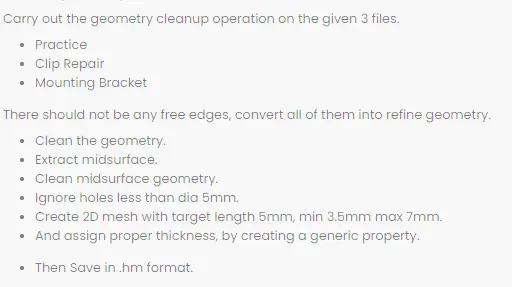
Procedure -
MODEL 1
1. Chech for geometrical errors and rectify them as shown below :
Use the filler surface command to create missing surfaces.
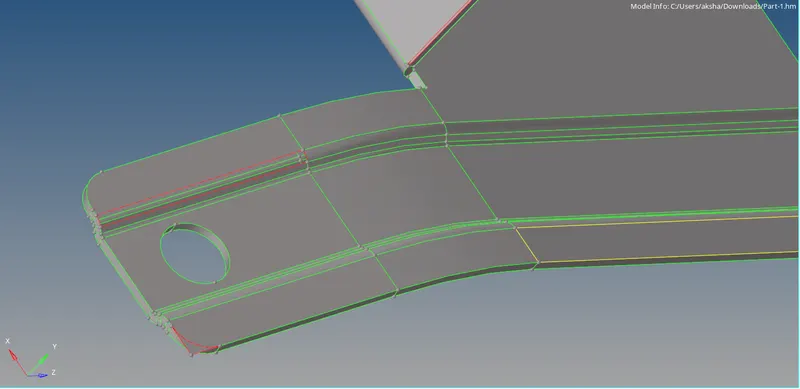
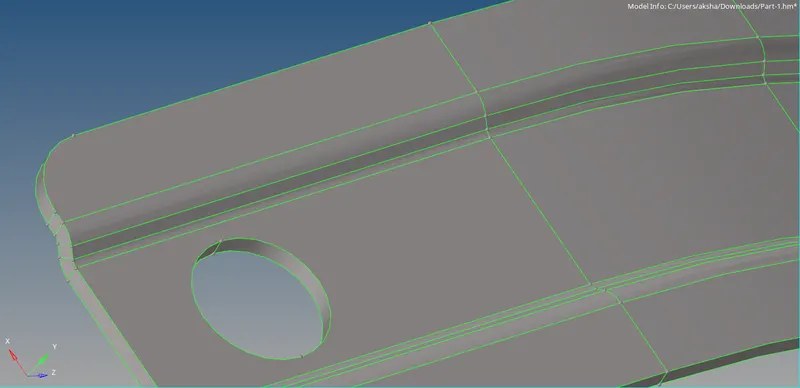
Create new surfaces wherever necessary from the surfaces - ruled command as shown :
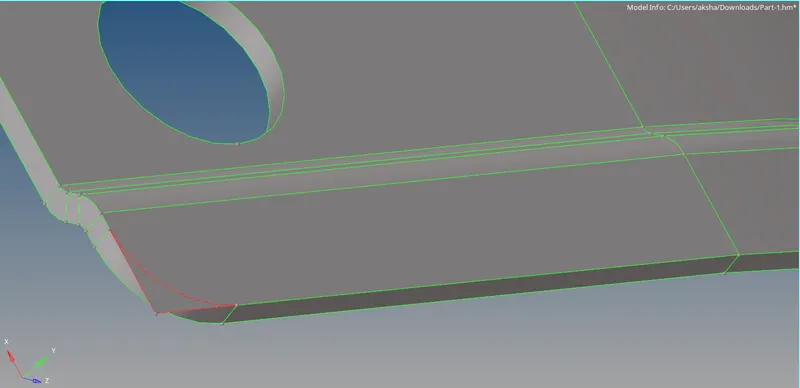
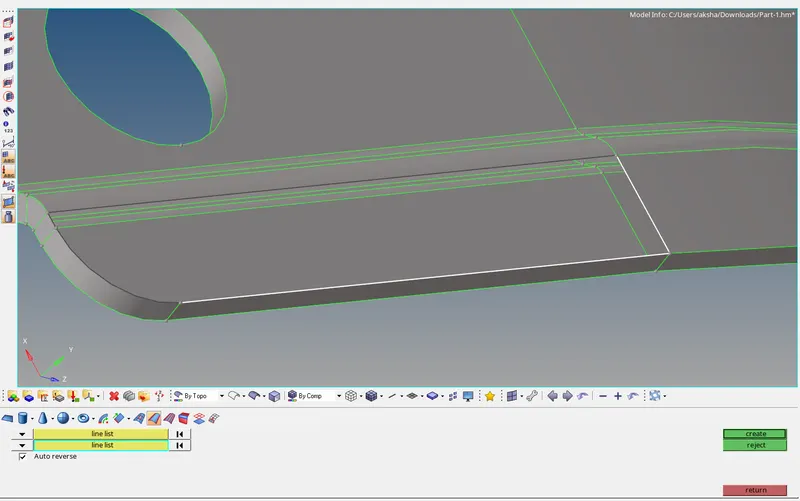
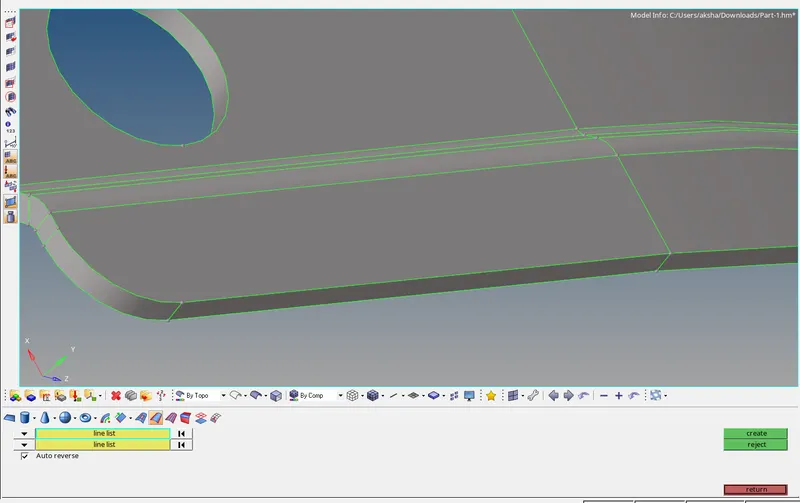
Toggle and re Toggle T Joints wherever necessary as shown :
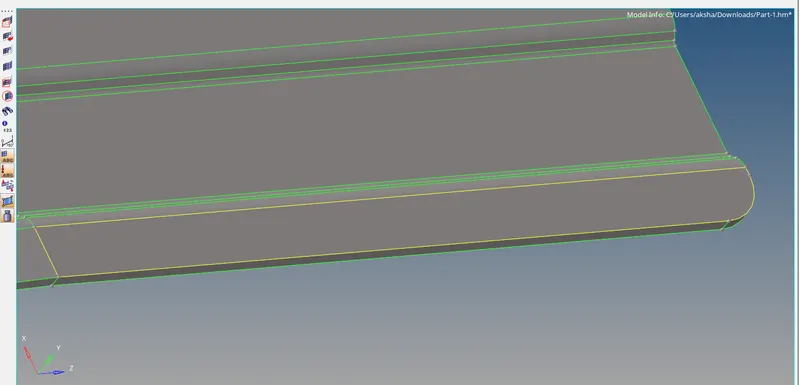
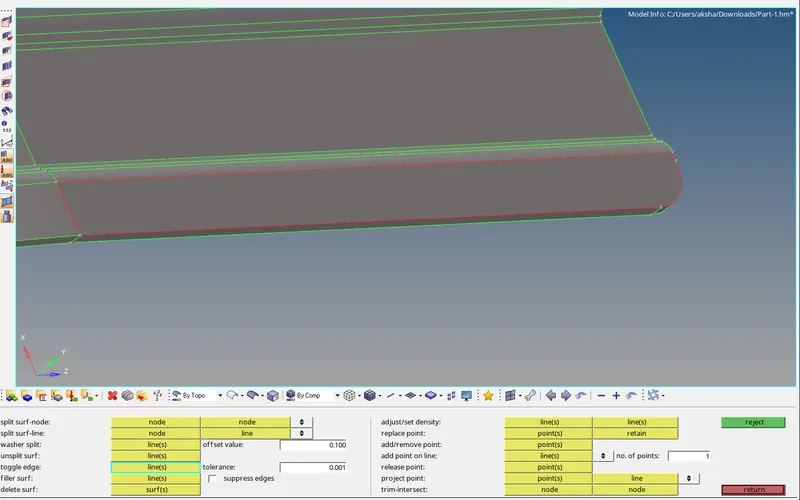
More rectifications in the geometry have been carried out as shown below :
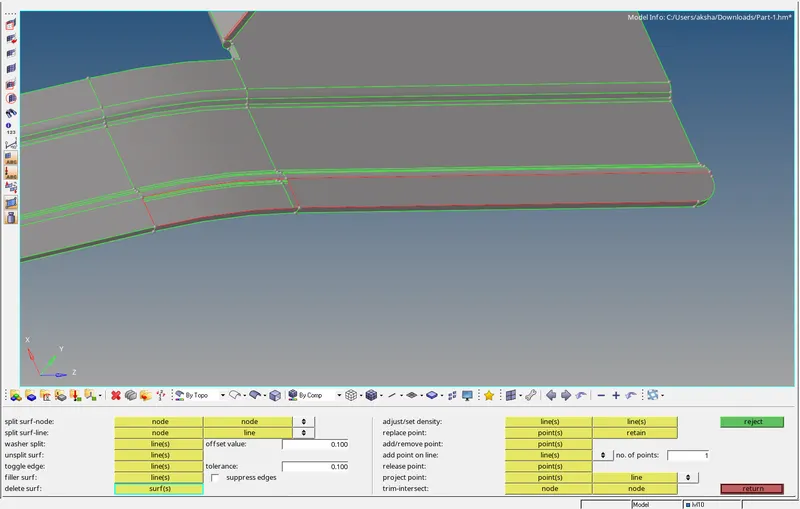
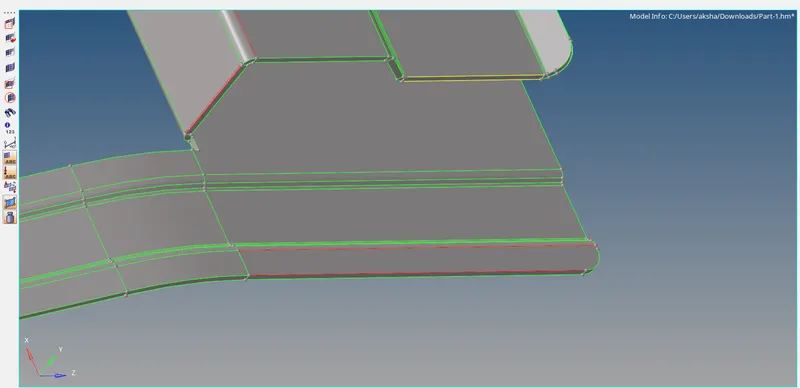
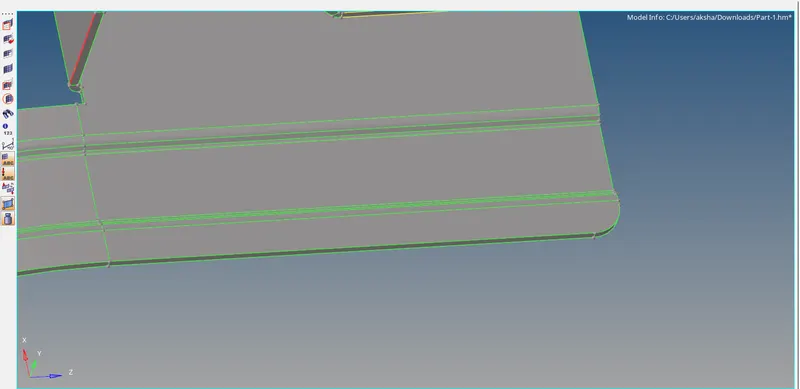
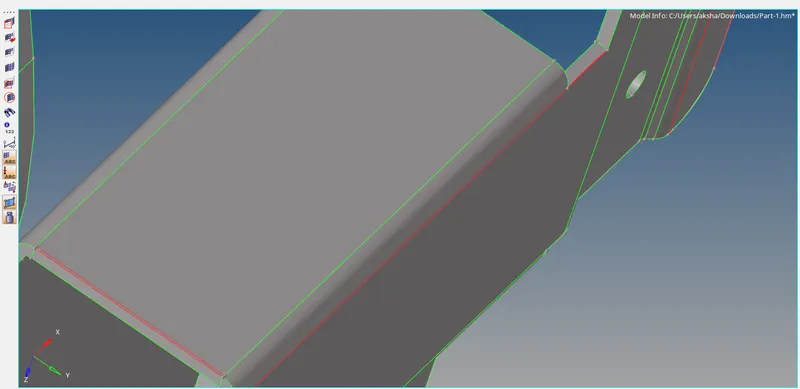
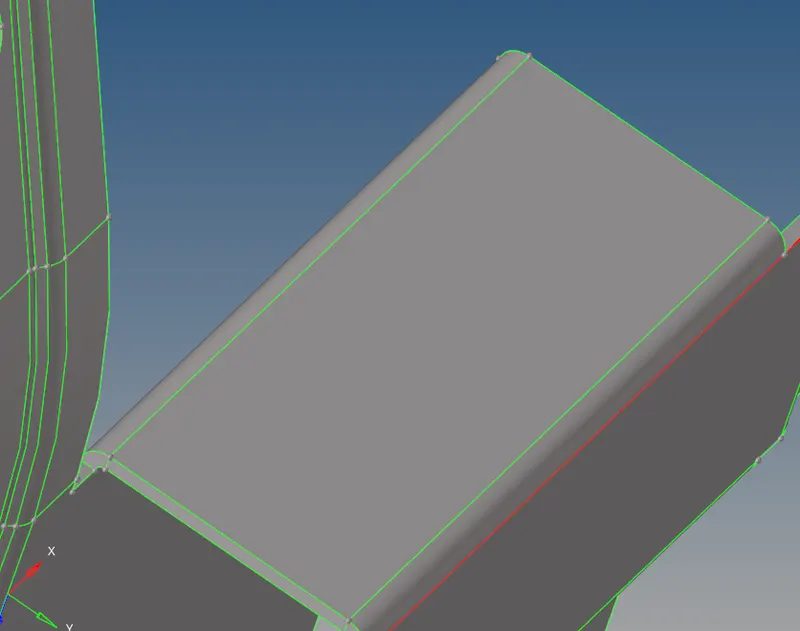
The geometry after no free edges is as shown below :
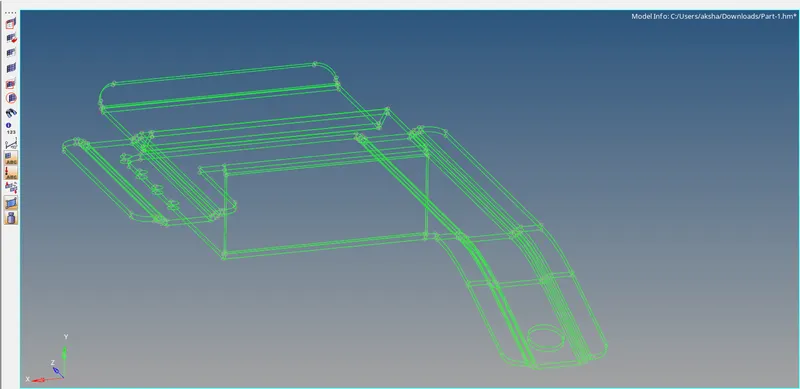
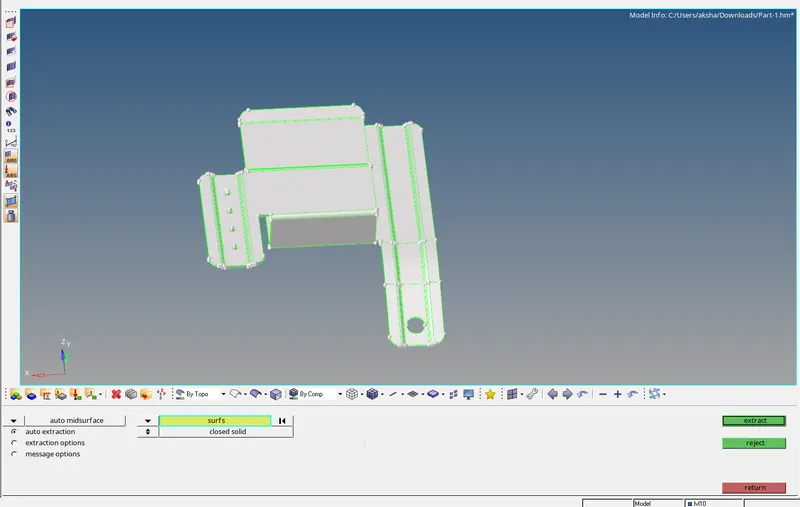
2. Extracting Mid Surface :
To extract the mid surface we first measure the thickness of the component by clicking F4 on the keyboard & using the 2 points option as shown below :
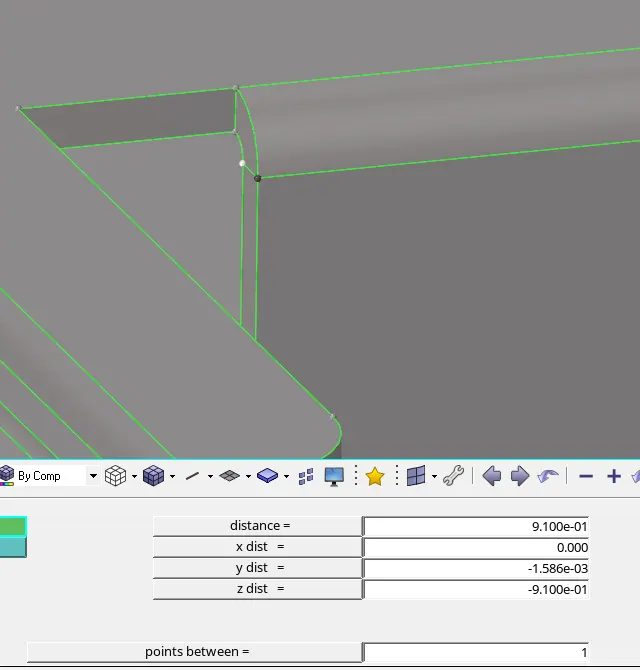
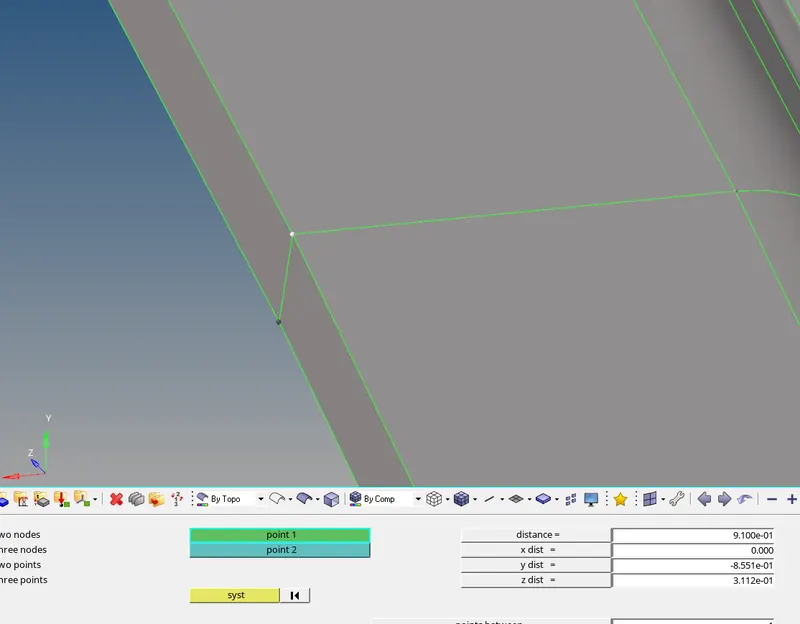
3. Defeaturing
For holes <5 mm we use the unsplit surface option in the quick edit panel as shown below:
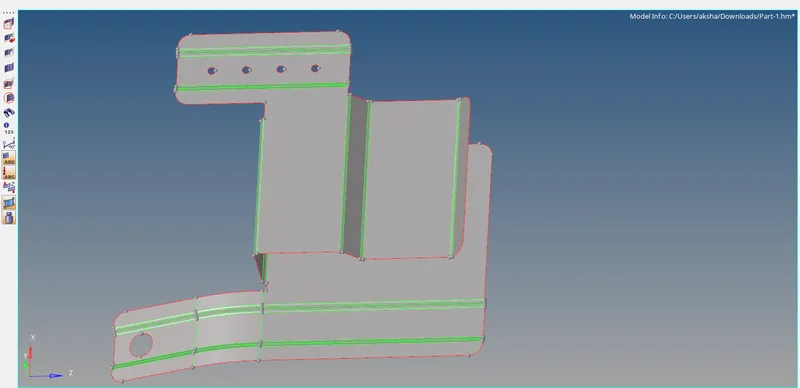
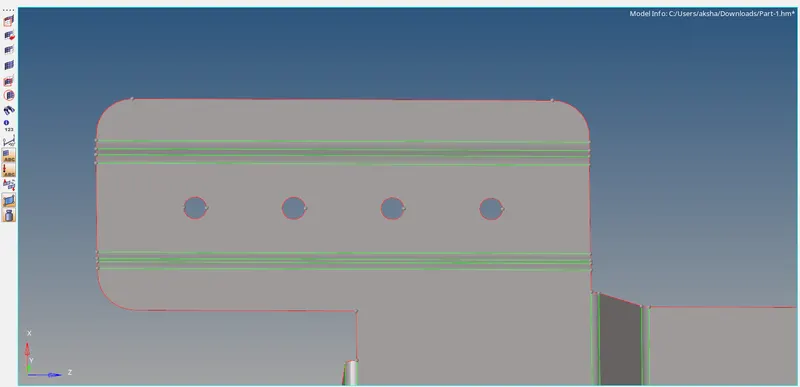
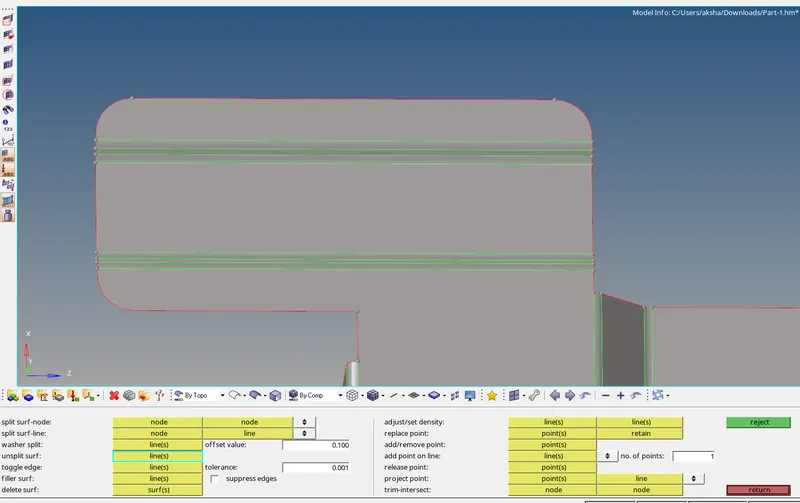
Defeaturing surface fillets wherever required is carried out as shown :
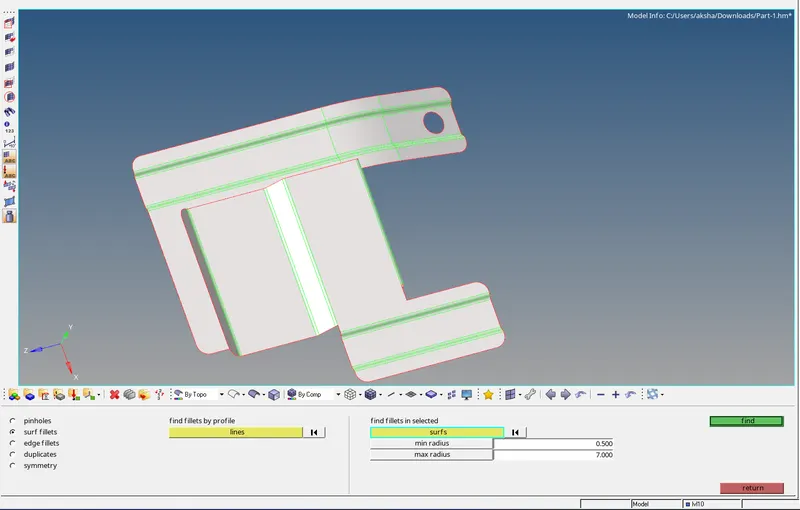
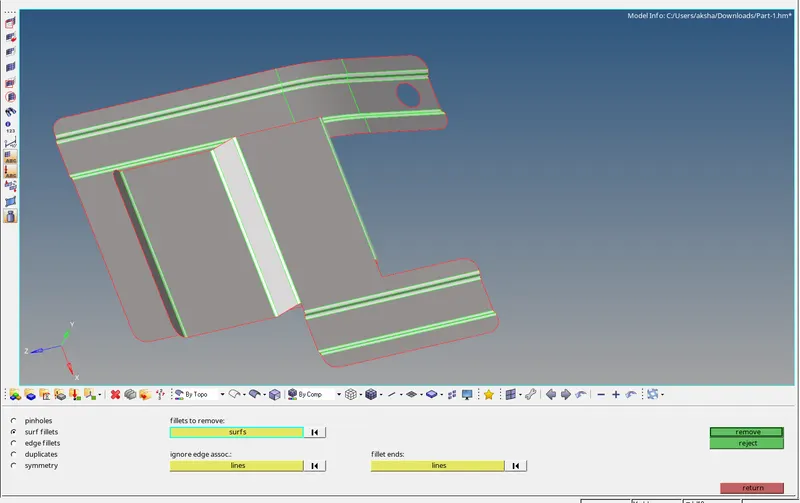
Defeaturing edge fillets wherever required is carried as shown :
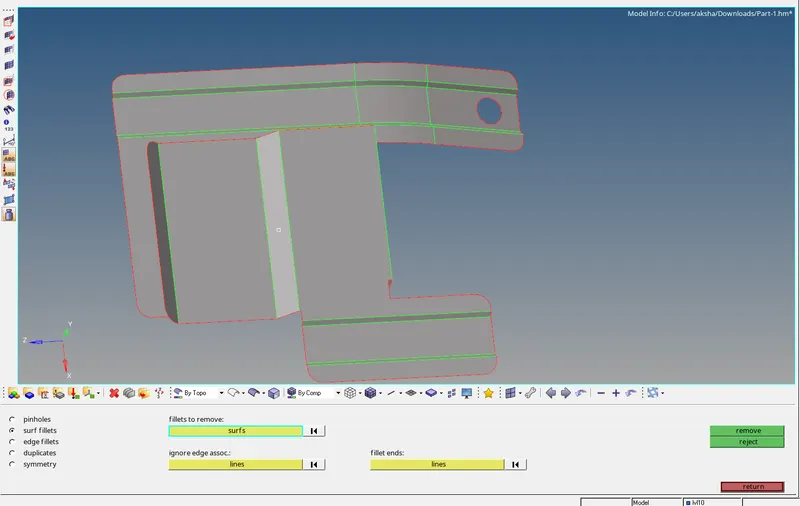
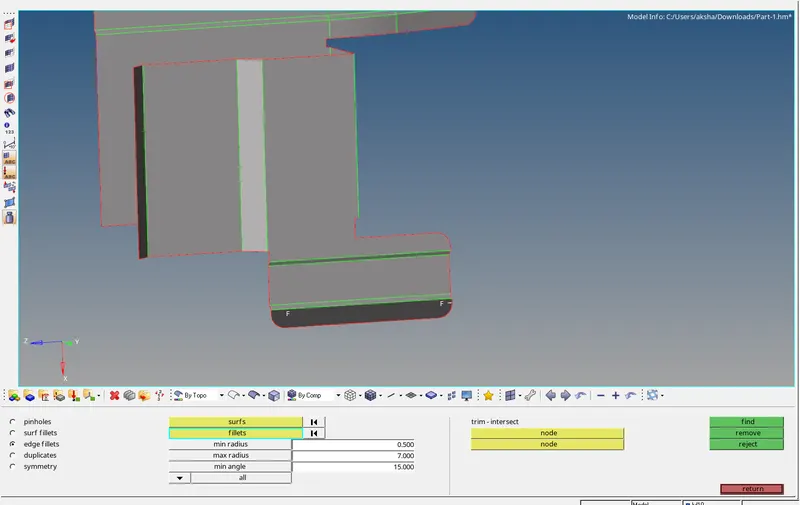
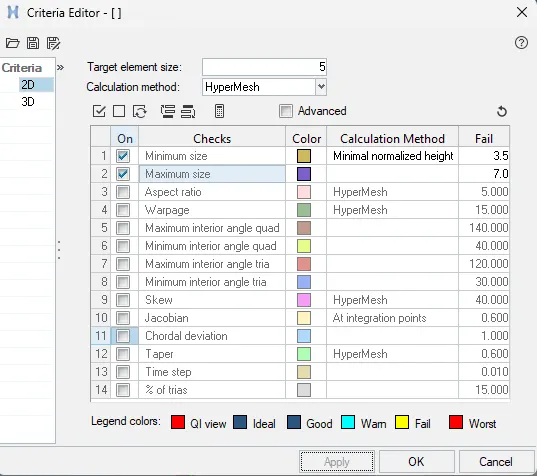
4. Enter the quality criteria as shown in the criteria editor :
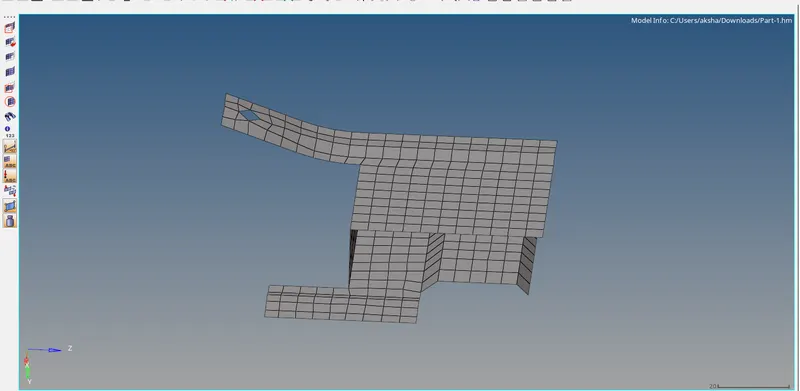
5. Mesh the model and refine the mesh according to the quality criteria, the final mesh is as shown:
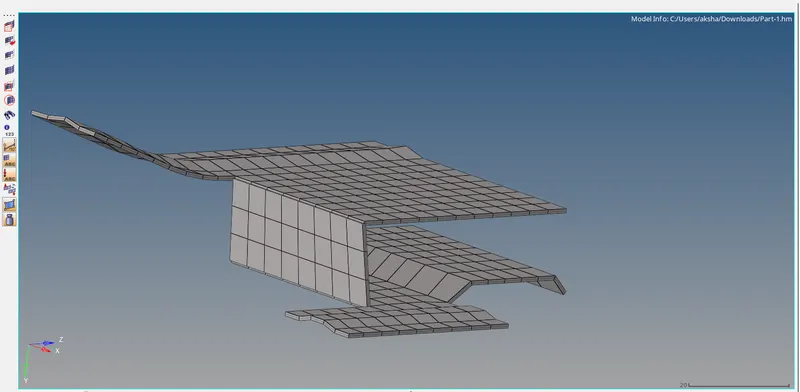
6. We create a new property card and assign the thickness of the component, after assigning thickness we switch on the detailed representation of the mesh, the final result is as shown :
MODEL 2 :
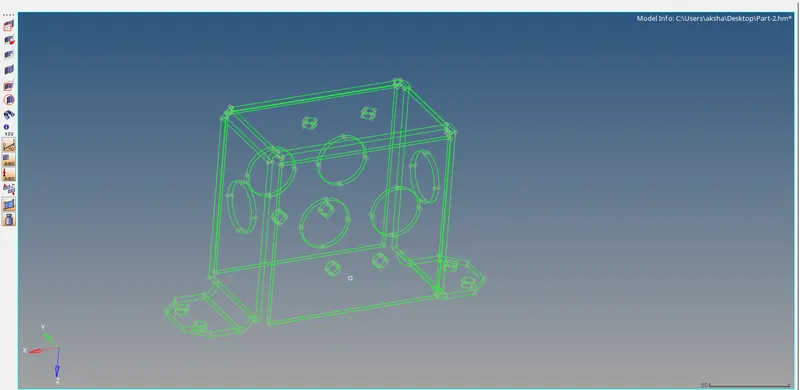
After opening the model and inspecting it, we find that there are no geometrical errors present in the model :
We proceed for the mid-surfacing of the model as shown :
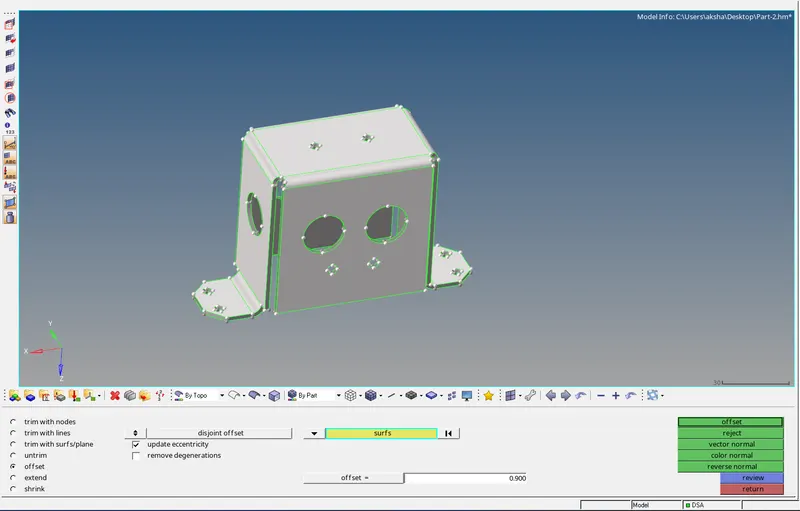
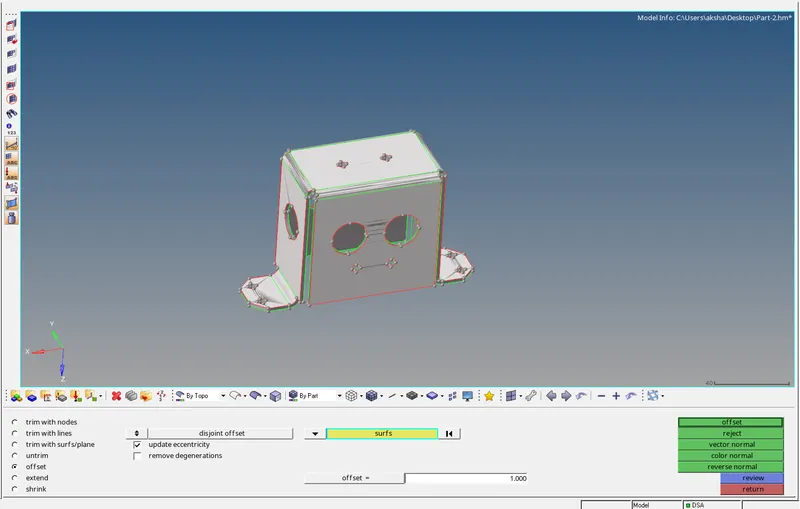
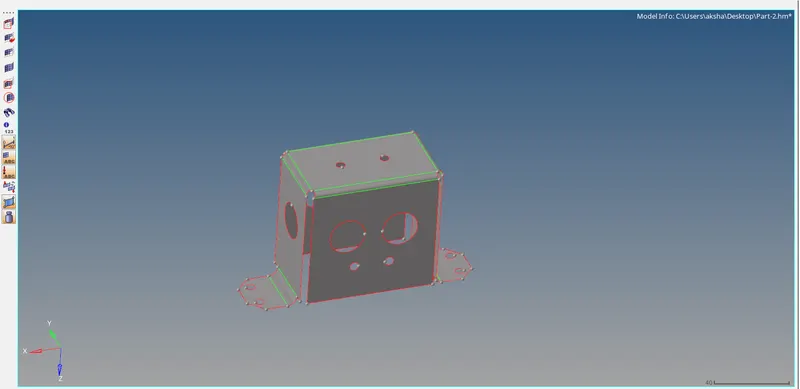
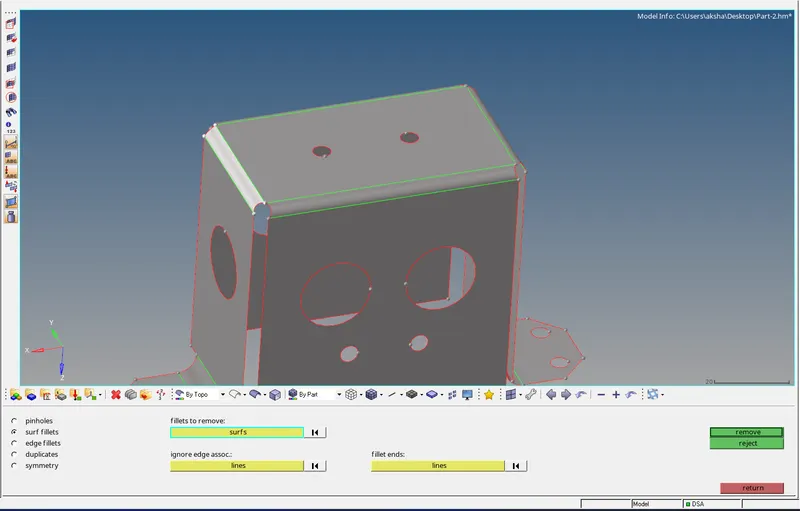
After the creation of the mid surface we defeature the fillets & remove holes as shown :
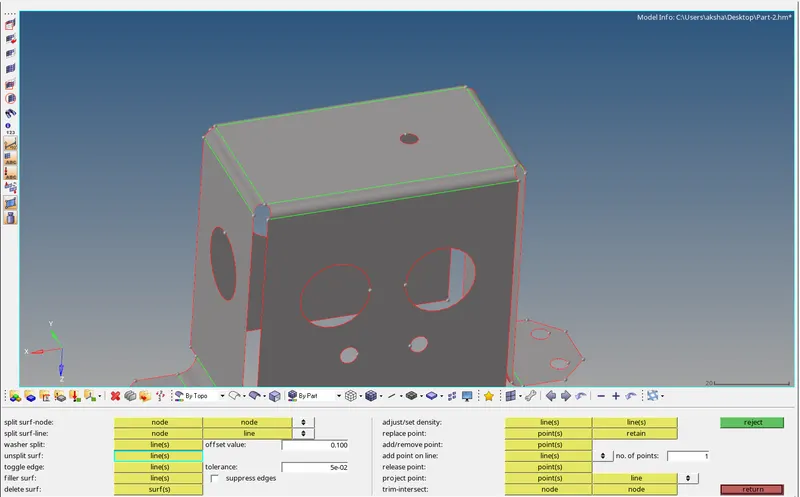
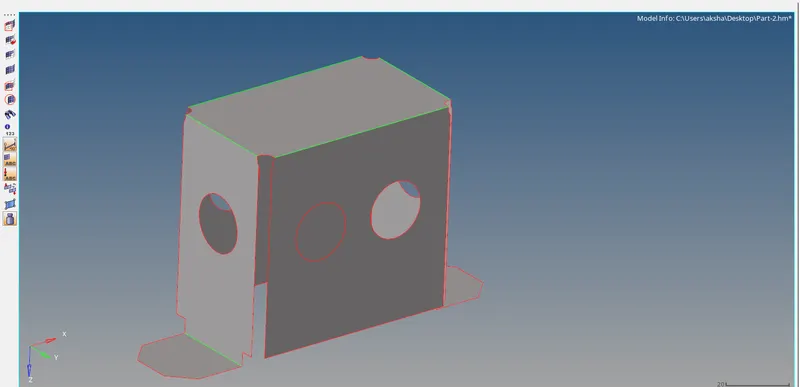
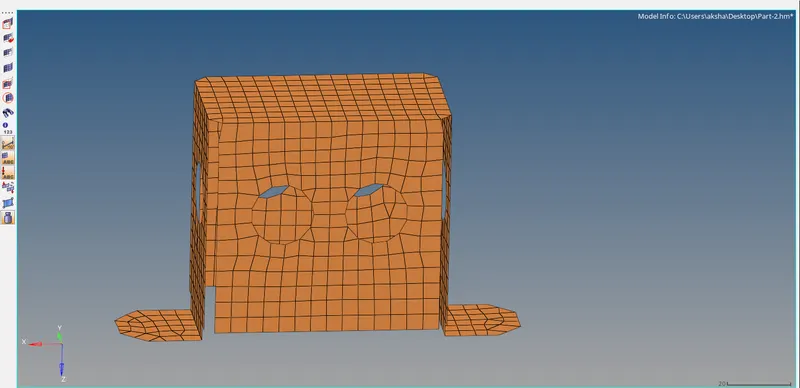
We mesh the model and refine the mesh :
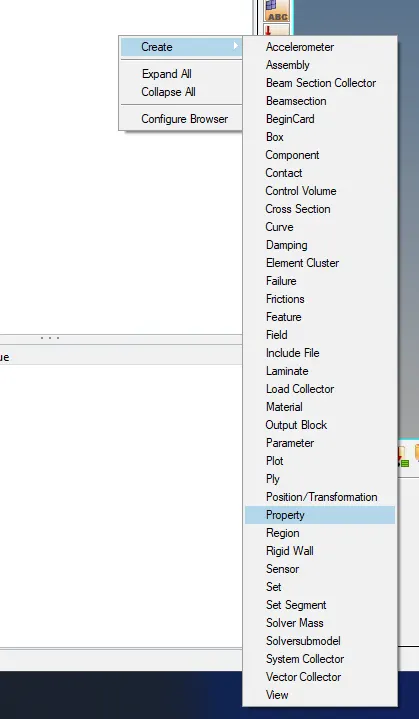
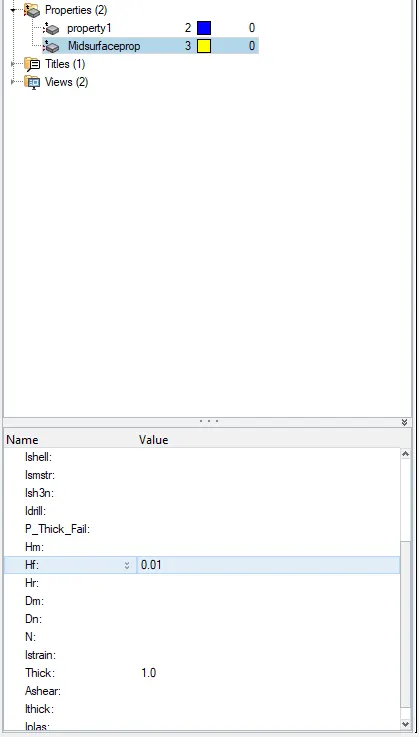
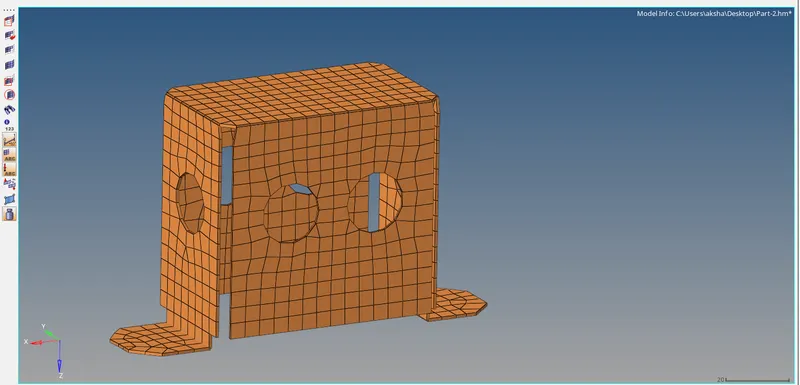
We create a new property card and assign the thickness of the component, after assigning thickness we switch on the detailed representation of the mesh, and the final result is as shown :
MODEL 3:
The model is opened and checked and no geometrical errors were found :
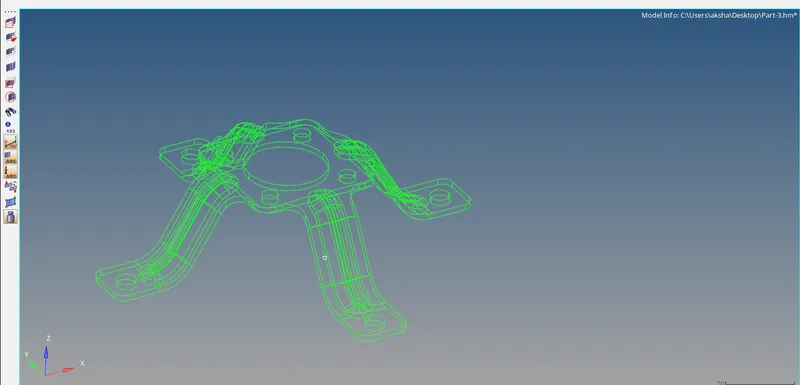
We proceed for the mid-surfacing of the model as shown :
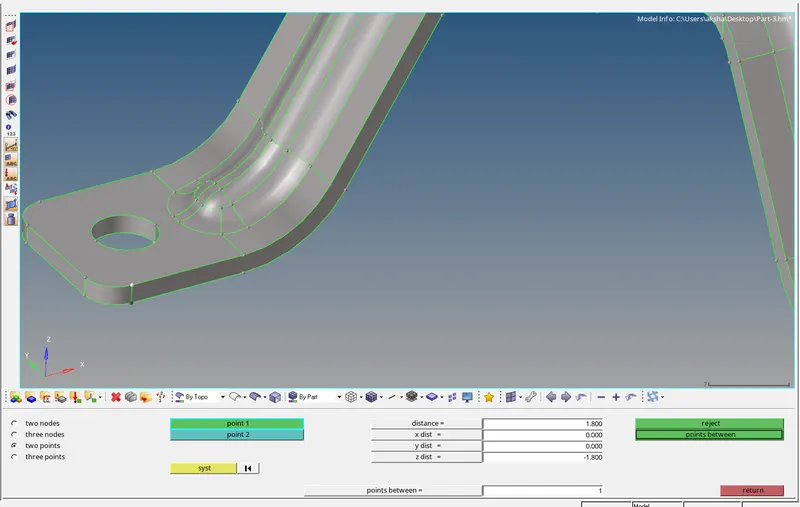
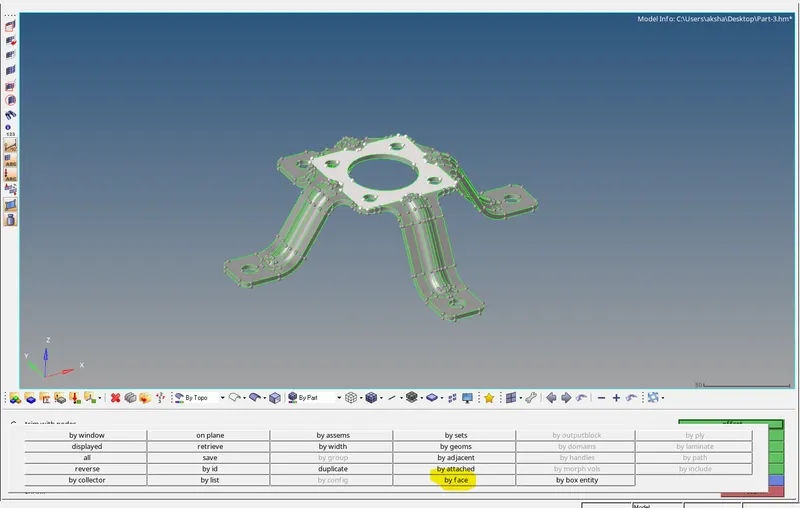
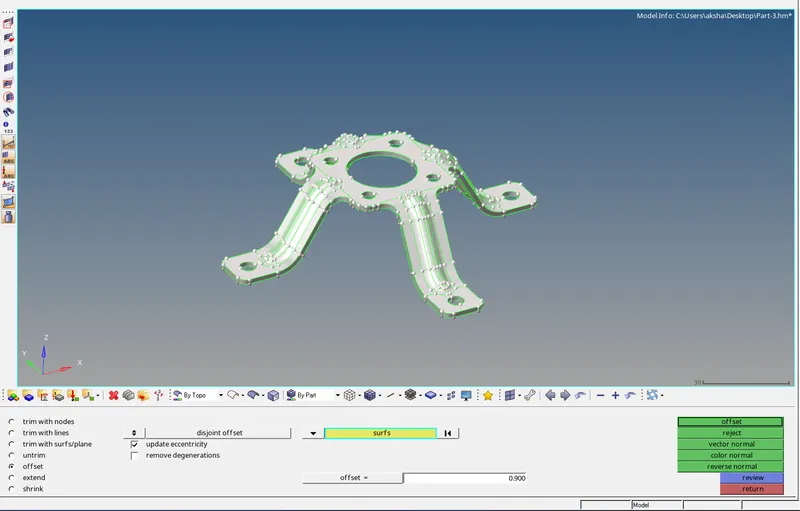
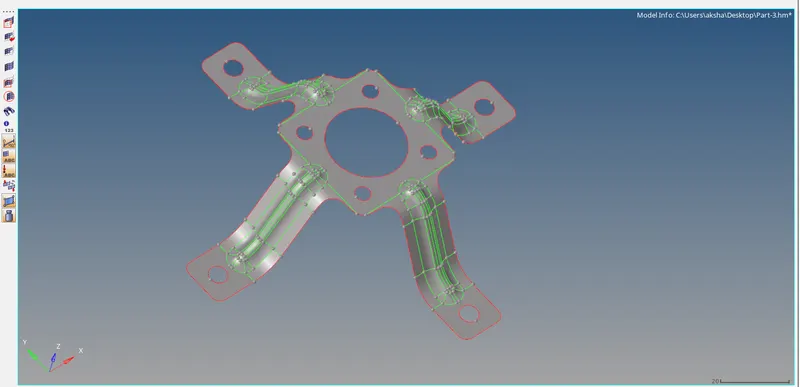
After Midsurfacing we toggle edges so that elements do not fail for quality criteria:
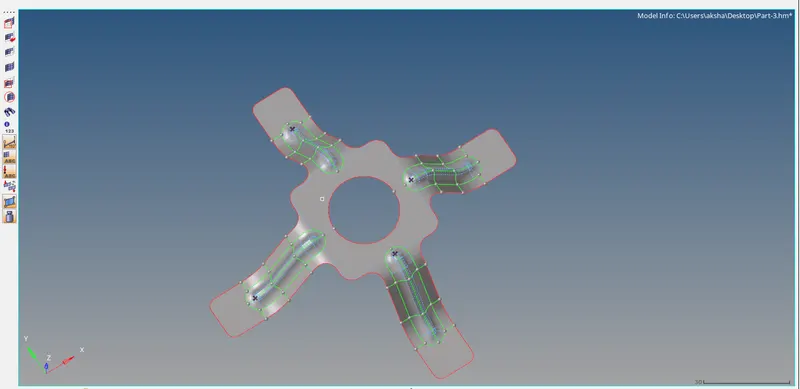
We mesh the model and refine it :
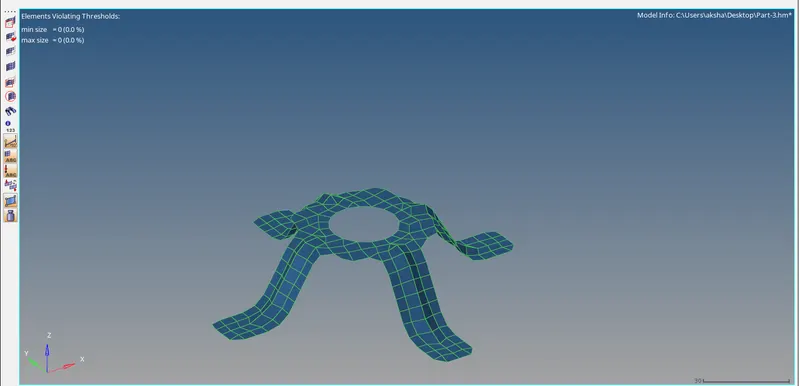
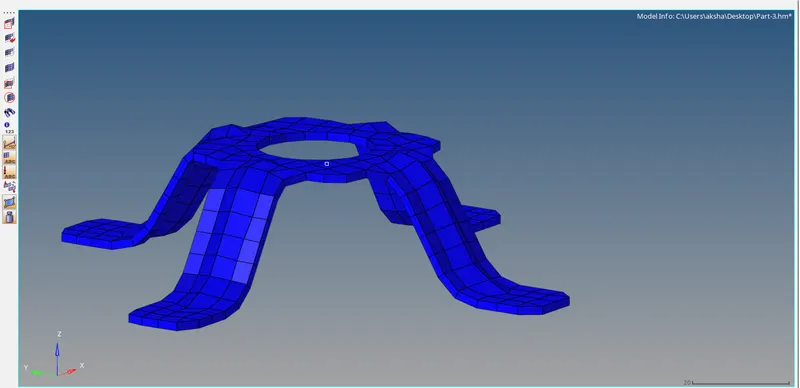
We create a new property card and assign the thickness of the component, after assigning thickness we switch on the detailed representation of the mesh, the final result is as shown :
Learning Outcomes :
Learnt to model components in hypermesh.
Learnt to defeature geometry.
Learnt to assign thickness to a component and create property card.
Result:
All the three models have been meshed in accordance with the quality criteria given.