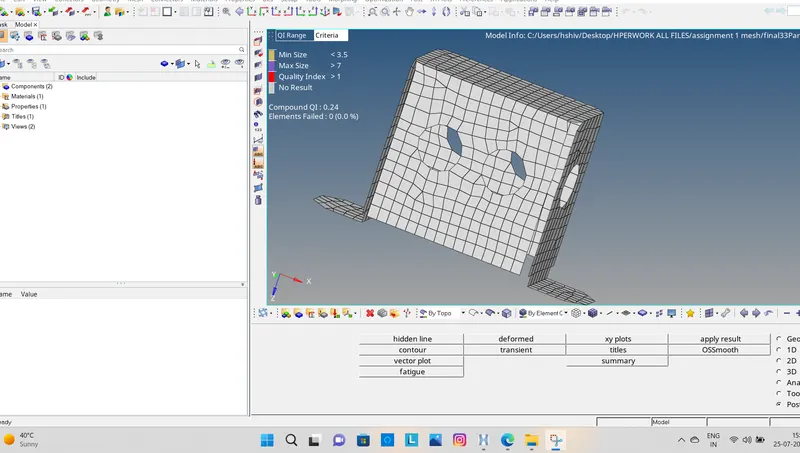
Assignment 1-2D Meshing Challenge
OBJECTIVE:
To perform 2D meshing on the given components by following the given Quality Criteria and to assign the corresponding thickness to the elements.
Target length - 5mm
Minimum Length - 3.5mm
Maximum Length - 7mm
Ignore holes less than dia 5mm.
PROCEDURE:
MODEL – 1:
1) Import the model into Hypermesh.
The given model is imported into Hypermesh using the import option on the menu bar.
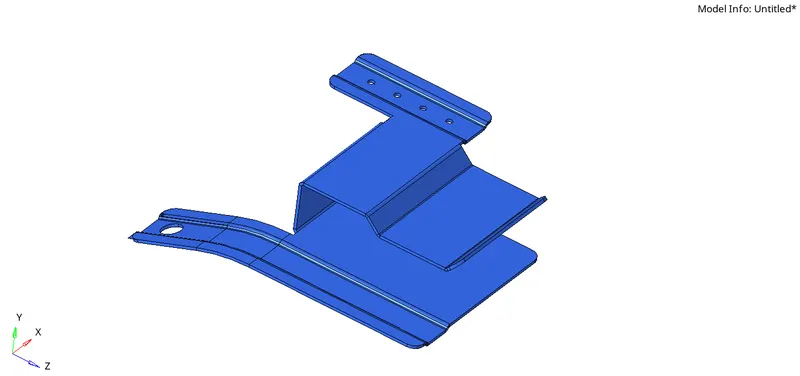
Fig 1: Imported Model
2) Geometry Cleanup
Before extracting the mid surface from the model, ensure that the model surface is perfect and free from errors like free edges, duplicate surfaces, and missing surfaces. If any defects are found then the required geometry cleanup needs to be done using the various tools such as toggle edge, filler surf, replace points, etc. available under the quick edit panel. (F11 (or) Geom>quick edit)

Fig 2: Quick edit panel
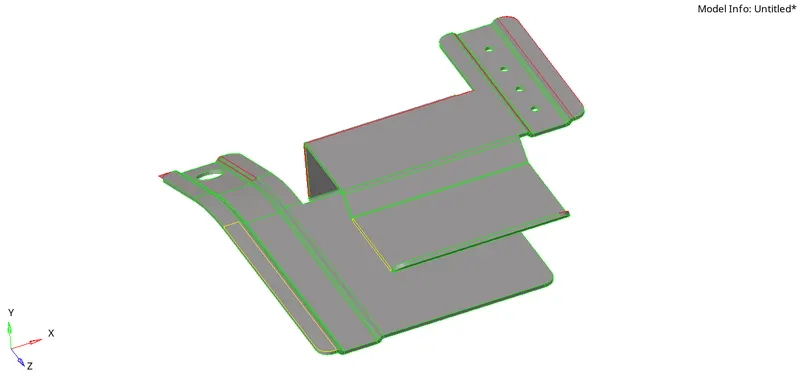
Fig 3: Geometric Defects
On the model, if any lines are too close to each other or if the distance between the lines is less than the minimum element length, then one of the lines needs to be suppressed using the toggle edge option. Otherwise, on meshing, elements that fail the minimum element length criteria will be created between the closely spaced lines. Also, toggle edge is used to close the gap between two surfaces free edges.
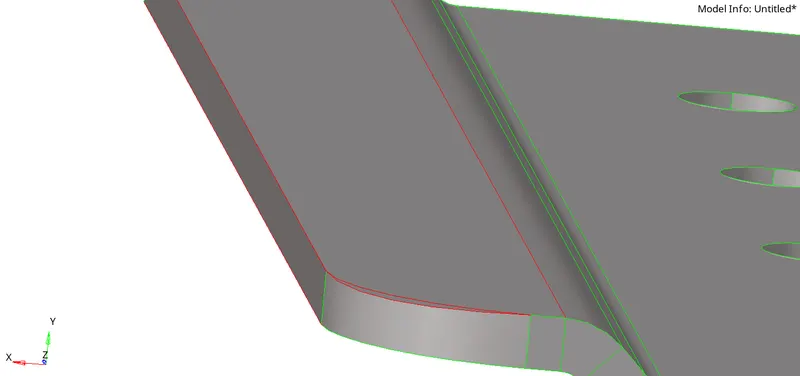
Fig 4: Free Edges
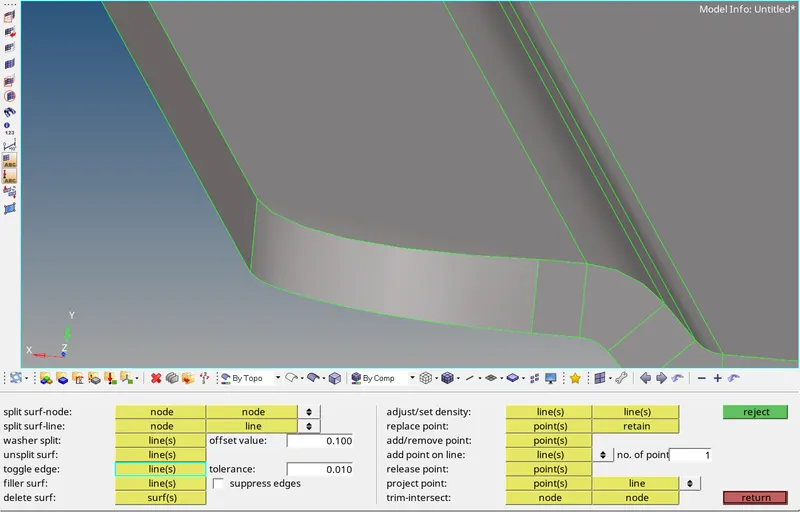
Fig 5: After Toggling Free Edges
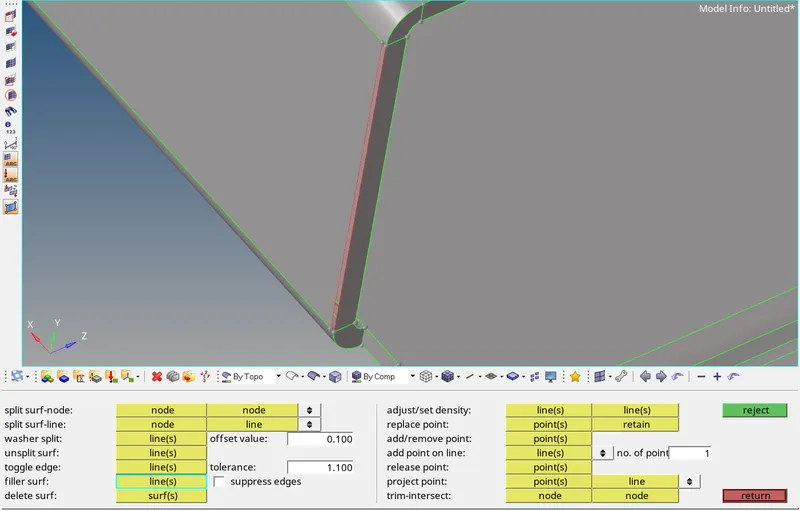
Fig 6: Gaps on Surface
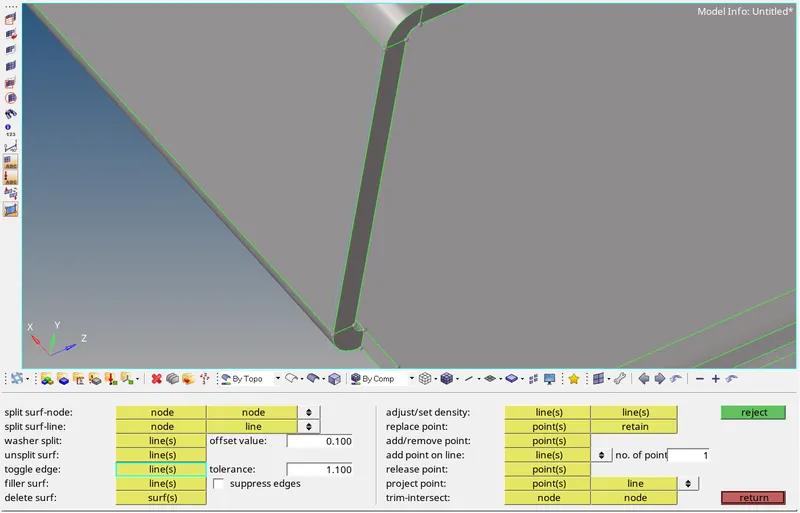
Fig 7: After using filler surf
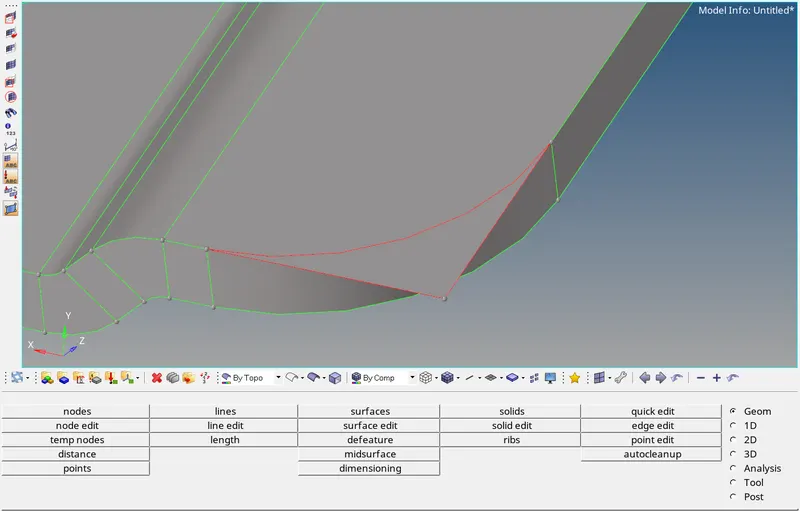
Fig 8: Before surface delete
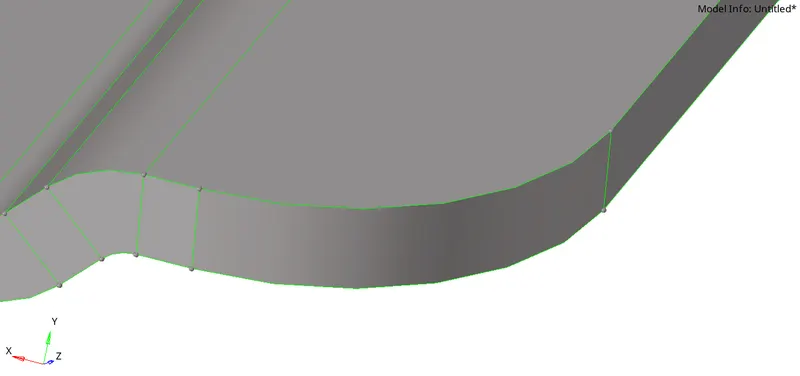
Fig 9: After using surface trim and delete surface
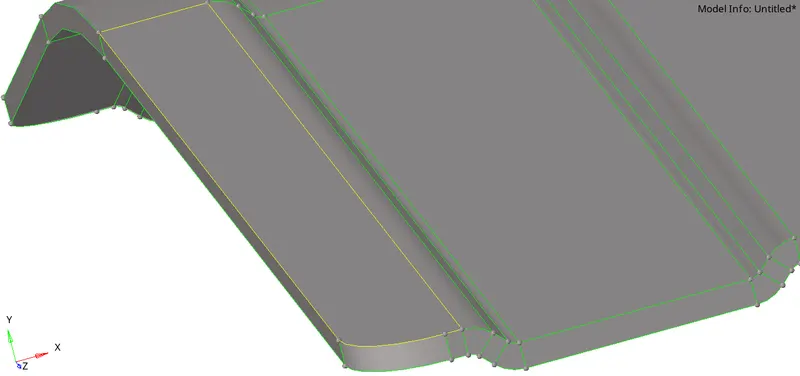
Fig 10: Dupicate surface indicated by yellow lines
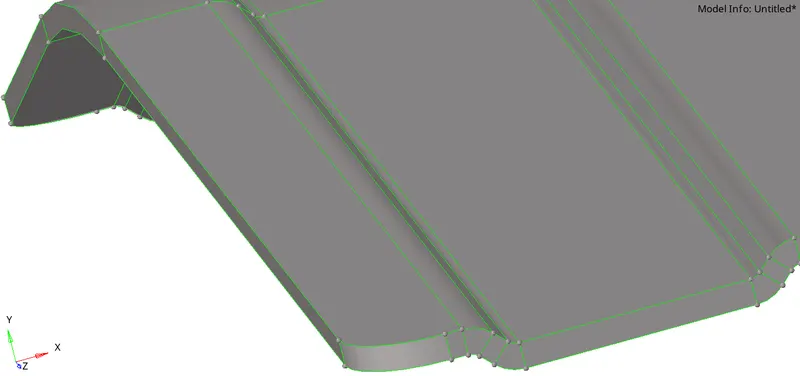
Fig 11: After deleting duplicate surf
3) Mid surface extraction
Since the given component is made of sheet metal and is of uniform thickness throughout, the midsurface is extracted through automidsurface tool. (Geom>midsurface>select surfs>extract)
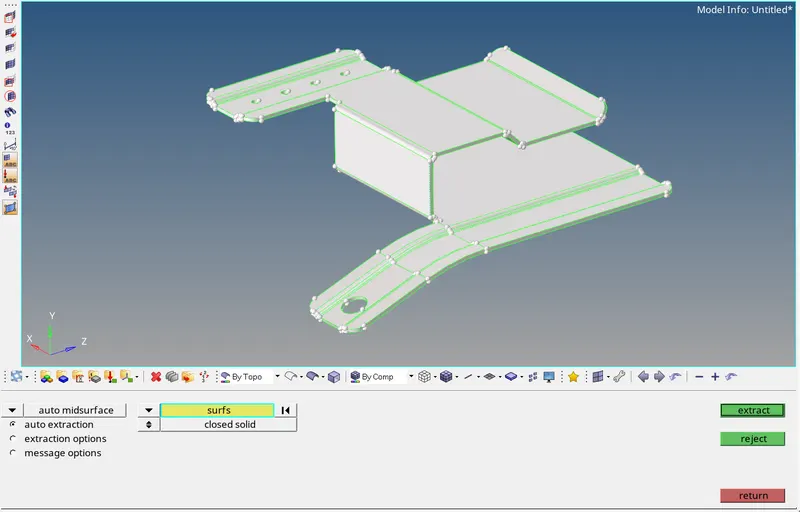
Fig 12: Extracting midsurface
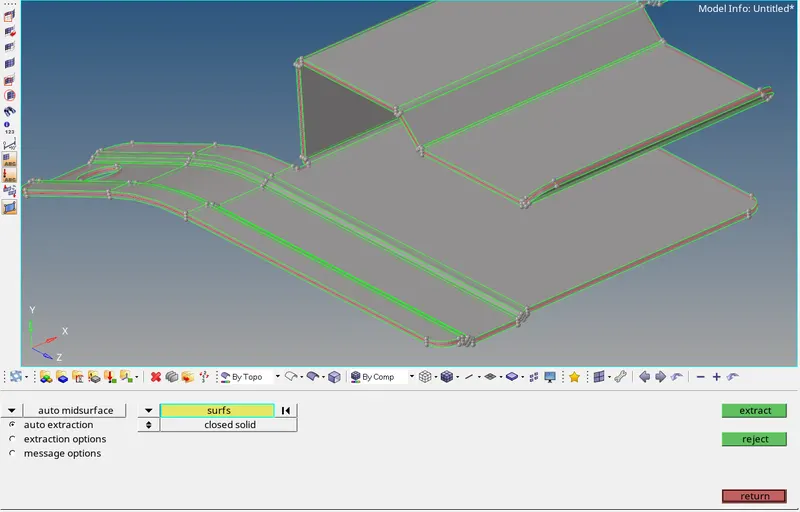
Fig 13: Extracted midsurface
4) Mid surface cleanup
After extracting the midsurface any defects on the extracted midsurface is rectified before starting the process of meshing. Also, for ensuring proper mesh flow and also for ease of meshing the surface is divided into sections and the meshing is carried out on each of the sections one by one.
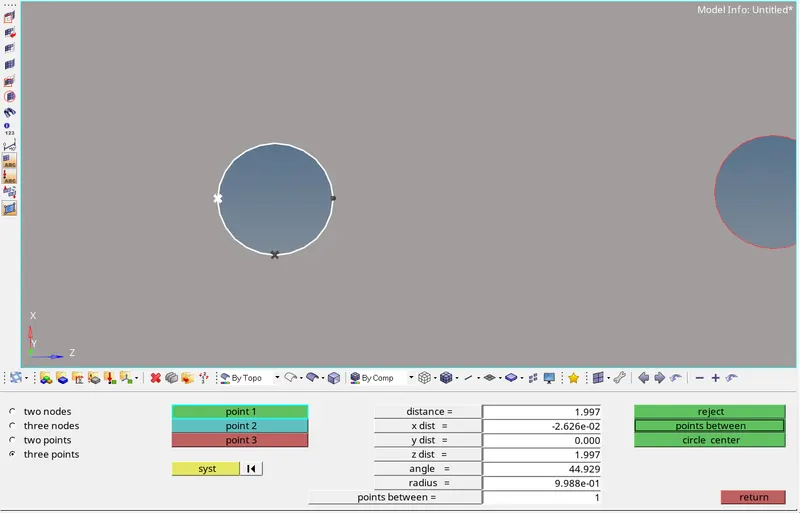
Fig 14: Measuring Hole Dia
Since the hole dia is less than 5 mm, they need to be removed before meshing.
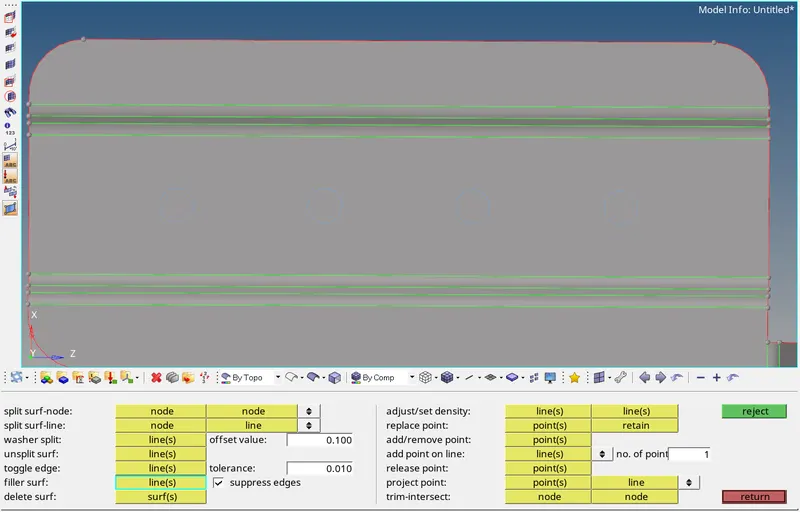
Fig 15: After Using Filler Surf to remove holes
The surface fillets having a radius less than the minimum element length of 3.5 mm need to be defeatured in order to prevent the elements from failing the minimum length criteria.
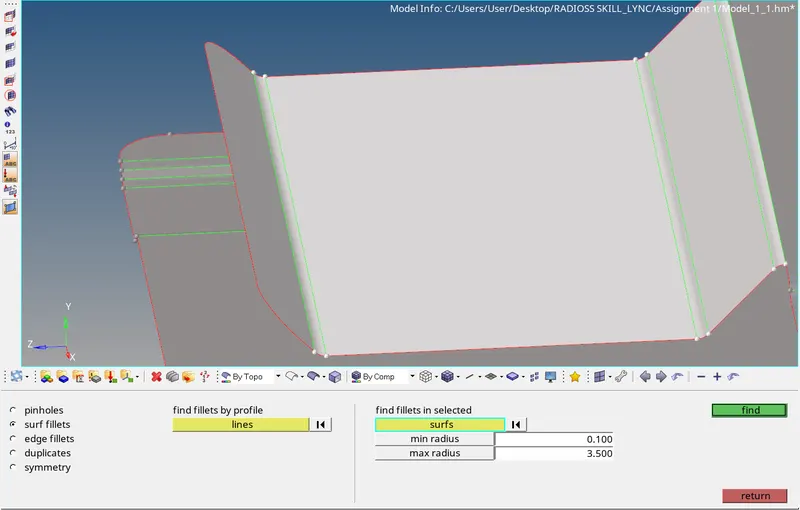
Fig 16: Defeaturing surface fillets
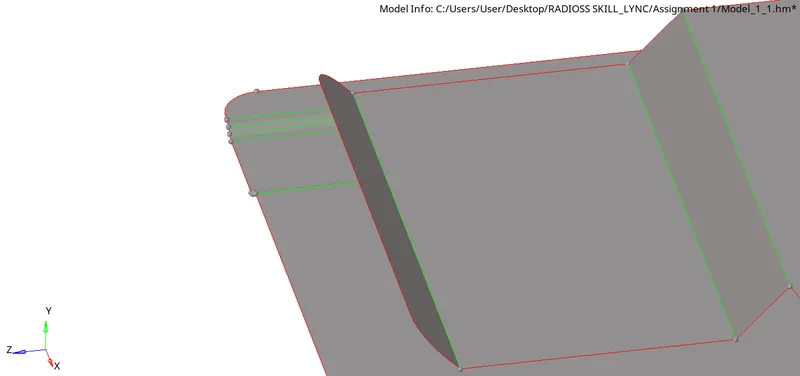
Fig 17: After Defeaturing surface fillets
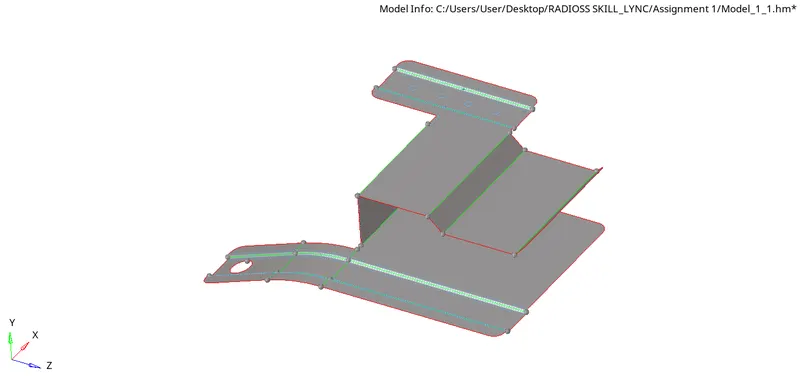
Fig 18: After midsurface geom cleanup
5) Meshing of midsurface
The given quality criterias need to be specified using the criteria file editor before meshing the model.
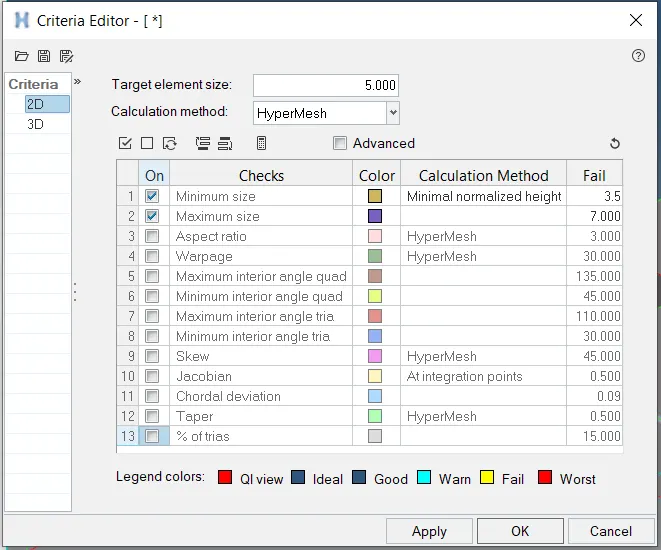
Fig 19: Criteria File Editor
Once the quality criterias are set, automeshing is performed with a target element size of 5 mm.
6) Ensuring proper mesh flow and quality of elements generated
The generated mesh is examined properly to ensure that there is a proper mesh flow. Also, the number of trias should be kept to a minimum. Ensure that there are no rotating quads, back-to-back trias, opposite trias or trias on the feature line.
Check if any elements are failing for any of the given quality criterias. If any element is found to be failing the given quality criteria then the cleanup tools are used to correct them.
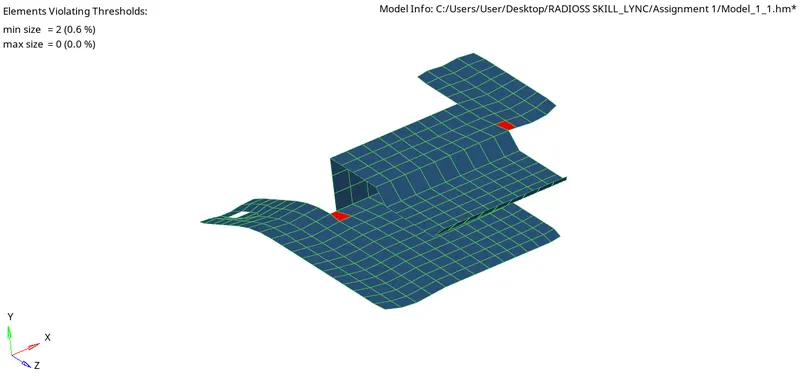
Fig 20: Quality Check
Only two elements are found to be failing the quality criteria. But, it is kept as it is since it affects the feature capturing.
7) Checking for free edges
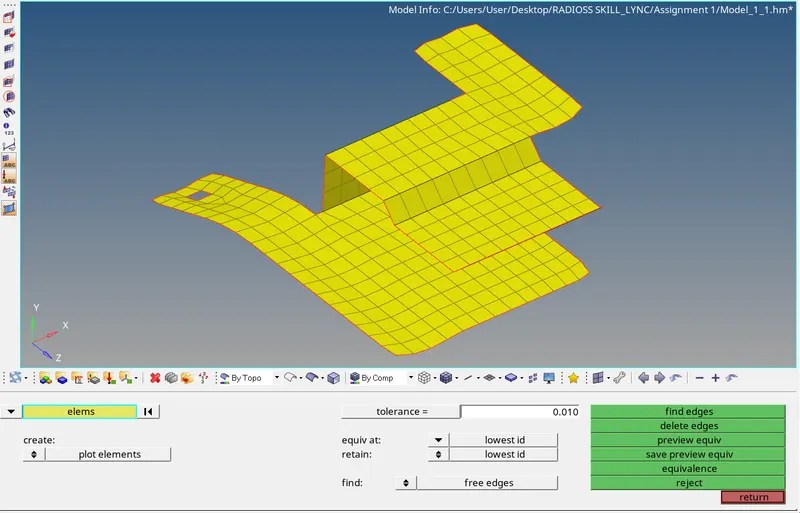
Fig 21: Free edge check
8) Check Normals
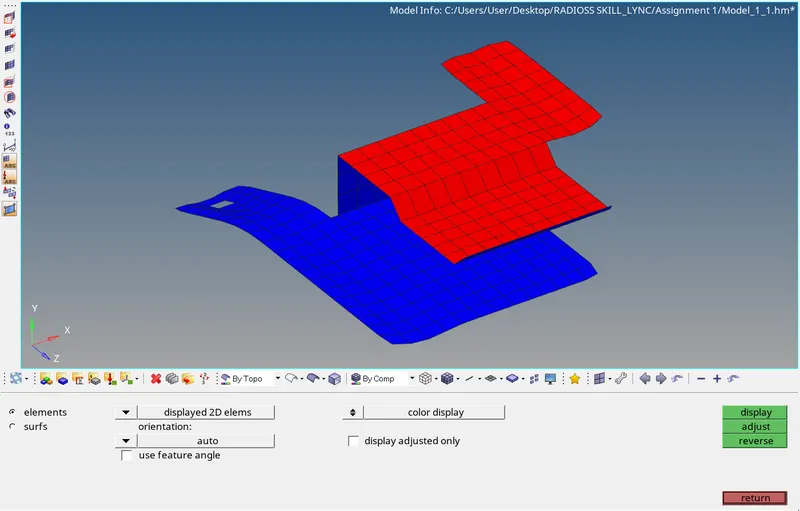
Fig 22: Normals check
9) Assigning thickness
After meshing, the elements have to be assigned the measured thickness of the component. For this, a ‘property’ has to be created(Right-click tab area>create>property).
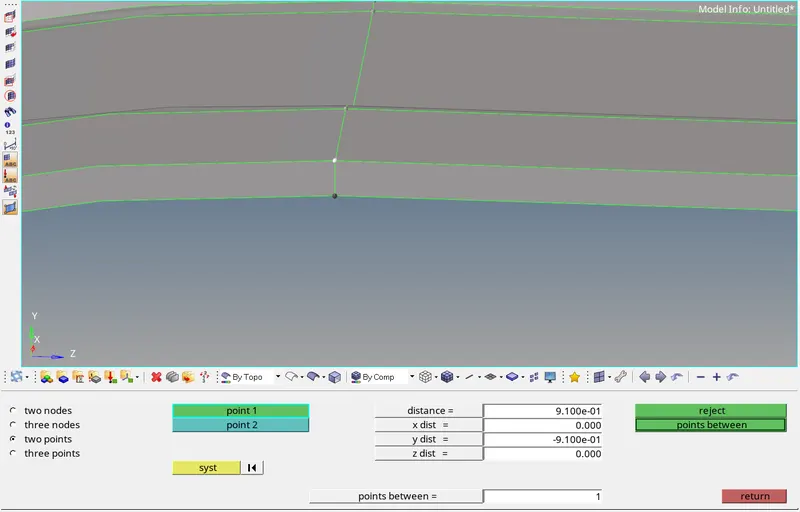
Fig 23: Measuring thickness of parent component
Under the property menu, the thickness ‘T’ has to be specified. To assign the property to the component, right-click on the corresponding component and choose the ‘assign’ option. In the pop up menu select the corresponding property from the drop-down list and apply.
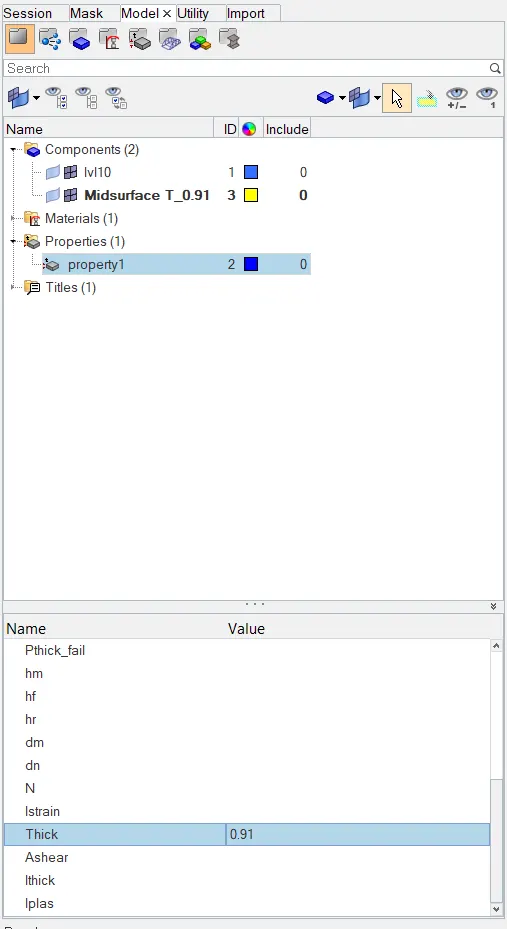
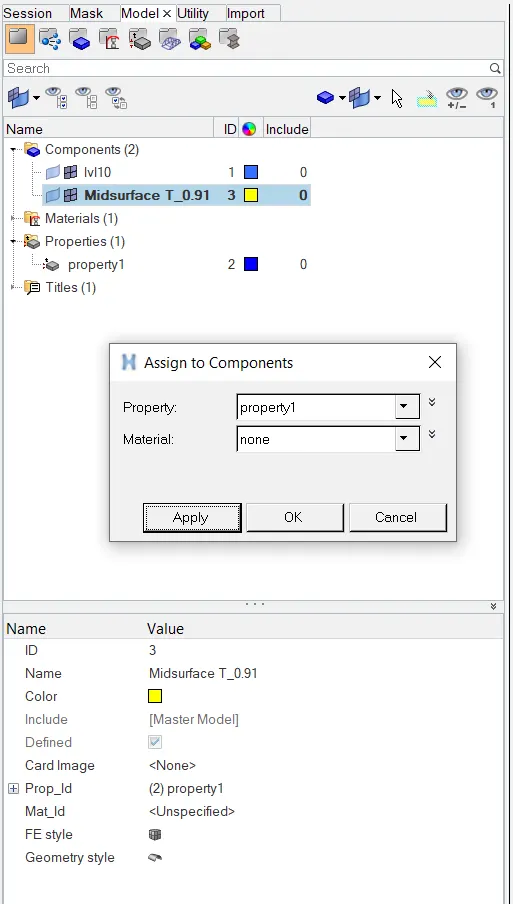
Fig 24: Assigning Thickness
FINAL MODEL IMAGE:
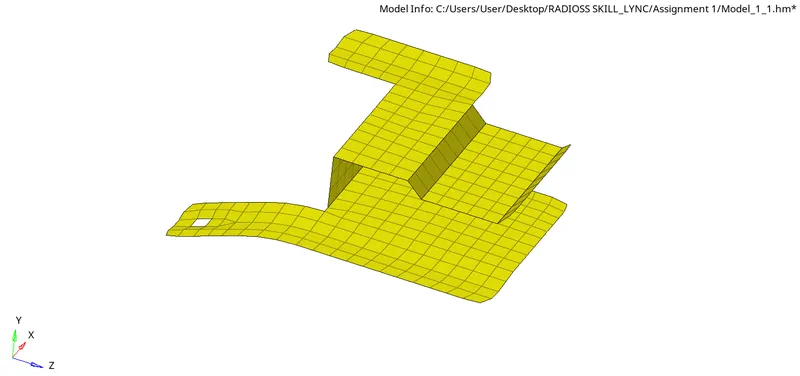
Fig 24: Meshed Model
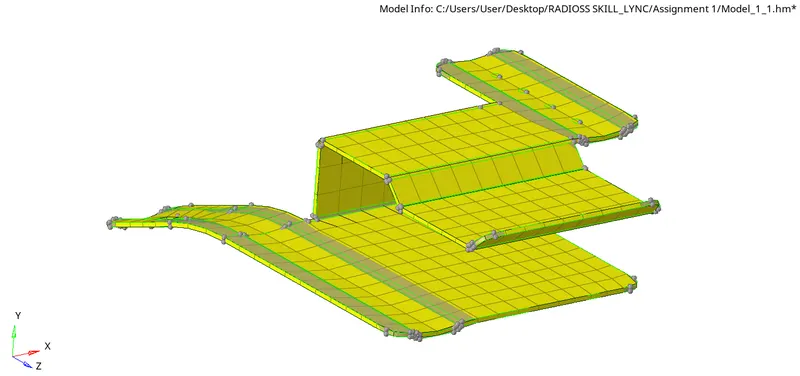
Fig 25: 2D Detailed Element Representation
MODEL – 2:
All the steps carried out for Model – 1 are also repeated for Model – 2.
1) Import the model into Hypermesh.
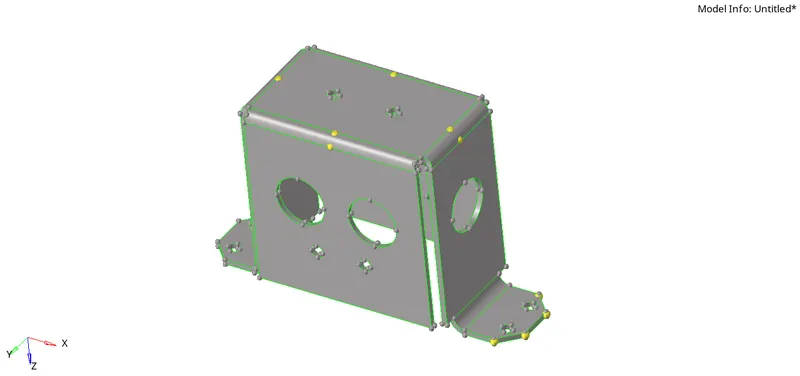
Fig 26: Imported Model
2) Geometry Cleanup
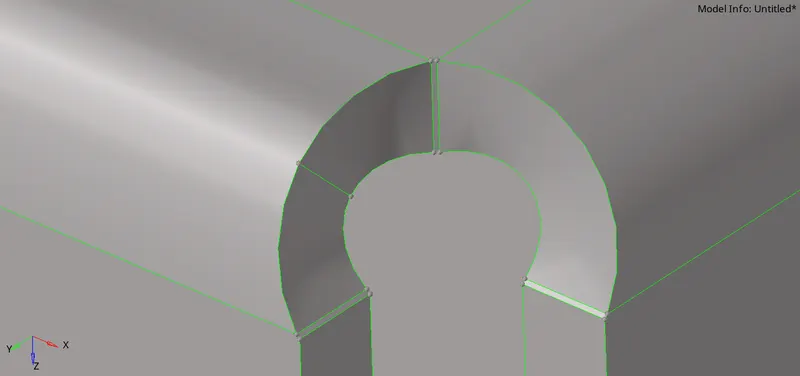
Fig 27: Before using 'replace point'
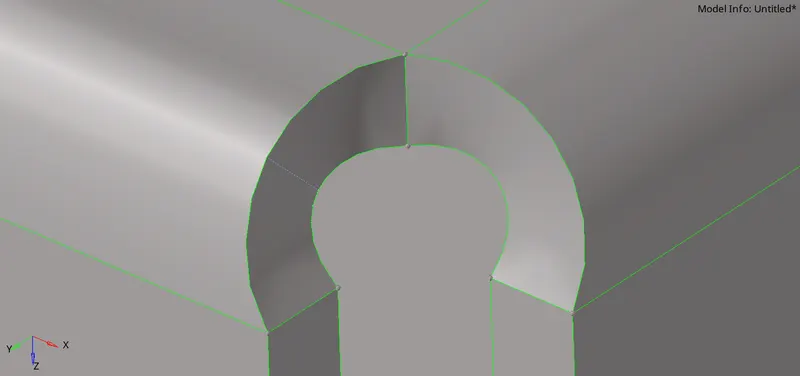
Fig 27: After using 'replace point'
3) Mid surface extraction
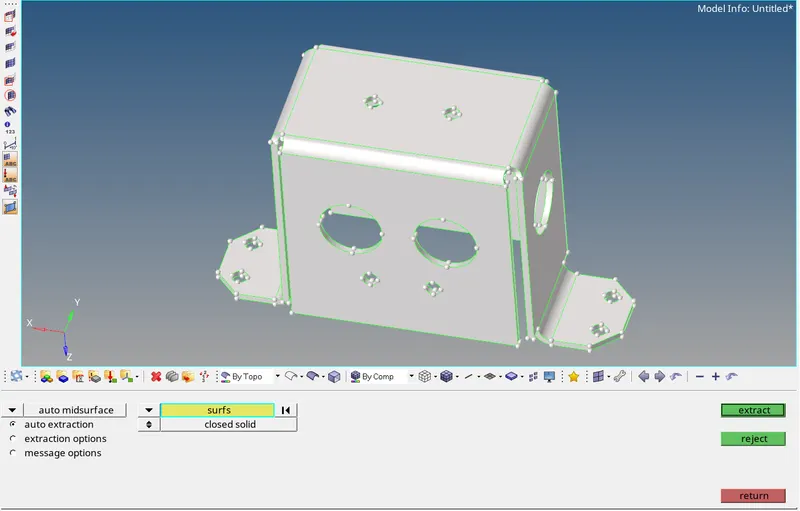
Fig 28: Midsurface extraction
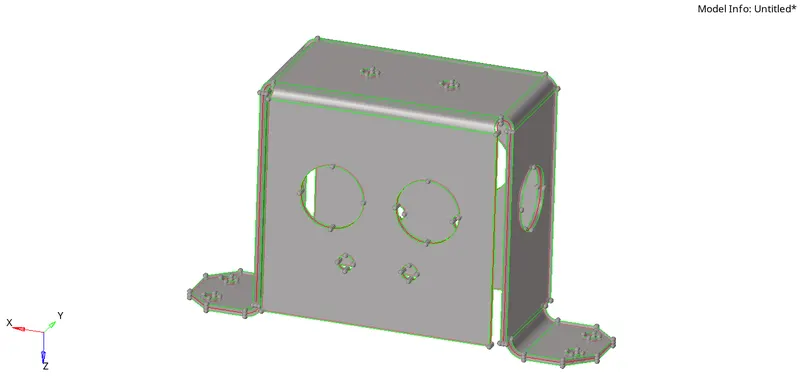
Fig 29: Midsurface extracted
4) Meshing of midsurface
Since the model is symmetrical, meshing can be performed on one half of the model and the elements can be reflected onto the other half.
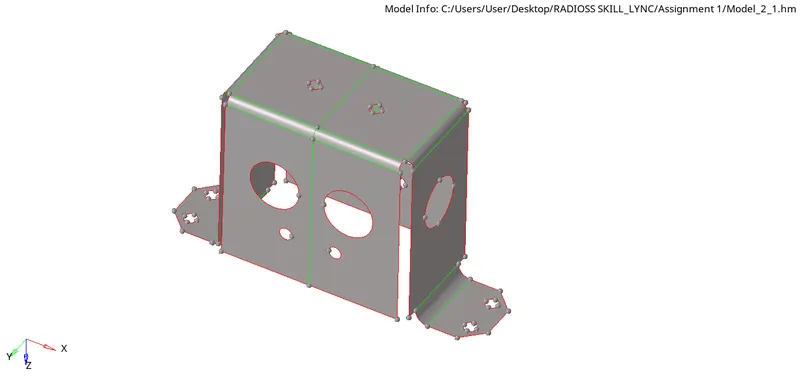
Fig 30: Surface split into two
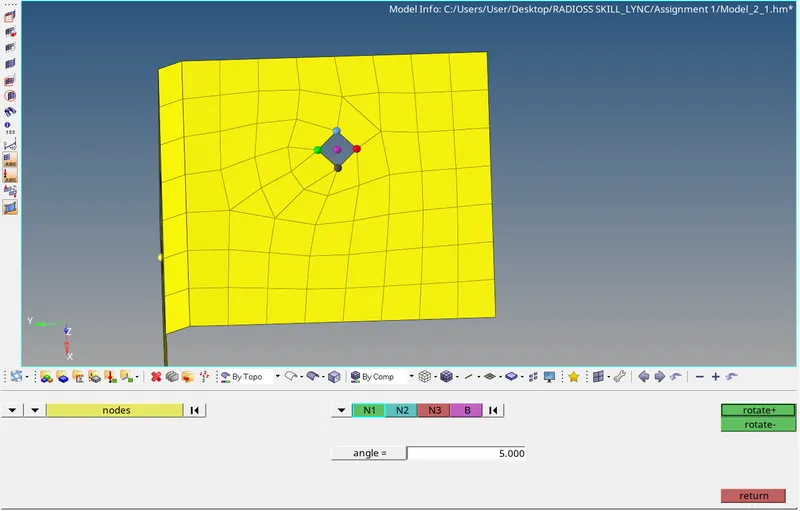
Fig 31: Rotating nodes
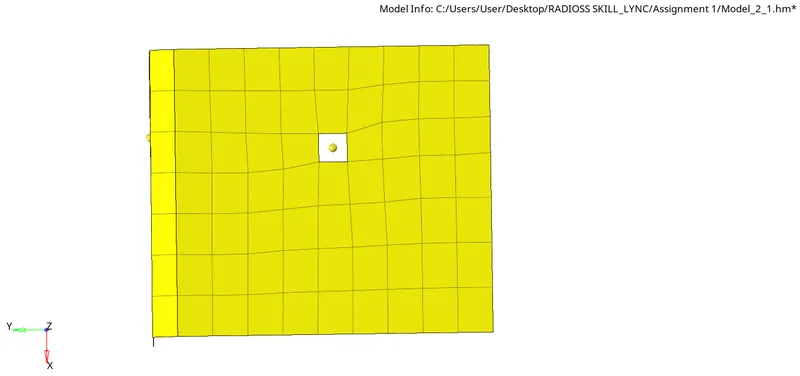
Fig 32: After rotating nodes & remeshing
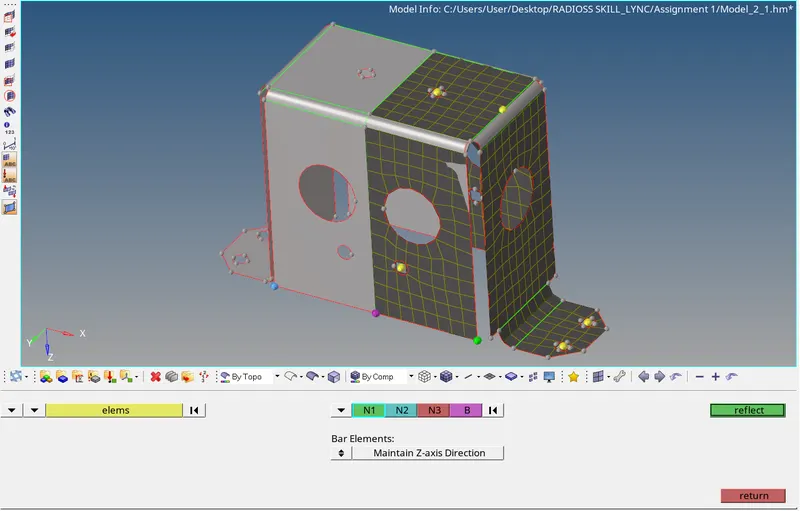
Fig 33: Reflecting Elements
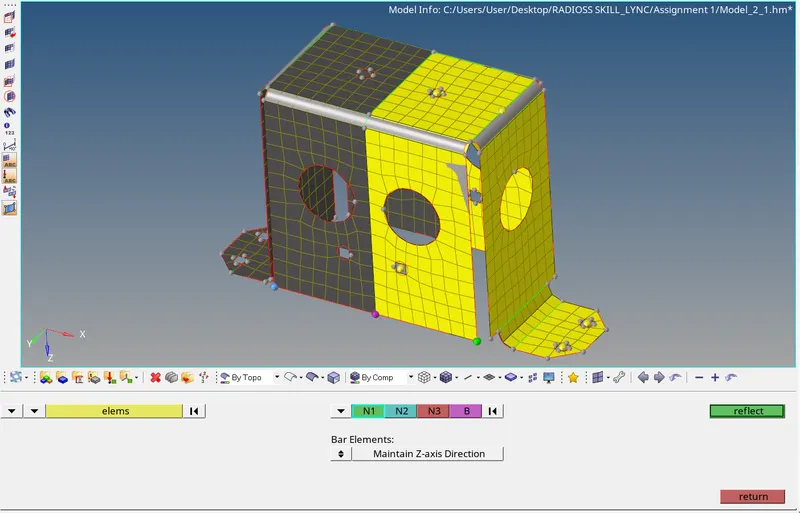
Fig 34: After Reflecting Elements
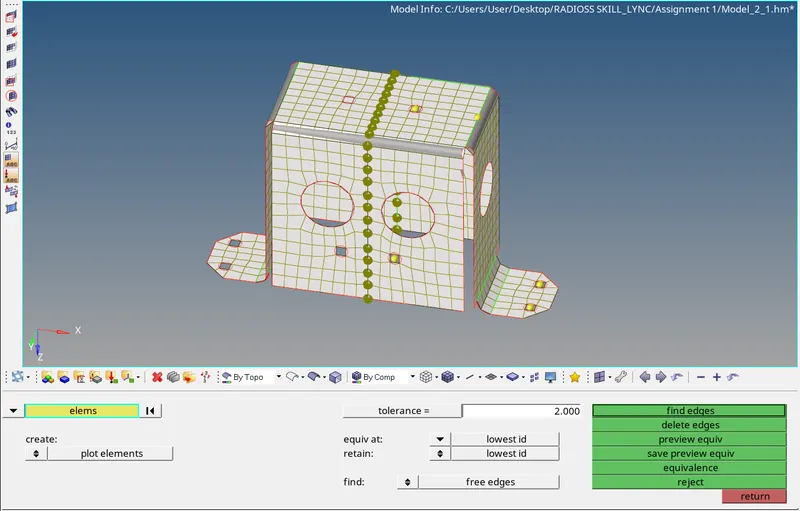
Fig 35: Checking node connectivity
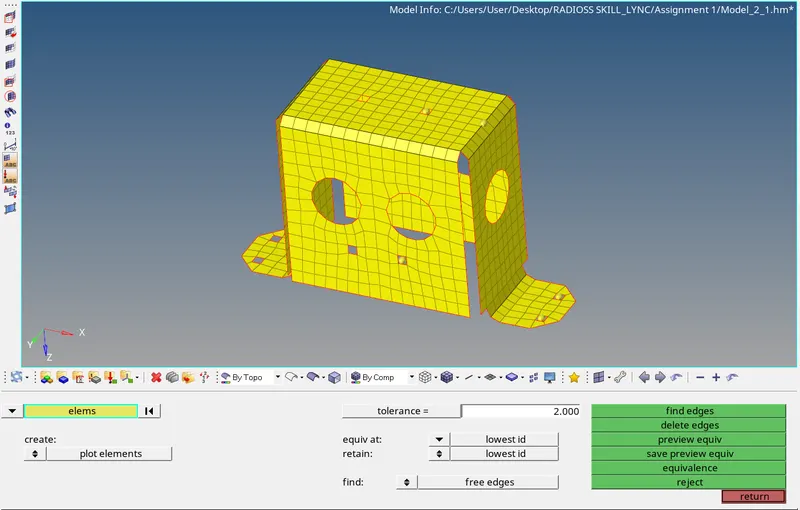
Fig 36: After equivalence
5) Ensuring quality of elements generated
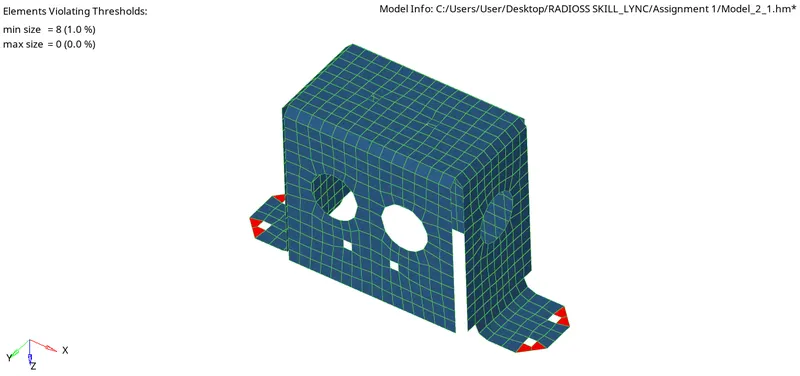
Fig 37: Quality Check
Some elements are found to be failing the quality criteria. But, it is kept as it is since it affects the feature capturing.
6) Assigning thickness
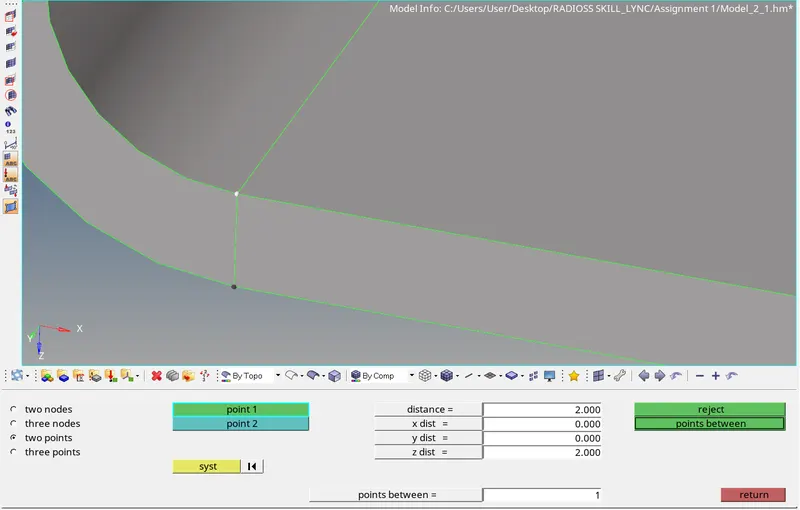
Fig 38: Measuring thickness of parent component
Under the property menu the thickness ‘T’ has to be specified.
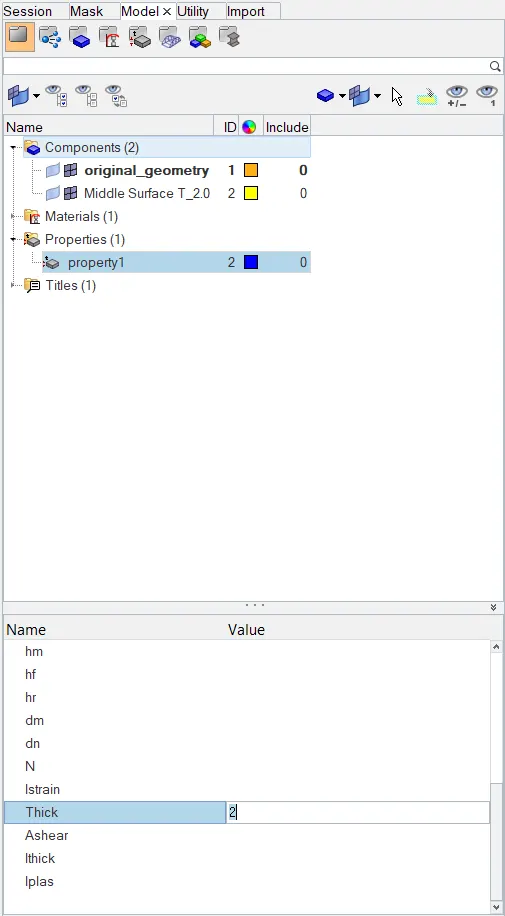
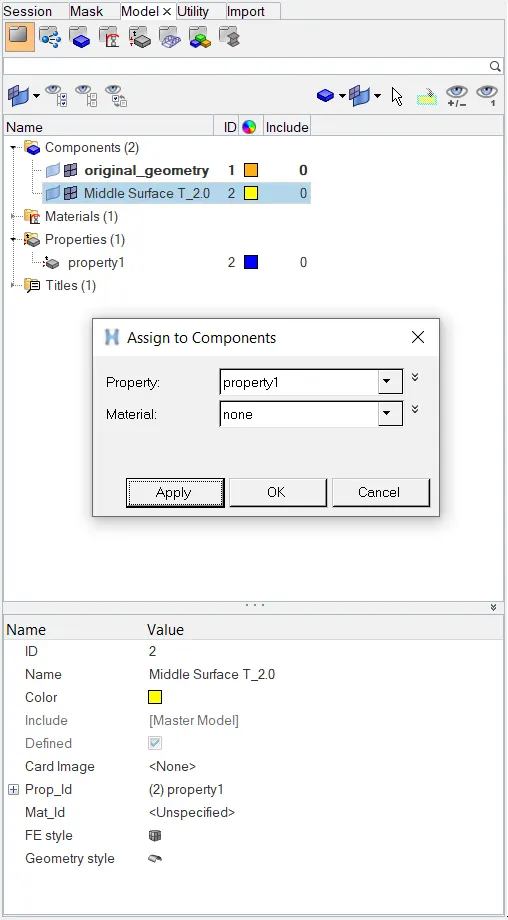
Fig 39: Assigning Thickness
FINAL MODEL IMAGE:
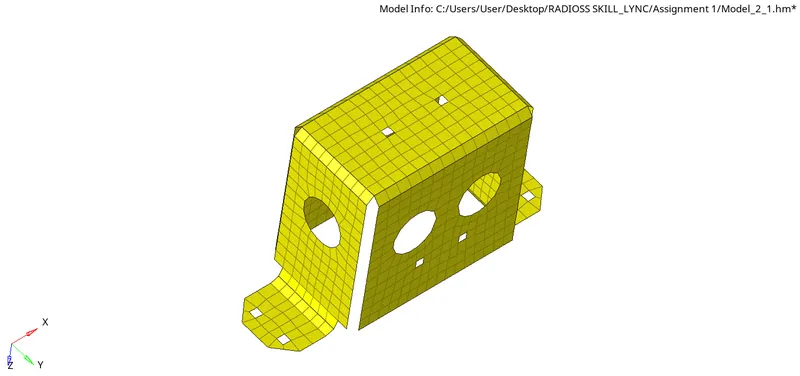
Fig 40: Meshed Model
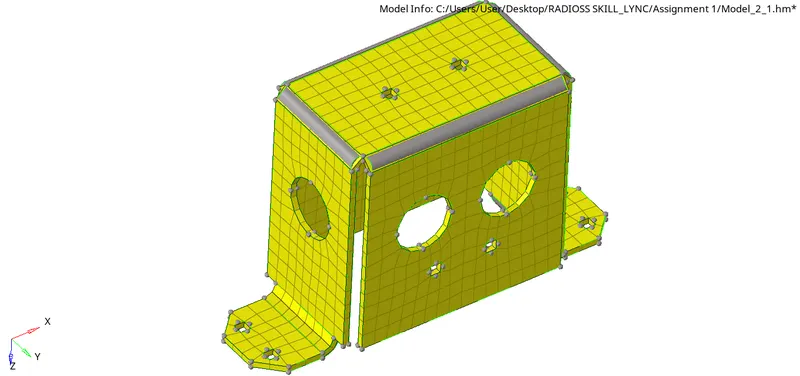
Fig 41: 2D Detailed Element Representation
MODEL – 3:
All the steps carried out for Model – 1 are also repeated for Model – 3.
1) Import the model into Hypermesh.
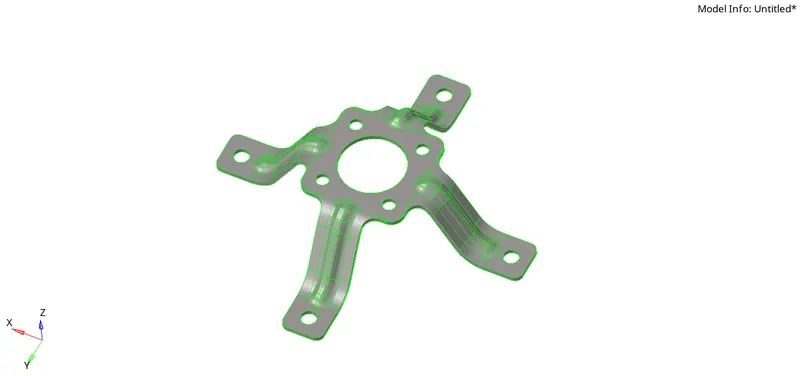
Fig 42: Imported
2) Mid surface extraction
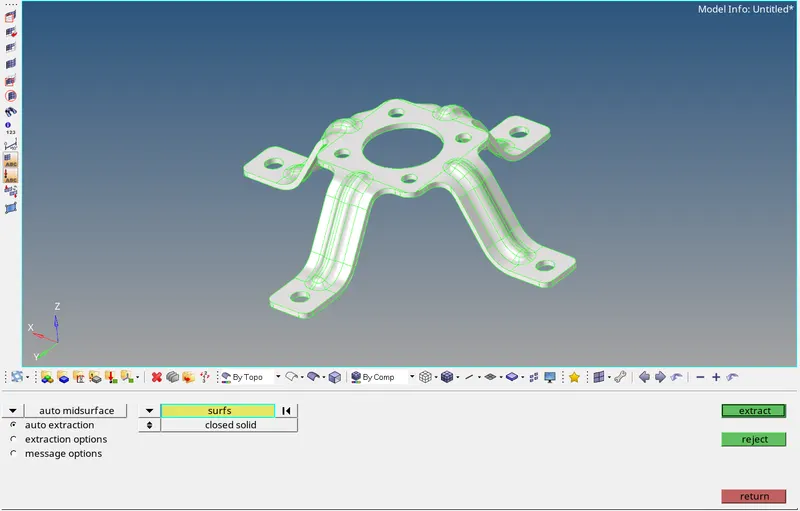
Fig 43: Midsurface Extraction
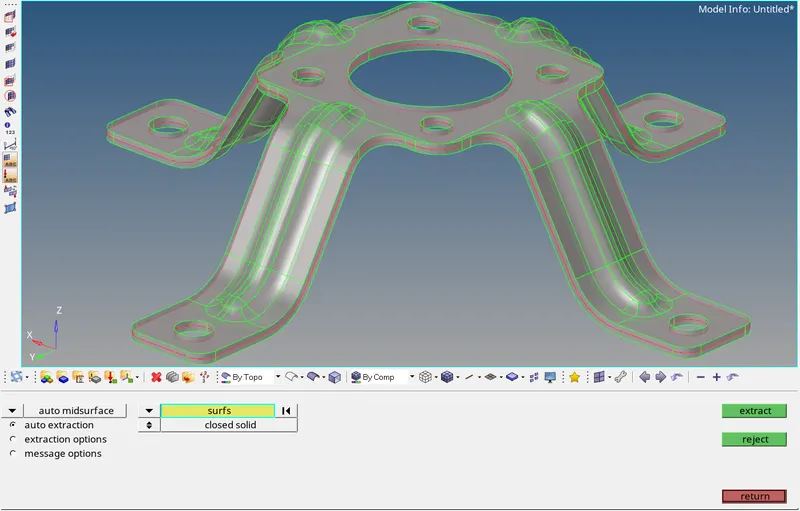
Fig 44: Midsurface Extracted
3) Mid surface cleanup
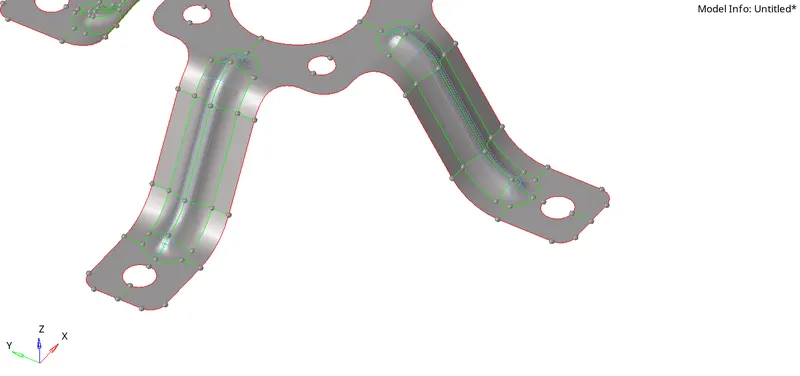
Fig 45: Toggling Lines
4) Meshing of midsurface
Since the model is symmetrical meshing can be done on one section and the elements can duplicated and rotated to obtain the mesh for the whole model.
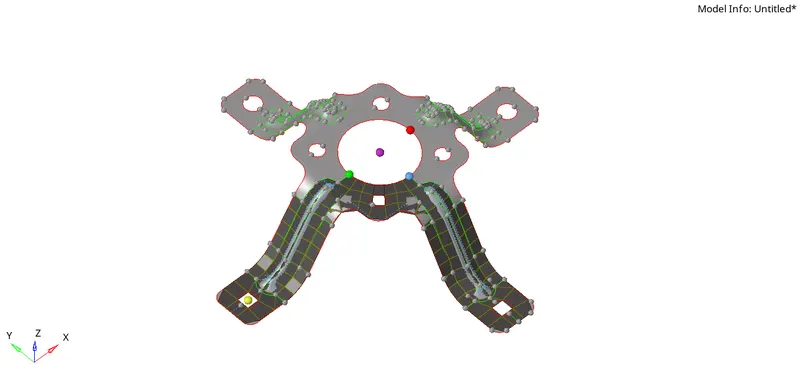
Fig 46: Rotating Elements
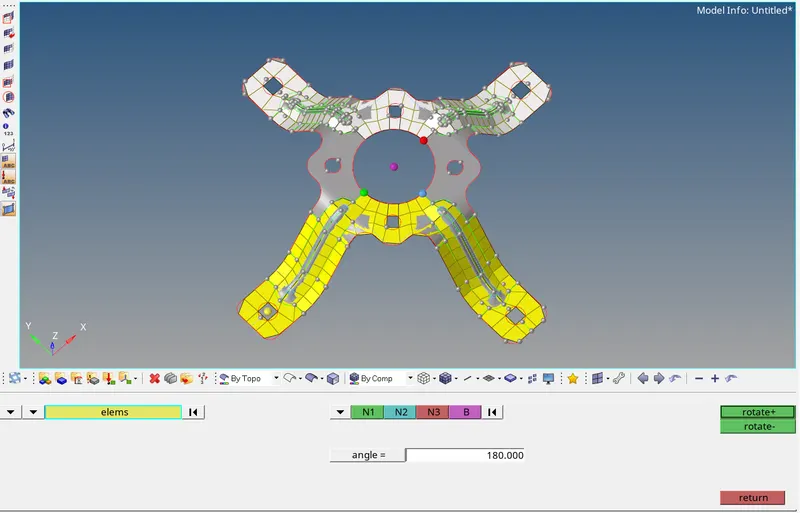
Fig 47: After Rotating Elements
5) Ensuring quality of elements generated
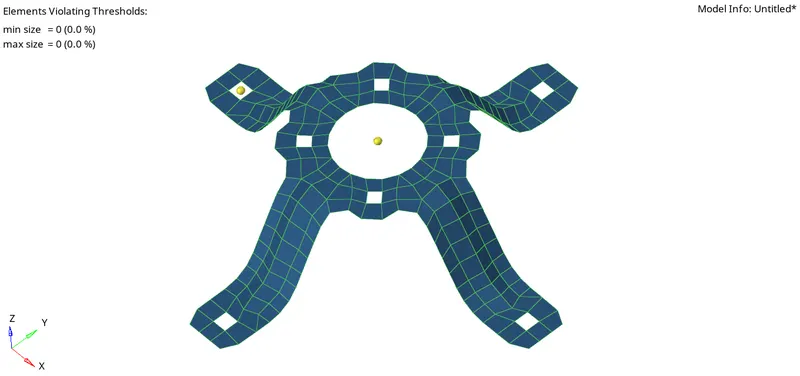
Fig 48: Quality Check
6) Assigning thickness
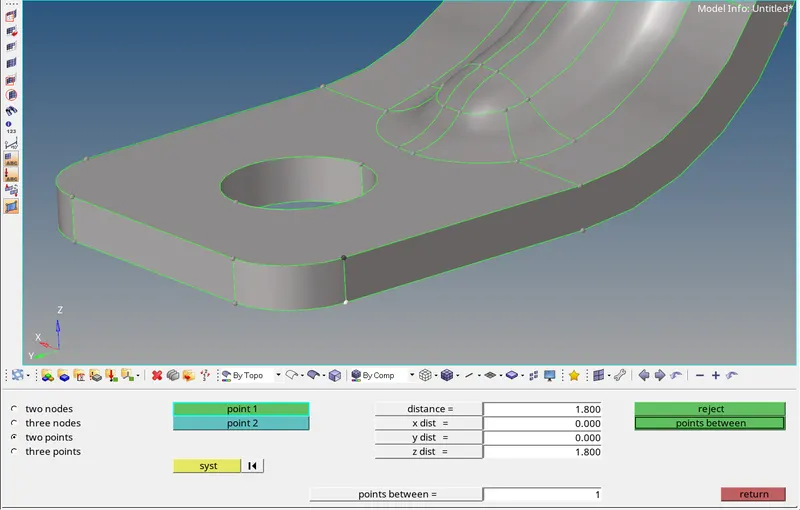
Fig 38: Measuring thickness of parent component
Under the property menu the thickness ‘T’ has to be specified.
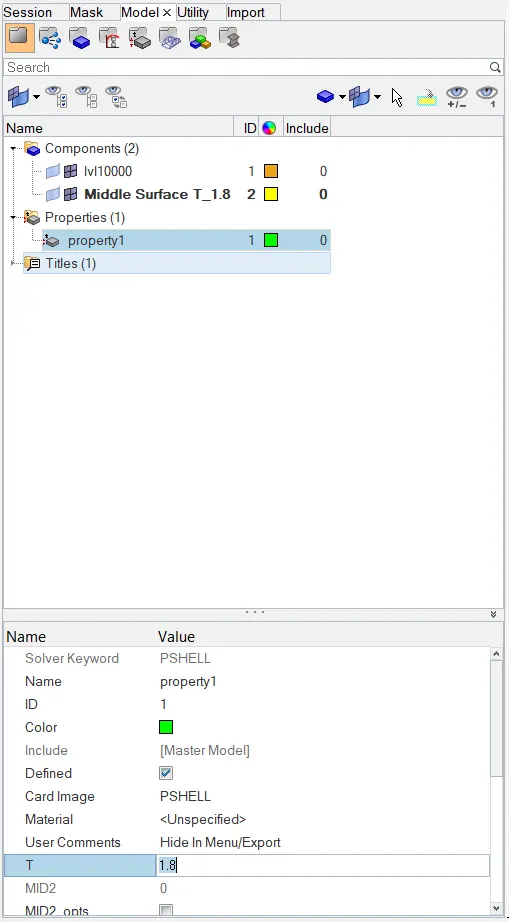
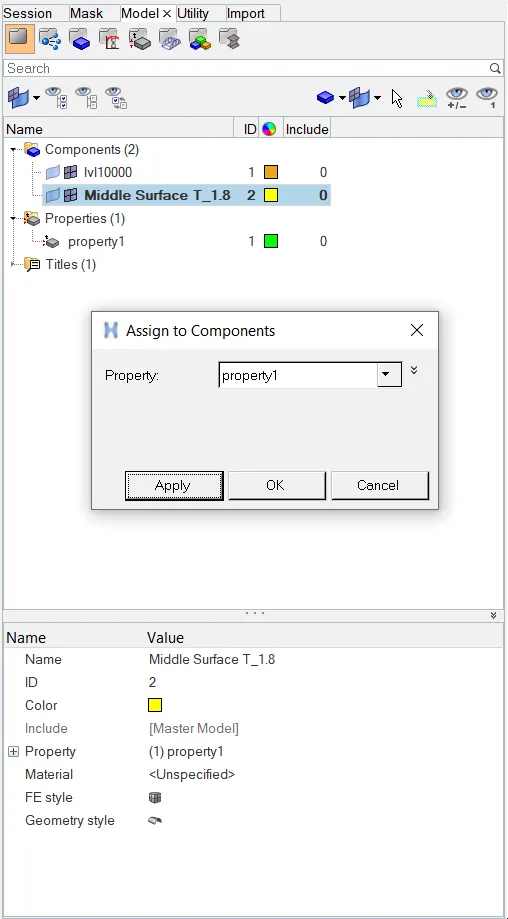
Fig 39: Assigning Thickness
FINAL MODEL IMAGE:
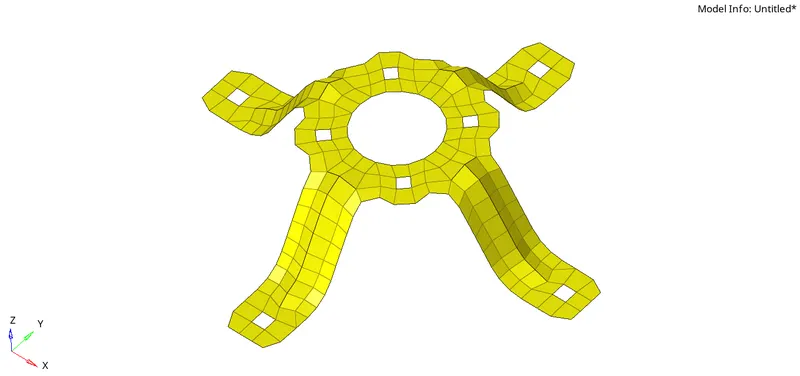
Fig 40: Meshed Model
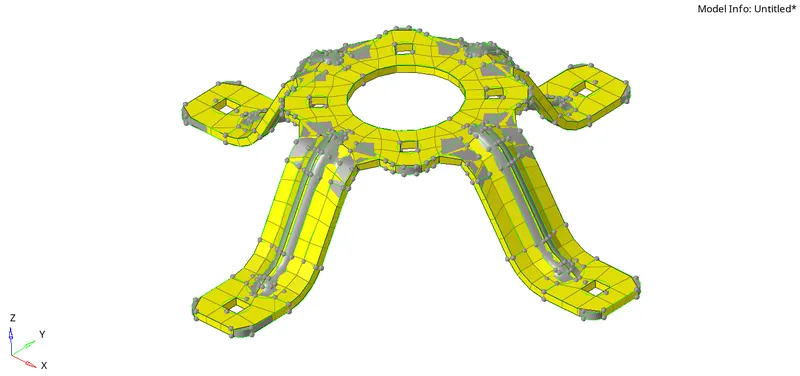
Fig 41: 2D Detailed Element Representation
CONCLUSION:
The given components were meshed according to the given quality criterias after extracting the midsurface. Also, the required thickness was assigned to the elements.
MODEL 1
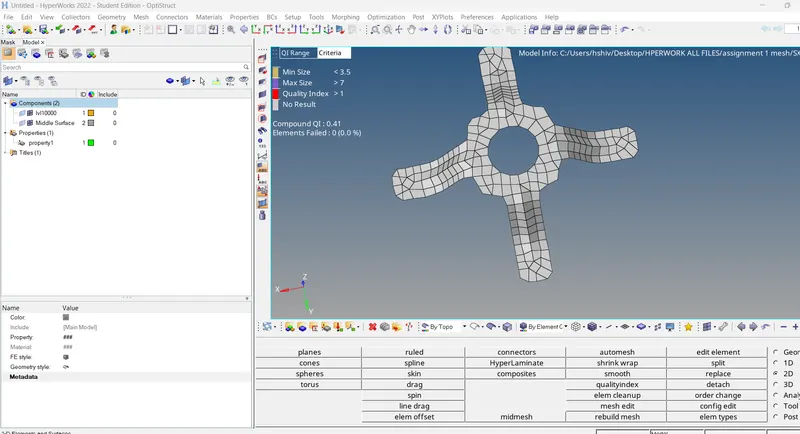
MODEL 2
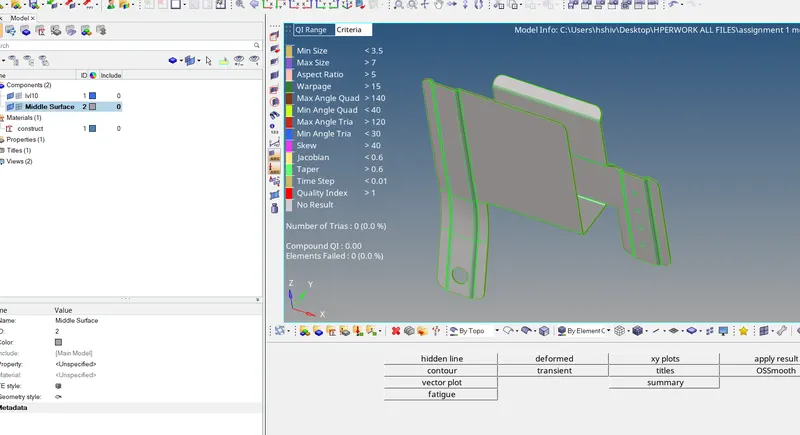
MODEL 3