Assignment 1-2D Meshing Challenge
2D Meshing
Objective:
To carry out the geometry cleanup operation on all the three files ,
Extract midsurface,
Clean midsurface geometry,
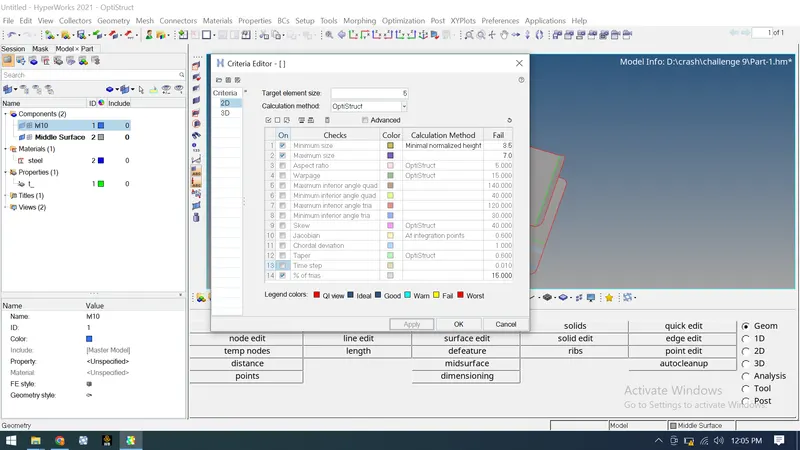
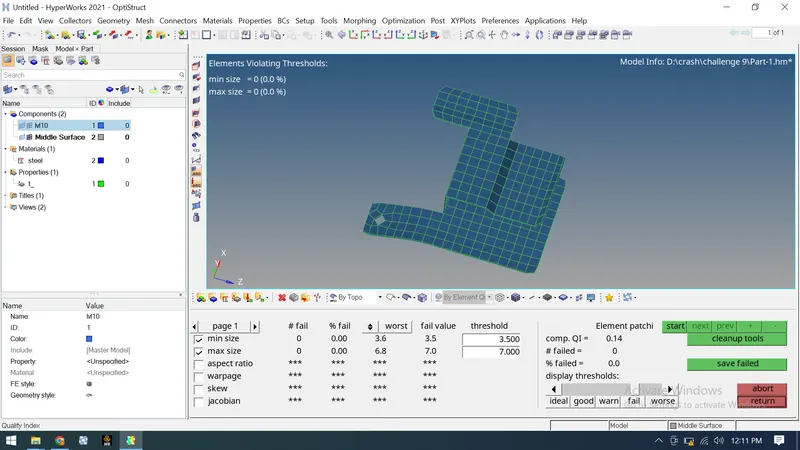
Create 2D mesh with target length 5mm, min 3.5mm max 7mm.
And assign proper thickness, by creating a generic property.
Procedure:
- Geometry Import (part 1), select > import > import model. Set the display settings to Topo mode so that it'll be easy to figureout the error and faults in the geometry.
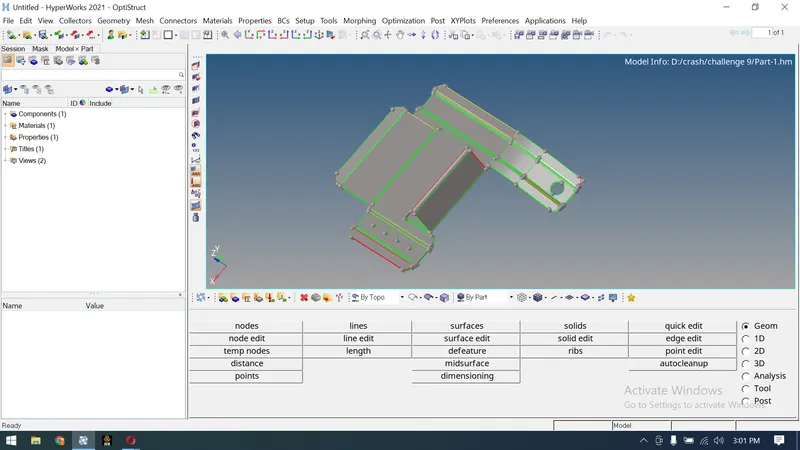
Geometry Cleanup:
- As it's clearly visible in the above image the efects in the geometry , it is necessary to run the model through geometry cleanup process to remove the unwanted red lines and yellow lines in the geometry.
- For geometry cleanup Quick edit tool panal can be used to remove red and yellow lines by toggling the lines , or by generating a new surface using filler surface or by using replace point command.
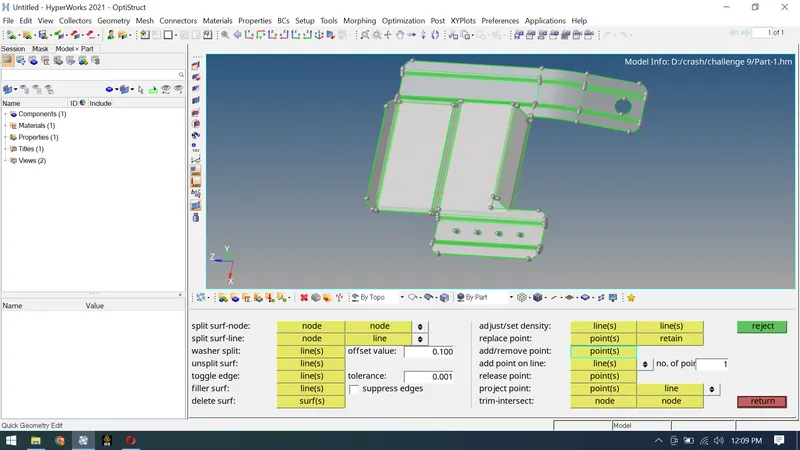
- Yellow line indicated intersection of three or more surface which can be rectified by deleting the unwanted extra surface.
- Once geometry cleanup is done the component is ready for mid-surface generation.
Mid-Surface:
- Following steps can be followed to generate mid-surface.
Geom > mid-surface > select geometry > extract
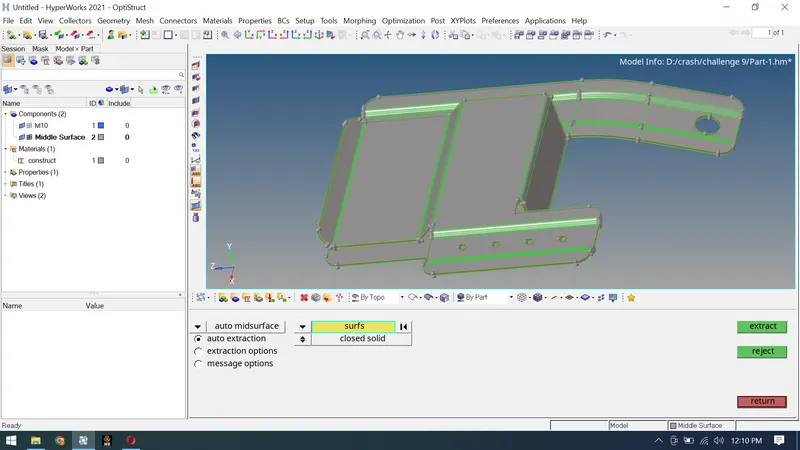
- The surface generated between the two surfaces with red color edge is the generated mid surface, for proper visibility we hide the main geometry.
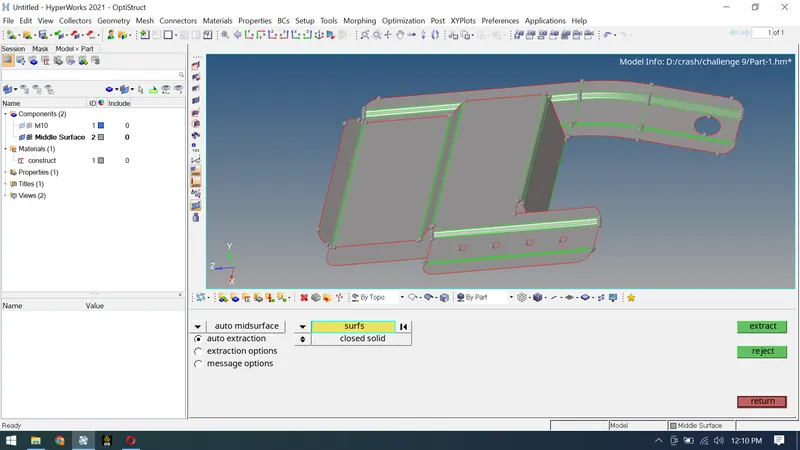
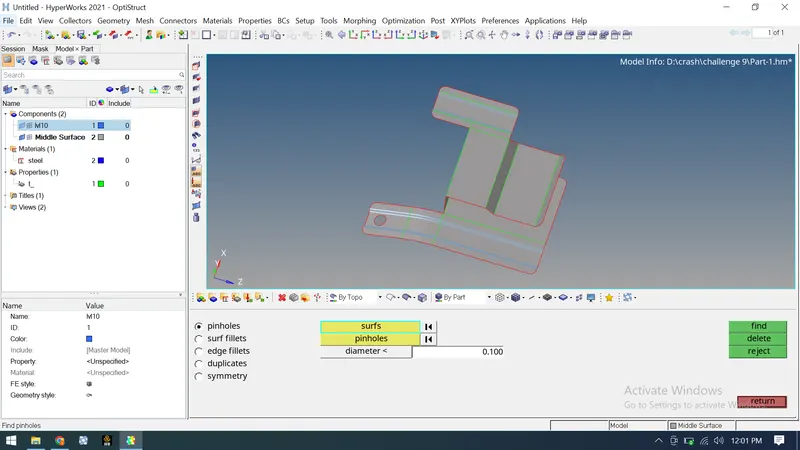
- As after measuring the fillet sizes on the geometry it is visible that the fillet size smaller than the minimum element size so it is preffered to defeature the fillets and also the holes as it's mentioned in the question to avoid holes with 5 or less diameter.
to defeature ; Geom > Defeature > Pinholes/ surface fillets/ edge fillets/ duplicated/ symmetry
Criteria Settings:
Prefrences > Criteria file settings > settings > apply
Meshing:
2D > Automesh > select surfaces > generate mesh
before hitting generate mesh it is important to select mesh type and size , here in this case the size of mesh is 5 and type is mixed.
Once the mesh is generated to rectify the mesh verious features like quality index and rebuilt mesh are used to improve the quality.
Thickness:
Once the mesh is generated only thing left to finishthe operation is converting the 2D mesh to 3D by applying thickness.
To apply thickness a material card and a property card is created .
In property card T= 0.91 is applied and material is assigned , one done the component is applied with property card
Now the mesh is ready to disply in 3D format , to display in 3D change the setting to 2D detailed elements,
following are the results for part 1;
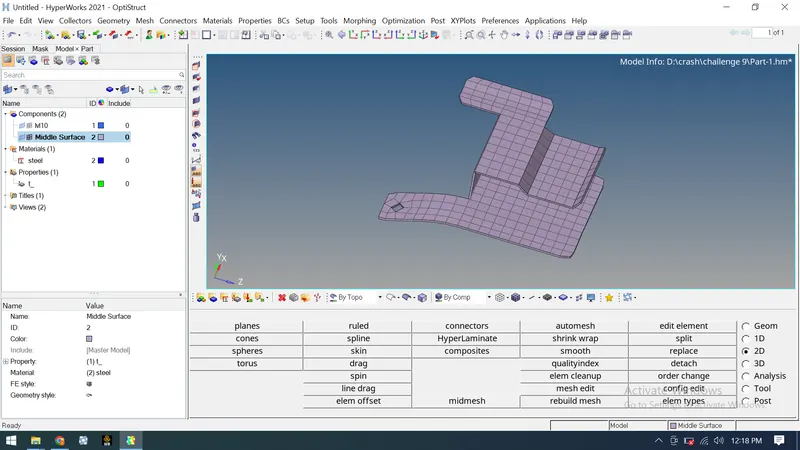
similarly , same procedure is followed for Part 2 and Part 3;
following are the results for Part 2;
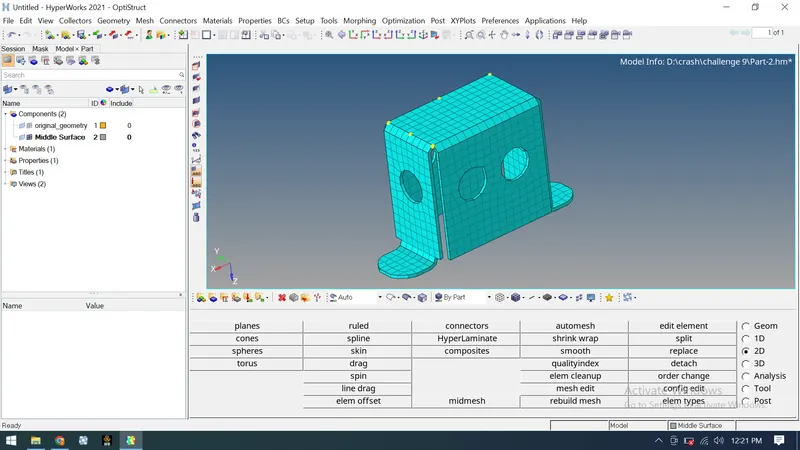
following are the results for Part 3;
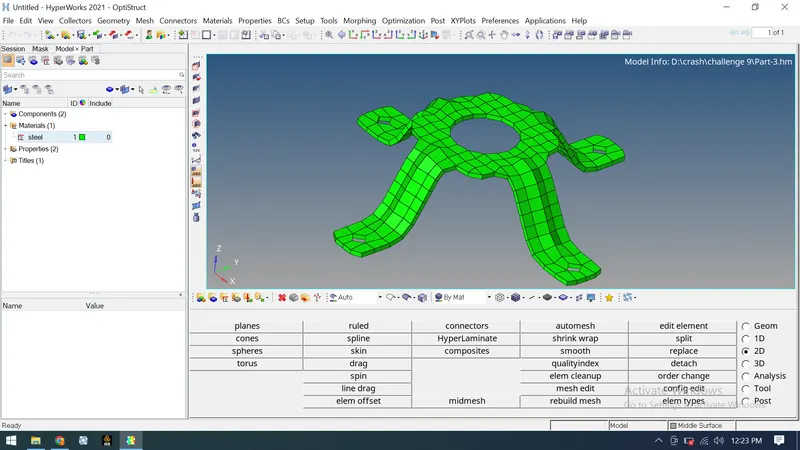
Conclusion:
- Extracted the mid surface and performed the geometry clean-up on the given components.
- Generated a 2D mesh on the given components by following the element quality criteria.
- Finally, assign the thickness for the given components.