Assignment 1-2D Meshing Challenge
Aim: The given models are meshed using the 2D mesh in the Hypermesh software.
Objective: The given models are to be meshed with good mesh flow and follow the given quality criteria. The models are cleaned up for geometry errors, extract mid surface, cleanup mid surface, 2D meshing surface and assign thickness to mesh using the property card.
The following the given quality criteria is to be followed:
- Target Length: 5 mm
- Maximum Length: 7 mm
- Minimum Length: 3.5 mm
Procedure:
There are three models given. The parts are downloaded and saved.
The part-1 is opened in the Hypermesh software with radioss option.
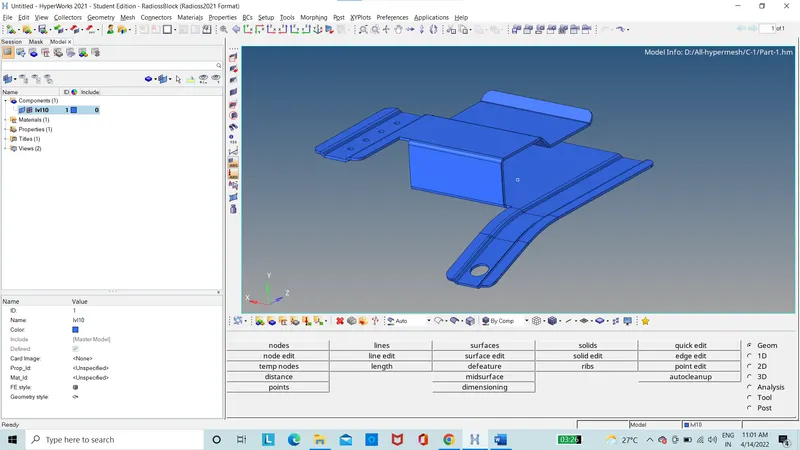
Figure 1: Part-1 in Hypermesh
The part is opened in the mixed option.
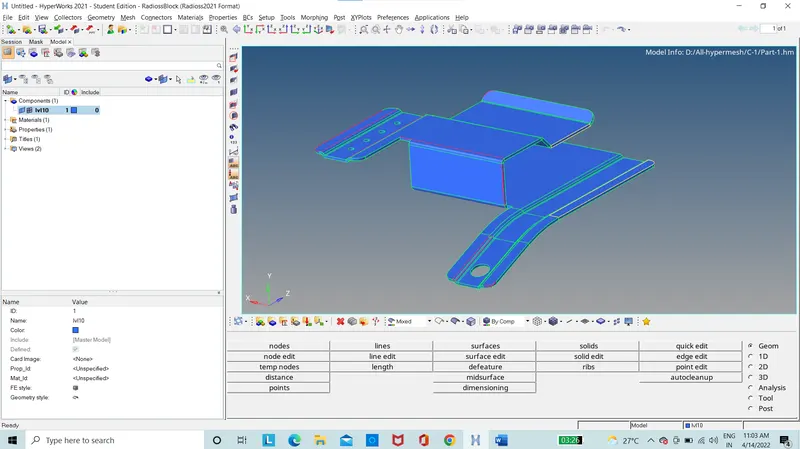
Figure 2: Part-1 with geometry errors
The part is cleaned up using the auto-cleanup option.
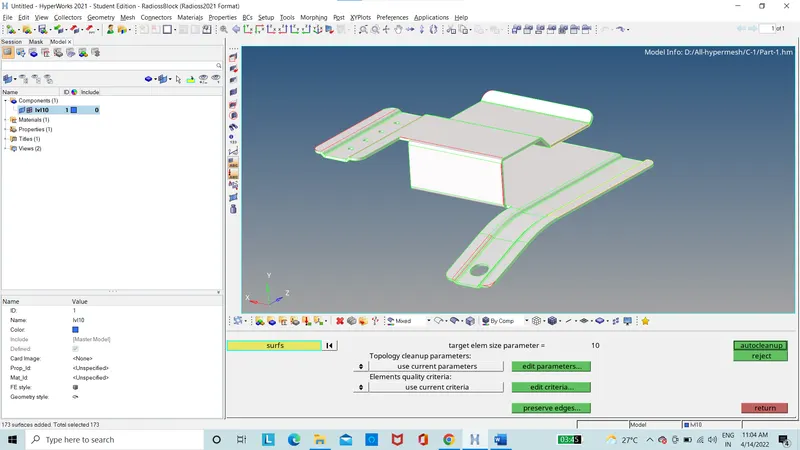
Figure 3: Part-1 before auto-cleanup
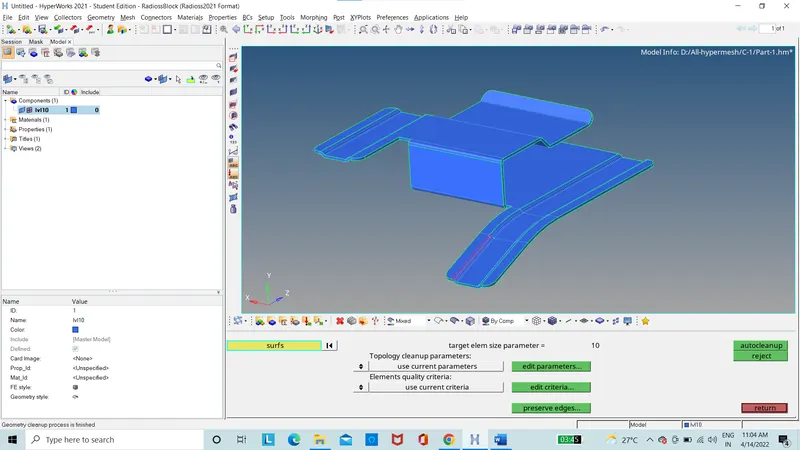
Figure 4: Part-1 after auto-cleanup
The missing surface is created using the filler option.
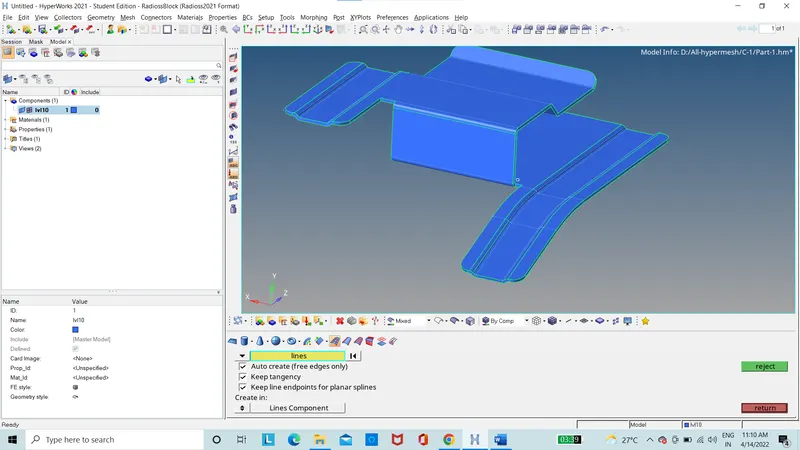
Figure 5: Part-1 after geometry cleanup
The lines are toggled using the quick edit.
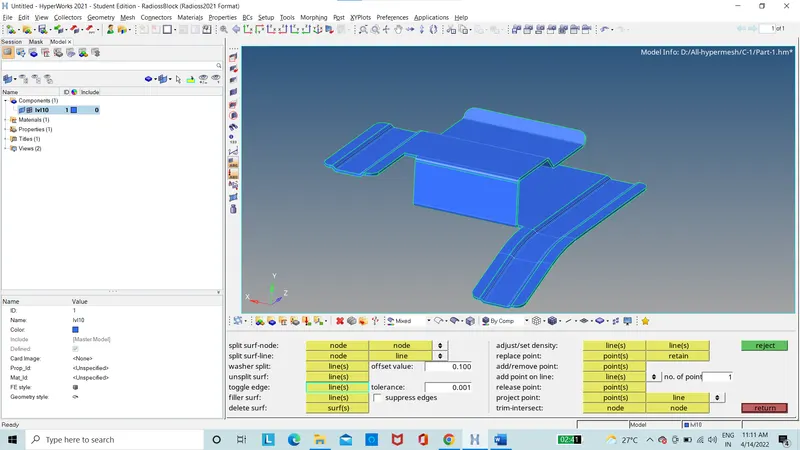
Figure 6: Part-1 Cleanup geometry
The mid-surface is created using the auto mid surface option.
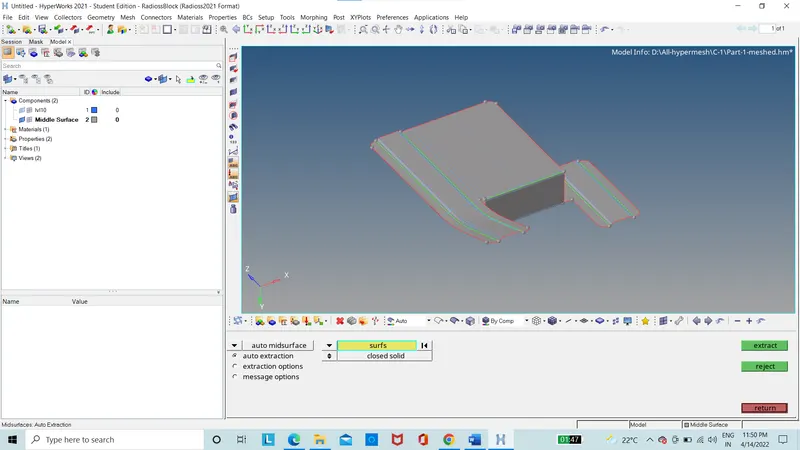
Figure 7: Mid-surface of Part-1
The mid surface is meshed with the 2D elements
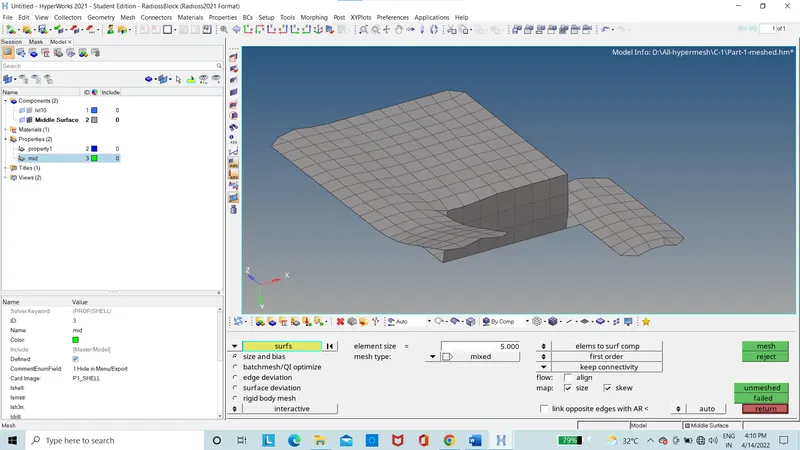
Figure 8: Mid-surface with mesh
The mid surface is checked for quality criteria which should pass all the given criteria with zero failure elements.
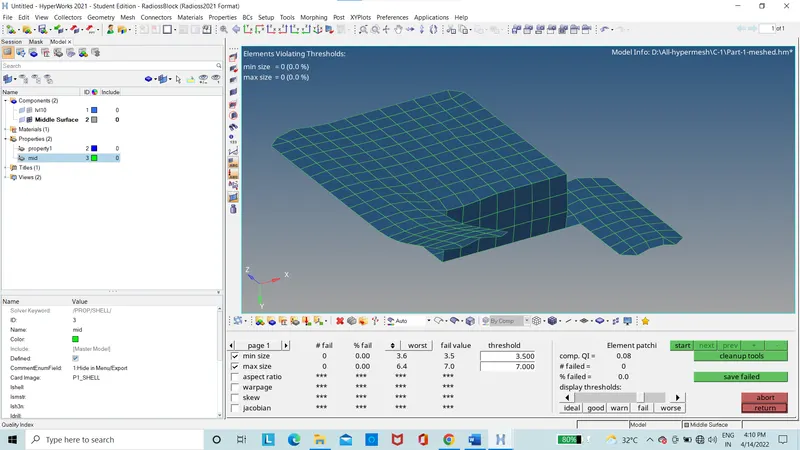
Figure 9: Mid-surface with Quality criteria
The mid surface is assigned with the thickness using the property card with Pshell option with thickness as 0.9mm.
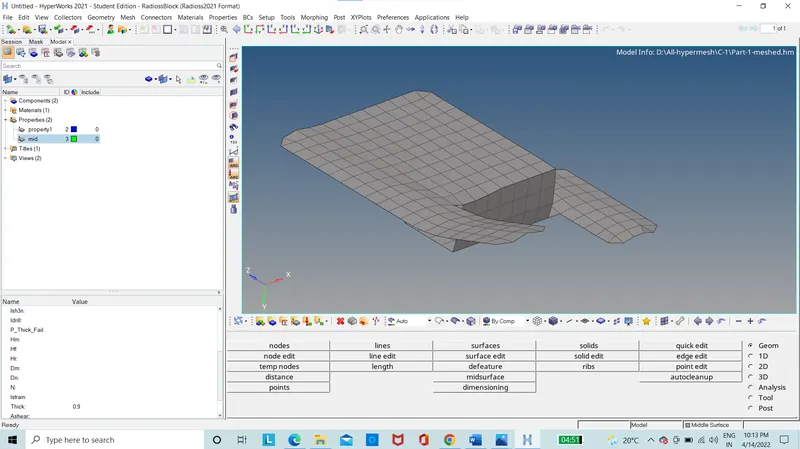
Figure 10: Mid-surface with thickness
The model is saved in the .hm format.
The Part-2 is opened in the Hyper-mesh and checked for geometry errors.
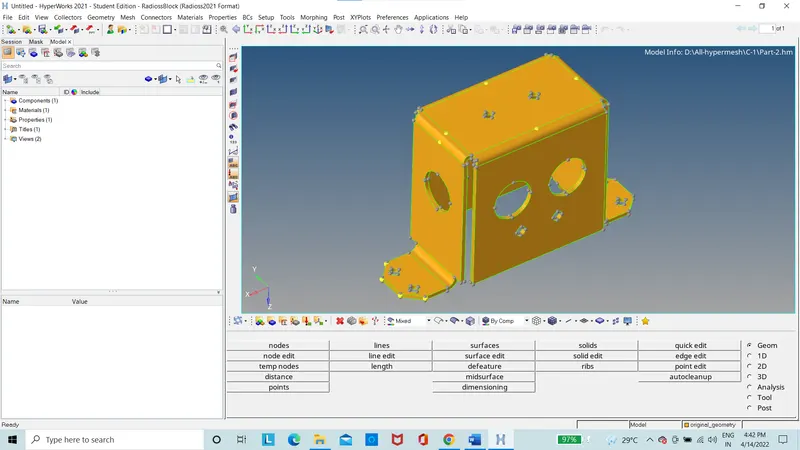
Figure 11: Part-2 Model
The mid surface is created using the “offset” option.
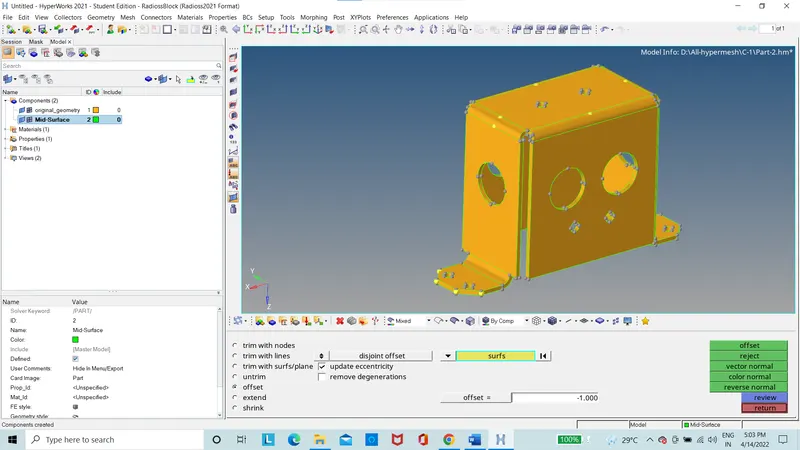
Figure 12: Mid-surface of Part-2
The mid surface is divided into parts by the using the quick edit and the holes are of 5 mm are also closed.
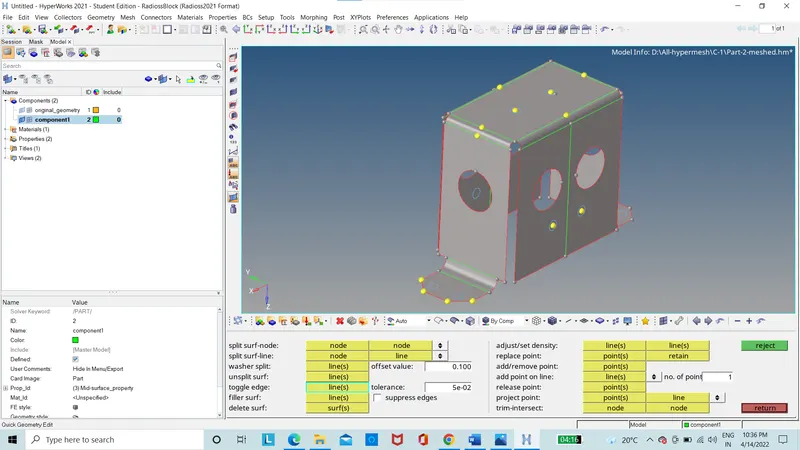
Figure 13: Mid-surface Cleanup
The mid surface is meshed using the auto mesh option.
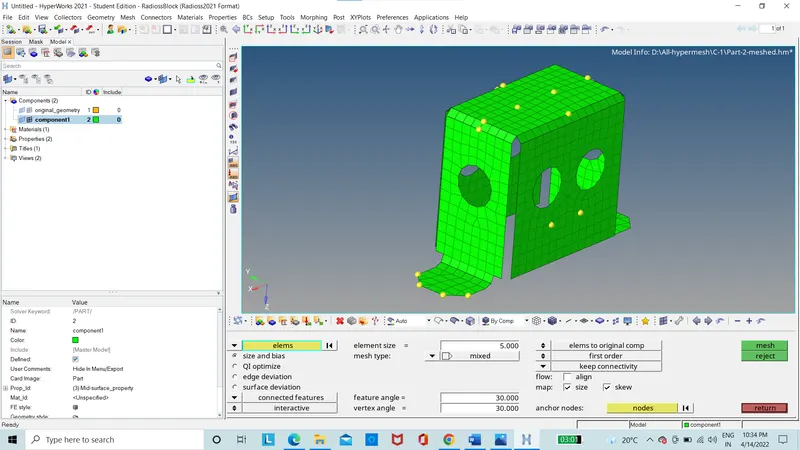
Figure 14: Meshed mid-surface
The mesh is checked for the quality criteria.
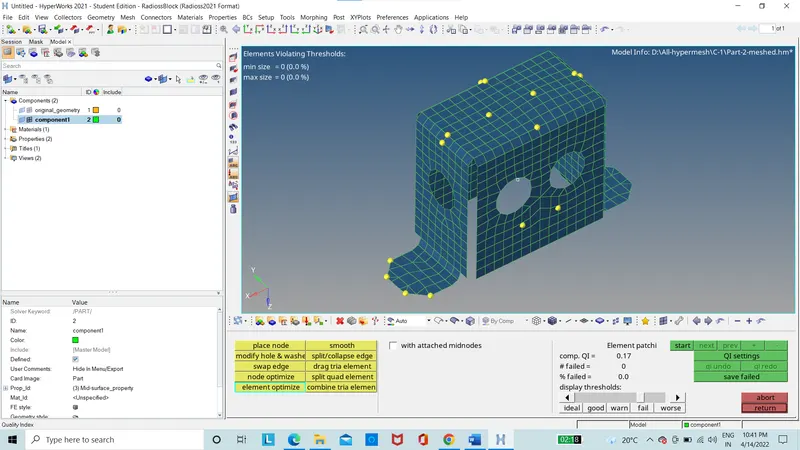
Figure 15: Meshed with Quality criteria
The nodes are cleared.
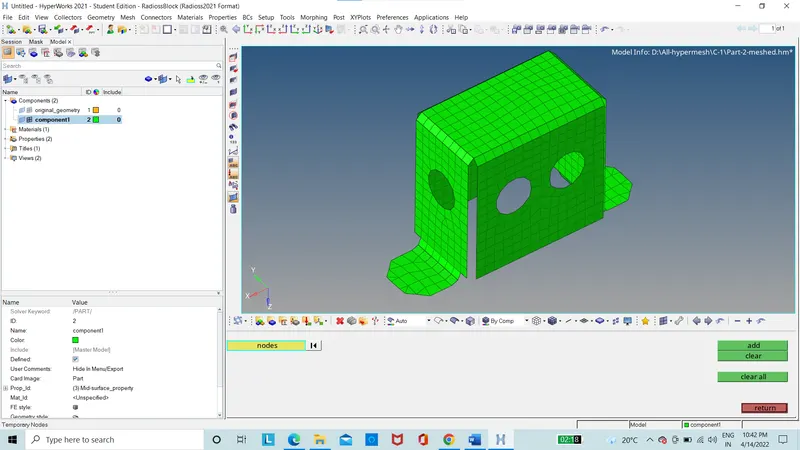
Figure 16: Clean mesh
The thickness of 2 mm is assigned using the property card with Pshell option.
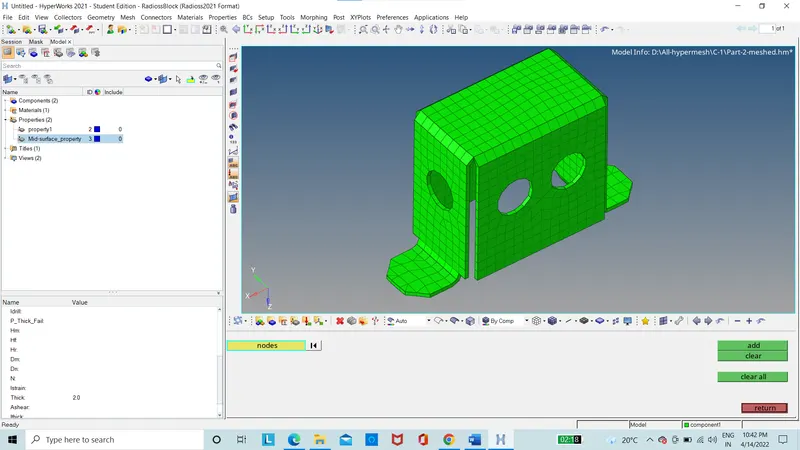
Figure 17: Mesh with thickness
The part-3 is opened in the hypermesh software and geometry error is checked.
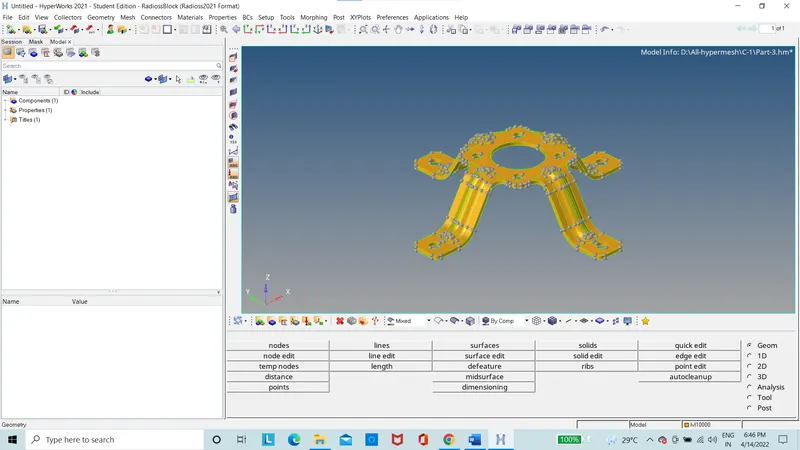
Figure 18: Part-3 Model
The mid surface is created.
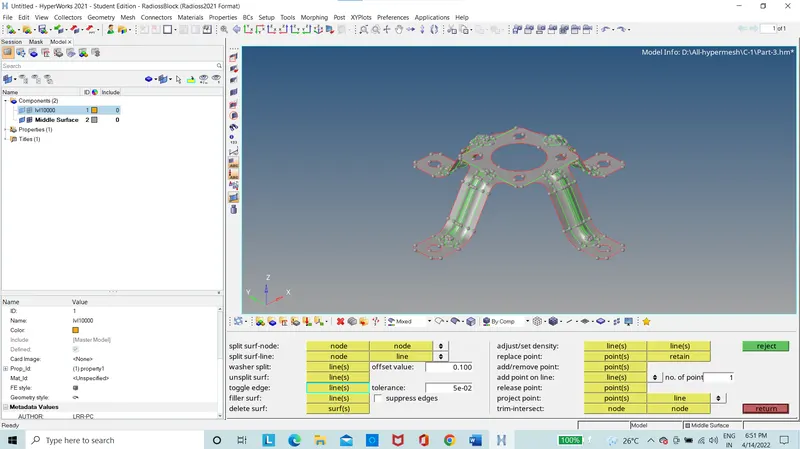
Figure 19: Mid-surface of Part-3
The mid-surface is now closed with hole of 5 mm and toggle lines.
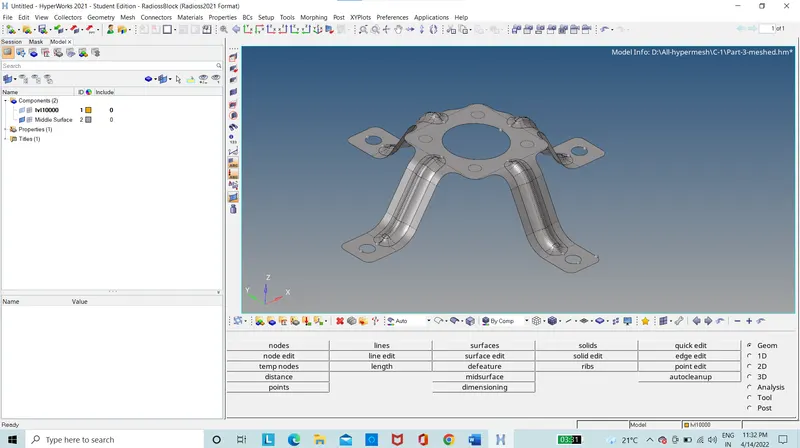
Figure 20: Mid-surface Cleanup
The mid surface is meshed using the auto mesh option.
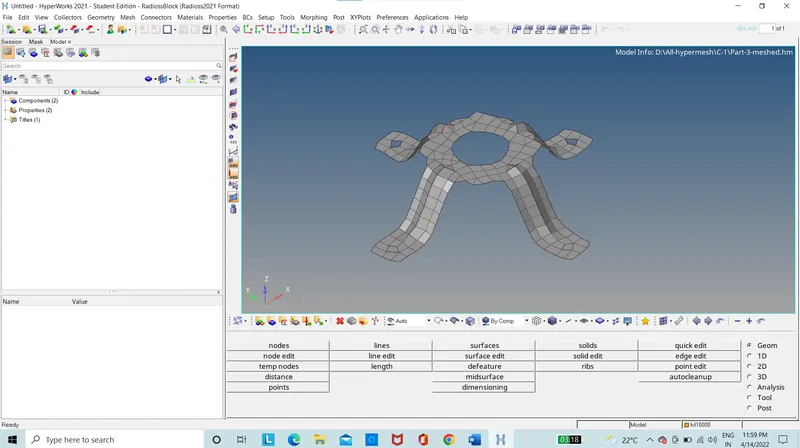
Figure 21: Meshed mid-surface
The mesh is checked for the quality criteria.
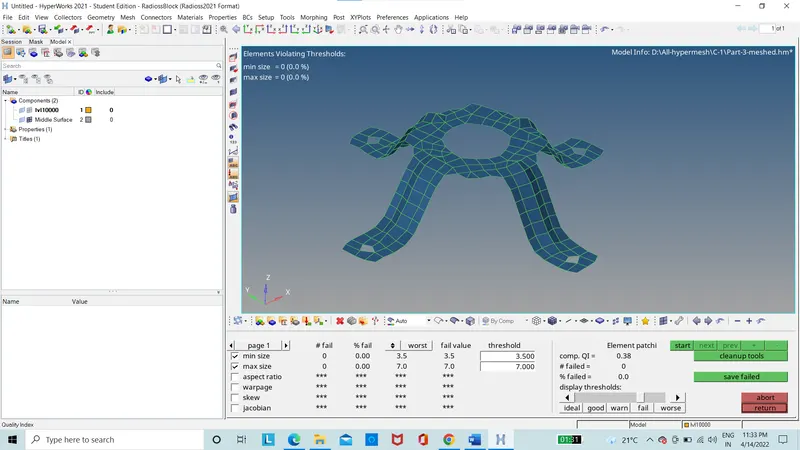
Figure 22: Meshed with Quality criteria
The thickness of 1.8 mm is assigned using the property card with Pshell option.
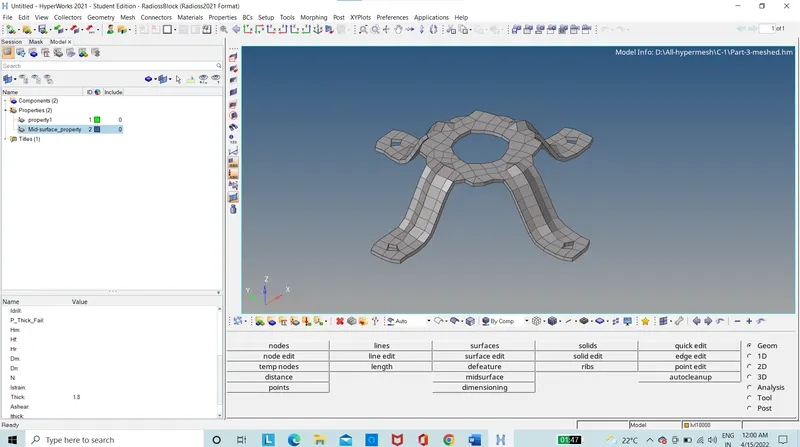
Figure 23: Mesh with thickness
Results:
The part-1 model is meshed with proper flow and given quality criteria.
Figure 24: The Part-1
The part-2 model is meshed with proper flow and given quality criteria.
Figure 25: The Part-2
The part-3 model is meshed with proper flow and given quality criteria.
Figure 26: The Part-3
Conclusion:
The given three model are meshed with 2D elements by extracting the mid-surface and proper mesh flow is followed.