Assignment 1-2D Meshing Challenge
Assignment 1-2D Meshing Challenge
Objective: To Perform 2D meshing on given components.
Problem Statement:
Geometry Cleanup Exercise:
Carry out the geometry cleanup operation on the given 3 files.
- Practice
- Clip Repair
- Mounting Bracket
There should not be any free edges, convert all of them into refined geometry.
- Clean the geometry.
- Extract mid surface.
- Clean mid-surface geometry.
- Ignore holes less than dia 5mm.
- Create 2D mesh with target length 5mm, min 3.5mm max 7mm.
- And assign proper thickness, by creating a generic property.
Procedure:
Part1
1) Import the given model file.
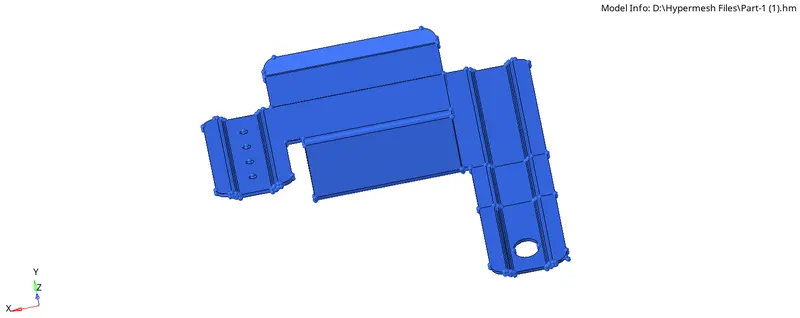
2) View the component as per Topo mode.
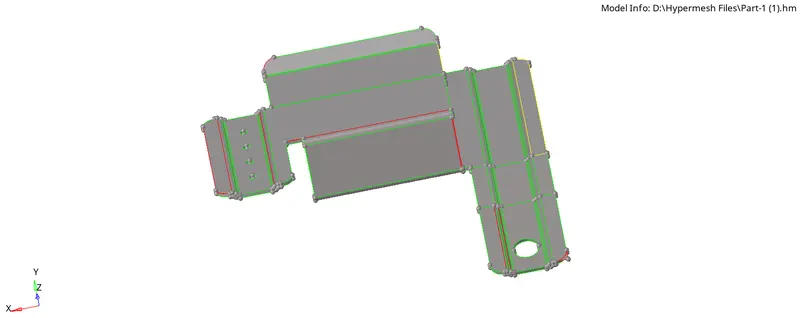
We can see some red lines between the surfaces that show that these surfaces are not connected with each other. The yellow line shows there might be some duplicate surfaces.
3) Perform the manual geometry cleanup operation.
Go to the quick edit panel and use the toggle edge option.
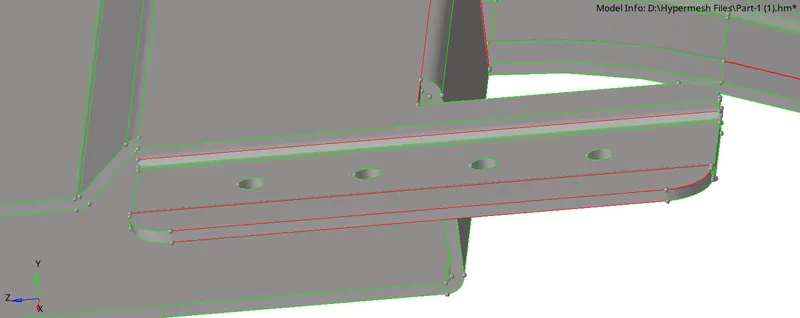
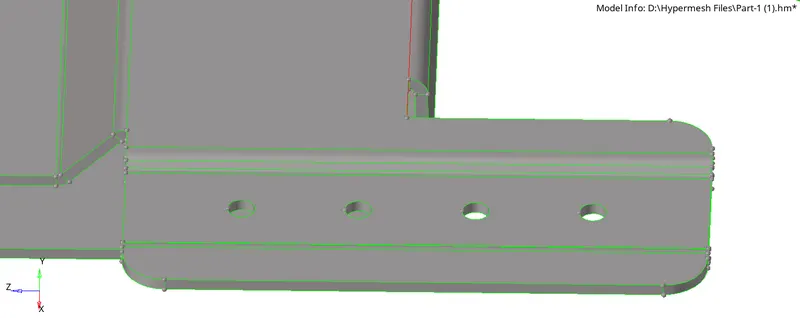
Delete the duplicate edges
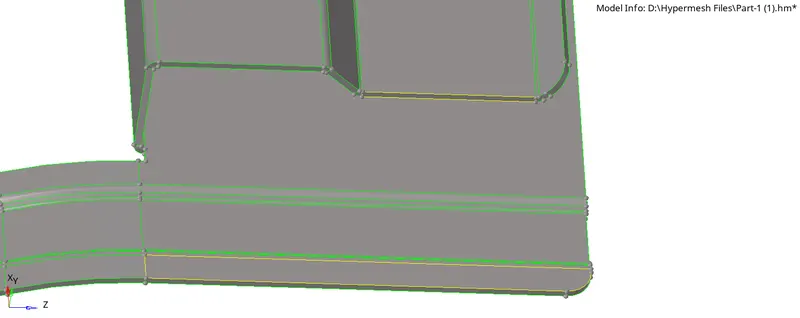
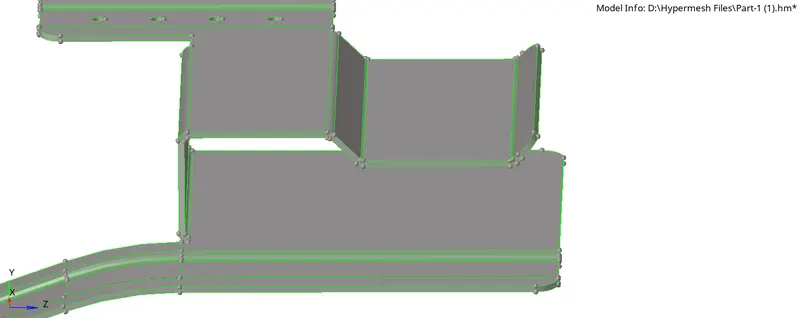
Delete the unwanted surfaces.
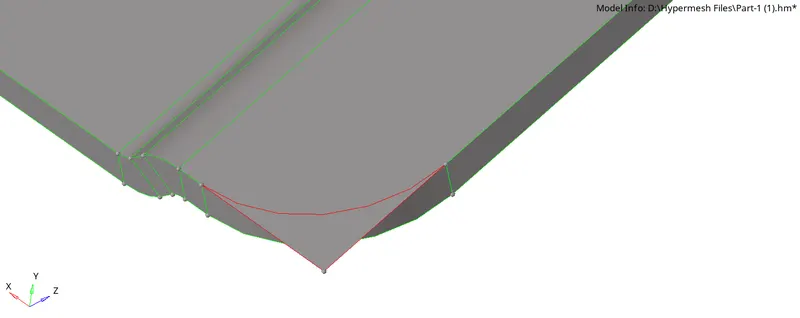
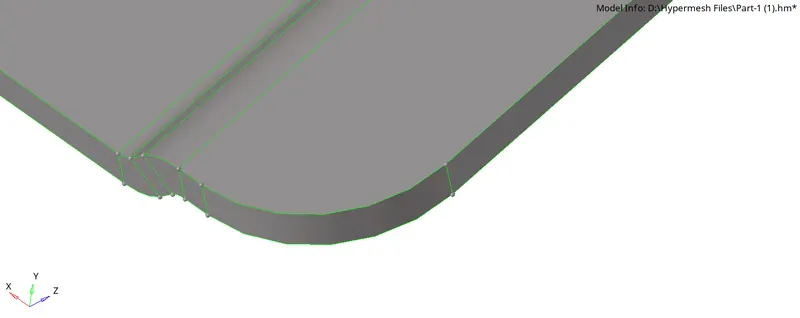
View the model in wireframe mode to check if there are any free edges or not.
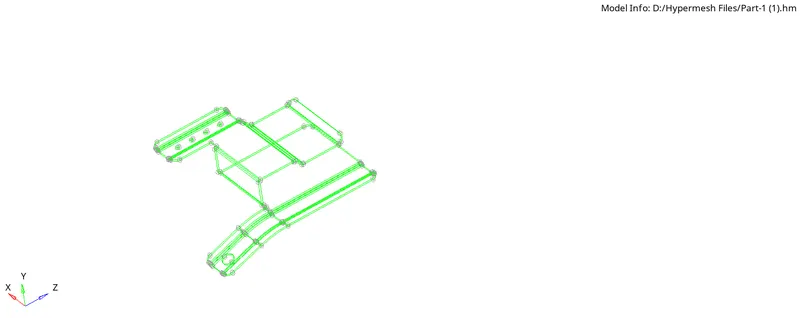
Go to defeature to remove unwanted surface fillets
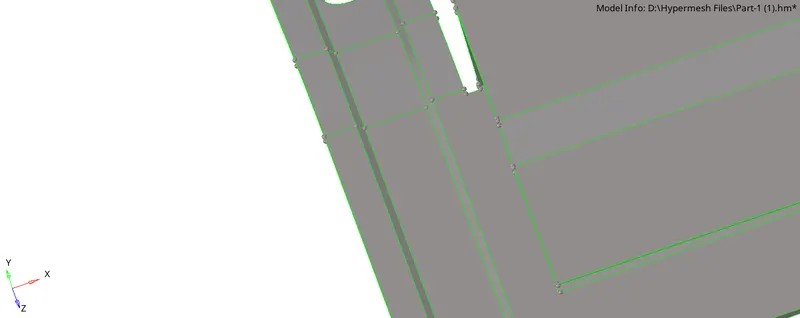
After completing the geometry clean up go to mid-surface to extract mid-surface.
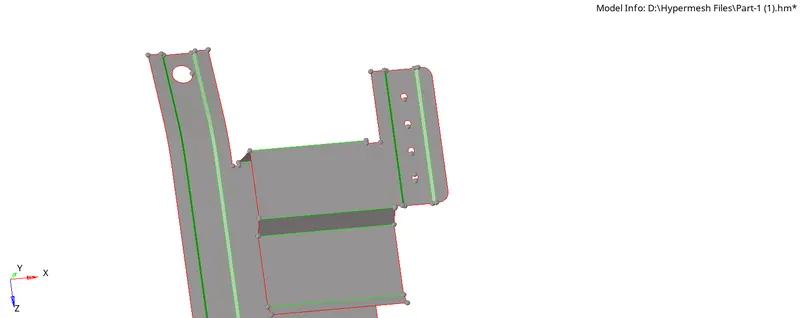
Measure the diameter of the holes if the diameter is less than 5 mm then fill them using the surface filler option.
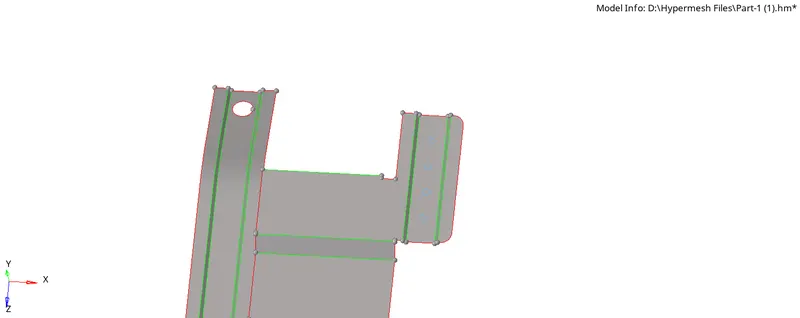
4)Go to 2D auto mesh to mesh the component
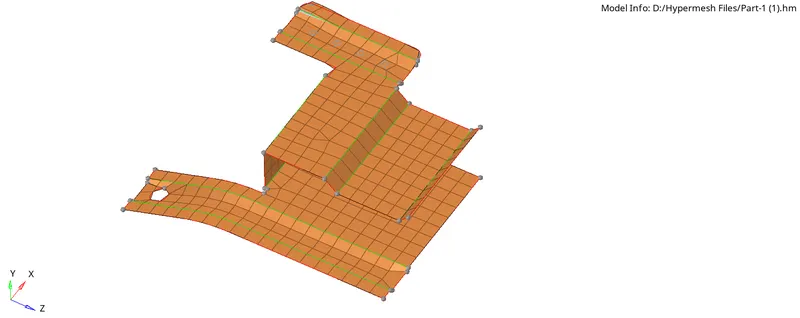
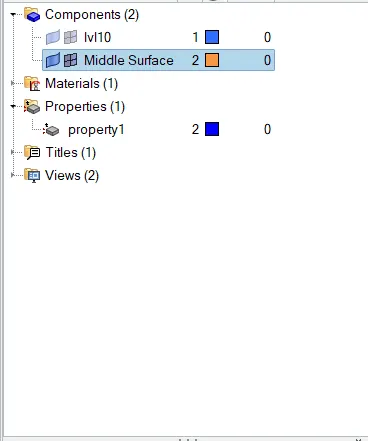
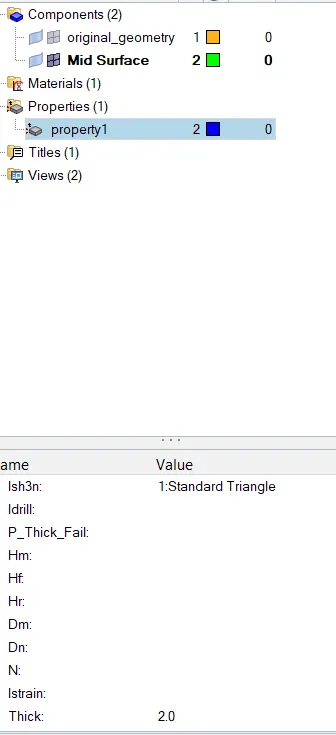
5) Create property and assign the thickness
- First right click on the dialogue box
- click on create then select a property
- define the thickness in the property
- Right-click on the middle surface then click on assign
- select the property
Part2
6) Import the geometry
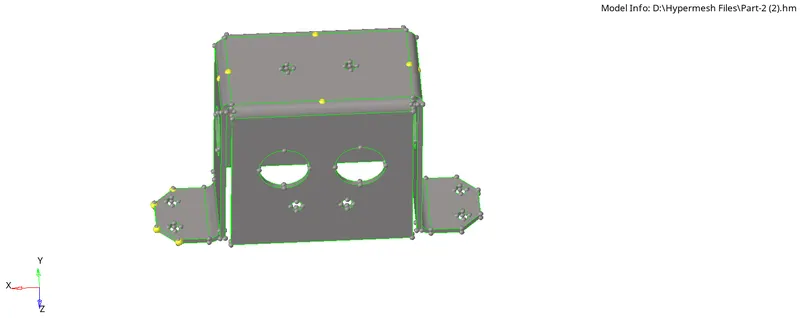
7) This model does not need any geometry clean up operation
8) Use the surface offset method to extract the mid surface
- Measure the thickness of the component which is 2.0 mm in this case.
- Create a new component and name it mid surface
- Go to surface edit and select the offset option
- define offset distance 1.0 mm
- select the surface by face
- make mid surface as the current component
- Duplicate the surface in the current component
- Set appropriate normal direction then press offset.

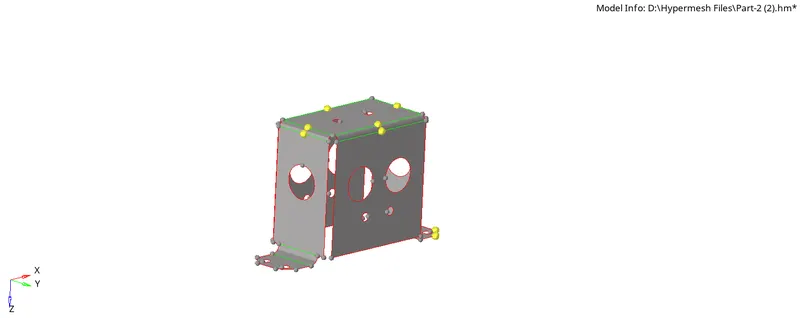
9) Rectify geometrical errors
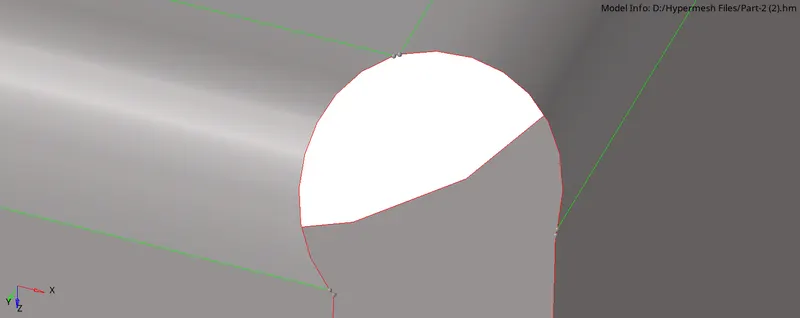
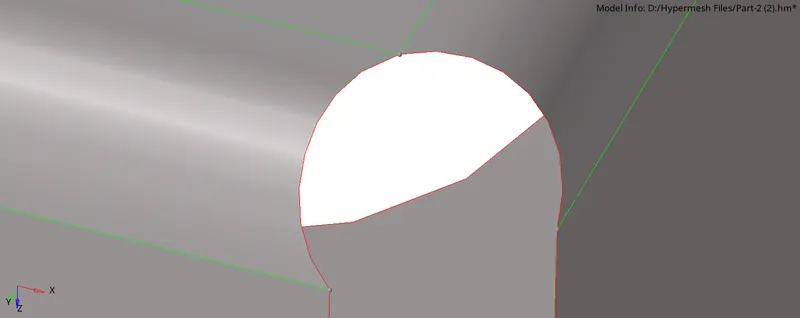
10) Go to 2D automesh to mesh the component
11) As this model is symmetric perform meshing on one side and use reflect tool to mesh another side
12) Check the connectivity of the elements using the edge tool
13) Equivalence the elements by selecting appropriate tolerance if required
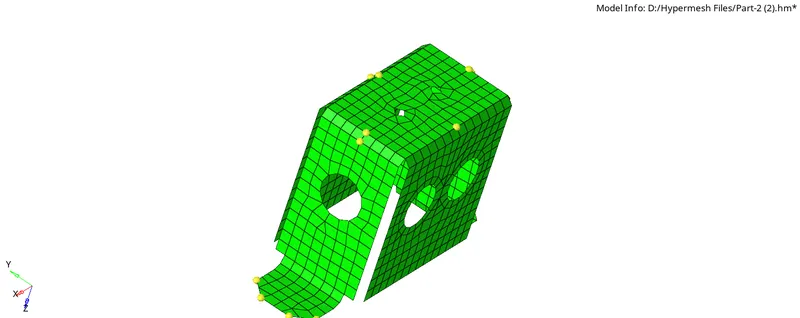
14) Assign the thickness to the component by creating a property as described above.
Part3
15) Import the geometry
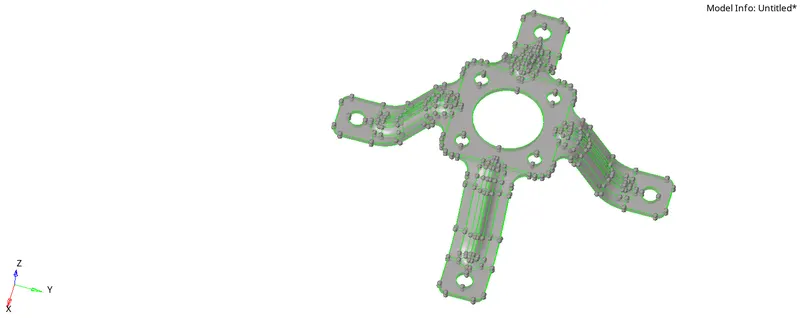
16) Since model does not have any geometrical issue so directly proceed to mid surface creation using the auto mid surface option
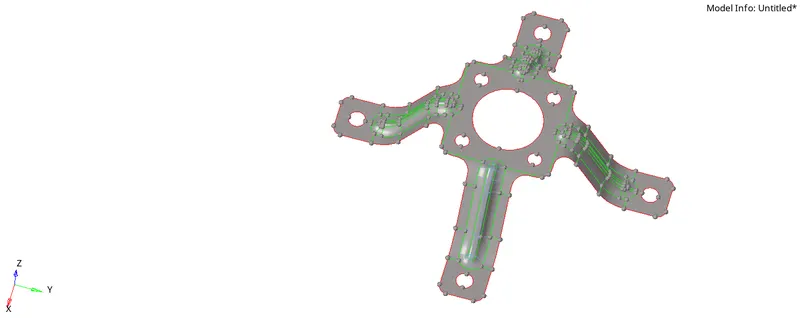
17) Edit some features in the generated mid surface
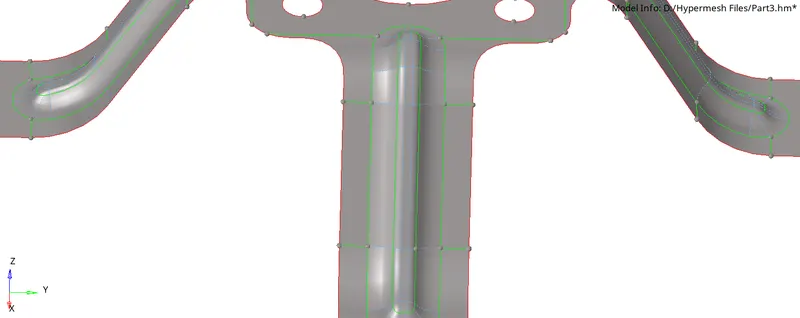
18) Select-2D-Automesh-surface-Element size-Mesh to create the mesh
19) Use rotate option as the model is symmetric about Z-axis
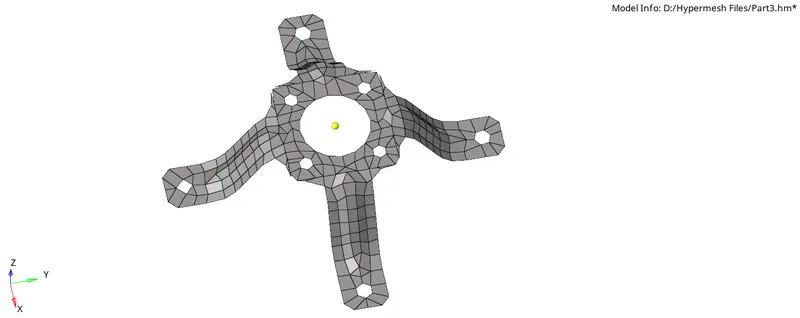
20) Assign the thickness to the component by creating a property as described above.
Conclusion:
Understood the following concepts
- Importing the given files
- Manual geometry cleanup
- Meshing
- Tools like reflect and rotate
- Thickness assignment